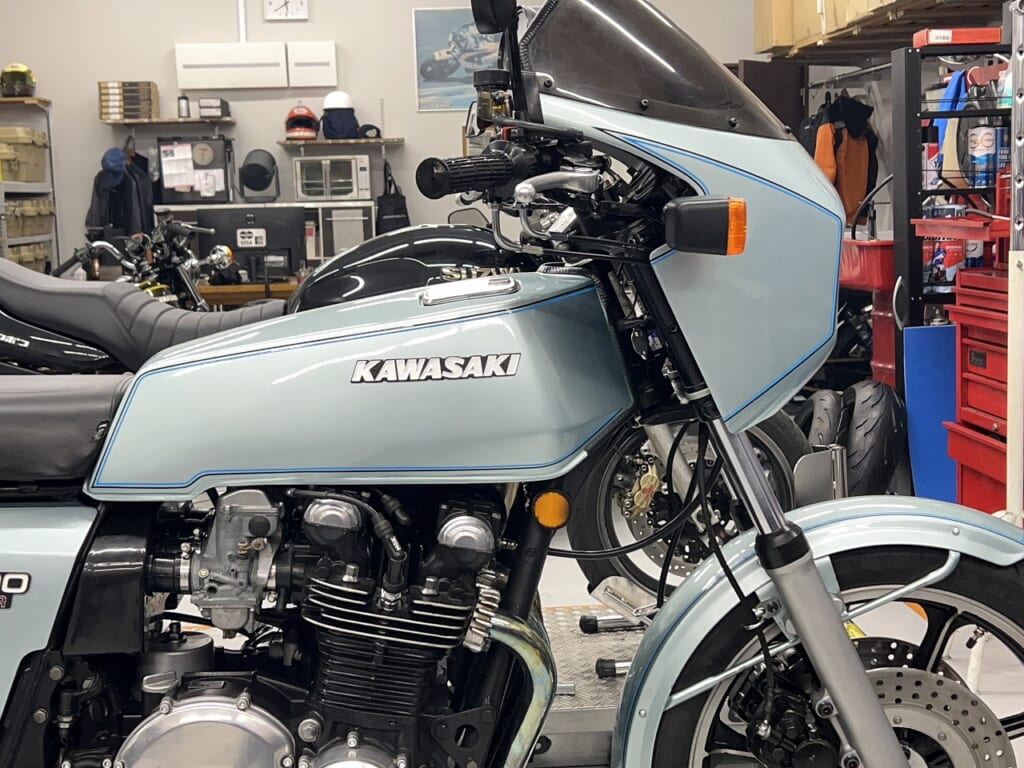
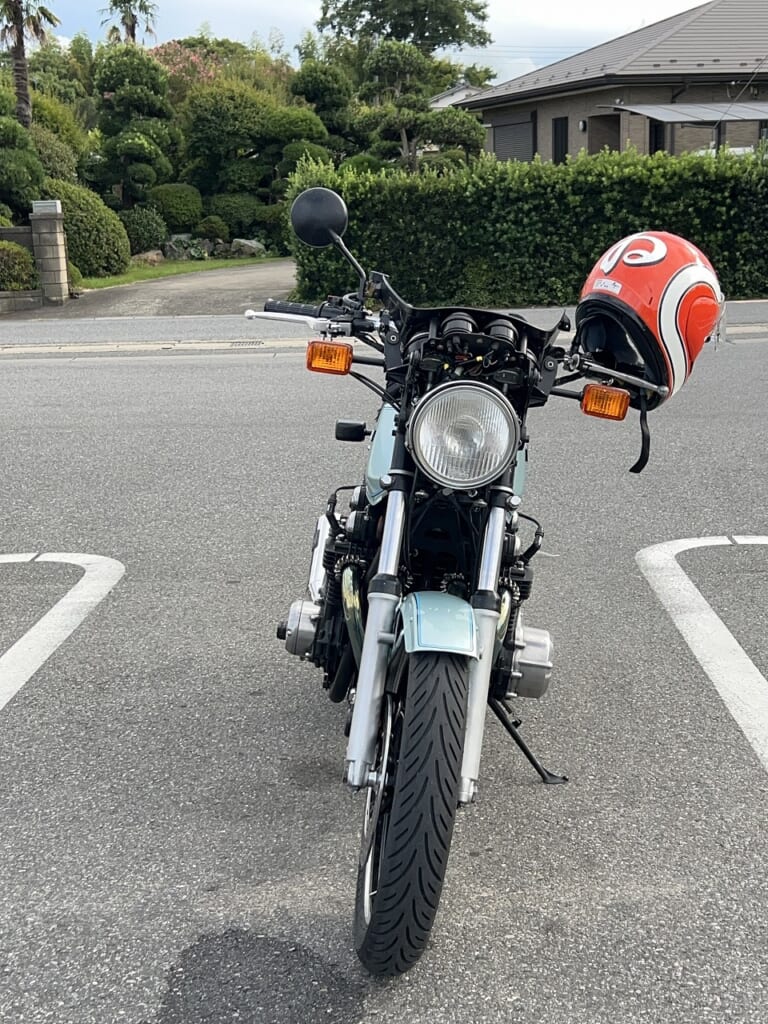
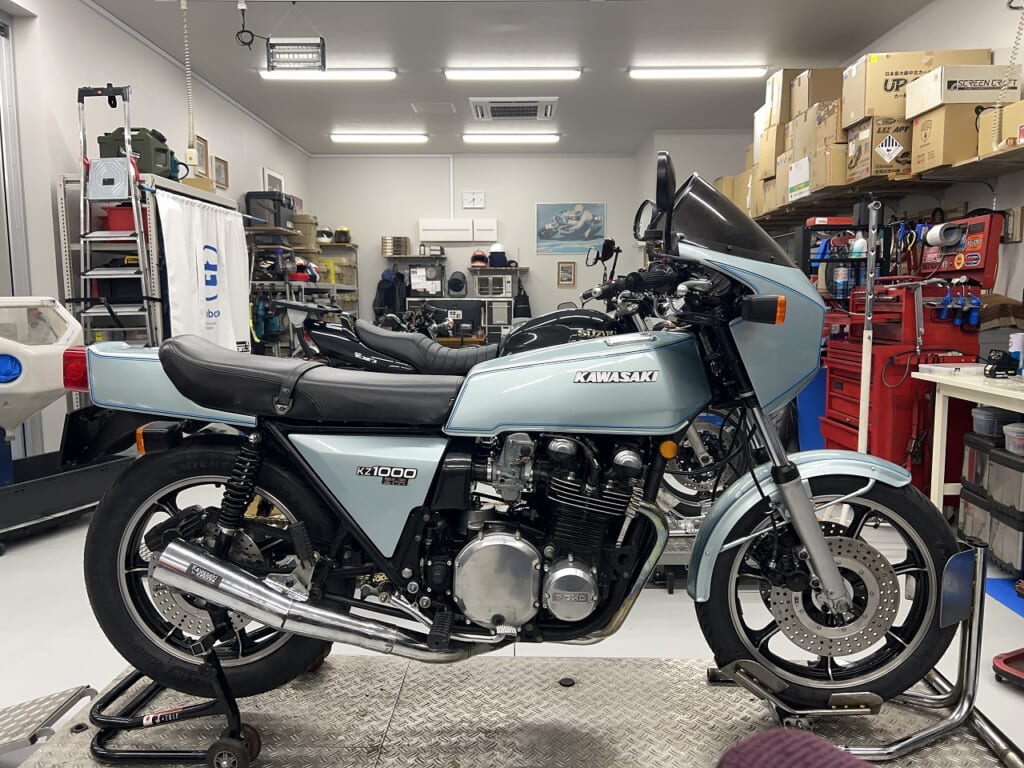
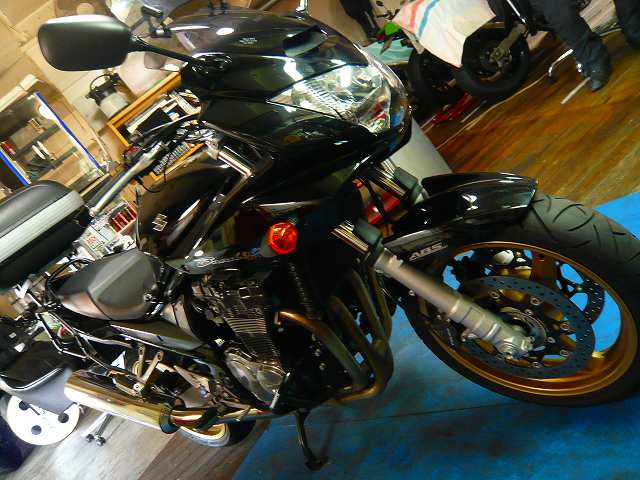
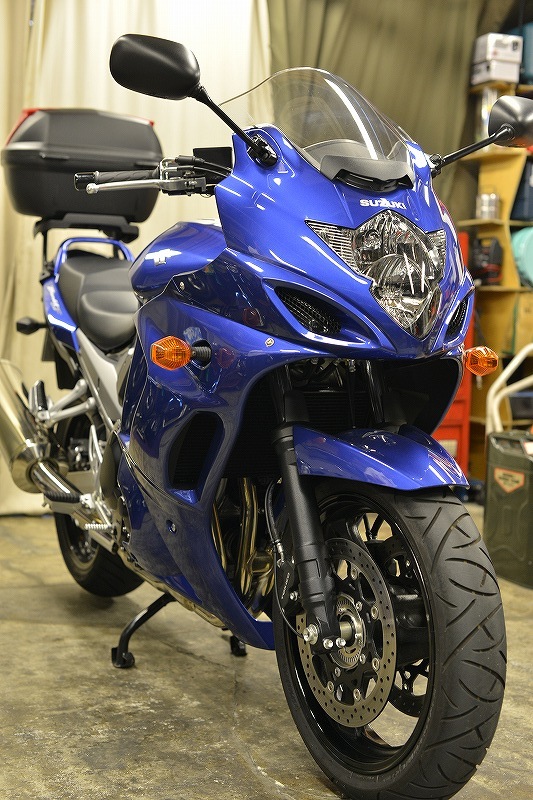
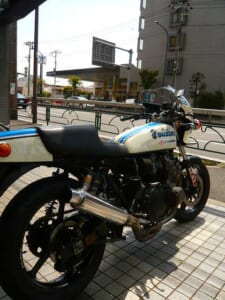
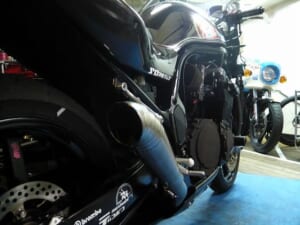
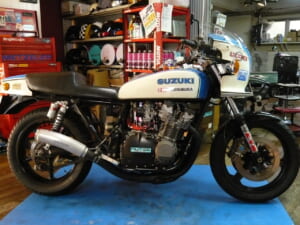
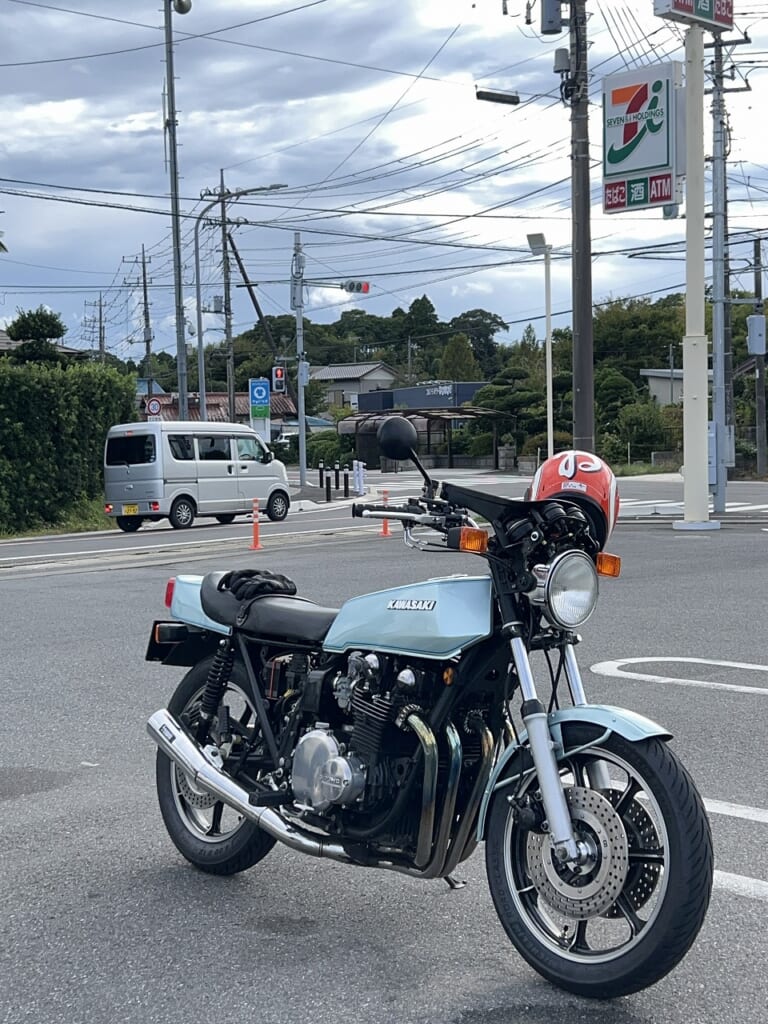
Season 1 finally complete (as planned) Anyway, it’s all put together and I took it around the area.
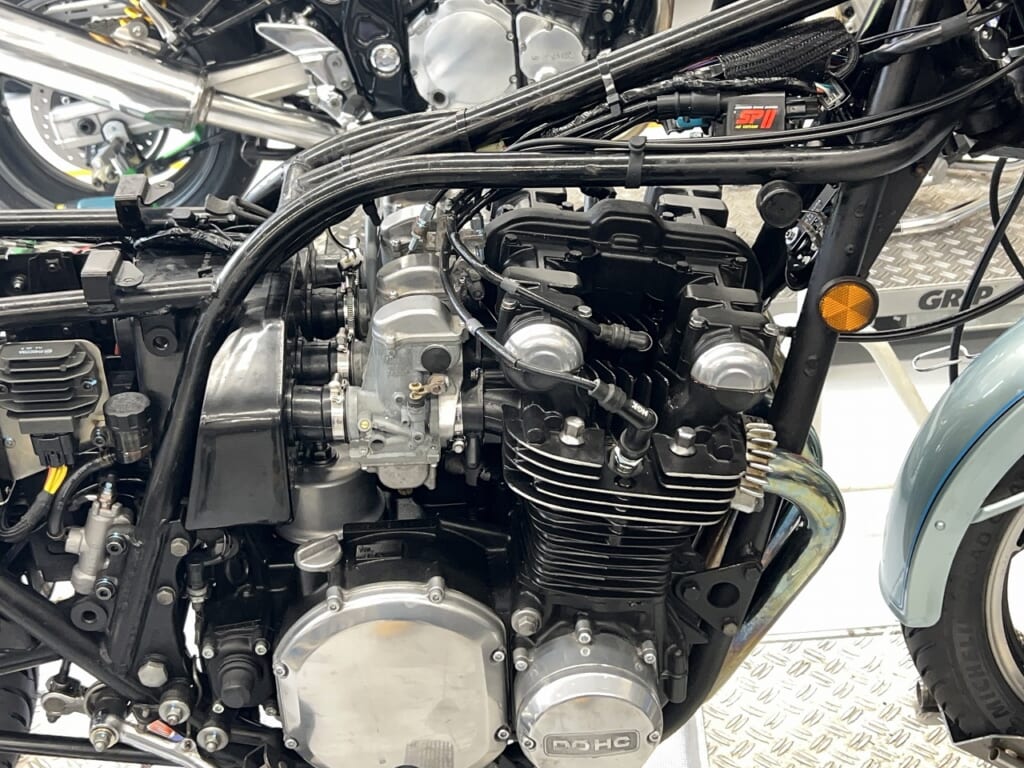
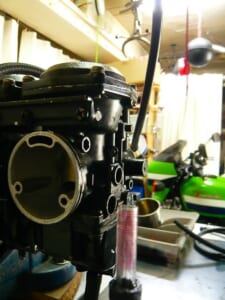
As I somewhat imagined, the carburetor condition is not very good at all. The inner kit that’s installed seems to be some unknown overseas brand? I’m thinking that’s probably the cause.
I’ll introduce it including work reports.
Decoboco’s other BLOG. “RURAL GARAGE“
A hidden room for things other than bikes. Convenient items for daily life, relocation, delicious food, life philosophyand more. ←click
Lesson for next time: Z1R main harness replacement is better with Z1000MK2
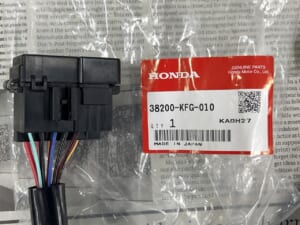
Repro Z1R main harness is faithfully reproduced and has quite a few unused connectors. If you want to simplify the harness further, using something like a Z1000MK2 is definitely the best.
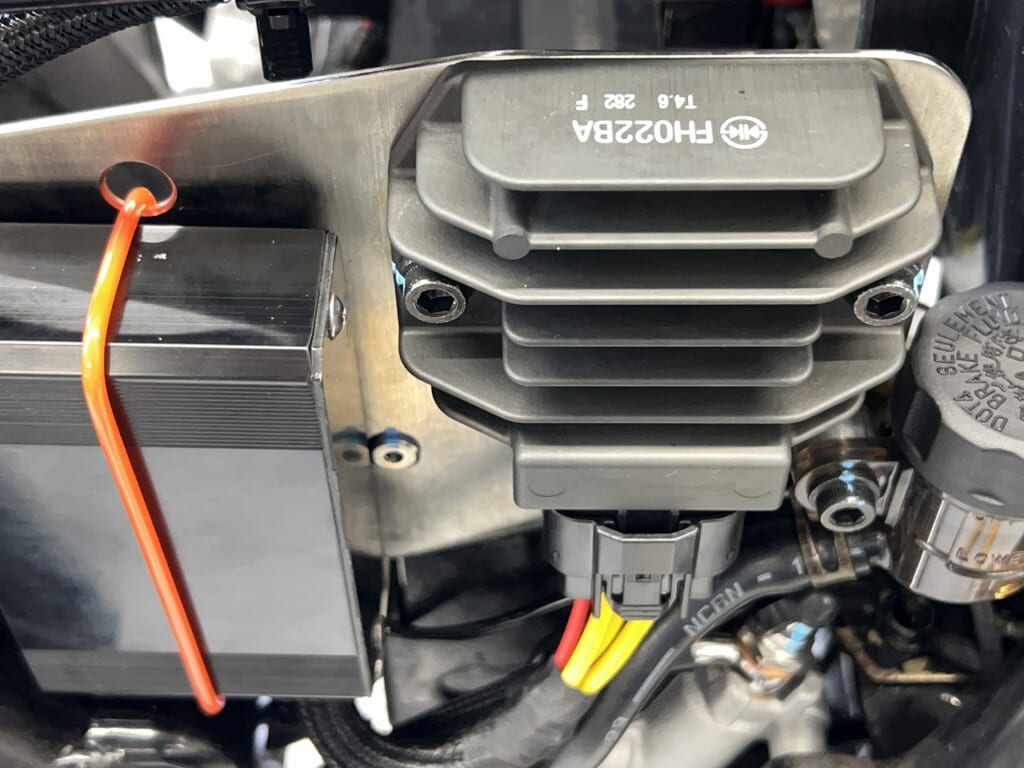
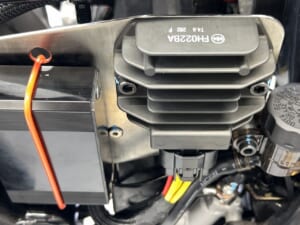
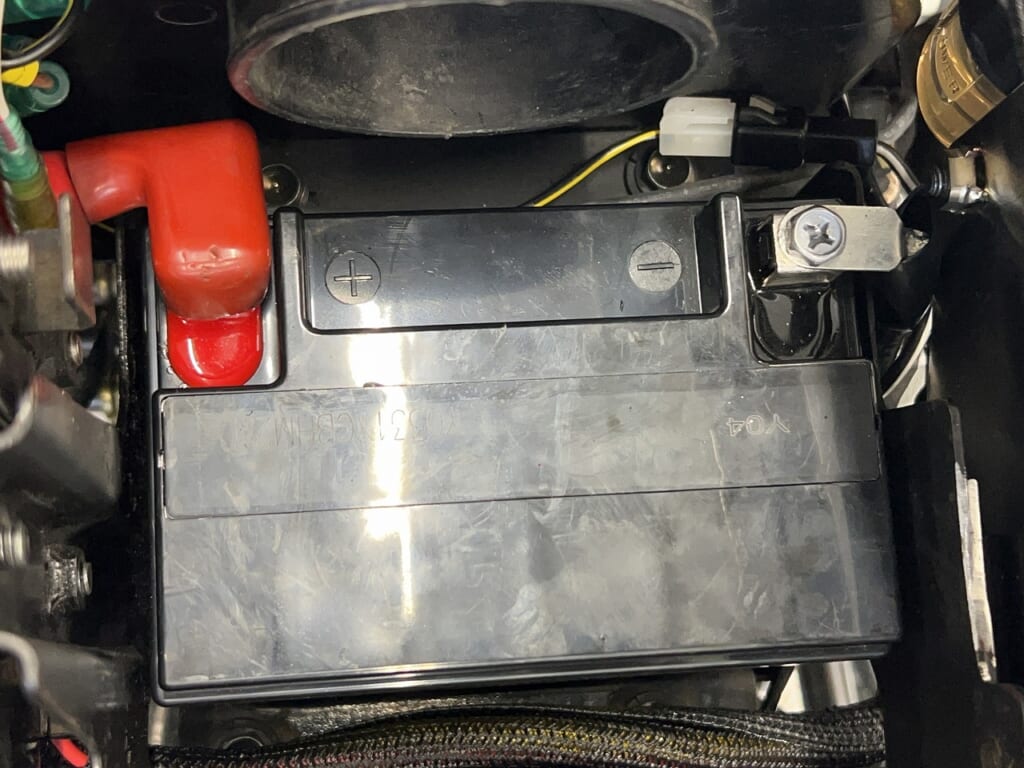
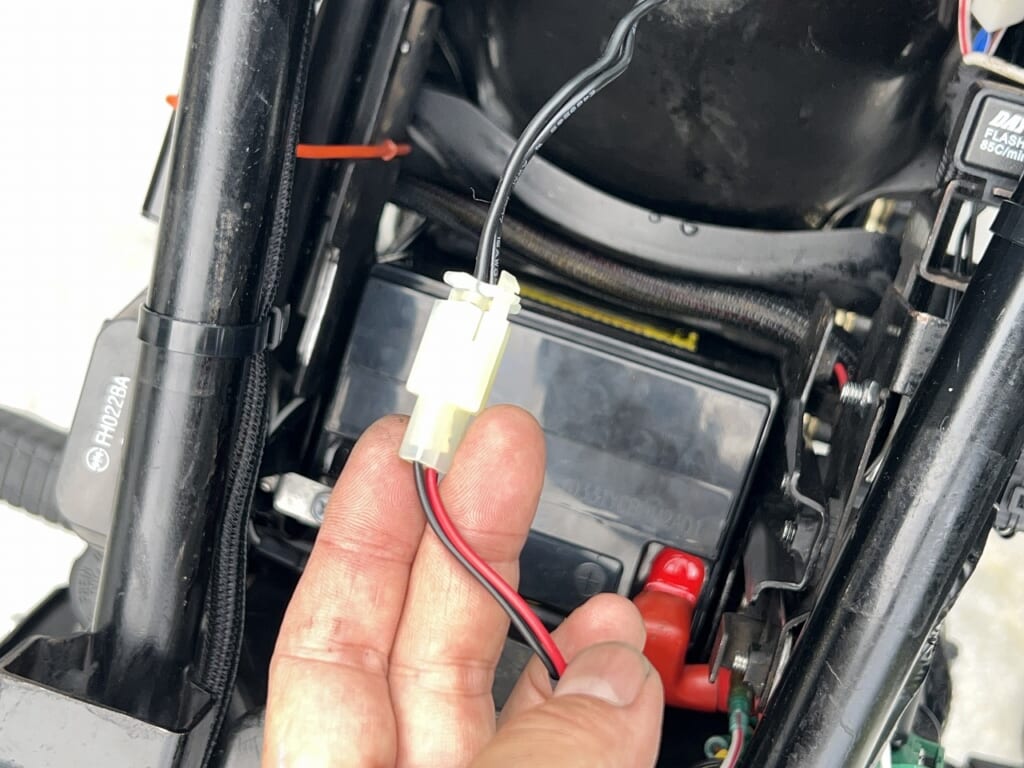
Yamaha genuine small MOSFET regulator 2CR-81960-00
It’s the model number FH022BA. It’s a regulator used on quite high-year vehicles and is extremely compact in size. It’s quite practical, so I’m thinking of making it a regular starter.
Design-wise, it’s quite an analog floating type. The benefit is that you can use a standard 250-size connector instead of a complex waterproof one.
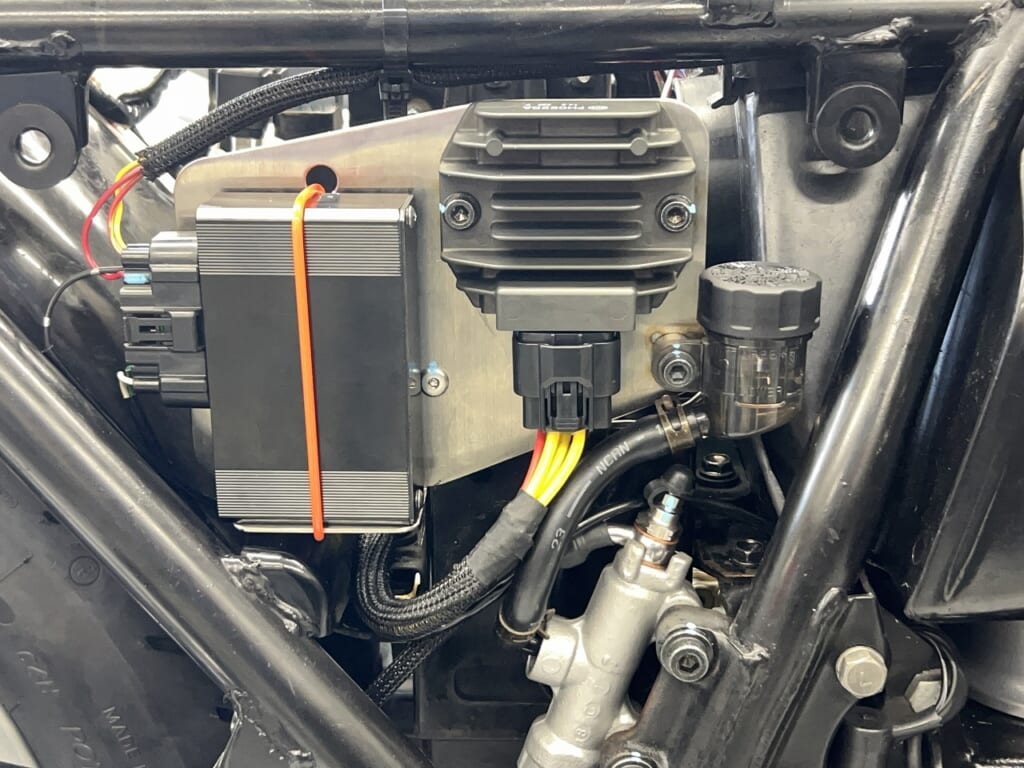
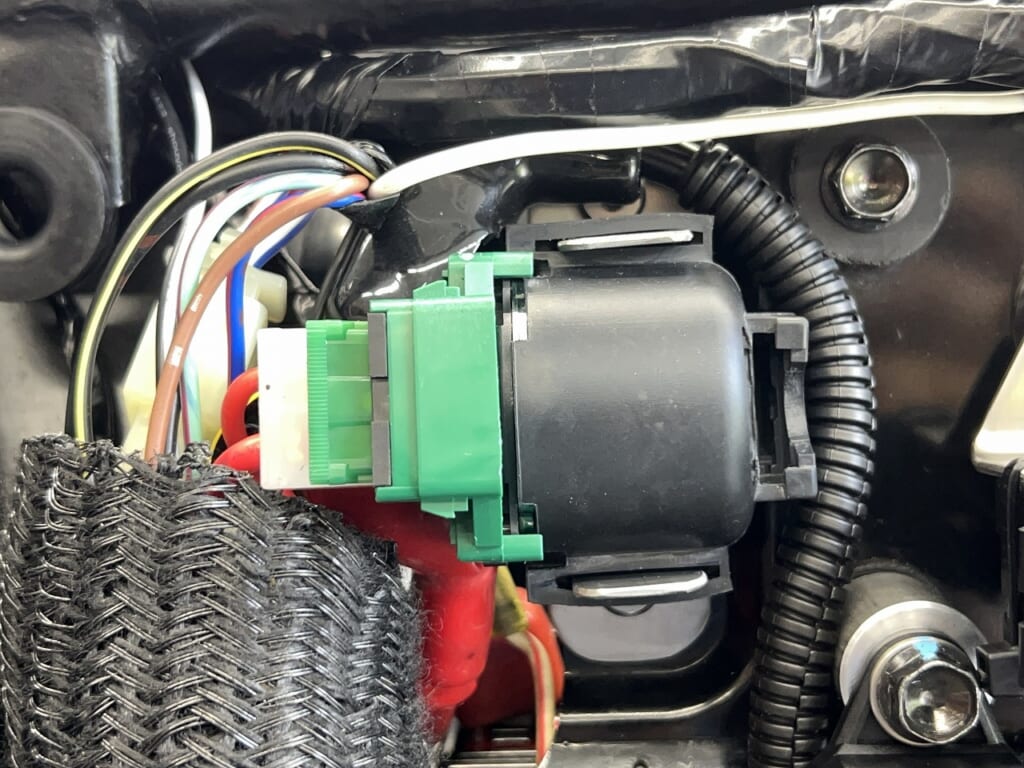
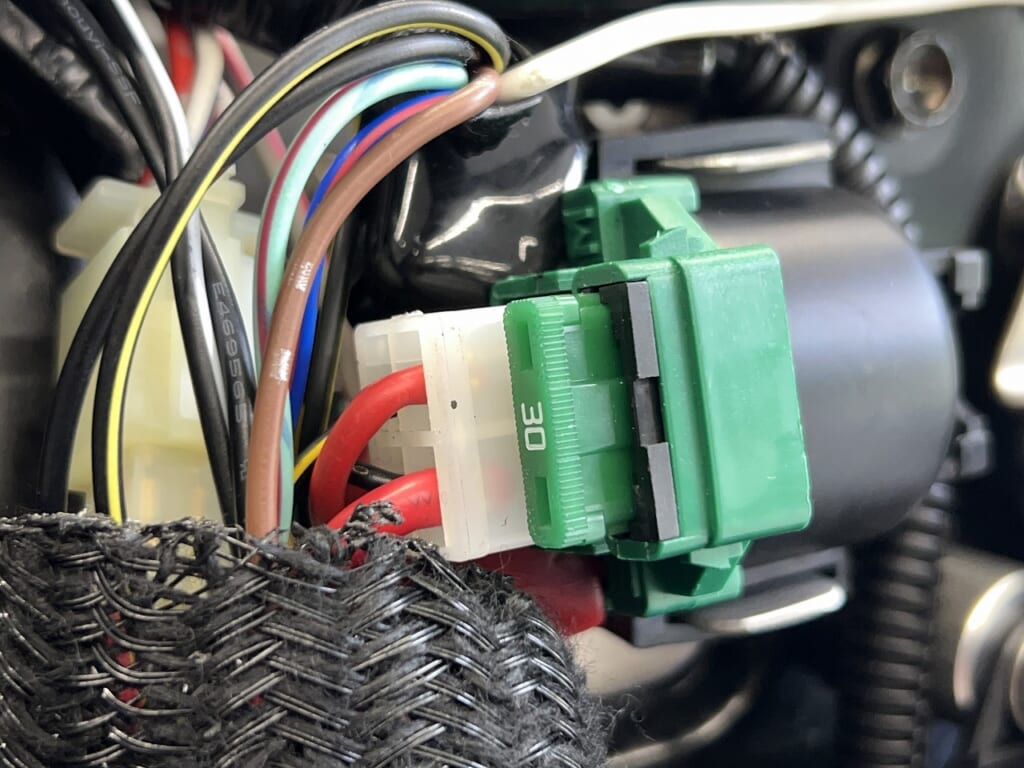
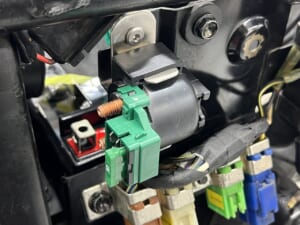
Since there are 2 places on the connector part that connect directly to the battery you can insert charging system wiring, or you can insert battery direct wiring or D-UNIT’s constant 12V.
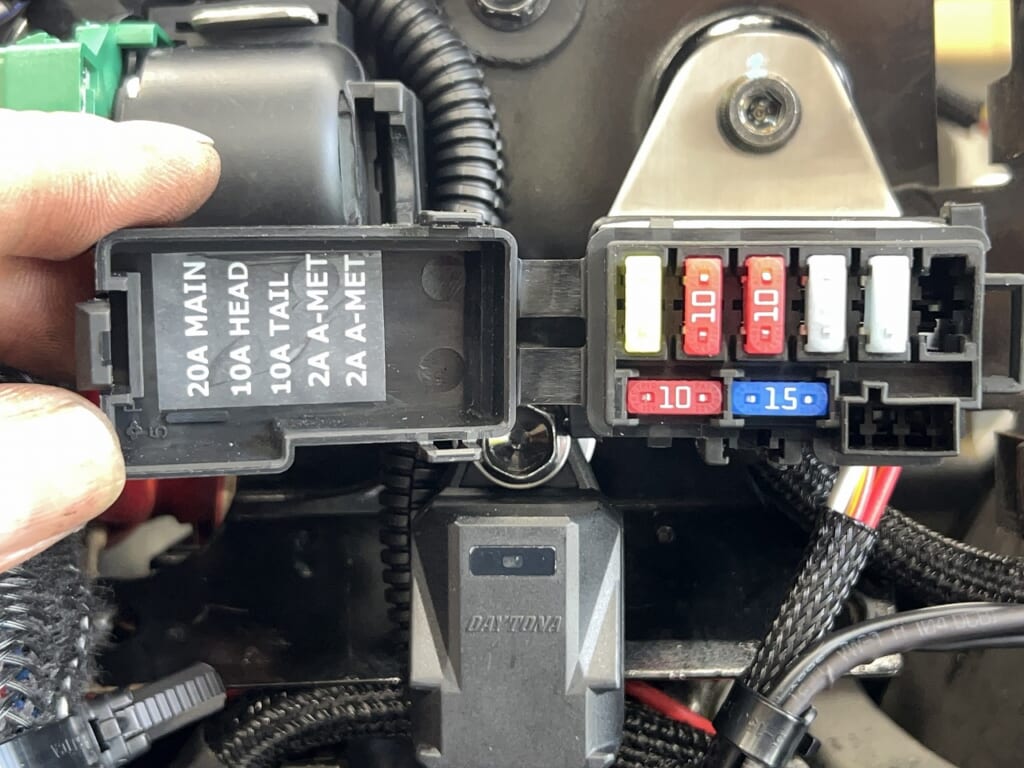
Furthermore, there’s a 30-amp fuse here so the safety of the constant 12V line beyond this connector increases. Using a fuse-equipped starter relay is safer. Since you’re changing the main harness anyway injecting modern elements as much as possible increases your peace of mind.
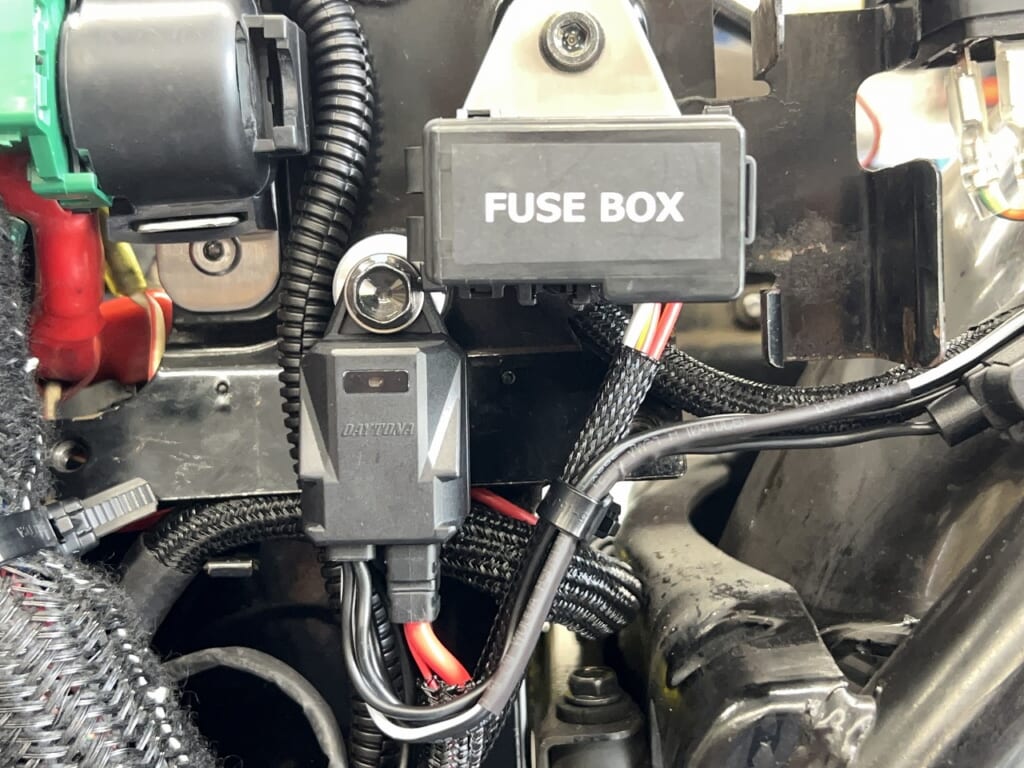
The installation method is a bit tedious, but as a component it’s an excellent item. This one thing completed the entire fuse box this time.
I’m shocked that tube fuses are still being sold as repros.
Personally, I actuallyprefer the standard blade size because fuse removal and installation is easieryou know. Honda’s nice one got discontinued ( ;∀;)
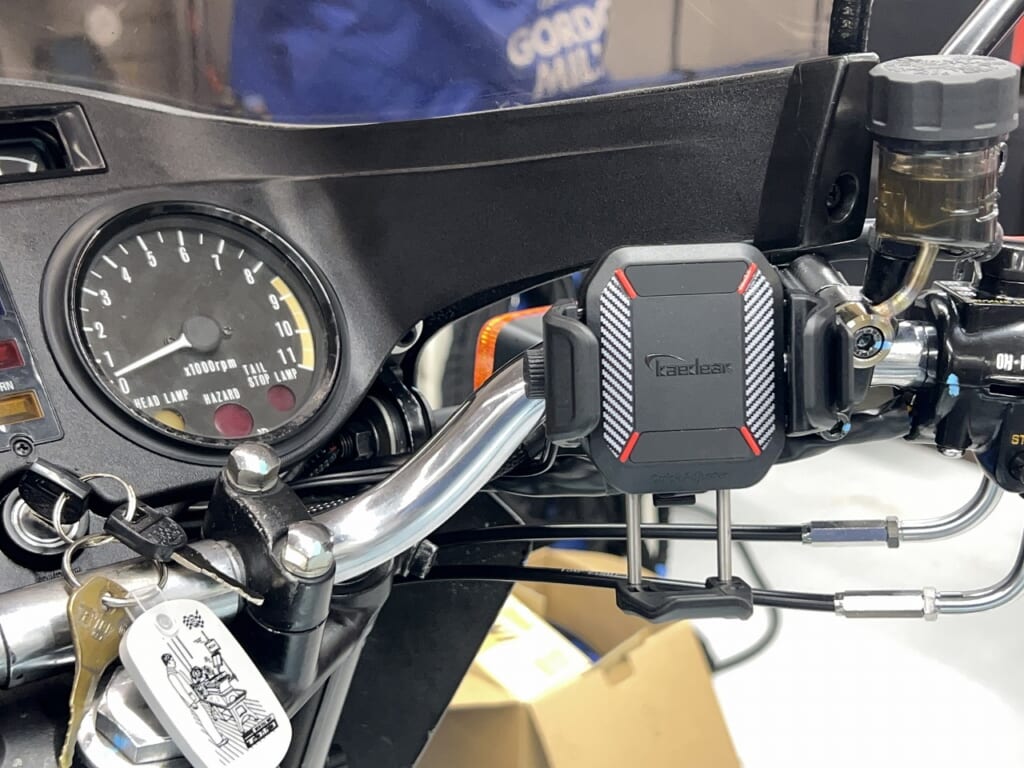
I also installed a D-UNIT WR so in the future when installing ETC and other electrical components, it’s easy. *I’m using one spot for smartphone charging.
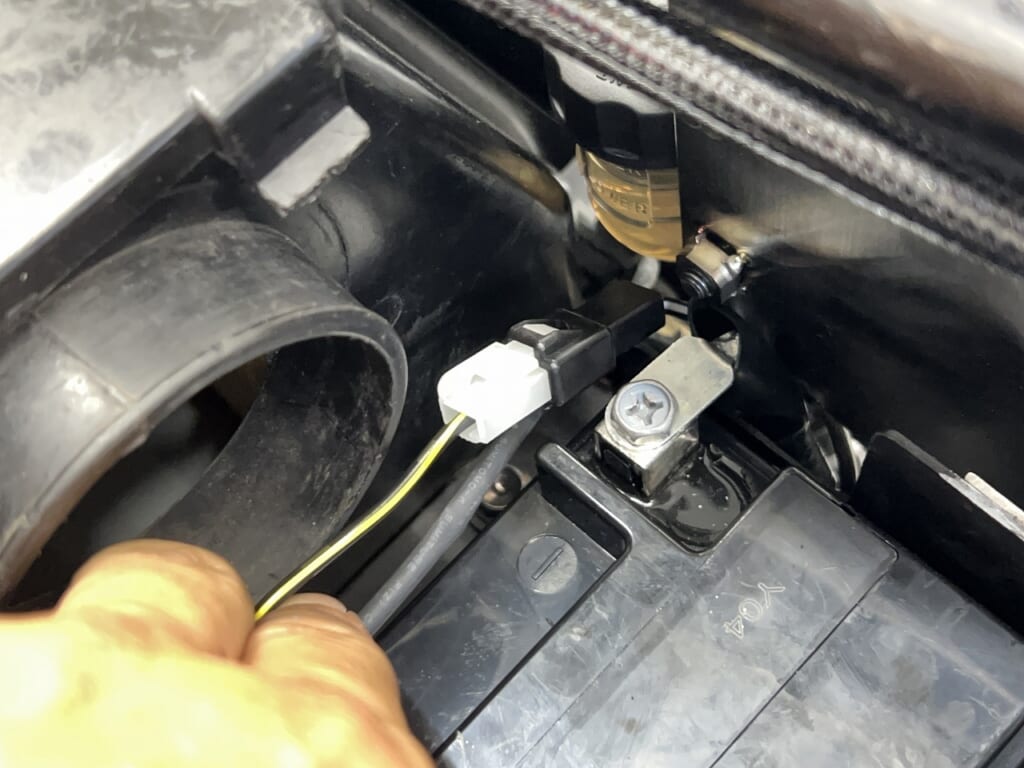
Since the ground lead attachment point is L-shaped, you can lay it out neatly. The main ground connection is a locked connector, so I’ll reuse that as is.
It’s a bit long, so I’m shortening it and re-crimping it for use, but this is the only point that needs modification. Rather than making everything from scratch, modifying and using modern parts is good.
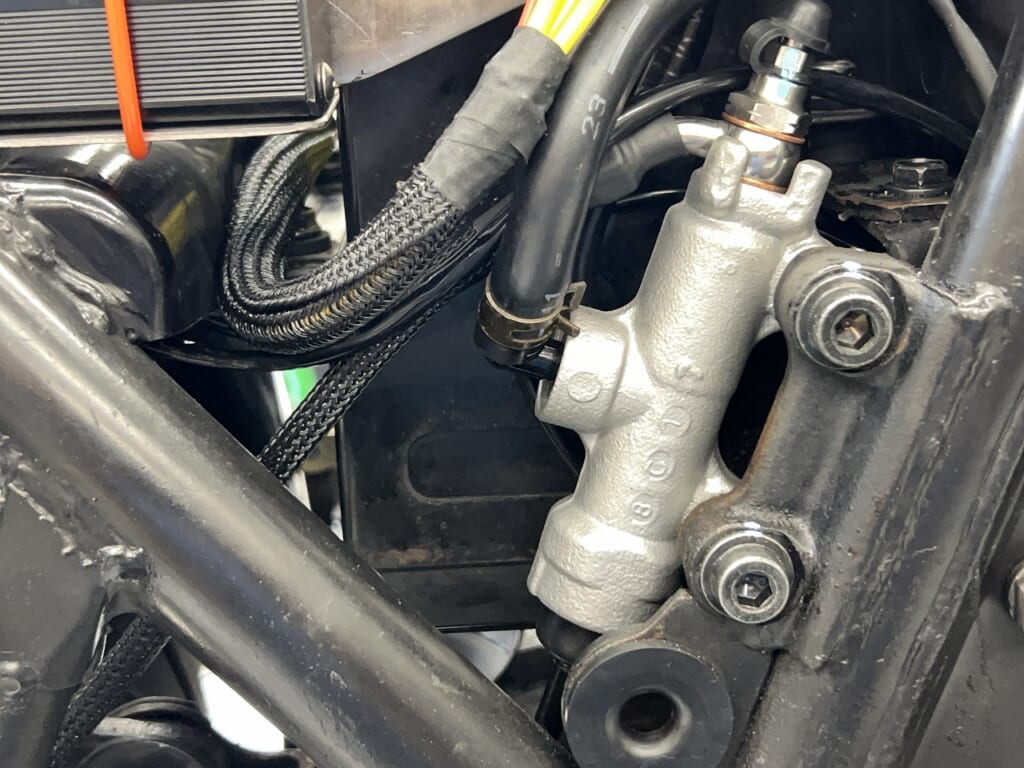
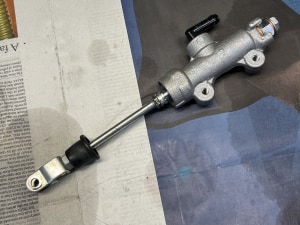
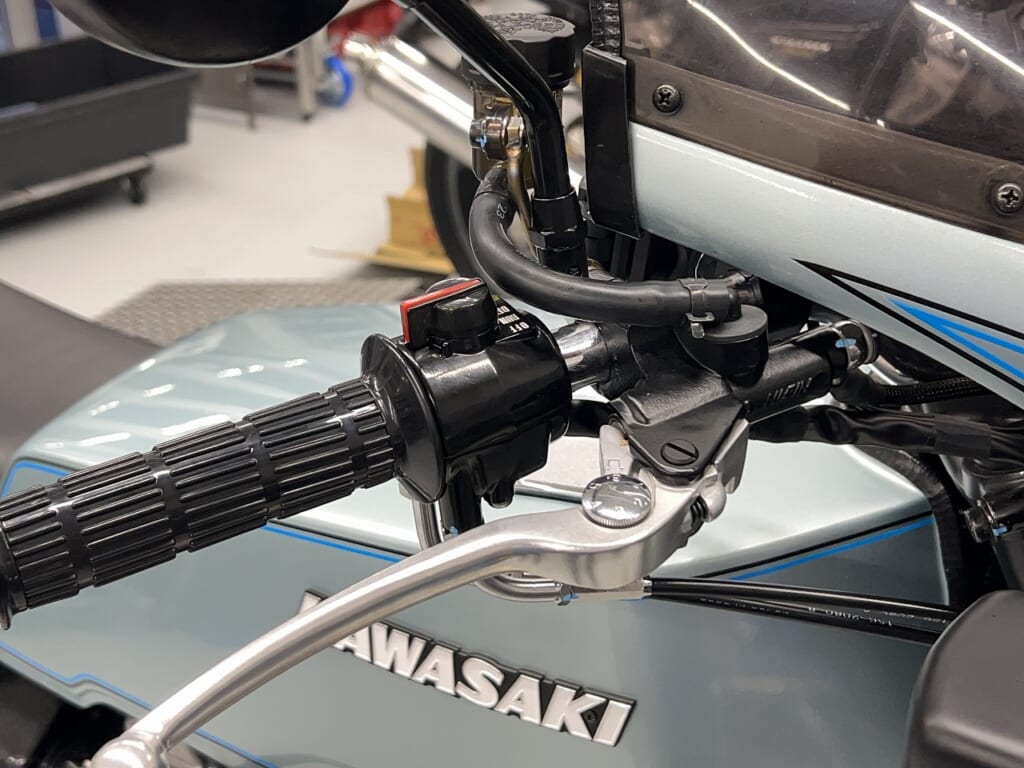
This master cylinder mounting pitch is the same so the body can be mounted with just a spacer.
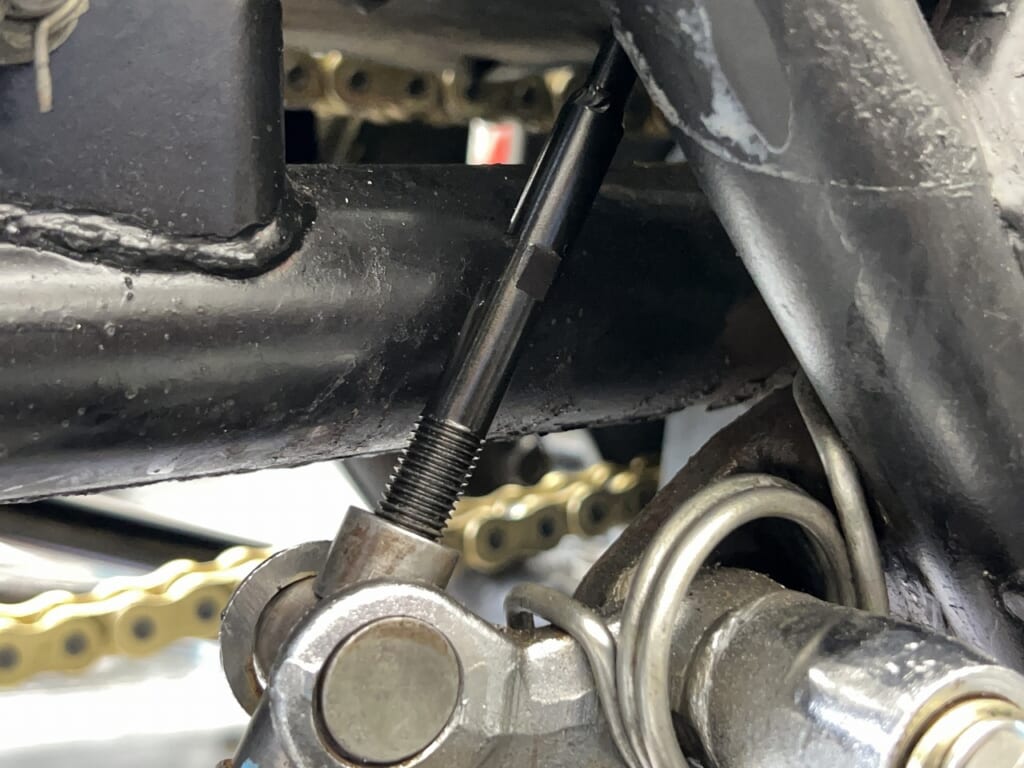
Of course the rod is completely different, so modify it for use. The piston diameter is 14Φ, but the feel is solid with no sense of discomfortso you can use it with confidence.
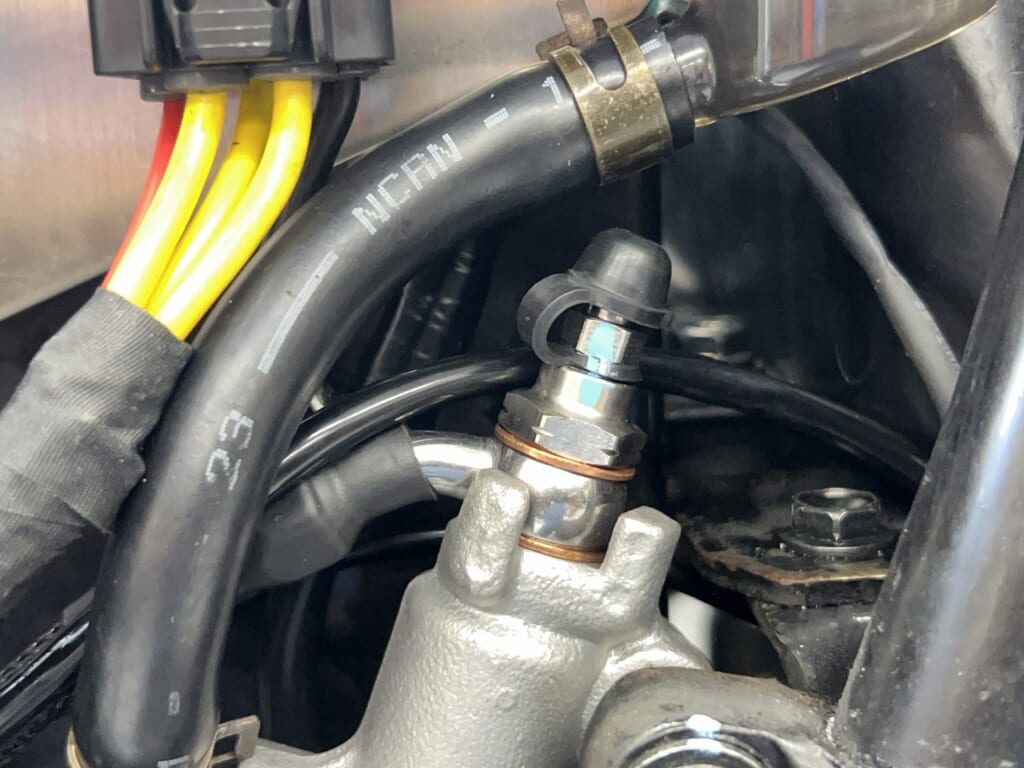
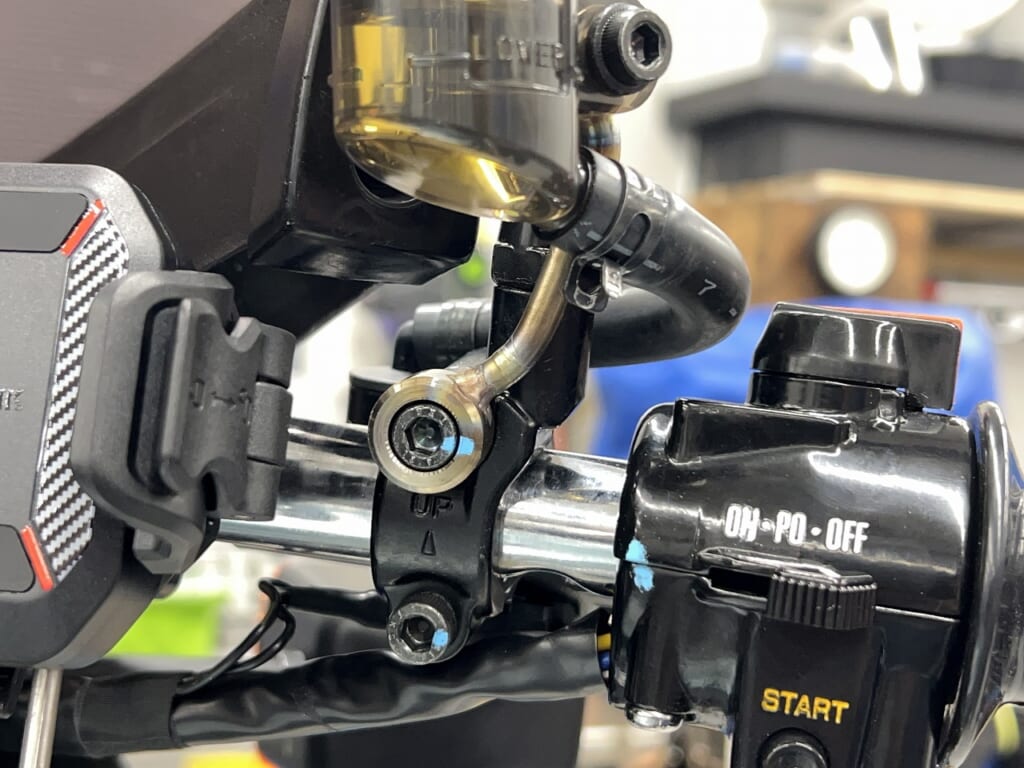
If space permits, using an air-free banjo is the safest bet. Always considering future maintenance makes things smoother.
Z1R brake master replacement is a hassle
The clearance with the upper cowl is so tight that I really struggled with replacing the brake master.
If you can’t make subtle position adjustments, it’s not that difficult. But with levers and other controls, you want to lower them a bit or move them a bit, right? If you want to get as close as possible to your ideal machine, a wider adjustment range is better.
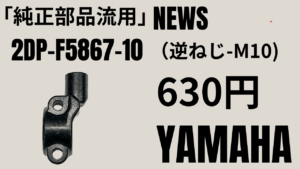
I used a Yamaha genuine offset mirror holder. The right side has reverse threads, so I’m re-installing a helicoil.
You do have to remove one bolt from the master tank to take off the upper cowl, but otherwise there shouldn’t be any particular pain.
The fact that parts like this are always available for Z is really popular. Just not being able to get brake discs or sprockets makes the situation much more complicated.
When buying an old bike, it’s better to check consumables first.
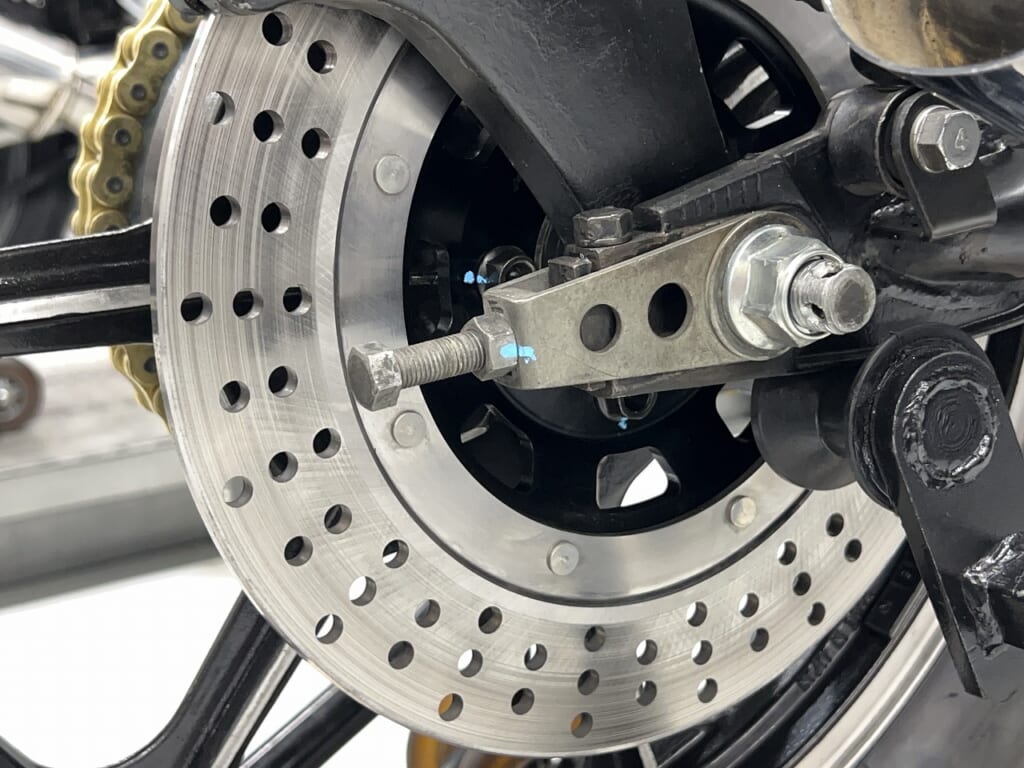
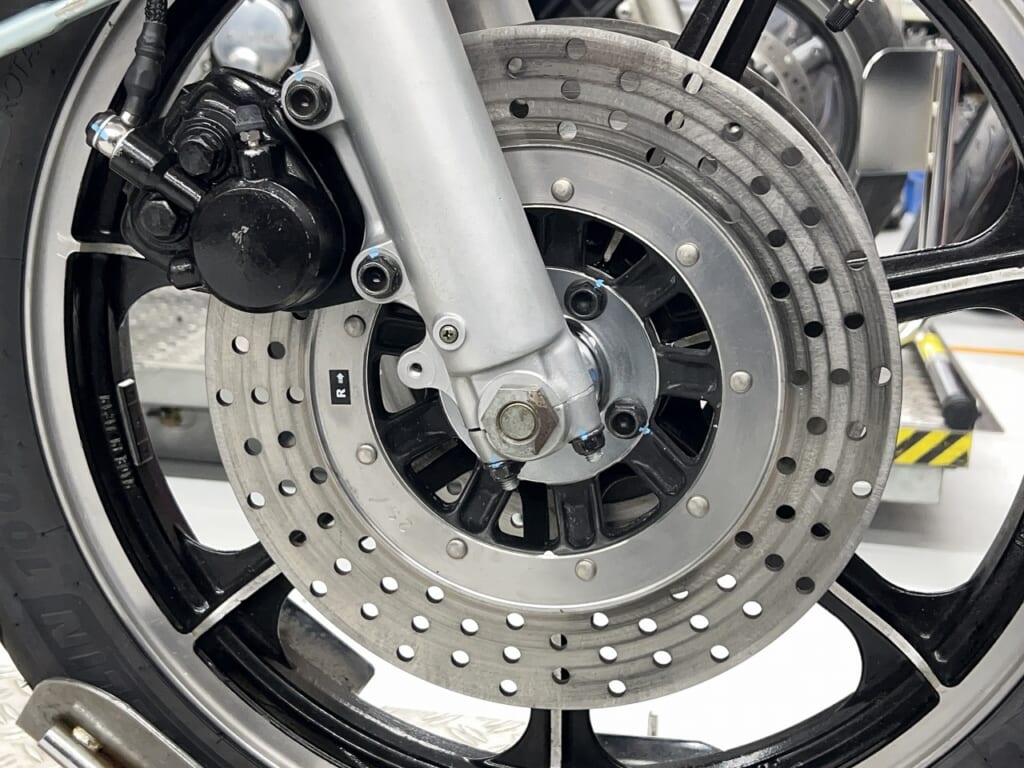
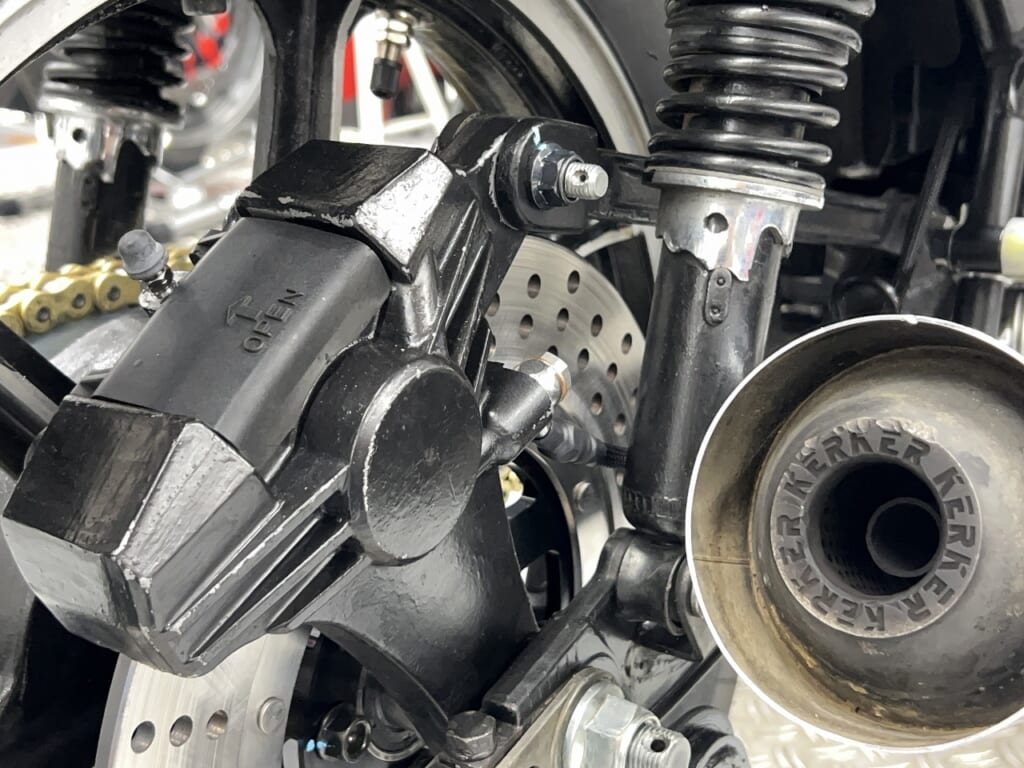
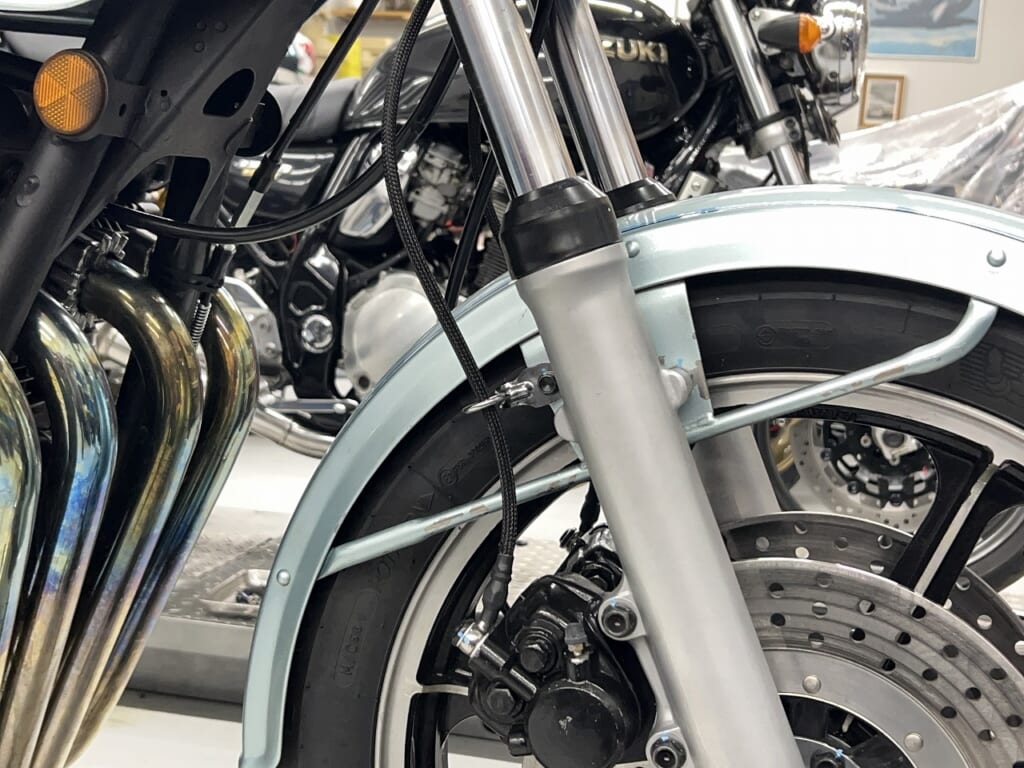
I polished the front brake disc surface and reused it. I overhauled both front and rear brake calipers, and the inner walls are now so smooth I’d think it’s Brembo with how smoothly it operates.
The brake fluid was degraded, so I remade both front and rear hoses. The front fork also had oil leaks so while overhauling it, I wet-blasted the bottom case.
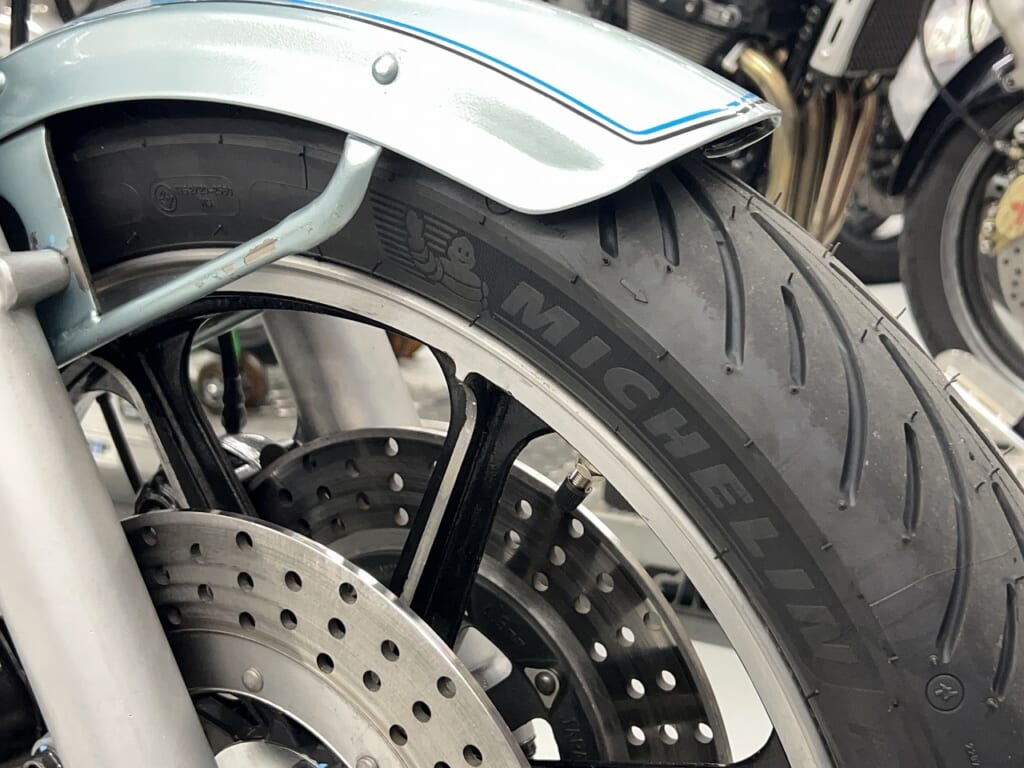
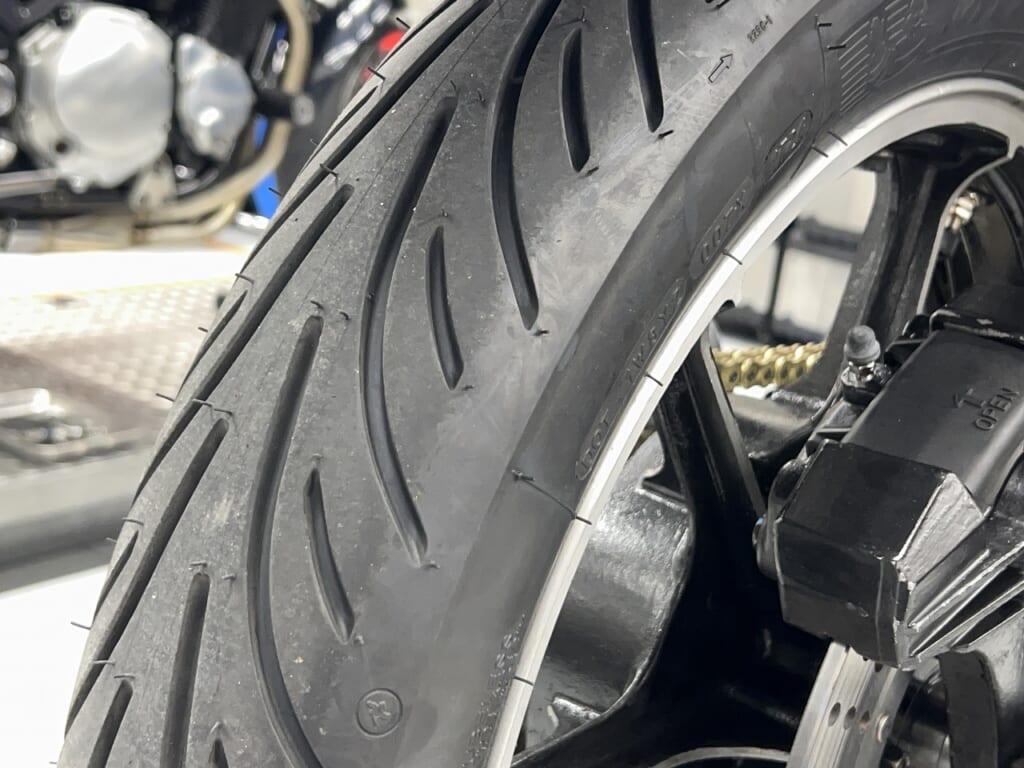
The tires are Michelin Road Classic
What I used on the Z1R this time is front 100/90-18, rear 4.00-18.
Check the wheel rim width and compare with the original outside diameter, then select a tire that fits the rim width. Tires from this era with large diameters and narrow profiles are really fun to ride. I personally prefer this size to modern bikes with overly fat tires
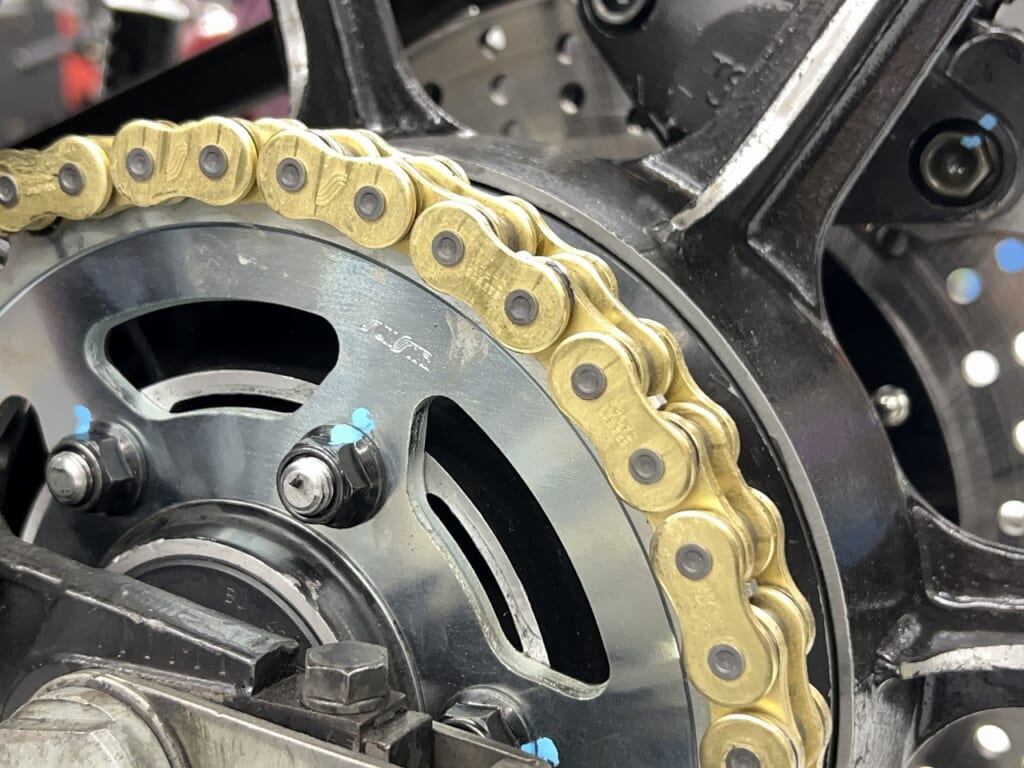
Chain size is becoming mainstream at 525 lately. In about 10 years, will people say 530 is huge?!
It’s really appreciated that they sell chain and sprocket replacement kits. Furthermore, they even developed lock washers for the front sprocket nut, so safety increases dramatically.
If no specific chain color is specifiedI always choose gold based on my own judgment.
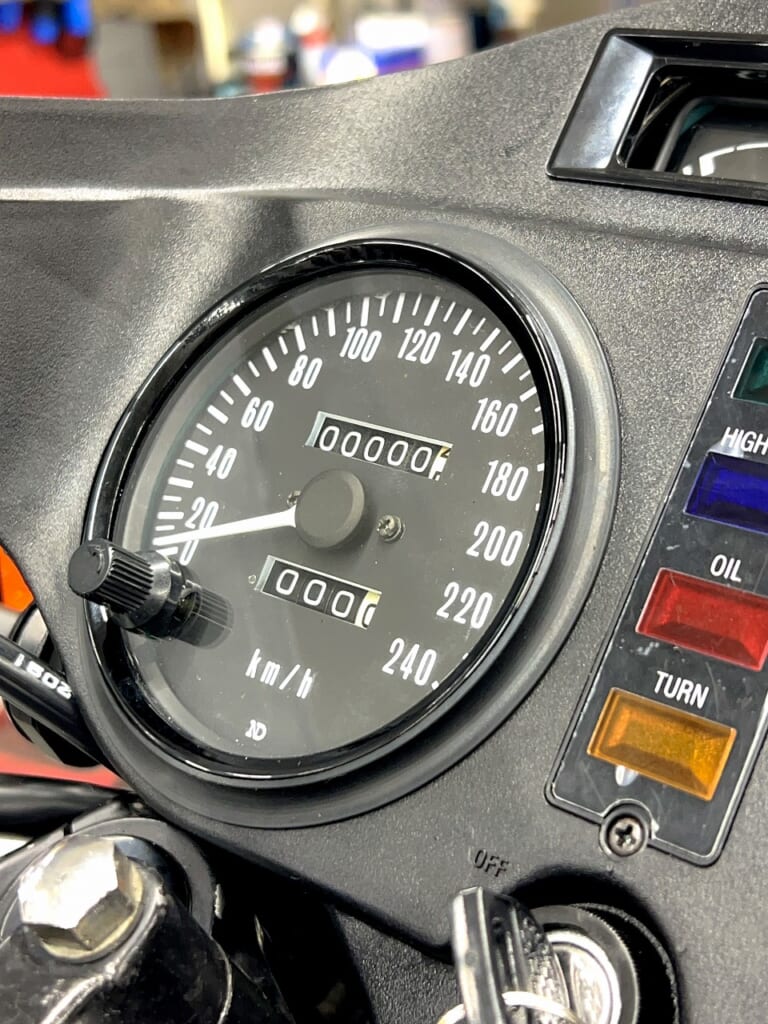
The meter damper sinks even when new or used. Is this just how it is? And it’s incredibly loose, so I tightened the clearance a bit. It’s installed and removed in a recessed spot, so it takes more time than expected.
The meter was broken, so I sent it for overhaul too.
Finally, engine start! White smoke billowing – THE classic bike
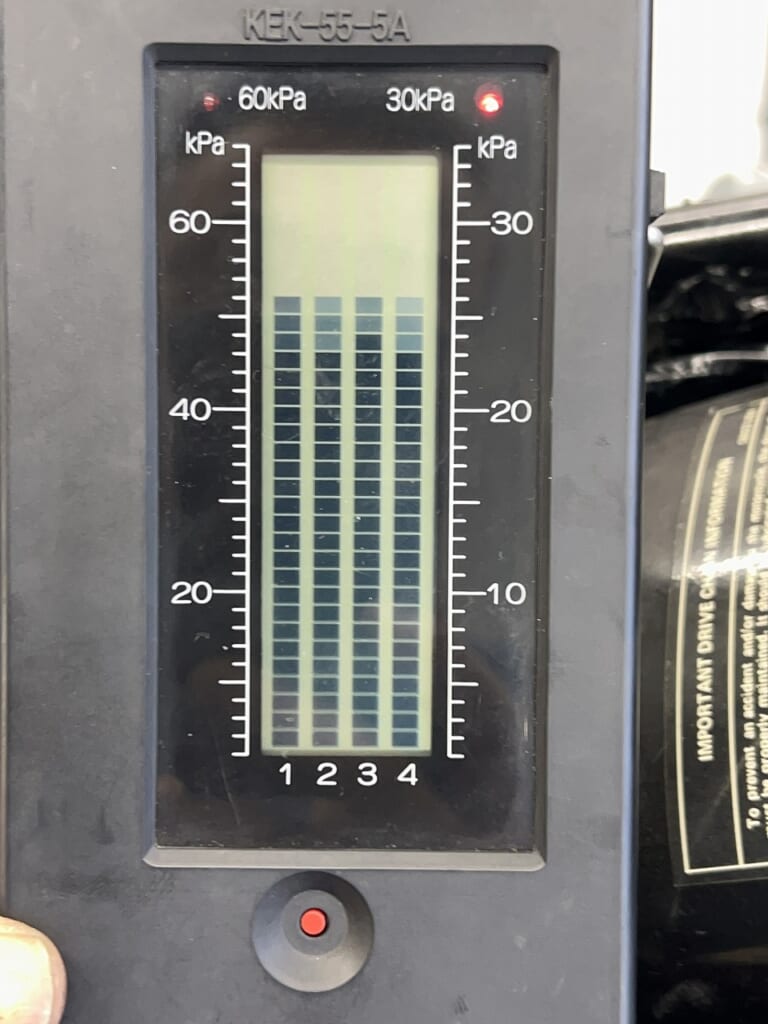
I started the engine and synchronized the carburetors. I also adjusted the air screws.
I’m a bit worried, but I took it for a light test ride around the area.
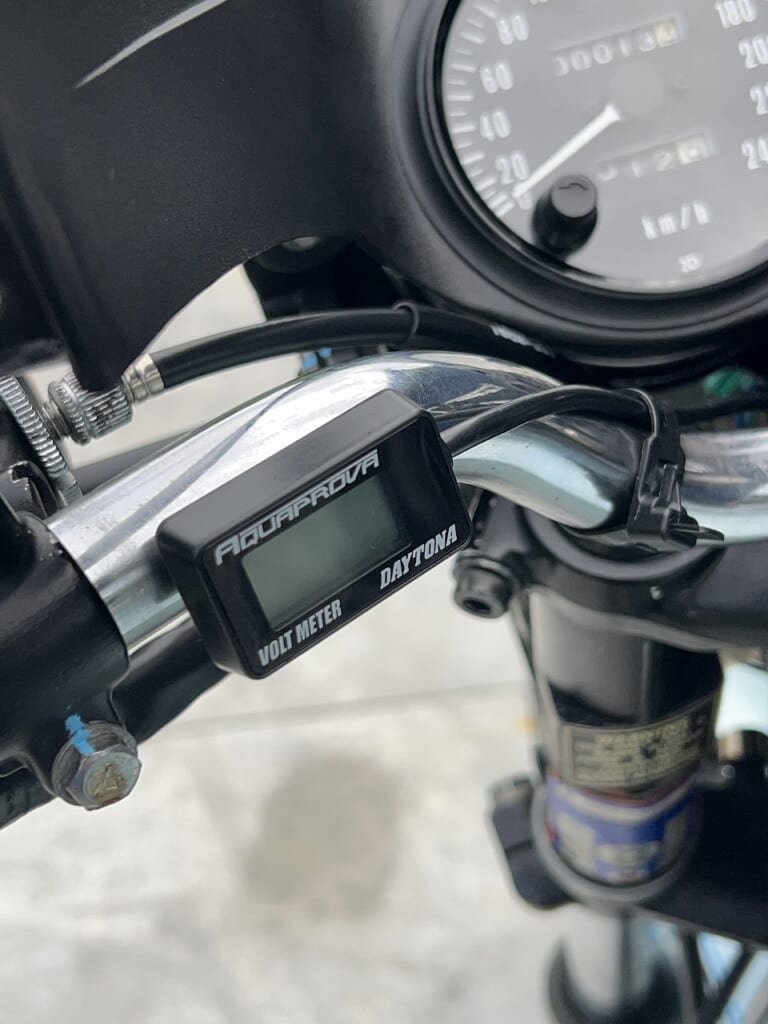
This is a work-use Aqua Prover voltmeter. It’s connectorized to plug directly into D-UNIT and similar and has dual-sided magnets on the back of the voltmeter so you can temporarily attach it to the tank or handlebars.
I always check while test riding vehicles where I’ve worked on the charging system. This voltmeter is really excellent and compact.
Once it starts, you can somehow ride it, but it’s not very practical. This isn’t fun to ride at all. Rather than installing some unknown overseas inner kit I think it’s better to still use the old original.
The options seem to be either trying a fuel adjustment kit or switching to a CR carb.
Except for the seat underside cover or molding, everything is installed and Season 1 is complete. I have a feeling we’ll jump straight into Season 2 as is.
Since we’ve reached a good stopping point, I can get back to normal work.





 ポチップ
ポチップ