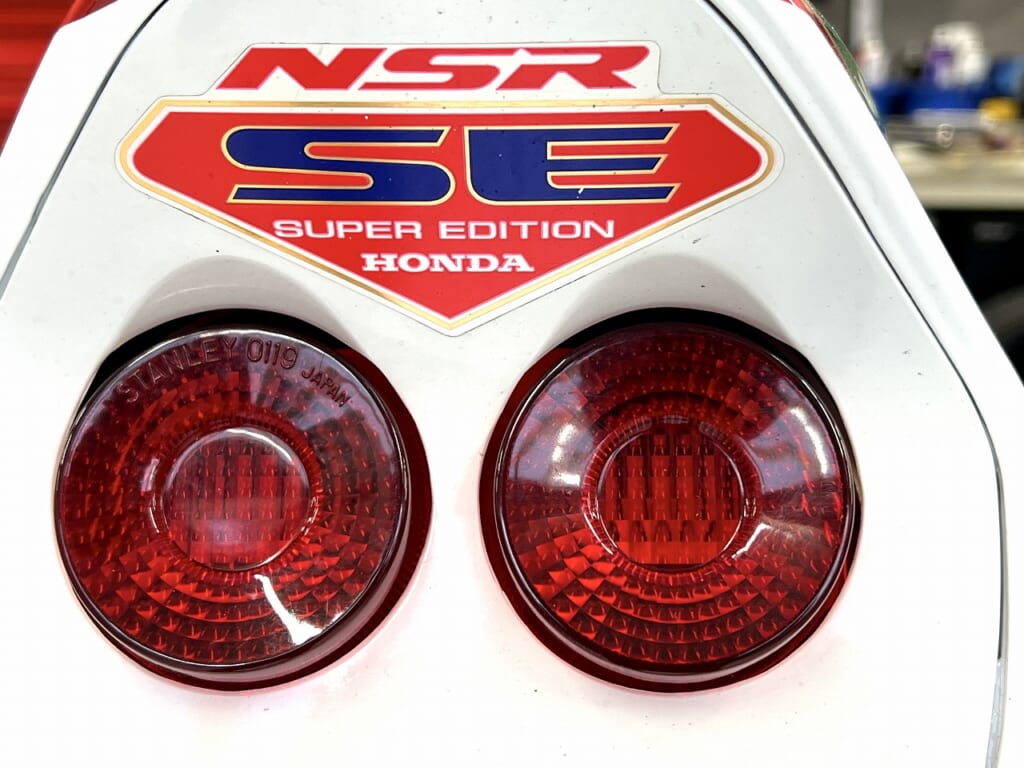
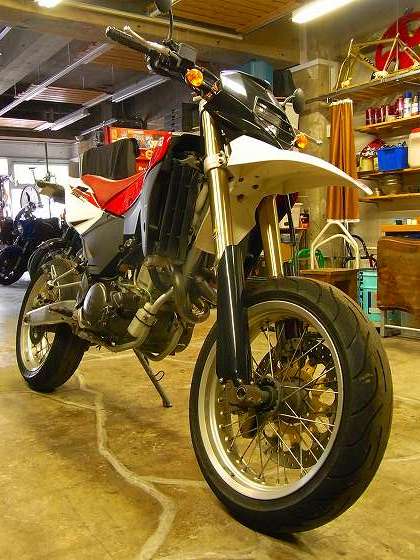
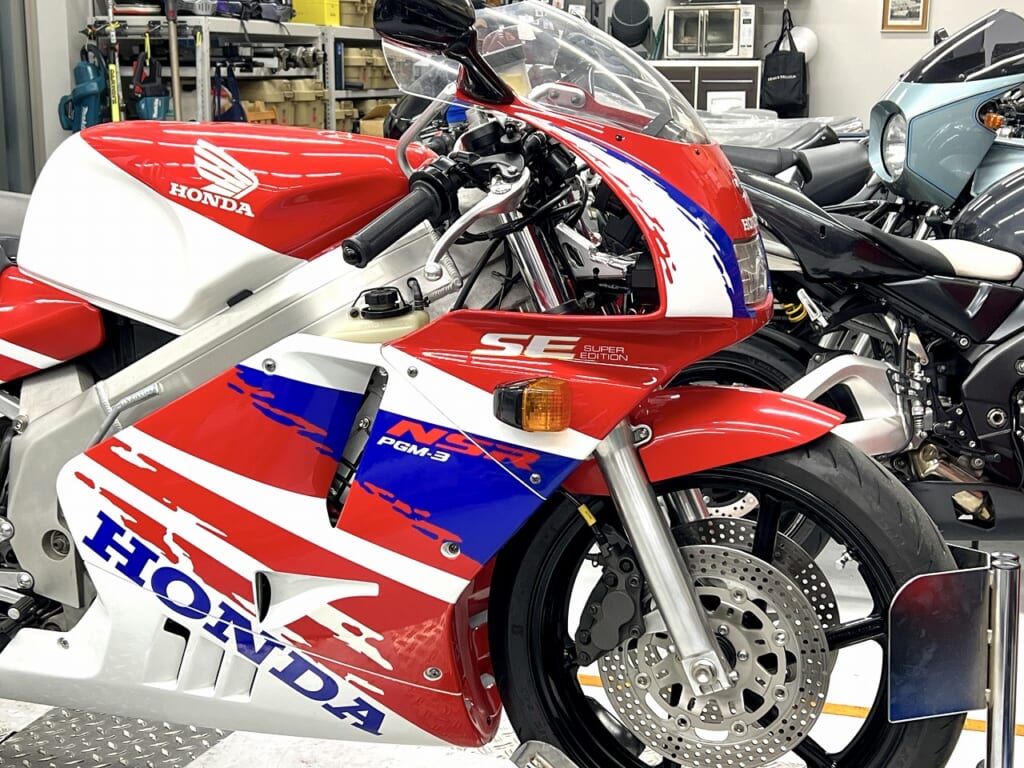
[NSR250R Maintenance] Even luxury bikes have loose parts inside? The cause of the discomfort—”suspension bearings”—completely replaced to restore new-bike rigidity
Anyway, the bikes brought in are so clean that… I’m careful with protection, protection, protection. Since old bikes can be problematic, I take my time to carefully diagnose and prevent trouble from occurring.
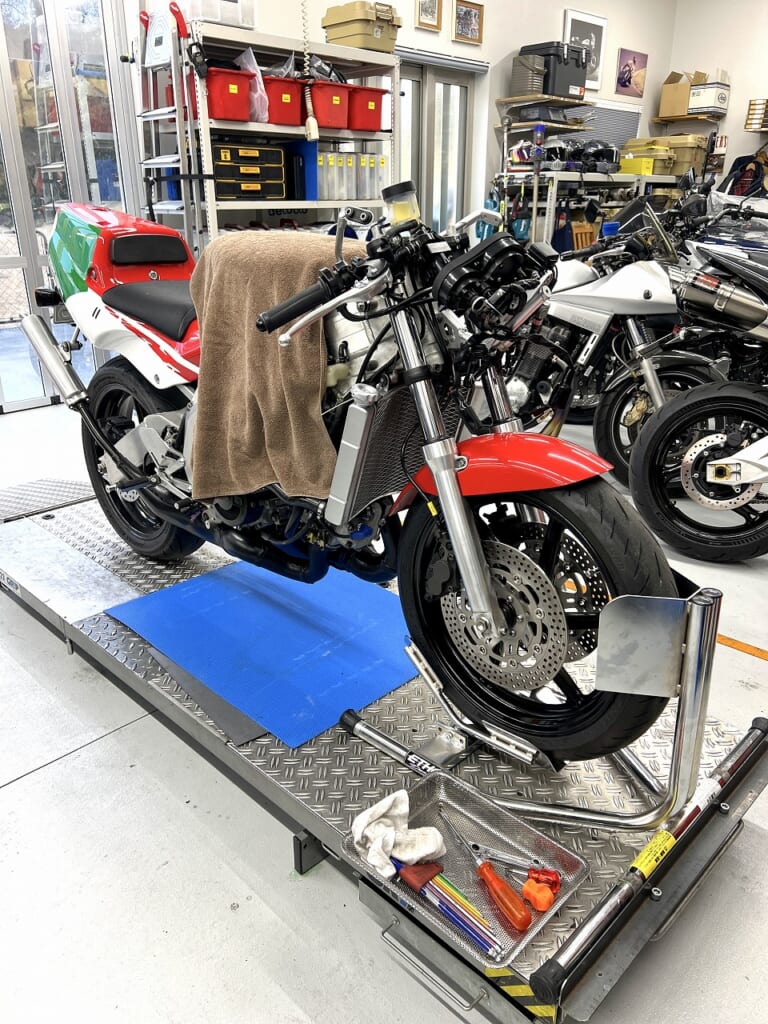
The NSR250R I’ve been working on bit by bit—replacing the rattling stem bearings.
Today’s maintenance log
Vehicle: HONDA NSR250R (MC21/MC28)
Symptoms:
No sense of grip even when riding in a straight line.
The rear feels **”rattling/squishy”** in corners—very unsettling.
A clicking noise when maneuvering.
Cause:
Rear suspension links, swingarm pivot, and wheel bearings— grease depletion and wear .
Work: Complete bearing replacement and re-greasing of affected areas.
Result: The NSR’s original “crisp” rigidity is back. The ride feel is completely transformed.
My other blog, “Decoboco.” “RURAL GARAGE ”
A secret room for non-bike topics. I share everyday convenience items, relocation, delicious food, life philosophy and more. ←click
The serviceability is better than expected? Very Honda-like.
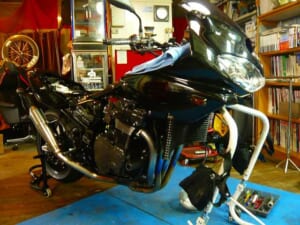
The fairings come off surprisingly easily, but it feels a bit tricky. The asymmetrical mounting and removal sequence take some getting used to.
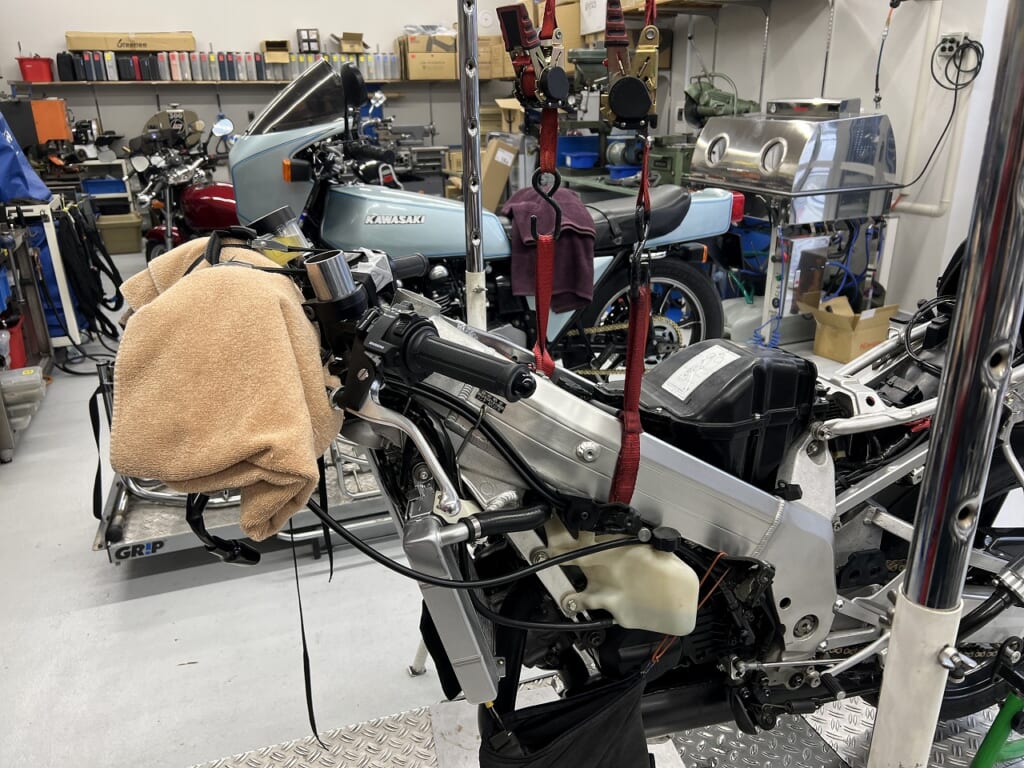
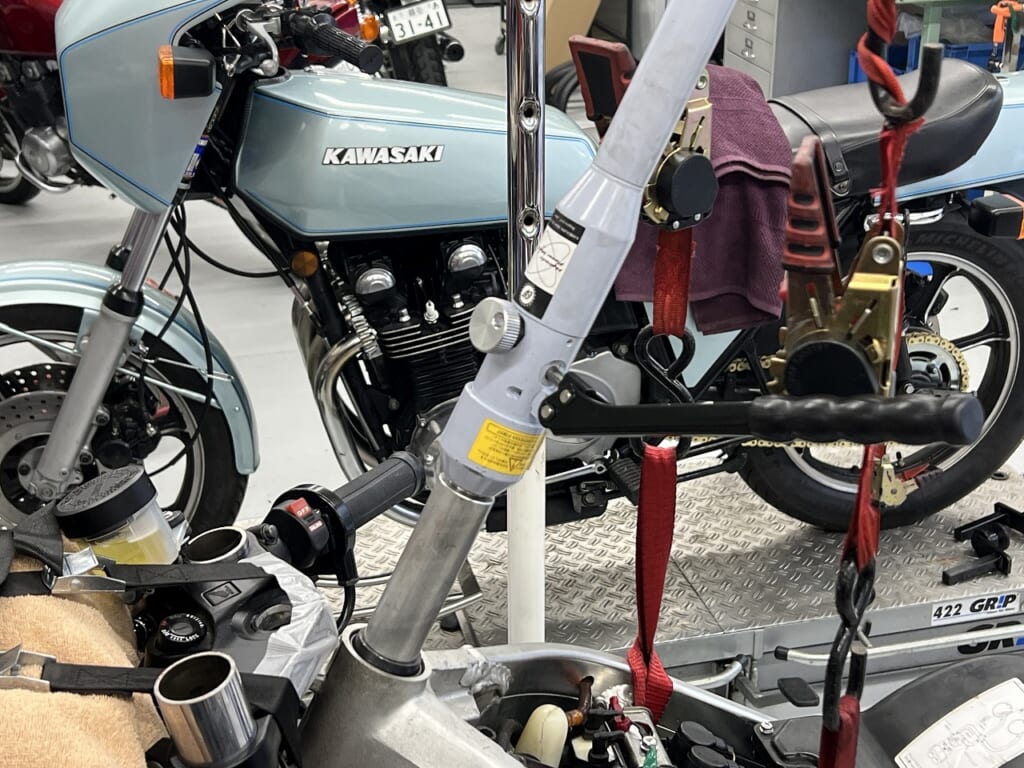
Since there’s no under-tube, I lift it up. I find a position that minimizes stress and prevents scratches, then lift carefully.
It’s not like anywhere works “Love conquers all?” I stare and think carefully. By the way. When lifting the frame with the lift, “apply belt tension before lowering the lift” —not by clicking and tightening while lifting.
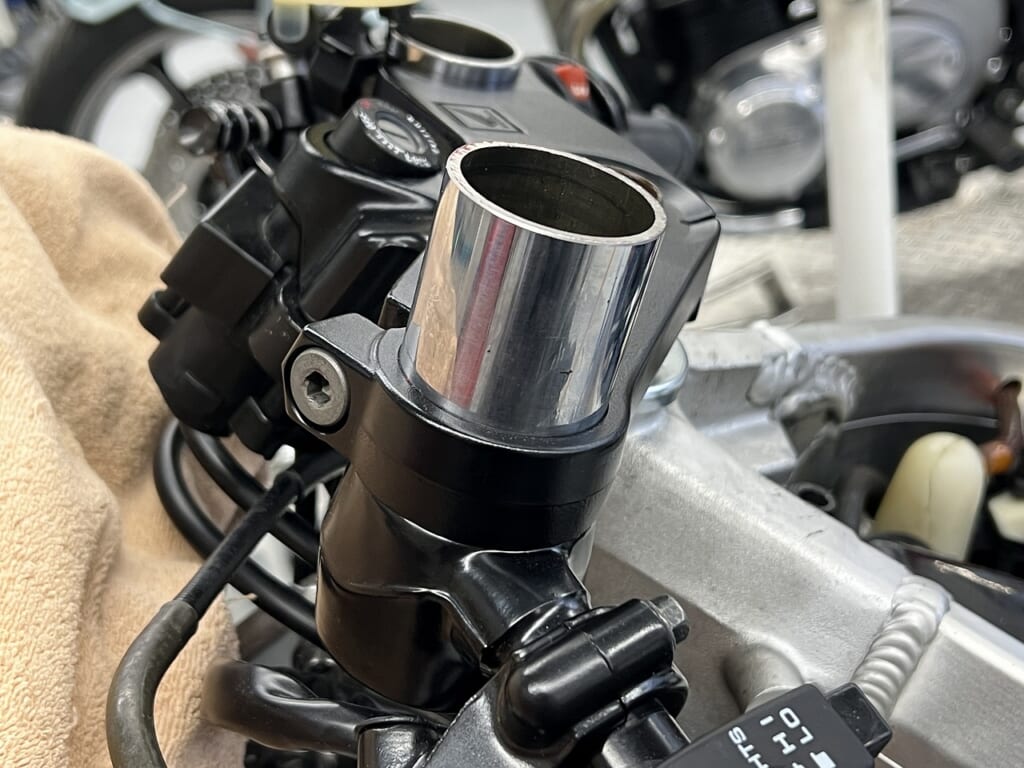
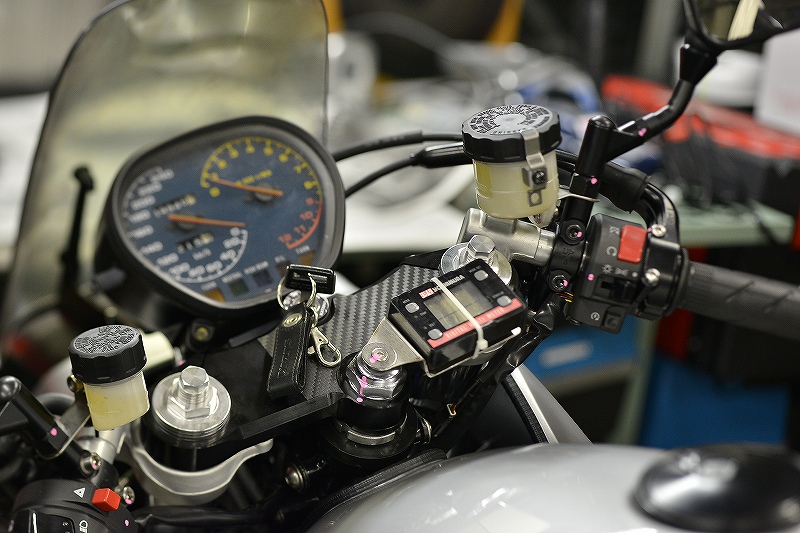
I keep the clip-on handlebars together with a 41mm inner tube so they don’t fall apart. The loose top bridge assembly is gently secured to the protected meter assembly.
When disassembling the front, I keep everything neat and secure to make work easier and prevent scratches. It’s surprisingly tedious (*´з`)
I’m the type who doesn’t replace if it’s not broken, but
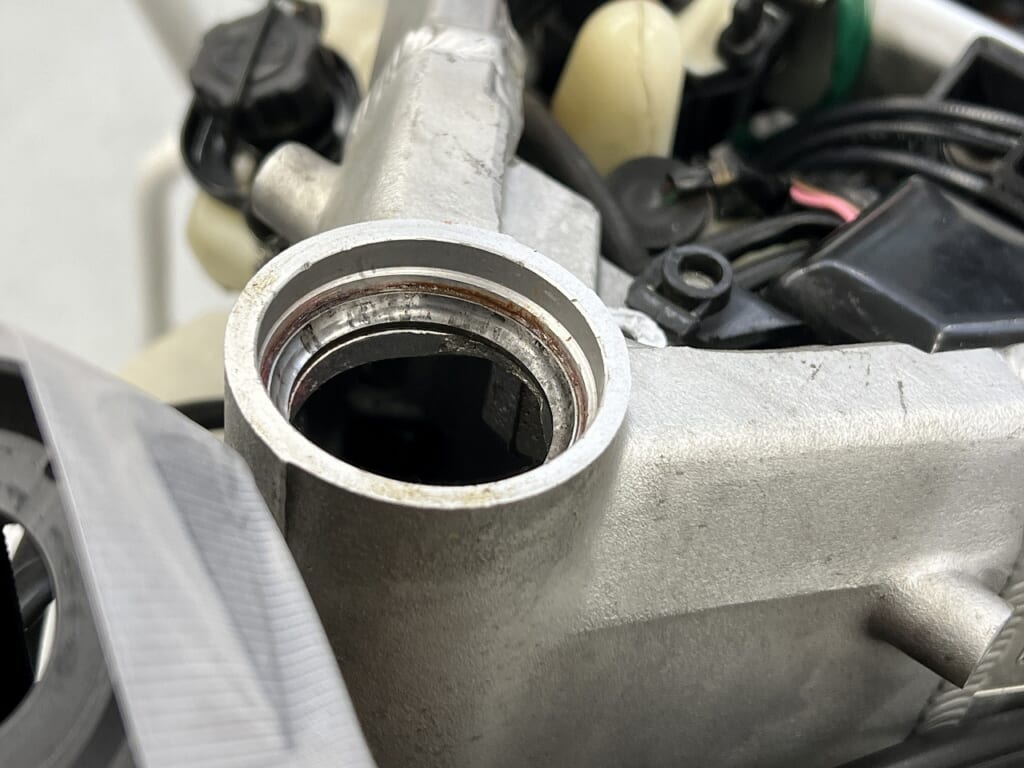
This one was more worn than expected. Unfortunately, replacement was necessary.
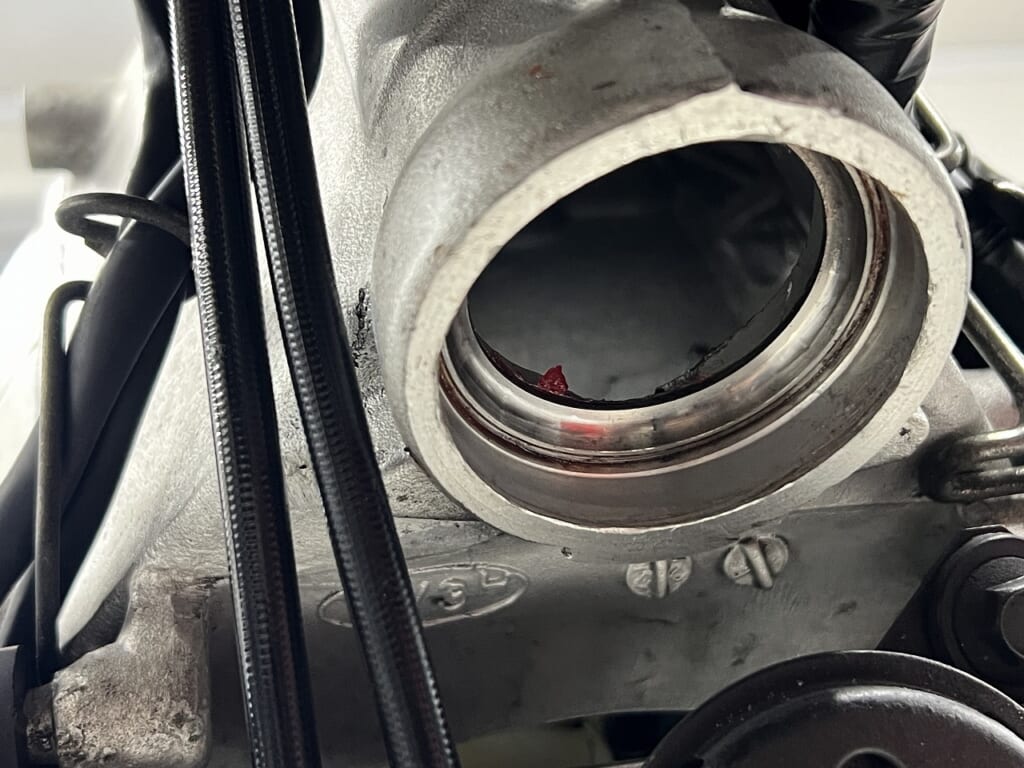
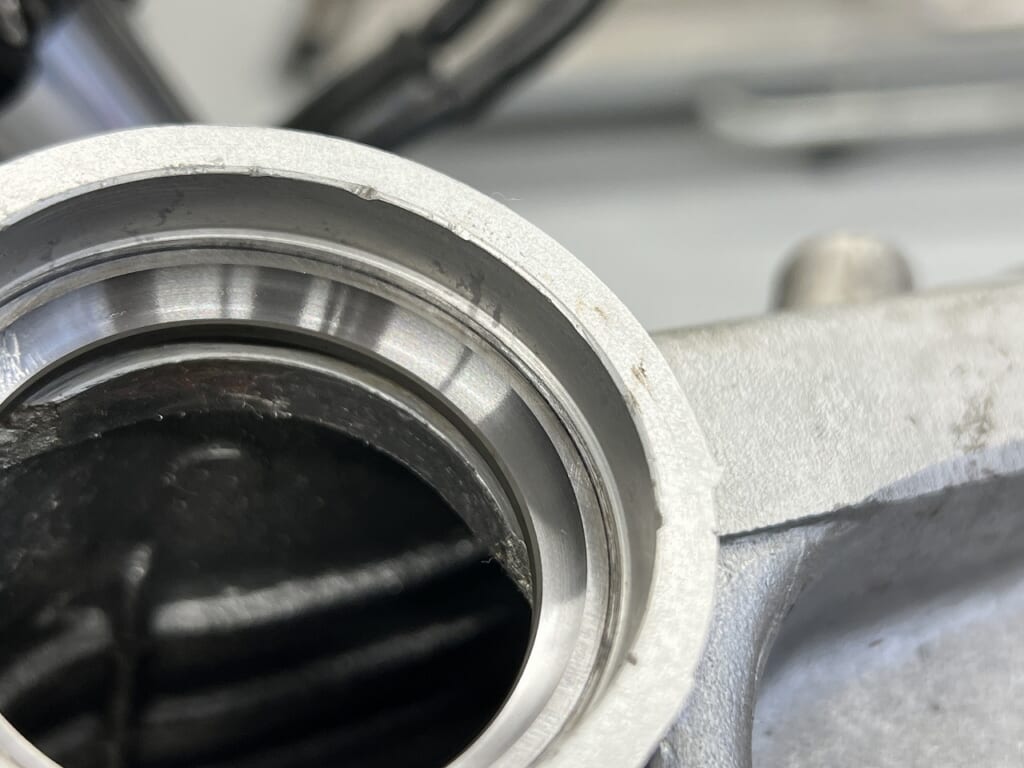
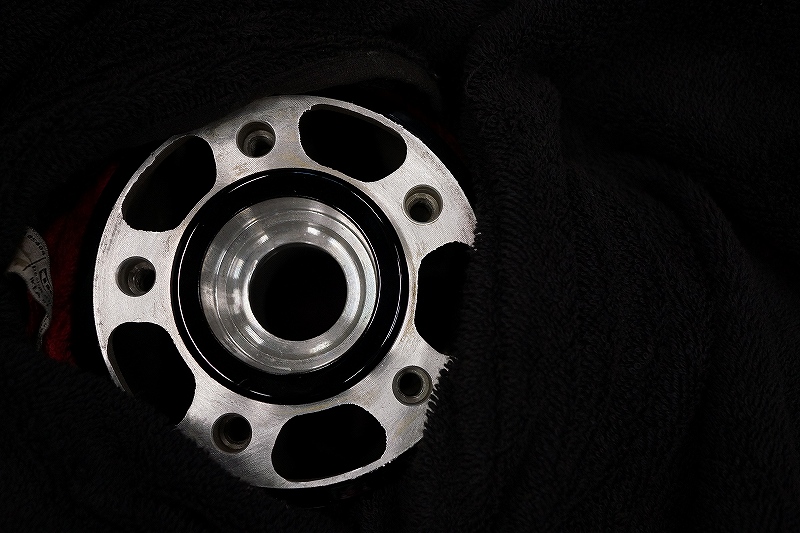
Honda’s aluminum frames from this era have shallow press-fit areas, which is nice. Recent models with 10mm+ depths require much more care. Removing and installing bearings smoothly without damaging the frame is harder than you’d think.
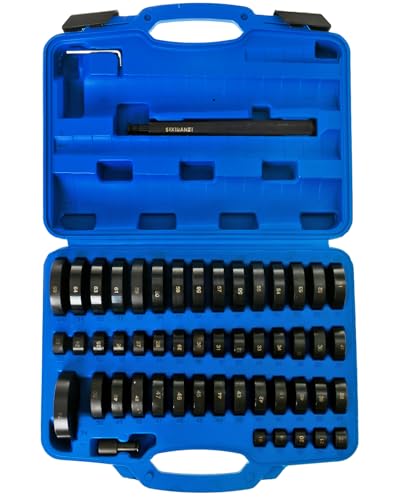
Hydraulic pressing is also an option.
I tap the upper side in by hand. I use the upper side as reference and press the lower side in.
Since the frame has an irregular shape, I have a jig for it, which made the process smooth.
This hydraulic method is a bit specialized, so for reference: I set the upper side lightly as reference, then gently tap the lower side to get just the head in. Since the upper reference is set, the hydraulic press pushes it straight in and completes.
Finally, I tap it by hand to finish the press-fit.
Check first, check second. Check third and fourth too (*´ω`*)
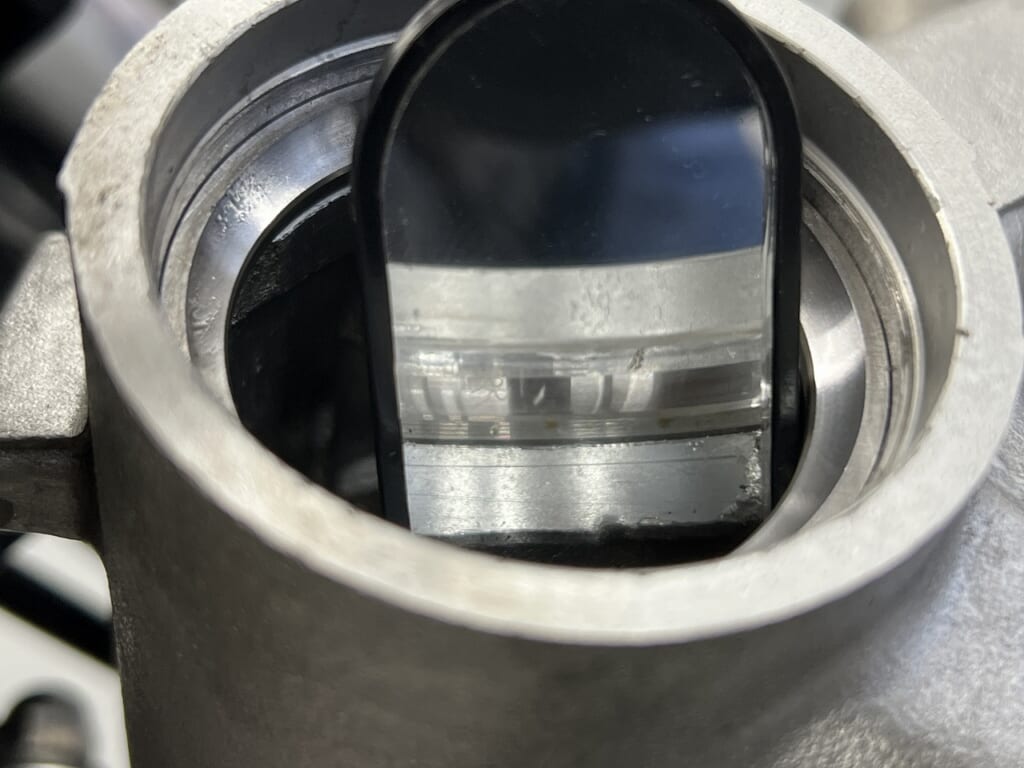
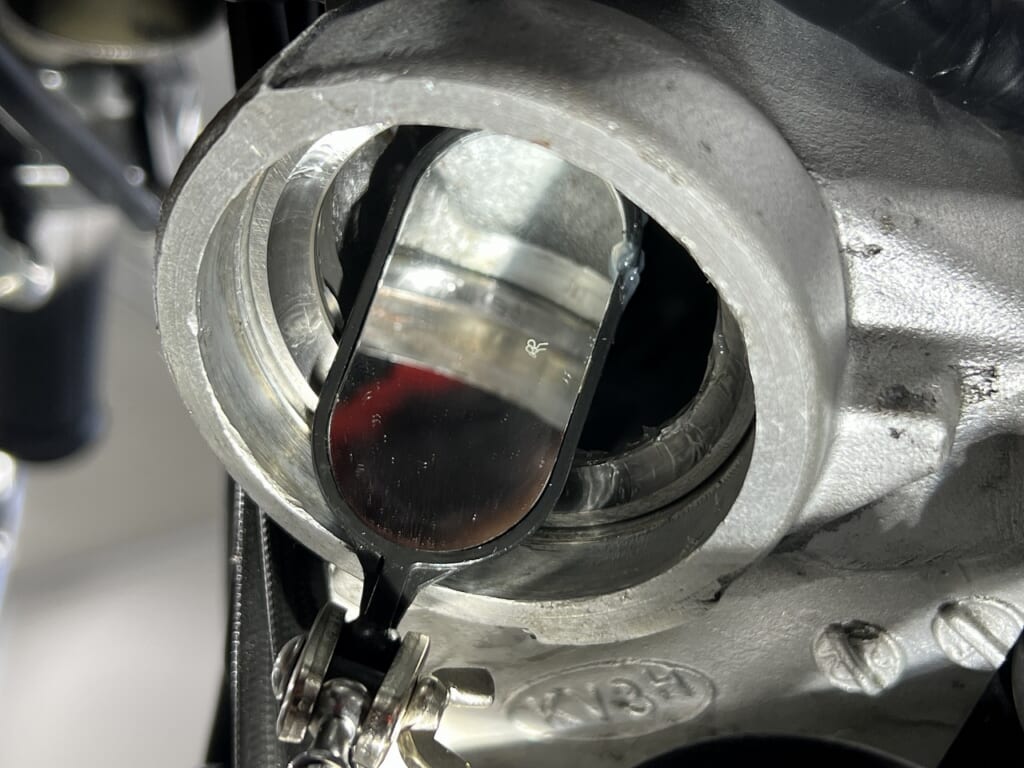
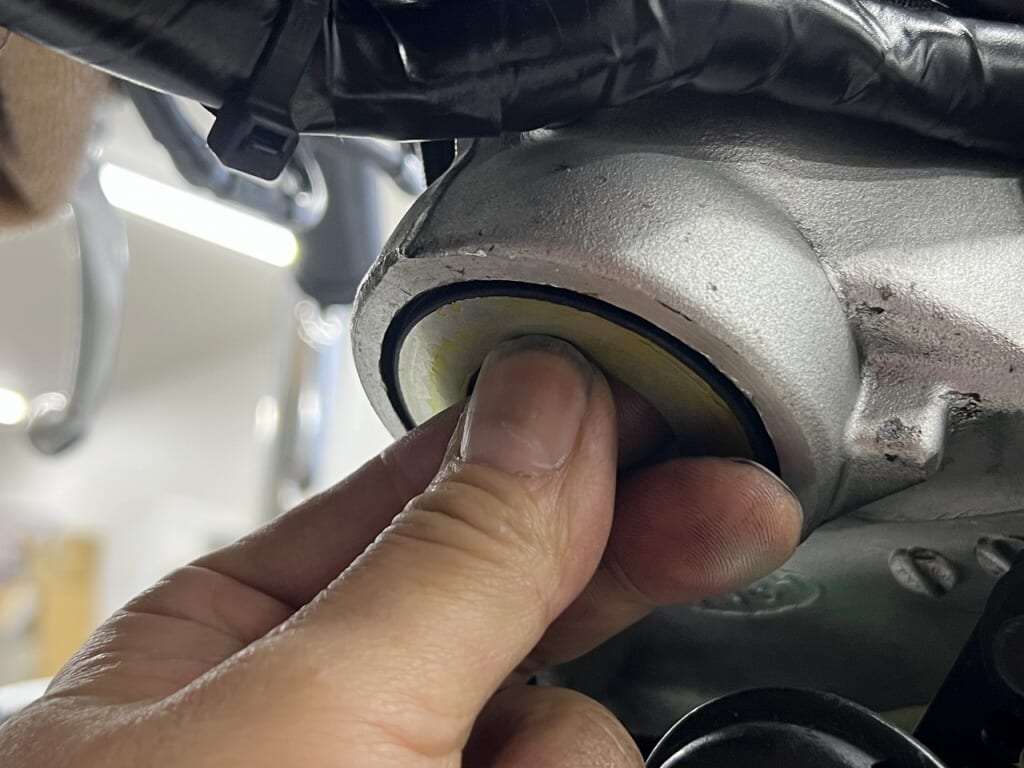
I use a mirror to check that it’s fully seated all the way around.
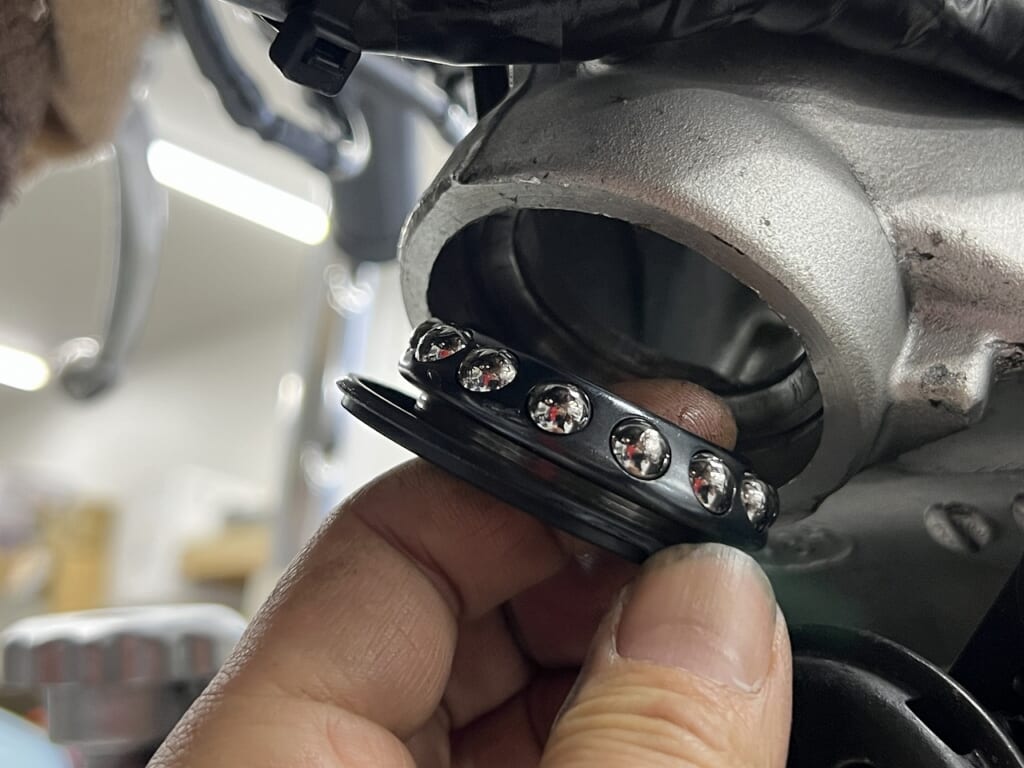
The lower side is checked before assembling the bearing onto the stem. You need to know how much seal resistance the bearing and seal have individually.
Honda and recent bikes use this type of seal, so there’s no problem. But older Kawasakis especially need checking. Some models honestly have seals that are way too tight.
What happens if you don’t check? With even moderate steering adjustment, the seal contact mark appears and play develops quickly. I’ve learned this the hard way, so check first, check second.
Even if it takes a bit longer, getting it right the first time is crucial.
Applying grease generously is fine since we won’t disassemble it again.
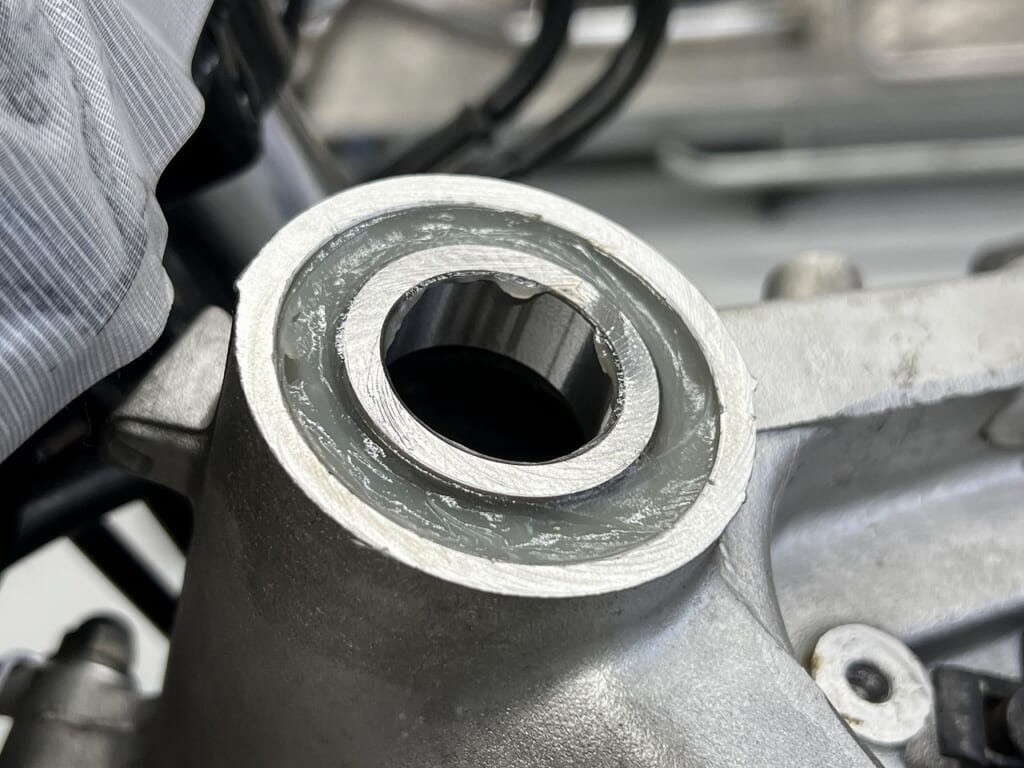
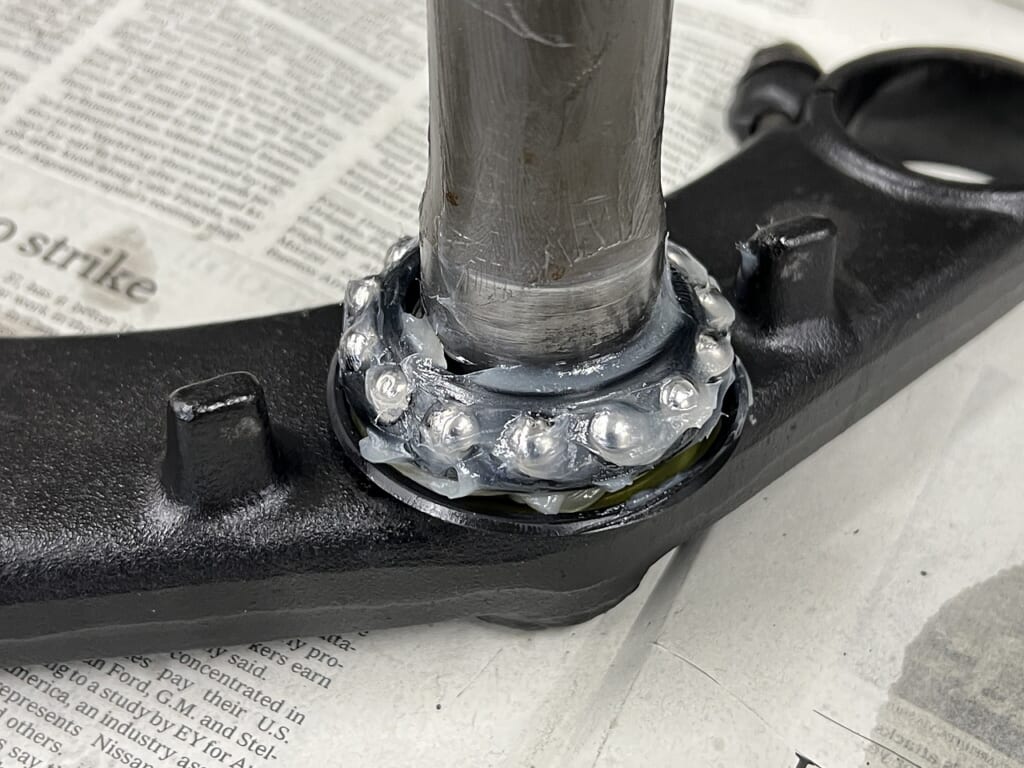
I use grease that doesn’t thin out easily from heat and is soft. On the lower side, I apply plenty of grease with a grease gun to the race.
On the shaft, I apply a thin, even coat of grease for corrosion protection.
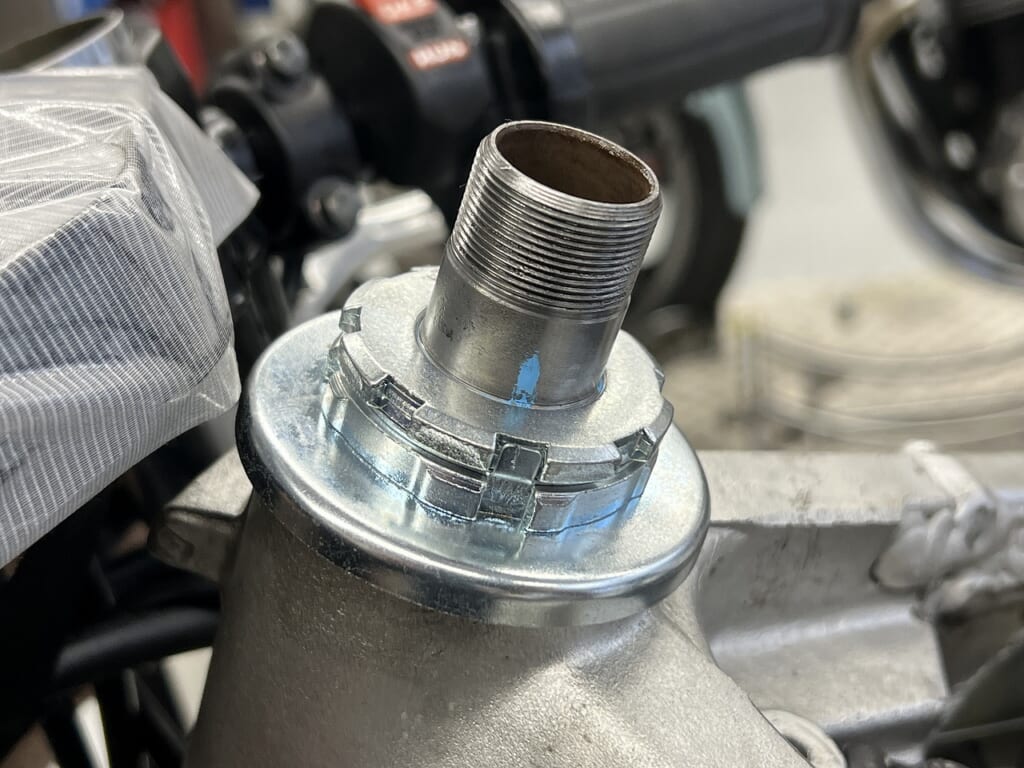
Double nuts are really convenient. Older Suzukis are usually single, so assembly takes some technique.
With double nuts, the clamping force from the top bridge and the pulling force on the shaft are reduced. You can focus purely on stem bearing adjustment without overthinking.
Double nuts are standard nowadays… really grateful. That said, the NSR is from the ’90s… classic Honda.
And that’s the completion. Unfortunately, the snow means I can’t test ride it for a while.
Restoring a Legend: Honda NSR250R Chassis Maintenance.
Issue: The NSR250R has become a luxury vintage bike, but many suffer from neglected maintenance. This unit had severe “rattling” (play) in the rear suspension linkage and wheel bearings. Work: Replaced all worn-out bearings and seals in the swingarm linkage and wheels. Result: The sloppy handling is gone. The bike now feels rigid and sharp, handling corners exactly as a 2-stroke replica should. Don’t let your “treasure” rot from the inside!
[NSR250R Maintenance] Even luxury bikes have loose parts inside? The cause of the discomfort—”suspension bearings”—completely replaced to restore new-bike rigidity




 ポチップ
ポチップ