Last night (11/17) we had a long, steady, heavy rain. Checking around this morning, it looks like there were more landslides and collapses in Chiba Prefecture.
Really, every time heavy rain falls, many people must be reliving their trauma. When you think the damage from the recent downpour still hasn’t fully healed, it truly breaks your heart ( ;∀;)
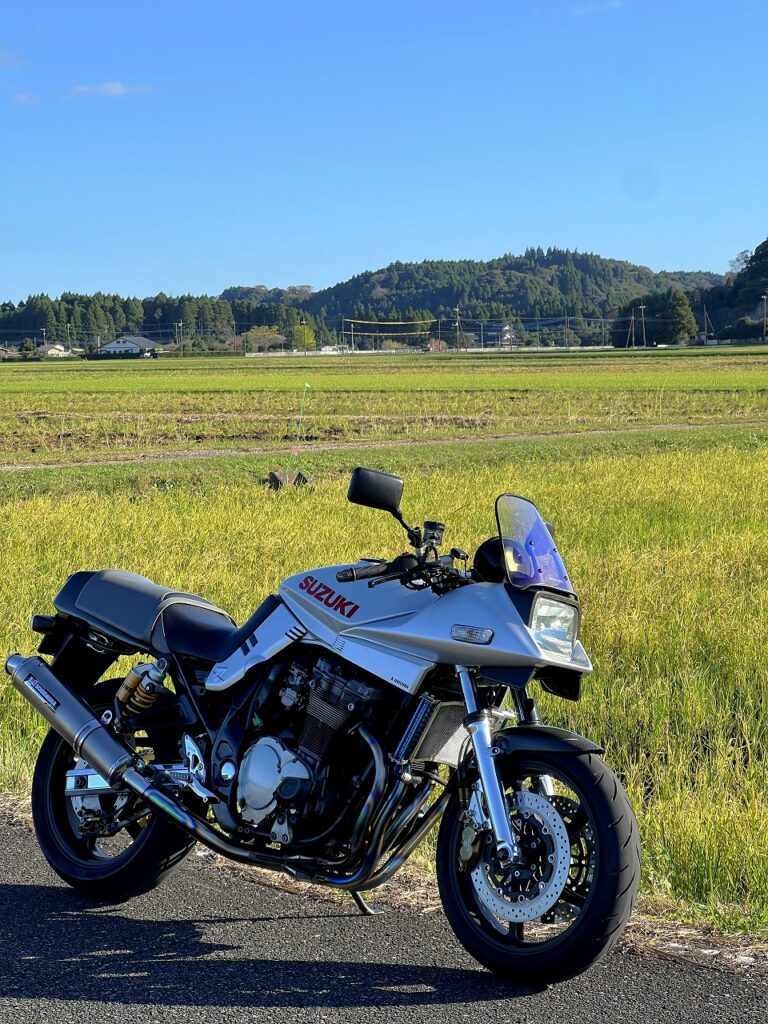
The rain that lingered until this morning turned into beautiful clear skies by afternoon! On days like this, the best part of rural living is brewing fresh coffee outside or eating lunch under the blue sky.
Now, the pit has been somewhat… or rather quite? …continuously busy, so to keep things moving smoothly I’ll work through the “quick jobs” first ( `ー´)ノ
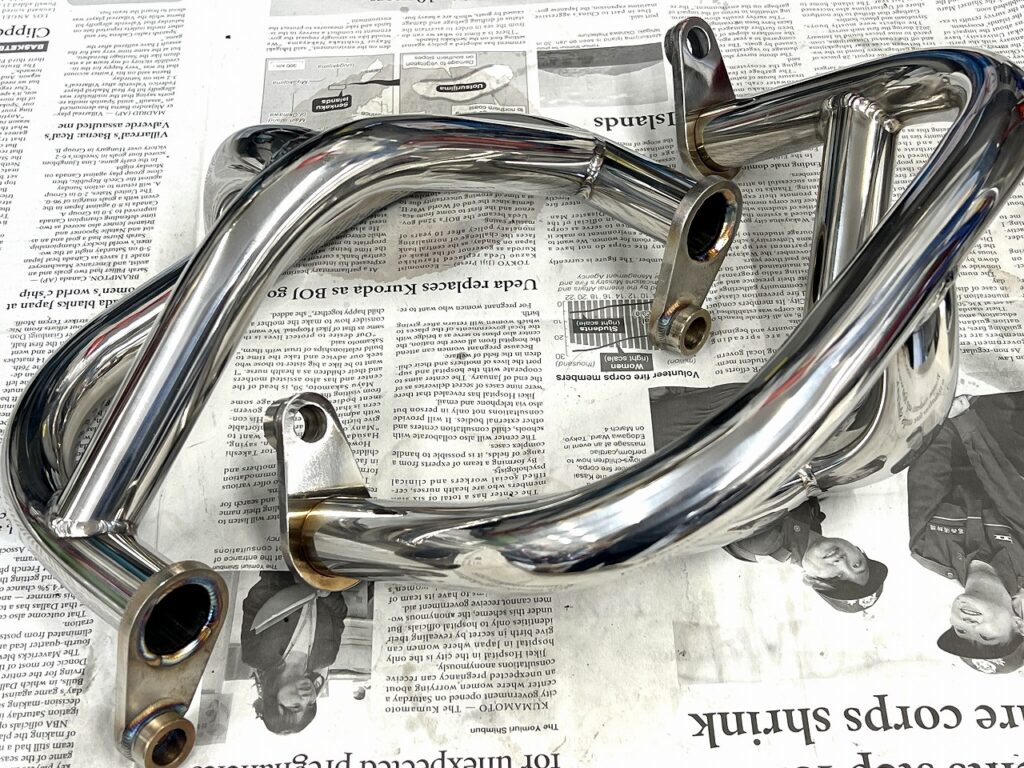
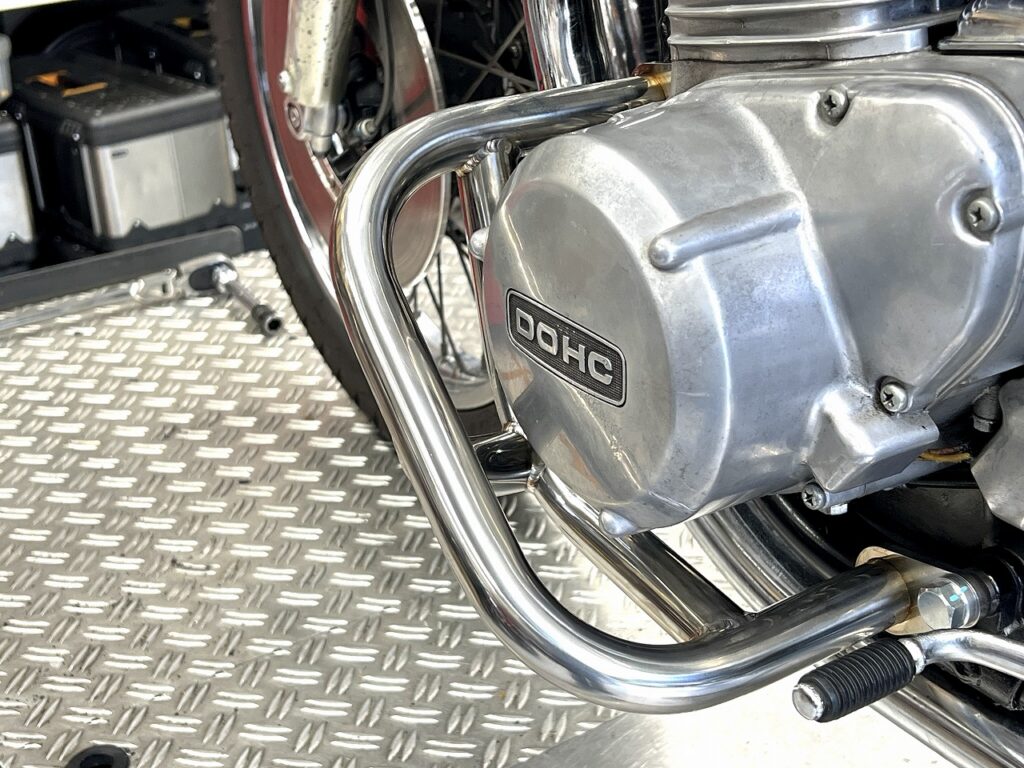
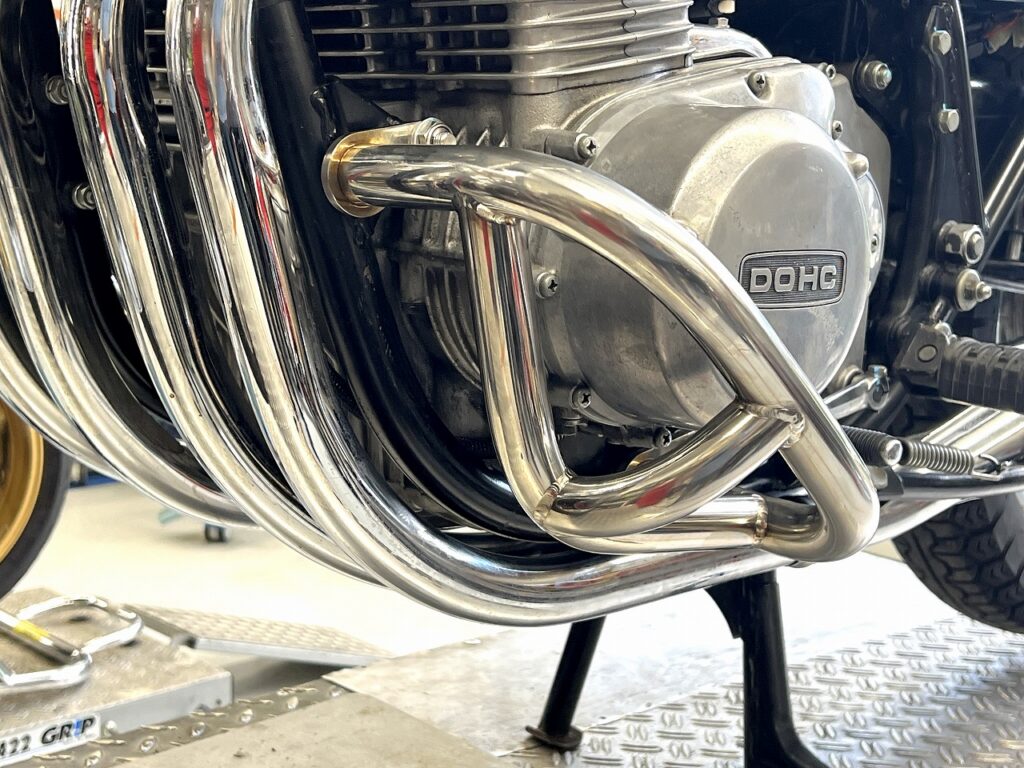
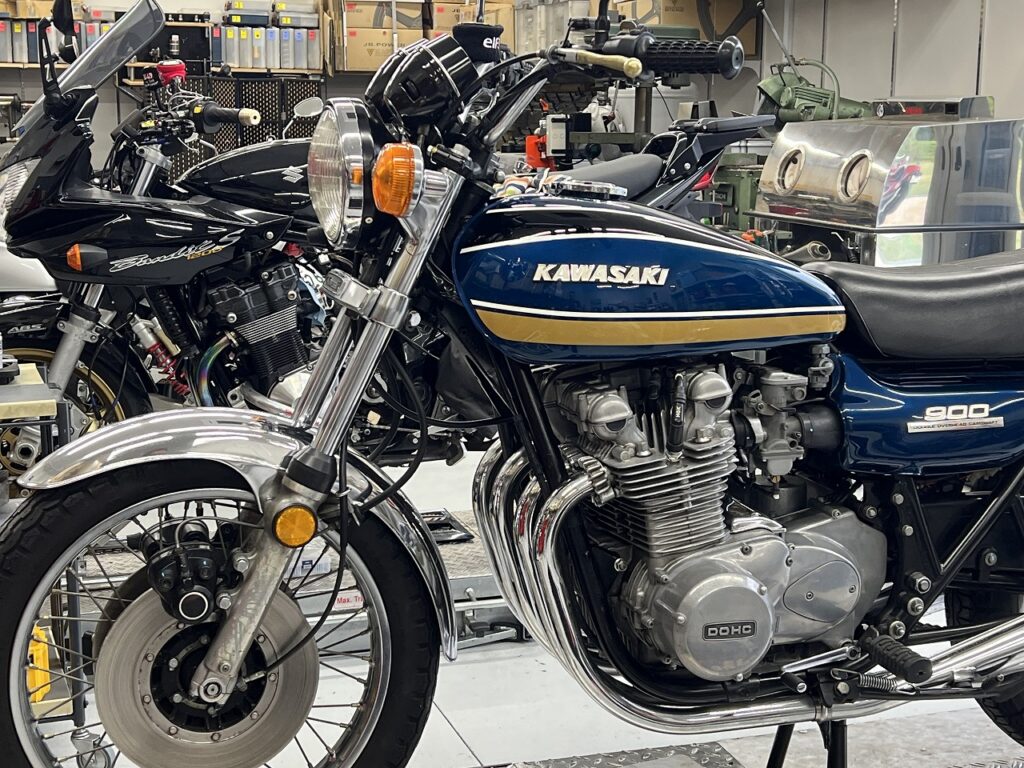
Why is an engine guard essential for a nearly stock Z1?:
Defending irreplaceable original cases and fins: The original crankcase, point cover, and delicate air-cooled fins that have survived over 50 years are cultural heritage—crack them in a single tip-over and they’re gone forever.
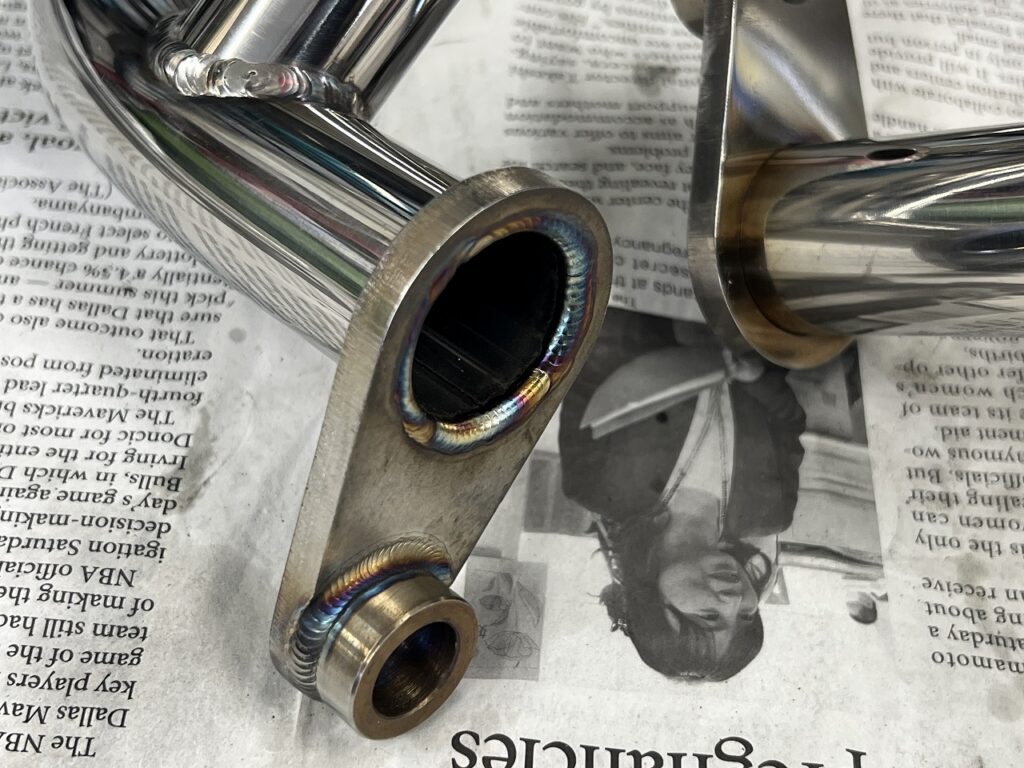
OVER Racing’s design beauty without spoiling the stock elegant lines: Unlike the clumsy bumpers on training bikes, OVER’s beautiful bends and machined brackets blend naturally into the Z1’s teardrop styling.
The key to Decoboco’s engine guard installation “foundation tuning”:
Load-free engine support with an engine jack: Prevents engine sag and hole misalignment the moment engine mount bolts are removed, eliminating any risk of forcing the frame tabs.
Precision cleaning of long bolts and collars, plus seizing prevention: Prevents galvanic corrosion between steel frame and aluminum case, thoroughly cleans threads and seating surfaces, then applies anti-seize and grease.
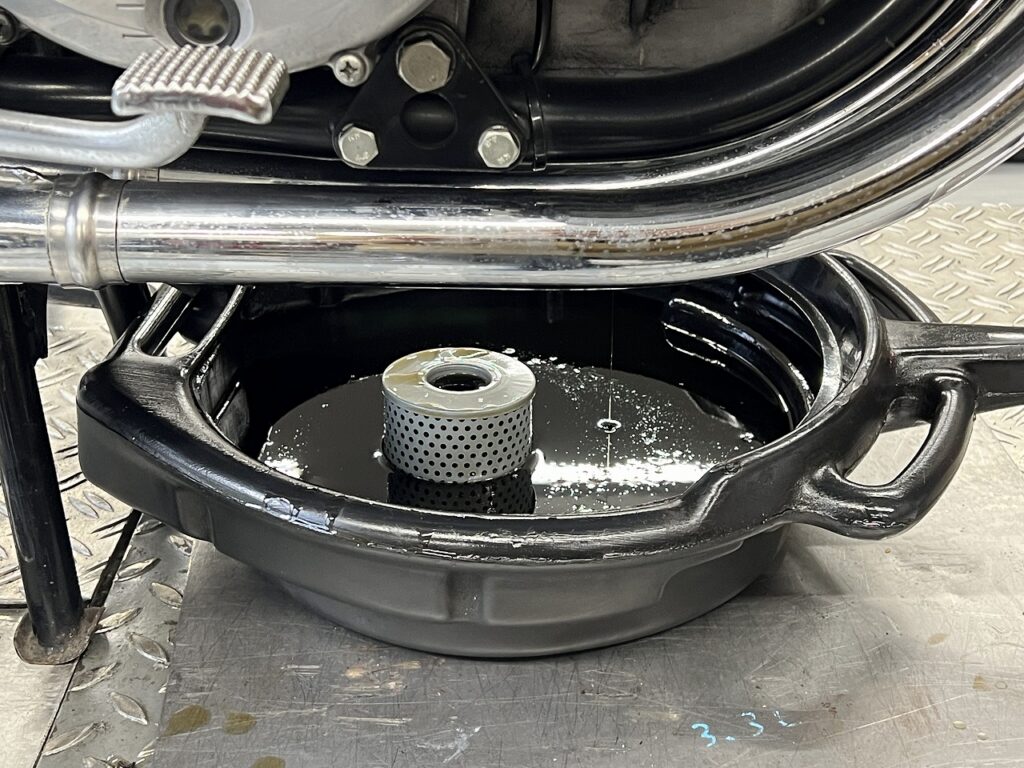
Spec-torque even tightening and maintenance access check: Eliminates residual torsional stress on the frame from tightening, ensures tool access for oil filter changes and clearance from the exhaust pipe down to the millimeter.
The owner’s word: “An ounce of prevention is worth a pound of cure, but carelessly torquing bolts leaves distortion in the frame. This is a precision defense tuning born of love—to pass this miraculous stock Z1 to the next generation without a scratch.”
This is a familiar part on Suzuki’s oil-cooled models too. At first glance, doesn’t it feel like “maybe the mounting pitch and dimensions are pretty close…?” The mechanic’s intuition is tingling (laugh).
…That said, that useless knowledge isn’t helping with this job right now, so I held back and didn’t even pull out the calipers ( `ー´)ノ
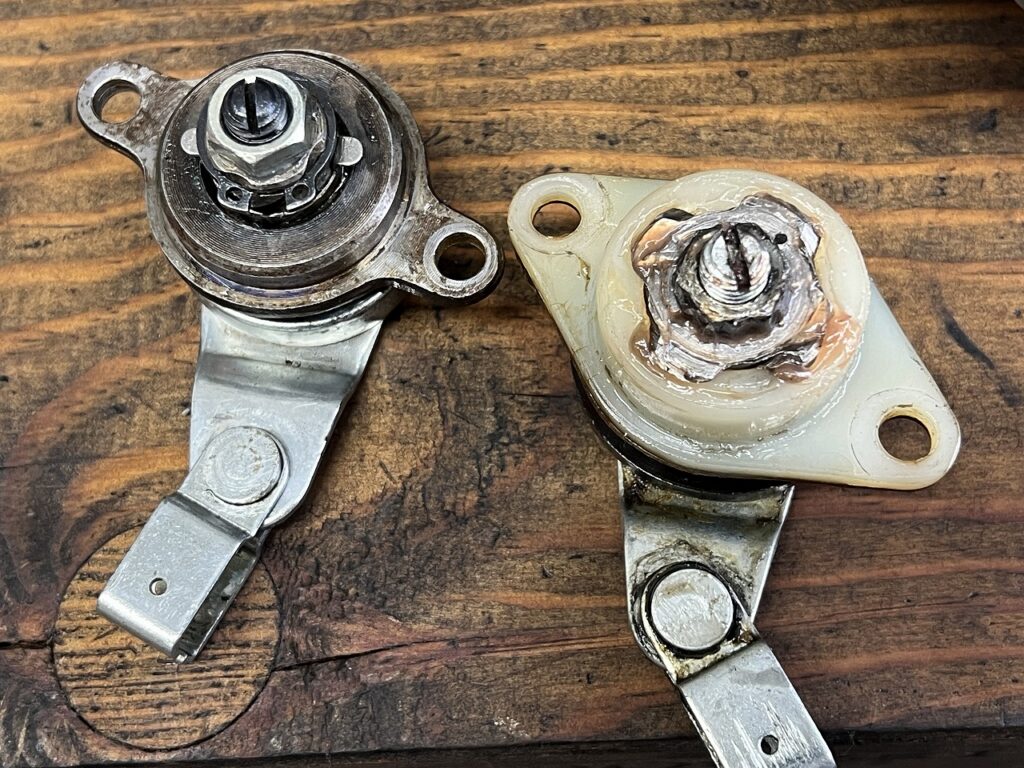
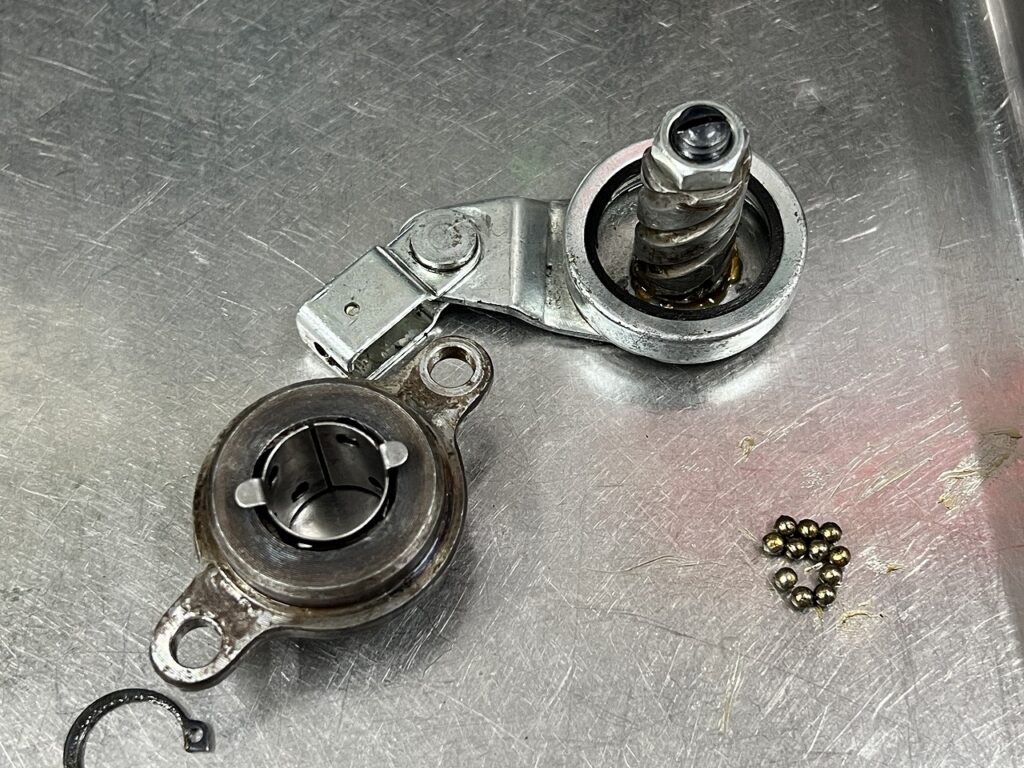
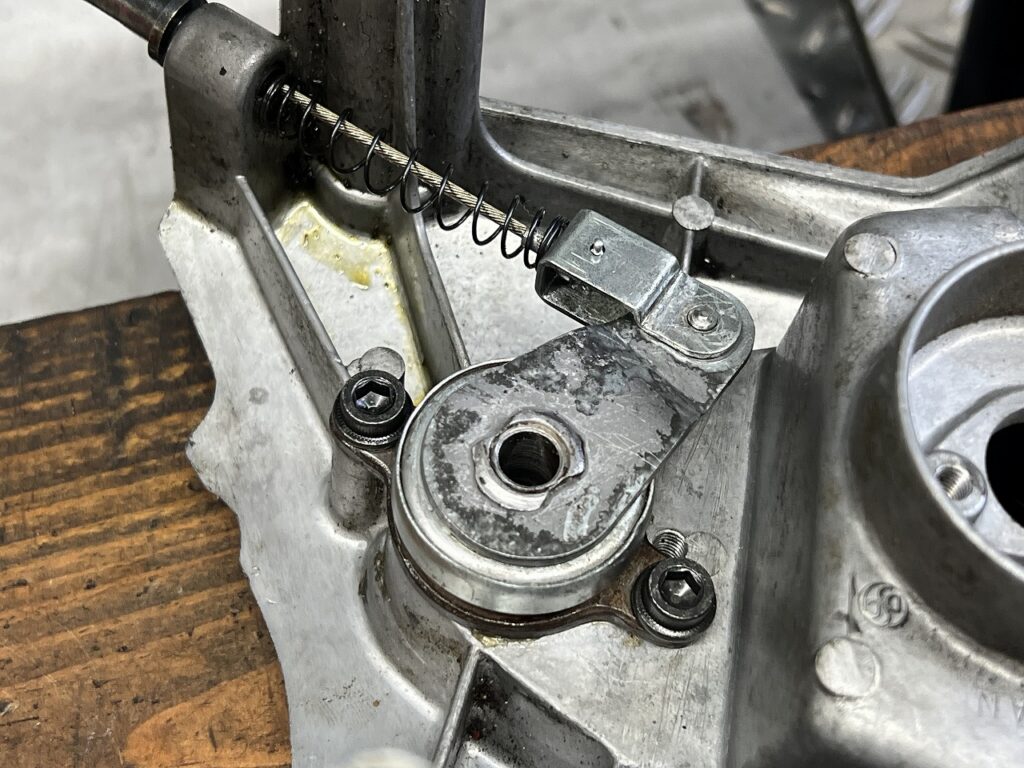
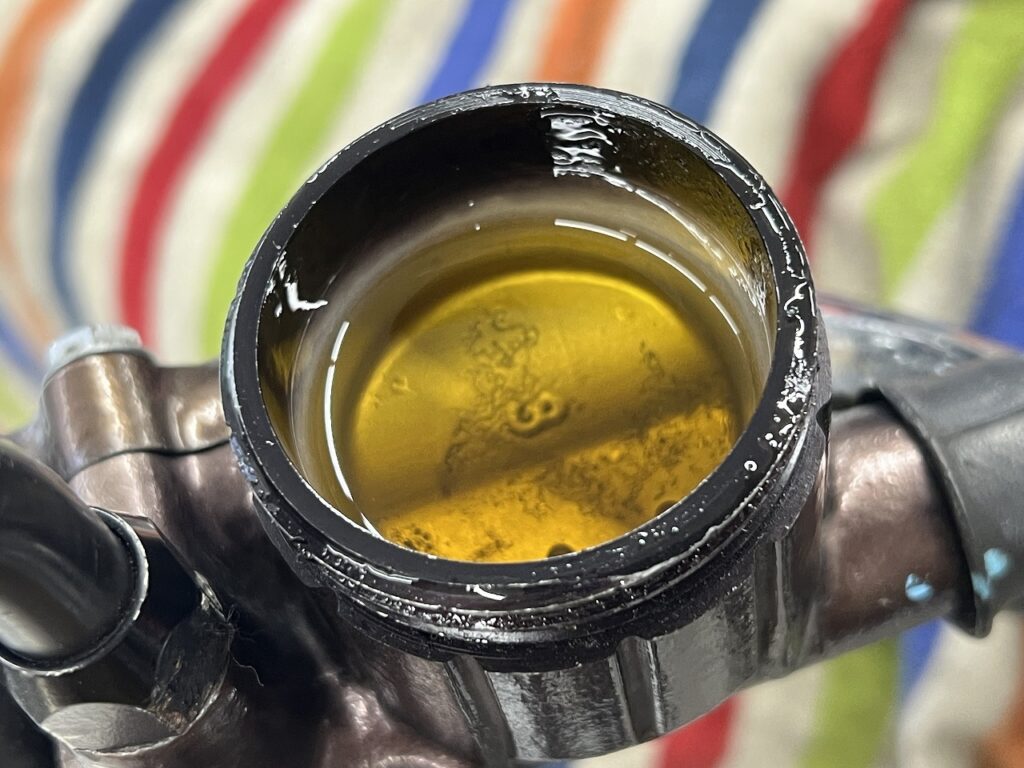
Disassemble and clean the clutch release, swap in fresh grease, and reassemble!
Clutch weight basically comes down to ① the clutch spring rate ② wire friction (sliding resistance) combined with “the necessary stroke to fully disengage the clutch plates (lever ratio)”.
Even without expensive custom parts, if the stock setup is properly maintained it’s already plenty light (laugh).
If you’re bothered by heavy clutch, start with “greasing the release mechanism” and “reviewing the clutch cable routing (layout)”. That’s the best bang for your buck and the quickest path ( `ー´)ノ
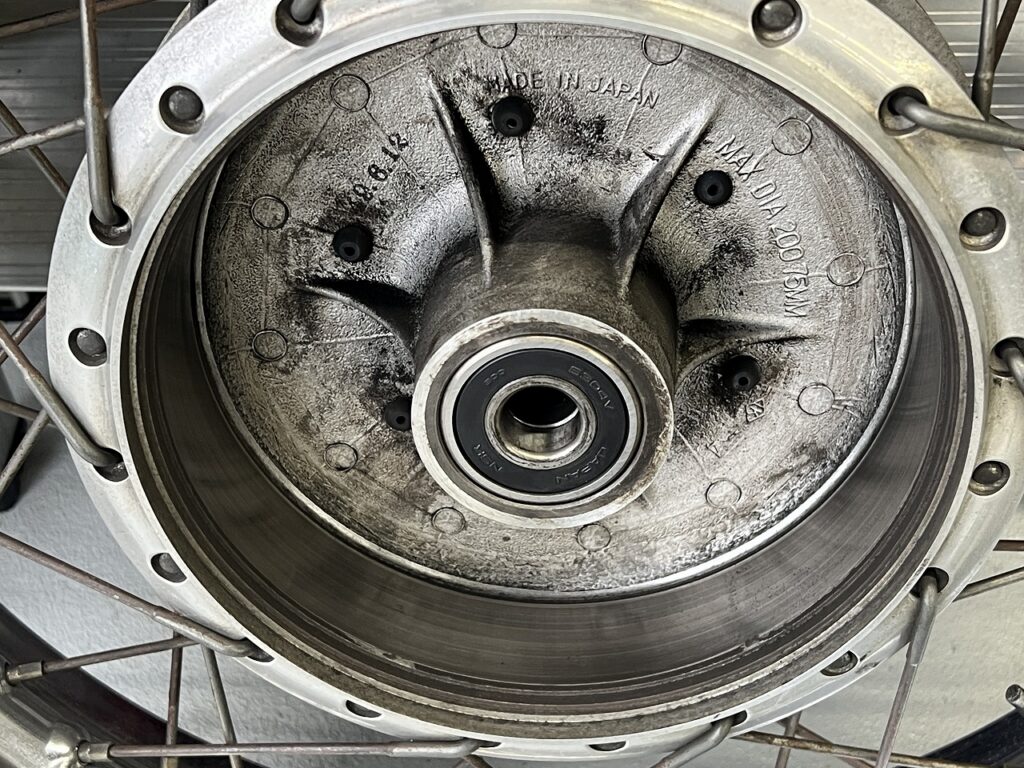
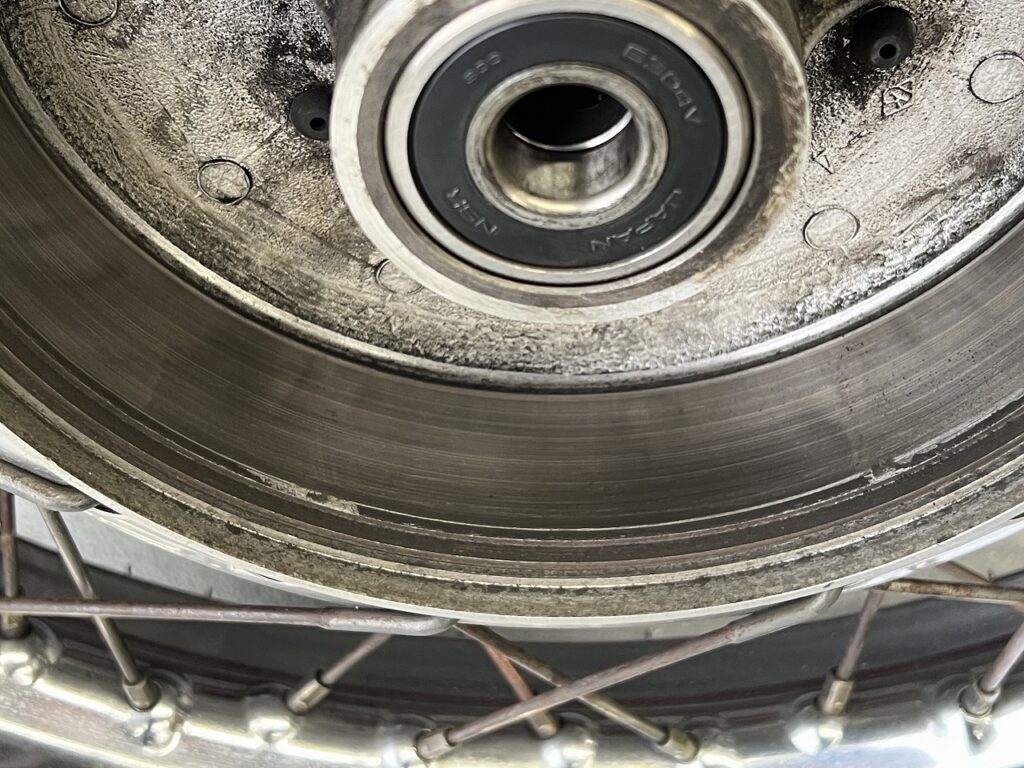
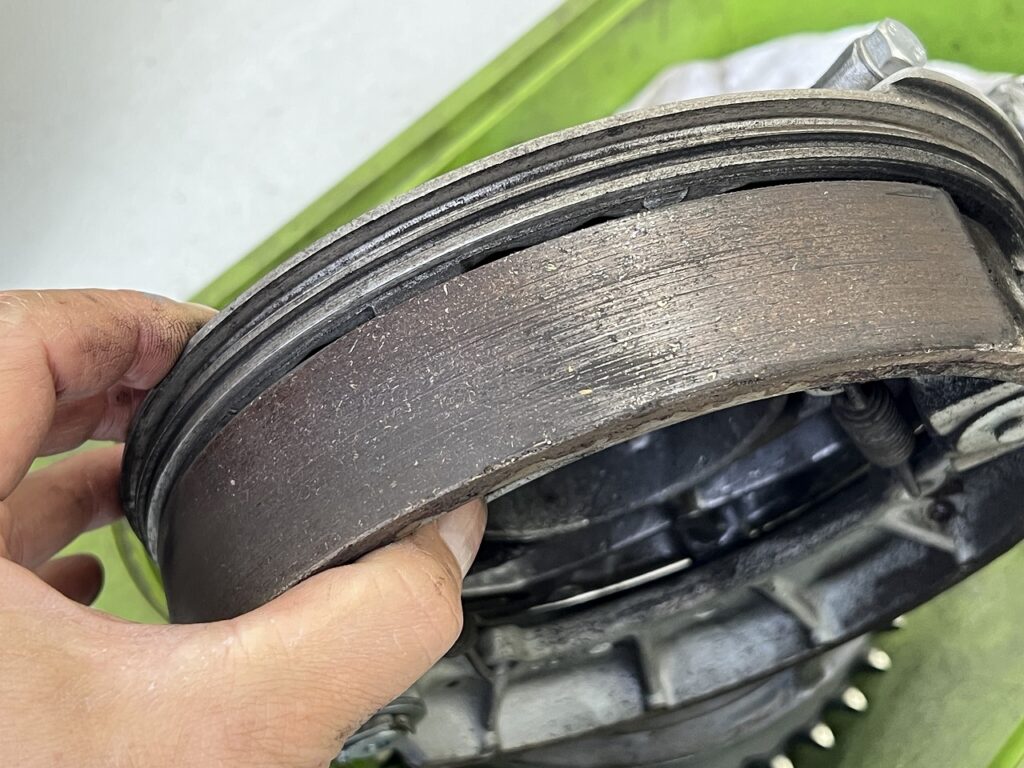
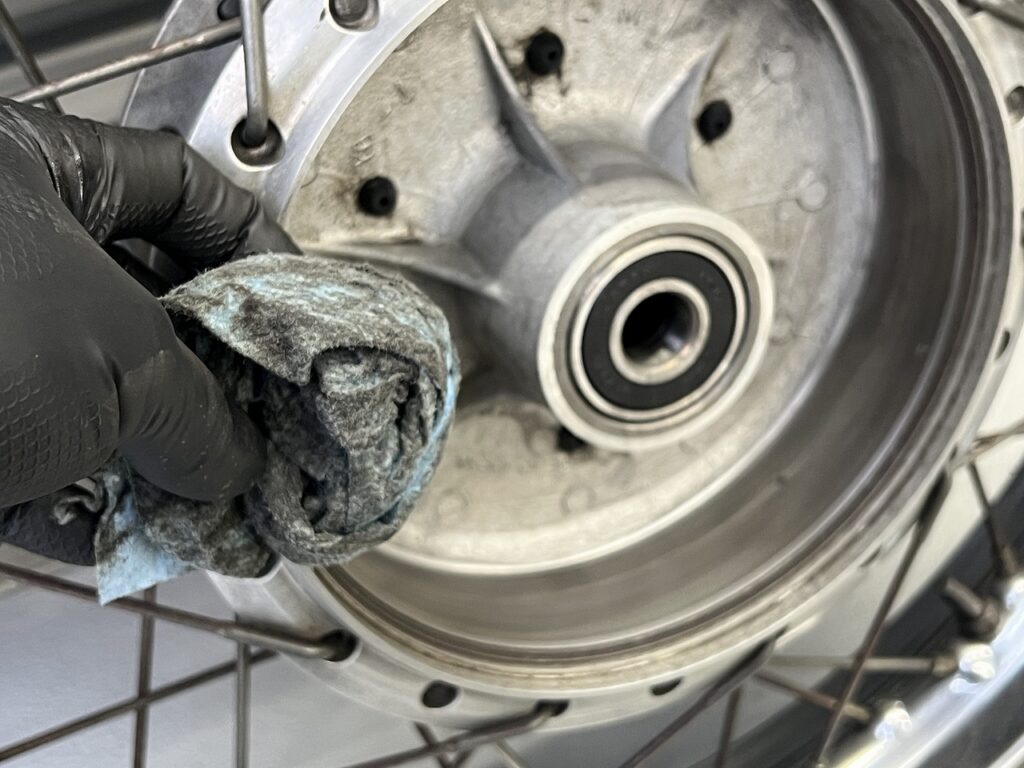
Drum brake squeal and maintenance
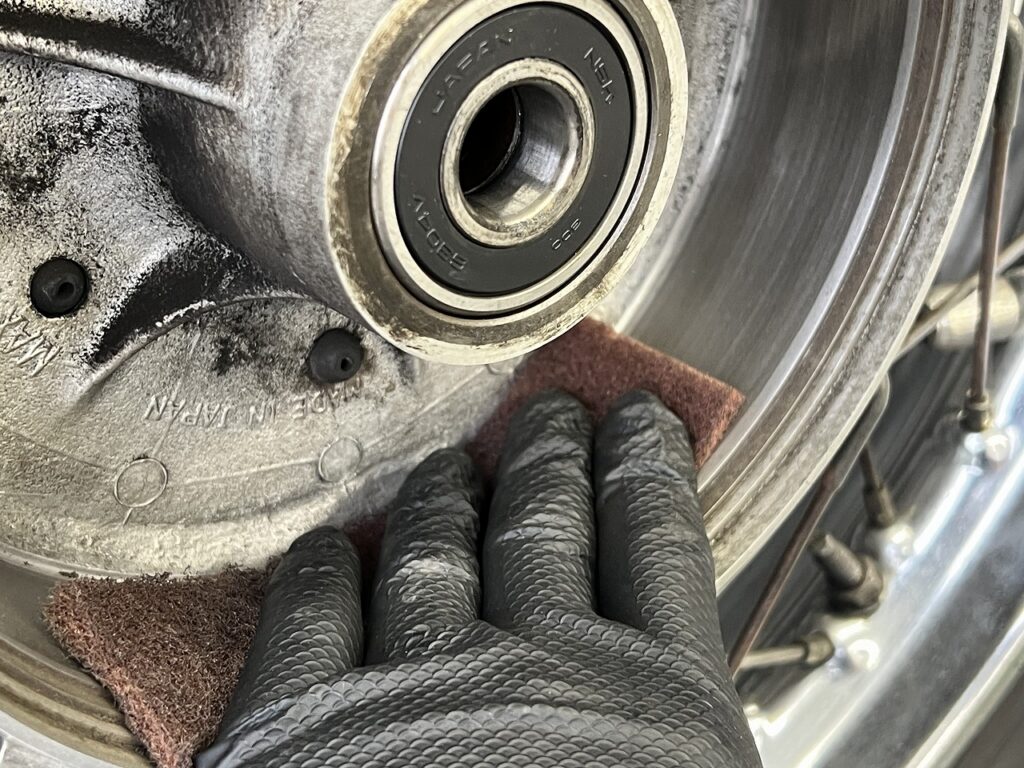
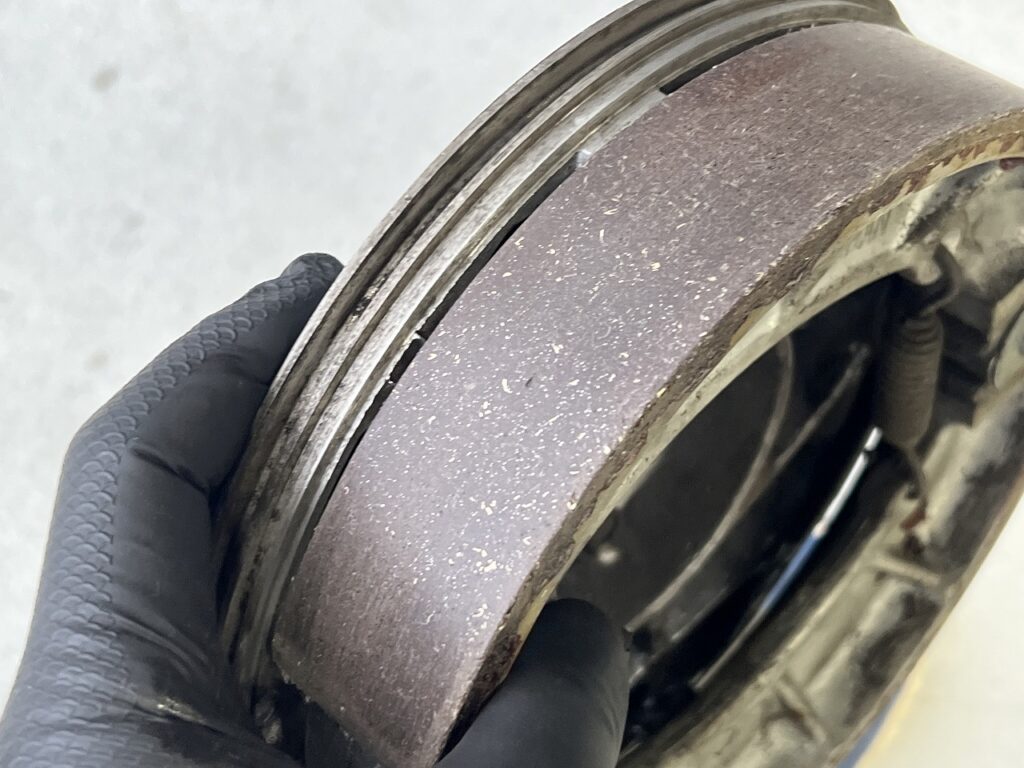
Usually brake squeal is a chatter noise. If the shoe grabs with a smooth shush sound like wet sandpaper, it shouldn’t squeal. Just peeling a thin layer off the shoe and drum surface makes a subtle difference.
Both have a shine to them. It can’t be helped, but breaking them in gives a smooth, pleasant feel.
Scotch-Brite is the only way. It’s a small thing but it makes a real difference.
Then vacuum up the dust, degrease the drum, and done. Braking should feel natural and the squeal should be gone. *Depending on how you do it, it might come back…
Brakes actually refresh quite a bit just from a full hard stop now and then. *Be careful though
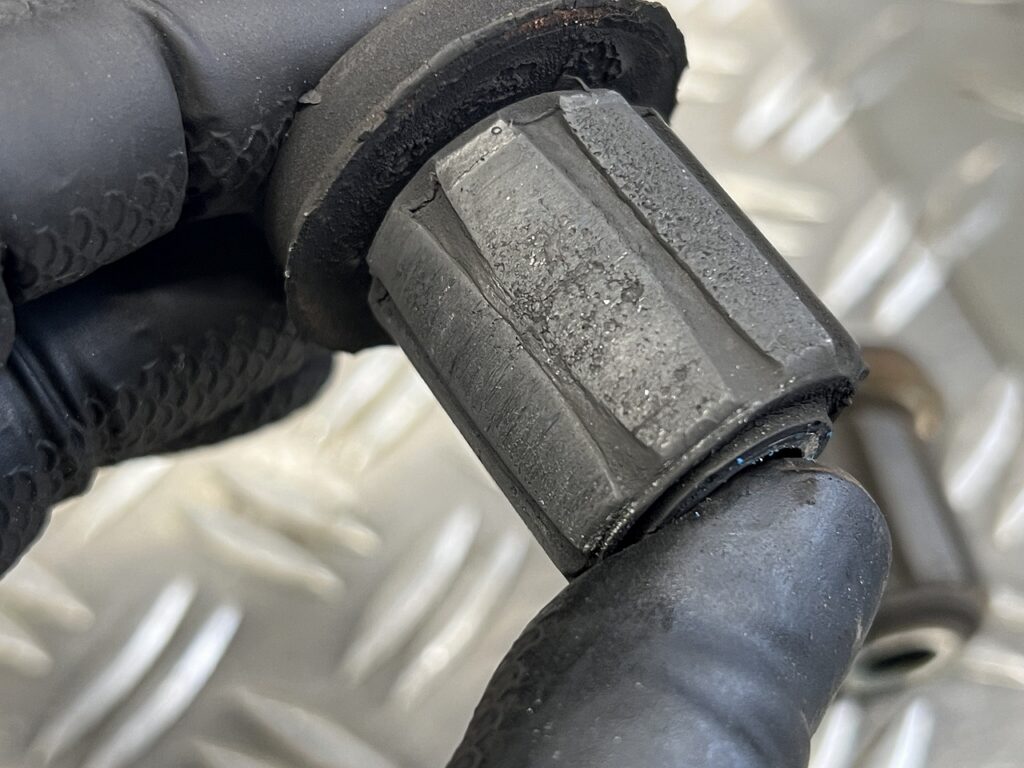
Experienced folks will spot the bolt length difference right away, but if you swap the right and left bolts, the crankcase cracks instantly. Suzuki GS1000s often have cracks here from this mistake—surprisingly common, actually…scary stuff ( ;∀;)
Especially when “aftermarket parts come with their own bolts,” thoughtlessly torquing them down can be dangerous. Plus, for some reason these fat M12 bolts come with “spring washers” in the spec, which throws off seating and effective thread length calculations, so you have to be extra careful.
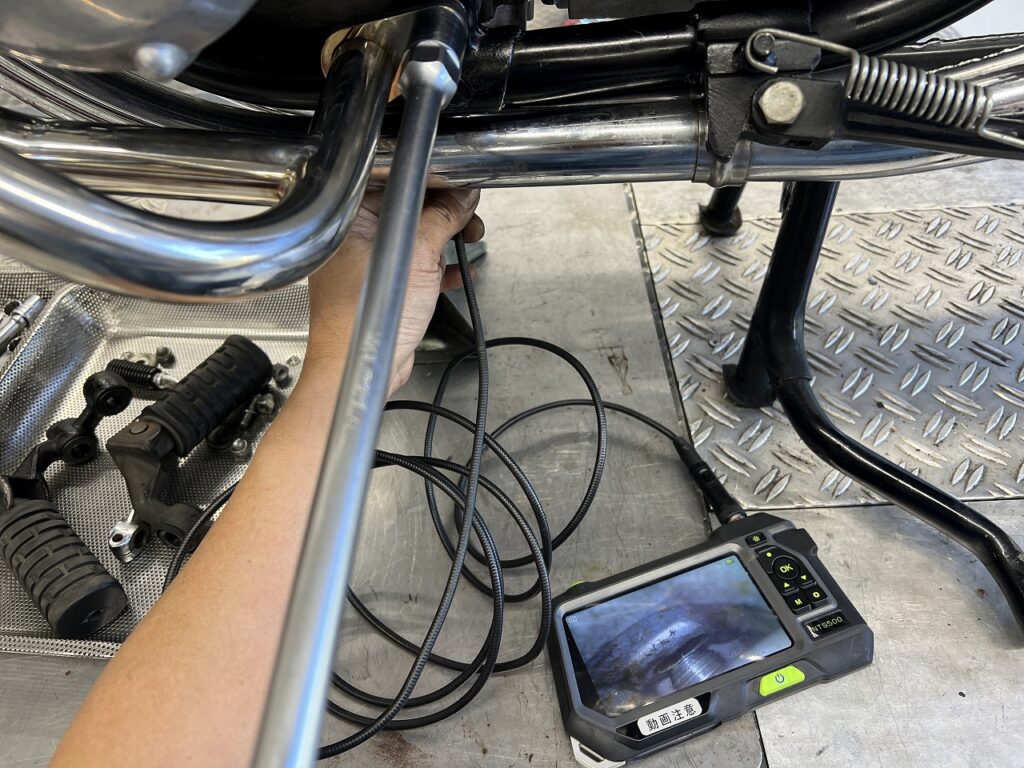
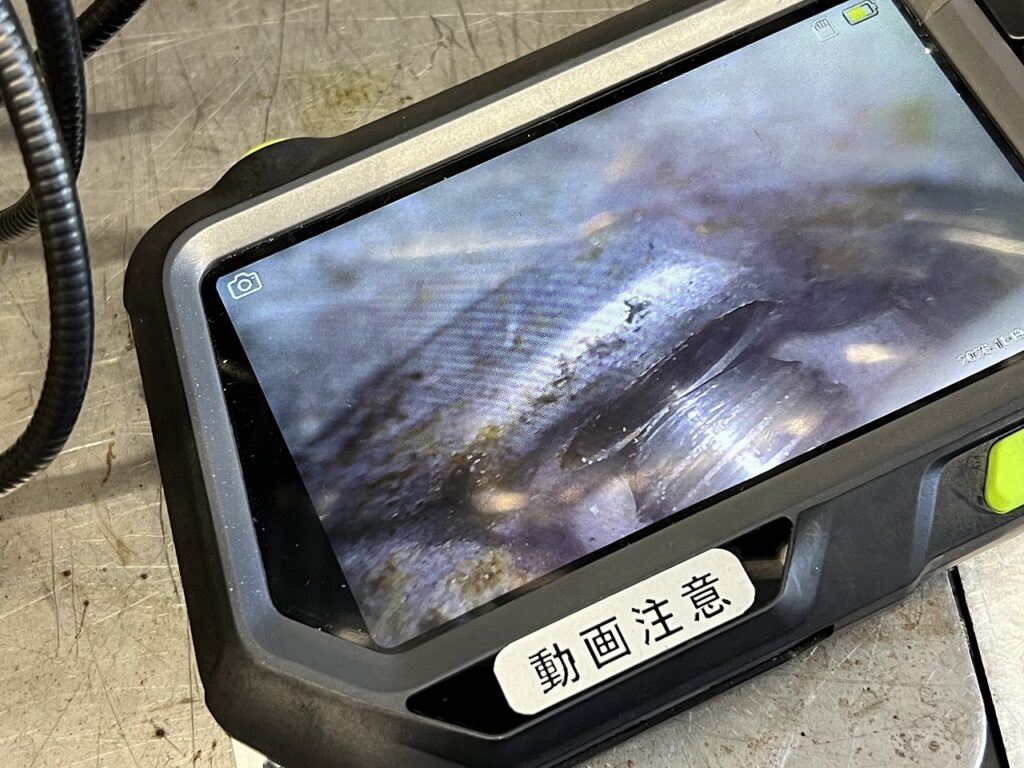
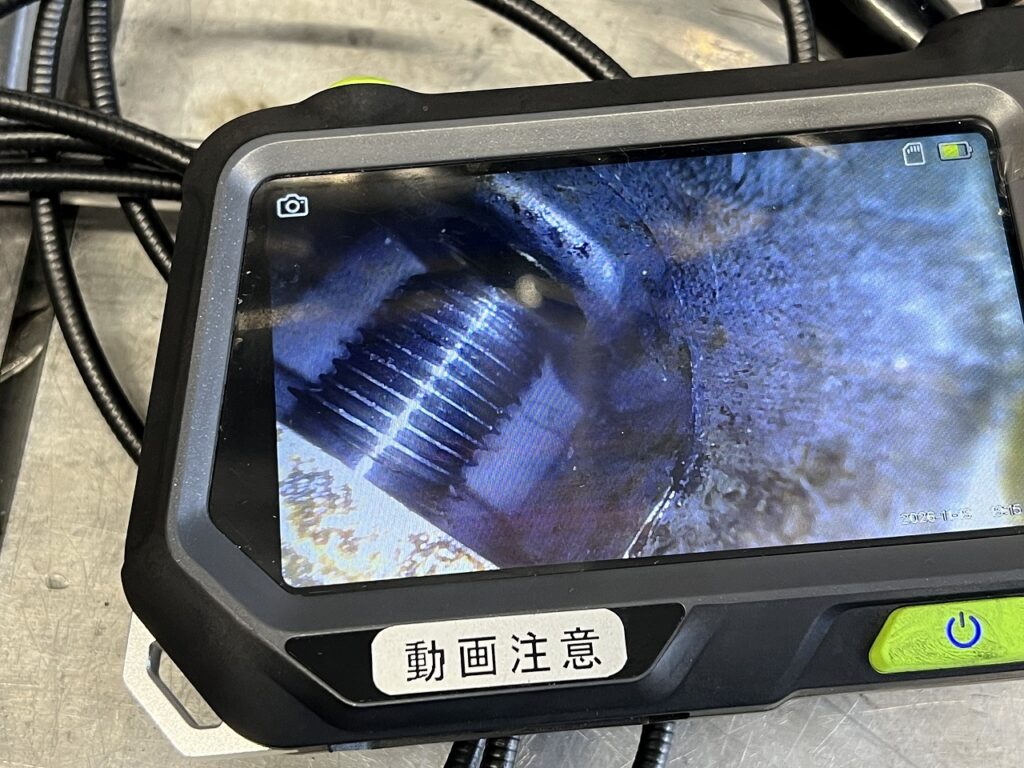
Always measure the hole depth and bolt protrusion before installing. If you don’t have a borescope, use a hand mirror to check the back side for breakthrough and interference ( `ー´)ノ
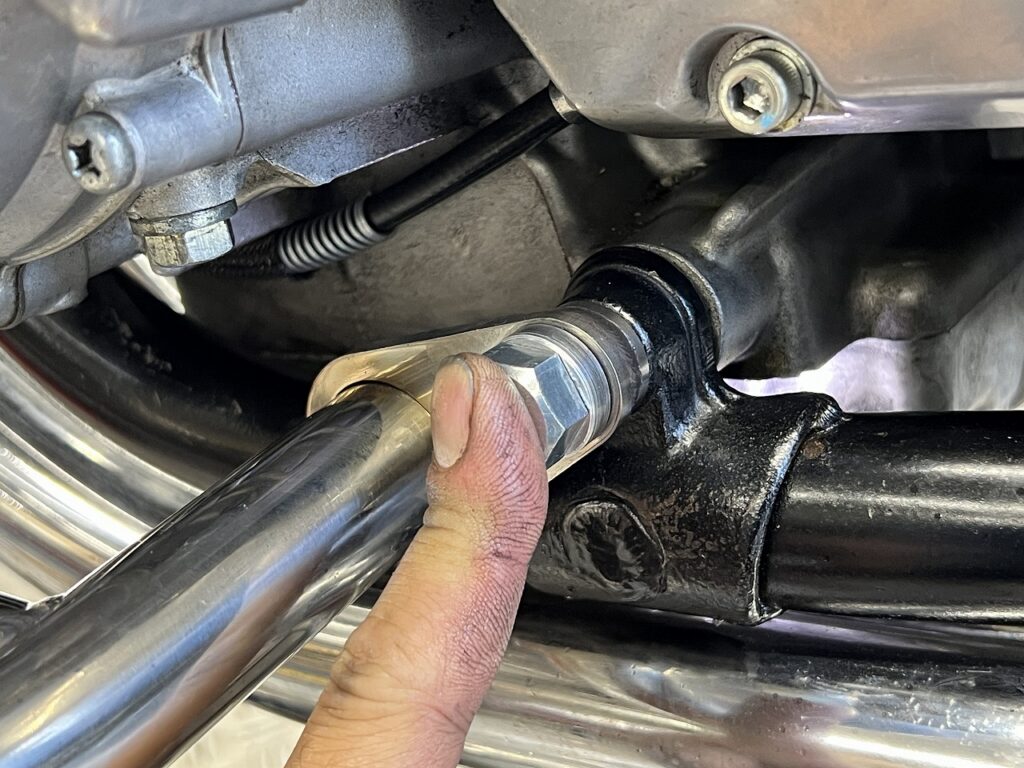
(*Image is from a loose fit-up, not final torque)
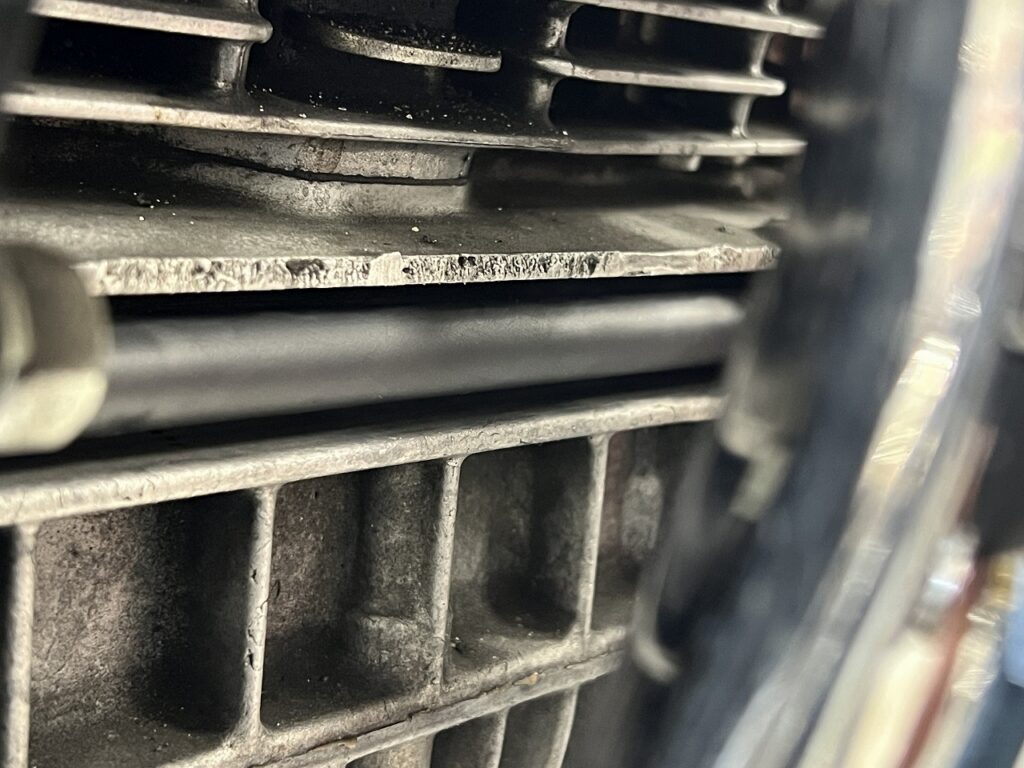
At full torque, the clearance to the crankcase on the back is razor-thin…! “Maybe we could shorten the bolt shoulder by 5mm,” you’d think, but these old bikes have such huge individual variation and tolerance in the engine and frame.
Don’t assume aftermarket parts “just bolt on”—you have to check clearance on each one as you go. Skip the check and just torque it down, and you’re on the express train to hell ( ;∀;)
We could have cut the bolt, but instead made a +5mm collar and installed it. Now we’re all set.
The bolt length differs left to right, so really watch it during install.
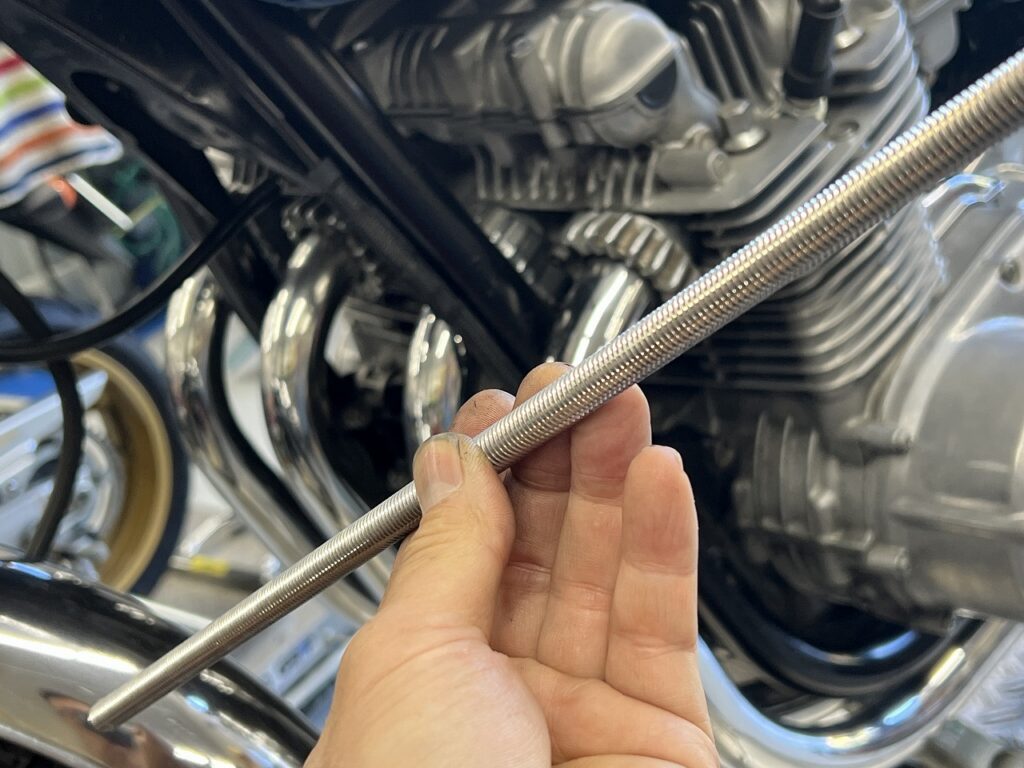
Wondering if it’s actually a threaded rod…installing it anyway. Exposed threads look bad and collect dirt, so I’m using shrink tubing (Sanichi) as a cover without shrinking it.
Now a tip-over won’t be a worry.
By the way, you have to loosen all the engine mounts to get the best results… After that, a test ride and we’re done!


 ポチップ