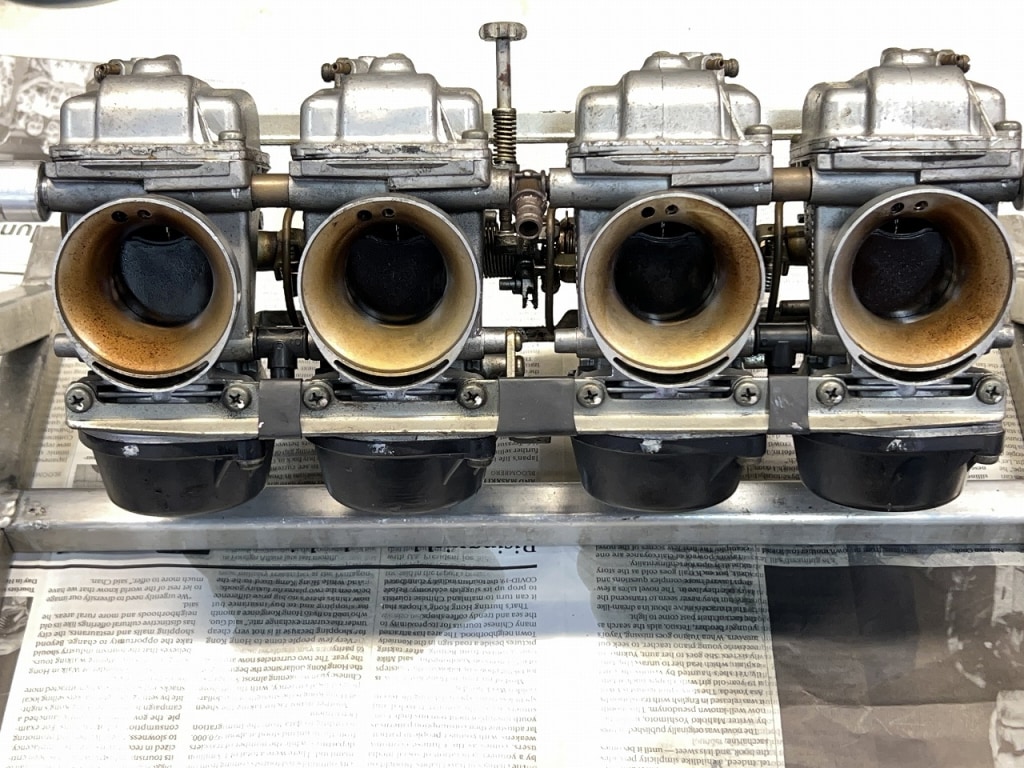
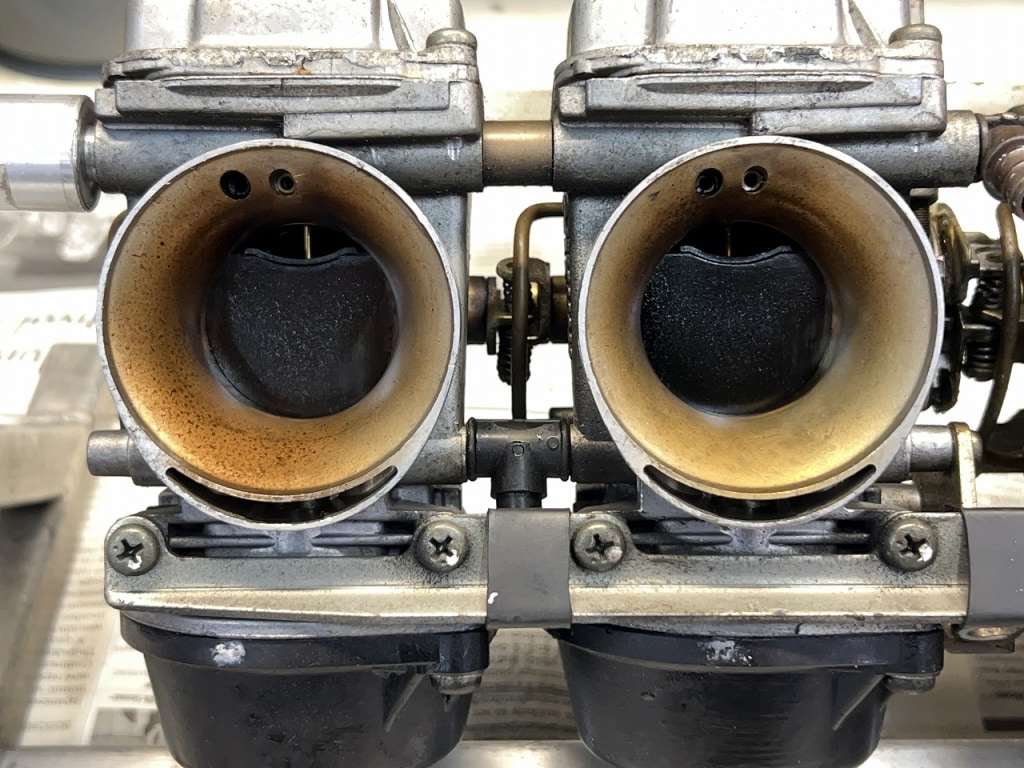
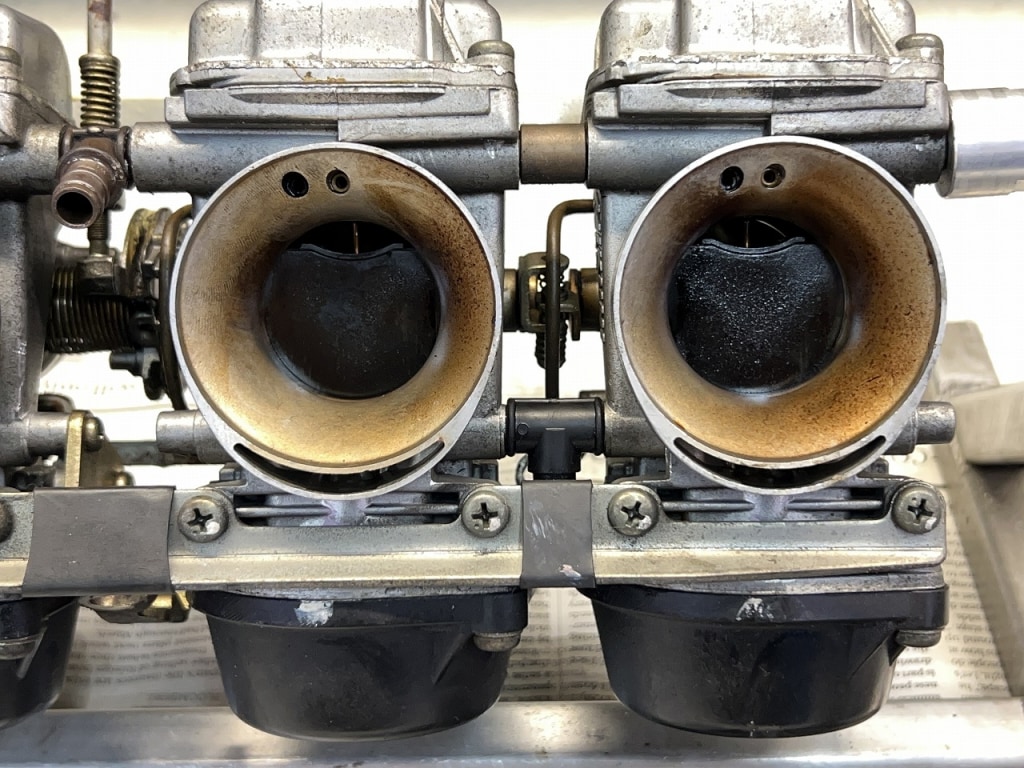
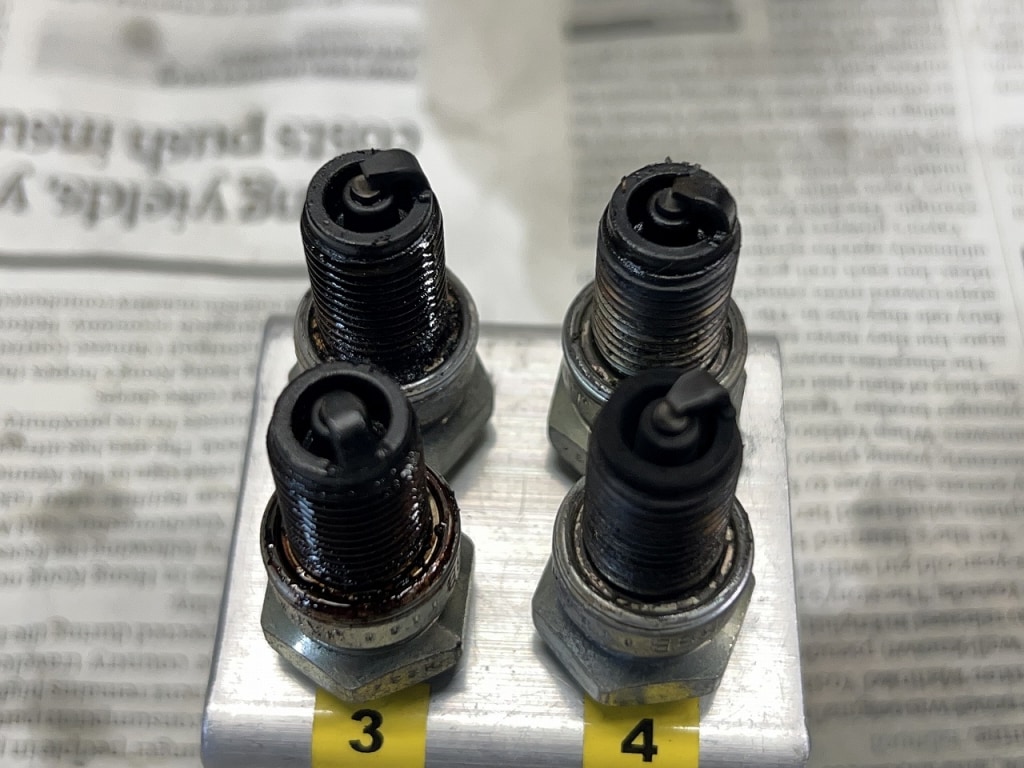
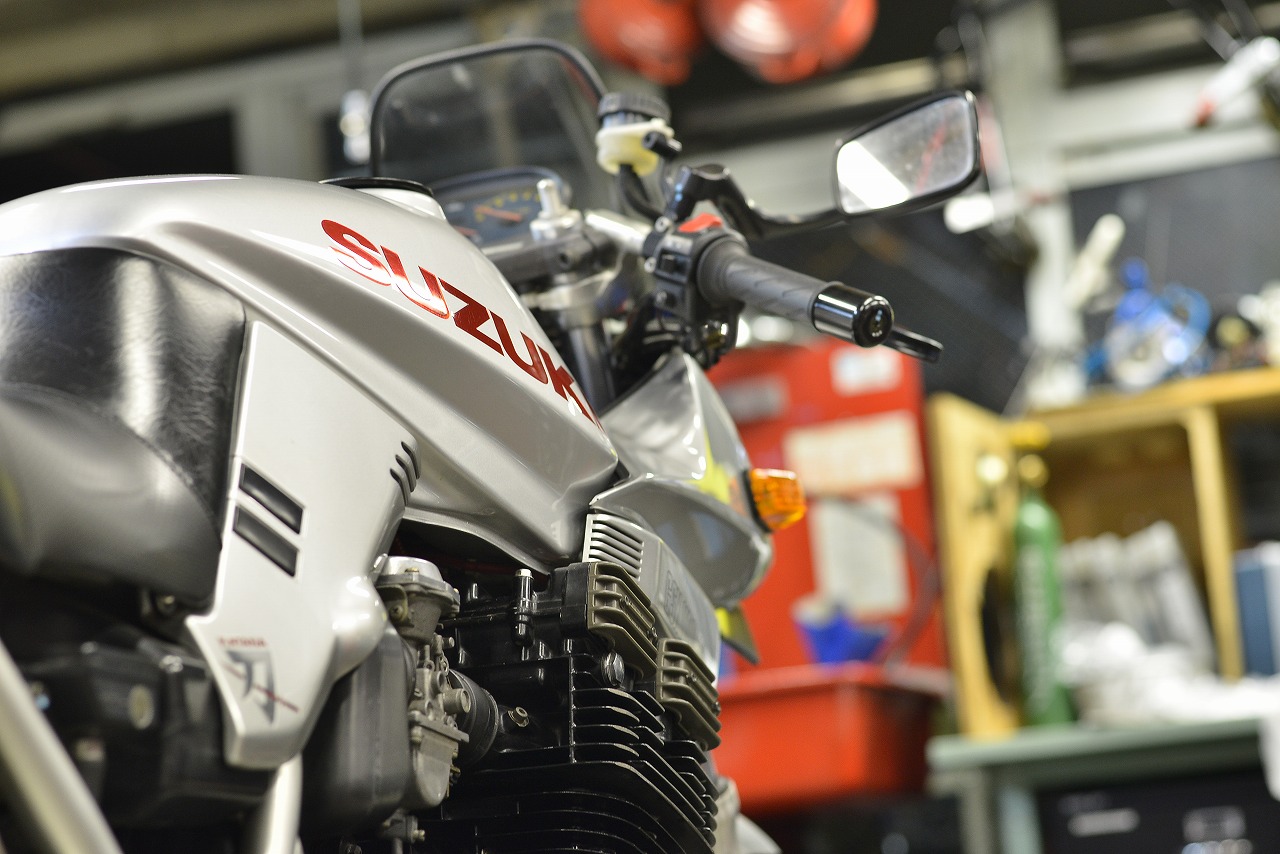
Falling apart~Absolutely! Malfunctioning. I’m not entirely sure what’s going on, but apparently it’s running really badly. Looking at the spark plug, it’s thoroughly soaked with gasoline.
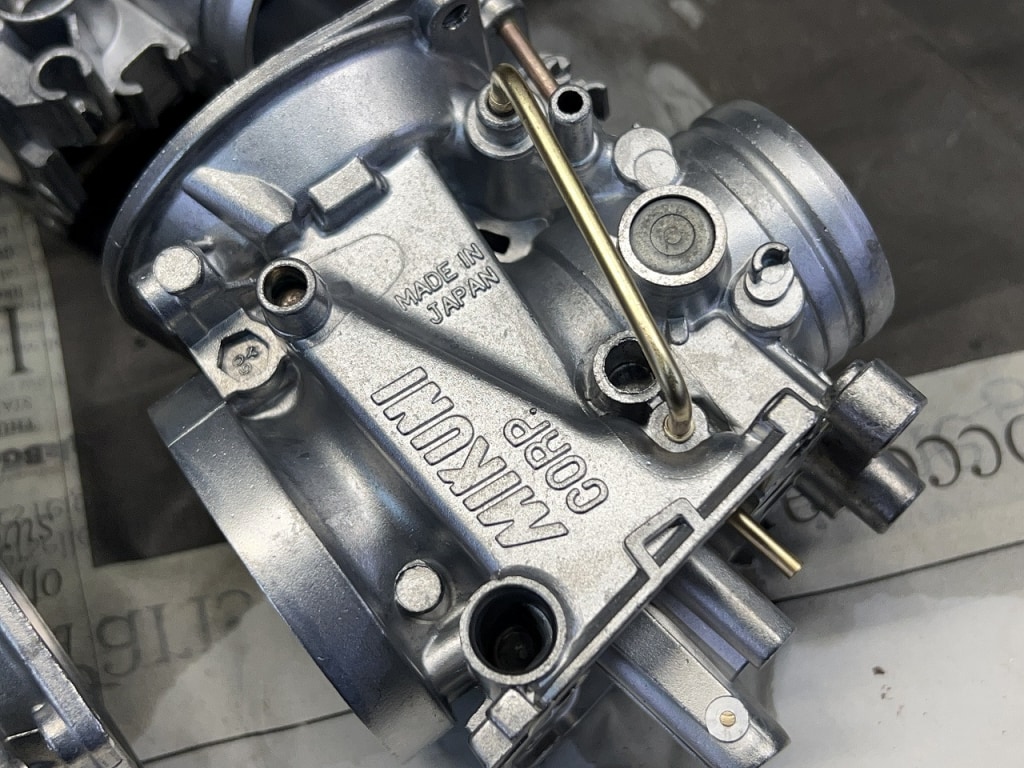
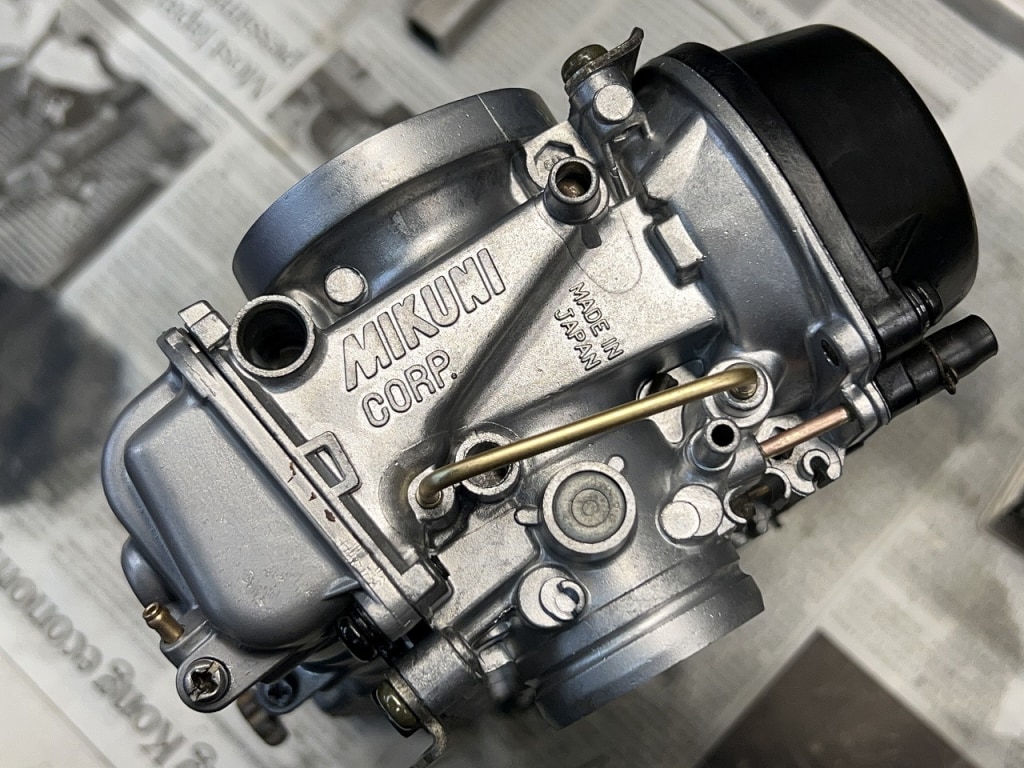
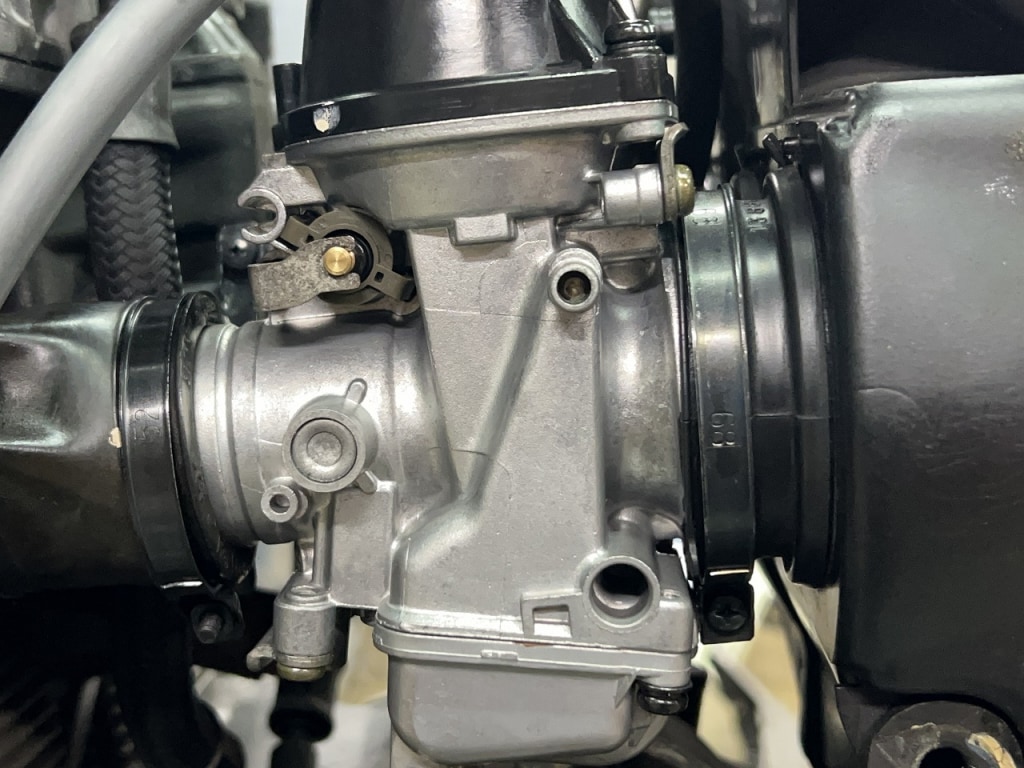
It seems to be overflowing quite a bit. The Mikuni BST series carburetor is commonly used on Suzuki oil-cooled bikes. The style and construction are excellent, but it has a somewhat quirky structure. Basically, the float assembly structure is a bit delicate, and it deteriorates with age, causing performance issues.
Carburetor overhaul is something that needs to be checked periodically. However, seeing the recent price increases on OEM parts, I’ve been somewhat reluctant to tackle it. That said, there’s no way around it, so I want to work through the parts list and nail down the details once more.
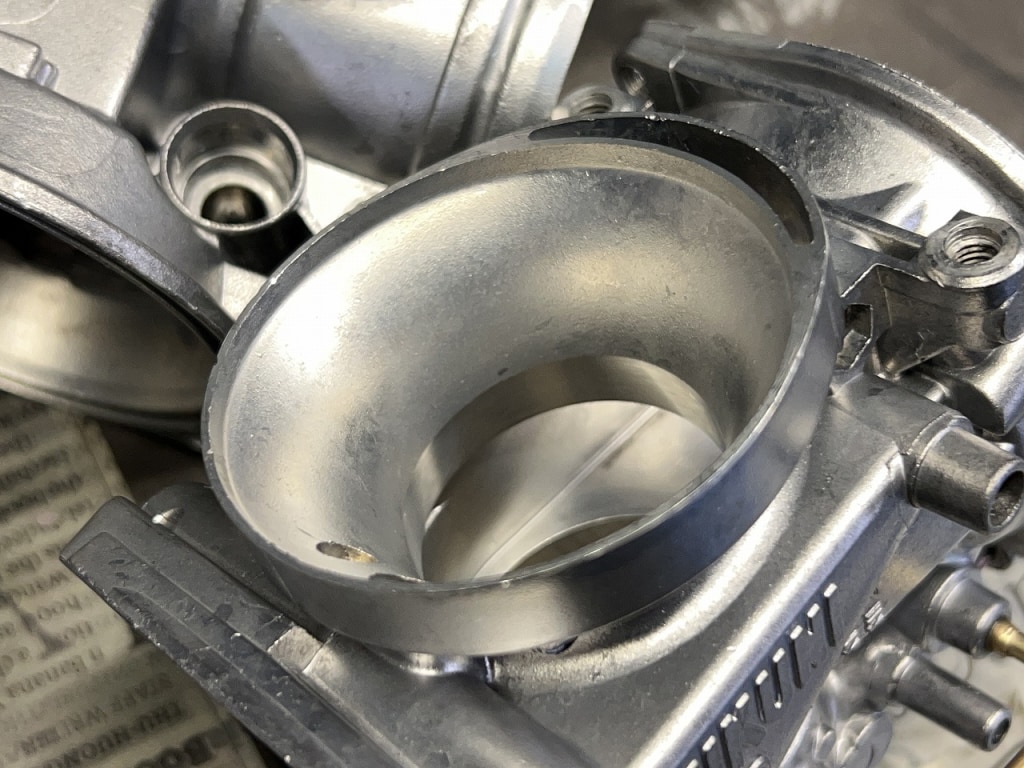
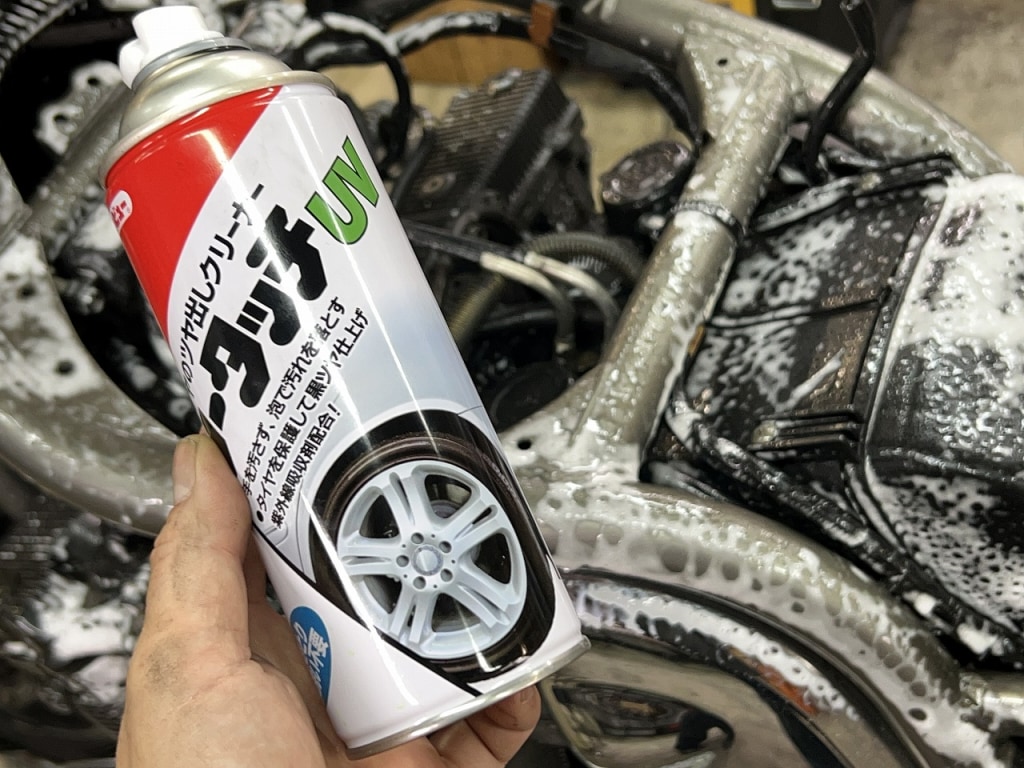
Please clean the manifold thoroughly. No-touch and urgent!
Just spray No-Touch and wipe lightly. With nitrile gloves, it takes about 10 minutes. There’s no need to do it long and tediously—just do it whenever you feel like it. Consistency is key, so please buy it from the link below and grow that little mustache.
Depending on the location, I think it can be used for most cleaning tasks.
The GSF 1200 is a bike with excellent serviceability, you know.
It’s blowing back quite nicely and getting dirty. It’s definitely worth cleaning. Hehe.
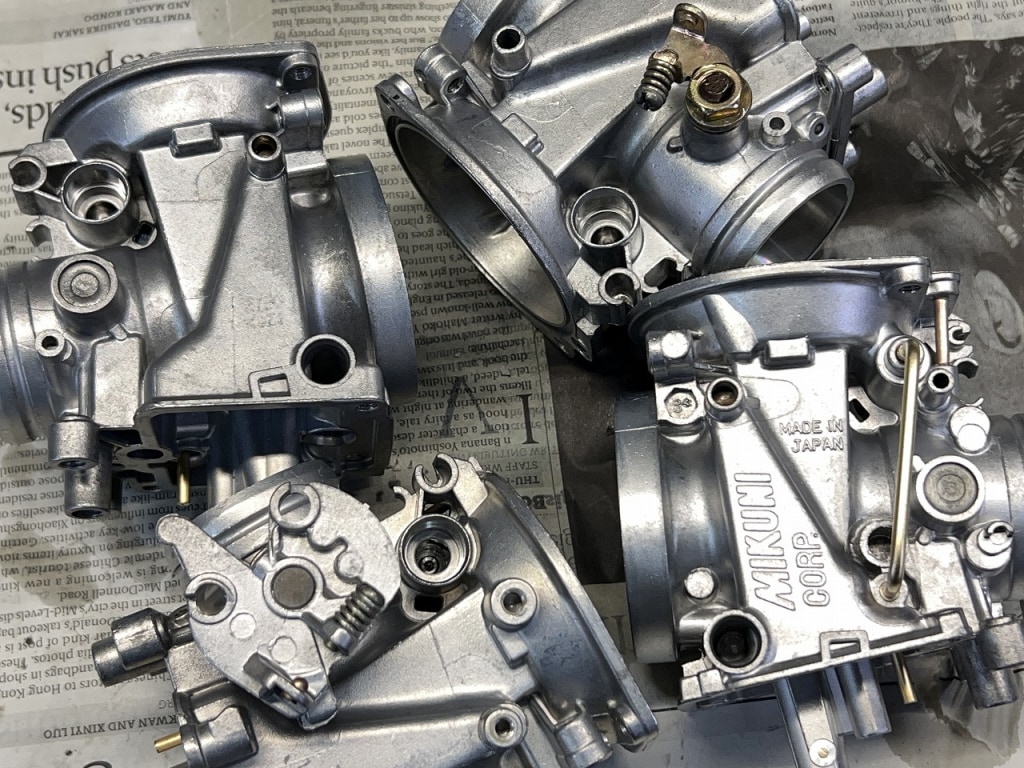
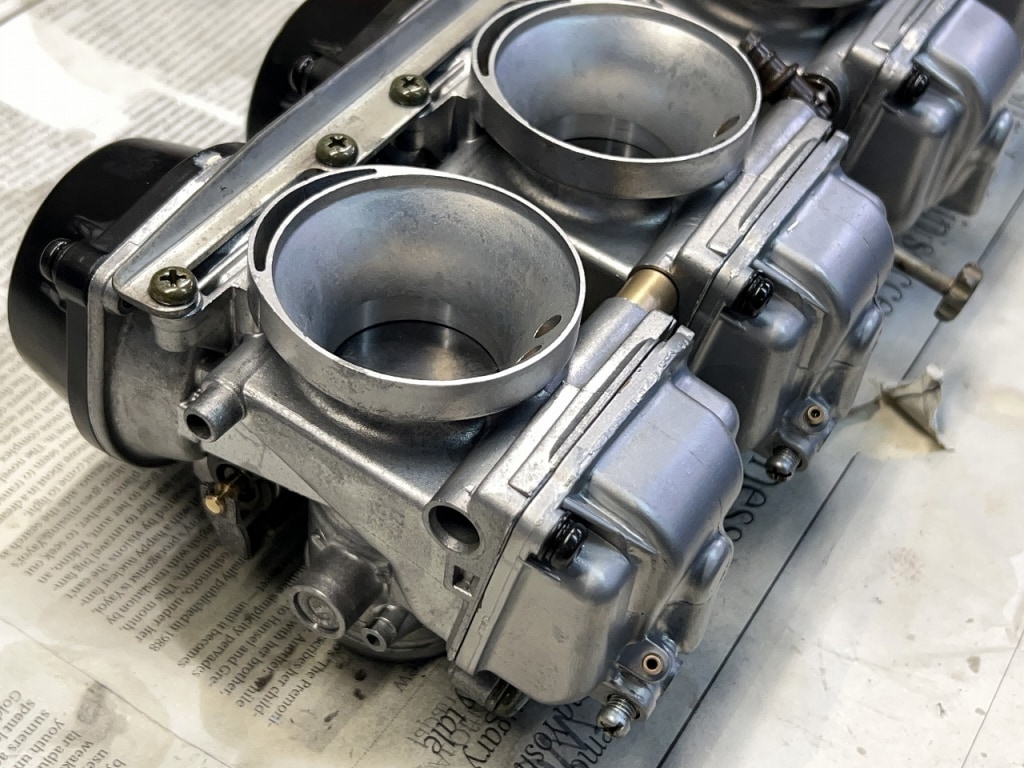
Time flows on… and the baking soda wet blasting is complete.
The progress of tools and equipment is truly remarkable. Whether you have them or not makes a huge difference in the finish.
When the worked areas get cleaner as you go, it makes the work easier for the technician and more enjoyable for the owner to see. I believe that incorporating restoration elements into daily work helps maintain good condition for longer.
We’re going to replace the basic wear items thoroughly.
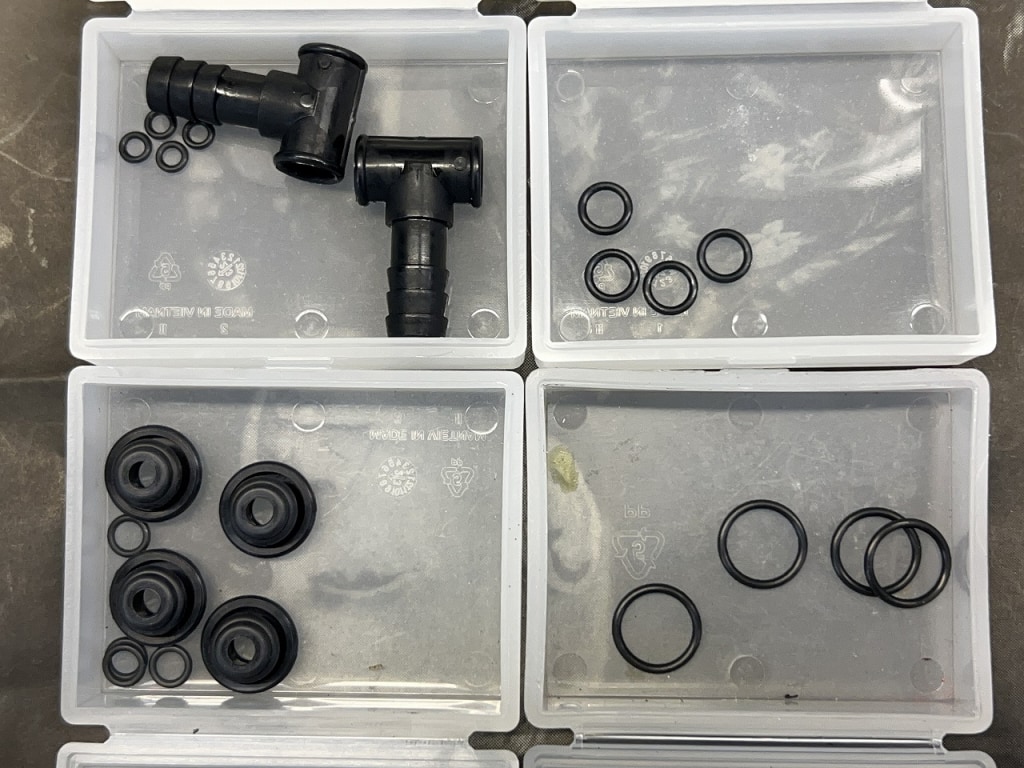
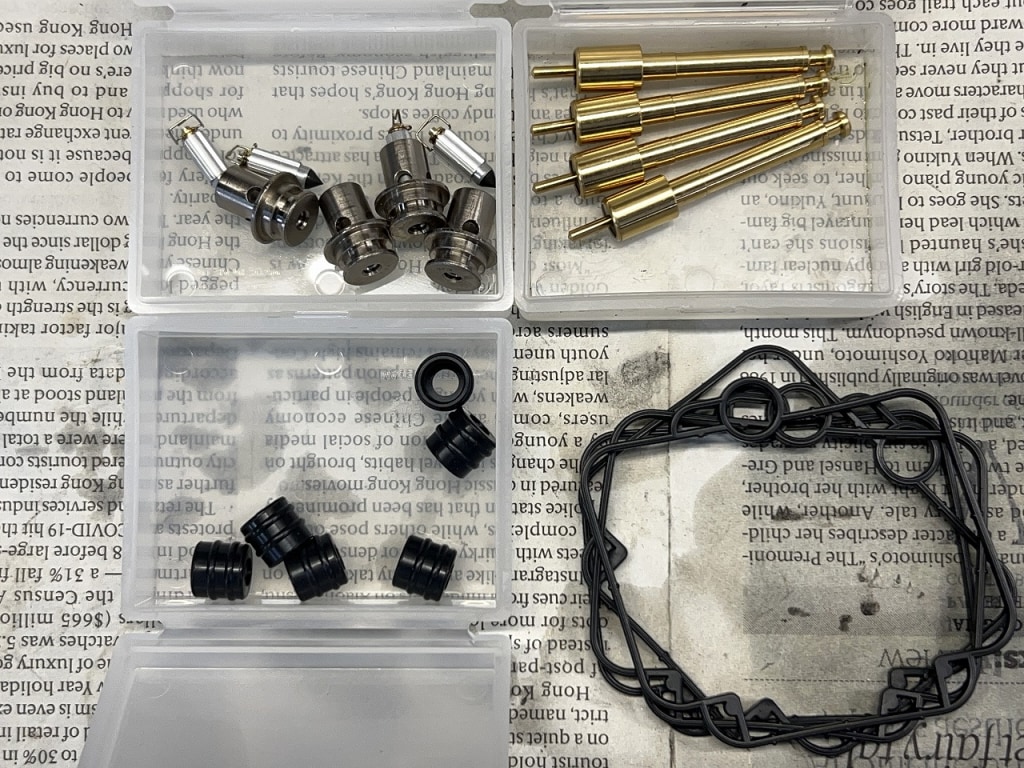
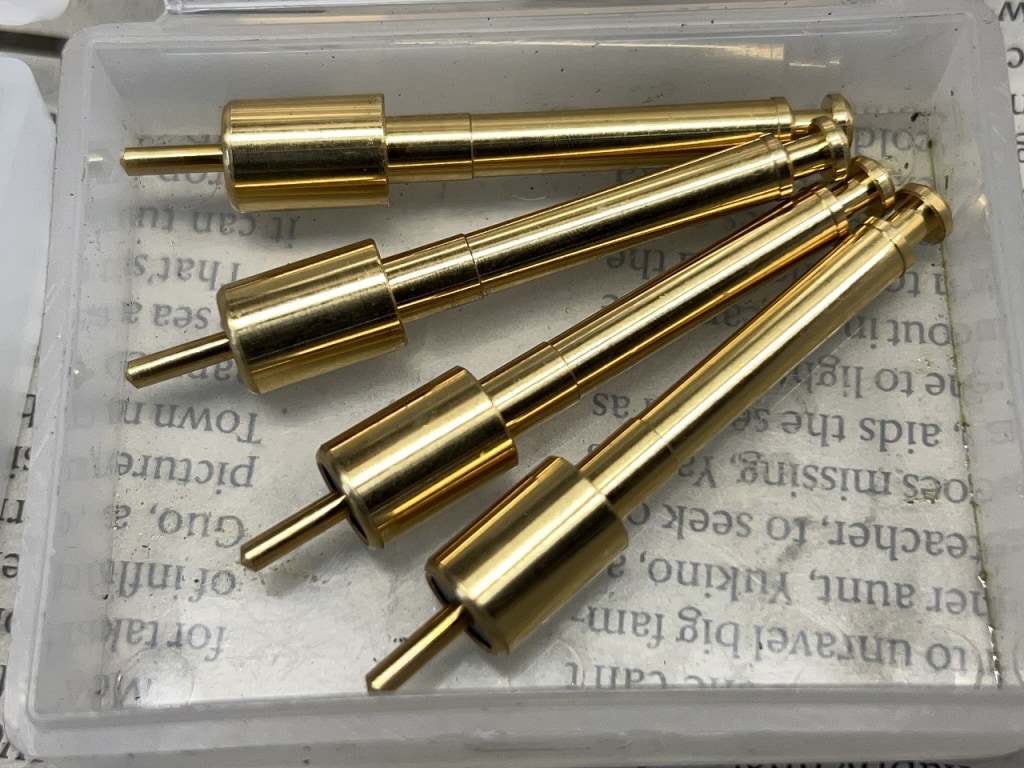
Basically, the parts we’re replacing look like this. We’re mainly replacing O-rings, starter valves, and float valves.
The float valve is shockingly expensive if you go with OEM. I did some serious searching and found a Mikuni OEM alternative. This should give us peace of mind for the time being. *Regarding part prices, I don’t really need to worry about it myself, but…
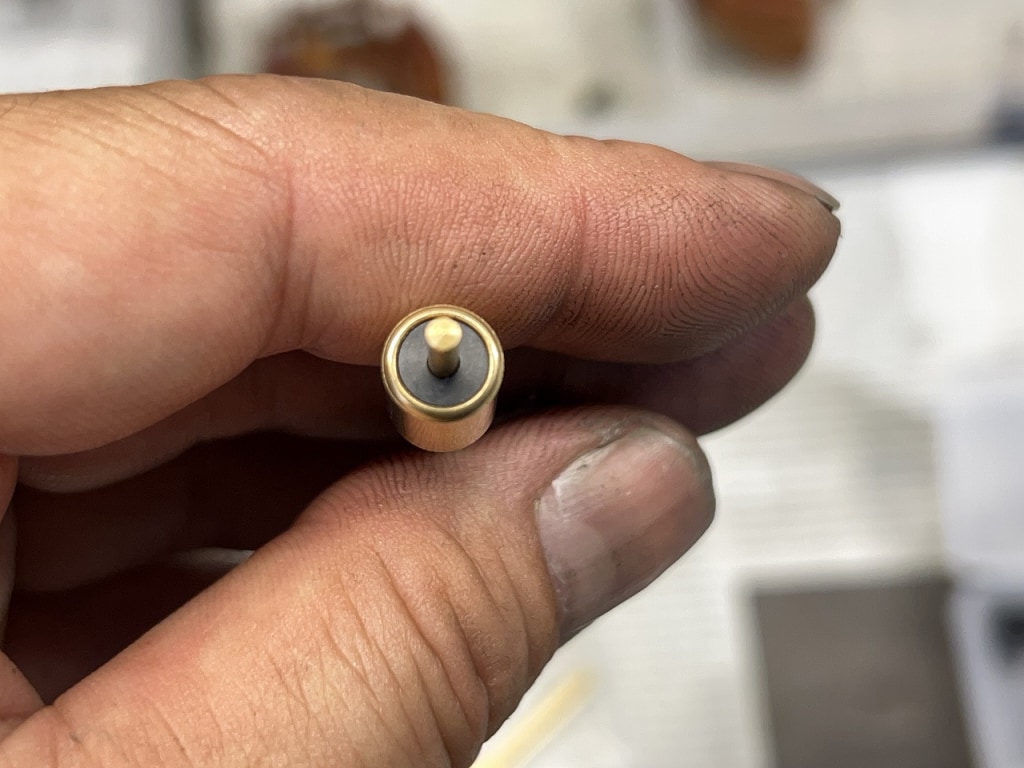
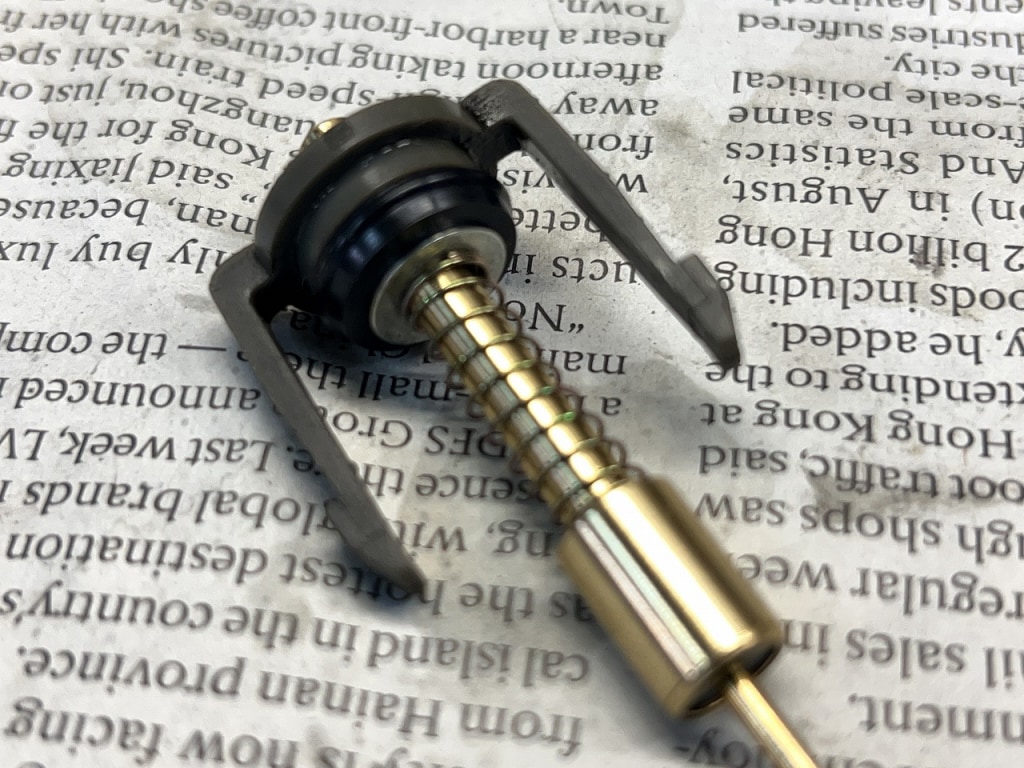
Starter valves are around 500 yen each, so very reasonable. The rubber tip at the end is what matters.
You can’t replace it without disassembling the four-barrel, so always do it during overhaul.
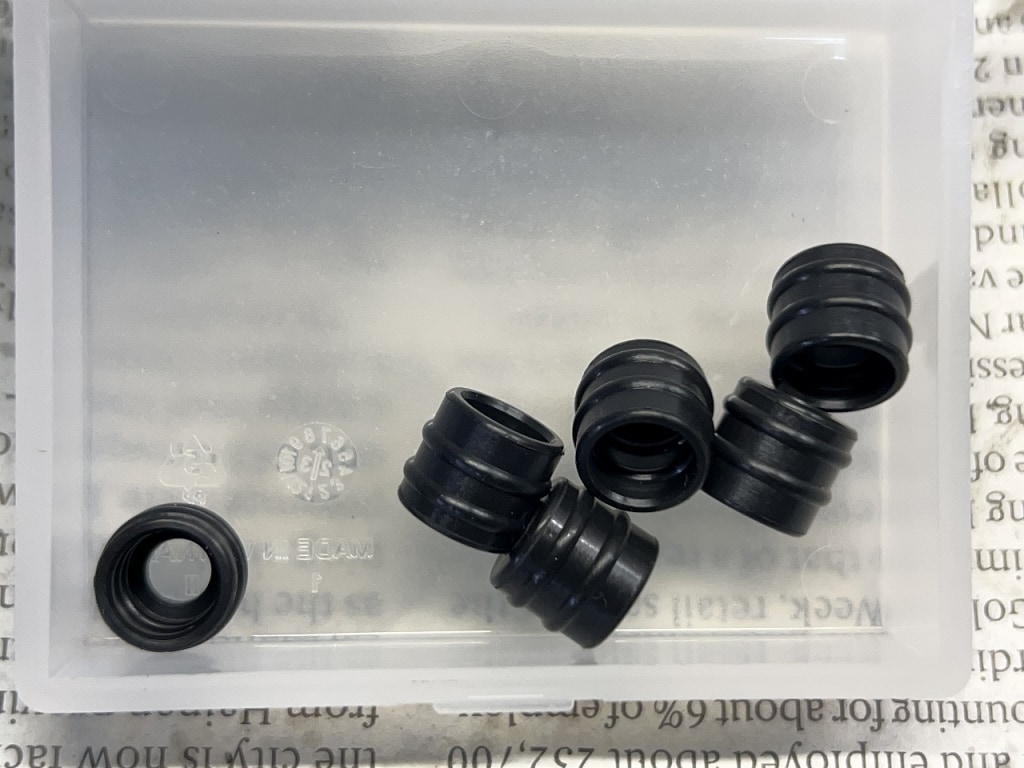
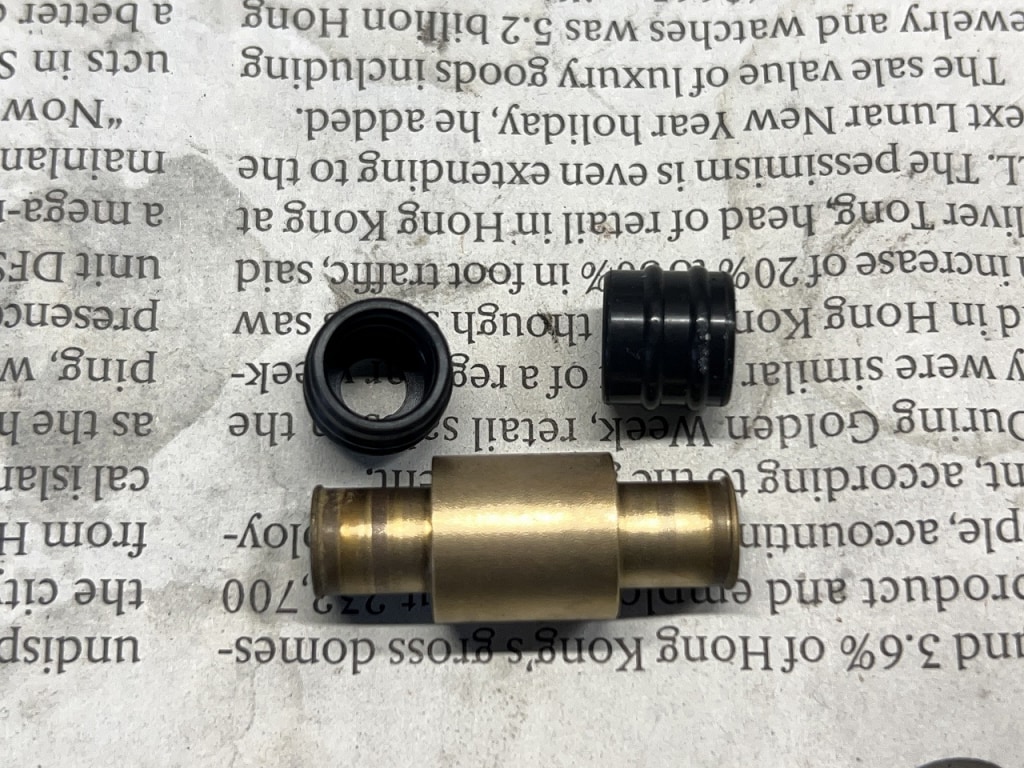
The fuel passage seal is cylindrical. It’s a wonderful design with two O-rings attached to the cylinder.
While it’s leak-resistant, it’s been nearly 30 years now. It’s only a matter of time before it leaks. Replacing it at the right time gives you peace of mind. Don’t think for a second that parts like this will be supplied forever. You can imagine the regret: “If only I’d done it sooner…”
On the GSF 1200, there’s a washer in front of the plunger seal. Did they change to a more seal-friendly design?
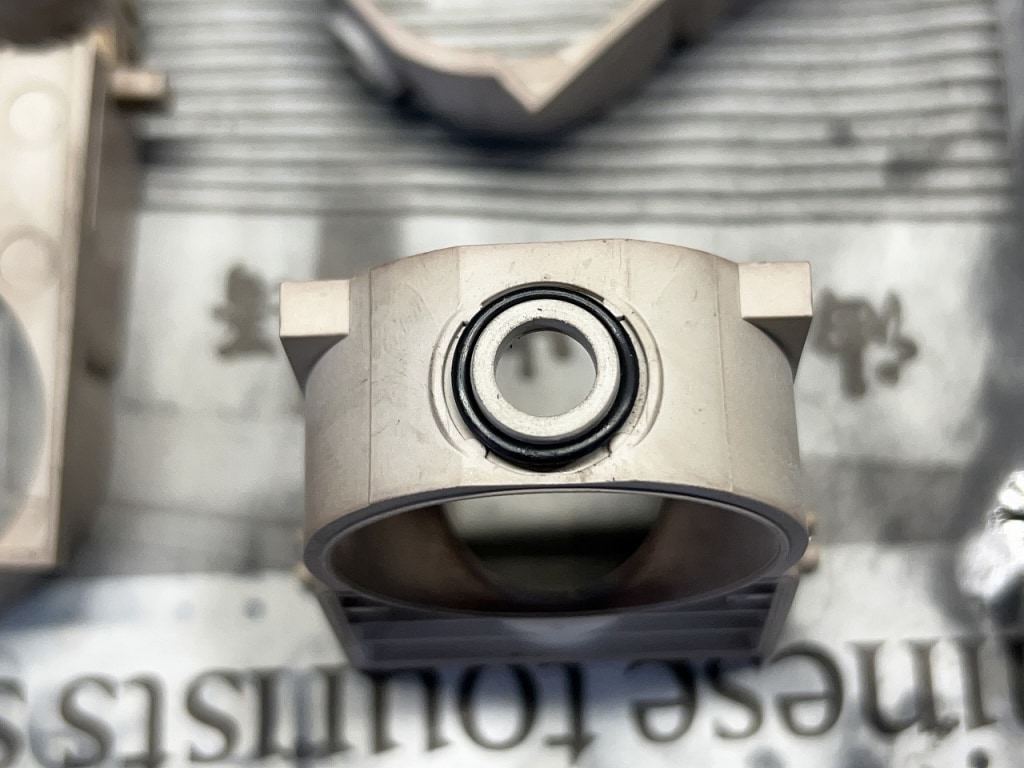
The block wears out after running a considerable distance. From what I can see, there’s no problem at all, so we’re good.
There’s a fairly large O-ring under the block. Replacing it at every overhaul should prevent side leaks. The GSXR doesn’t have this part listed in the parts manual, so order it from the GSF 1200 or similar.
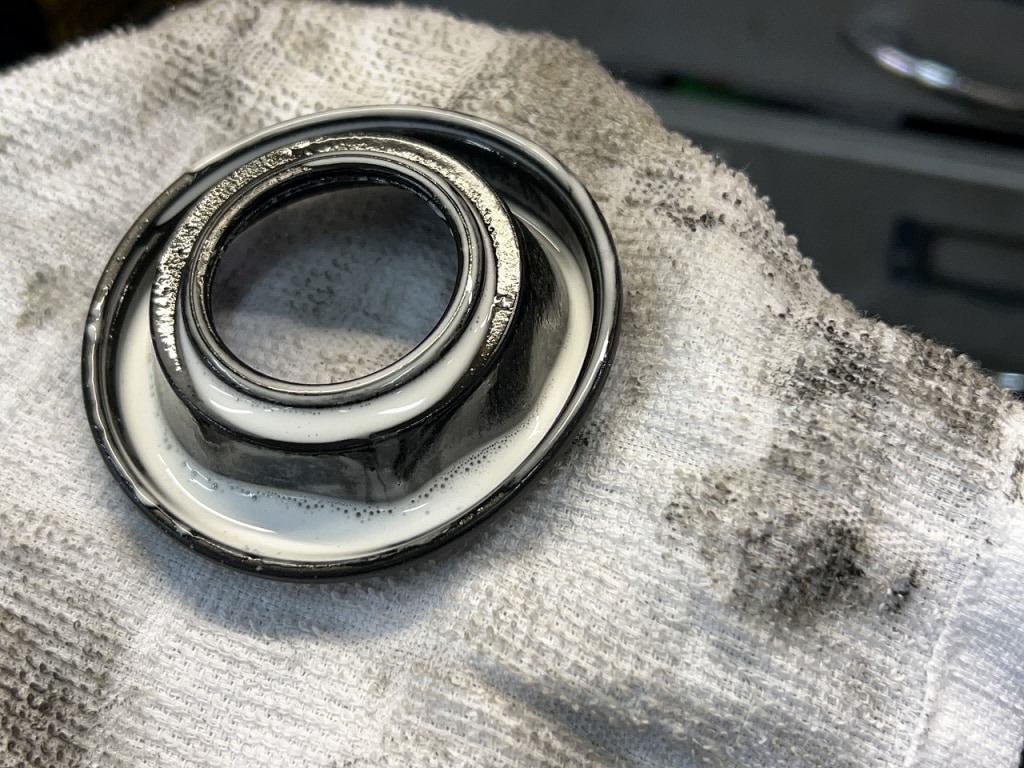
No-Touch can also be used to clean the diaphragm, so it’s really useful. It’s kind of a foaming silicone spray, that sort of thing.
The heart of the Mikuni BST carburetor. Let’s check the actual fuel level.
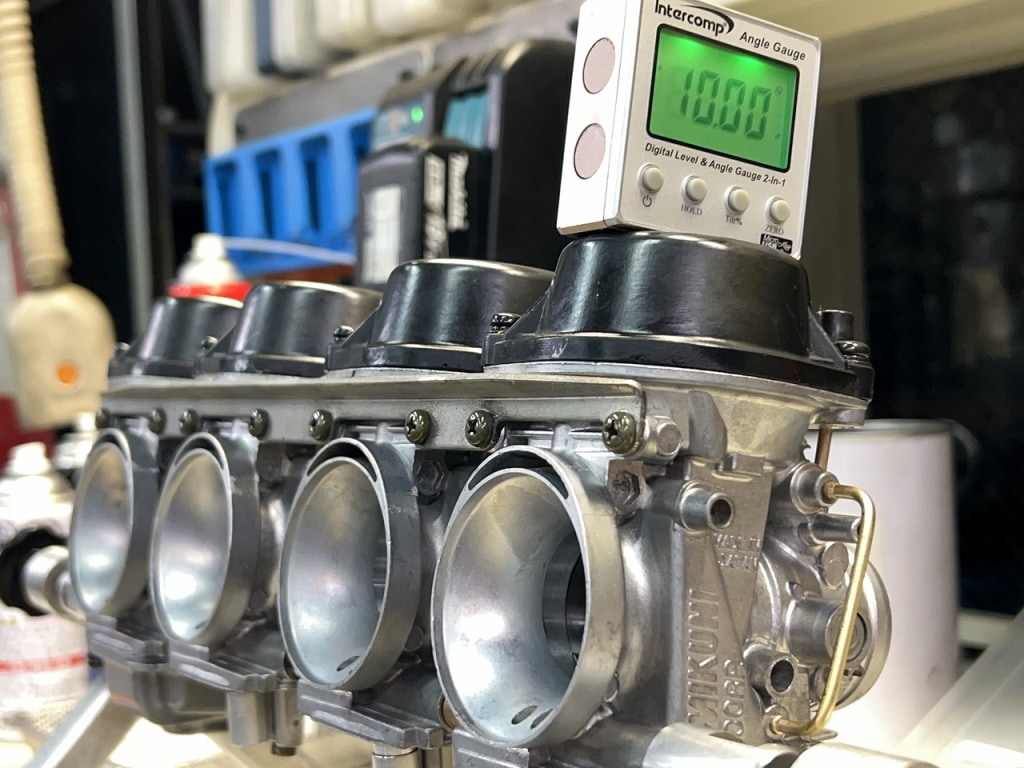
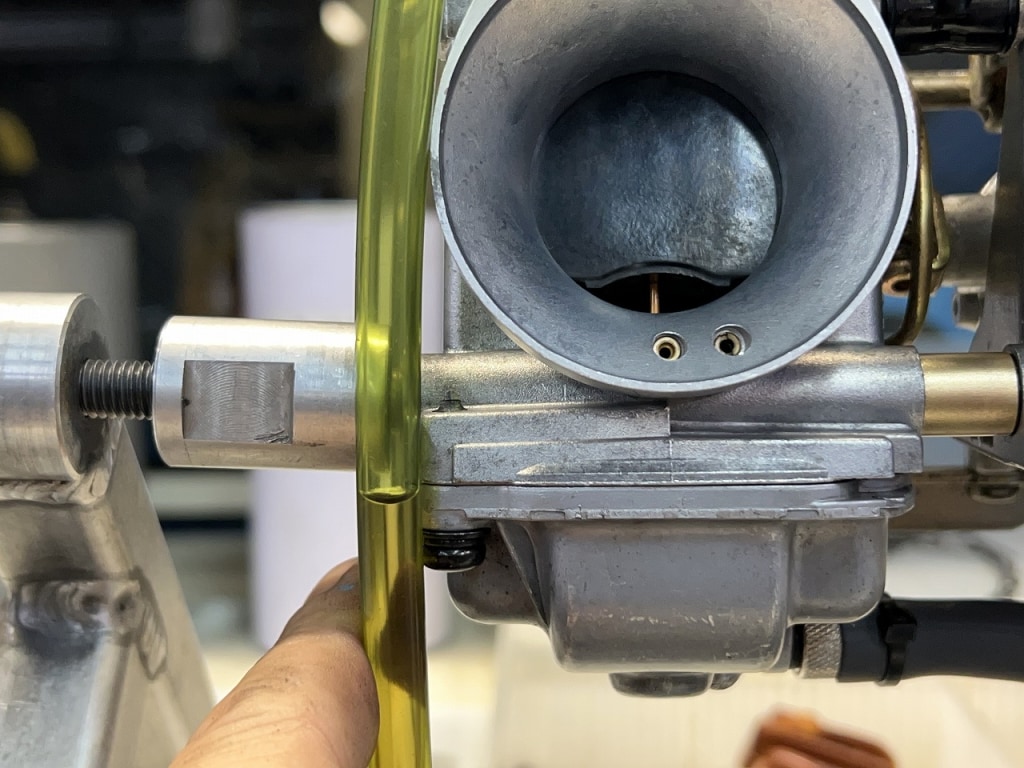
Following the service manual, we tilt it 10 degrees and check the actual fuel level. It’s pretty much impossible to do this work without making a carburetor stand.
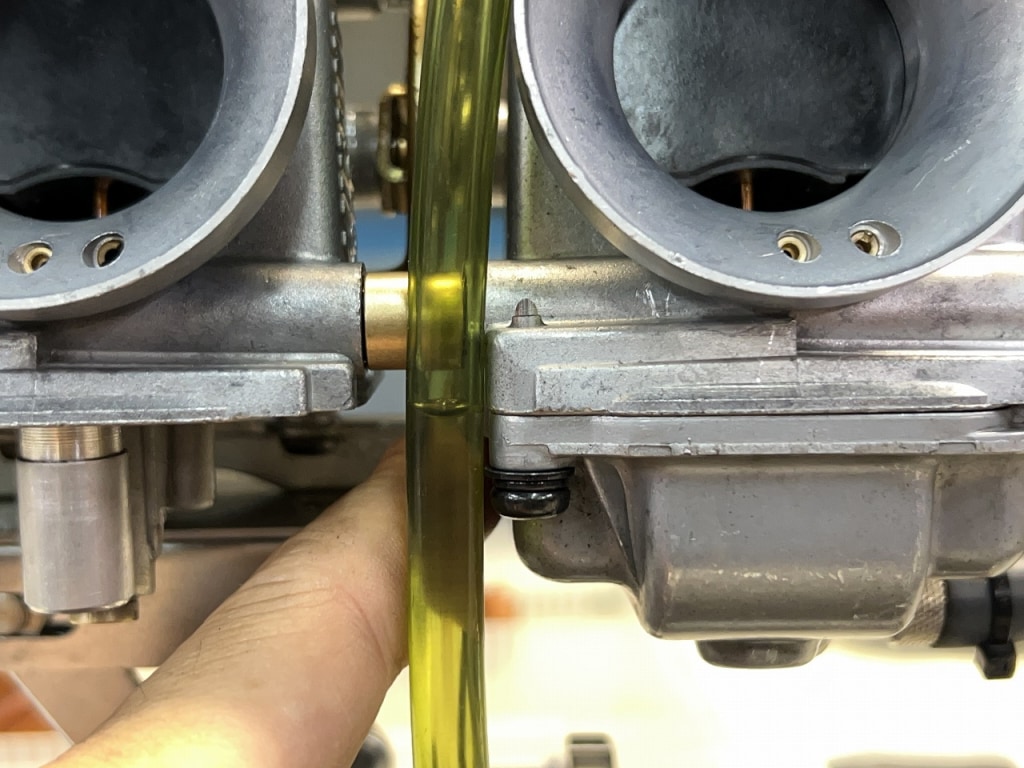
The service manual specifies an unmeasurable figure of 0.25 to 0.5mm. Basically, if it’s at the joint line, that’s good enough.
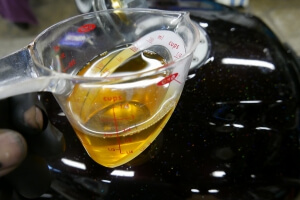
The liquid inside the hose has surface tension, so it looks like a dish. Aim for the bottom of the dish at the joint line.
Time flows on… This time it was extremely well-behaved. Just one adjustment needed.
Sometimes fuel level adjustment doesn’t work out. Honestly, there are times when no matter how many times you try, the fuel level adjustment just won’t take.
The float arm reaches its limit, or the actual fuel level is adjusted but the gasoline flow rate is slow, etc. These head-scratching issues occasionally pop up. It’s a somewhat quirky carburetor that takes practice to get right, so I understand why it gets disliked.
Once you get the hang of it and dial it in perfectly, the idle becomes smooth and satisfying, and you realize “this is what an OEM carburetor can do,” and it delivers impressive performance.
When you want to cleanly insert a carburetor with an air cleaner box, insert the air cleaner box side first for easier work.
We’re also replacing the spark plug and air element.
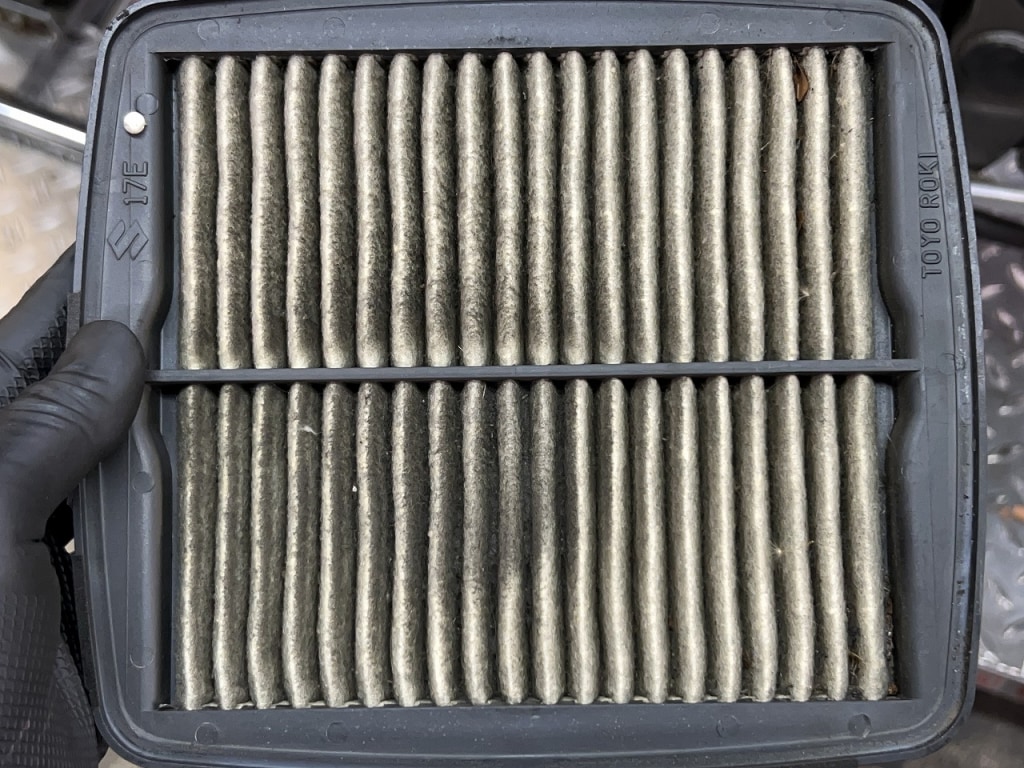
I always keep JR 8 B spark plugs in stock, but I don’t have air filter inventory. I ordered one today, so we’re waiting for it to arrive. The air cleaner is really dirty though…
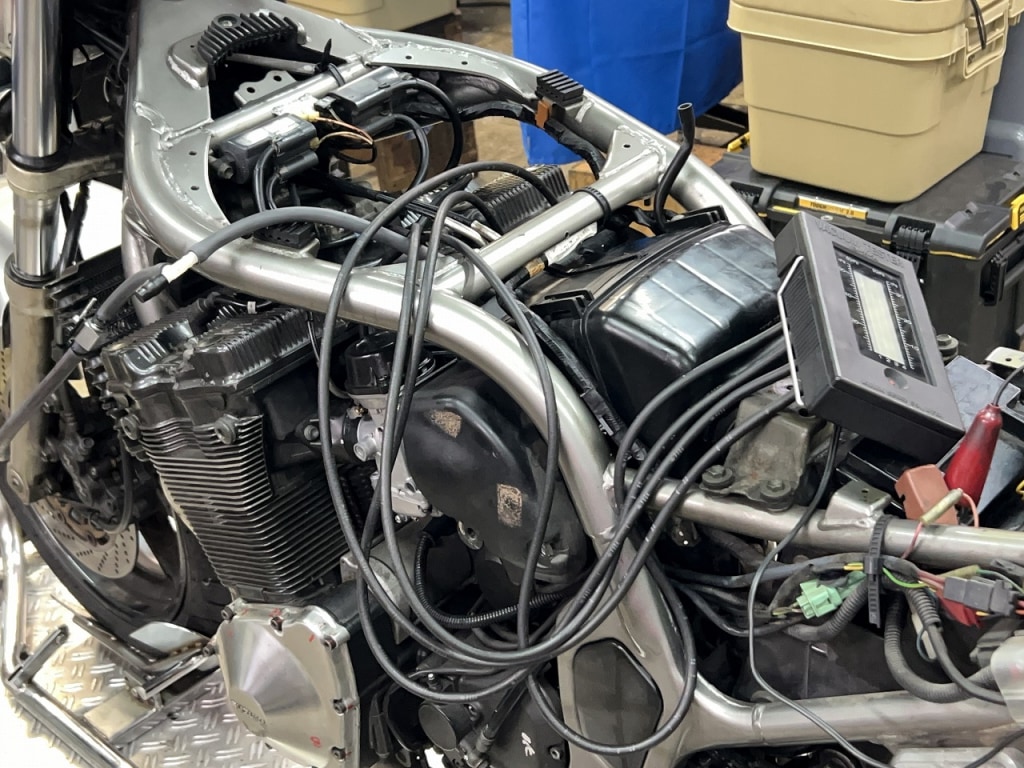
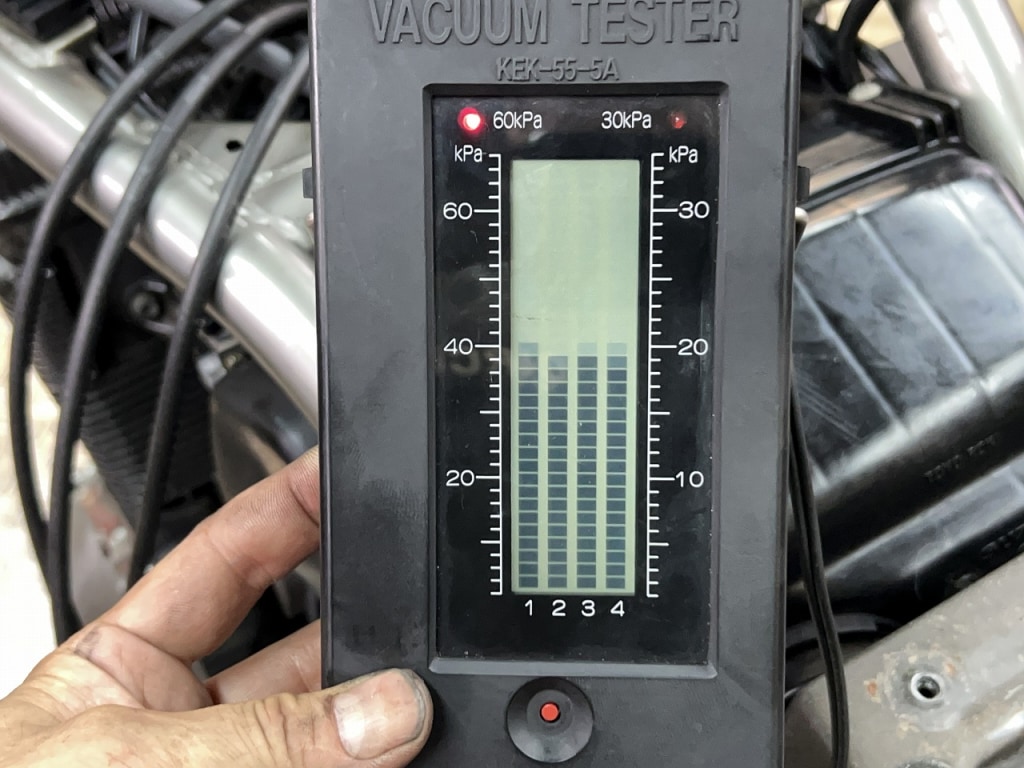
No air filter yet, but we’re doing the synchronization and calling it provisionally complete. It started right up and running great! All good.
Let’s think about Mikuni BST carburetor maintenance.




 ポチップ
ポチップ