Well, hello everyone! Long time no see, it’s Kusagari Taro here. I bet you’re all thinking I’ve finally quit the motorcycle business, haven’t you? That’s the kind of summer we’re having.
The blog traffic for Makita, grass cutting, and air-conditioning wear is honestly extraordinary. This month in August, we’re getting around 200,000 users. Hehe.
Now that I’ve gathered all the parts, let’s get this work moving at maximum speed.
Replacing brake pads.
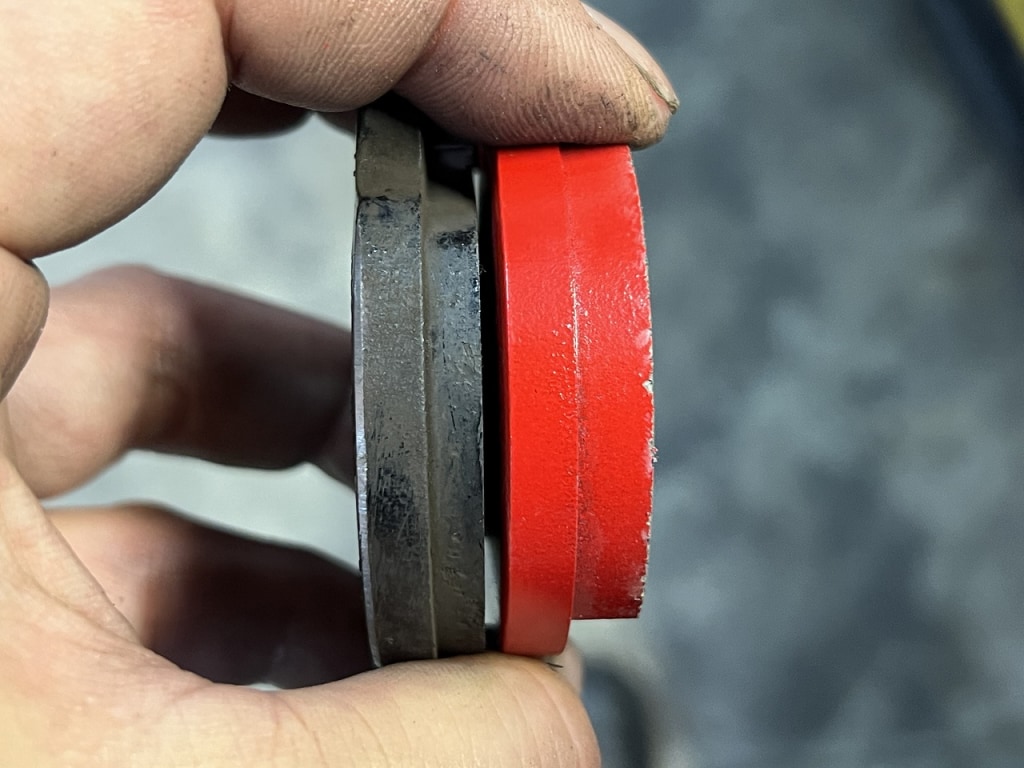
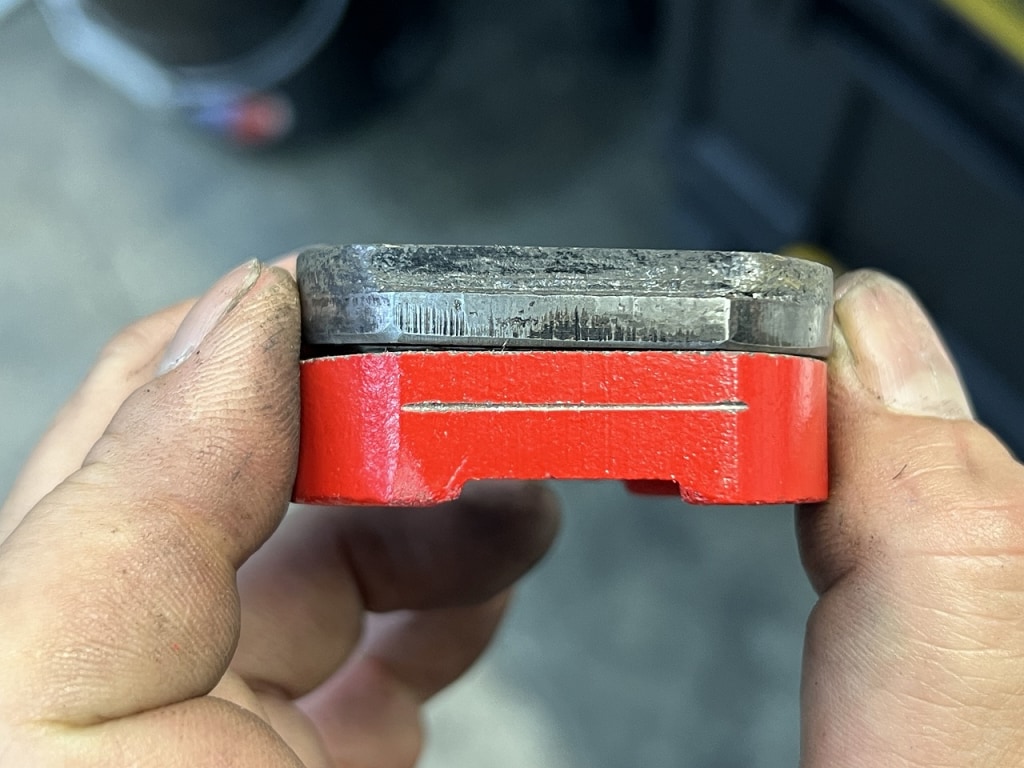
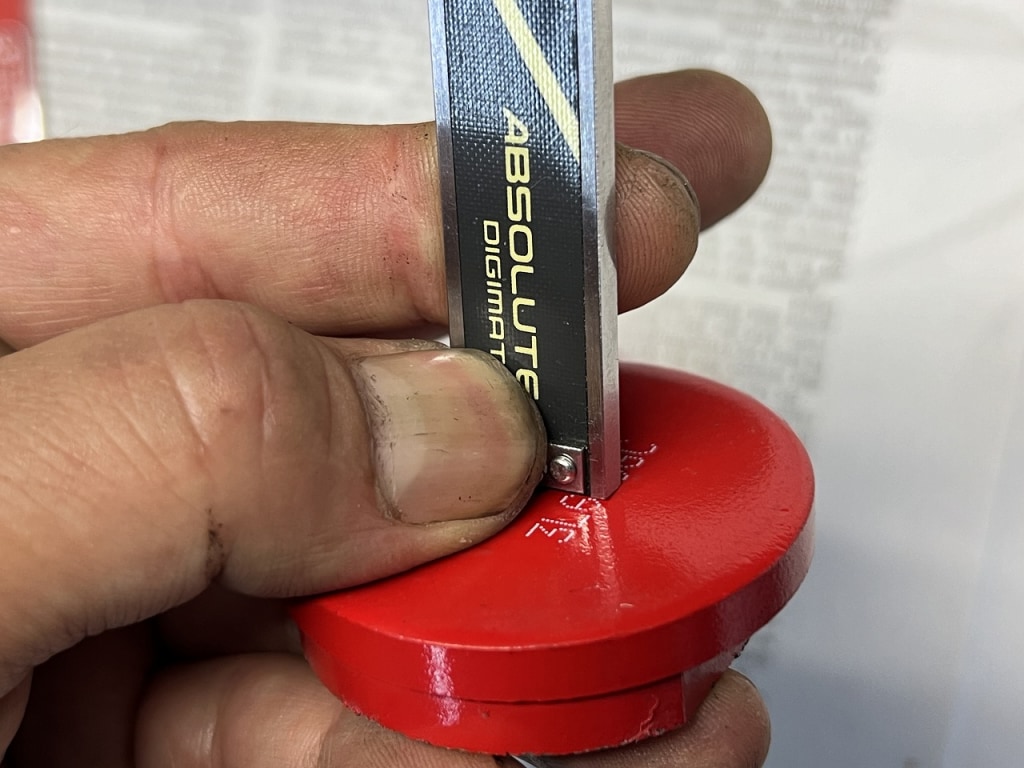
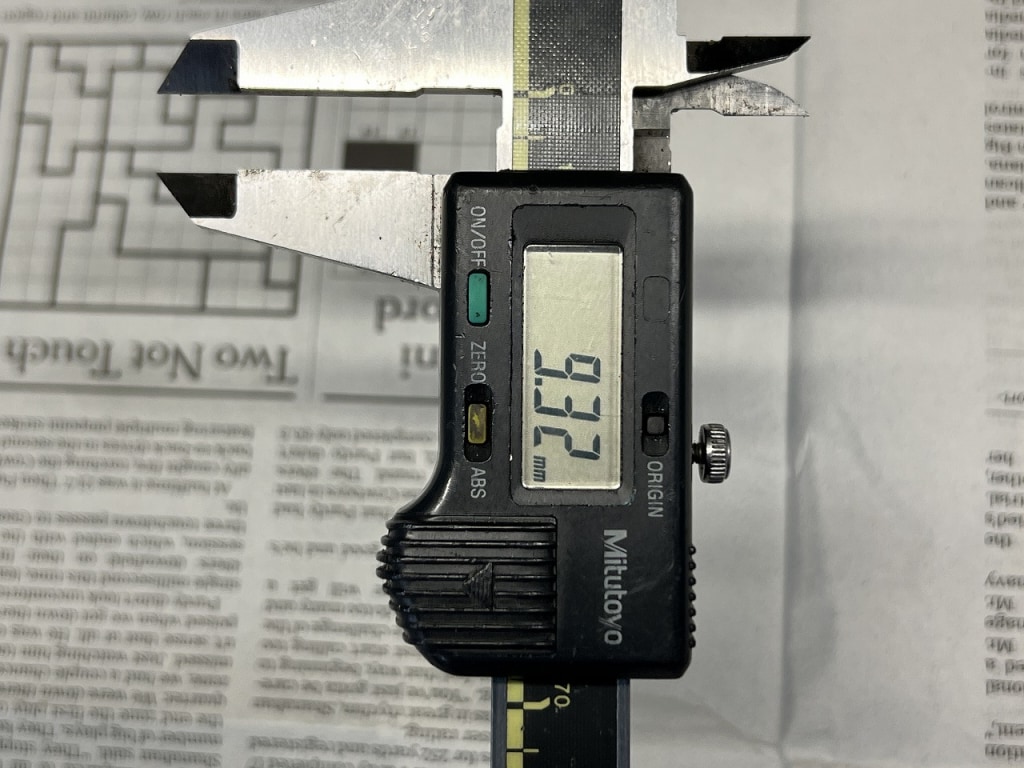
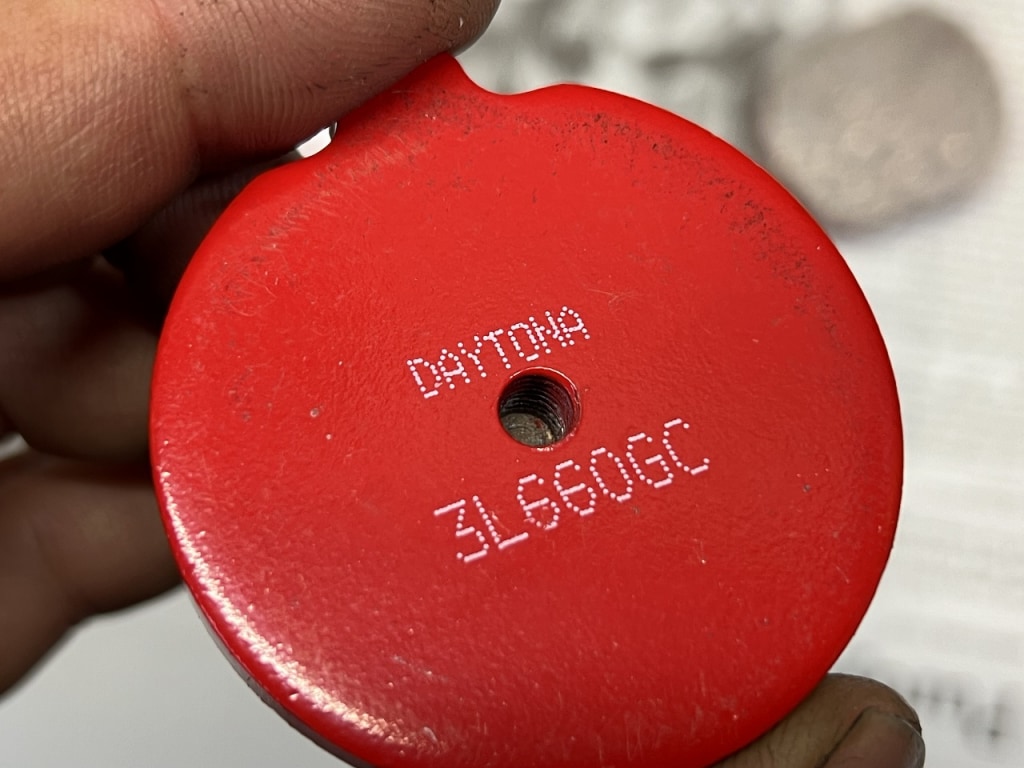
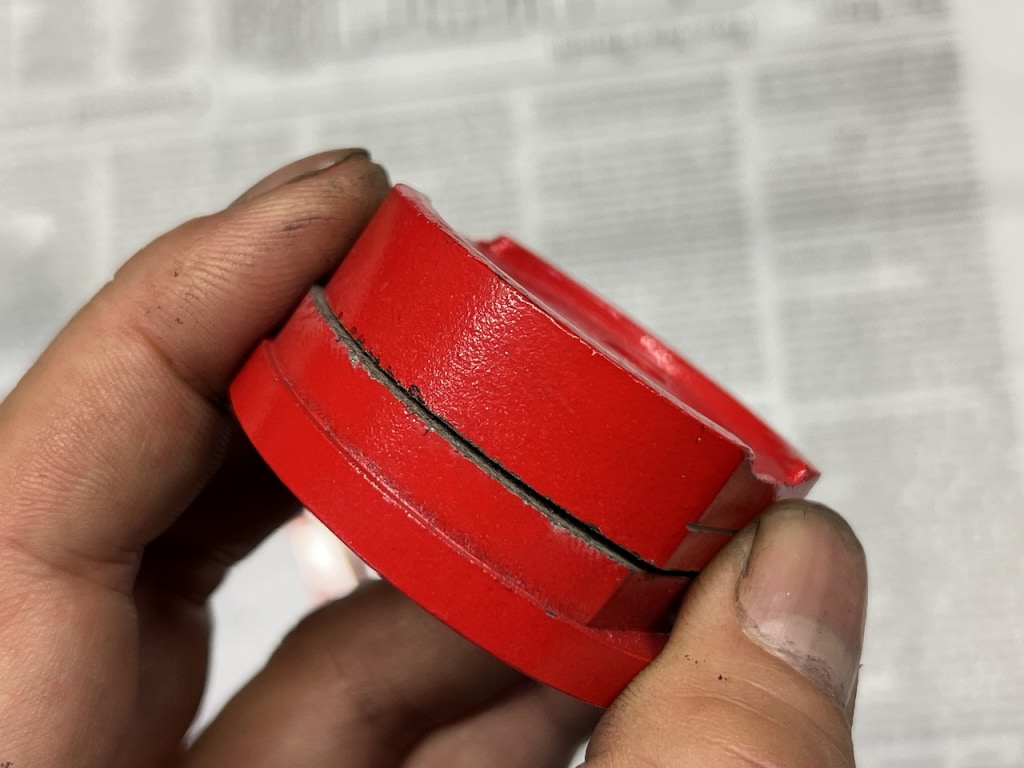
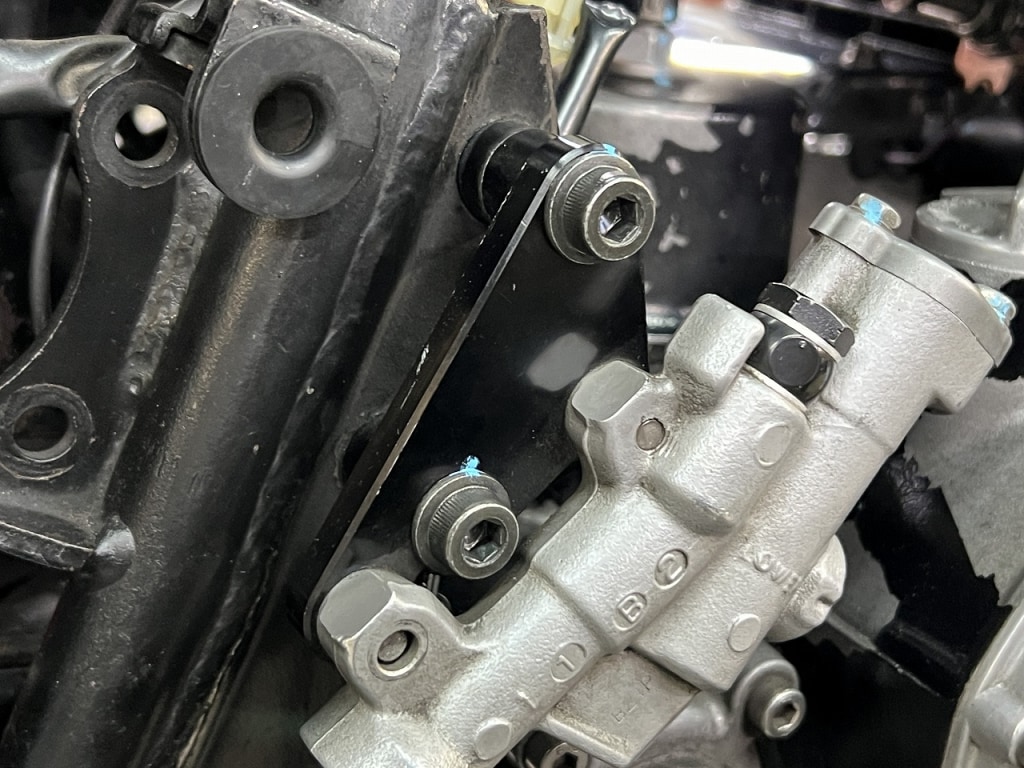
I’ve gotten so used to motorcycles lately that I thought there was plenty of pad left. But when I checked the thickness of the caliper piston, thinking it seemed to stick out more than usual, it turned out to be significantly worn.
You should definitely check the depth of the pad that’s fixed to the body side with M6. There are some that are oddly shallow, so be careful.
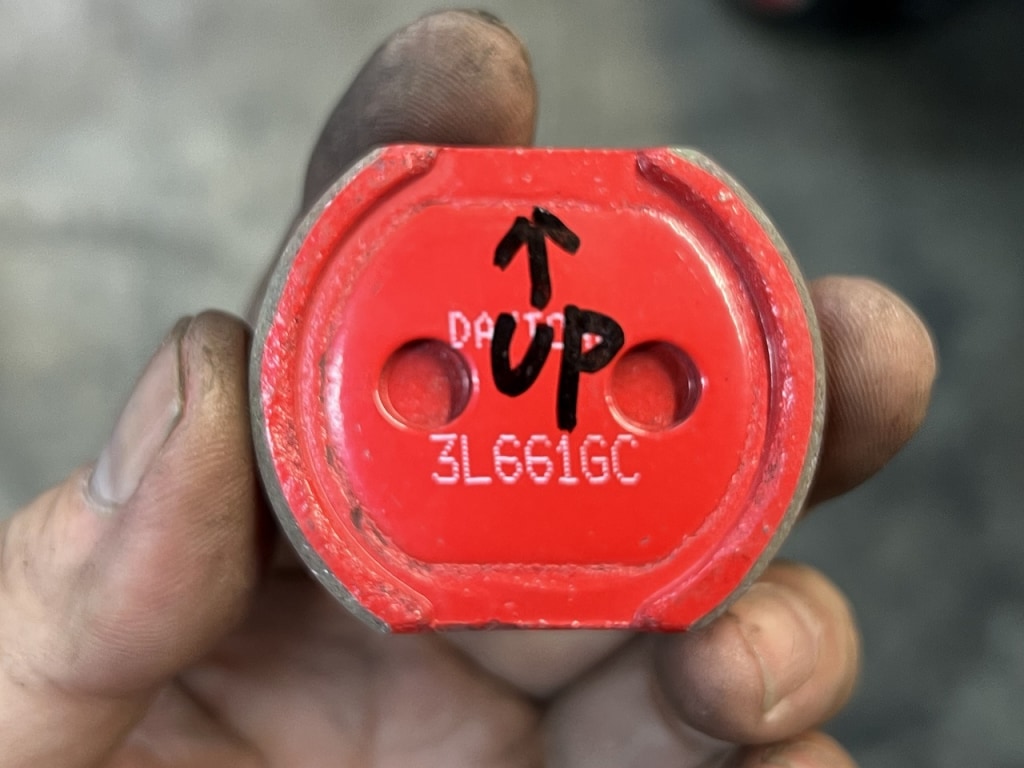
If you mark the direction of the sliding pad, you can assemble it the same way next time you remove it, so marking it is reassuring.
My evaluation of Daytona pads has gone up subtly. This type of single-piston brake pad operates more smoothly when the paint is thin and there’s less friction. Overall, I felt it was a very high-quality and wonderful finish.
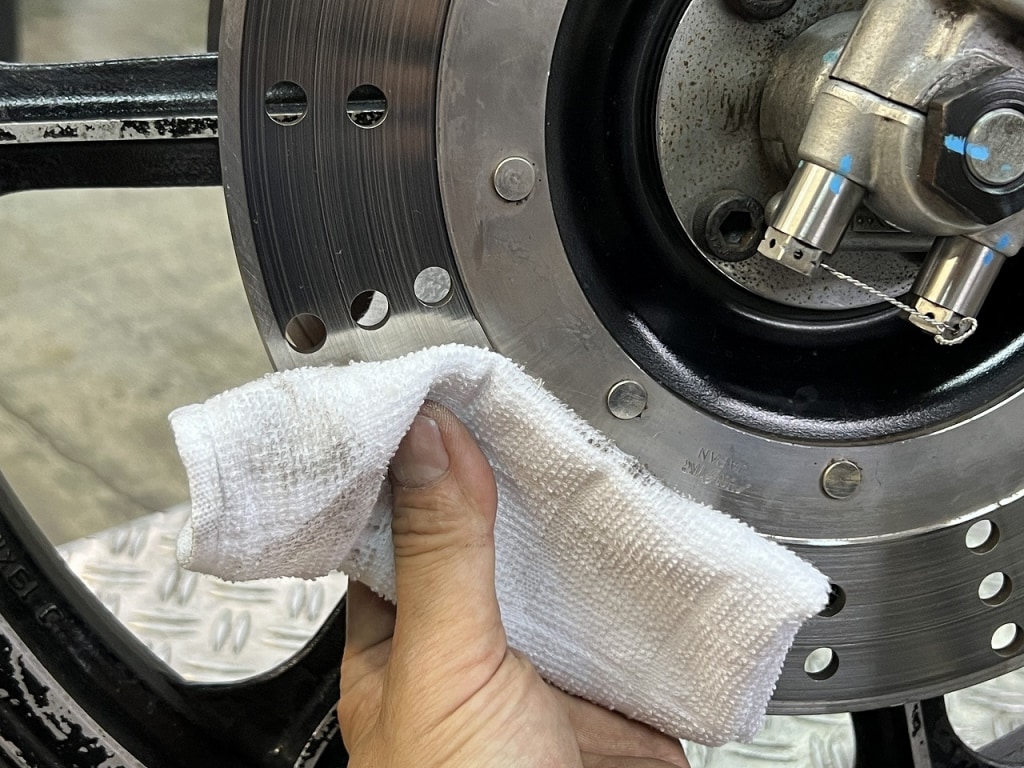
When installing new brake pads, it’s good to clean the brake disc side and prepare to welcome them—I think it makes for a good relationship.
Replacing the rear brake switch.
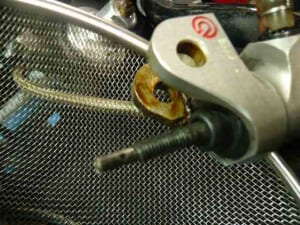
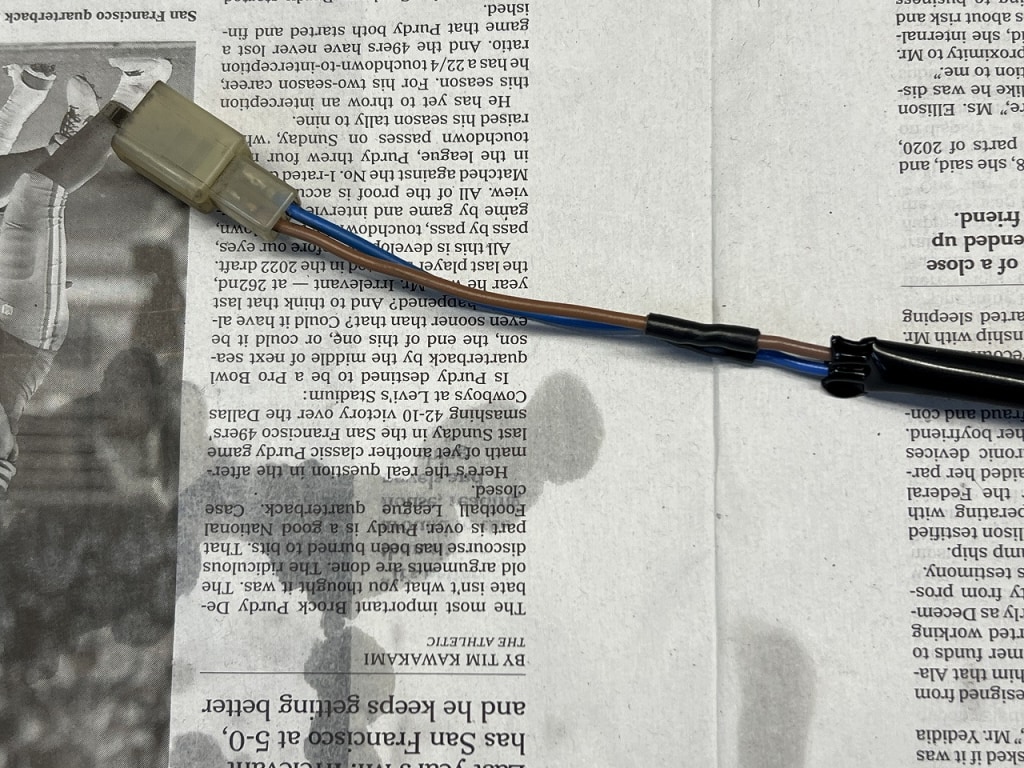
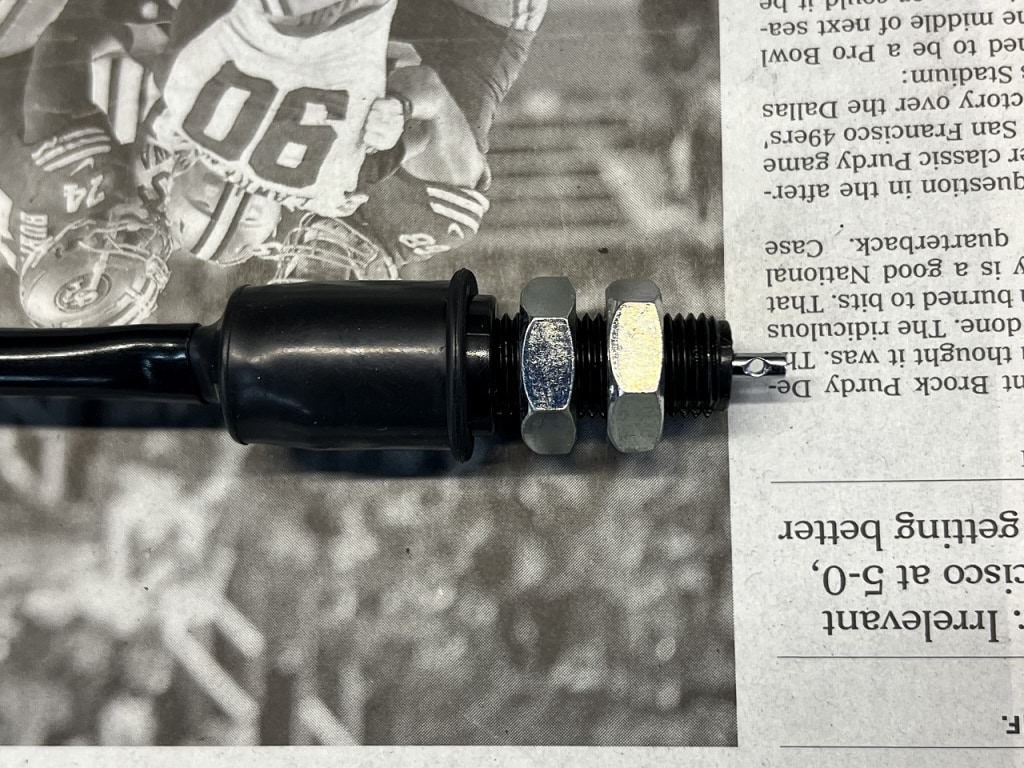
It’s brand new but didn’t arrive right away… So I extended the delivery. It’s a type that uses double nuts fixed with M6, which you rarely see these days—really inefficient and poor workability. Plus, they’re using metal nuts on plastic, so they break easily.
Modern brake lamp switches are just inserted into plastic clip-like nuts, making them easy to adjust and they don’t break. It’s just how things are these days.
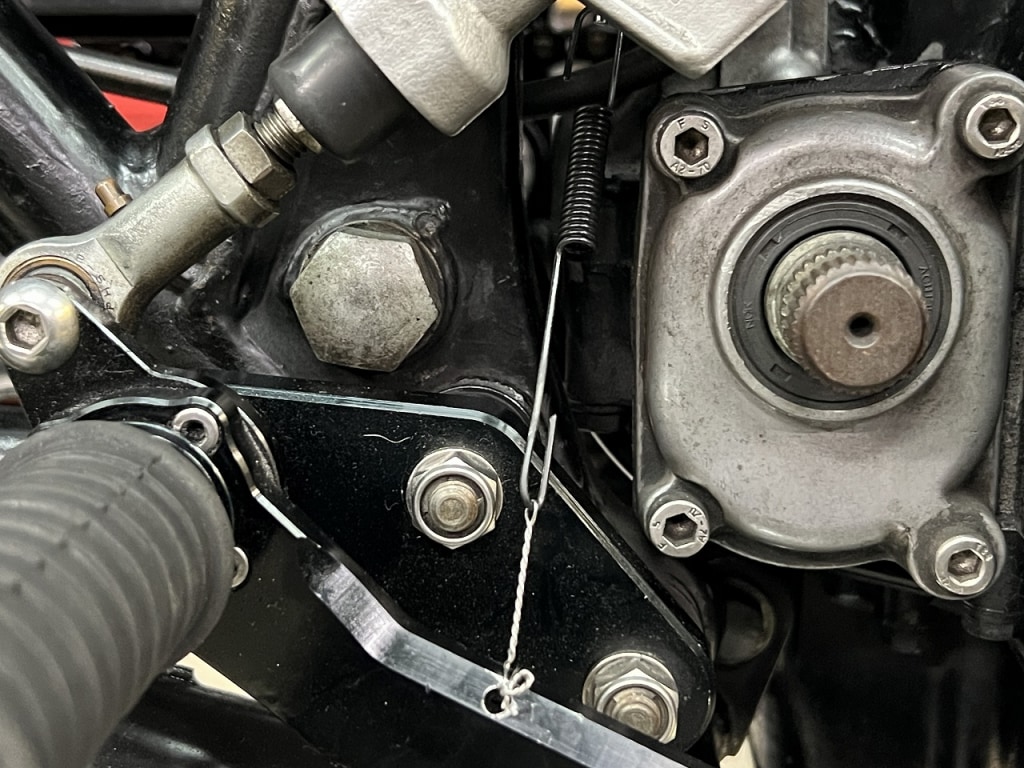
I installed it using a spring from the brake lamp switch. I also replaced the mounting bolts as a set.
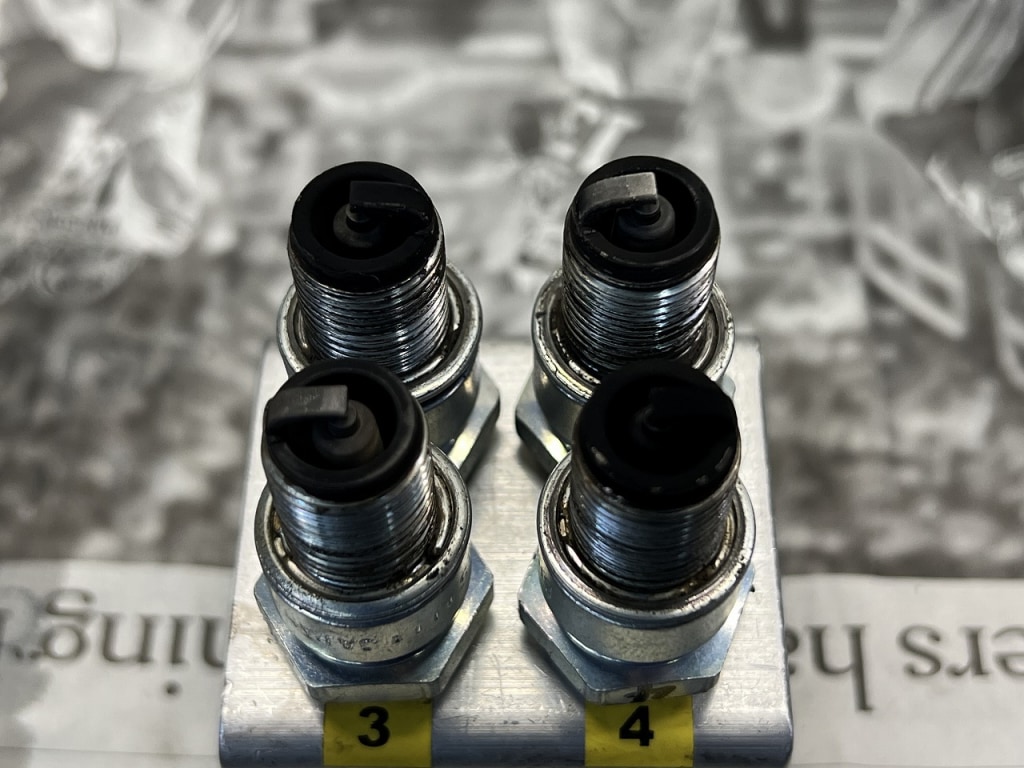
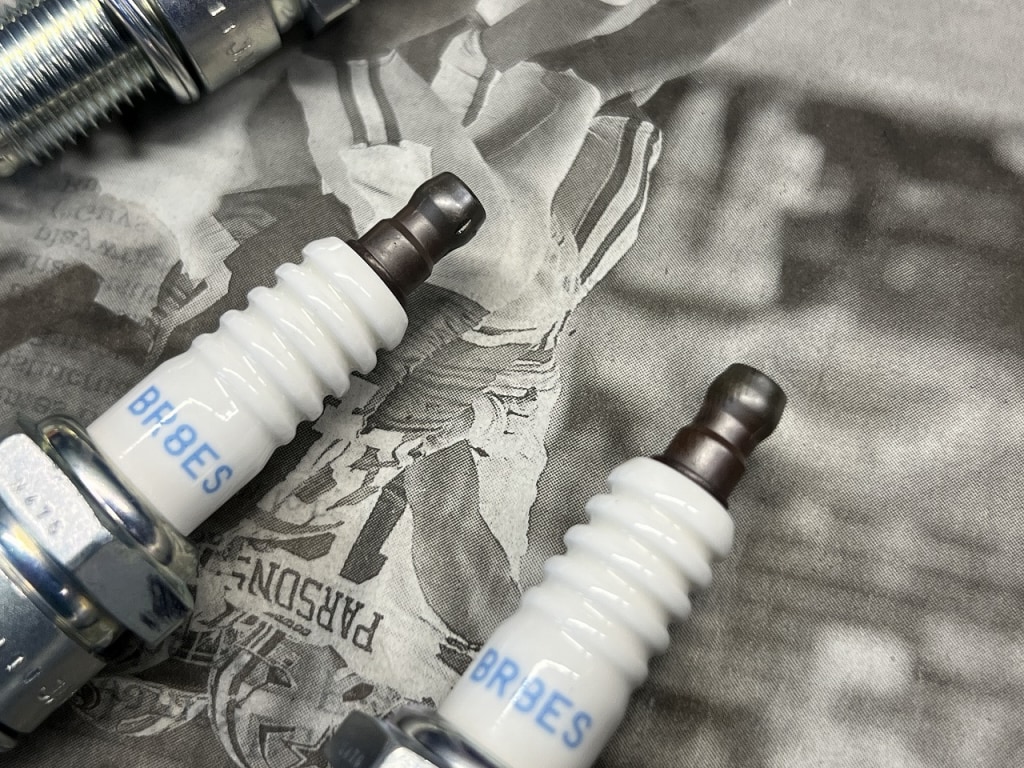
I made a mistake when I tried to replace the plug.
BR8ES doesn’t sell frequently, so we don’t always have it in stock. I accidentally ordered the integrated type instead, so I rushed to arrange for the correct one today.
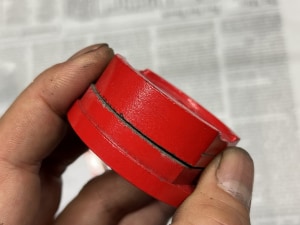
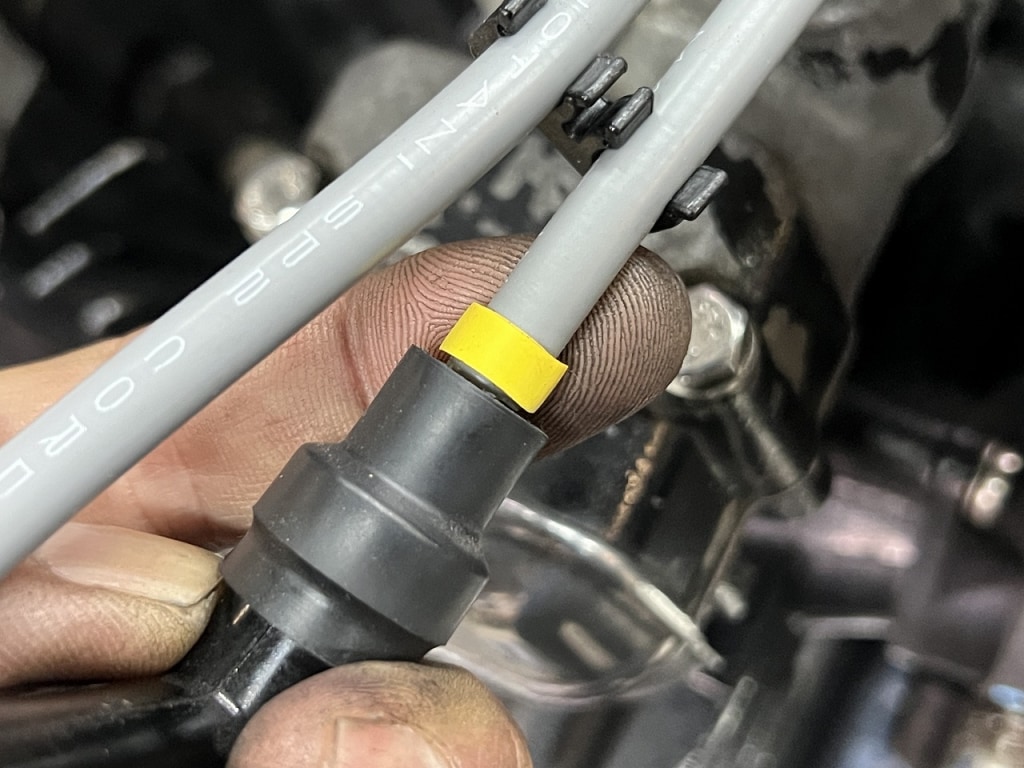
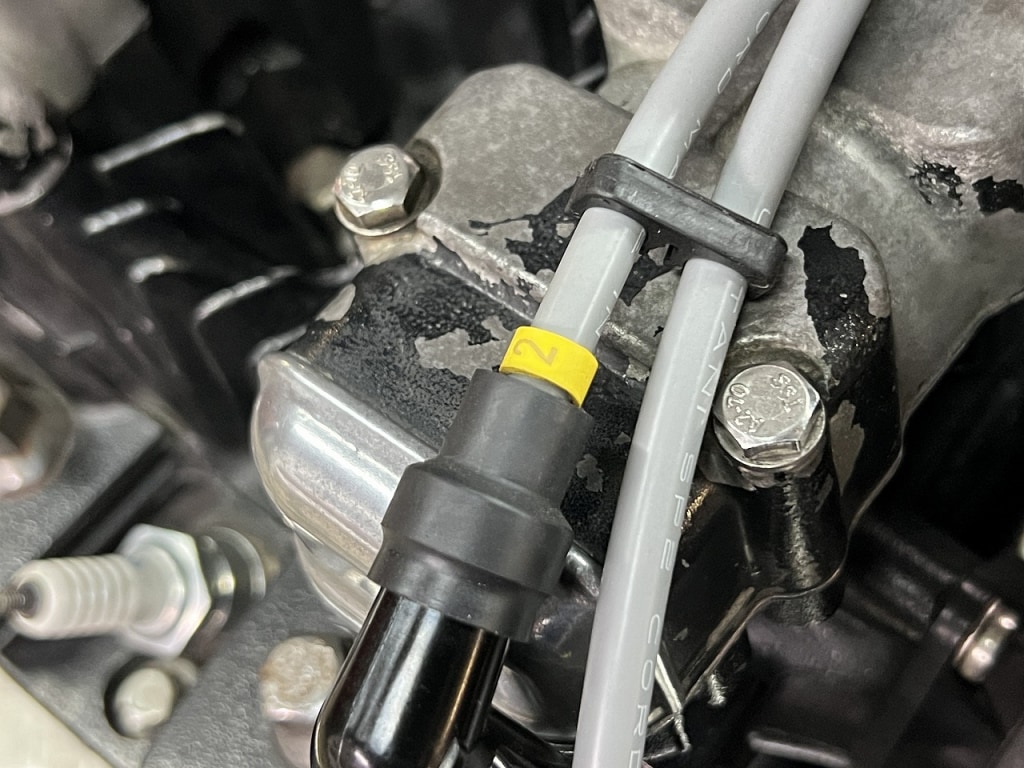
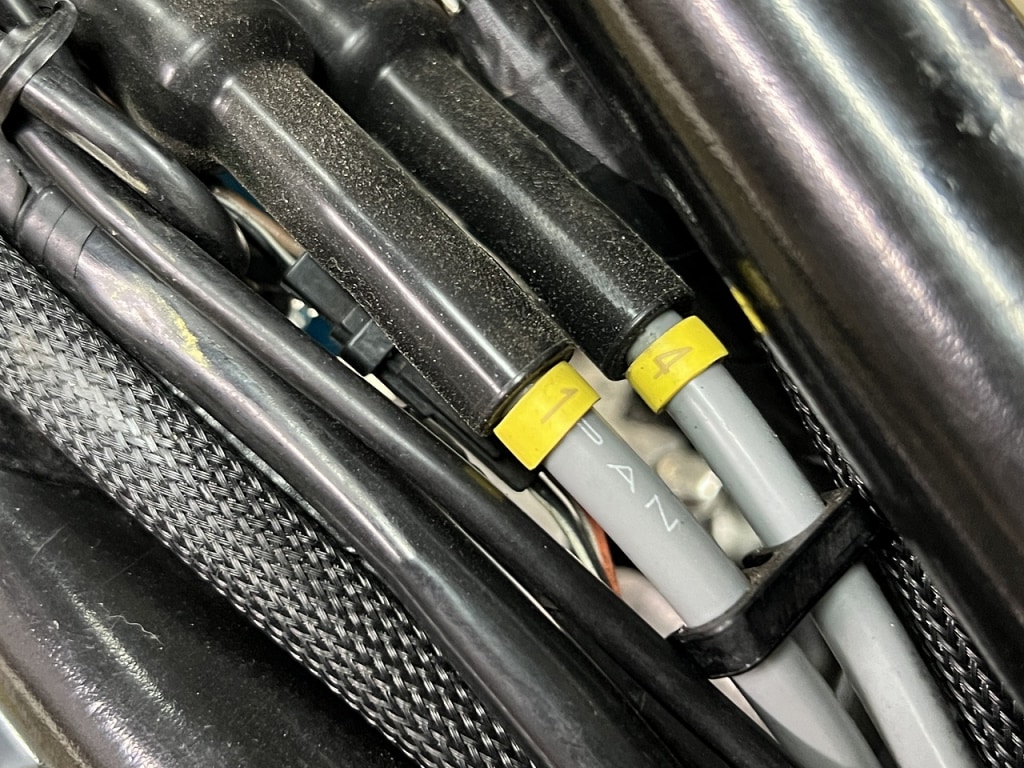
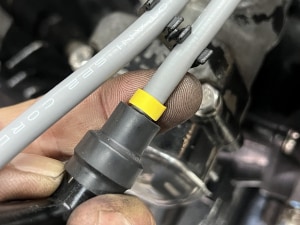
The Uotani genuine plug cord marker is excellent.
Ah, this is reassuring! I thought to myself. I really don’t want to use the common C-type clip style.
It’s numbering to avoid confusion when removing the plug cap during plug replacement. But with a C-type clip, if it accidentally comes off and falls into the plug hole, that’s the worst. Since dropping it is scary, if you remove the C-type clip and mark it with a marker, it defeats the whole purpose and adds the hassle of removing and installing.
When I saw it earlier, I was quite impressed. It’s quite thick and sturdy in material, and since it goes through, it won’t fall off unless you cut it. Plus, the plug cap side and coil side come as a set, making it very efficient for troubleshooting.
From now on, instead of using a P-touch label maker every time, I’ll get this and use it.



 ポチップ
ポチップ