Well, the shop has air conditioning and it’s comfortable, but it’s still hot somehow.
To all the motorcycle-related company presidents out there, please install air conditioning soon.
Or even a spot cooler would be appreciated.
This one hasn’t gone very far either, so we’ll do a quick bit of work and be done.

 ポチップ
ポチップ
First, we’ll wet blast the handlebar
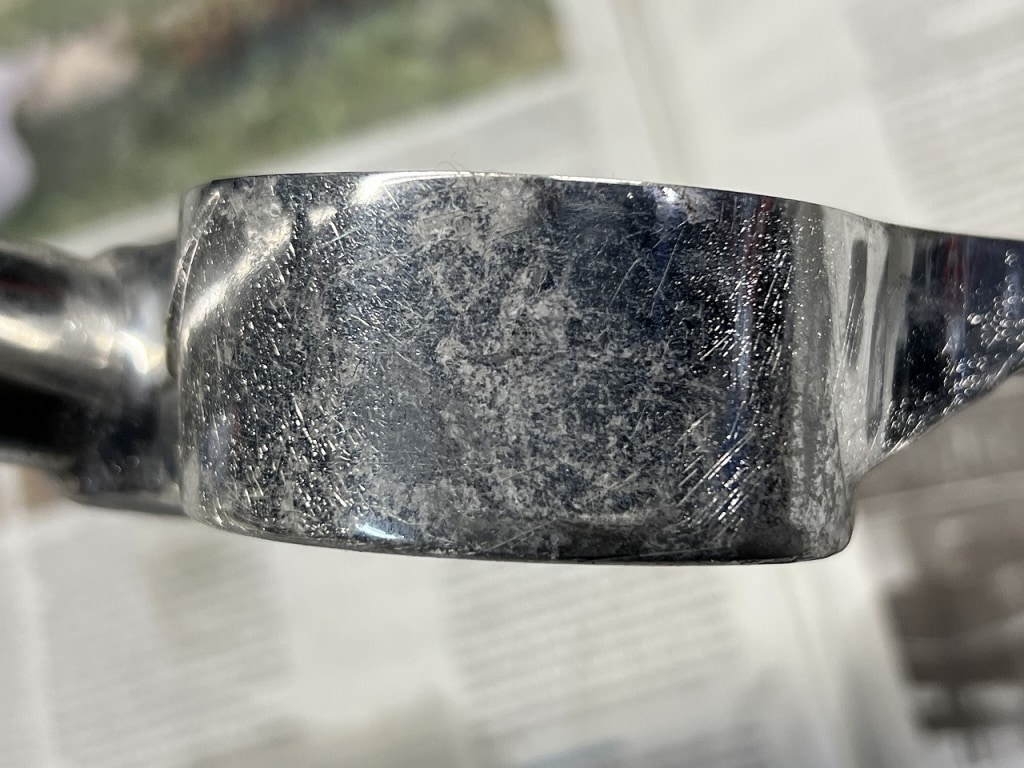
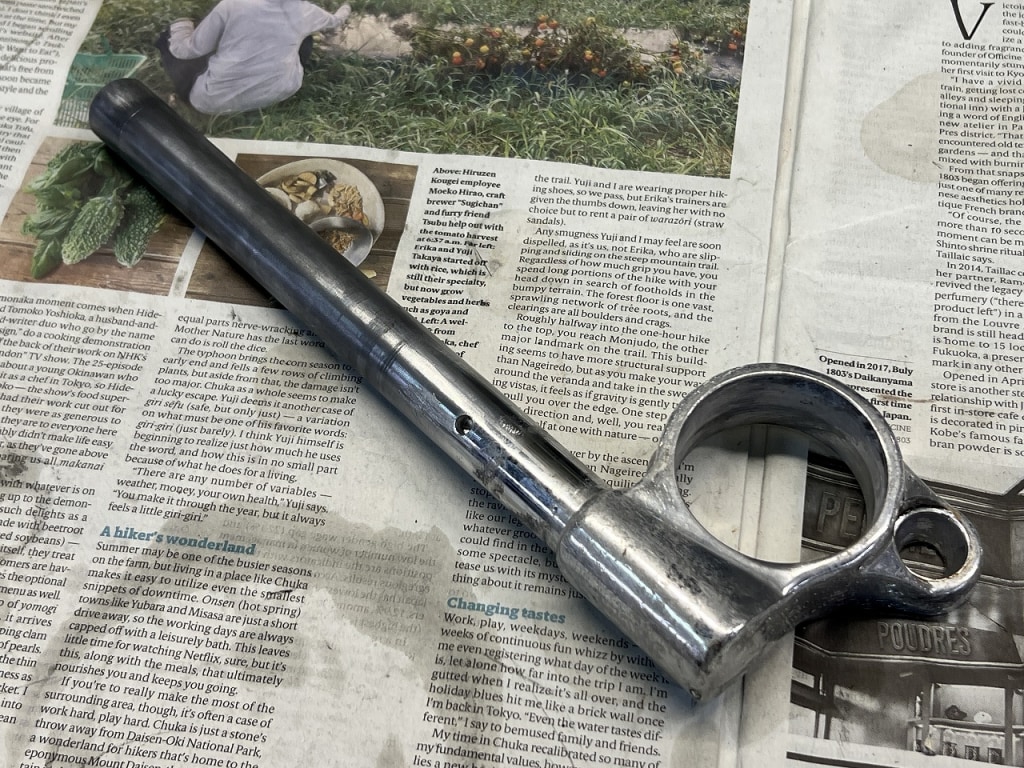
This is a common case of buffing + clear coat.
When you buff and apply clear coat, it often ends up looking like frosted glass after time passes.
The clear coat doesn’t adhere well to the shiny aluminum substrate.
Since this was a concern, we’ll polish it with wet blasting.
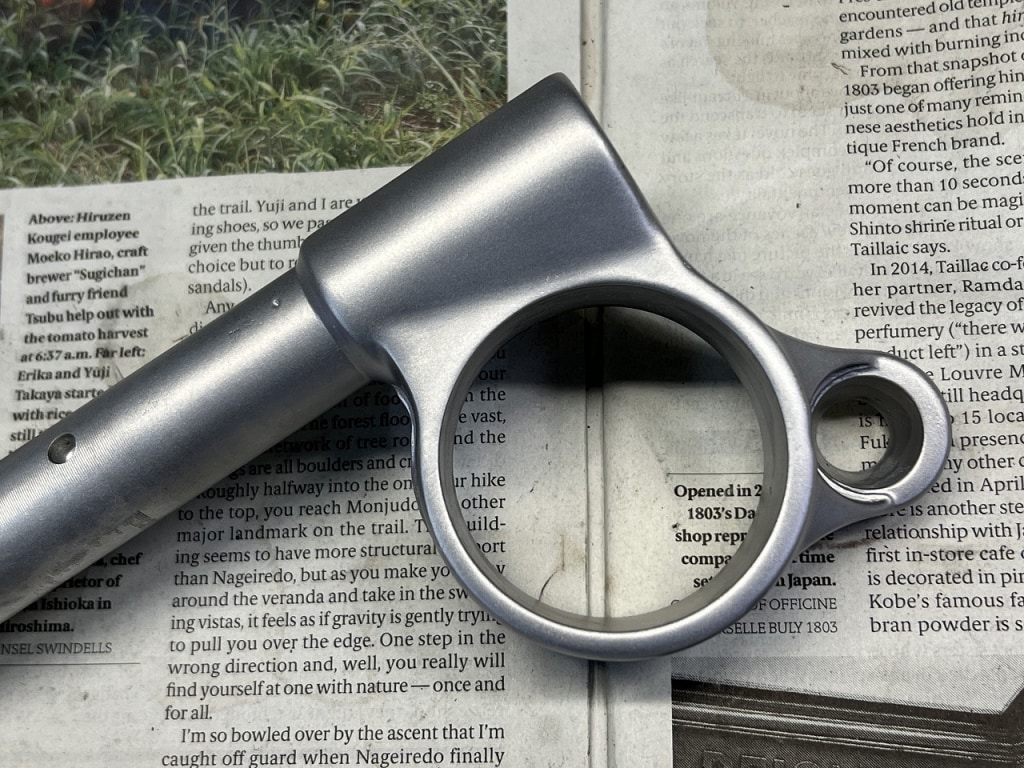
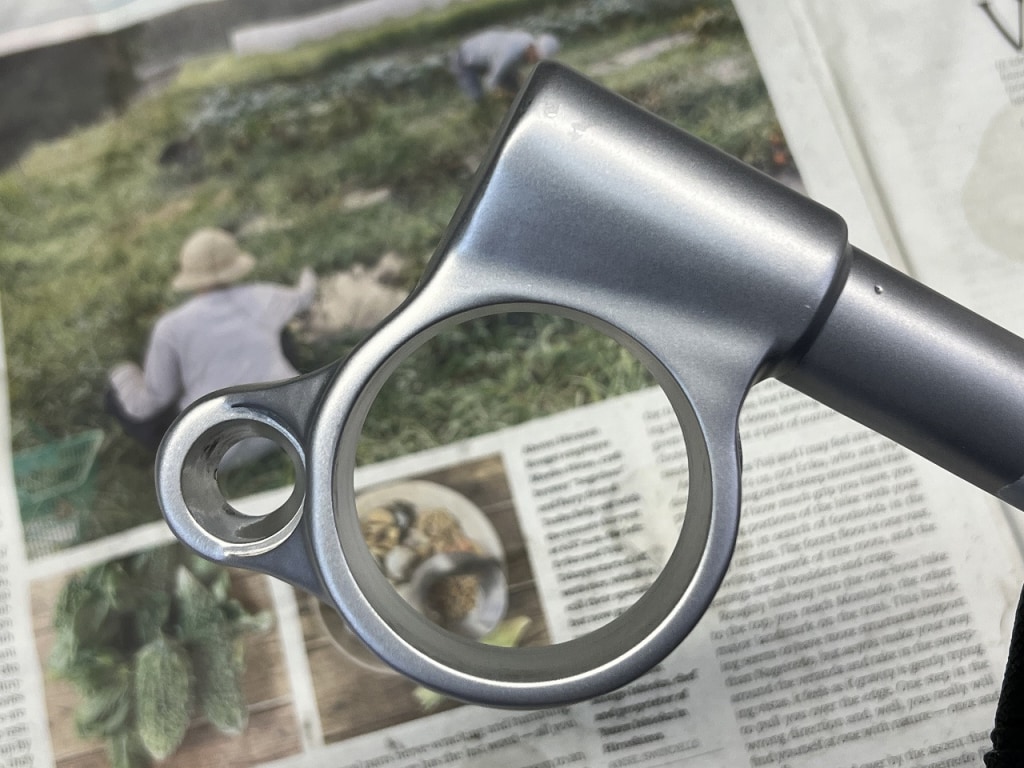
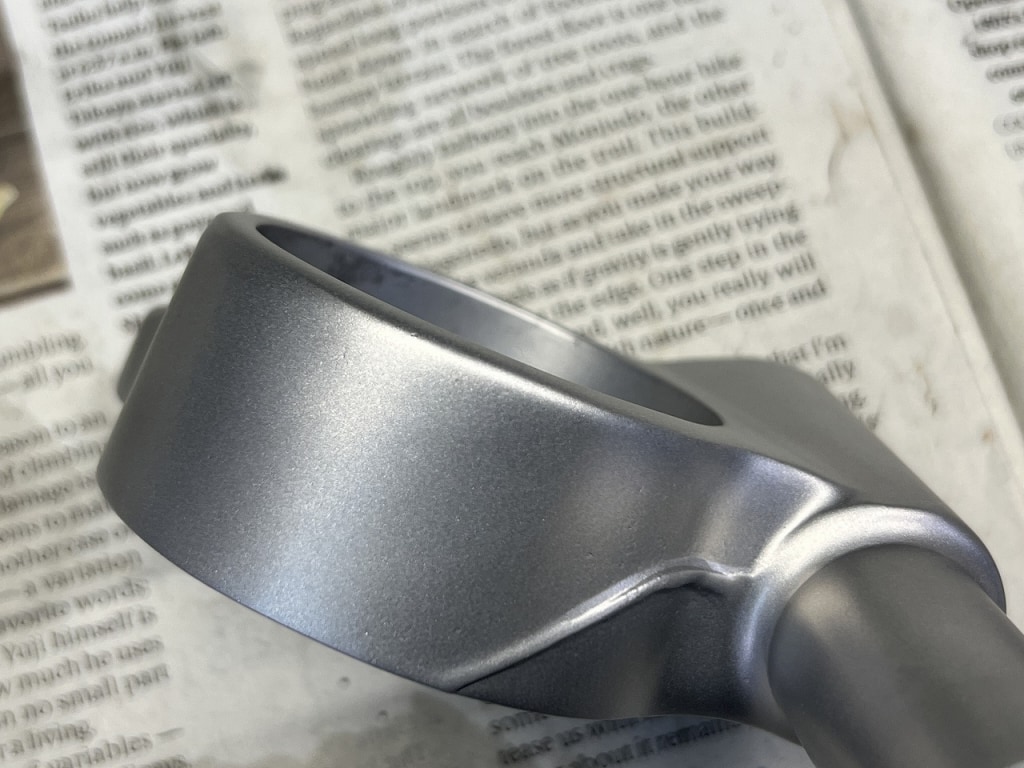
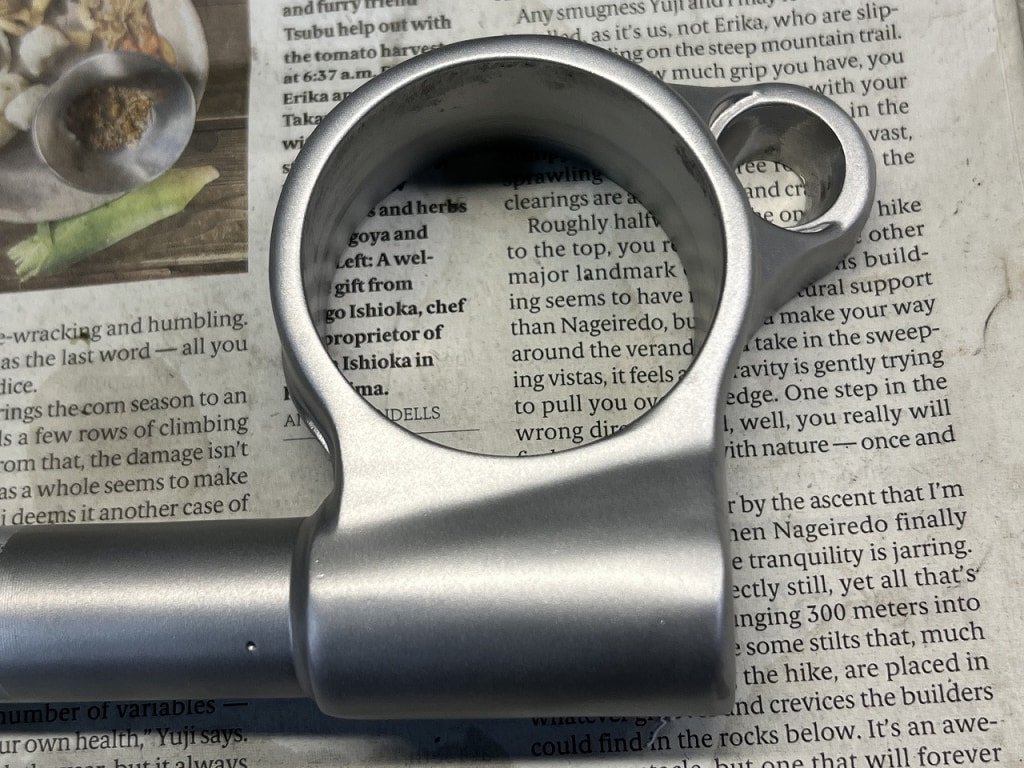
And that’s how it turned out.
It took longer than I expected. The difference between areas where the coating peeled off and where it didn’t was significant, which made it time-consuming.
I did one side first, but when I started the other side, I had an epiphany.
Obviously, it’s faster if you remove the coating somewhat beforehand.
I’m going to try removing just the clear coat first.
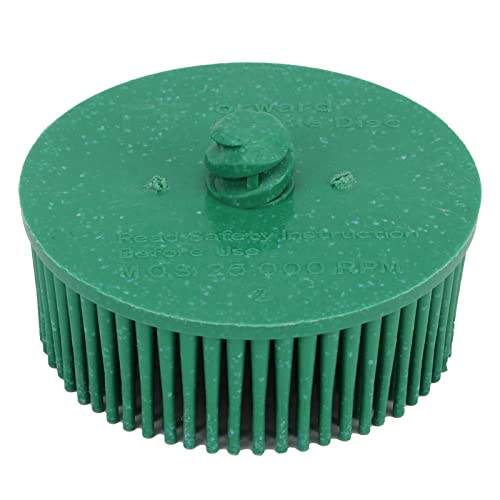
I forgot about the existence of 3M Roloc Bristle
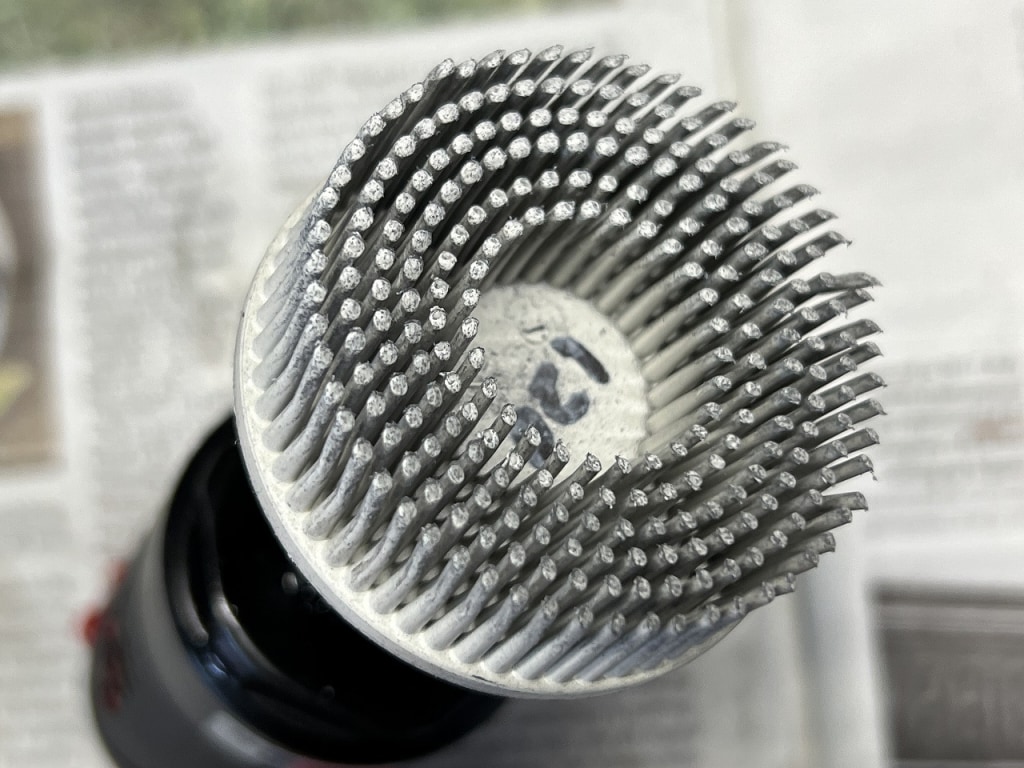
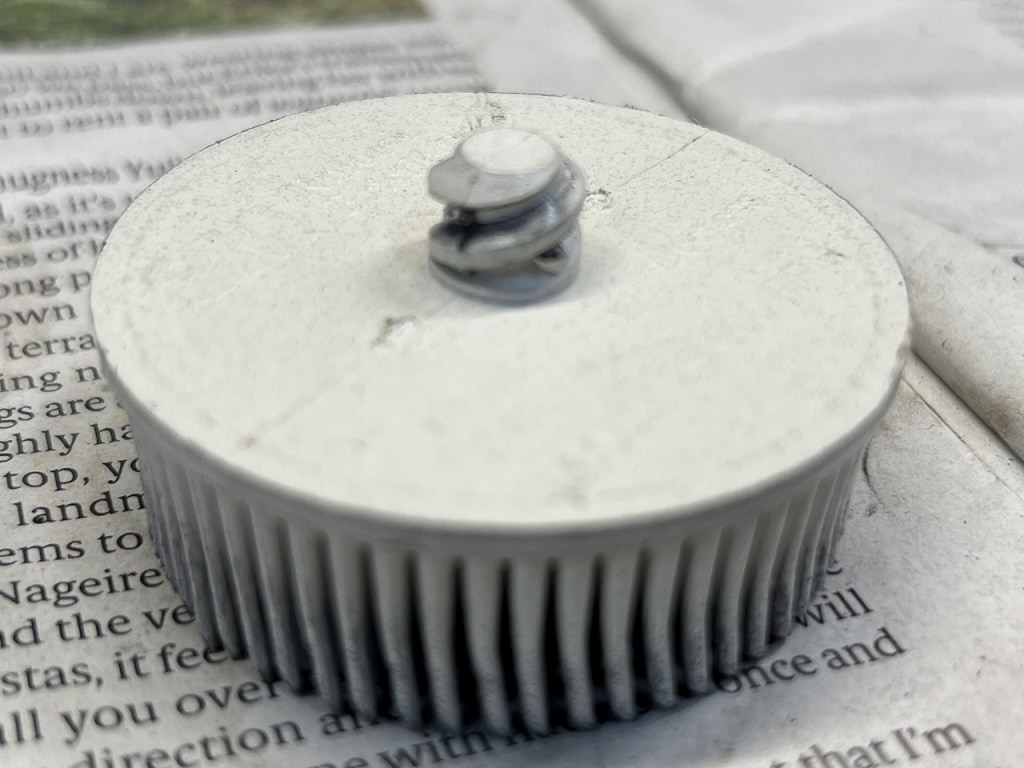
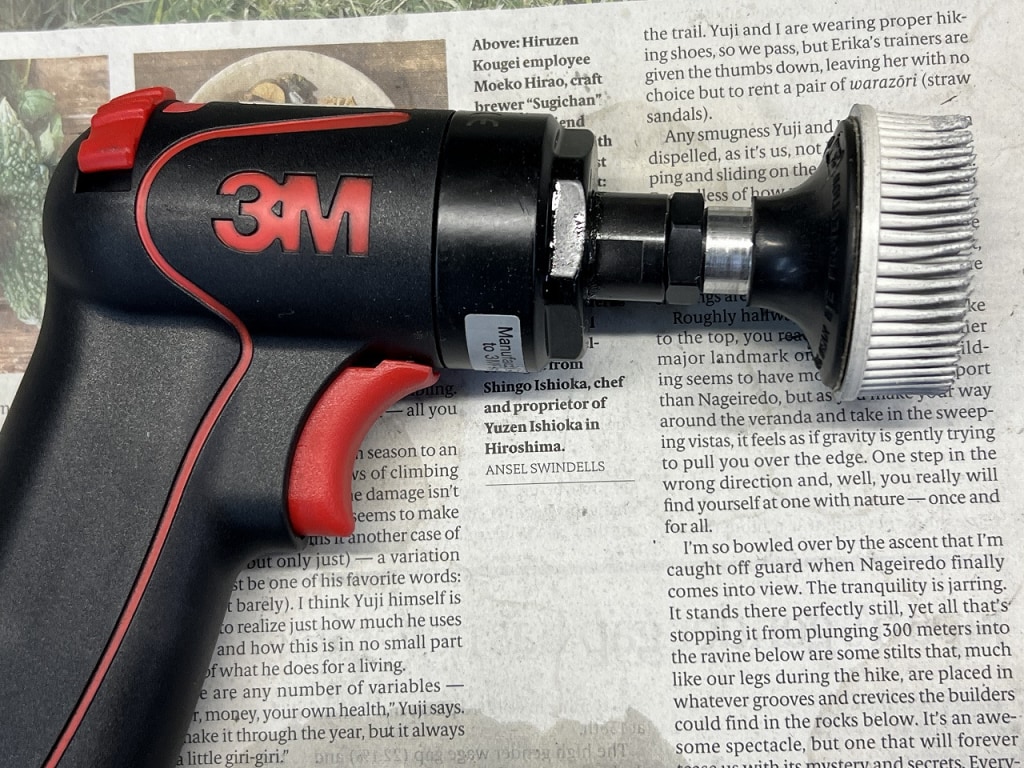
This is a tool I saw on Instagram and was curious about, so I bought it.
You really don’t understand a tool until you actually use it.
The tricky part about this tool is first, the abrasive is expensive,
and the fixing method is threaded, meaning you need to purchase a dedicated air tool.
I realized after buying this tool
that there might be a conversion attachment to fix the Roloc to a regular rotary tool or something like that…
Since I’d already bought the tool, I was shocked and didn’t dig any deeper.
My impression after using it is that it removes the coating cleanly without damaging the aluminum substrate.
Even after removing with the Roloc, wet blasting afterward caused no problems at all.
I think this is a very effective tool when you want to remove the coating without damaging the base material too much.
 ポチップ
ポチップ
 ポチップ
ポチップ
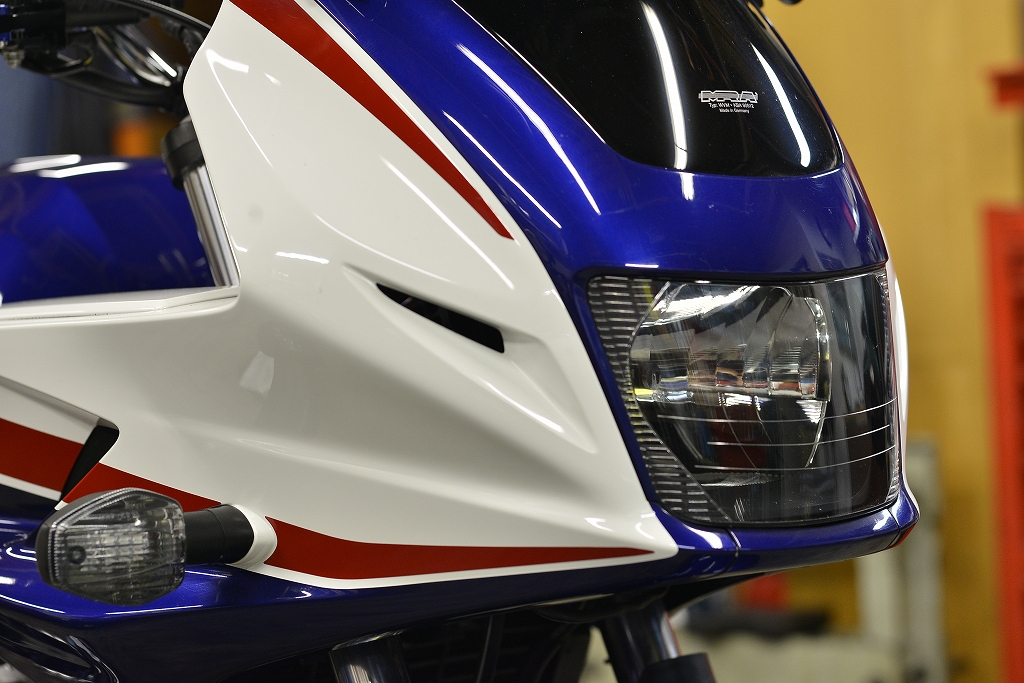
Let’s replace the cracked screen with the OEM one
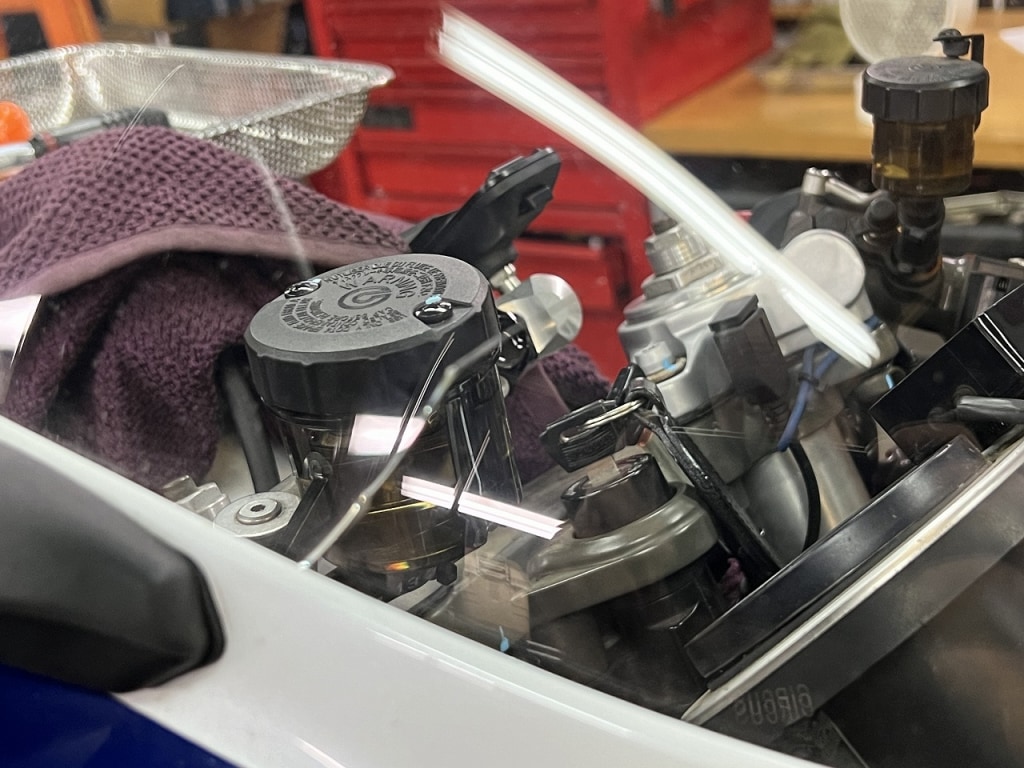
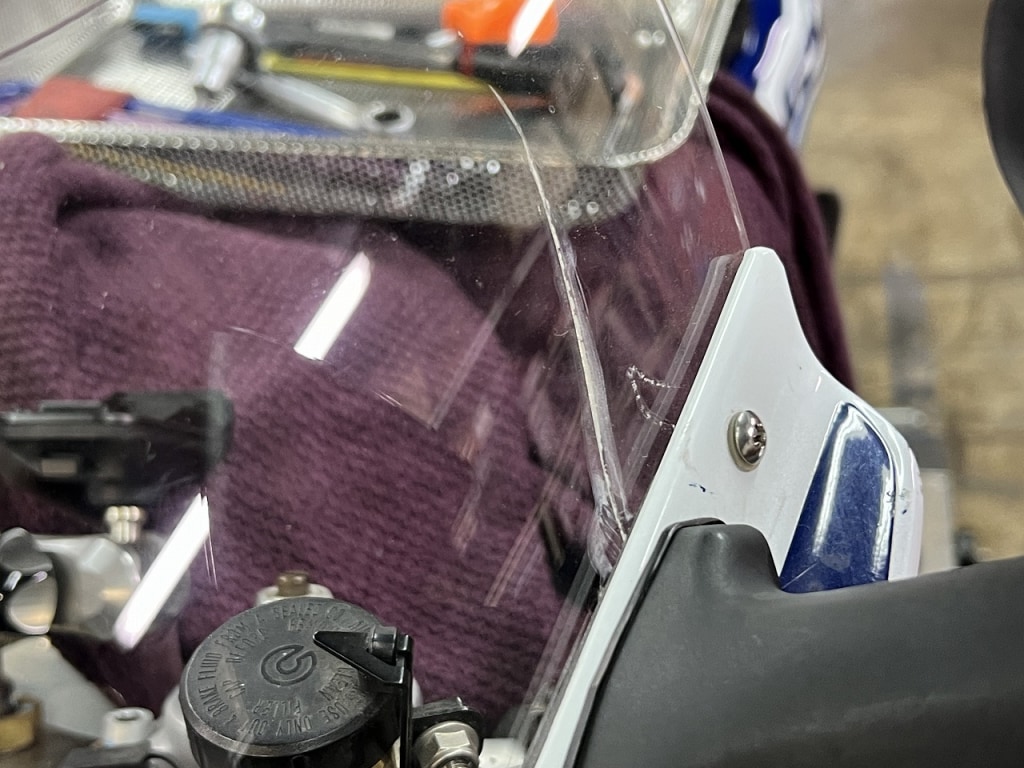
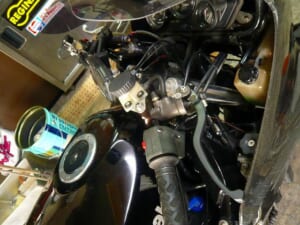
The focus went to the master tank.
Both left and right have cracks, so the customer wants it replaced with OEM.
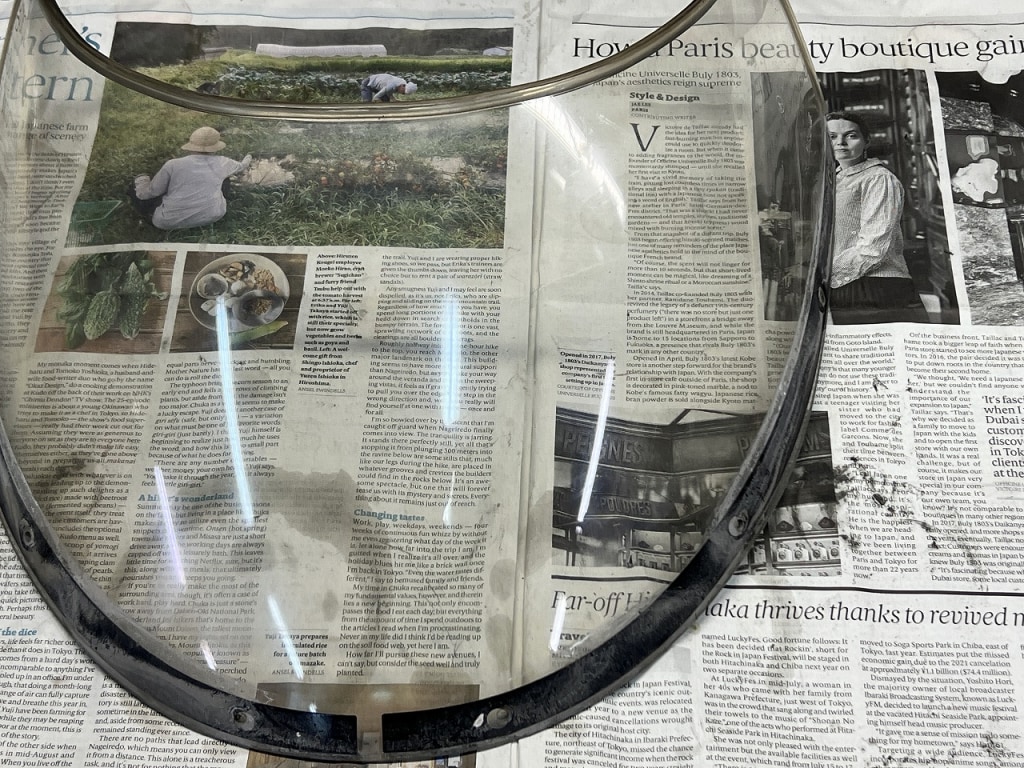
It’s quite cloudy, so I’d like to polish it a bit.
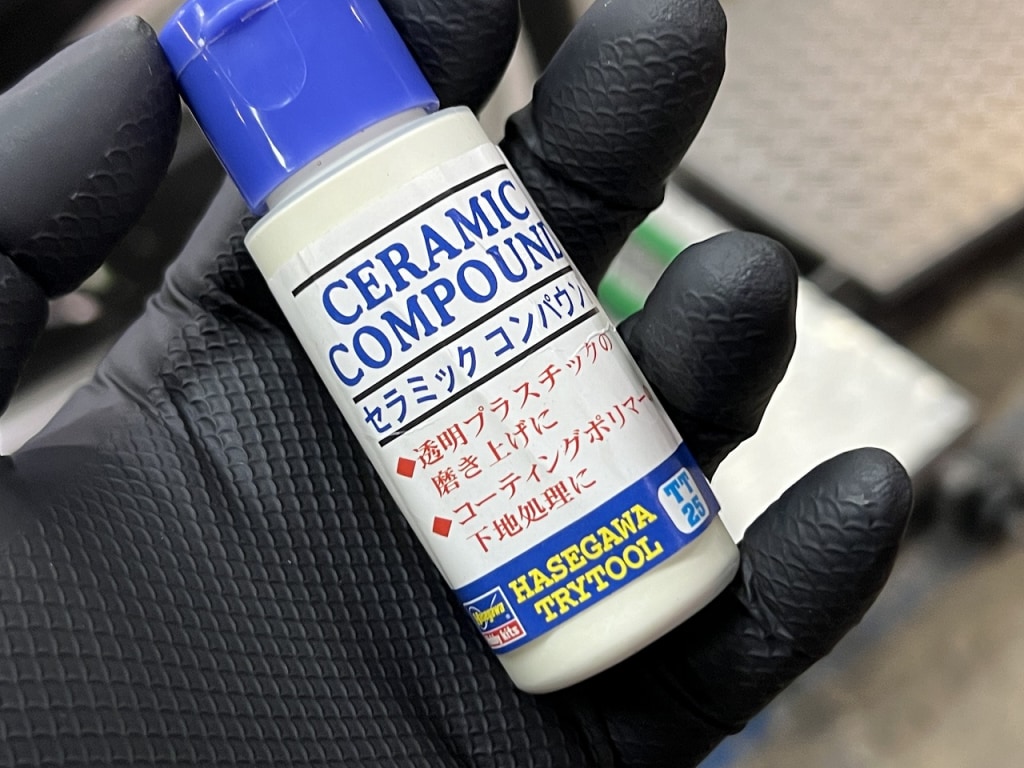
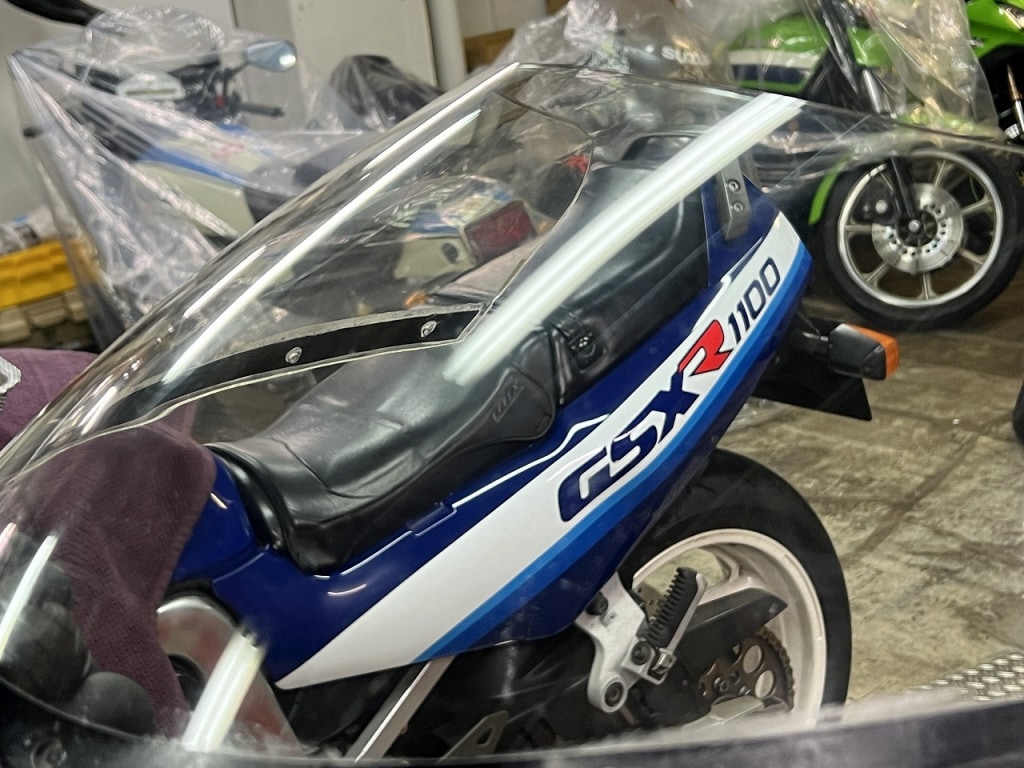
For polishing screens, ceramic compound is the standard.
It can even remove fine scratches on exterior parts.
You can find it on Amazon and other sites, so I think you’ll be amazed once you try it.
After polishing, we enlarged the holes and secured them with new well nuts.
Let’s replace the brake fluid.
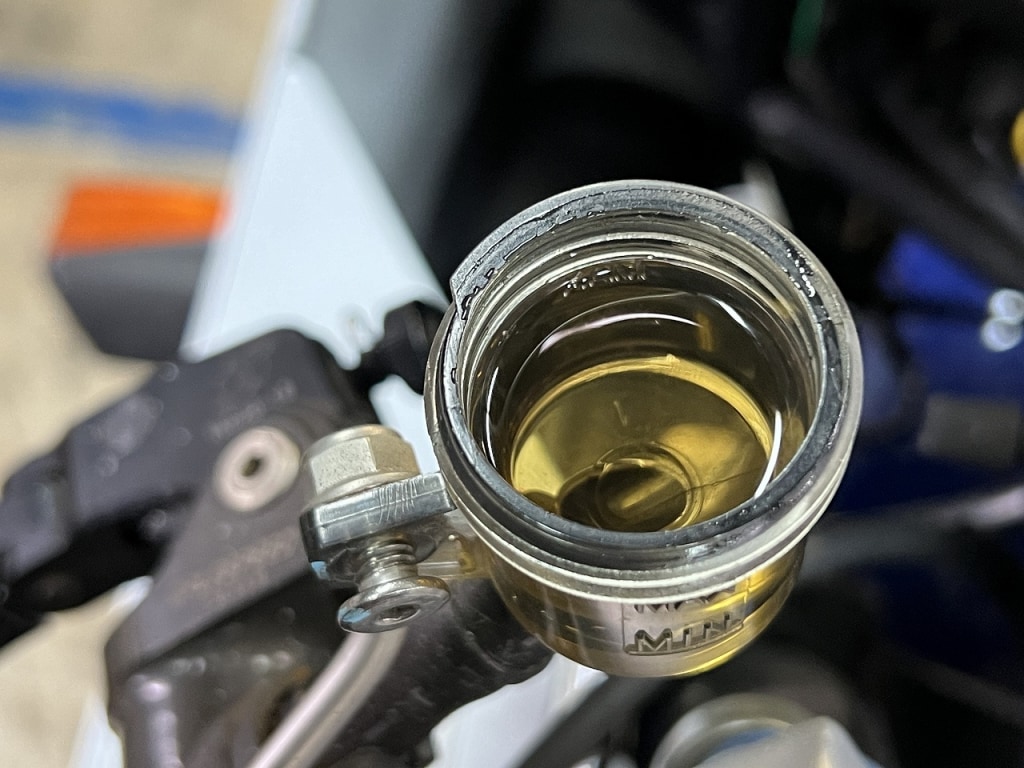
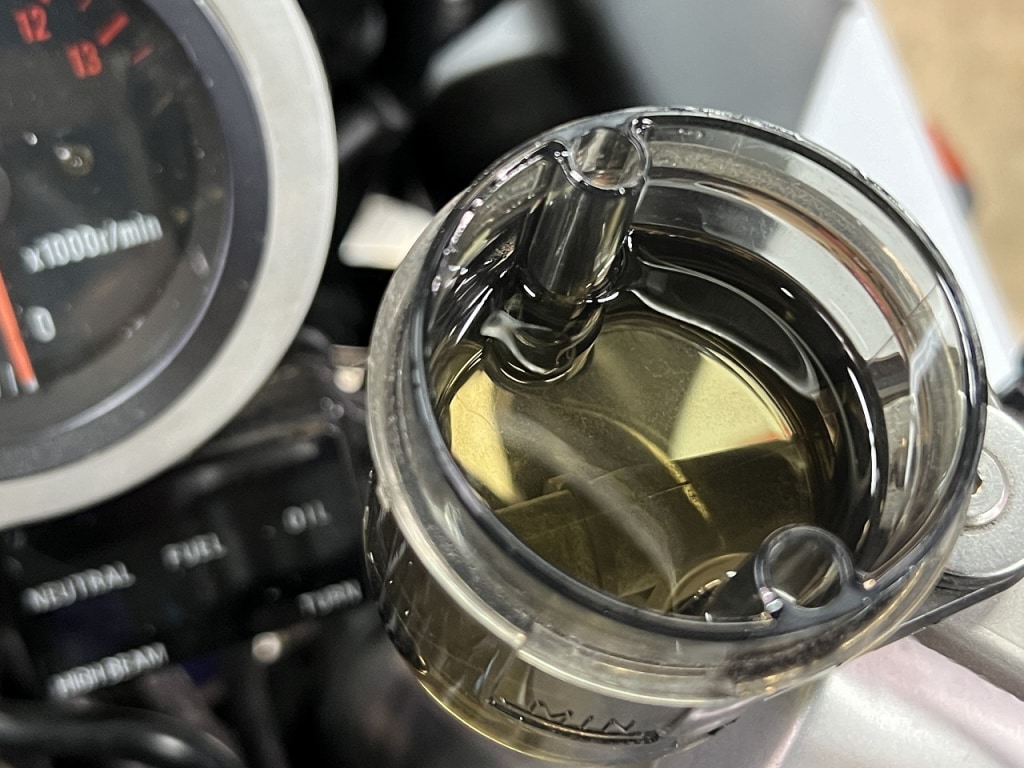
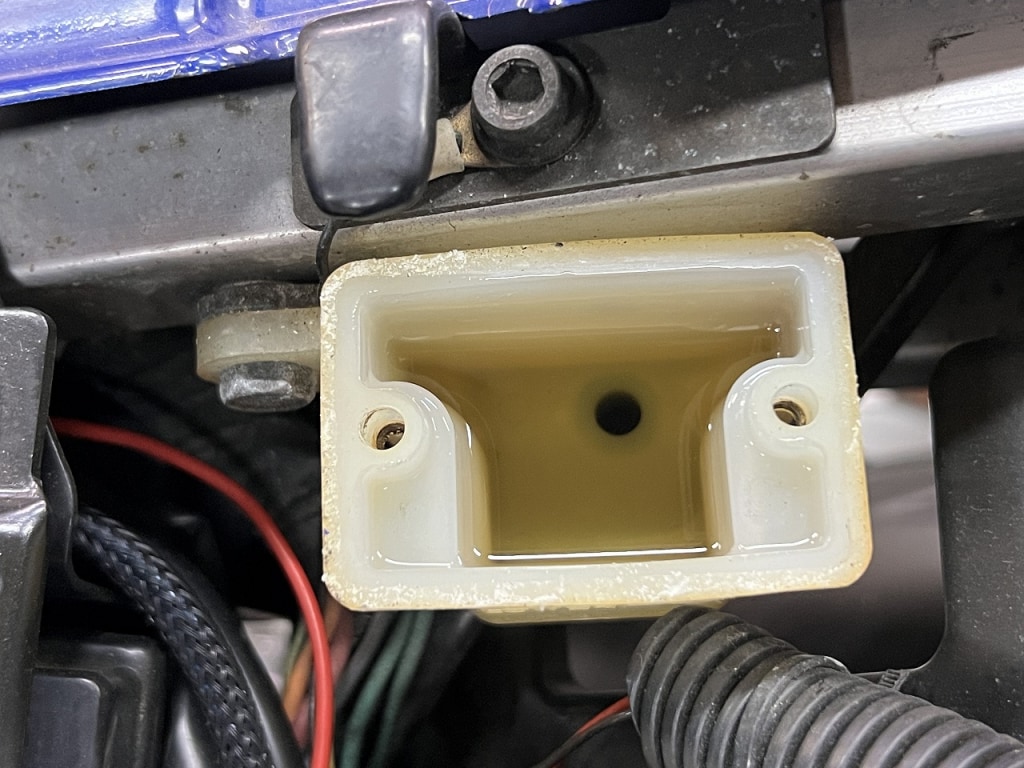
The fluid was in good condition.
That said, if the master tank fluid is dirty, the caliper side must be pretty bad.
The oil doesn’t flow up from below, so the tank side stays relatively clean.
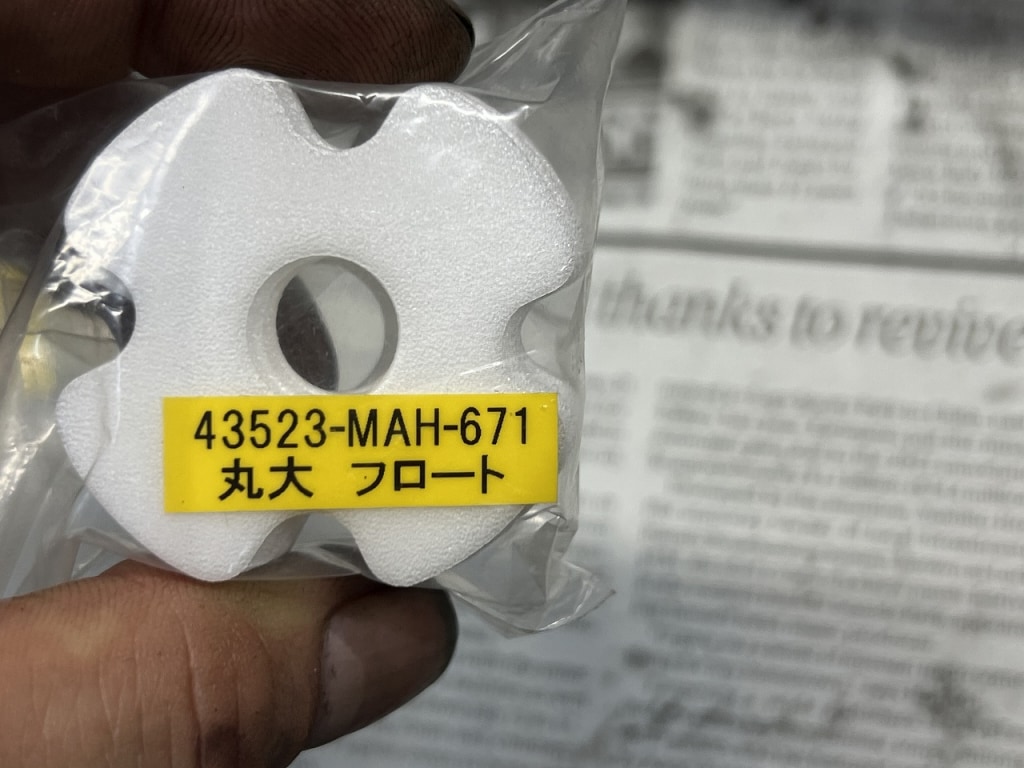
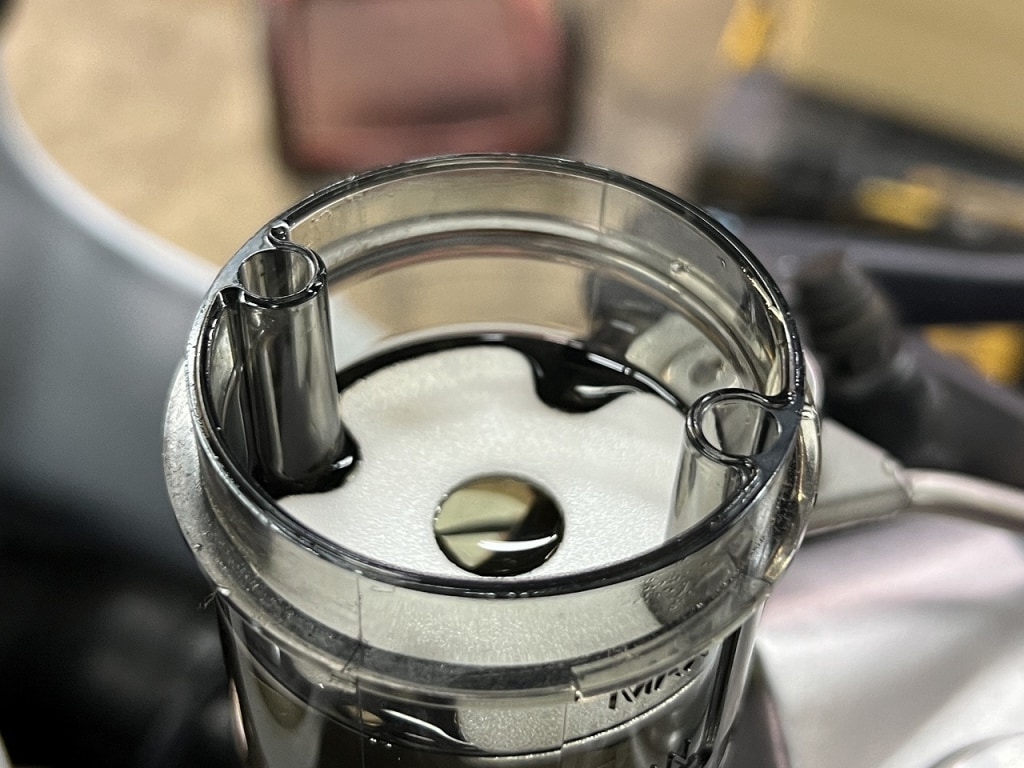
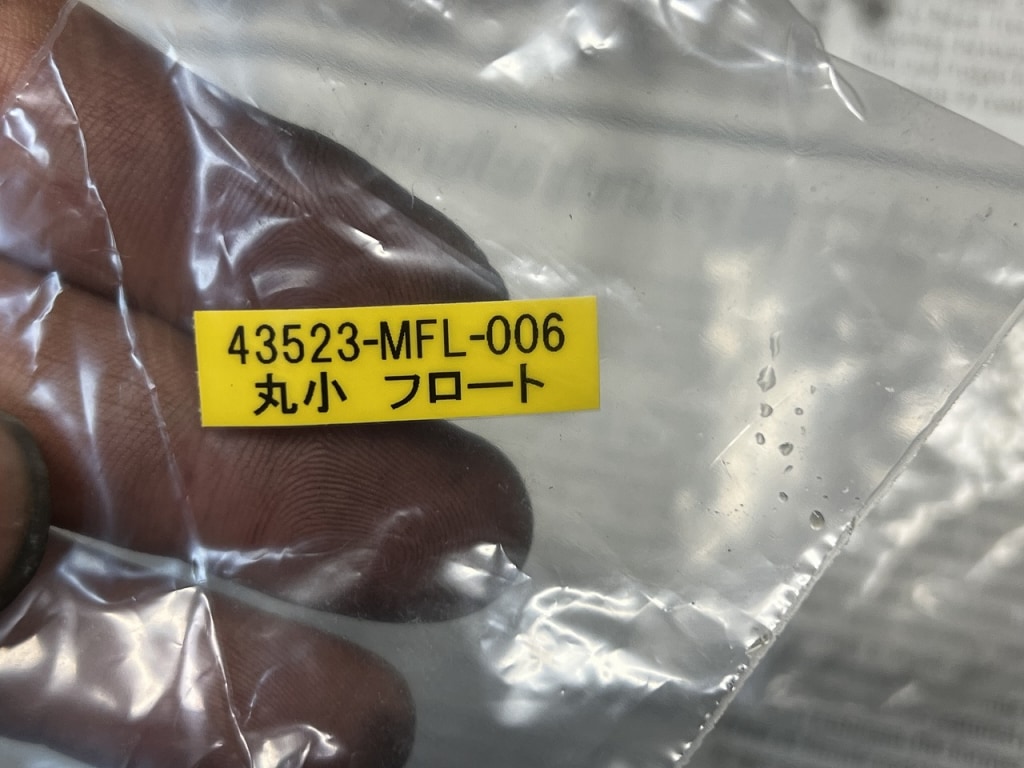
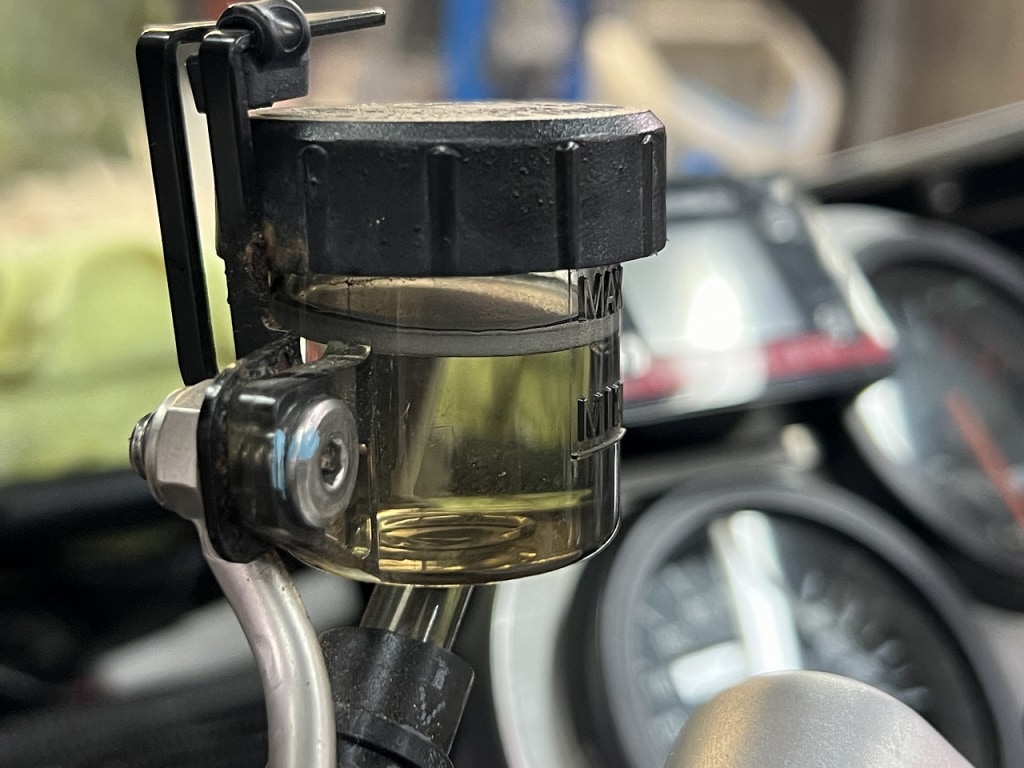
Honda has an OEM part called a master tank float.
It’s an expectation part that should suppress some vibration-related bubbling and foaming.
Honda 43523-MAH-671 Master Tank Float Large for Brembo S 50 and such
Honda 43523-MFL-006 Master Tank Float Small for Brembo S 15 and such
It’s a handy OEM part you can use as a small trick, so check it out.
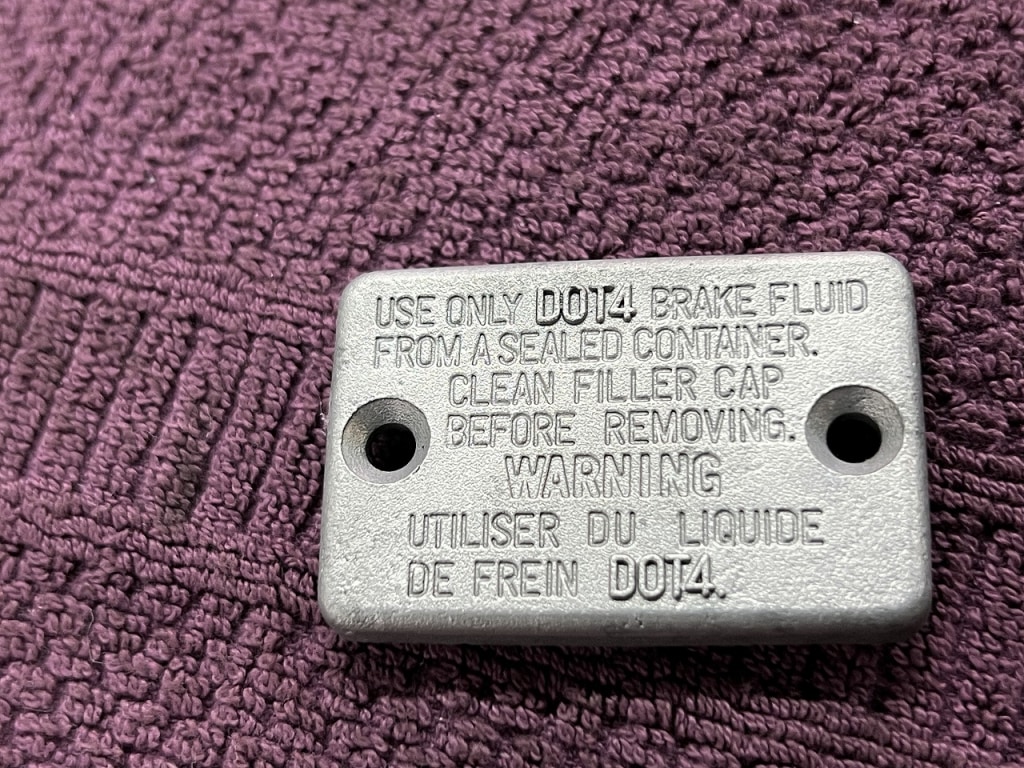
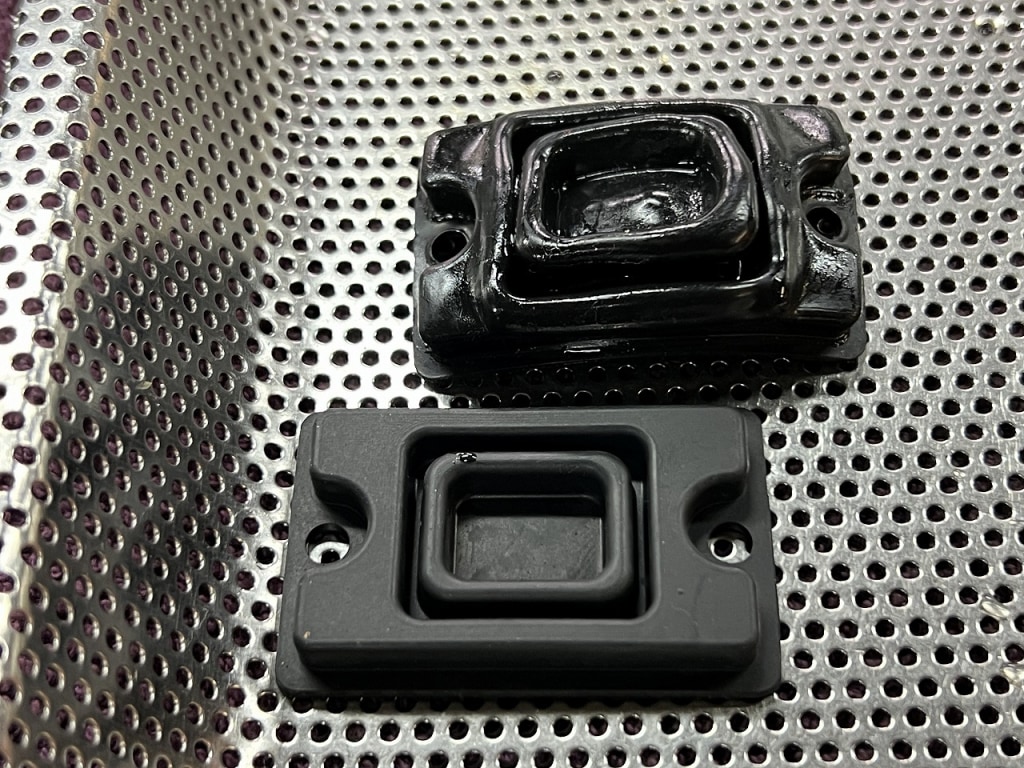
The rear master diaphragm was deformed, so we replaced it.
The master tank cap was starting to corrode, so we gave it another round of wet blasting.
If you have wet blasting, you can clean it with the same process, which is very efficient for the work.
With painting or anodizing, you can only polish it.
If you choose the right treatment for the situation, I think the clean condition will last longer.
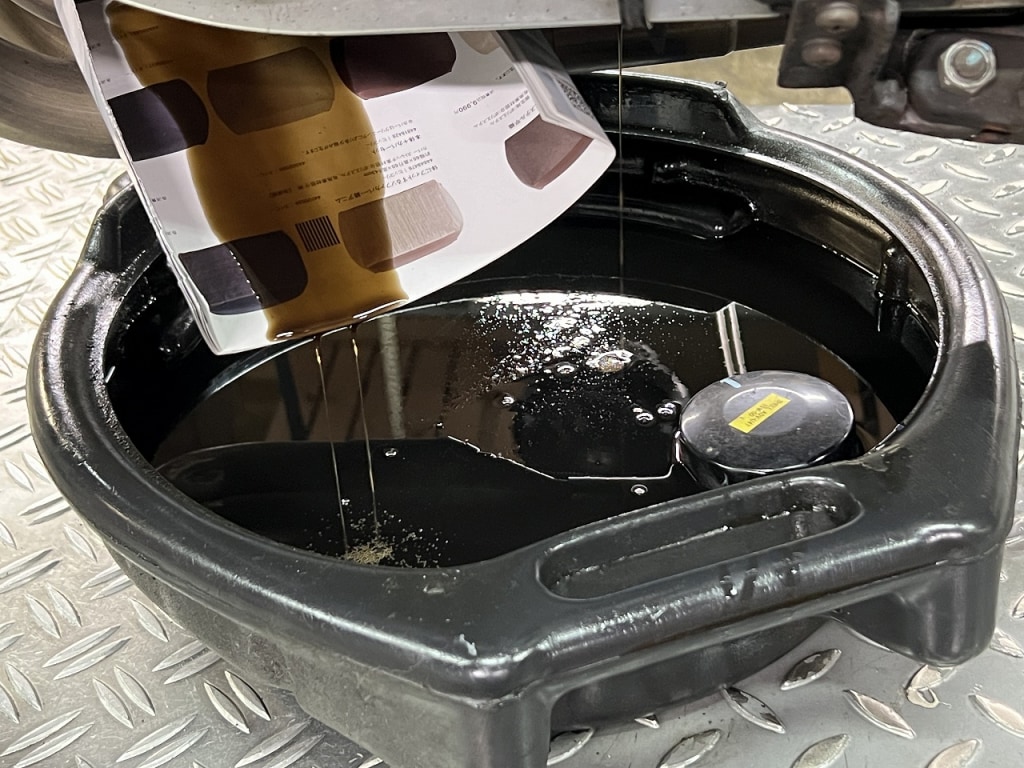
We replaced the engine oil with Shell Advance Ultra 4T.
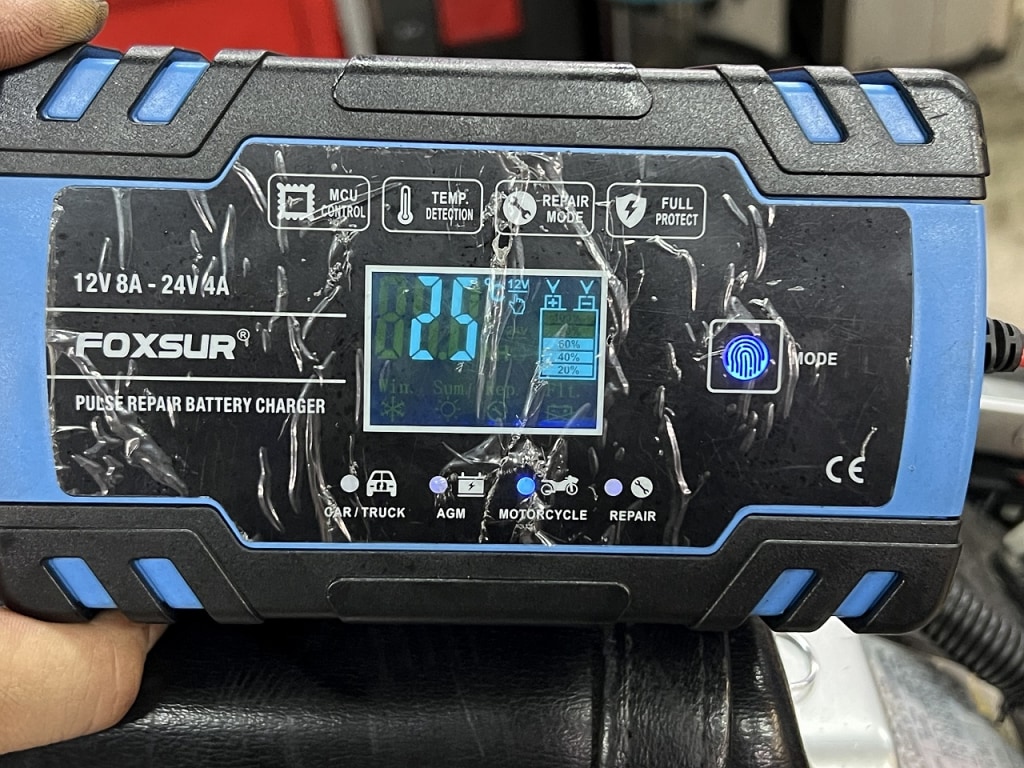
We also charged the battery while we were at it.
All that’s left is a test ride and we’re done.
ポチップ
 ポチップ
ポチップ
 ポチップ
ポチップ