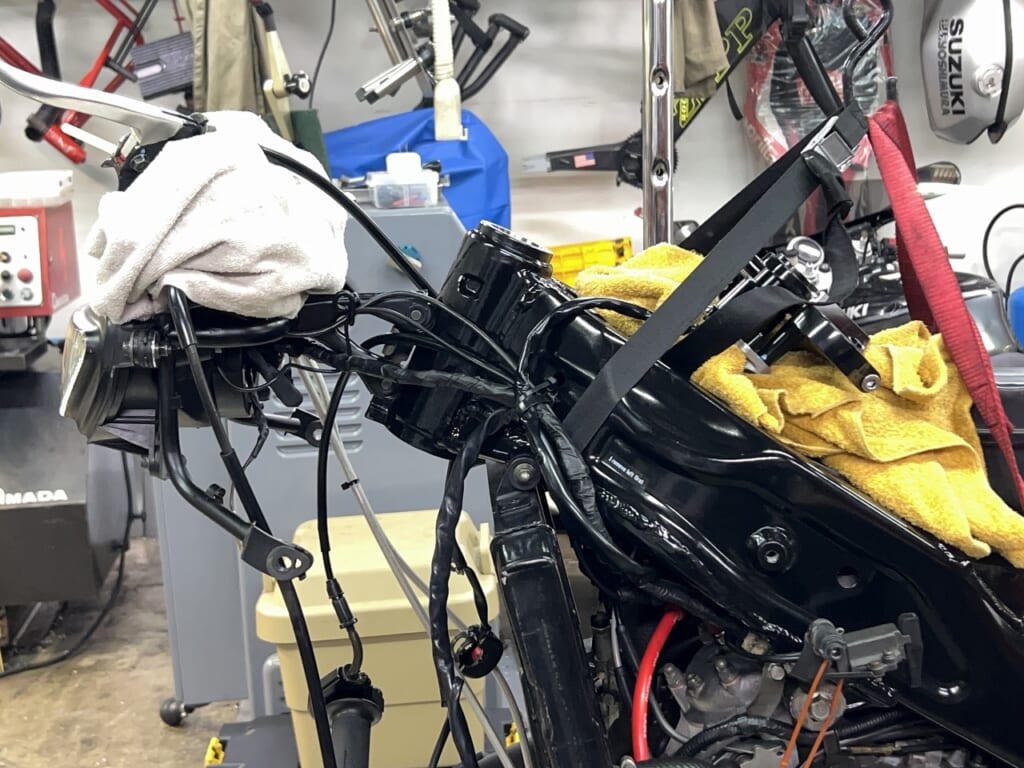
Lifting the front of a bike without an under-tube is tough.
Even when you try to lift it, it’s surprisingly not that easy….
Do you have any ideas?
We’ve added front maintenance, so let’s keep the work progressing.
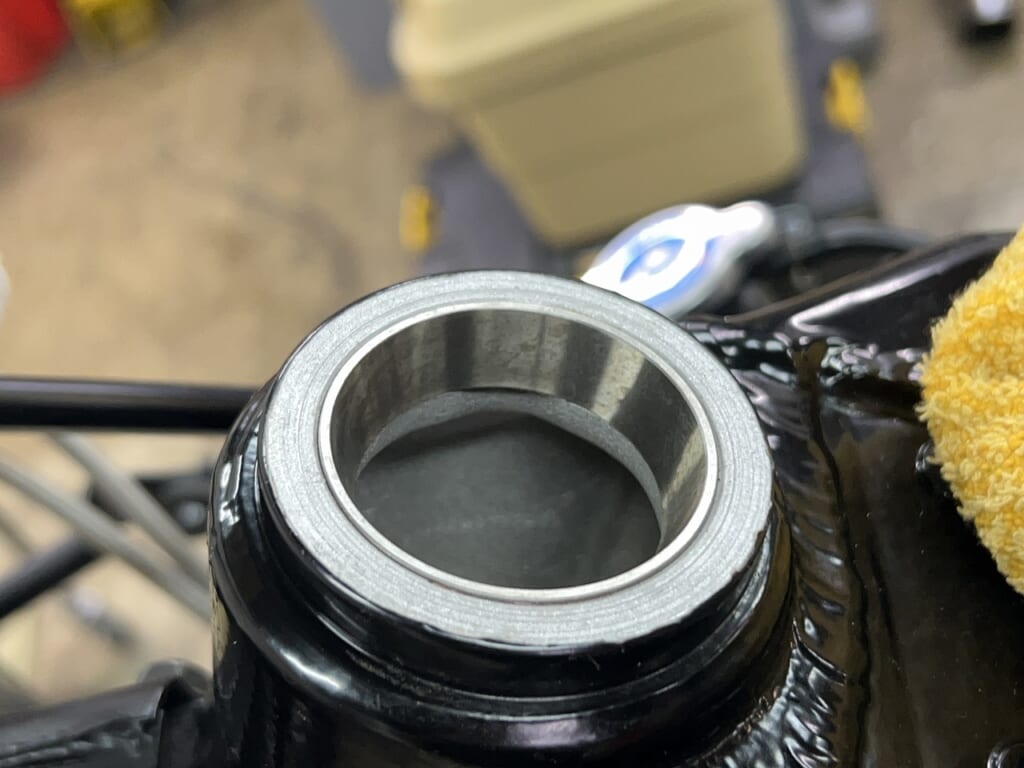
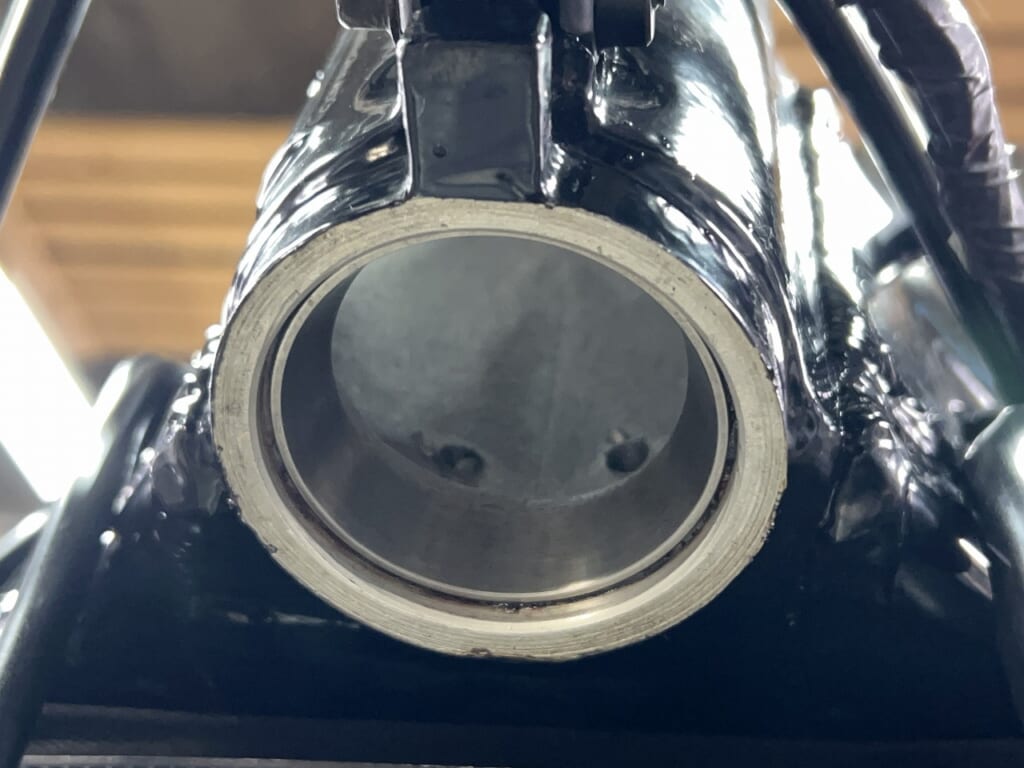
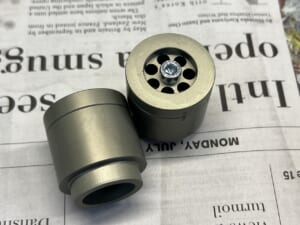
Now that I’ve removed it… it’s clean! (*´ω`*)
In cases like this, I don’t force a replacement.
I don’t want to put stress on the press-fit of an old bike.
So I’ll reuse it.
Honestly, unless it’s completely “worn out,” used parts don’t make much difference.
“Cleaning, lubrication, and assembly” is what matters most.
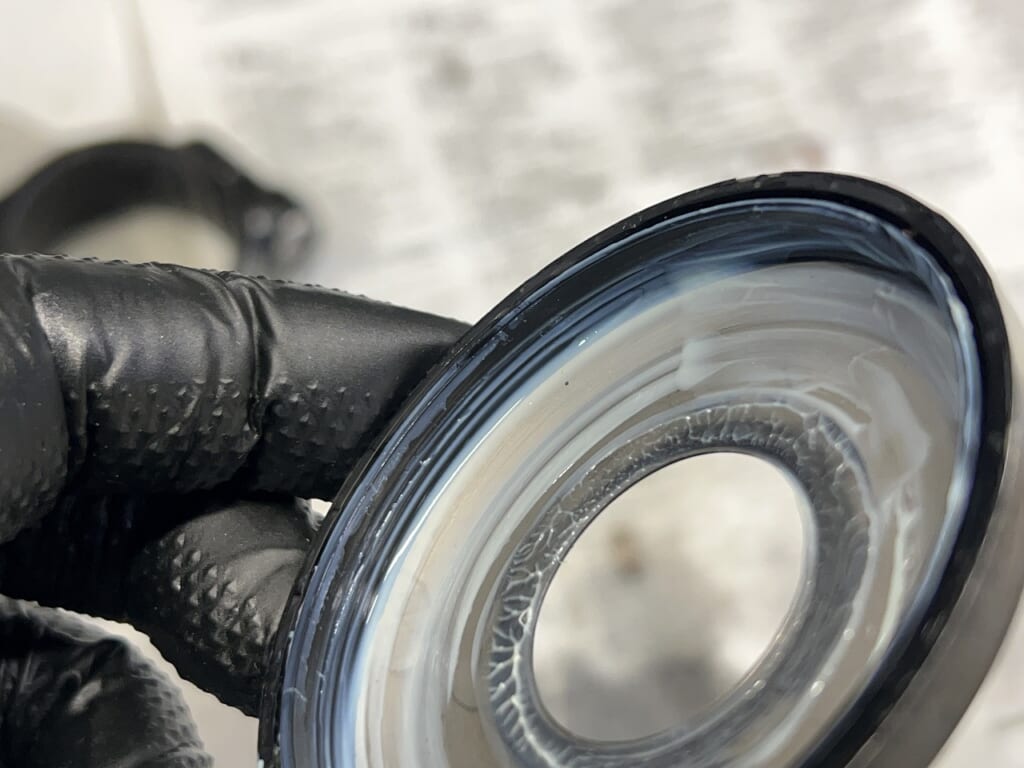
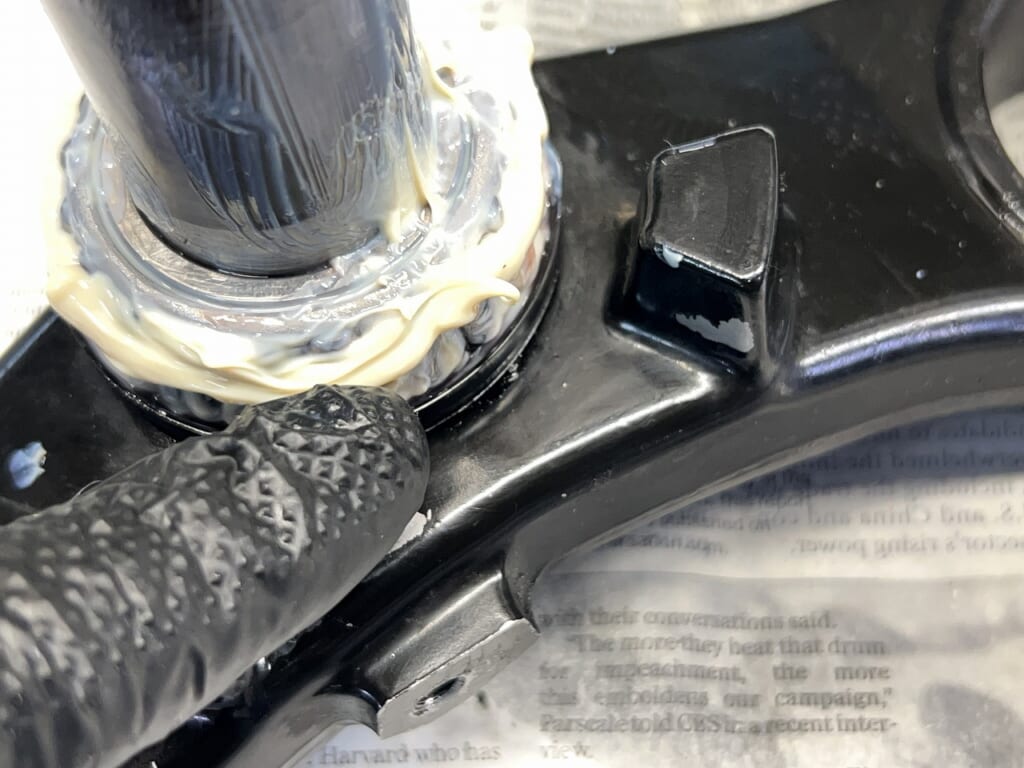
Before adjusting the steering, you need to know about “friction”
which greatly affects steering operation.
If you don’t understand how well this seal works before assembling,
you’ll end up with “play.”
That’s why it becomes such a tedious adjustment.
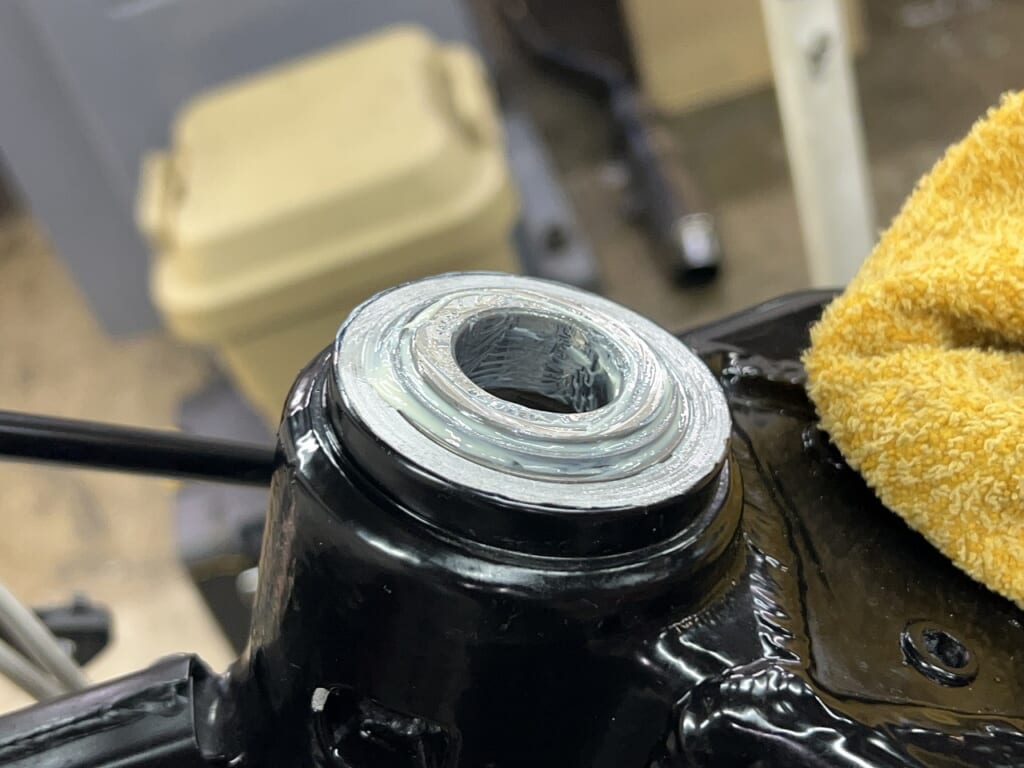
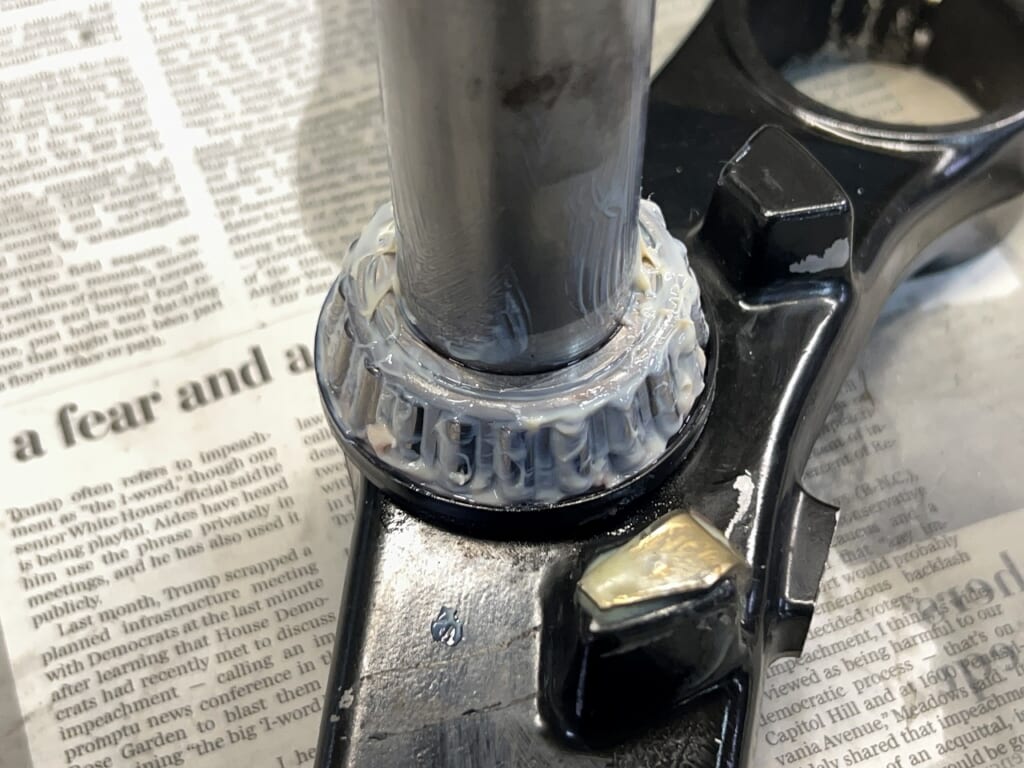
I’ve applied plenty of lubrication! Now I can rest easy.
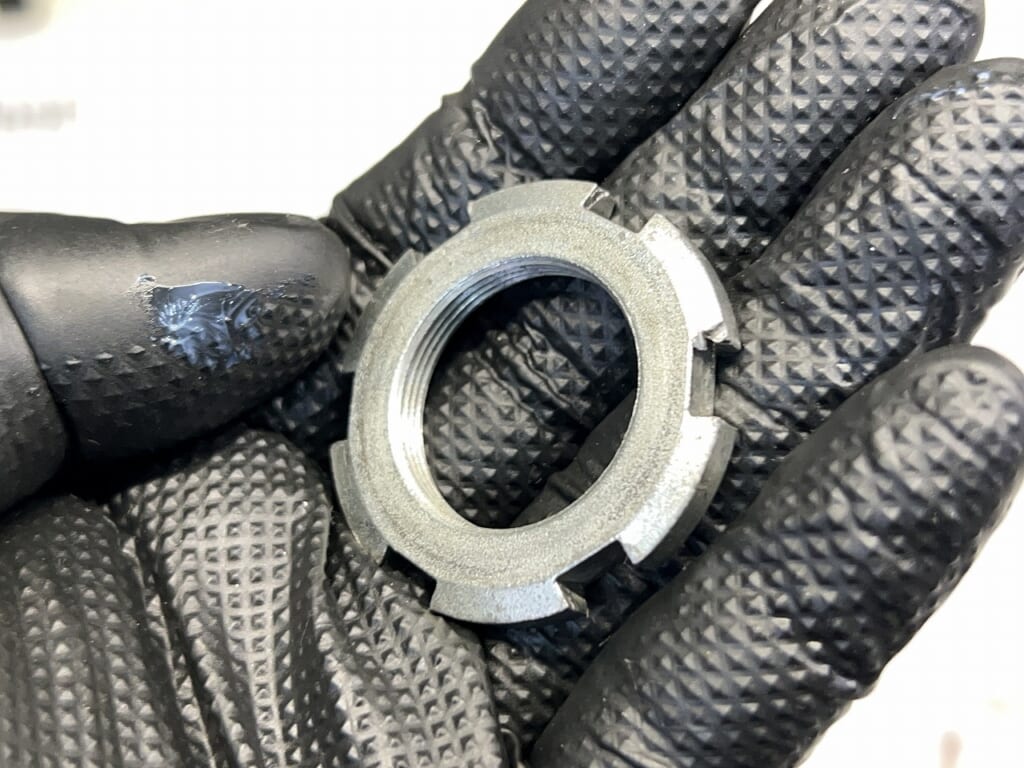
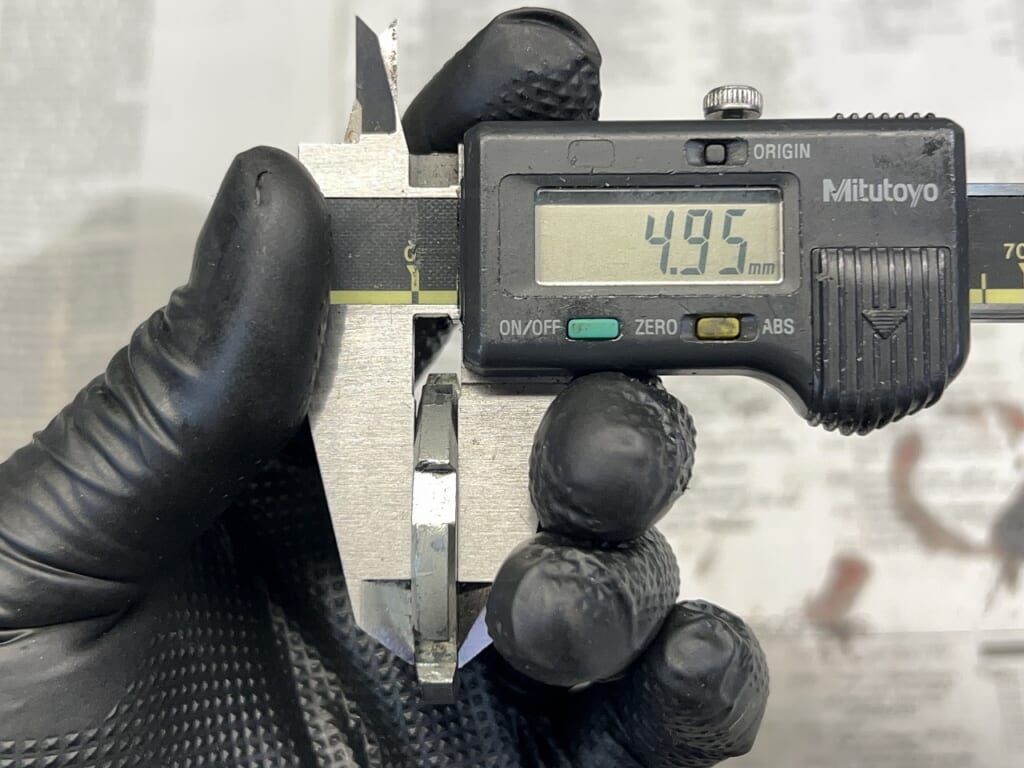
Hmm… isn’t this a Yamaha M25-p1.00…
It’s basically the same as oil-cooled. Using two would be a bit thick…
Well, I found something interesting.
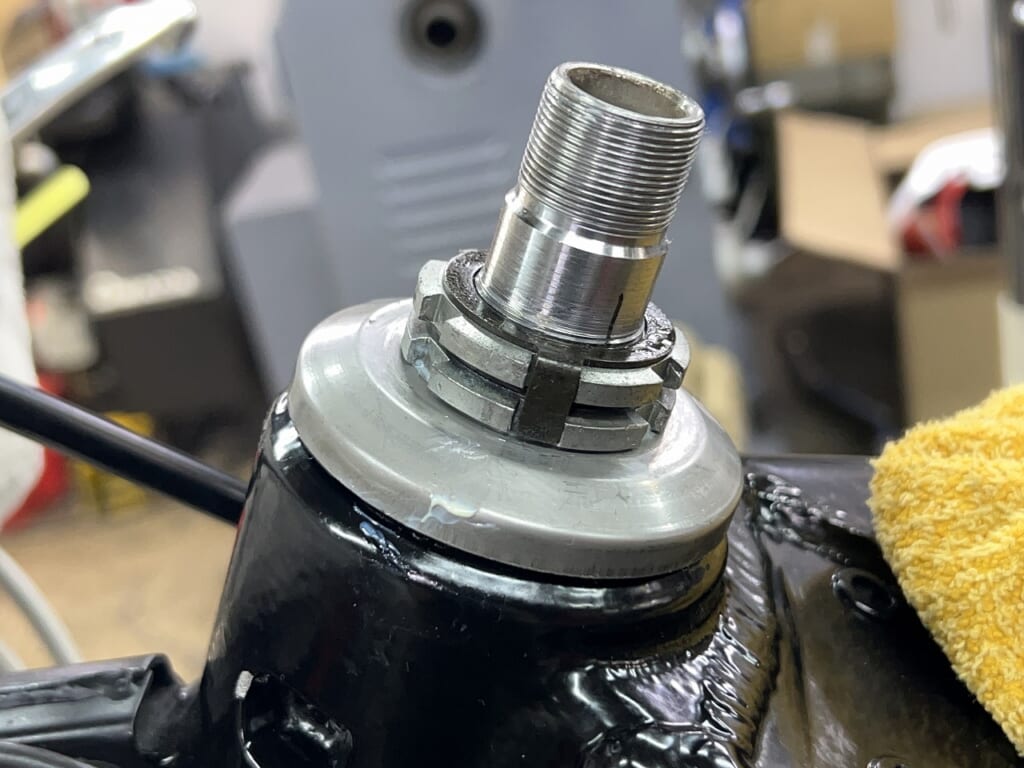
Double steering adjustment nuts are nice.
I prefer the Honda style.
Using double nuts allows you to apply a bit of preload.
Even when tightening the top bridge center nut,
the steering operation is less affected.
Basically, you end up with a finish close to when the stem is assembled alone.
Assembly is easier, so I wish they’d make everything double…
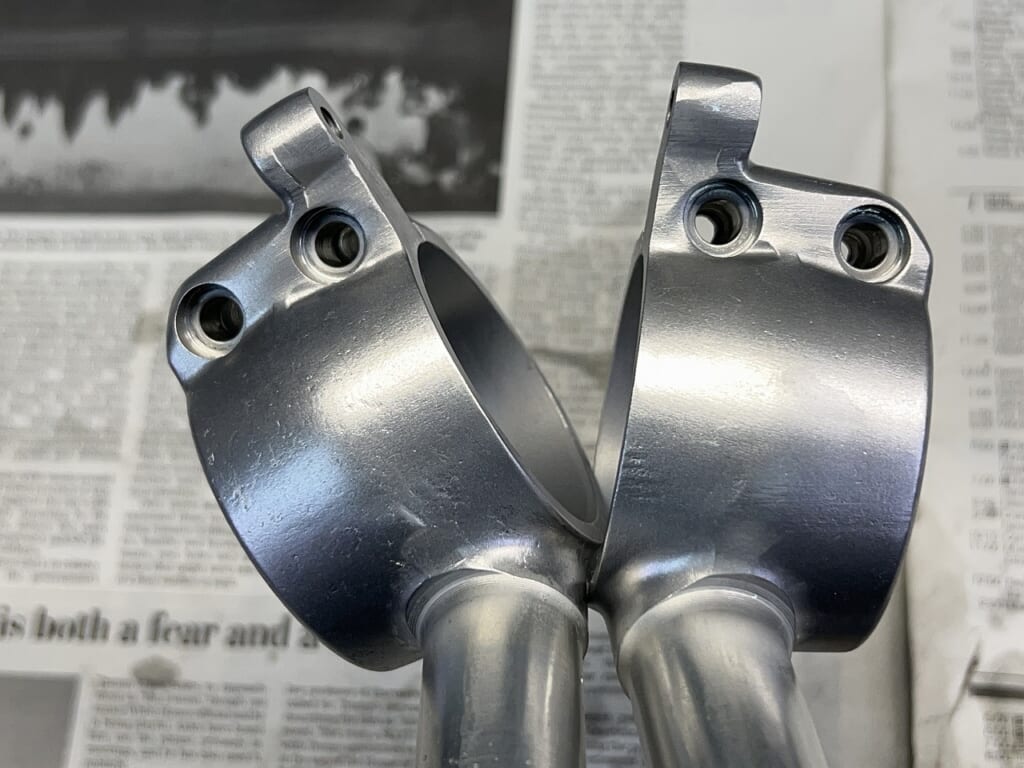
This is a shop where the owner’s feelings are understood without words.
I’m sure they’d notice the partially polished handlebar clamp…
So I gave it a proper wet blast this time.
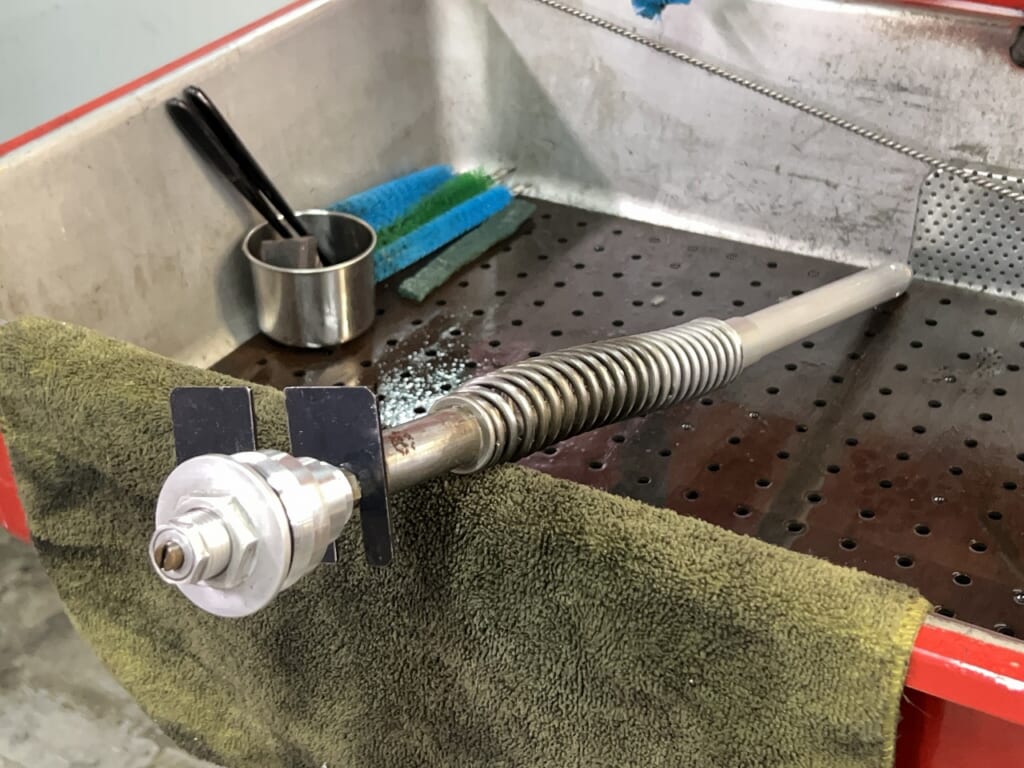
I want to disassemble the inverted fork, but… the holes… the holes…
Did the previous person push it down with all their might?
If you remove it as a single unit, it’ll compress with manual force.
That’s how I disassembled it.
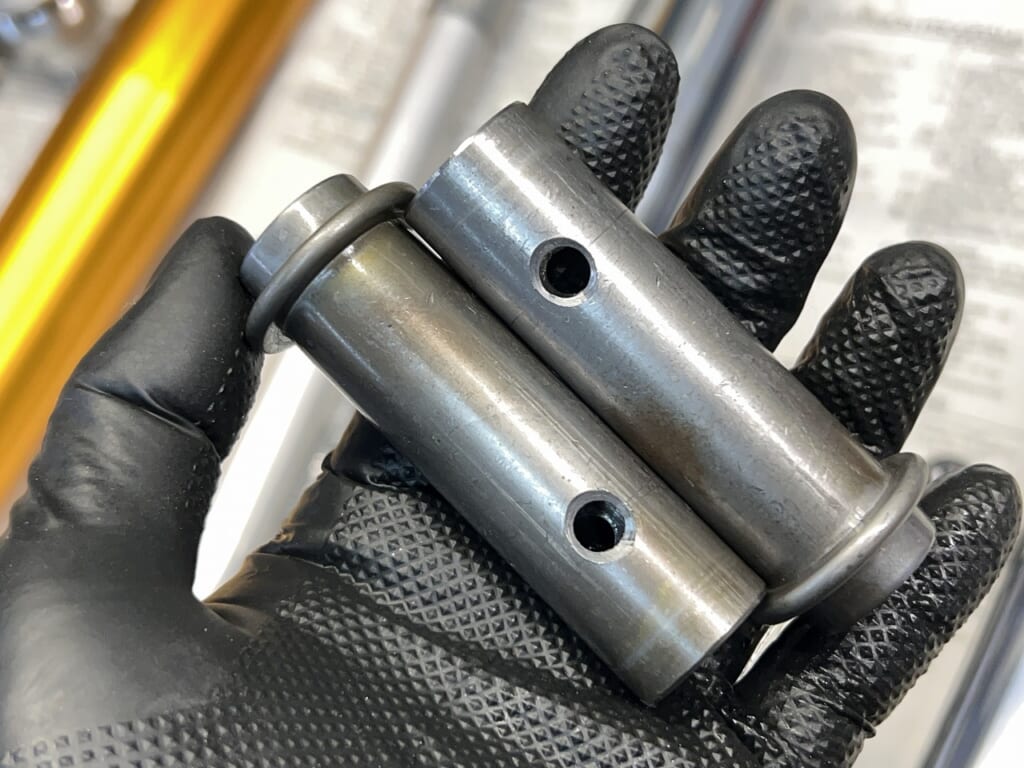
I drilled a hole around the 20MM mark.
Deburring both inside and outside is essential! (*´ω`*)
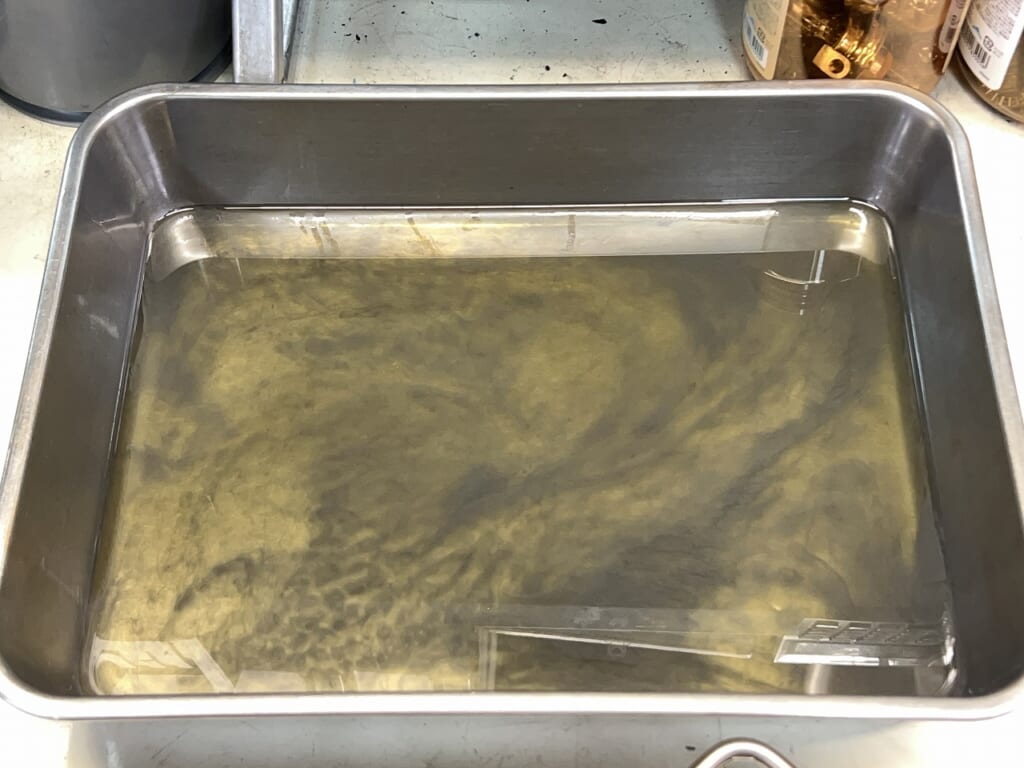
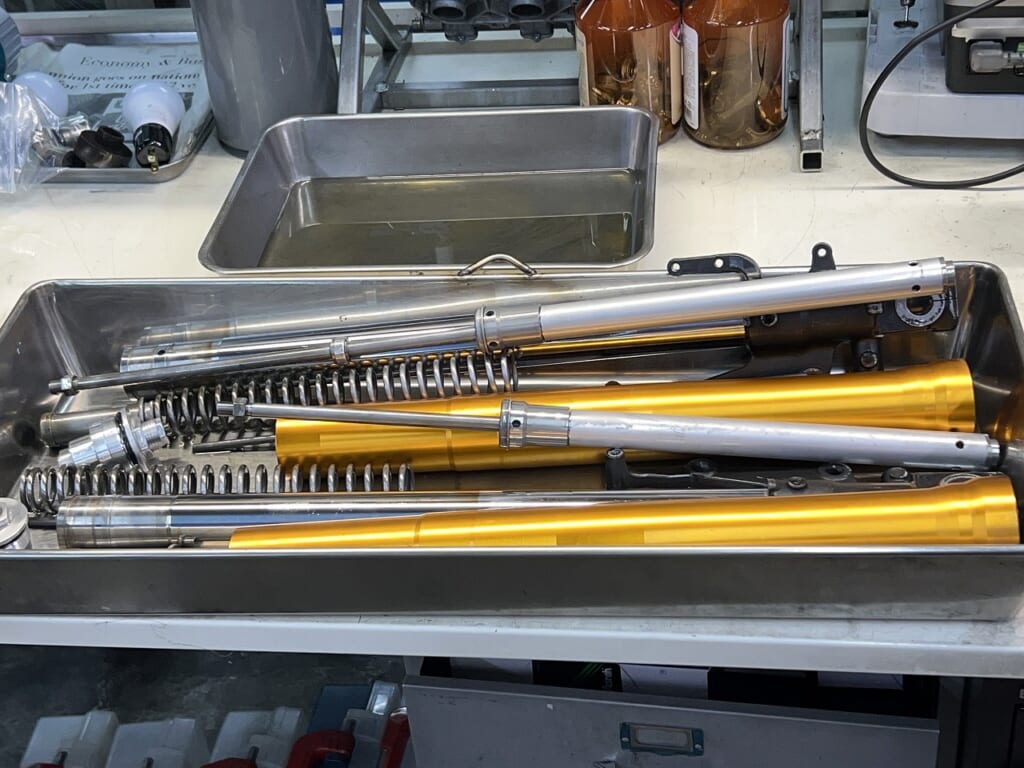
The fork oil was in good condition.
Now that I’ve disassembled it, let’s clean it up quickly.
Inverted forks surprisingly have fewer parts, don’t they?
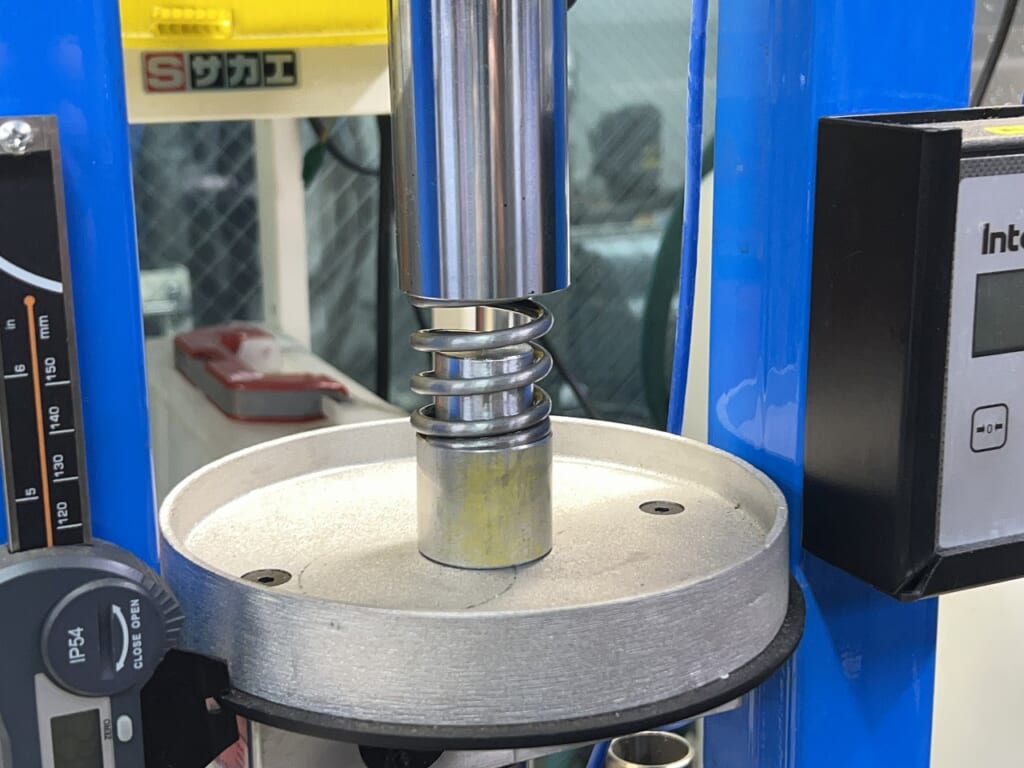
Let me check the spring rate… A 250 is like this? That’s somewhat fresh and fun! (*´ω`*)
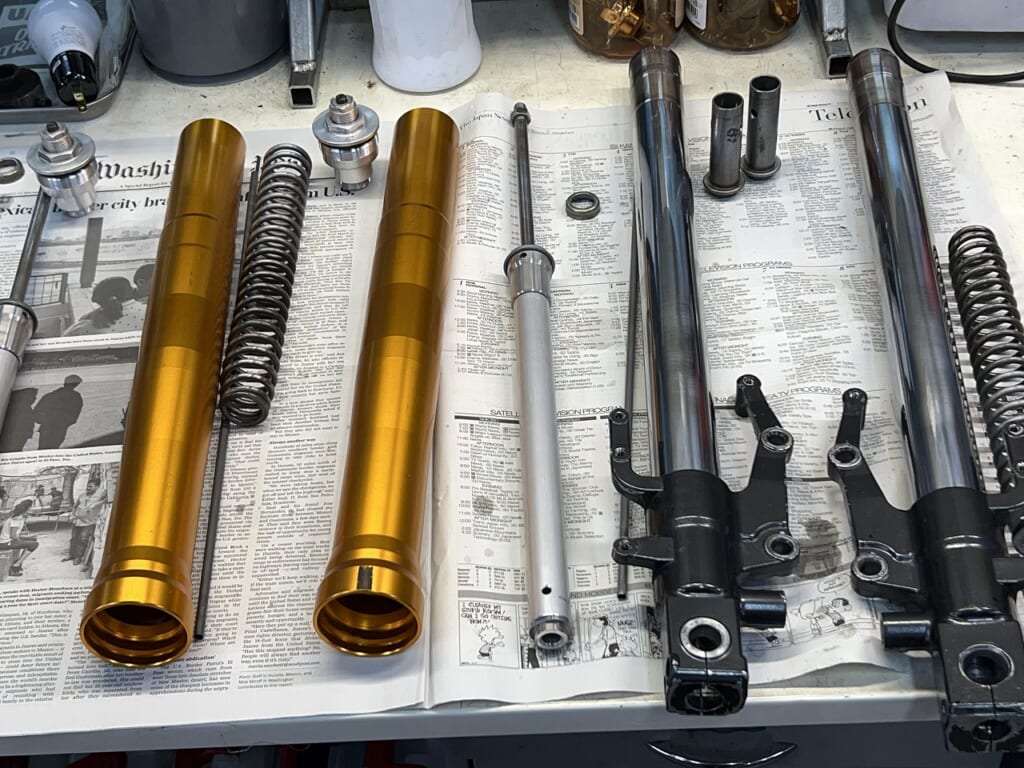
After cleaning, I’ll inspect and polish the inner tubes, then assemble them.
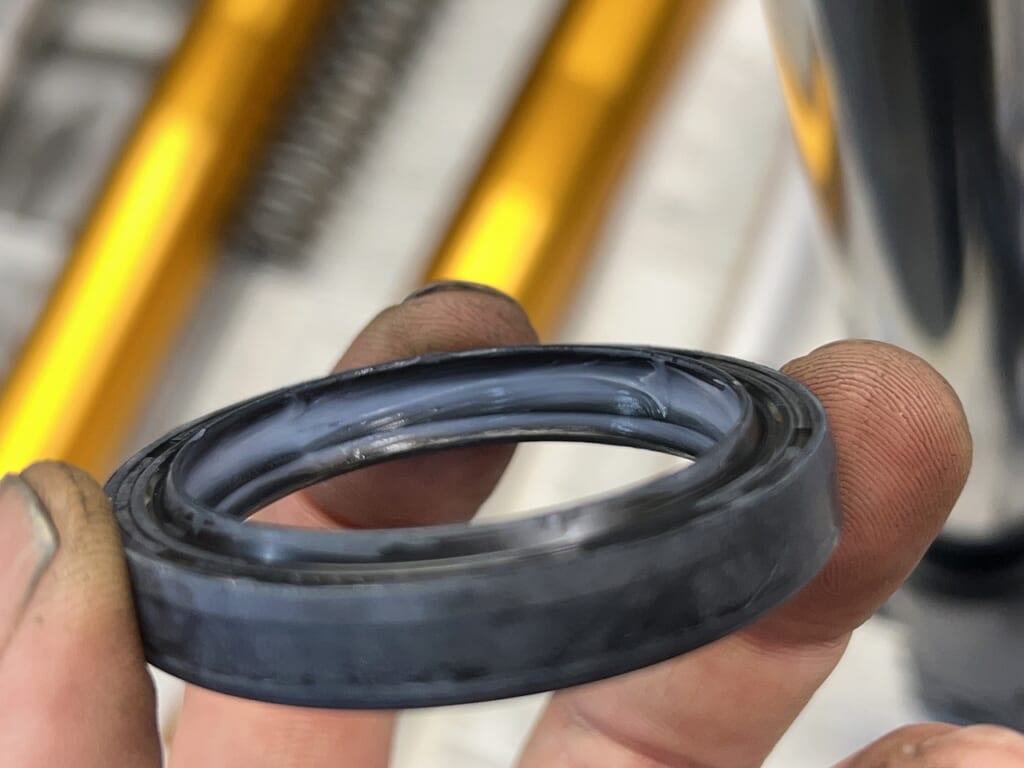
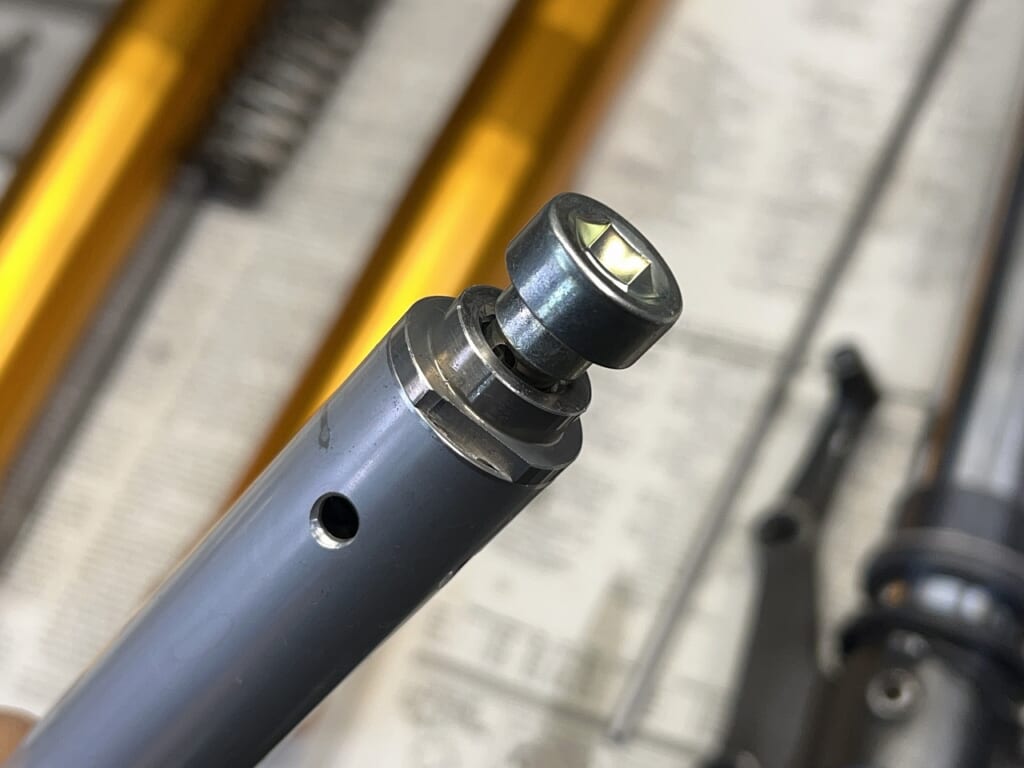
I’ll assemble the oil seal with fluorine grease and install it.
When threading in the cylinder rod, if it doesn’t slide in smoothly by hand,
the tightening can become sloppy, so be careful.
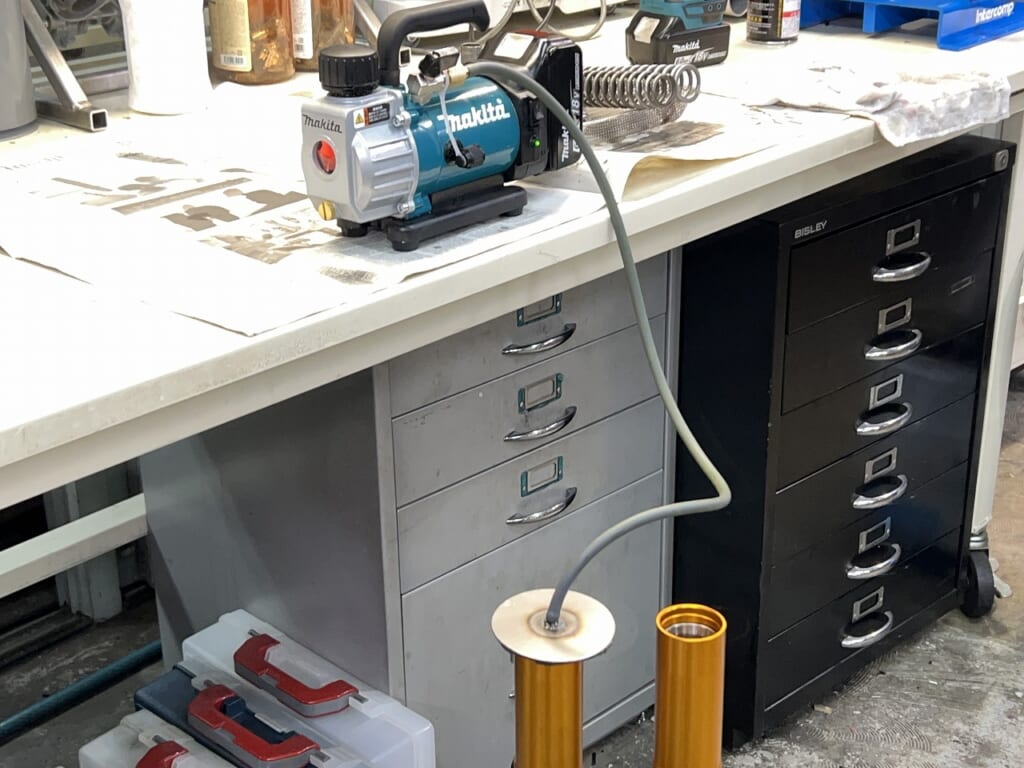
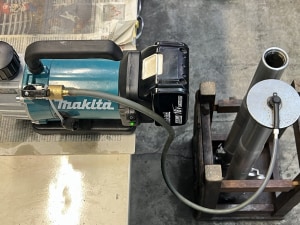
First, I’ll manually stroke it, then finish with Makita Vacuum Pump VP180DZ to thoroughly remove air.
The cordless design really improves work efficiency.
And it’s more powerful than the previous model!
I can confidently complete the air bleeding.
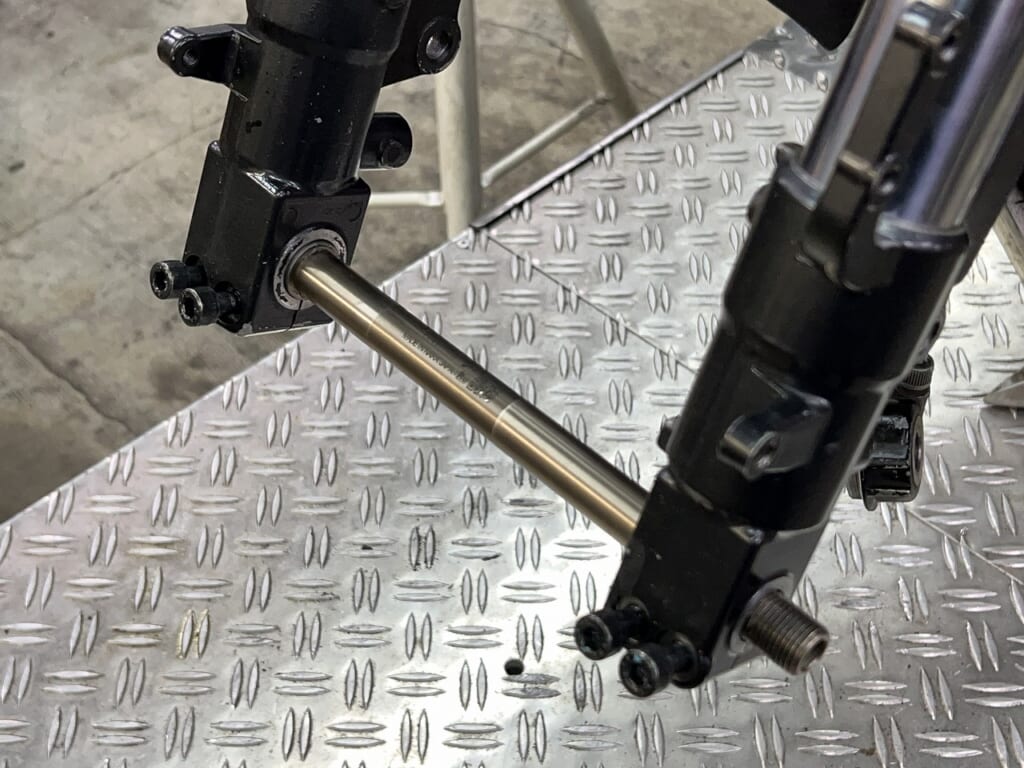
Check that the shaft slides in smoothly before assembly.
After that, I’ll inspect the clutch and we’re done! (*´ω`*)
(‘Д’) So many discontinued items from every manufacturer… naturally, I suppose.


 ポチップ
ポチップ
 ポチップ
ポチップ