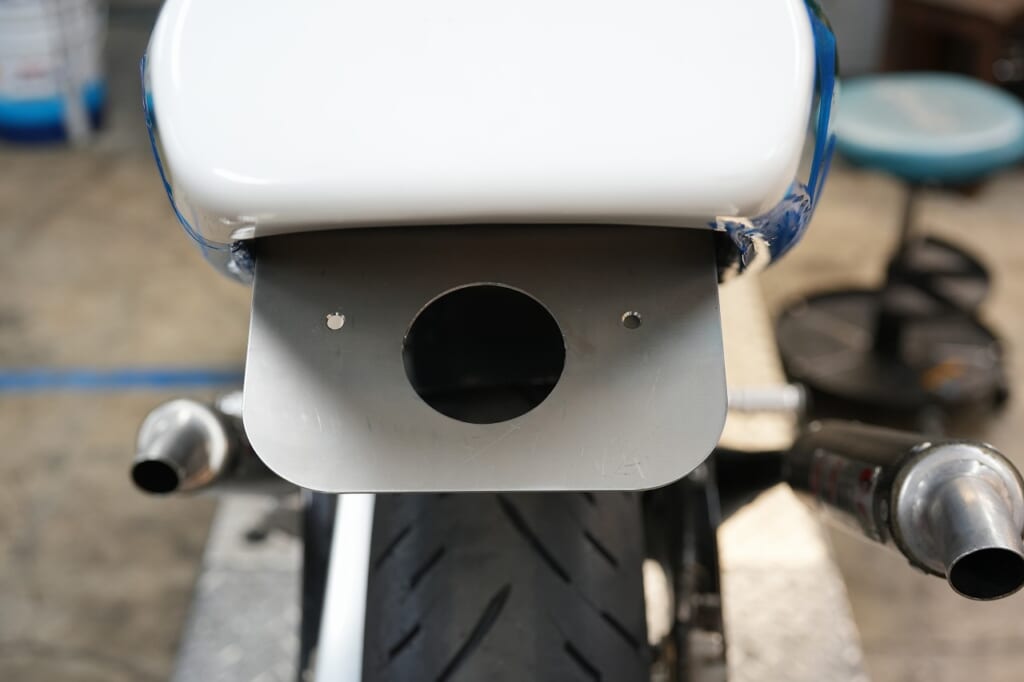
Ding dong♪(´ρ`)
This is a continuation of the fenderless-style work.
The fabrication is turning into some pretty mundane blog content… ( ;∀;)
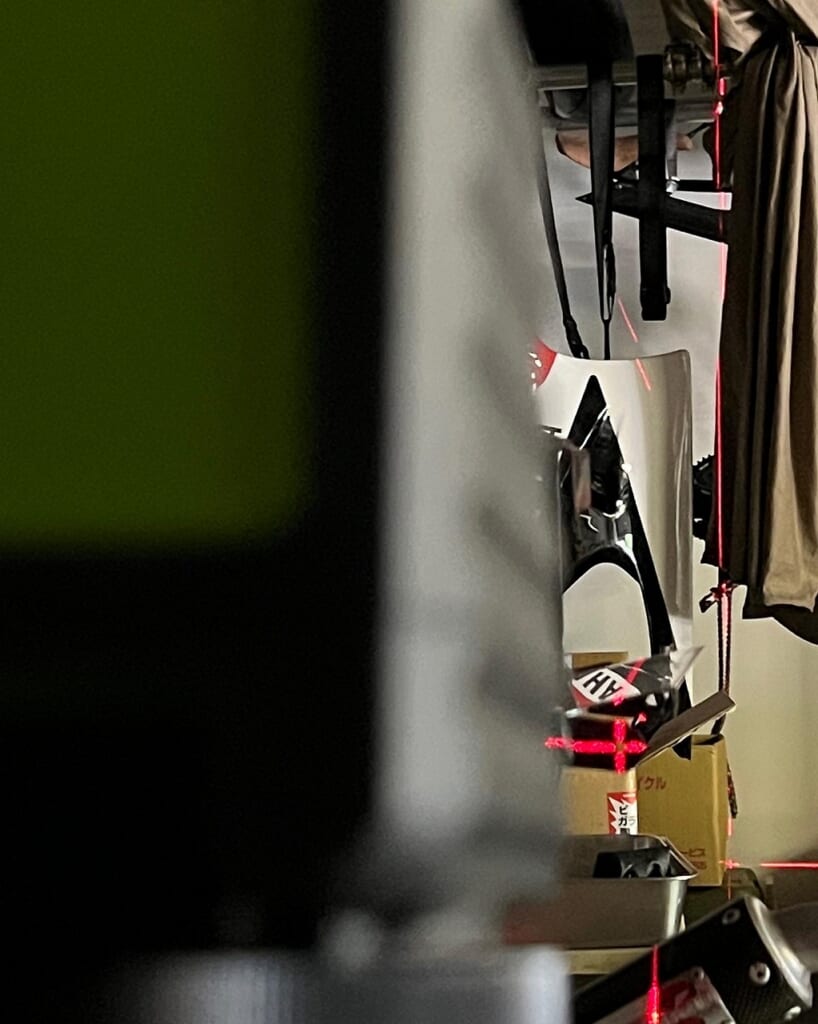
Testing what happens when you use an iPhone for blog photos.
The noise is pretty intense…
Should I consider changing the settings?
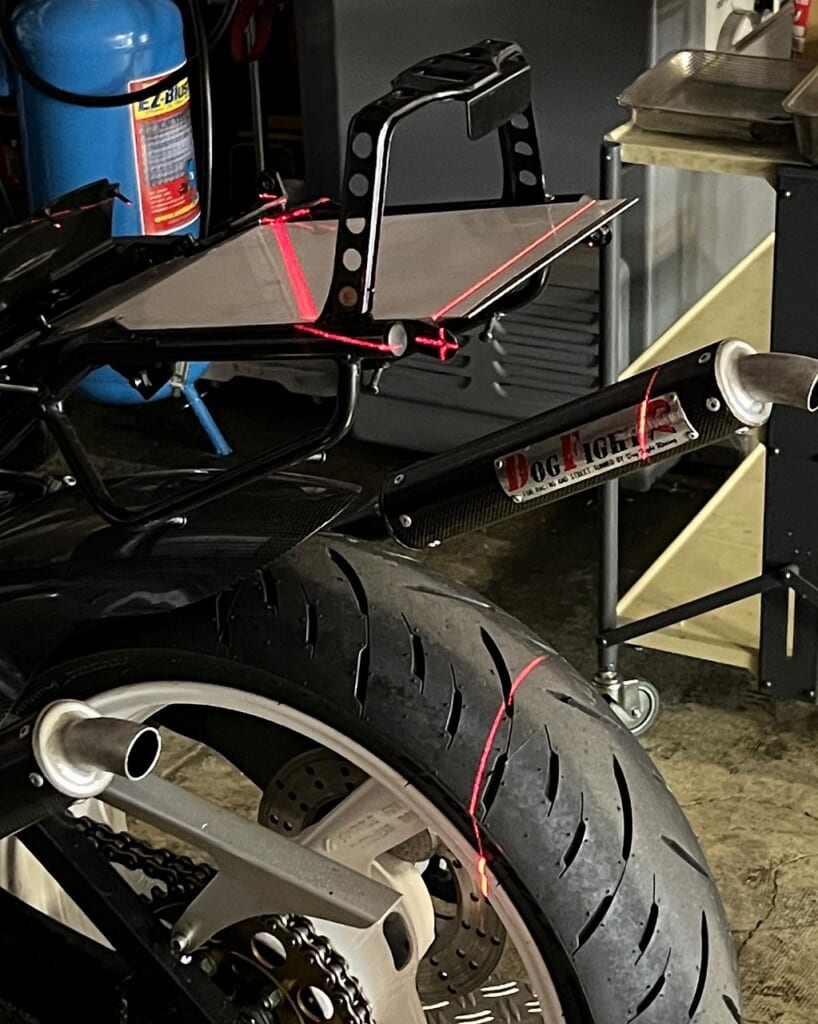
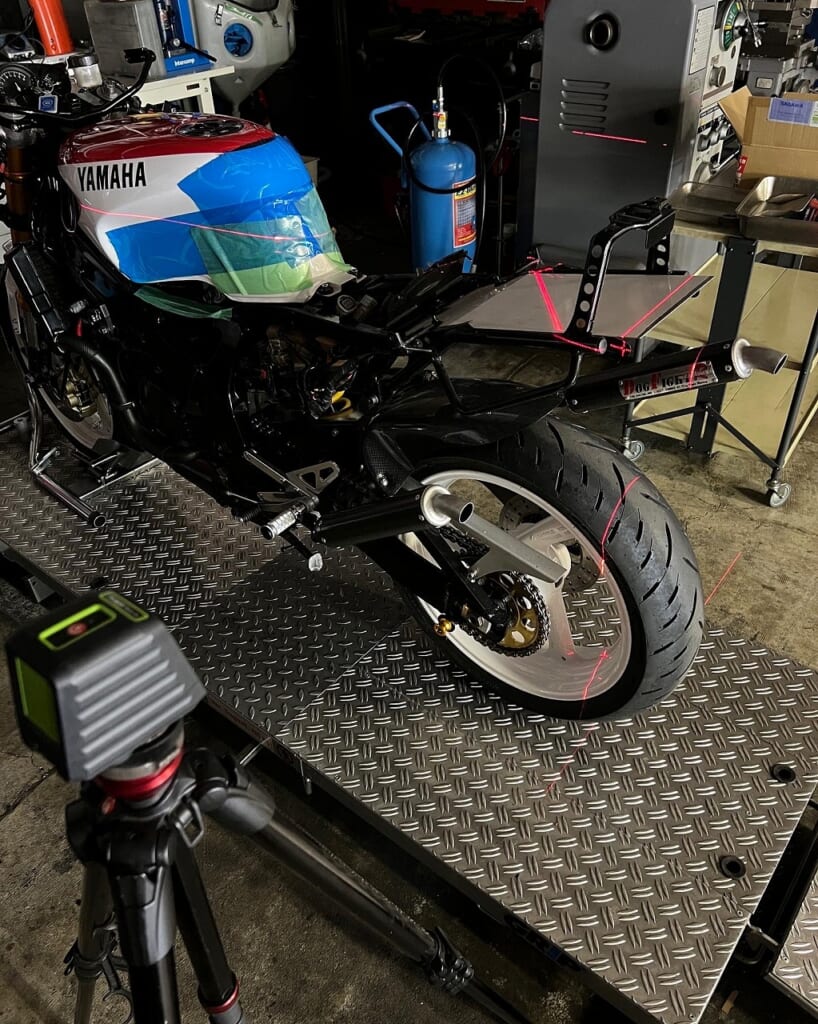
What the laser is doing is marking hole positions.
When you install something like cowl fitting, sometimes you need holes to line up in spots you can’t see once it’s mounted.
That’s when this comes in handy.
A simple crossline laser is fine—nothing fancy needed. Having one around is incredibly convenient.
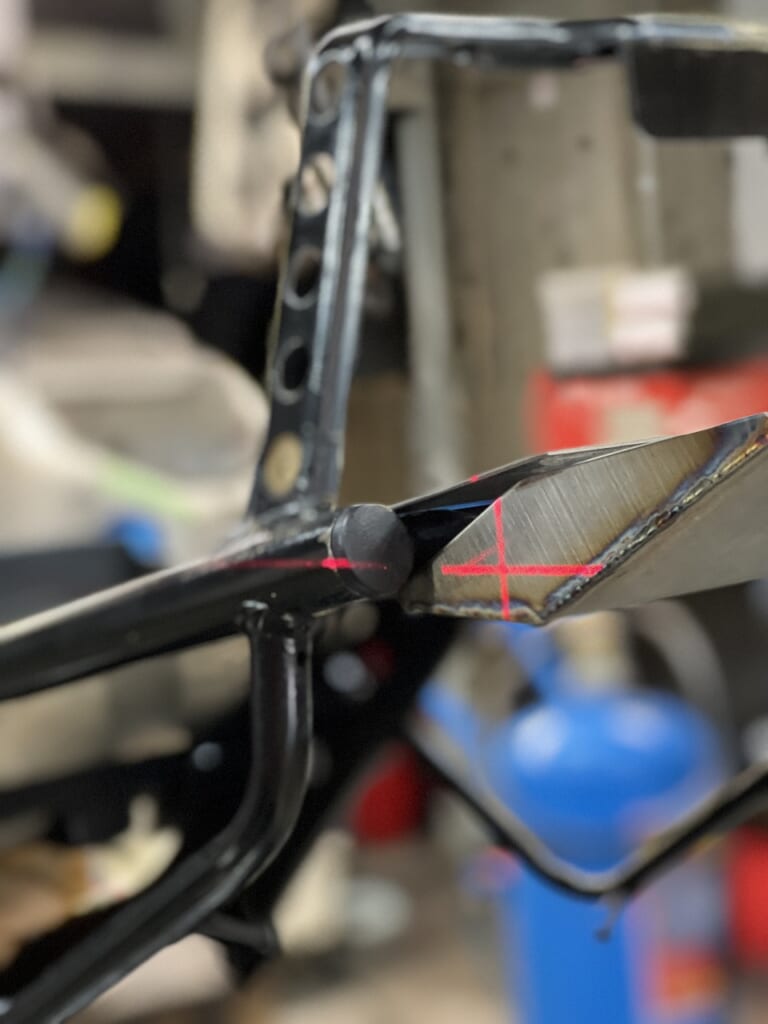
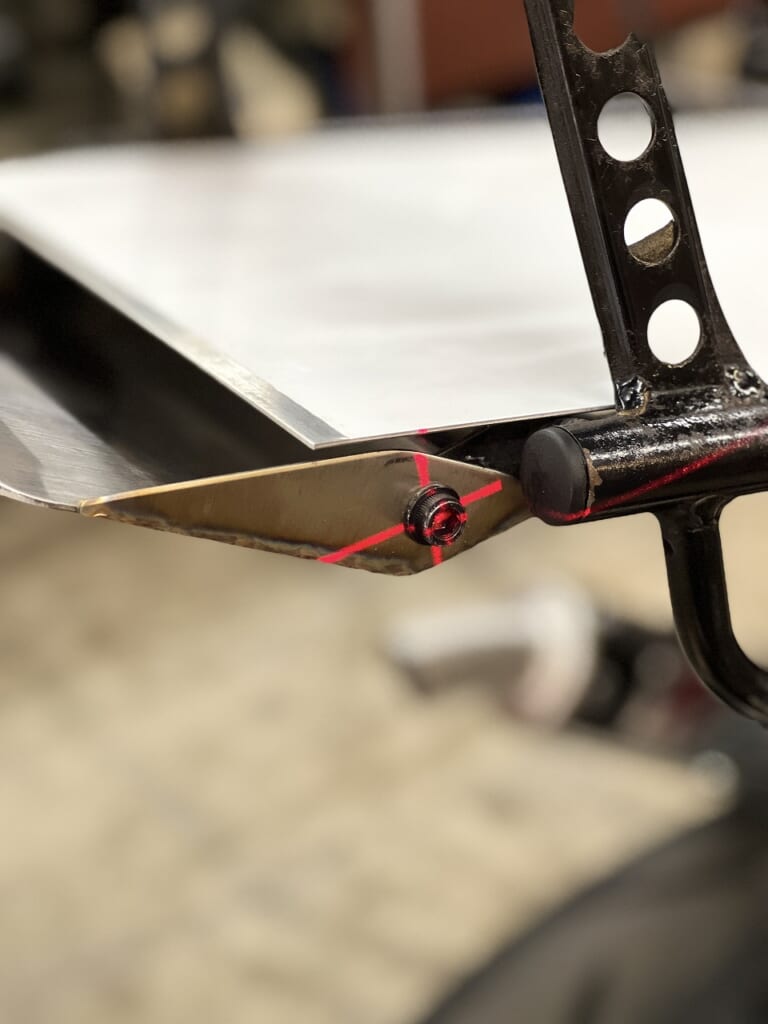
That’s how you can drill holes in post-processing—super convenient.
When welding is involved, post-processing often gives you more flexibility.
It’s all about how to move forward without mistakes and keep things smooth… that’s what matters.
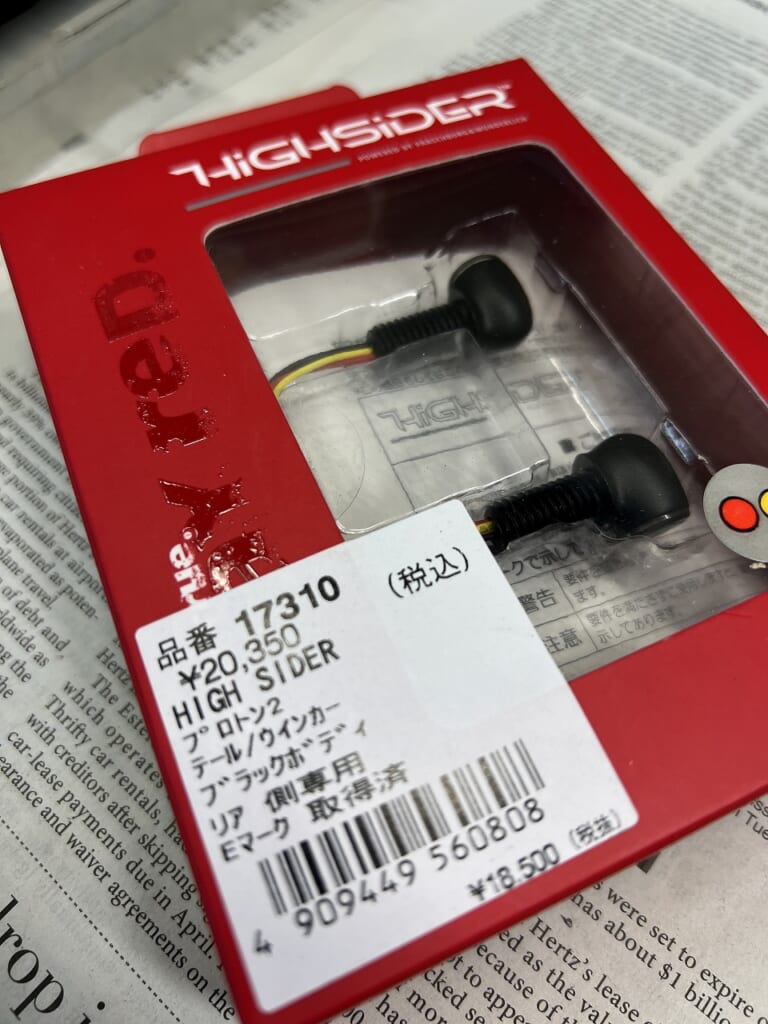
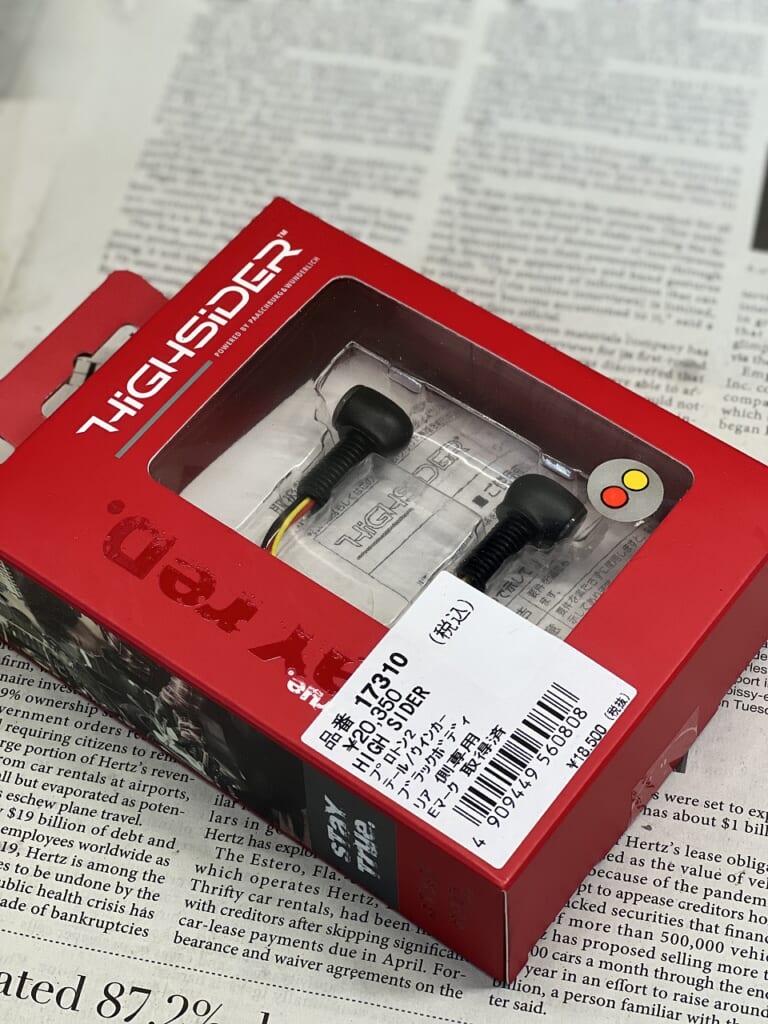
This is a Daytona High Sider 17310.
It passes inspection and has turn signals and tail lights (brake and tail) built in.
Let me say it again.
• Turn signals
• Tail light
• Brake
are all built in. It’s absolutely wild.
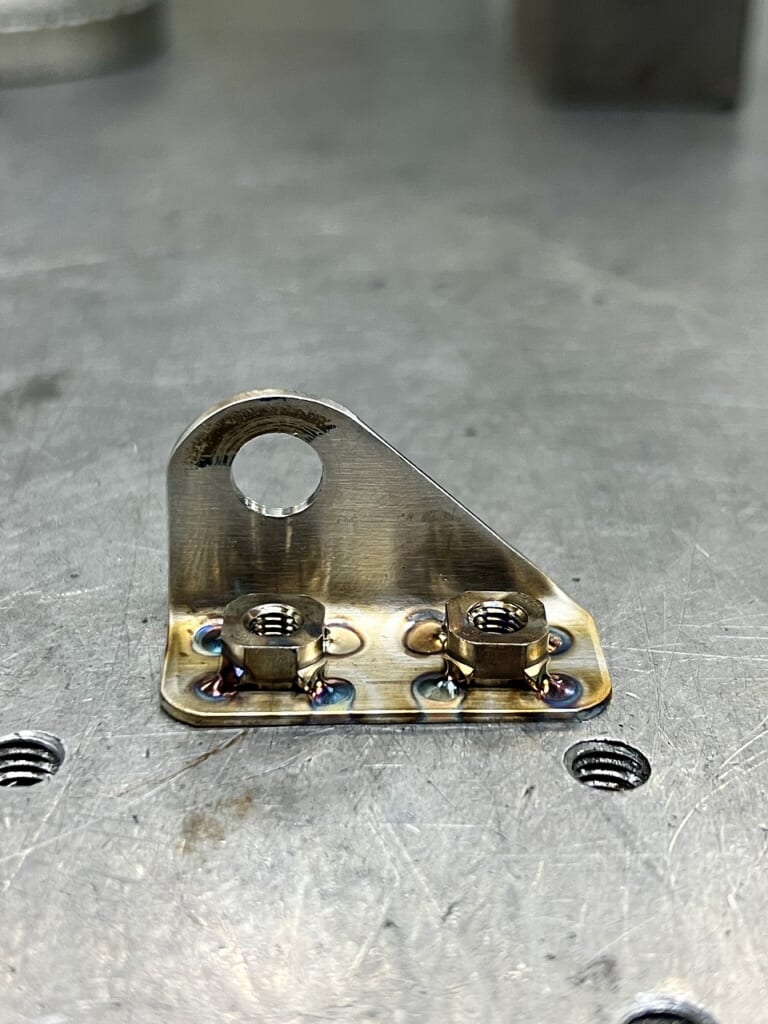
This is what the turn signal bracket looks like.
Rivets would work fine too, but that annoying hassle of not being able to remove them when you want to…
Even if it’s a bit heavier, bolt fastening is the way to go. (‘ω’)ノ
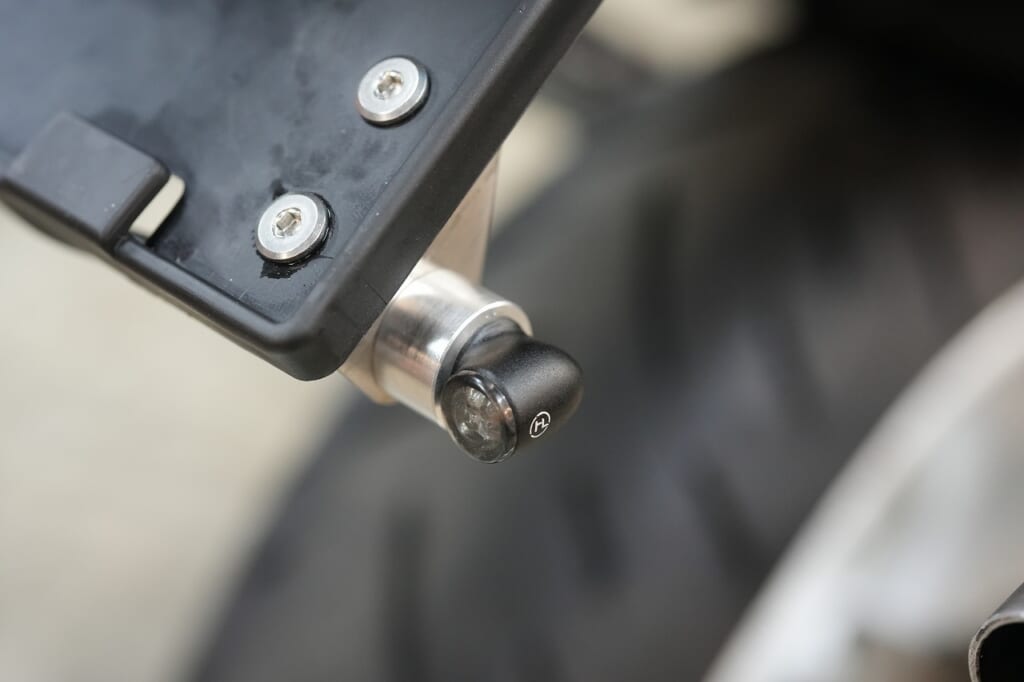
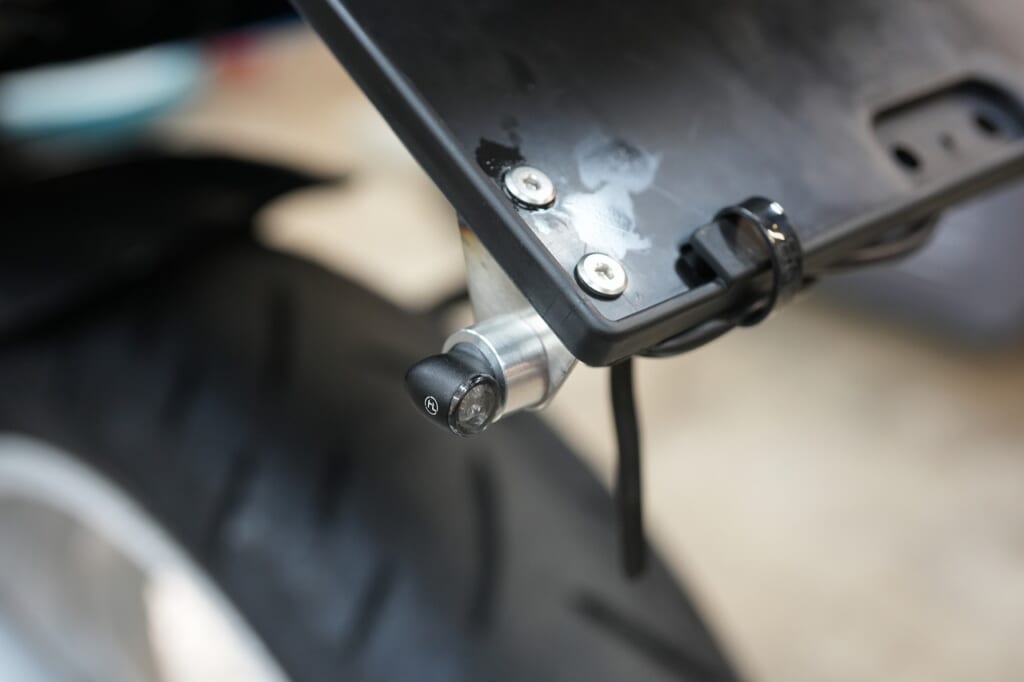
That’s how it gets secured. The spacer is a temporary one I had lying around.
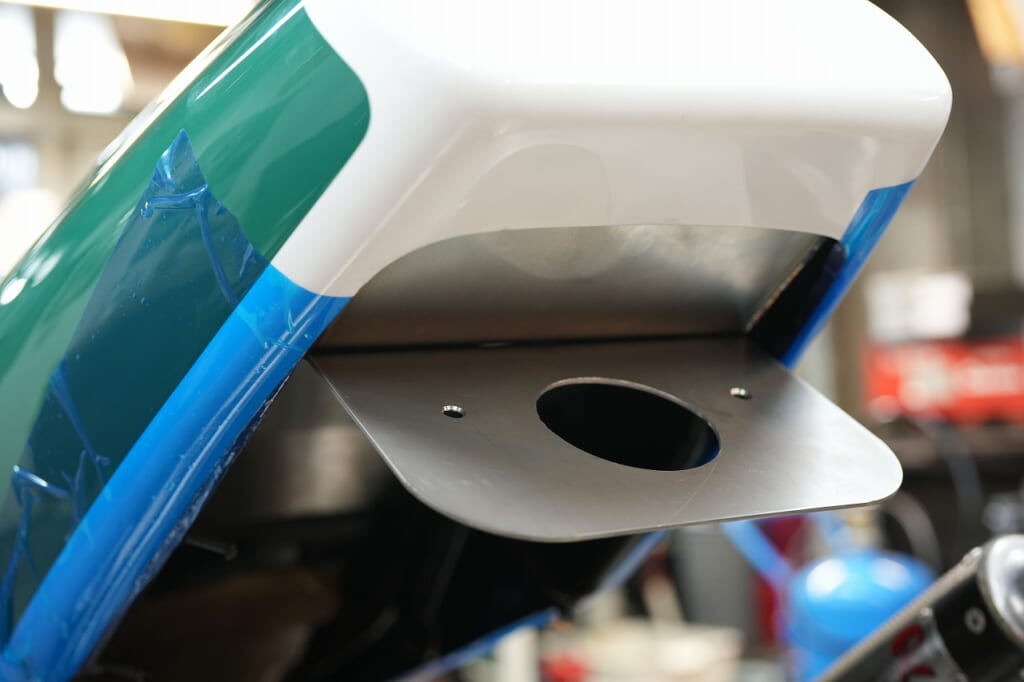
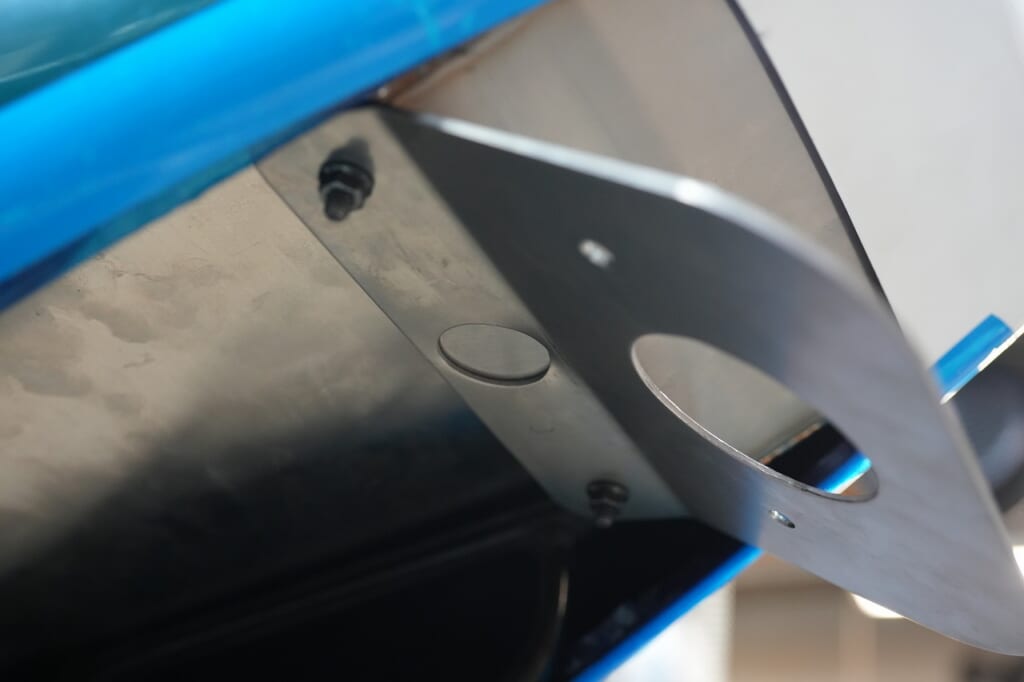
I really hate aluminum, so I’m making this out of titanium (Grade 2) at 2mm thickness.
It’s currently rigid, so I want to set it up floating to reduce vibration. (*´з`)
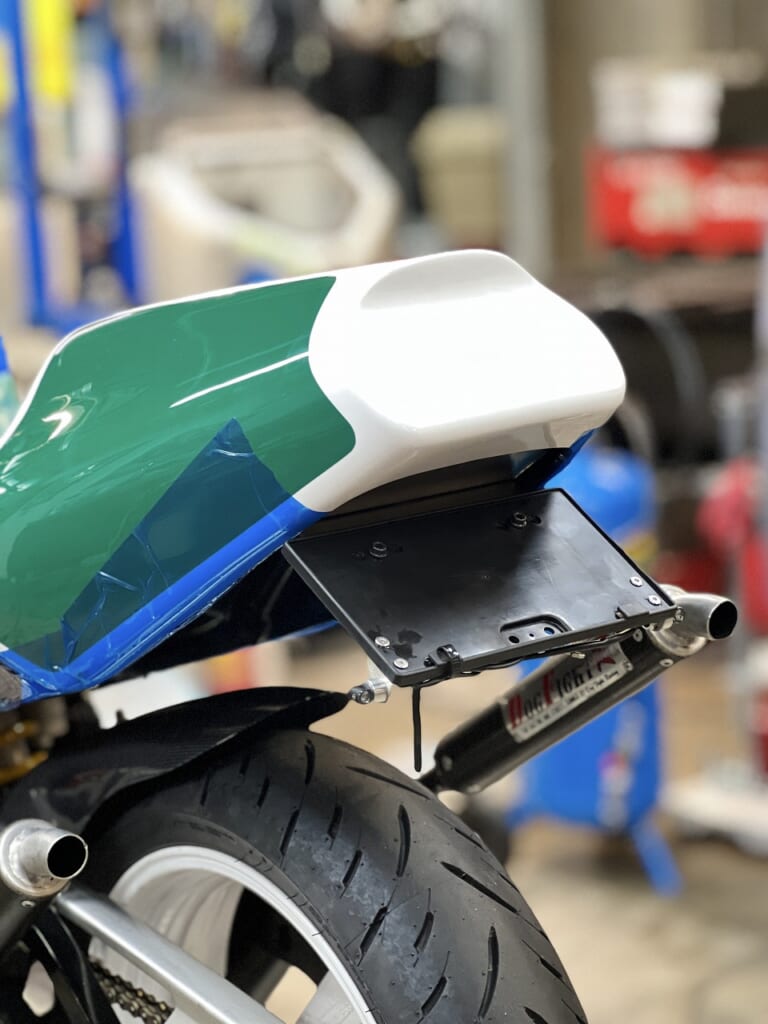
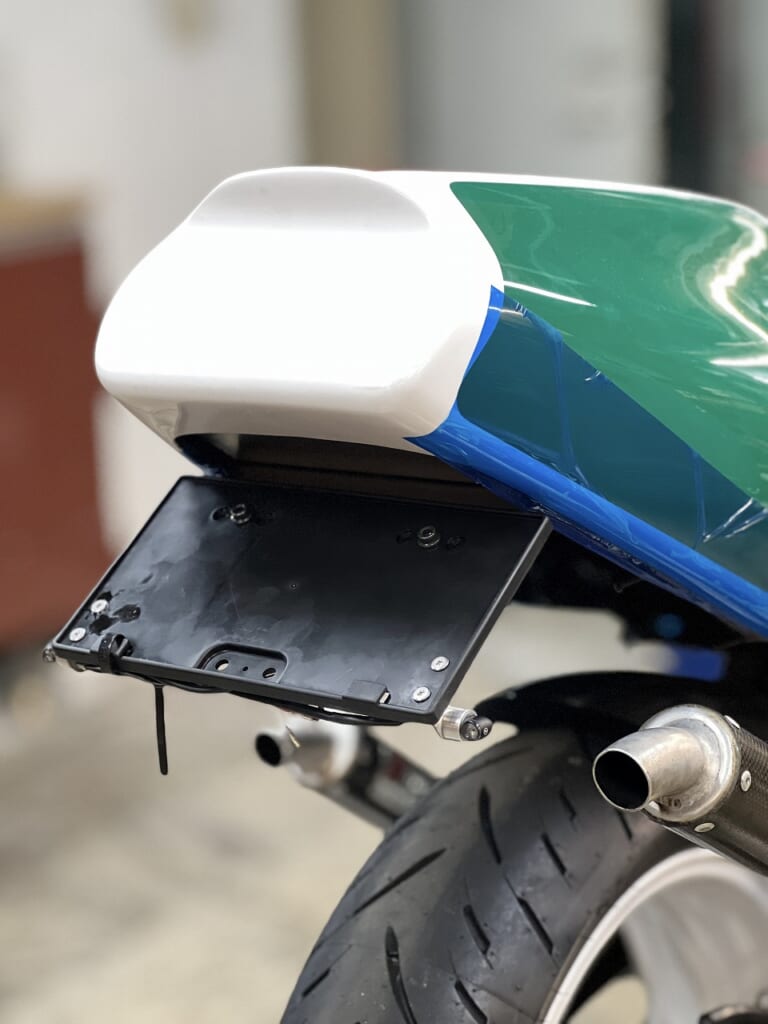
This is how it looks right now.
After installing the license plate light, reflectors, and electrical components, the rear will be done and ready for paint.
More to come, bit by bit. (‘ω’)ノ