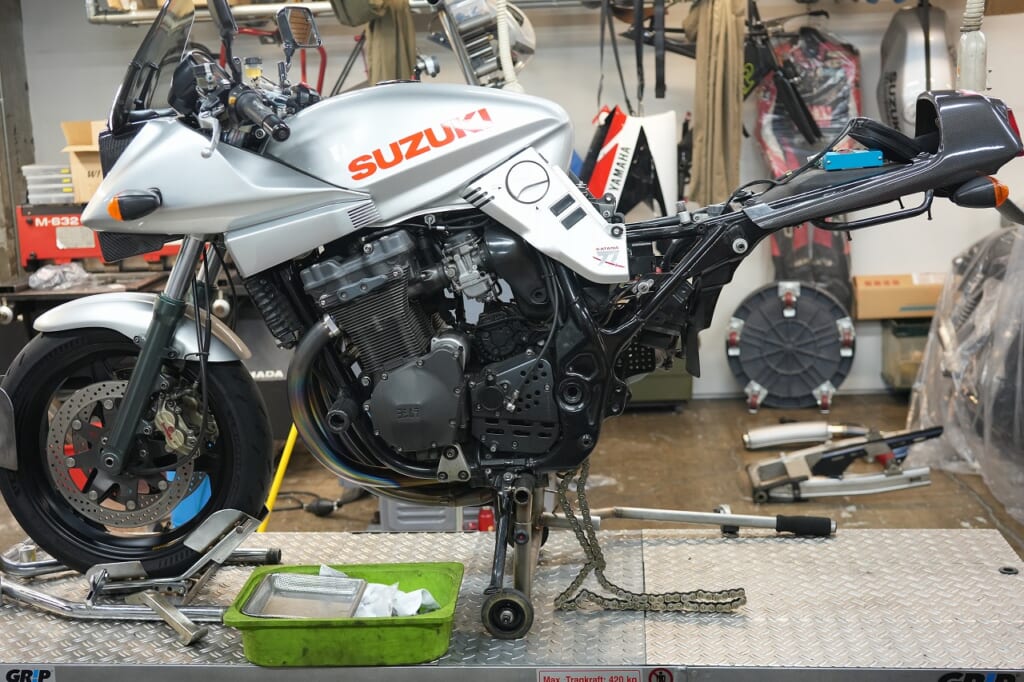
I was asked to do some detailed work, but I wasn’t feeling it (・´з`・)
so I assisted and had them do more than half of it themselves…
At the end, they wanted to make a slight adjustment to the stepbase…
When I attached the correction jig, there was a crack?
Something’s spinning together? _?? ( ゚Д゚)
Seriously?
(´∀`*) Hehe – the big sale of the year, Amazon Prime Day 7/12–13
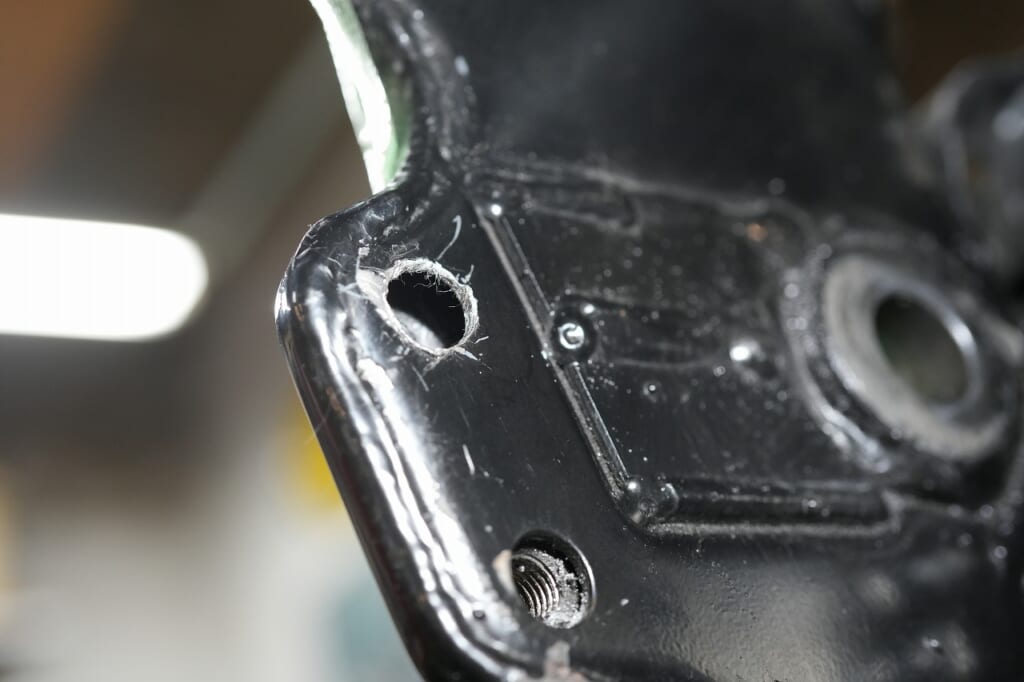
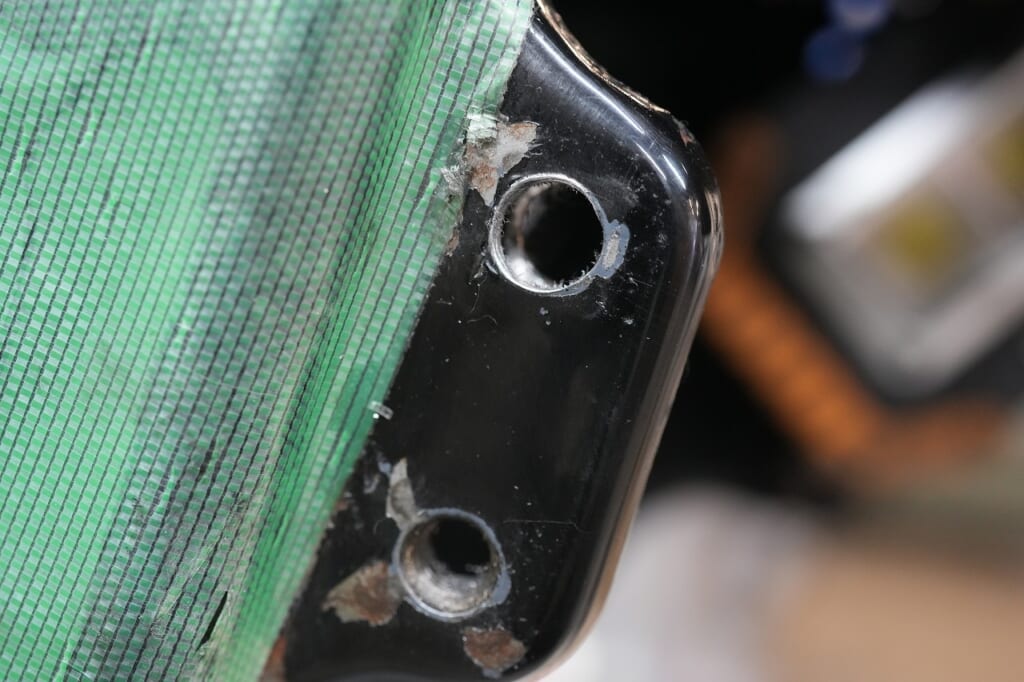
The nut in the upper part of the image came off… inside?
This was the first time I learned about it too… they’re using a weld nut…
Do you know about weld nuts? That’s the thing I often use for making brackets.
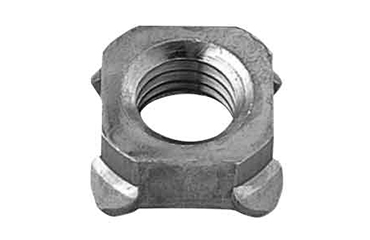
A weld nut on a plate? On a stepbase no less…
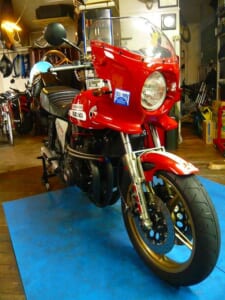
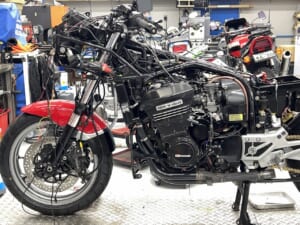
What a mess this Inazuma 1200 is…
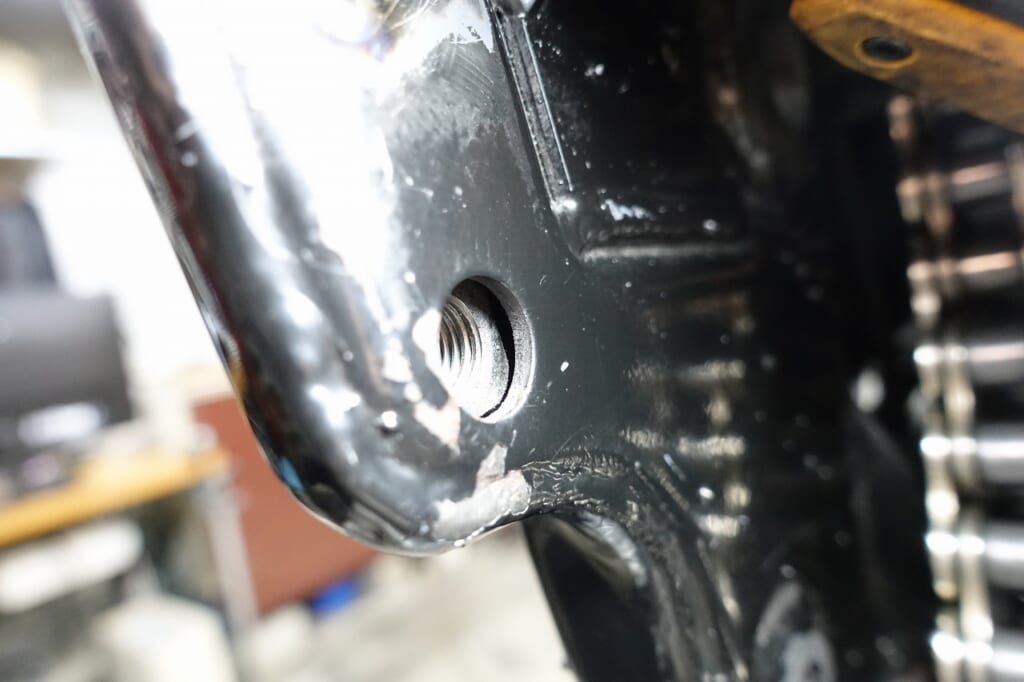
As you can see in the image, it’s only attached on one side.
Maybe the thinking was that if it tips over, the flat surface will take the impact so it’s fine…
Terrible…
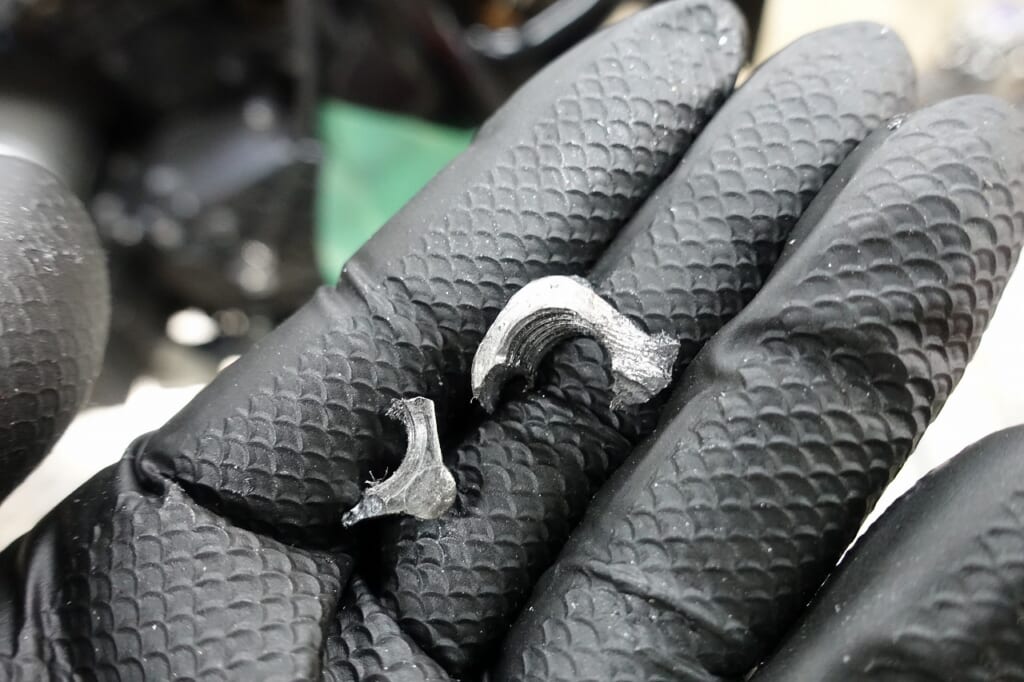
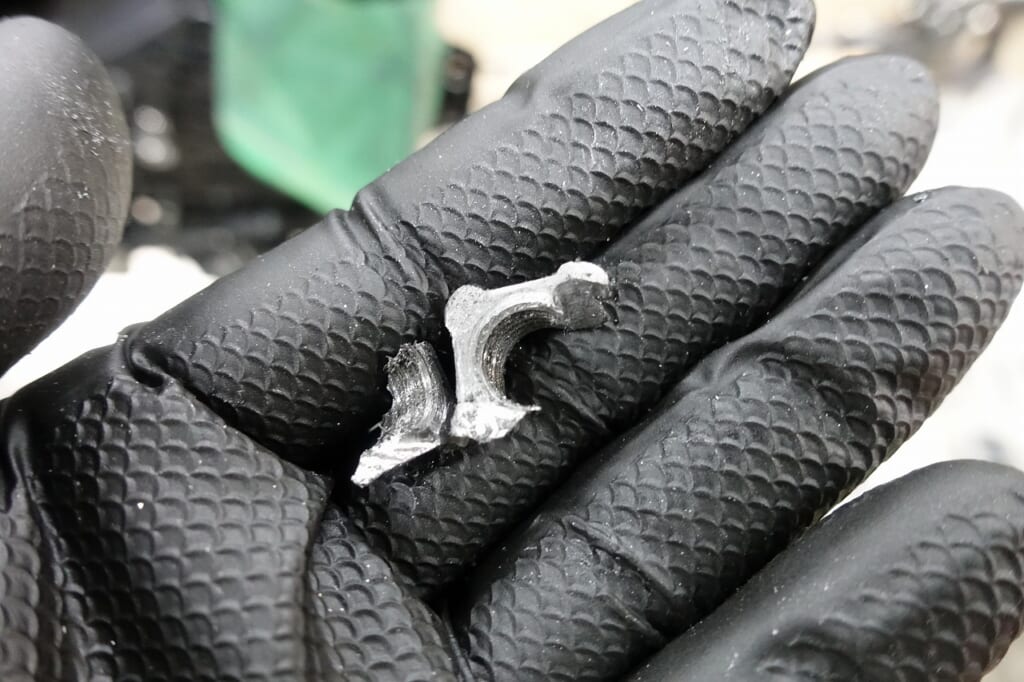
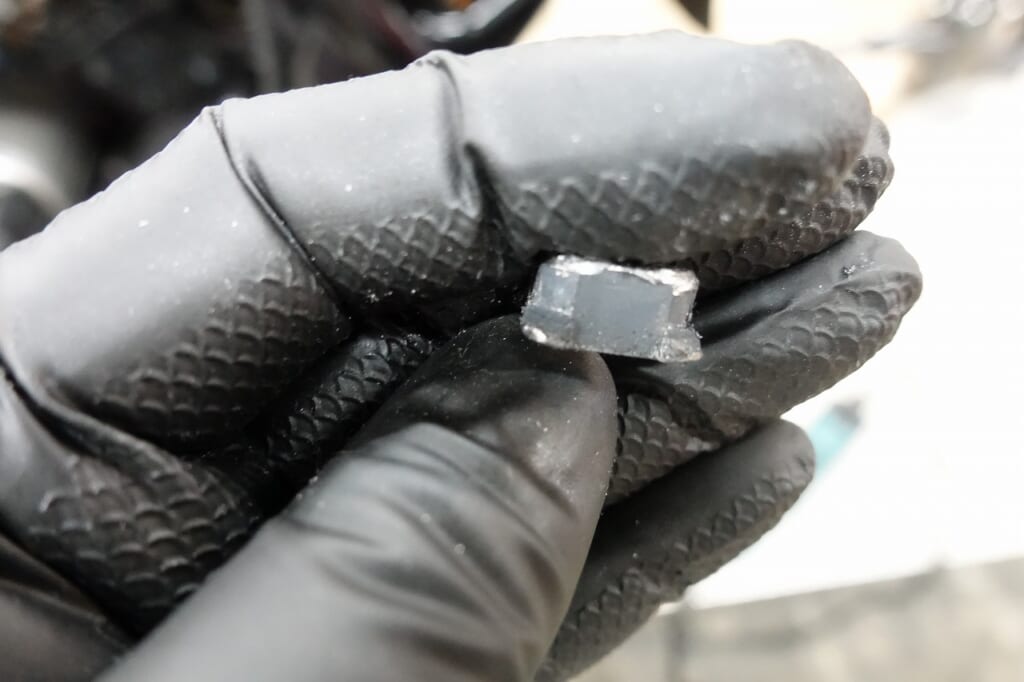
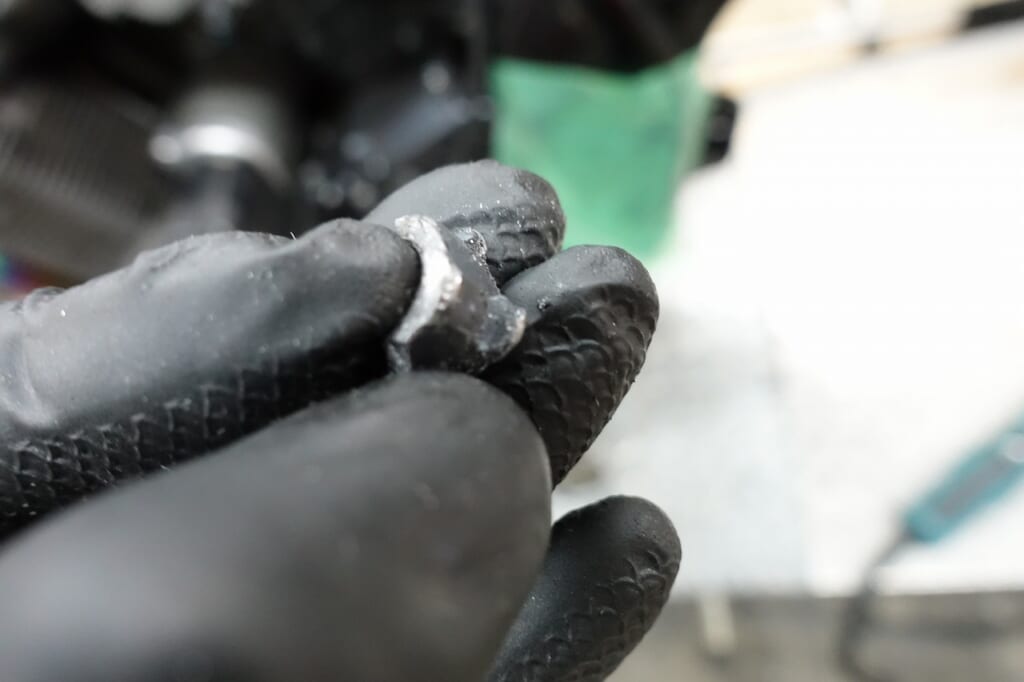
The bolt came out, but… more problems appeared.
I told them the nut would stay behind… but it’s structured so it won’t fall down…
The weld nut that came loose from the hole is peeking out…
What? Cut it open? I don’t want to do that… too much hassle.
I carefully ground it away bit by bit with a thin rotary tool through the gap…
This time too, I really felt…
…that tools really are everything (*´ω`*)
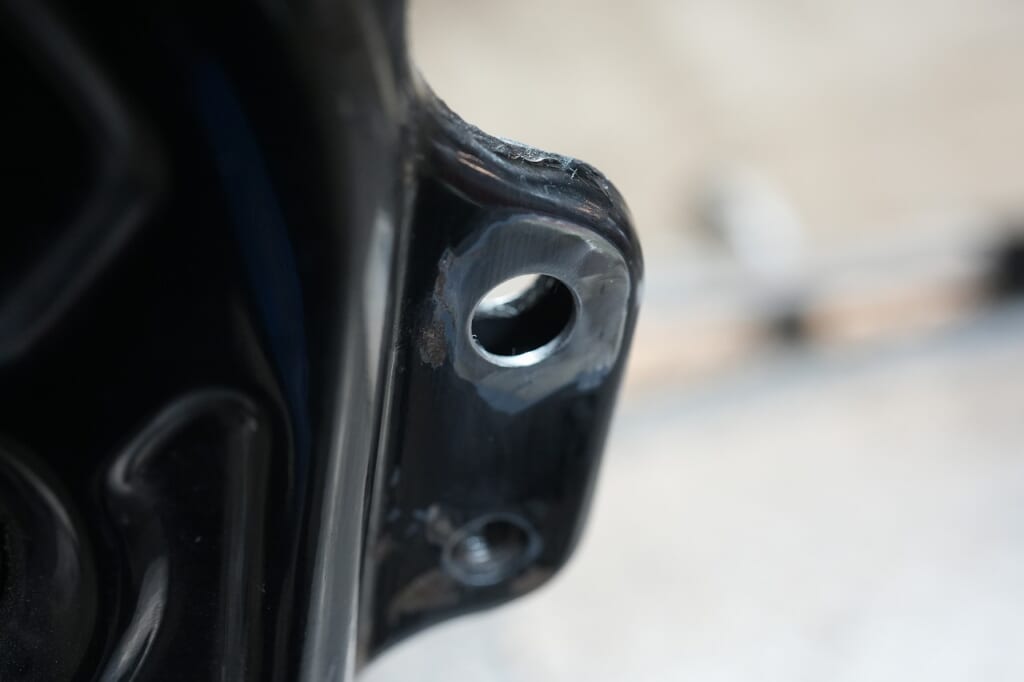
I’ll finish it up reasonably well and get things ready (^_-)-☆
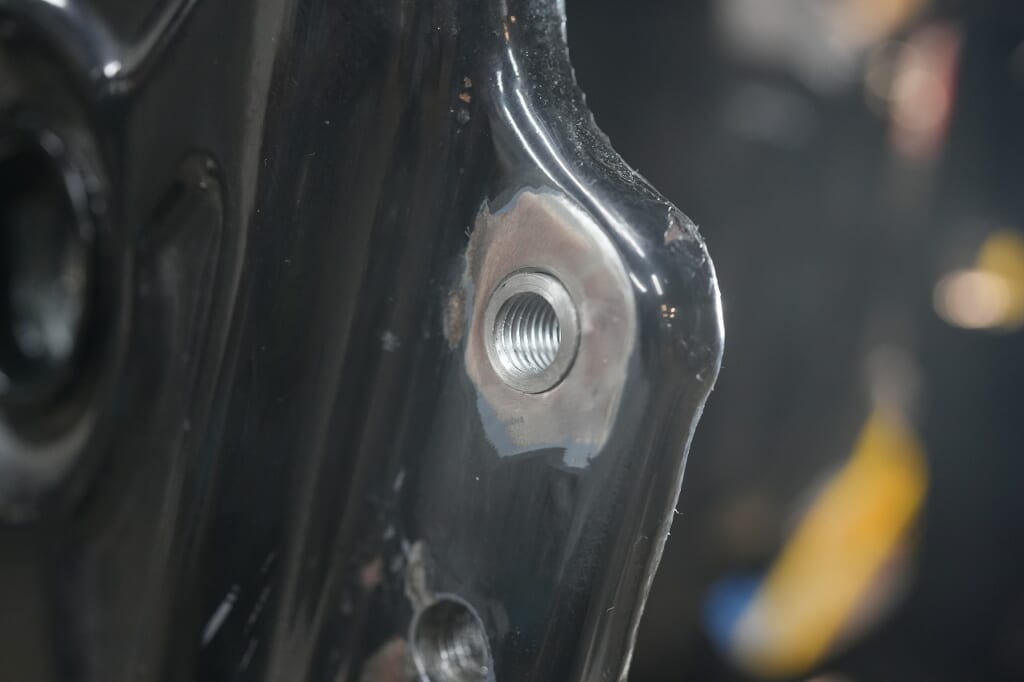
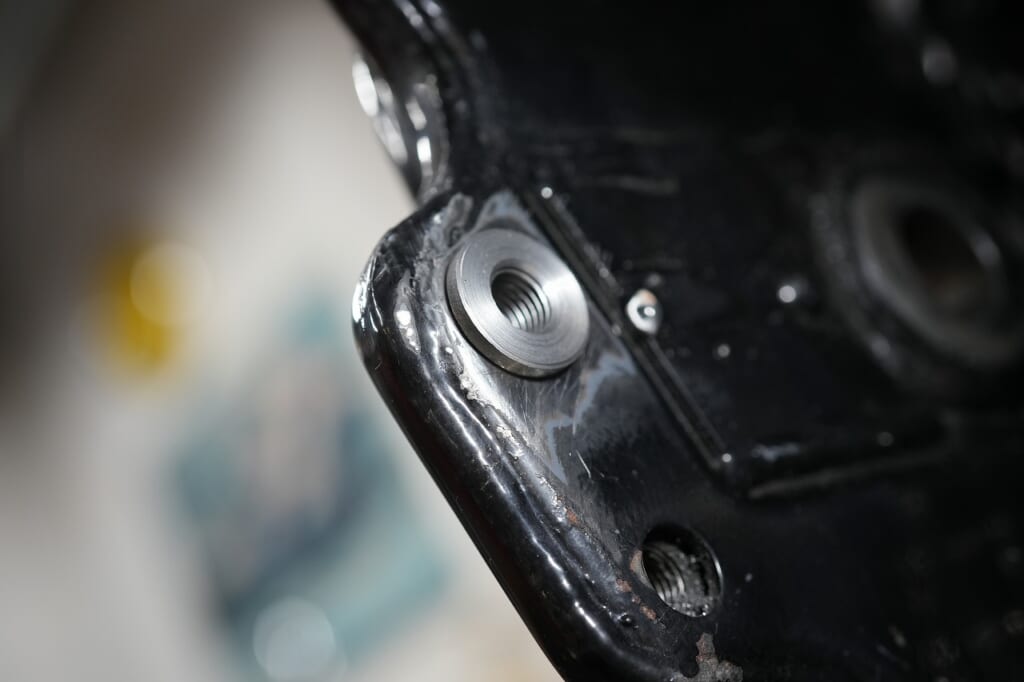
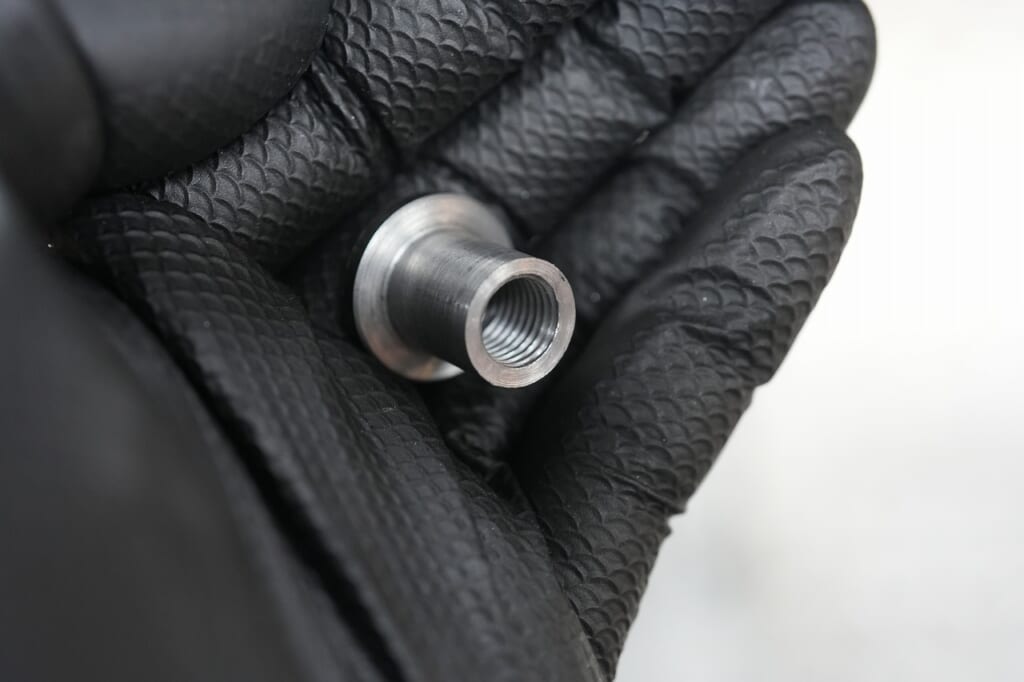
The plan is to machine out the boss and weld it from the inside.
I pushed it as close to flush as possible.
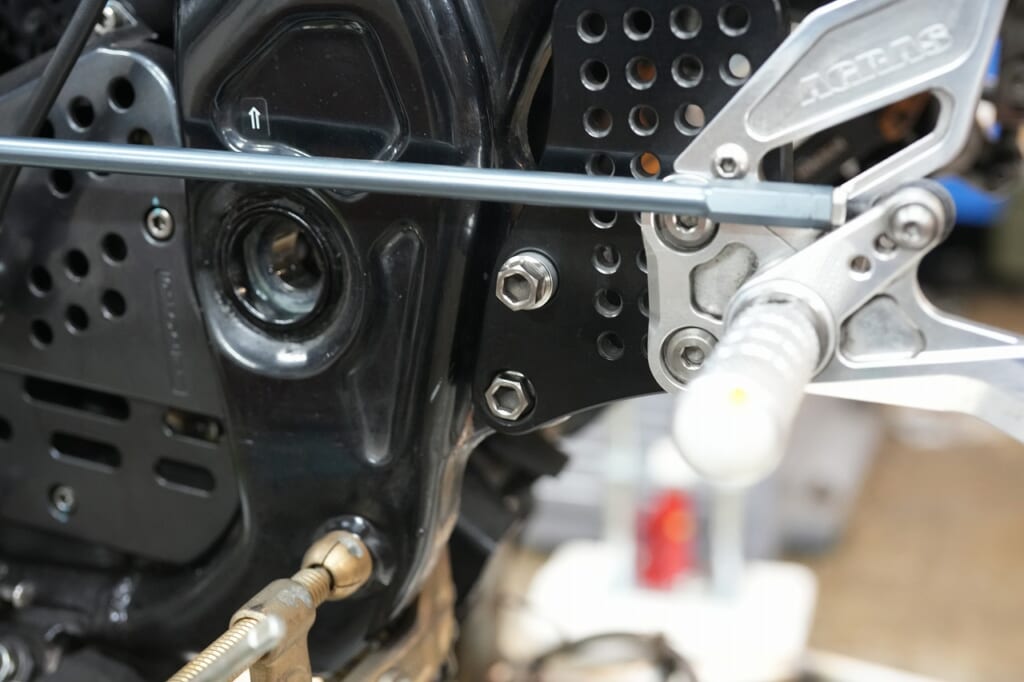
I used the stepbase as a positioning jig and let’s do some tack welding (inside)
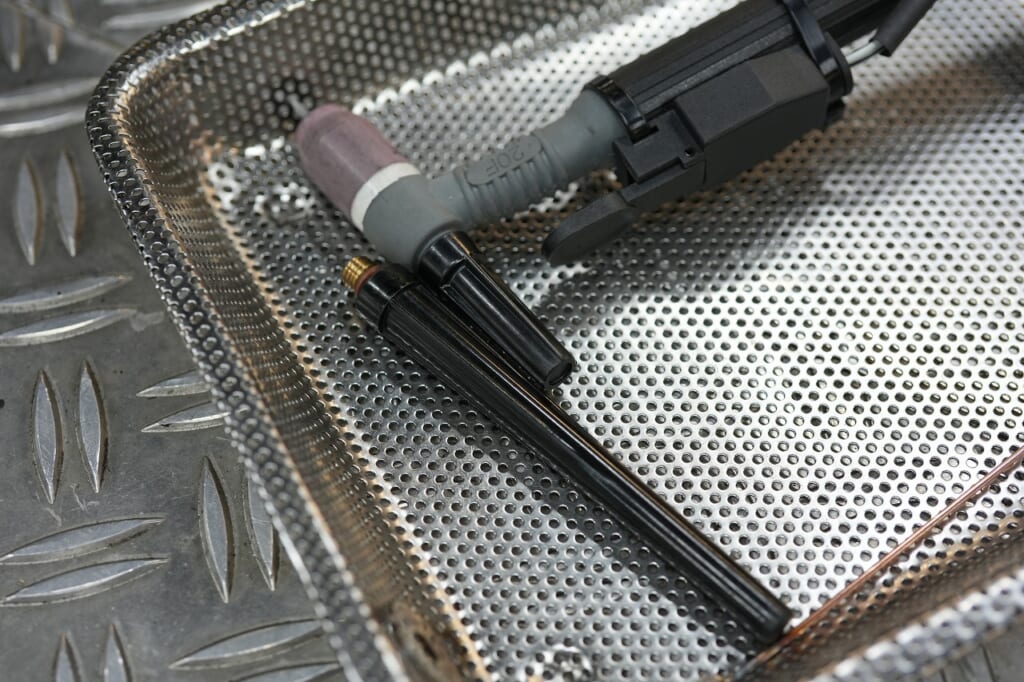
Oh no… the torch won’t fit… (´ρ`)
Fortunately I had a short cap on hand, so I managed somehow.
If I didn’t have it, I’d have had to buy one and wouldn’t have finished today.
This is why you can’t just do any job that comes along.
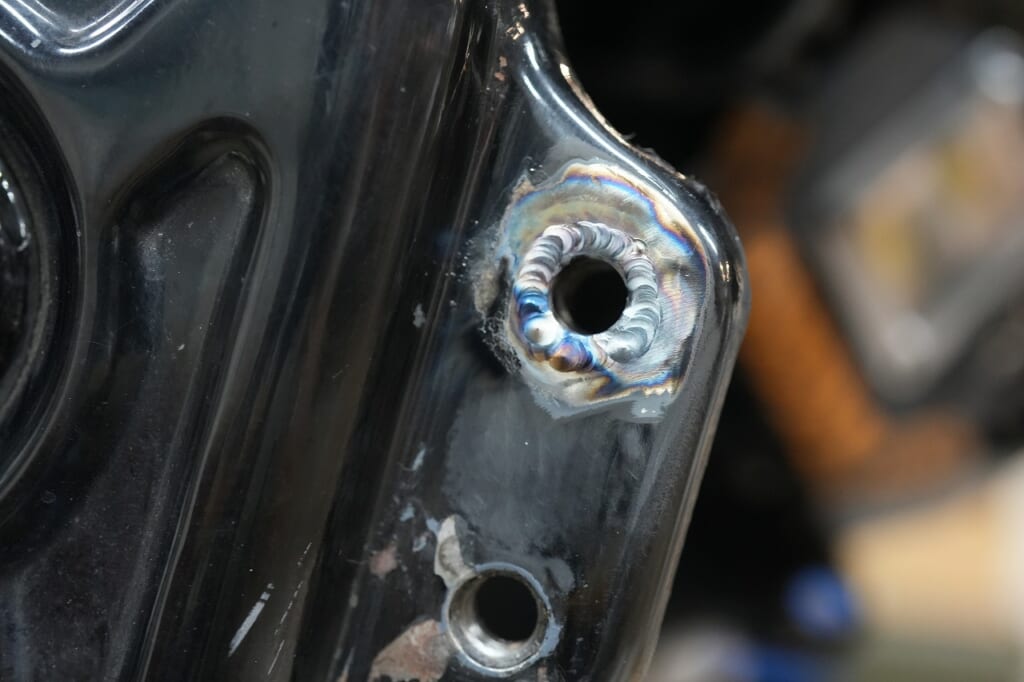
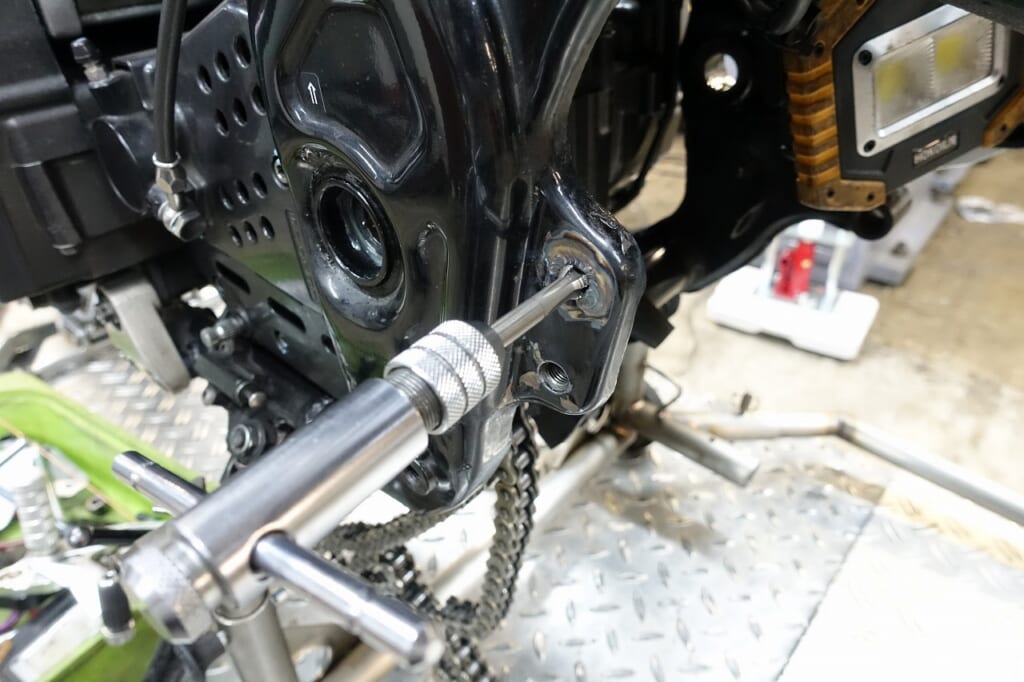
Welded both the back and front, tapped, and touched up with a marker – done! (*´ω`)
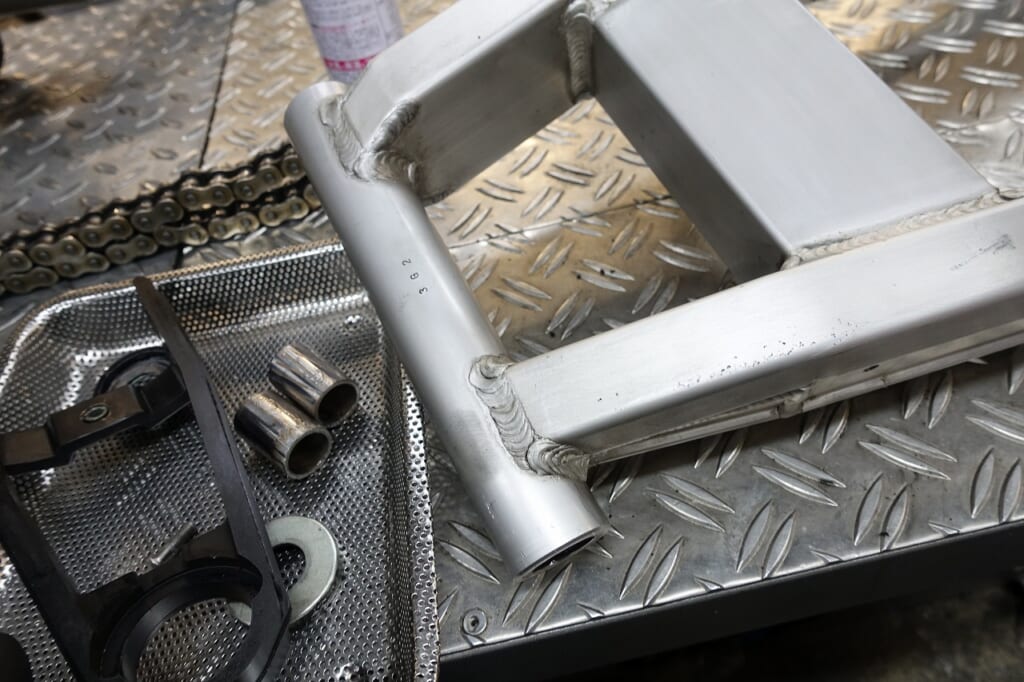
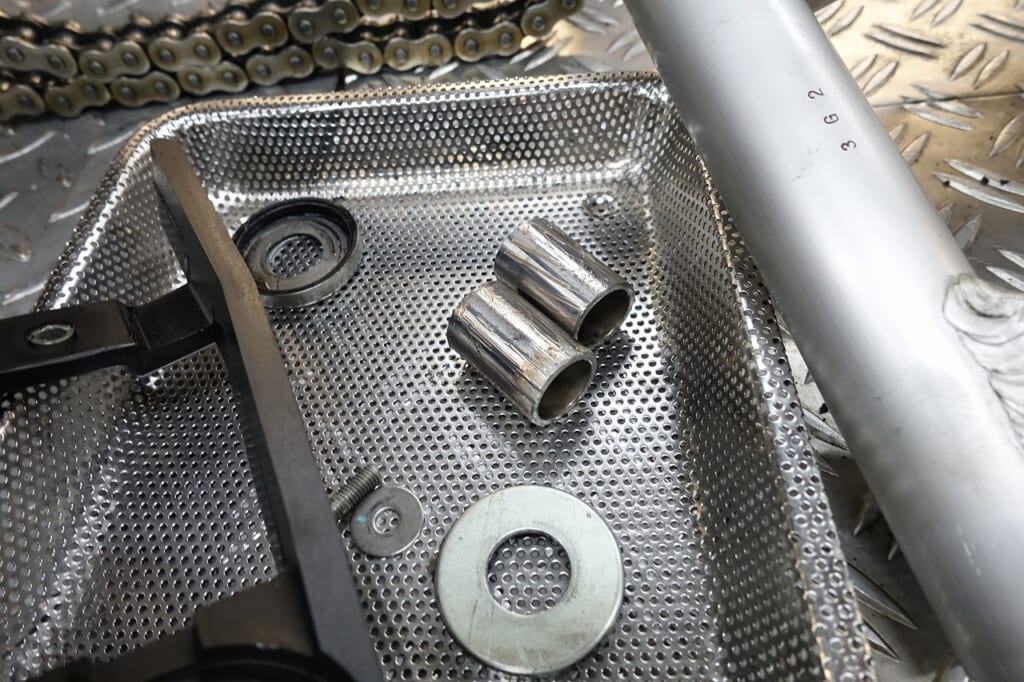
While I had it off, I greased it up too…
Ended up being an extra charge after all… thanks a bunch! (*´ω`*)