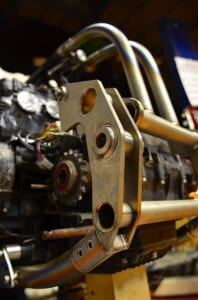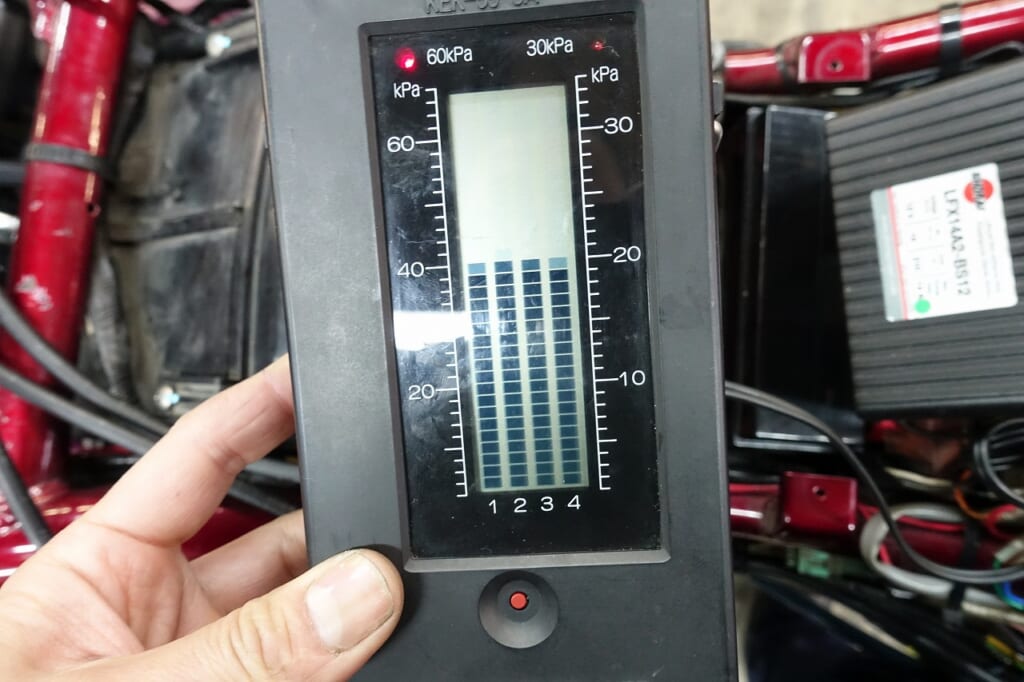
Let’s move on to the remaining finishing touches.
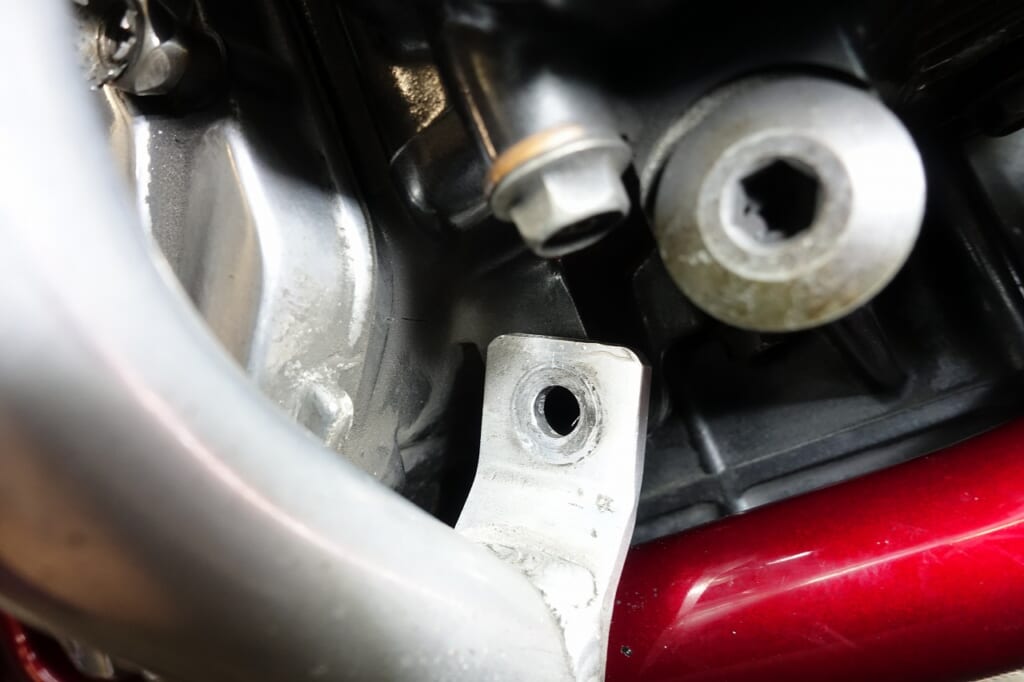
This gold metal engine guard is actually a tricky one.
I suspect most people don’t even notice it.
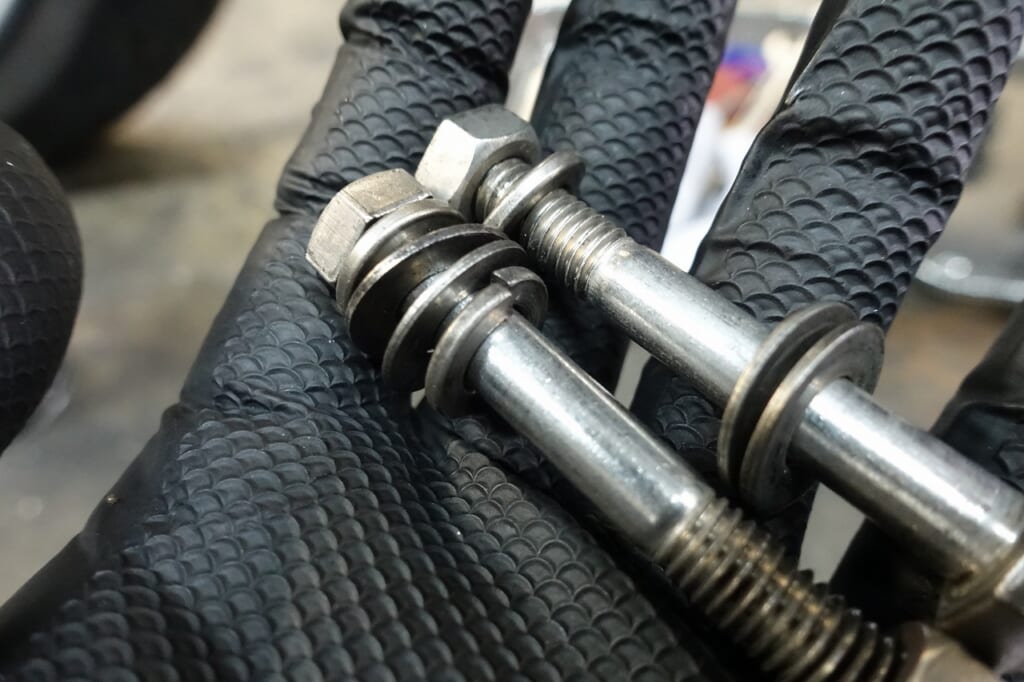
A bolt, lock washer, and washer assembly—something you rarely see these days.
With so many parts involved, the anti-loosening effect is surprisingly thin.
Measuring the underhead dimension is subtly confusing.
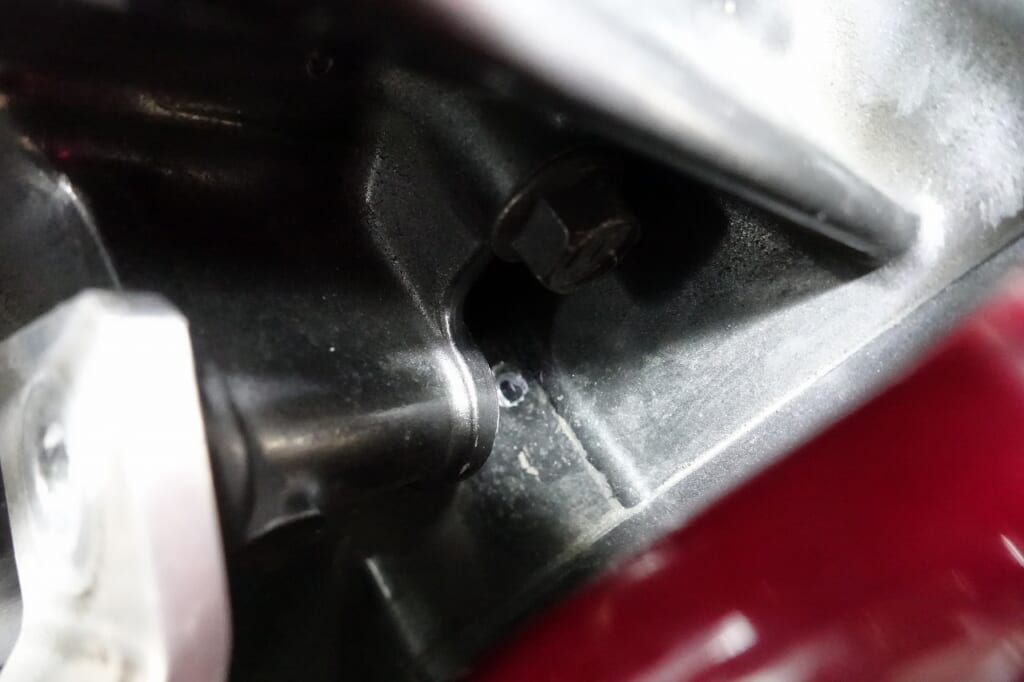
There are marks on the crankcase where bolts have dug in.
Anyone with experience fastening GS/GSX series crankcases knows this well.
If the bolt is too long, it can push the crankcase in like a puller and crack it.
Belts and bolts shouldn’t be longer than necessary—proper length and simple design is what works best.
*This is a poor example from the seller.
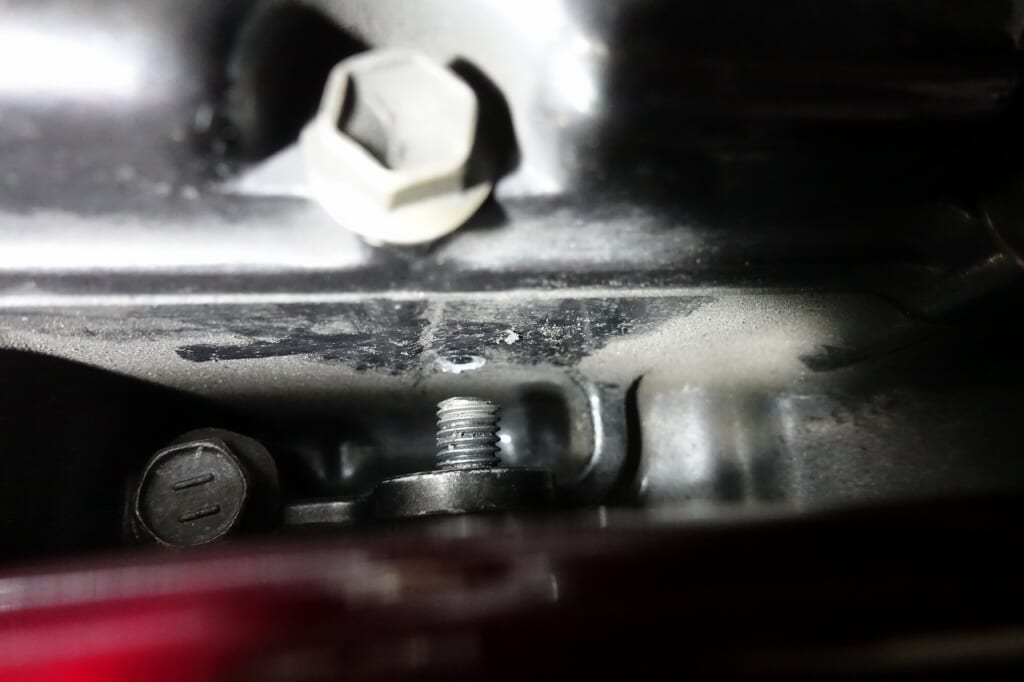
We replaced the bolt, machined it to the proper length, and secured it with a flanged lock nut for a much more comfortable installation.
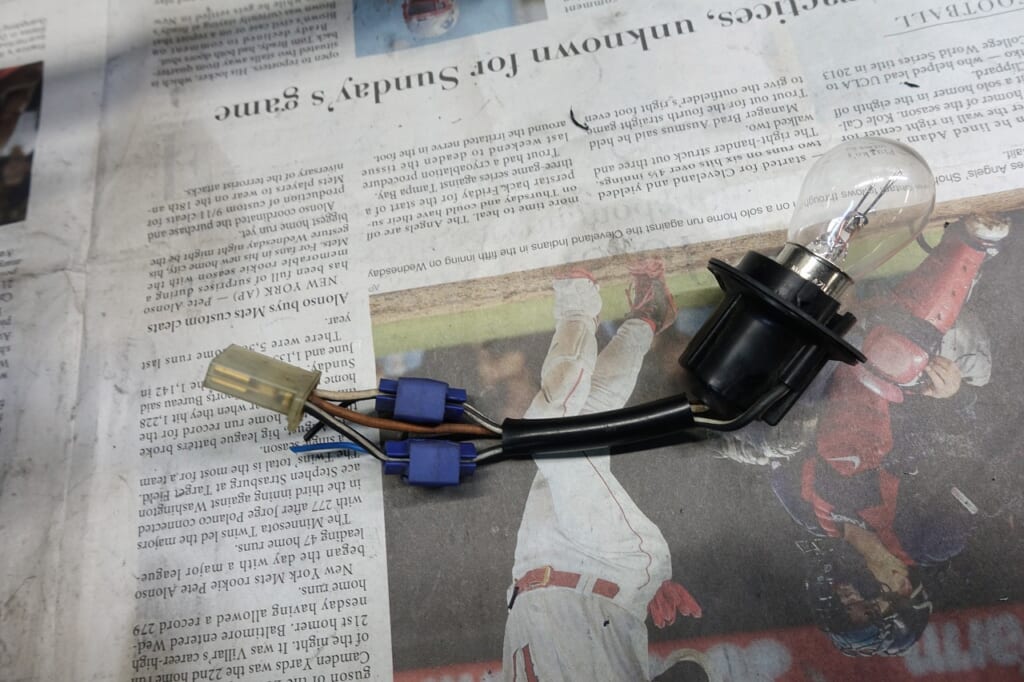
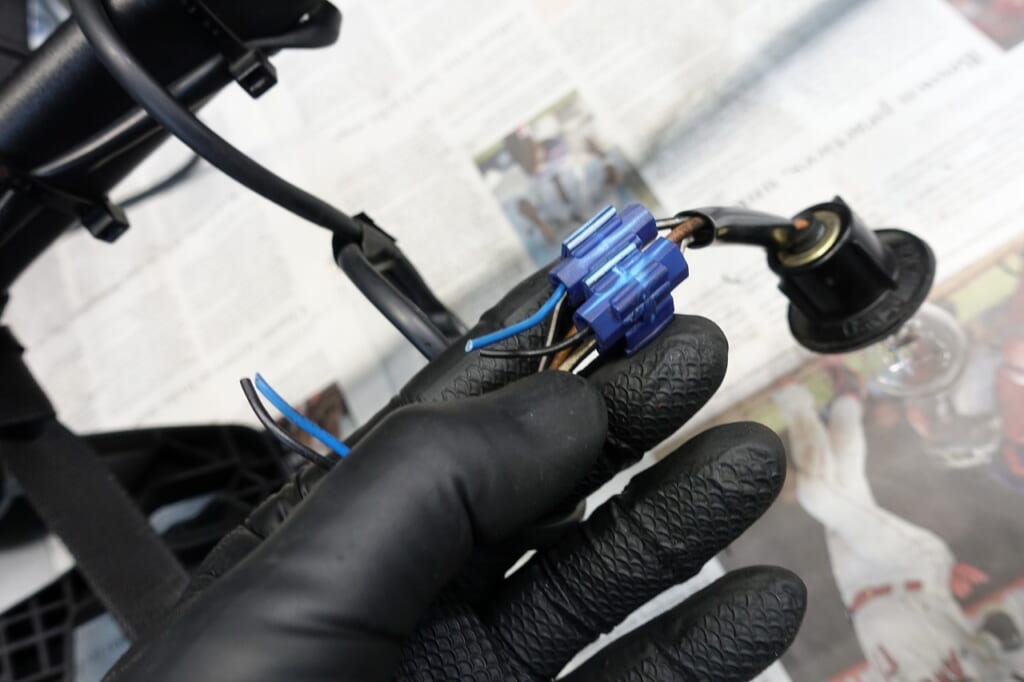
Let’s organize the wiring that connects to the rear case.
Taking the time to do it right now means it’ll be easier for a long time to come.
That’s true for everything, really. (^_-)-☆
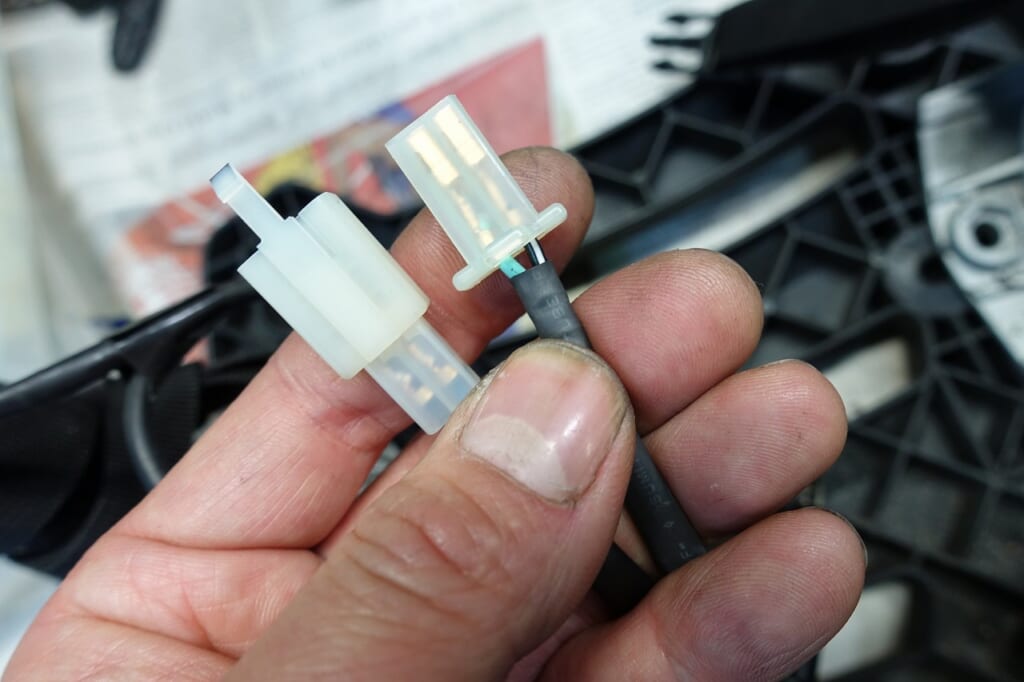
Extended with a 110-series connector for easy connect and disconnect.
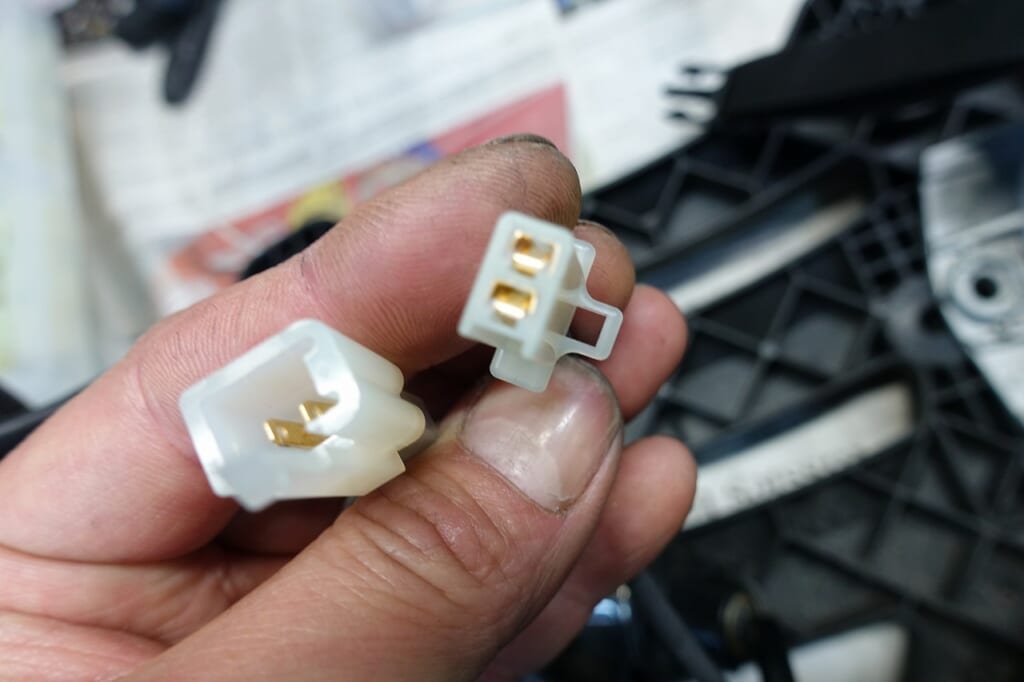
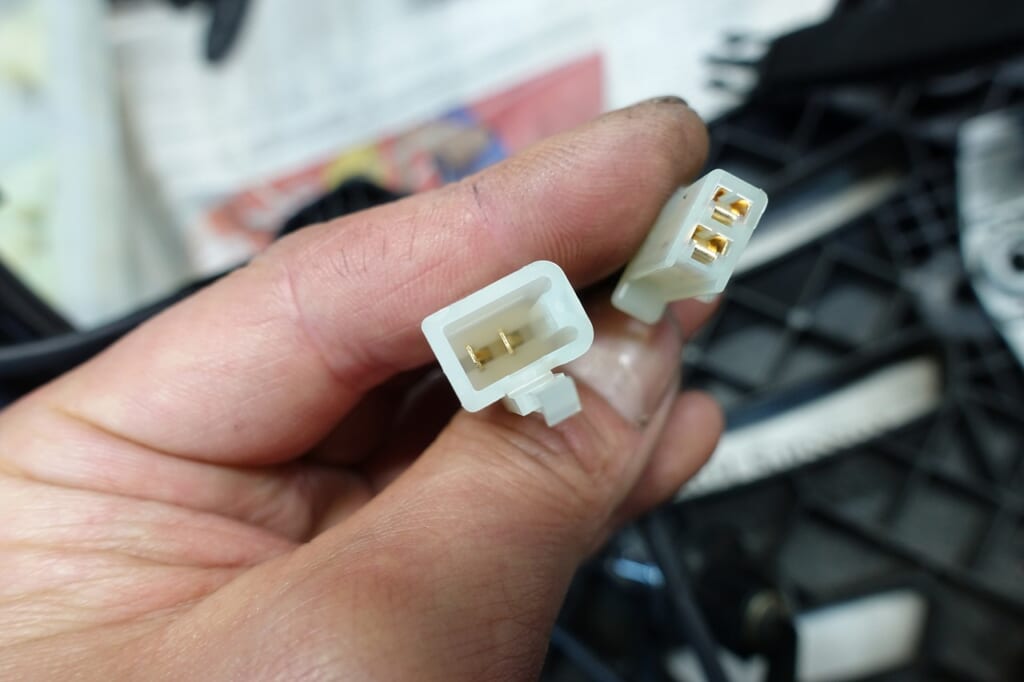
This is a matter of preference, but I have my own rule.
Upstream side gets the male connector (body side), downstream side gets the female connector (device side).
It’s unlikely, but the male connector side has a divider, so even if it somehow came loose and got pinched, it wouldn’t short out.
*Though that probably won’t happen…
Even something as simple as how you handle connectors can bring consistency to your work.
The choke wire still needs to be done… bear with me for a moment… we’re 99% there! (*’▽’)