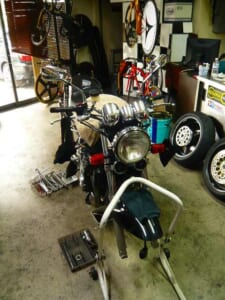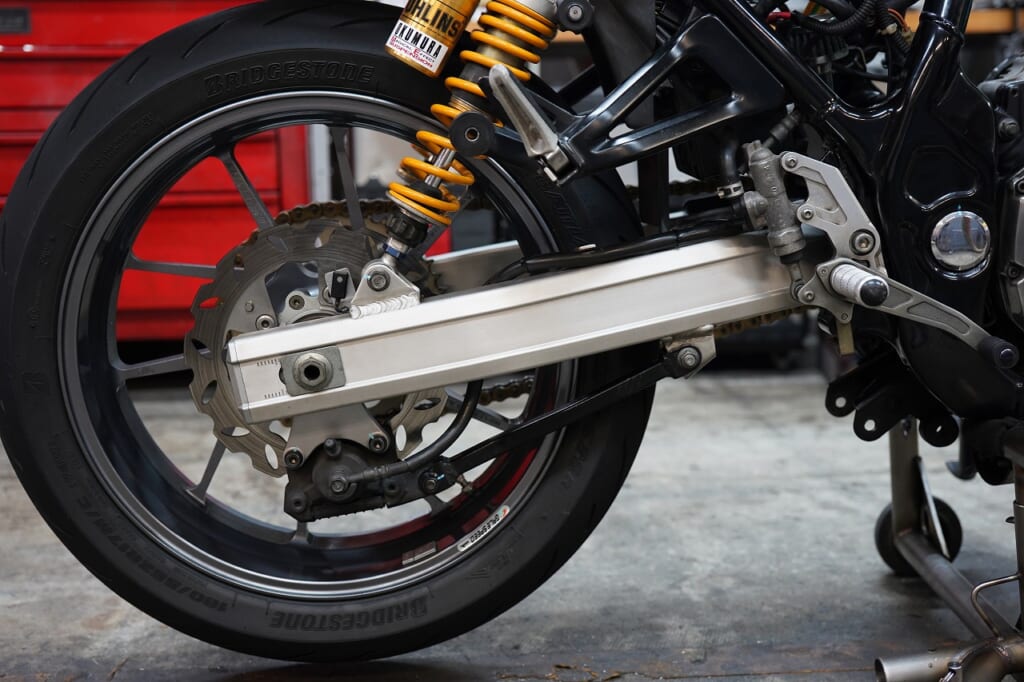
Here’s the work we’re doing (‘ω’)ノ (these are photos after the work…)
Let’s overhaul the swingarm!
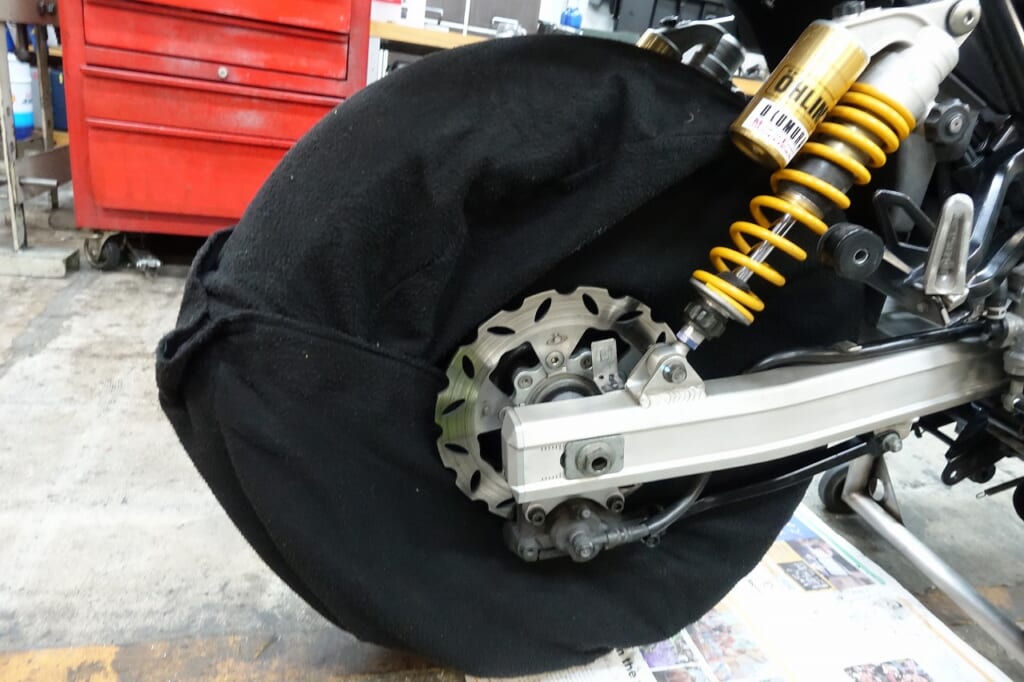
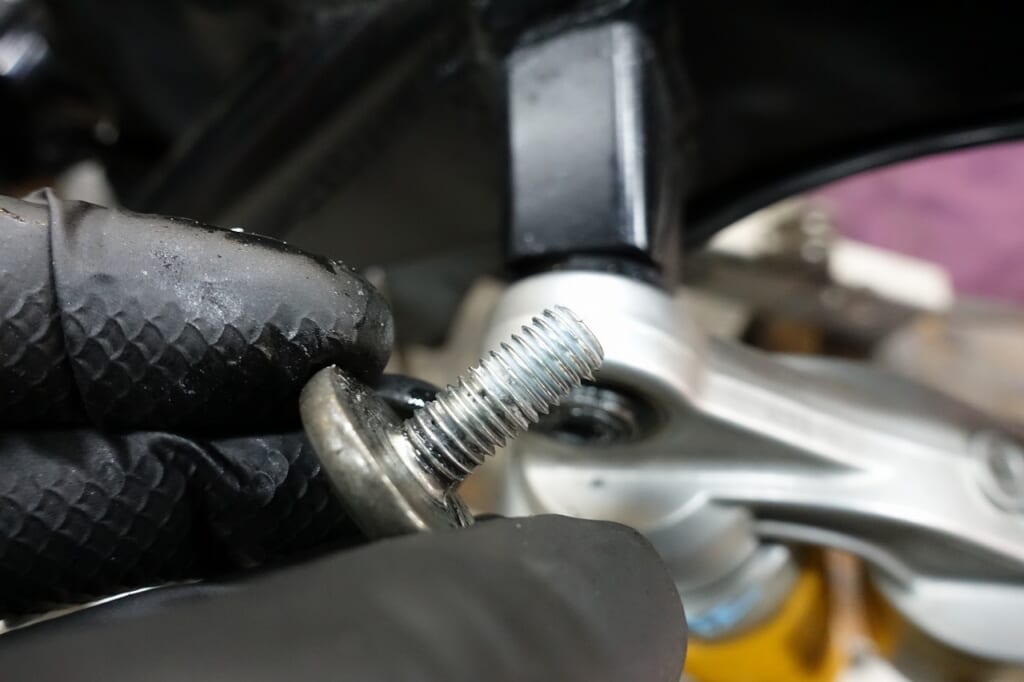
A quick note: everyone gets nervous about parts coming loose.
Depending on the location, it’s better not to apply threadlocker too generously.
Depending on the bolt size, you can snap it off when removing it.
Depending on the location and how tight it is, applying it more toward the outside makes it easier to extract if the worst happens and the bolt breaks.
Balance is key—secure enough that it won’t come loose, but easy enough to remove.
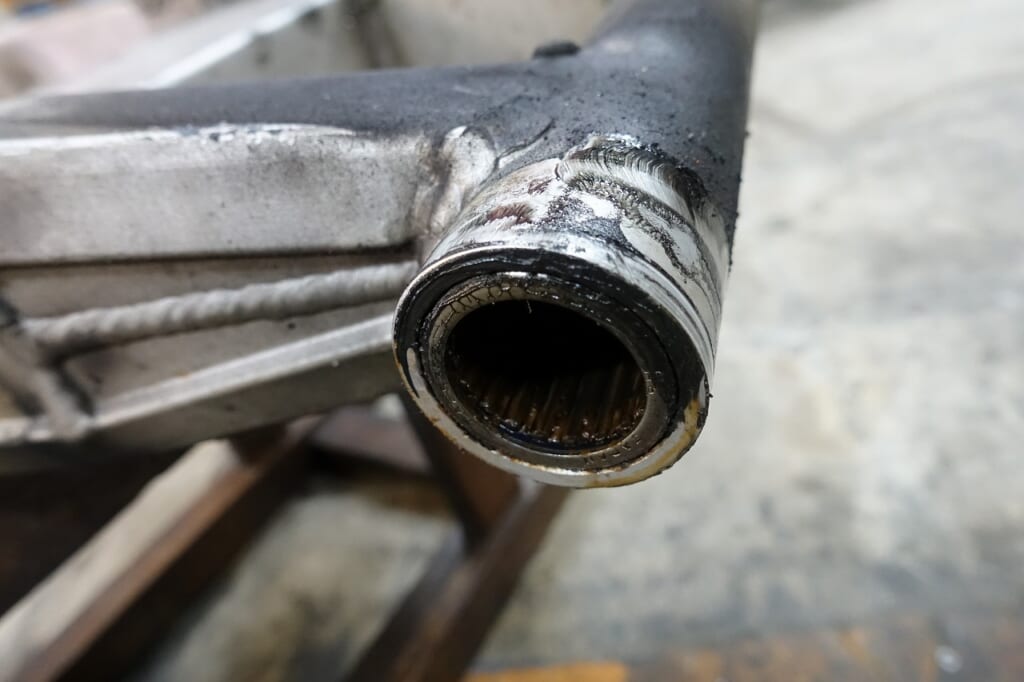
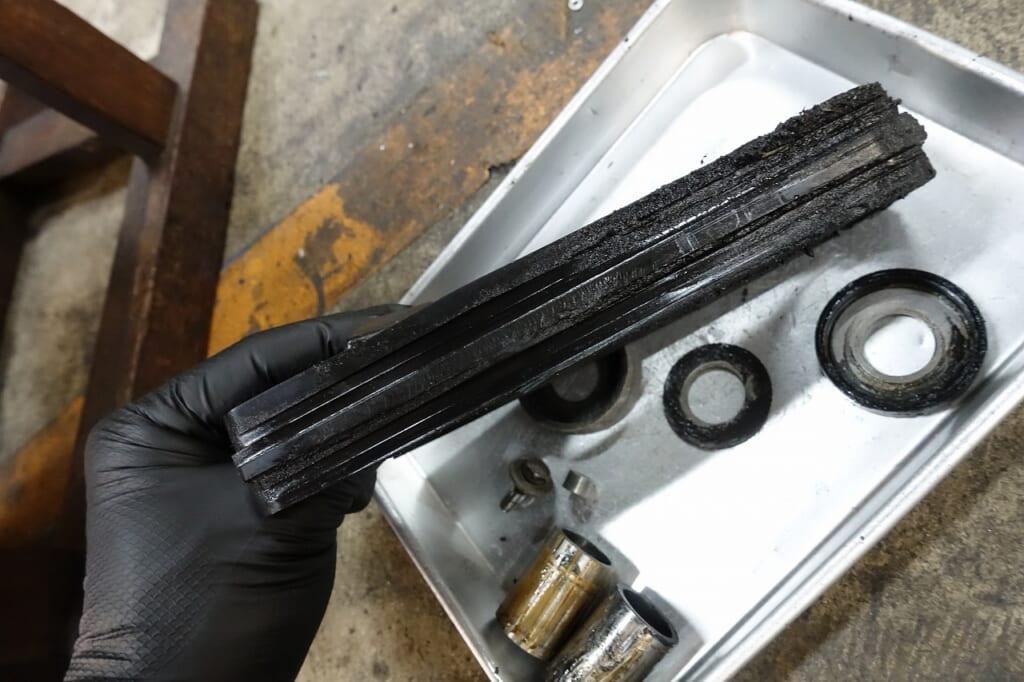
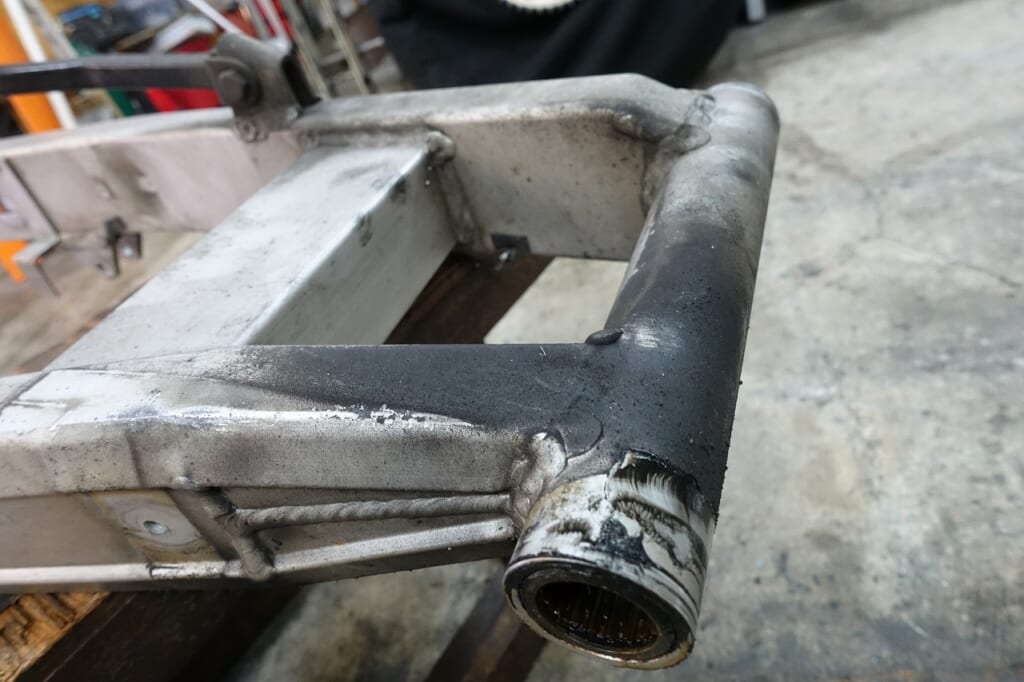
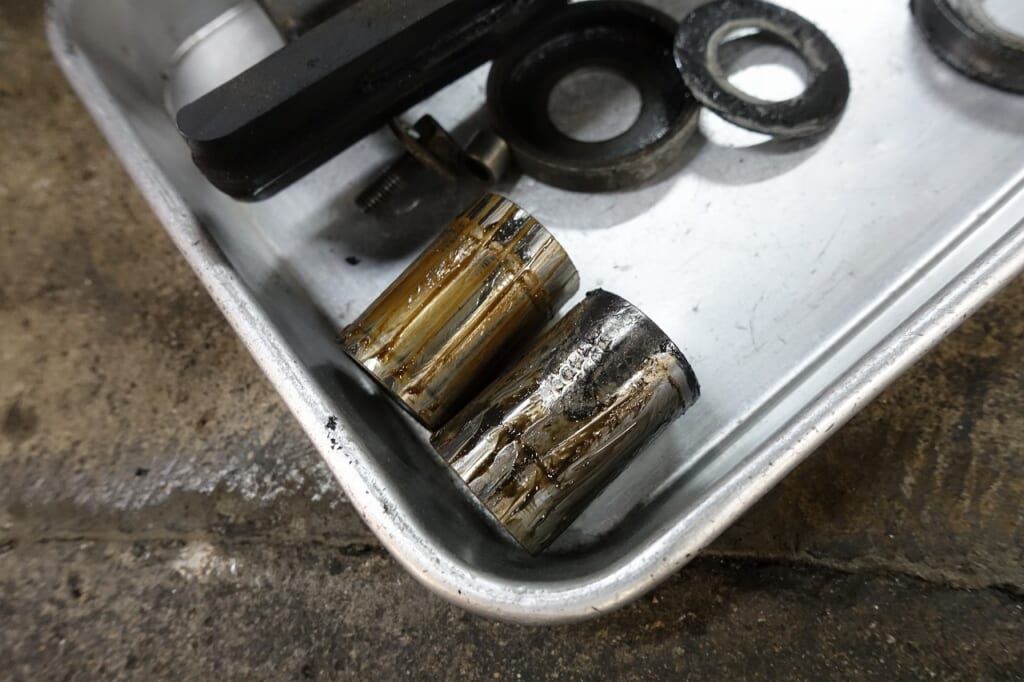
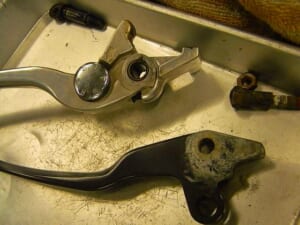
The condition wasn’t too bad. The grease has deteriorated though.
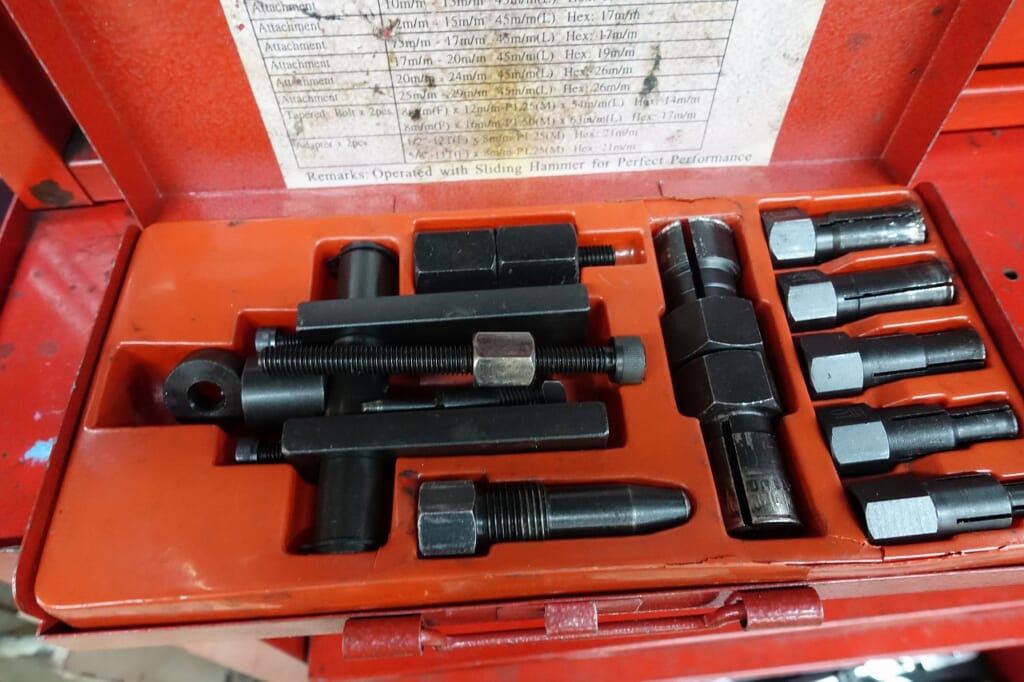
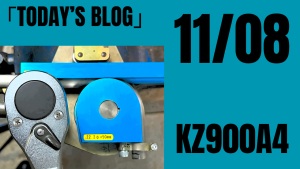
My go-to cheap bearing puller.
It’s actually pretty good, and honestly it’s all I use. I do have a nicer Hasco one, but…
It has a pretty unique way of using it though…
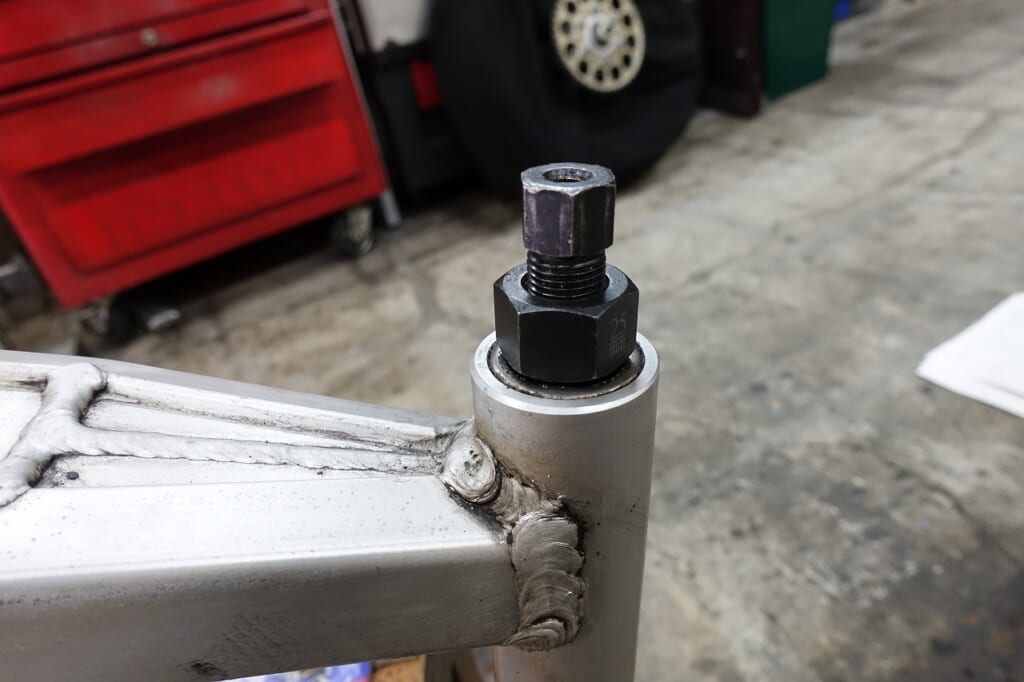
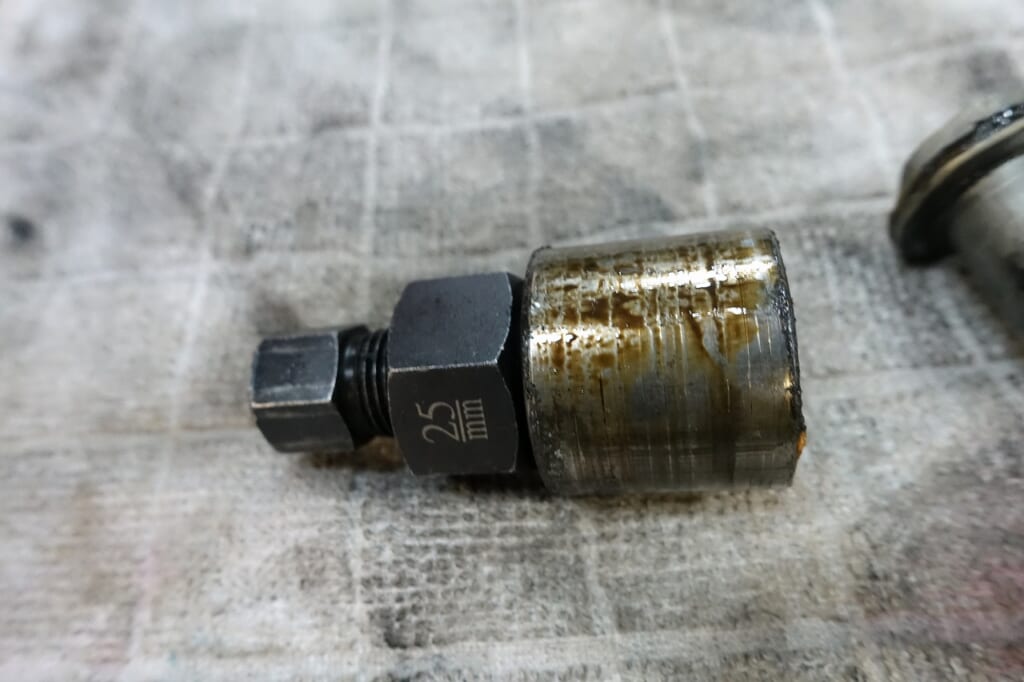
If the inner diameter matches, you can use needle roller bearings too. Ever since I discovered this, removing swingarm bearings has become so much easier…
By the way, you spread the puller, warm it up lightly, and tap from the back—it comes right out (‘ω’)ノ
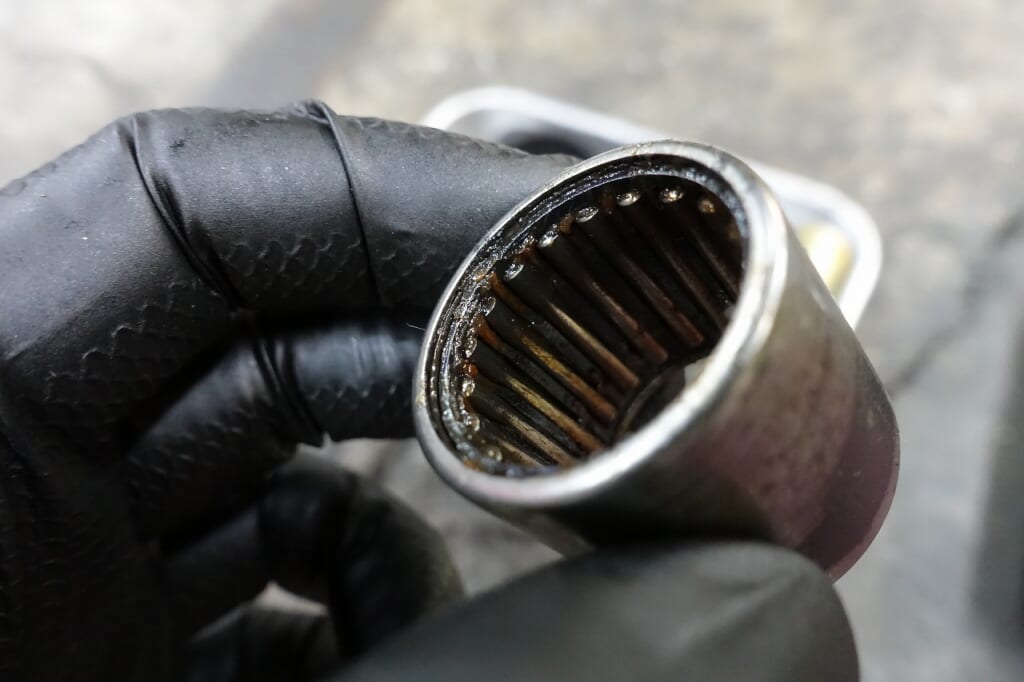
That’s how you can remove it EASY and smartly.
Toolsisland Pilot Bearing Puller Set, internal jaw 8–25 mm
The stand that comes with this puller isn’t used, but if you do use it, avoid direct contact.
Don’t even think about hooking it on the pivot edge… be careful!
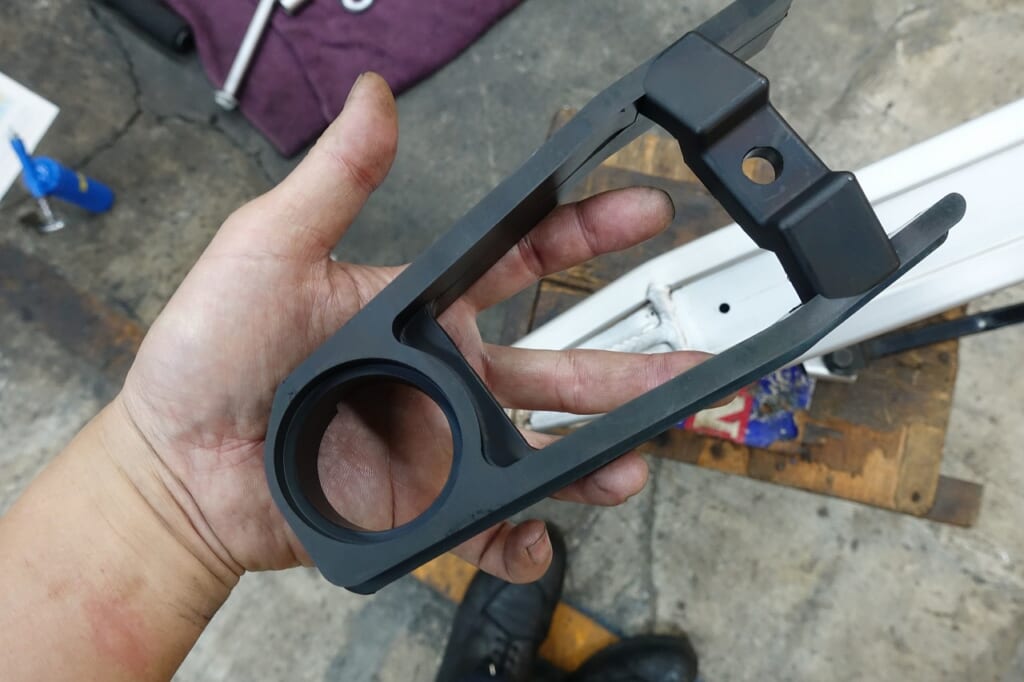
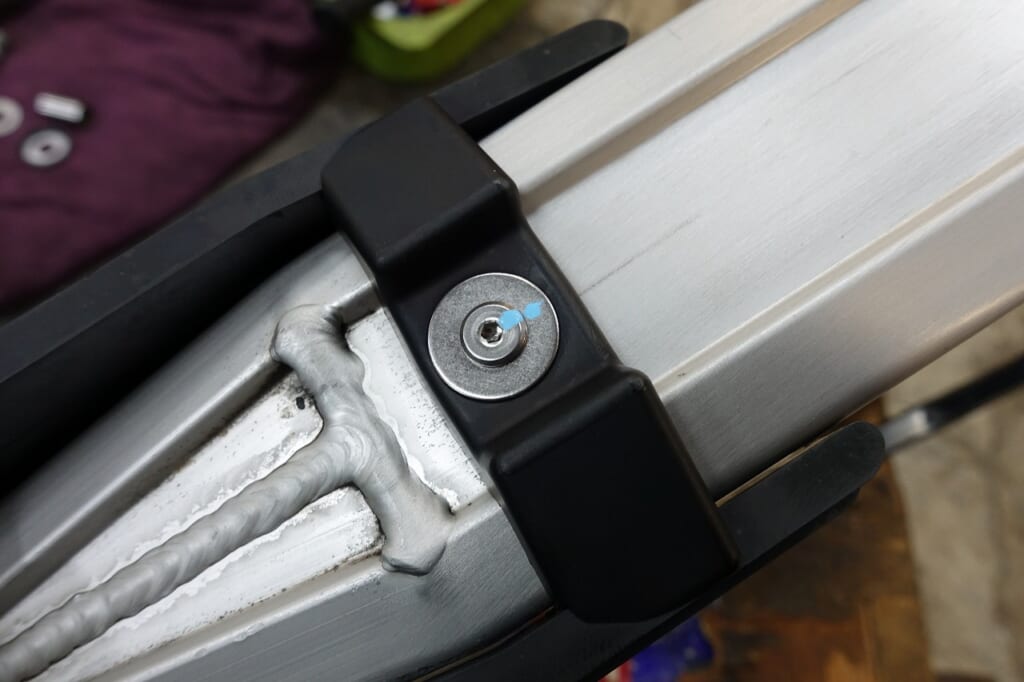
You always want a fresh chain slider. Parts like this need attention too, or things can go wrong…
Using ultra-low-profile fasteners keeps it slim and clean (‘ω’)ノ
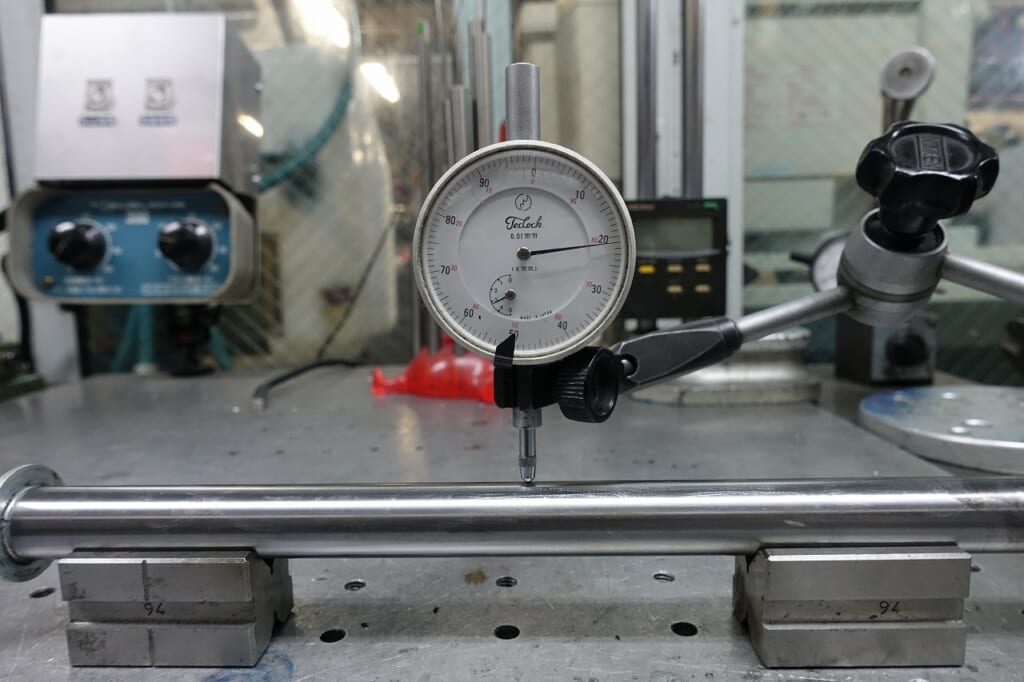
The pivot shaft is already discontinued…
But it looks like it’s been replaced? It’s super clean with no bending—perfect!
Really saved us there!
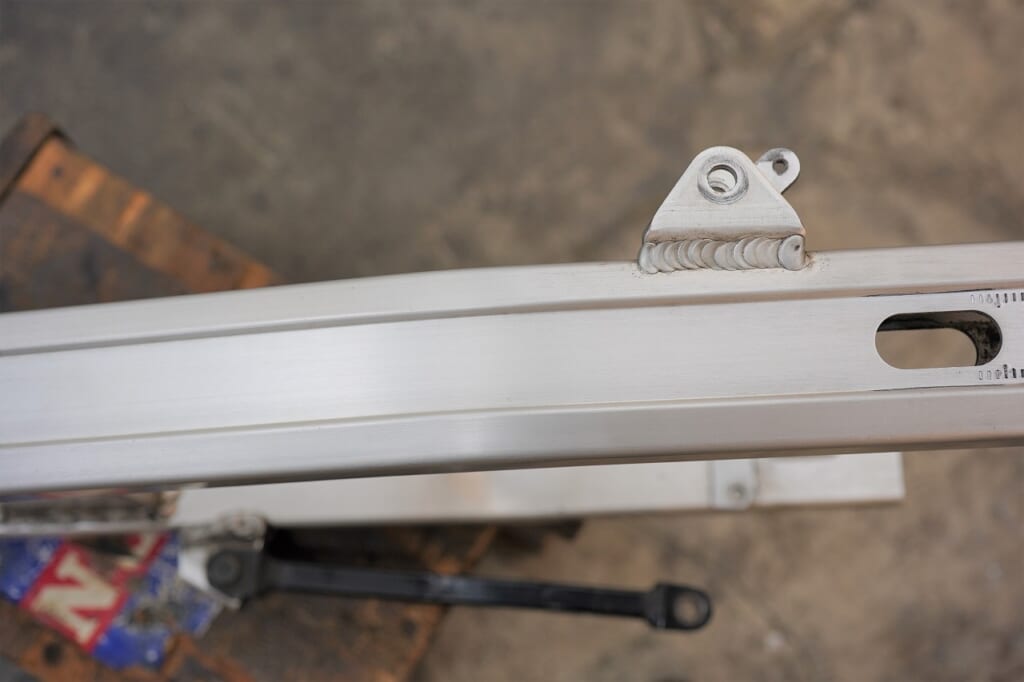
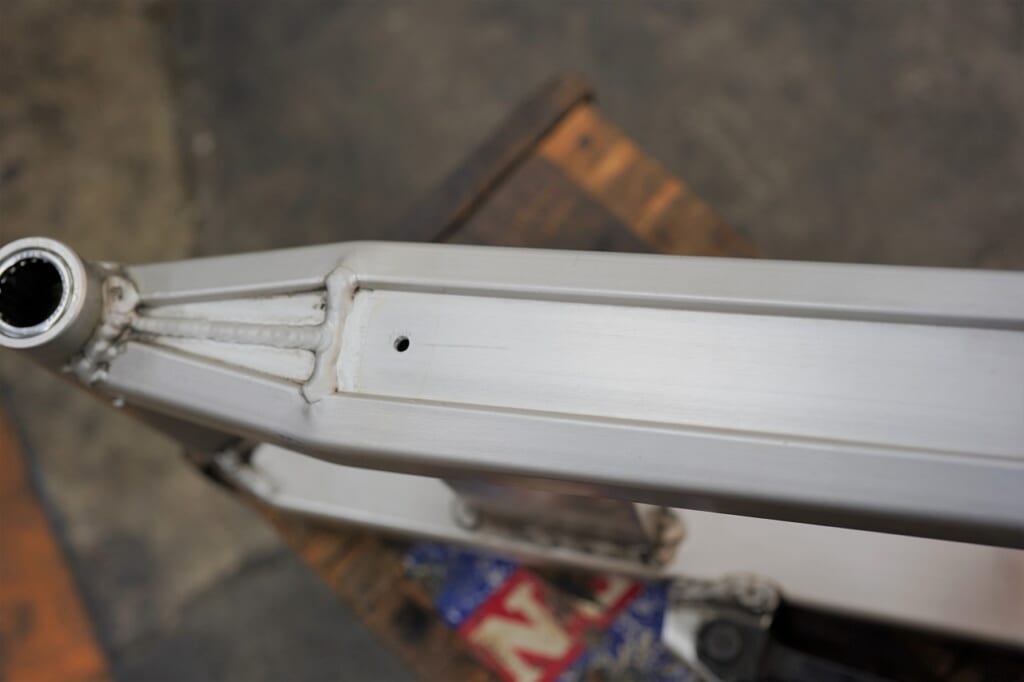
Wiping it with one of those trendy chemicals lately… the haze comes right off and it looks clean.
Makes me happy.
I’ve made a video of the pivot width adjustment, which should go live this Thursday.
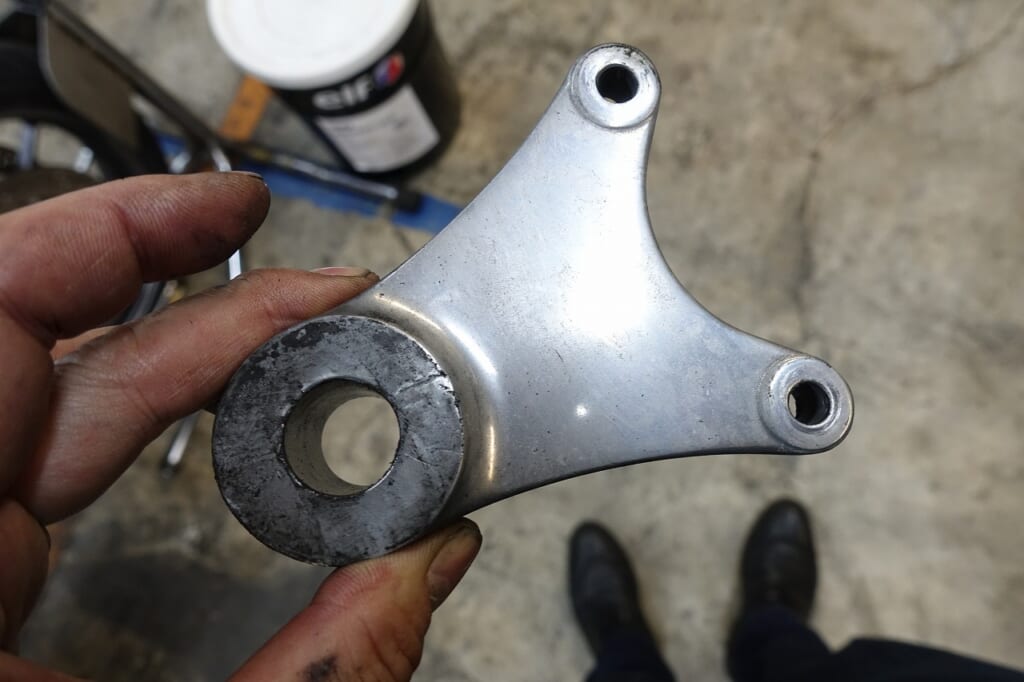
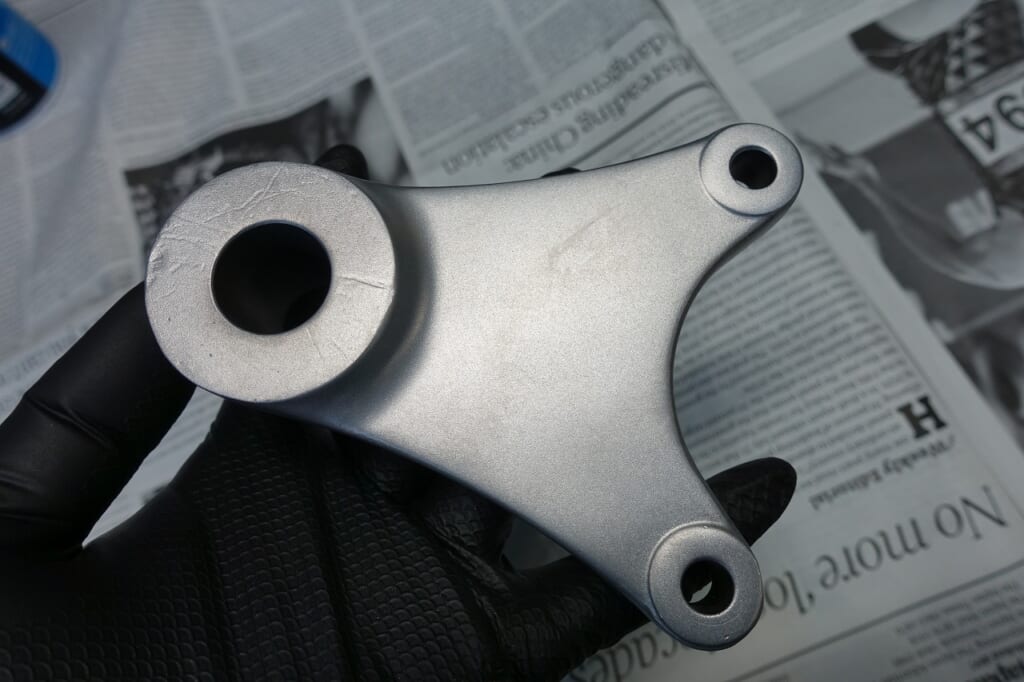
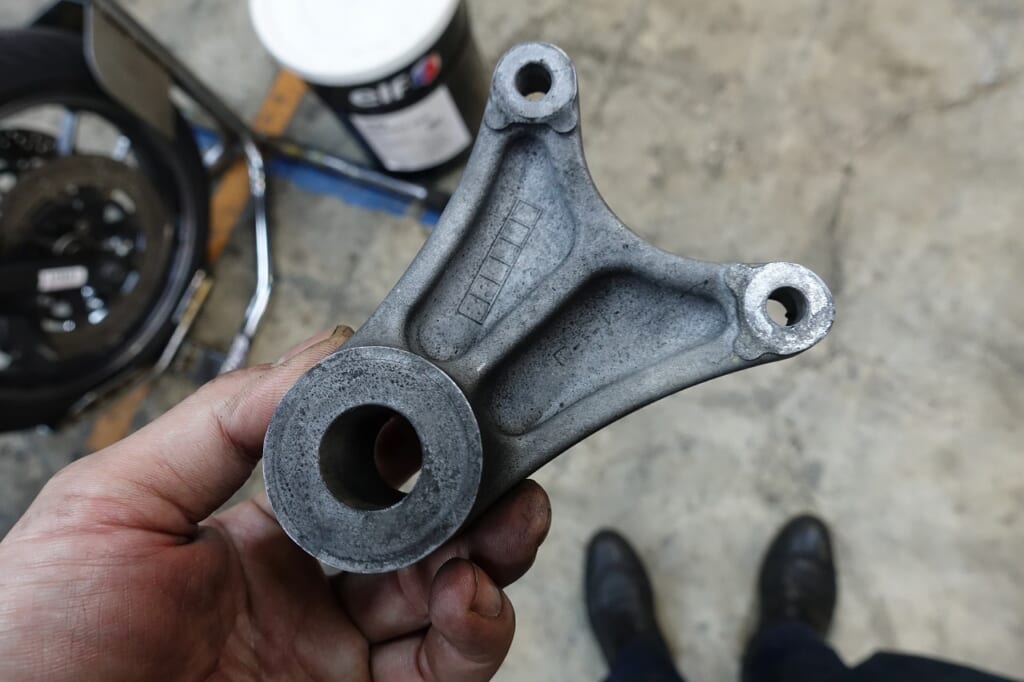
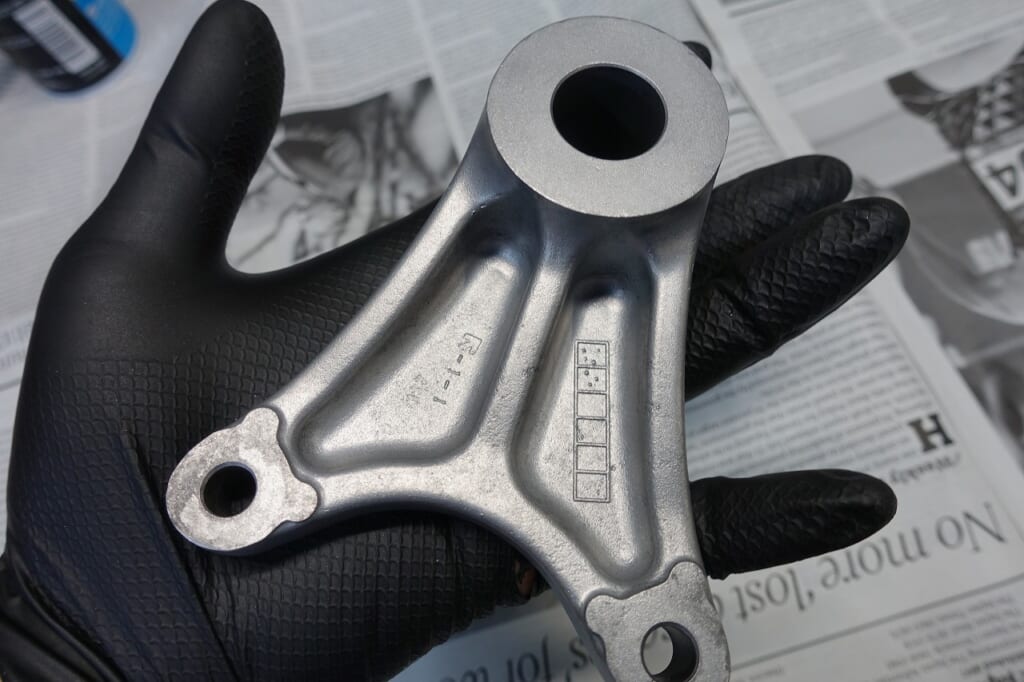
There was some buffing, so I wasn’t sure what to do, but I went with wet blasting.
That completes all the rear work (‘ω’)ノ