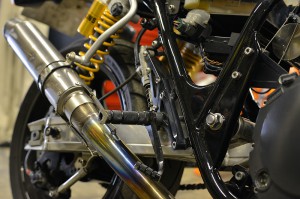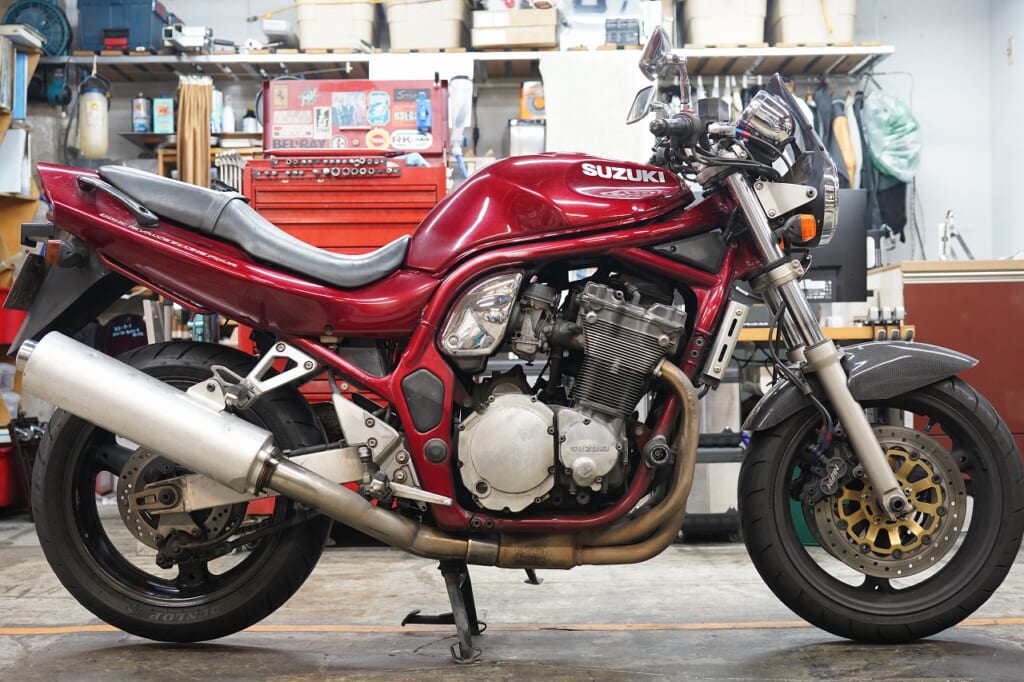
The silencer bracket broke at the base—quite a situation.
Should we weld it back together or buy a used one? I pondered. After some clicking around, I decided a used replacement was quicker and more affordable. Everyone prefers the easier, more reliable route.
It’s become a commuter bike, so the wear is pretty intense. I’ll work through this steadily.
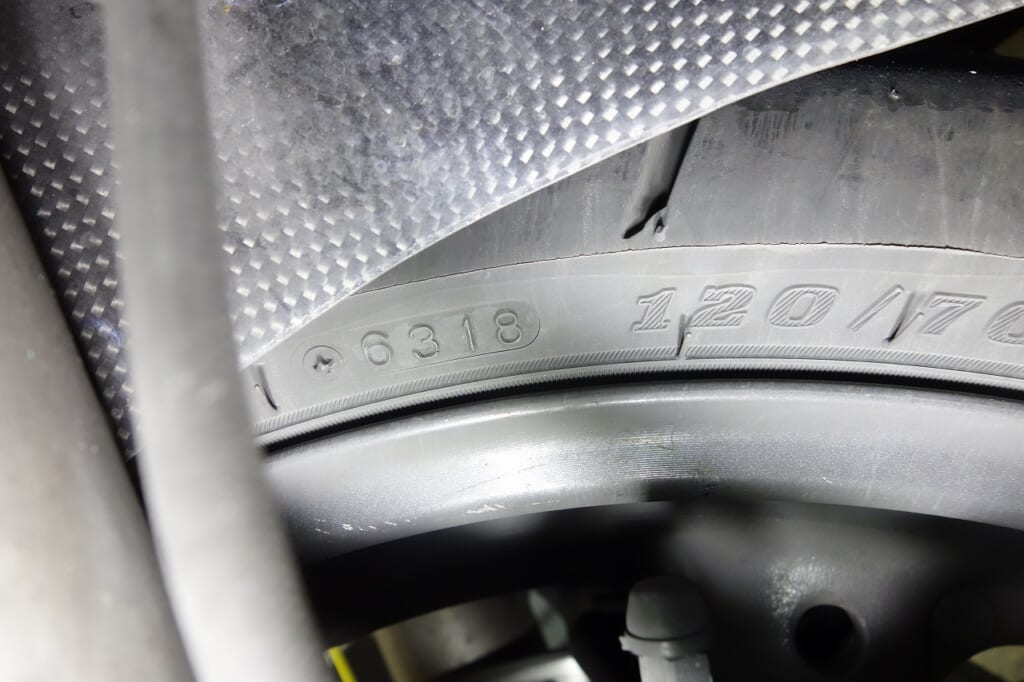
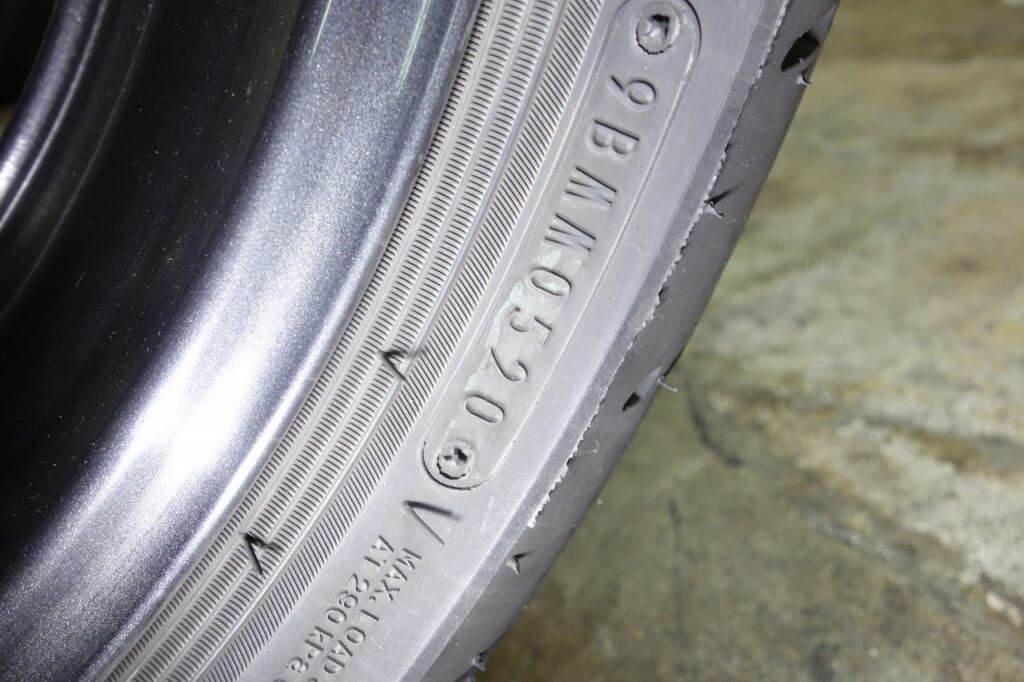
First I checked the tire brand, size, and manufacturing date.
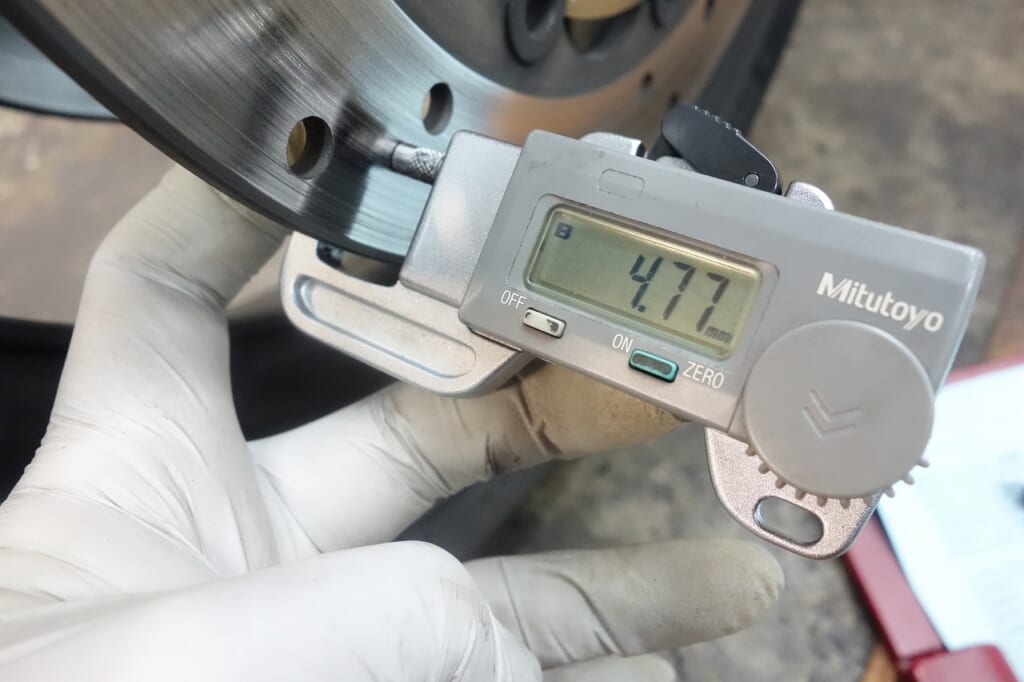
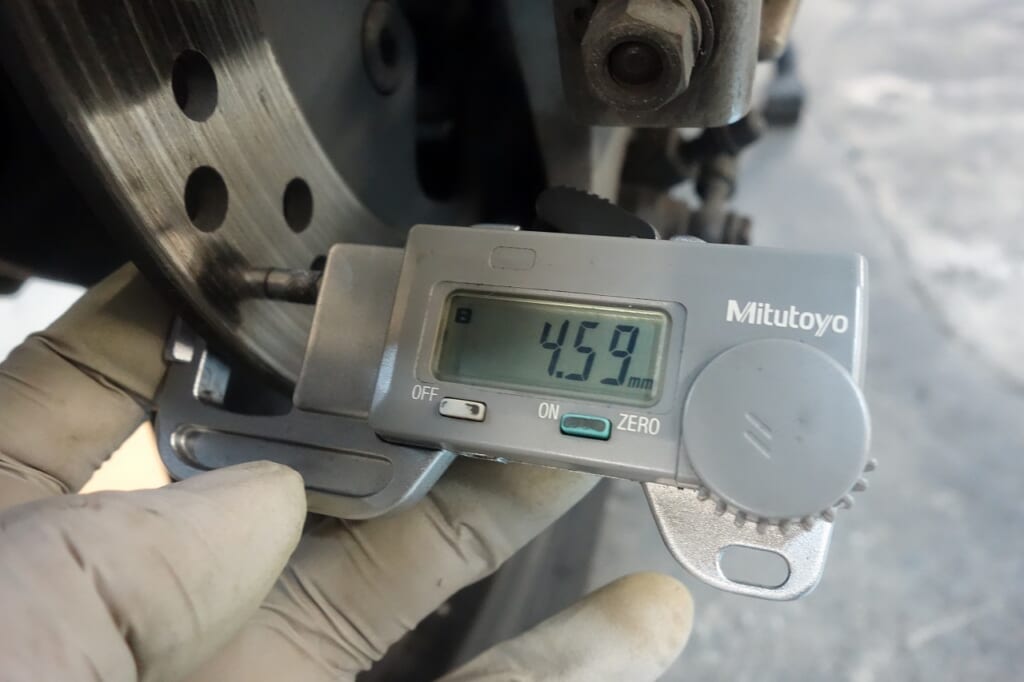
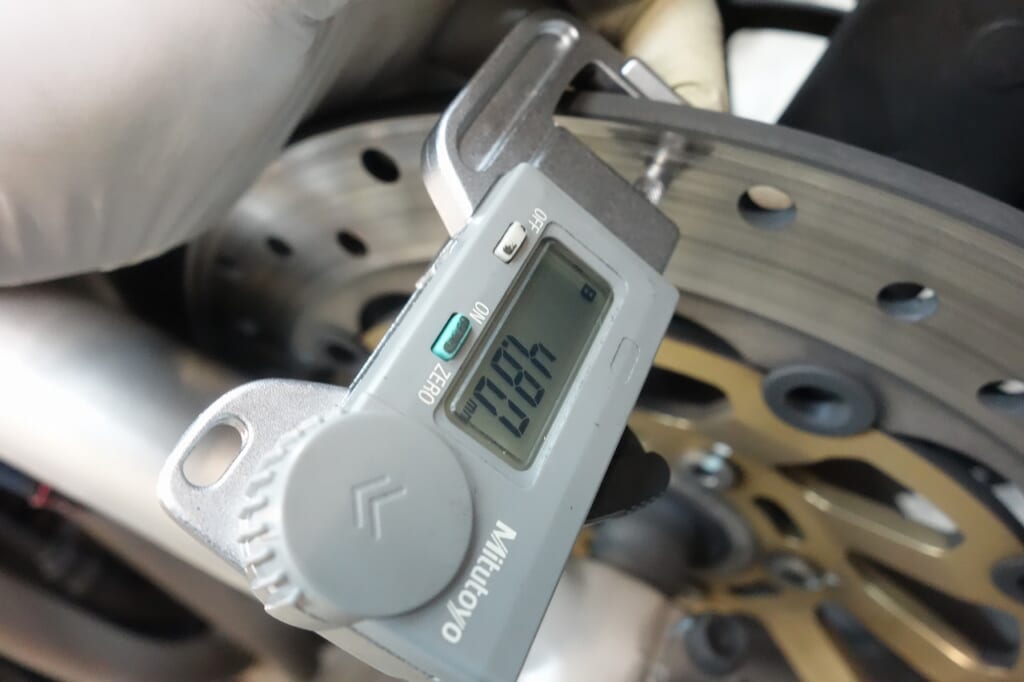
The front disc pad thickness is fine, but the rear is getting close. Plan on one to three more pad changes.
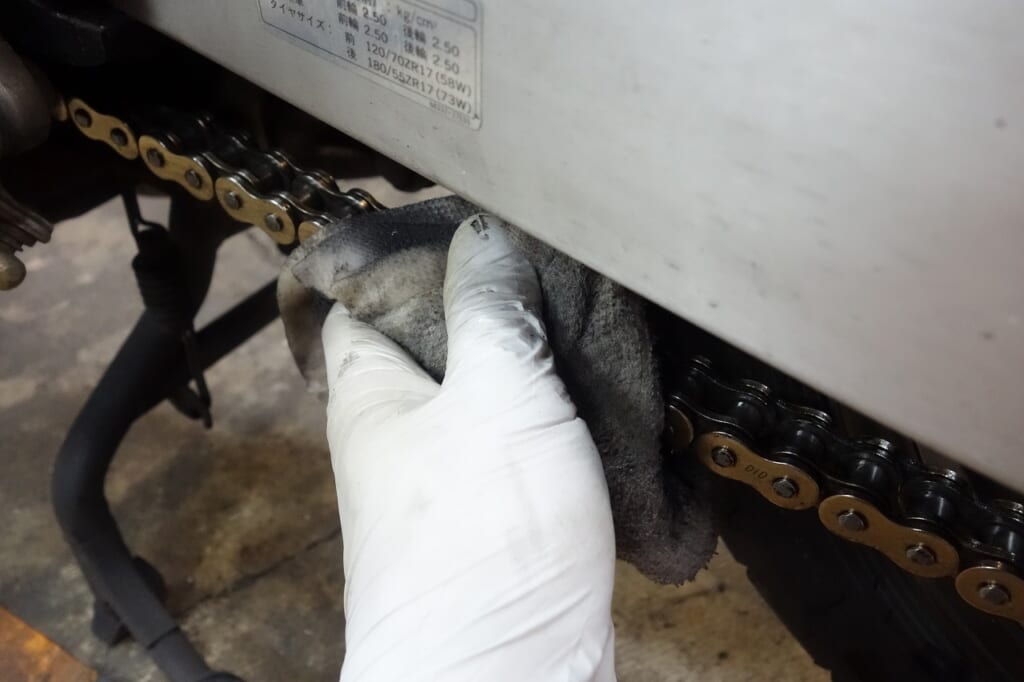
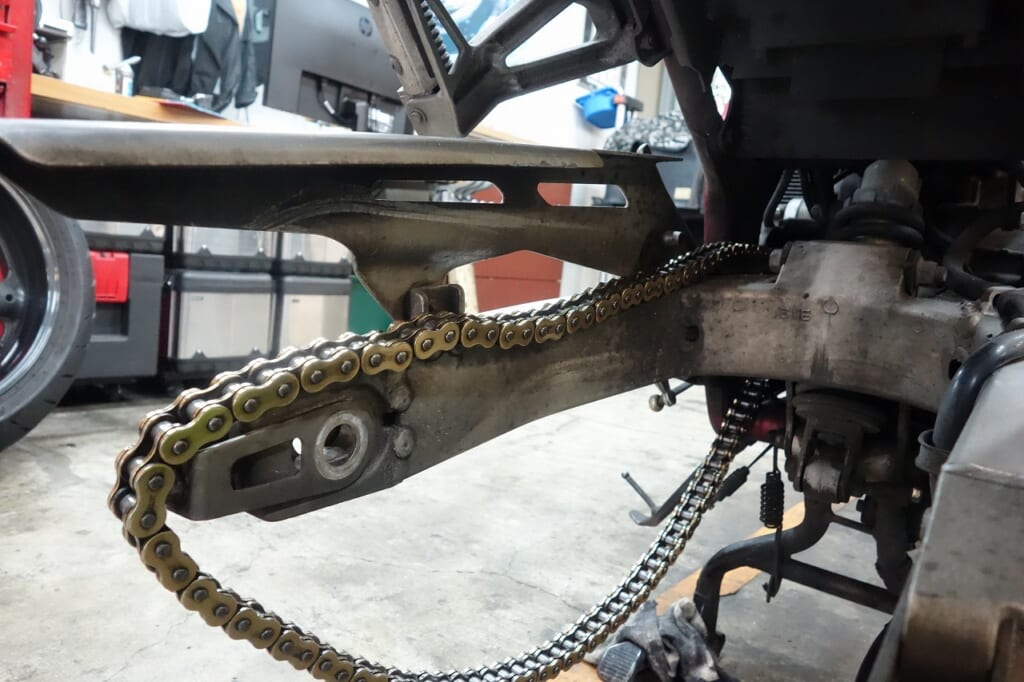
I cleaned, lubricated, and adjusted the chain. It hasn’t developed any tight spots yet, so it’s in good condition.
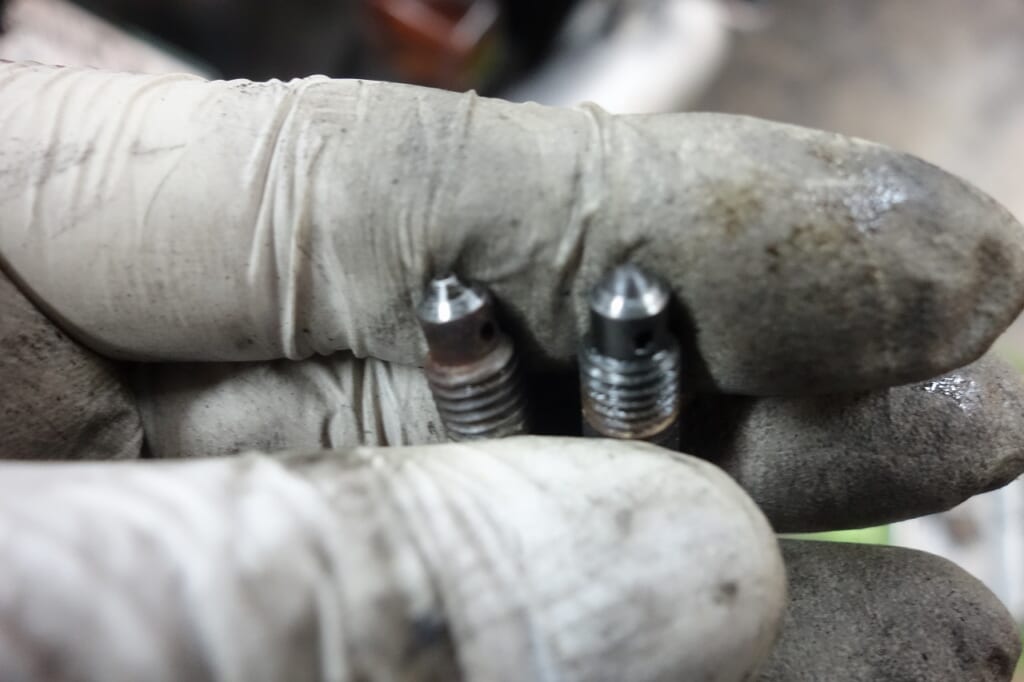
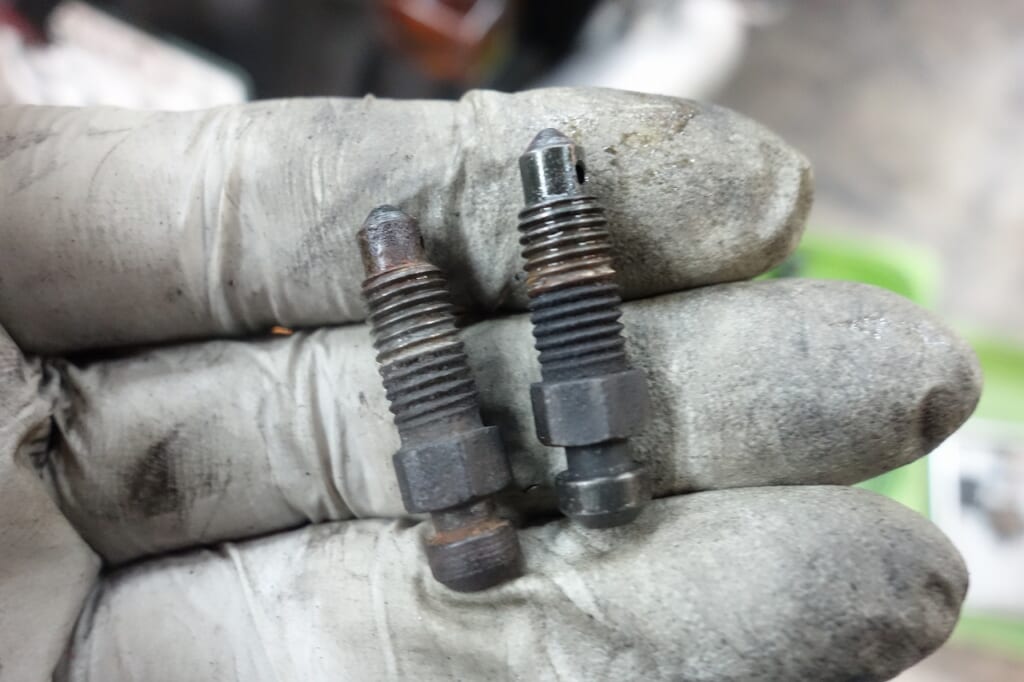
When I ran a pressure test on the rear caliper with the brake applied, fluid started seeping out.
The nipple’s tapered end was in poor condition and was the source of the seepage.
You have to factor in details like this when working on a bike that’s getting older.
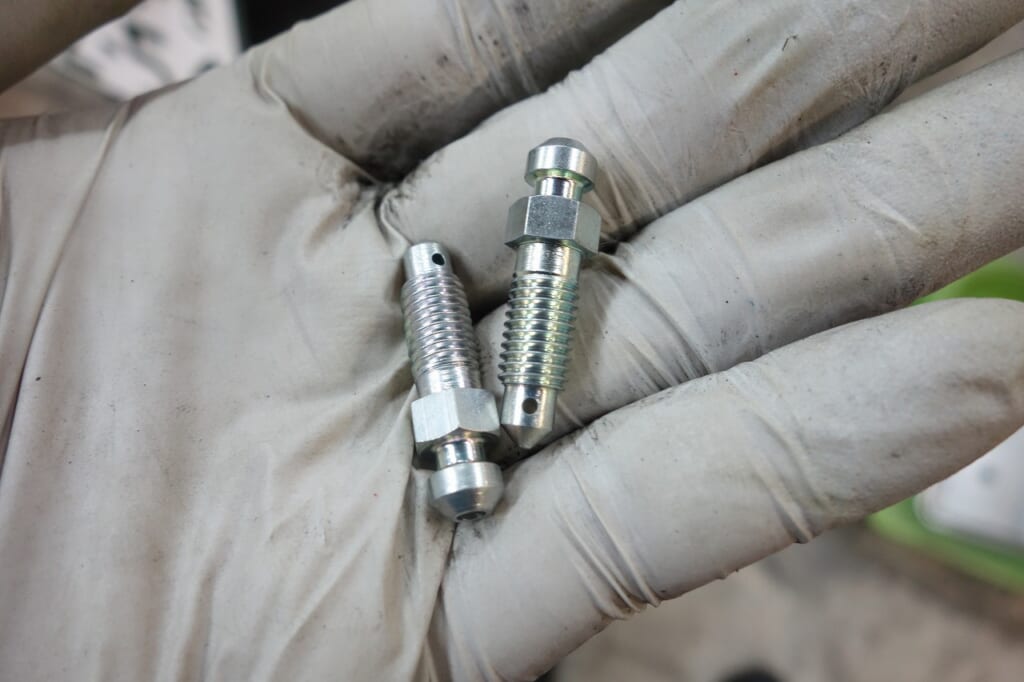
I replaced the nipple with a new one.
Since the rear wheel was off, I cleaned the inside thoroughly as well.
Cleaning often reveals things you might otherwise miss, so I believe cleaning is the foundation of good maintenance.
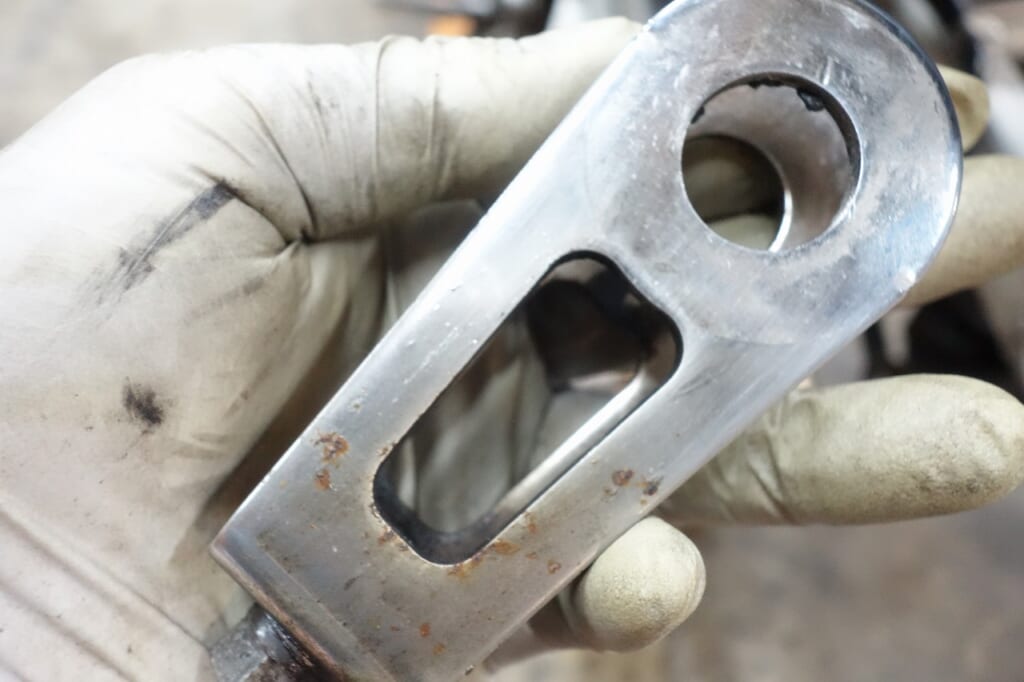
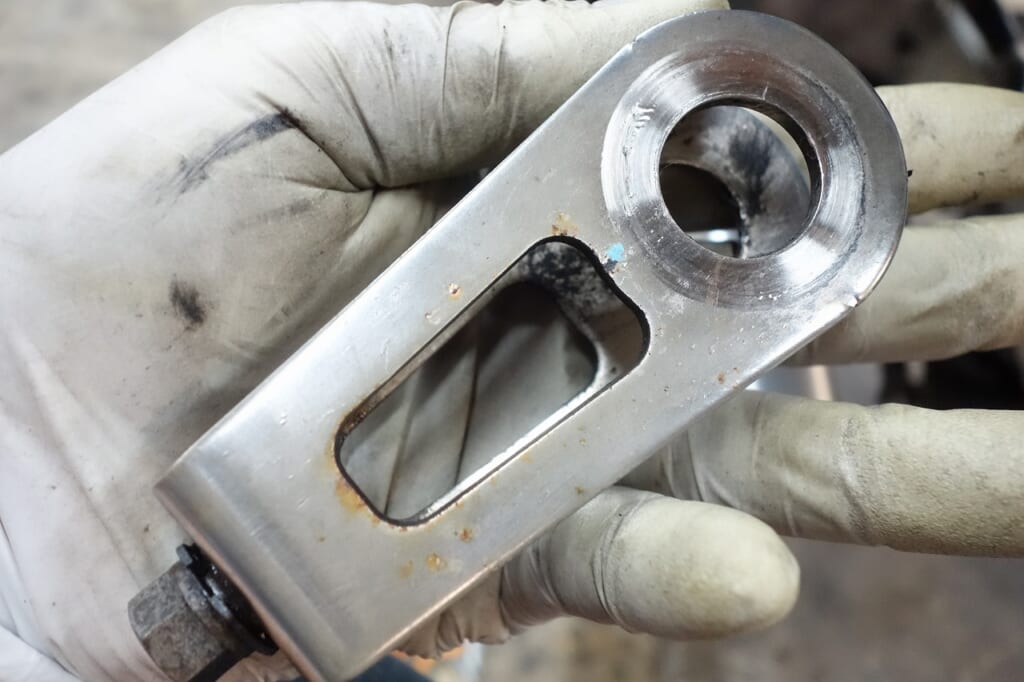
When reassembling removed parts, owners are happier if the visible side looks clean.
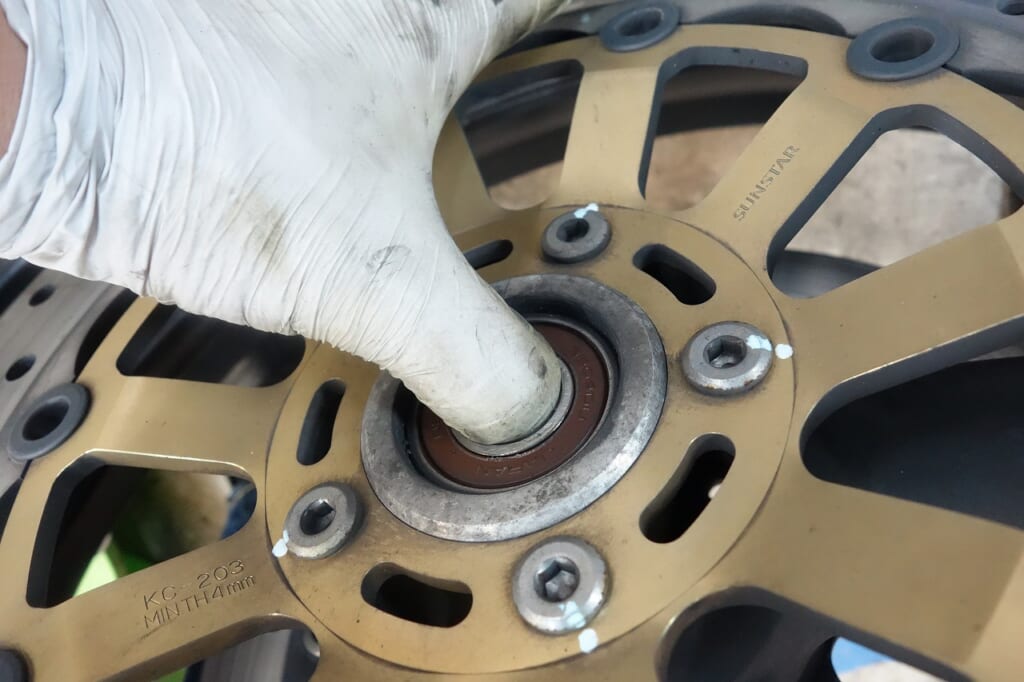
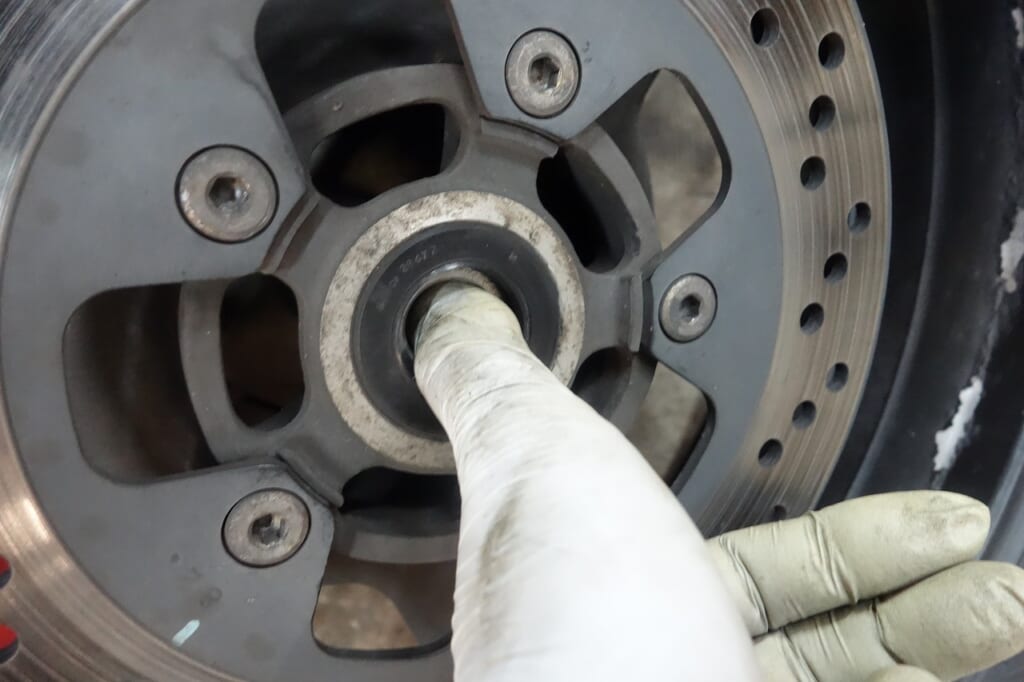
The bearing condition looks fine.
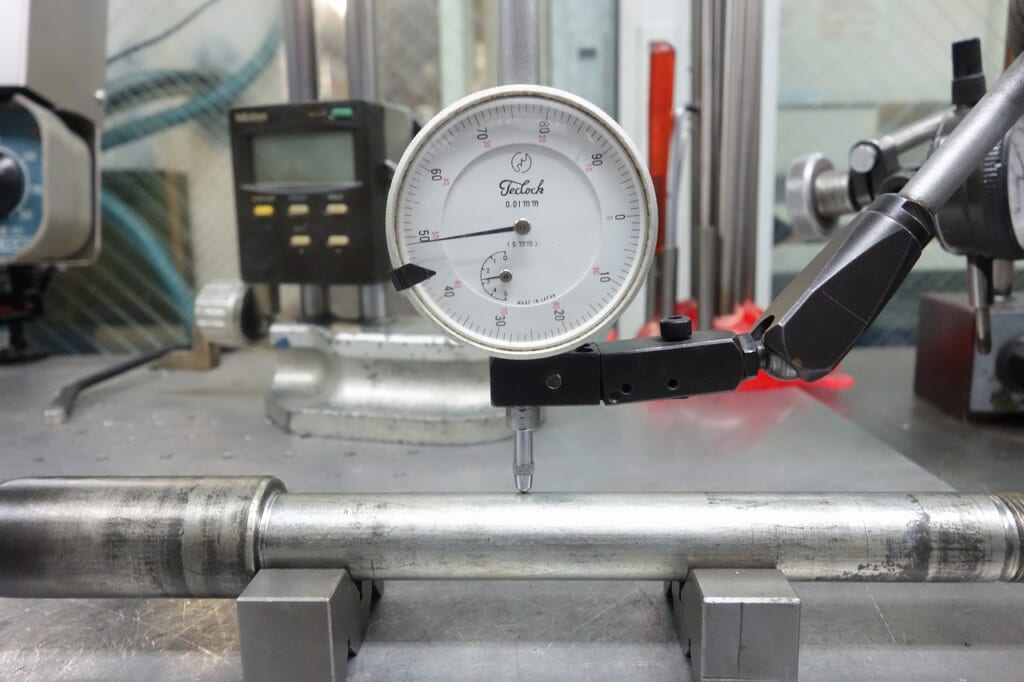
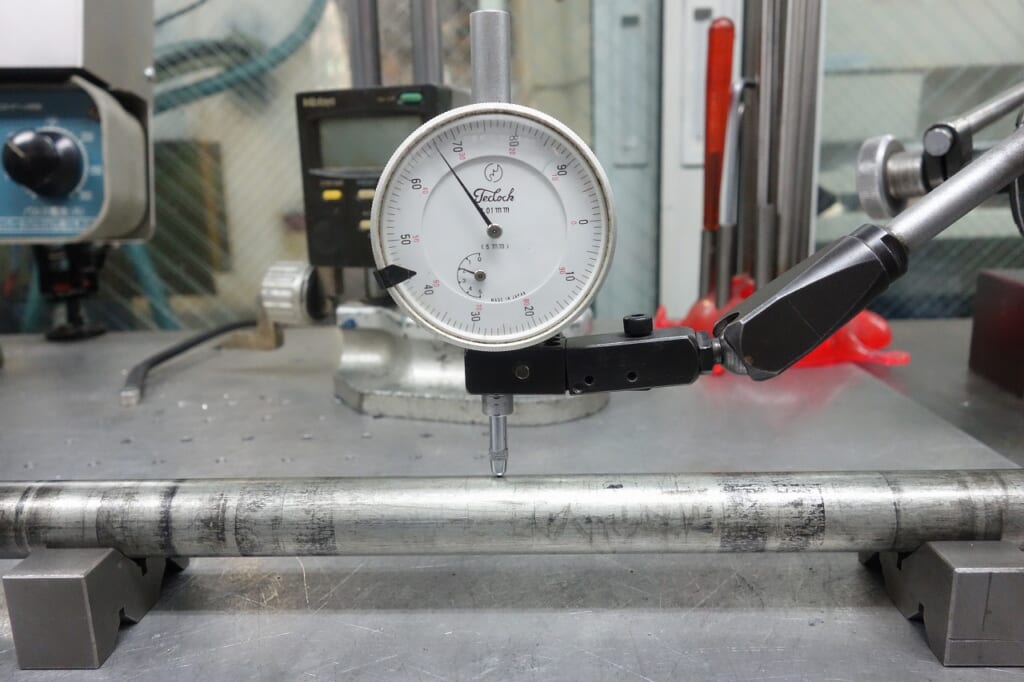
The axle shaft runout was also fine.
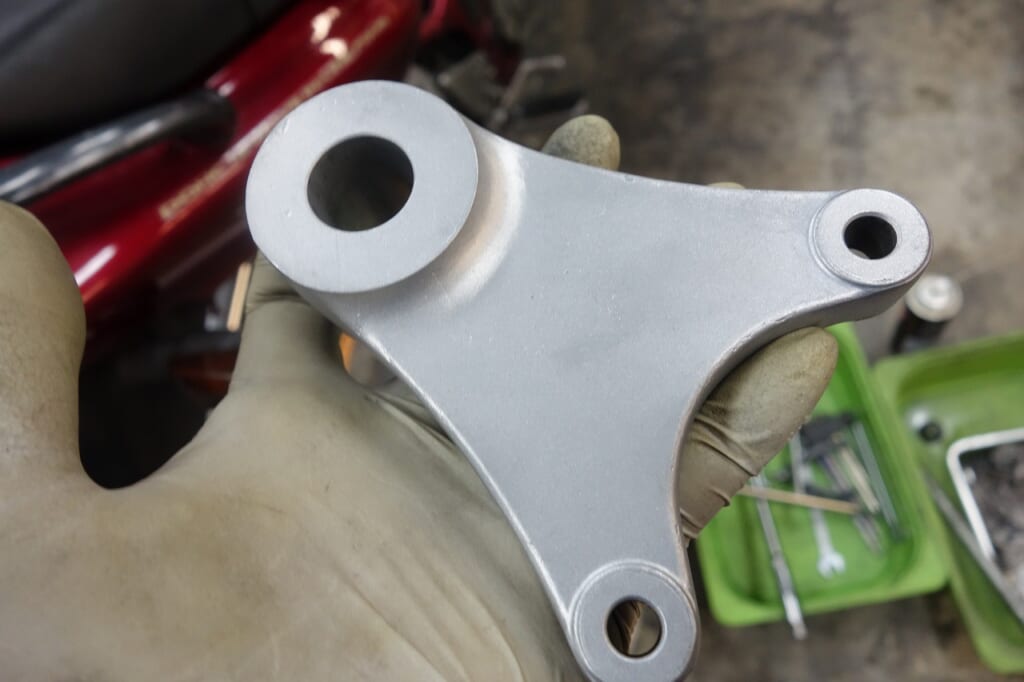
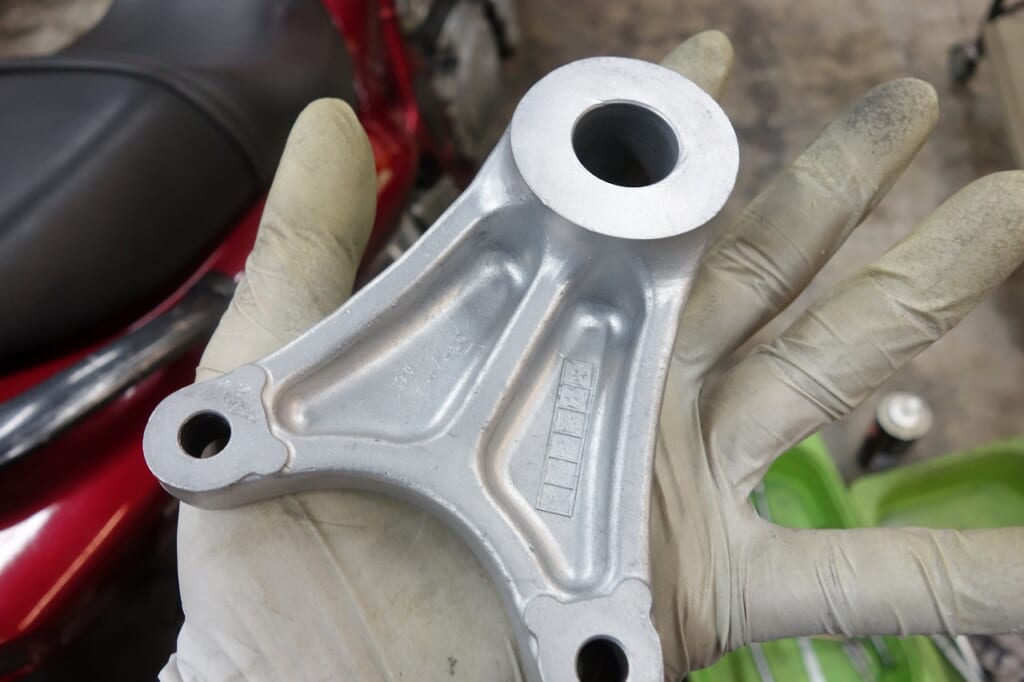
I cleaned the rear caliper support with a light wet blast since I’d already cleaned it before.
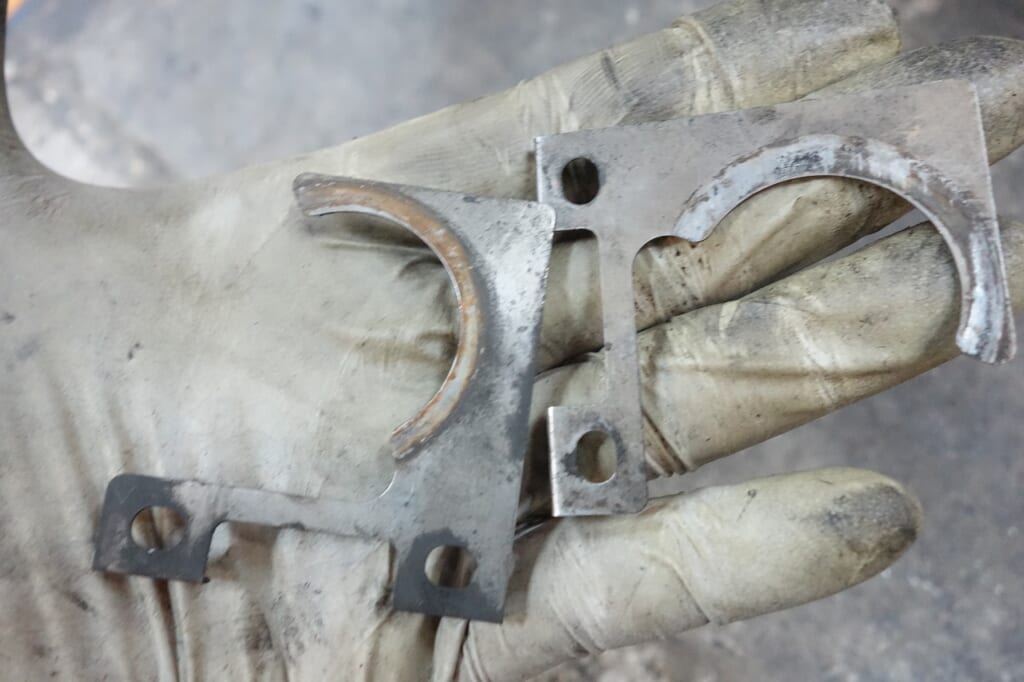
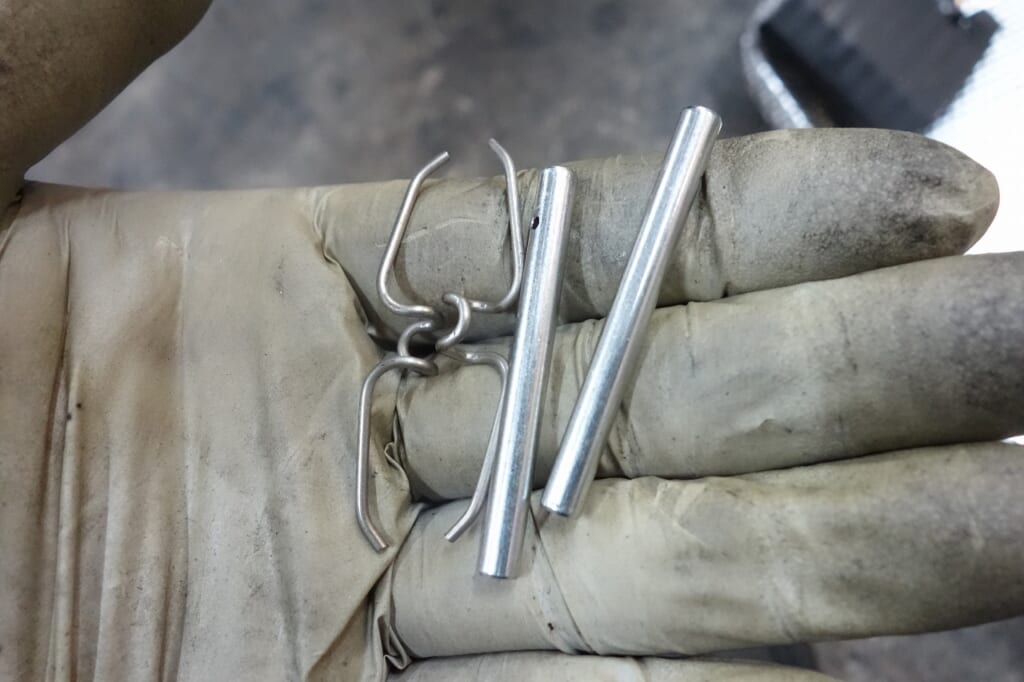
I cleaned the pad shim as well (no photo). I replaced the pad pins and springs.
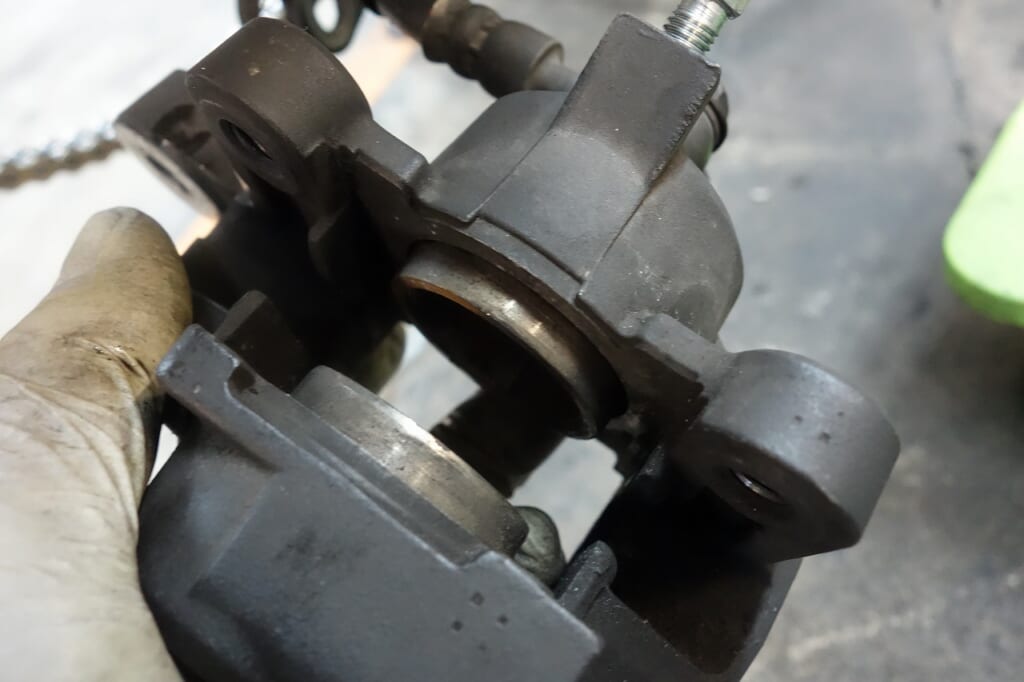
The rear caliper is reaching the point where an overhaul would be wise.
Let’s consider a master cylinder overhaul too.
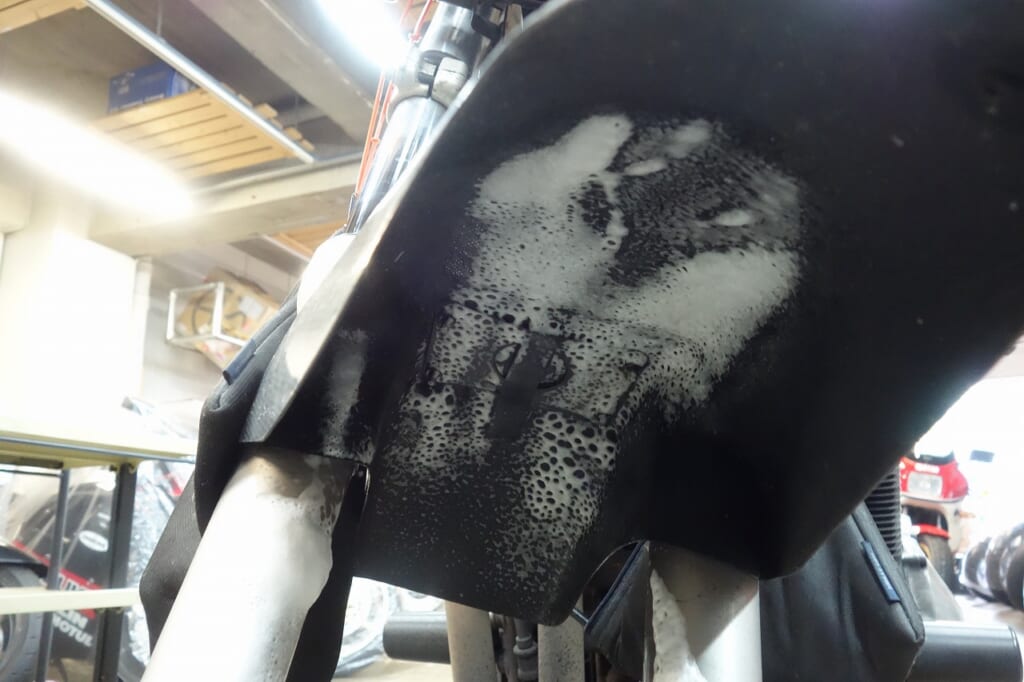
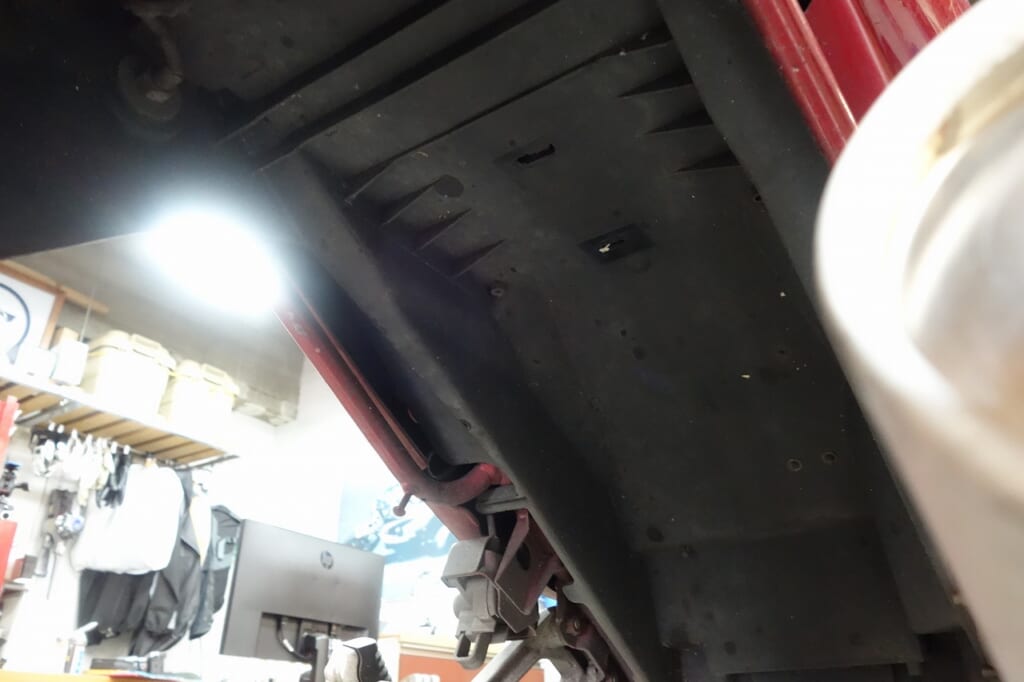
When the wheel is off, clean the fender underside too.
It’s crucial not to leave it in a state you’d rather not touch.
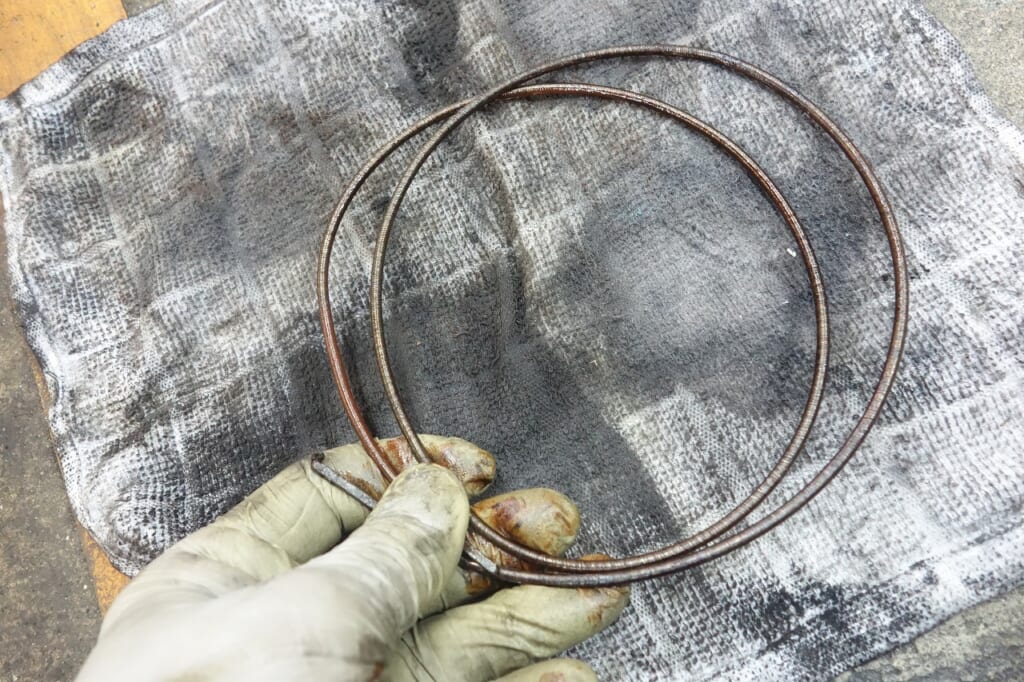
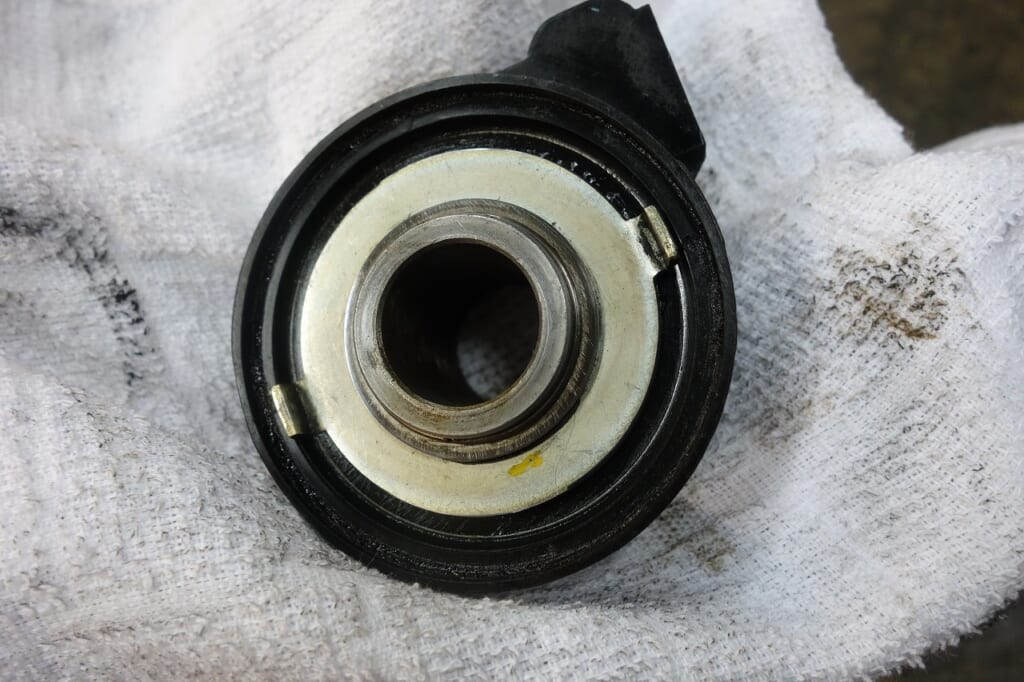
I cleaned and lubricated the speedometer cable.
The gear was worked on before, so it cleaned up easily.
That’s the result of my daily effort.
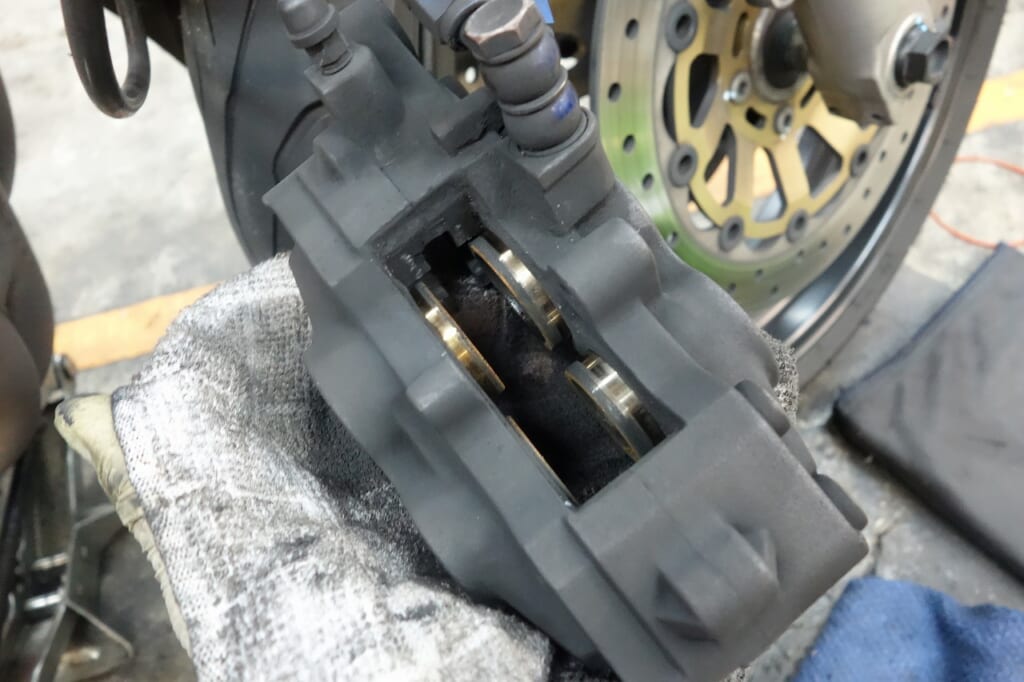
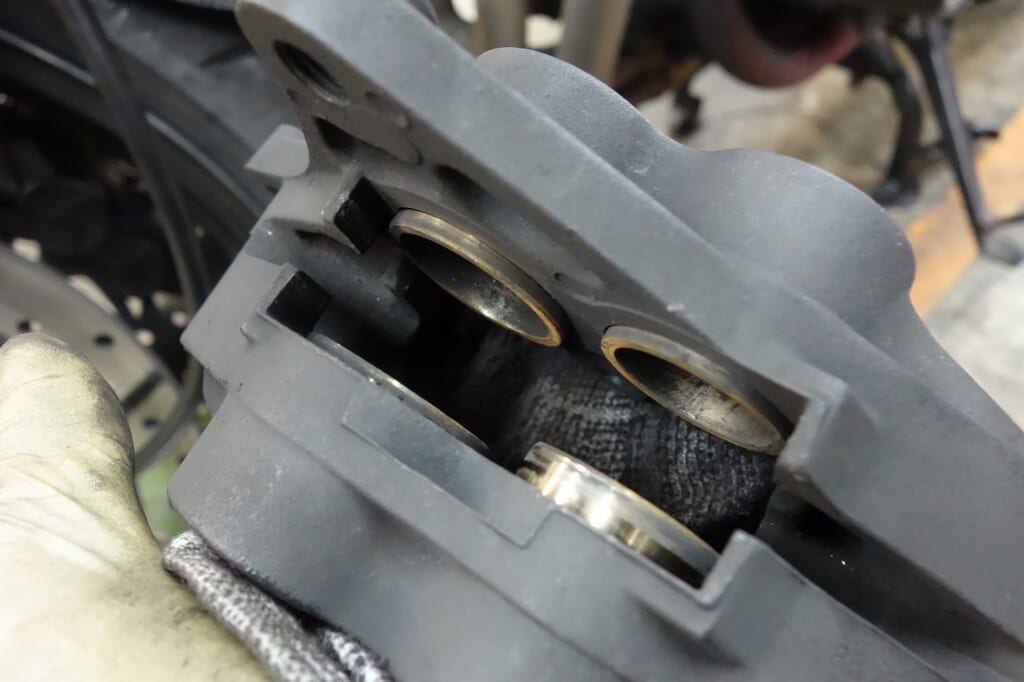
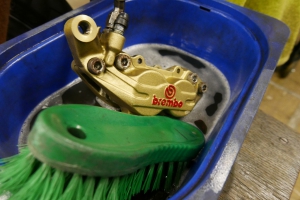
I cleaned the brake calipers. The front Nissin had minimal rust and worked well.
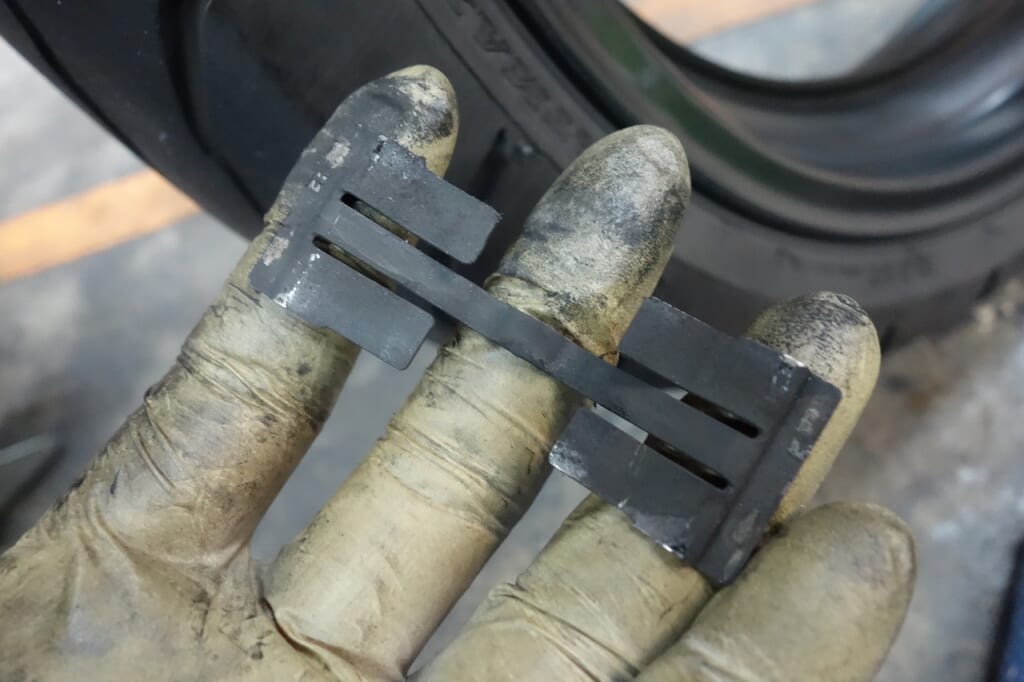
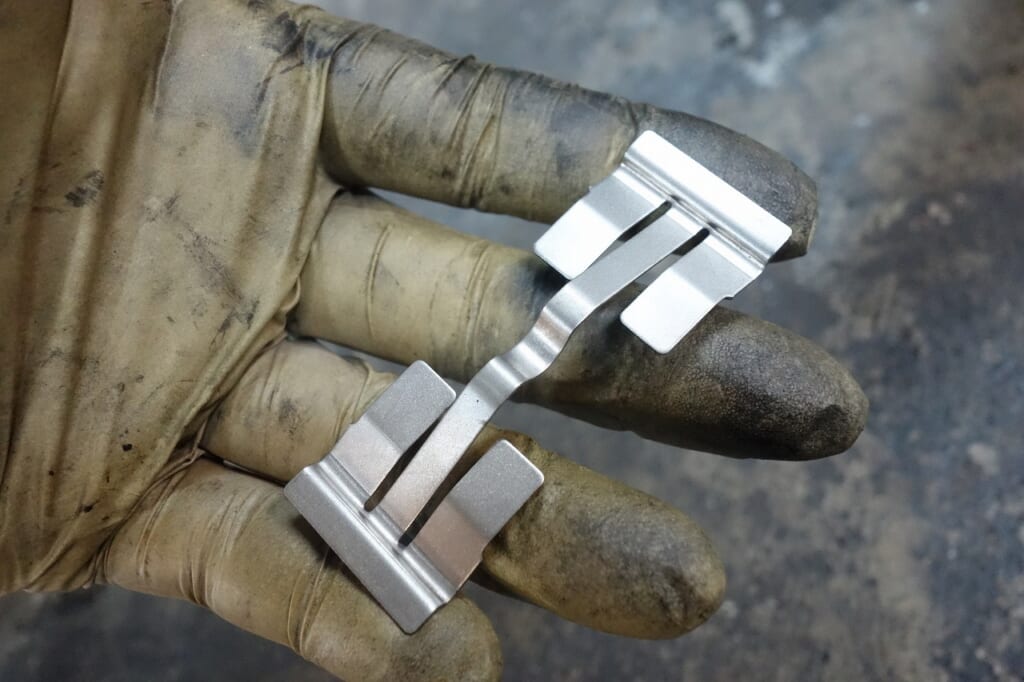
Cleaning the pad spring thoroughly feels great.
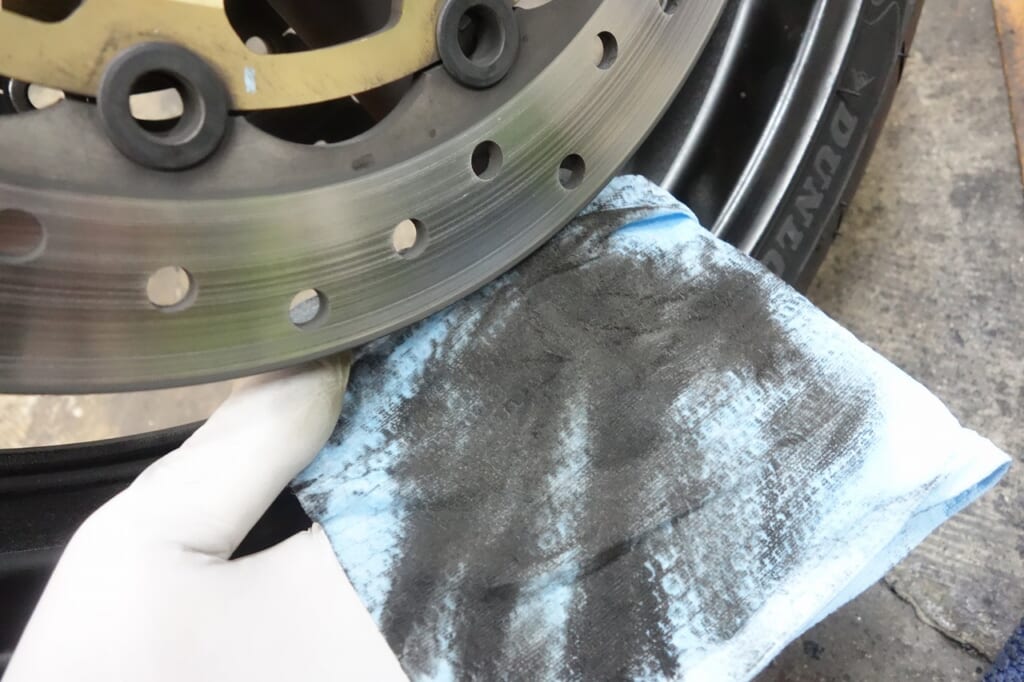
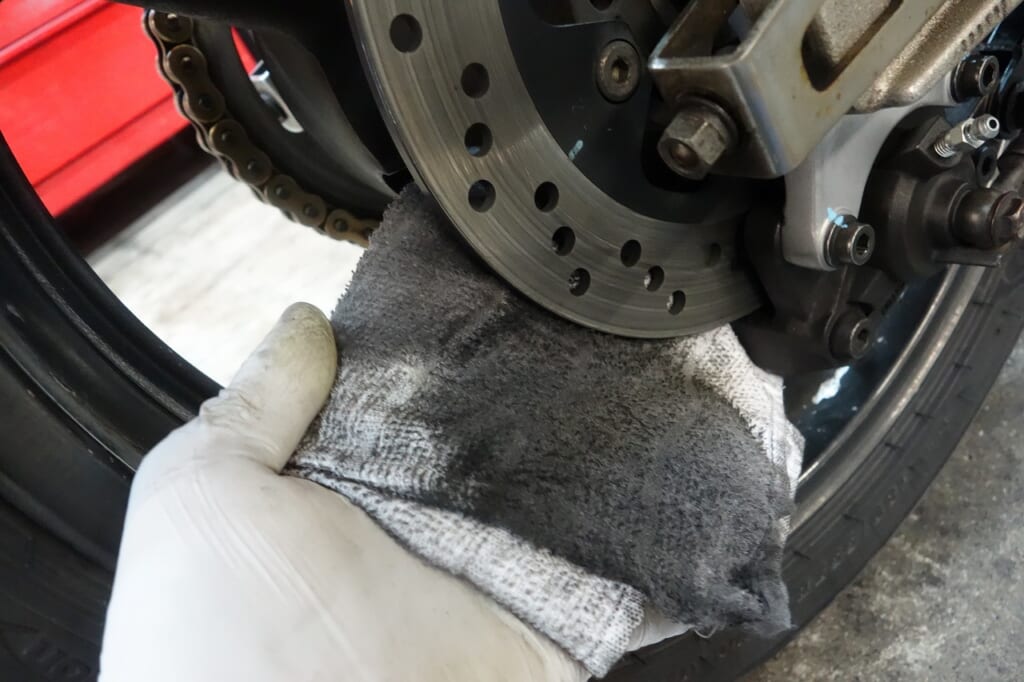
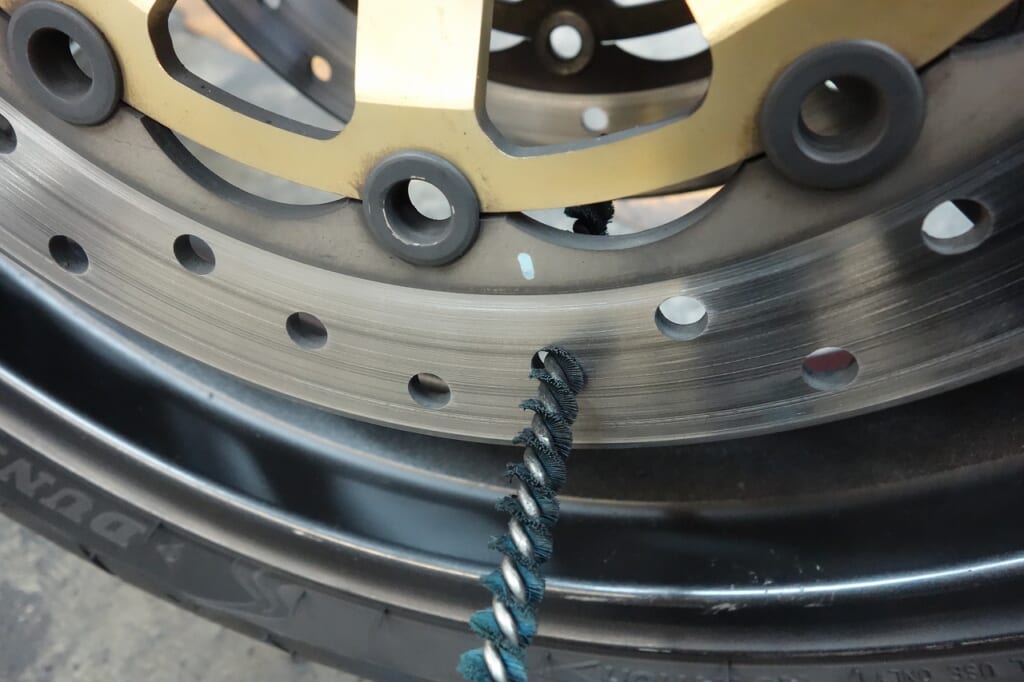
Clean the brake disc surface and holes. Brake dust accumulates quietly over time. It feels refreshing.
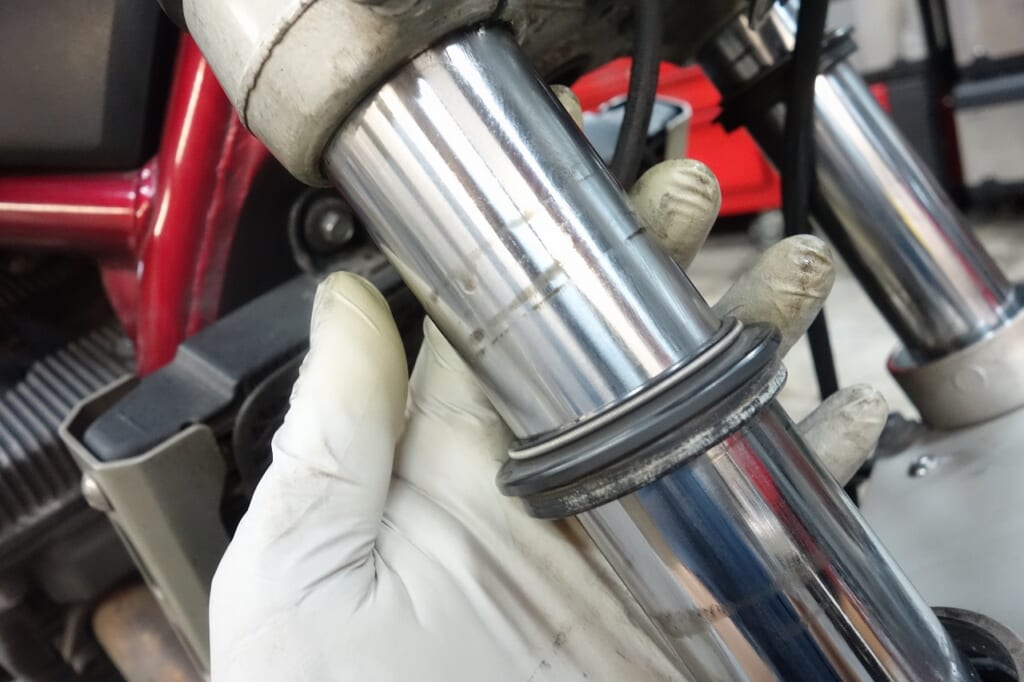
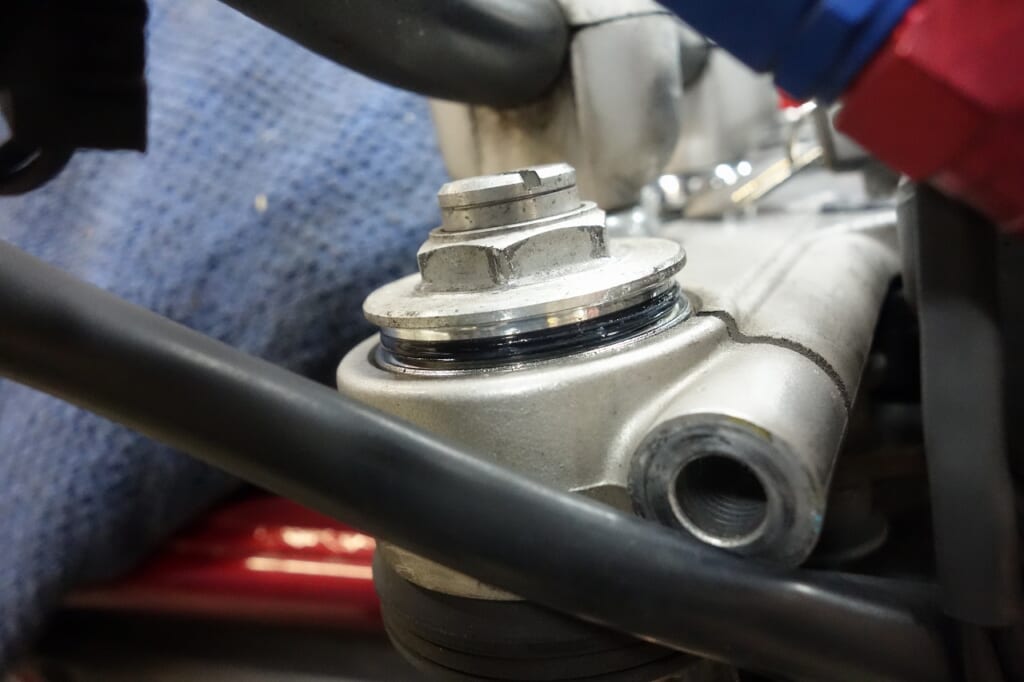
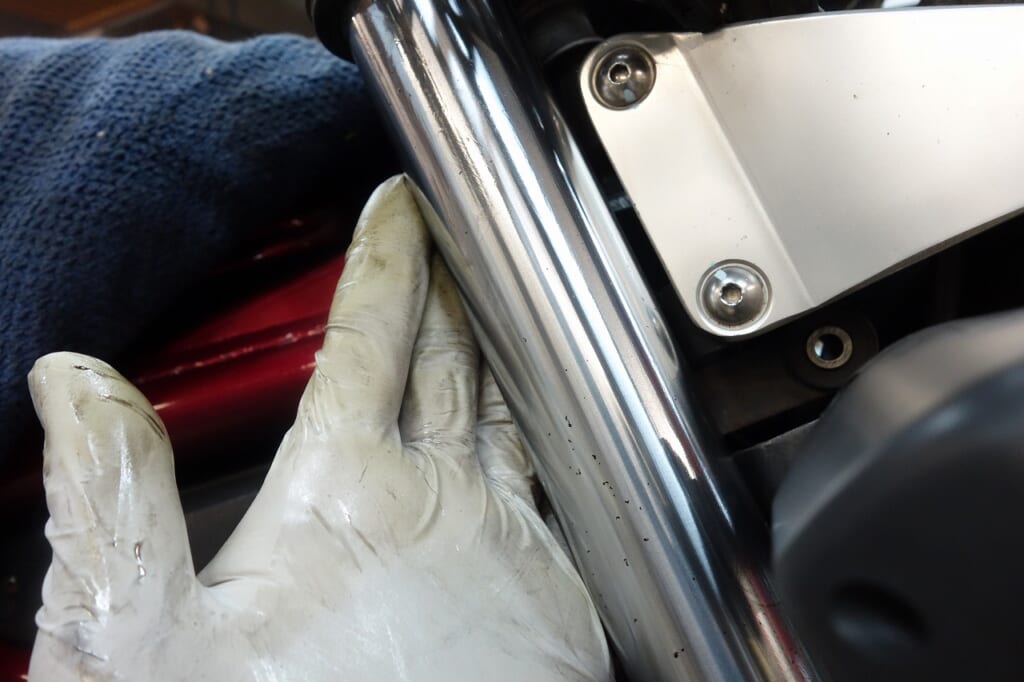
Clean, lubricate, and protect the front fork, and ventilate the fork interior.
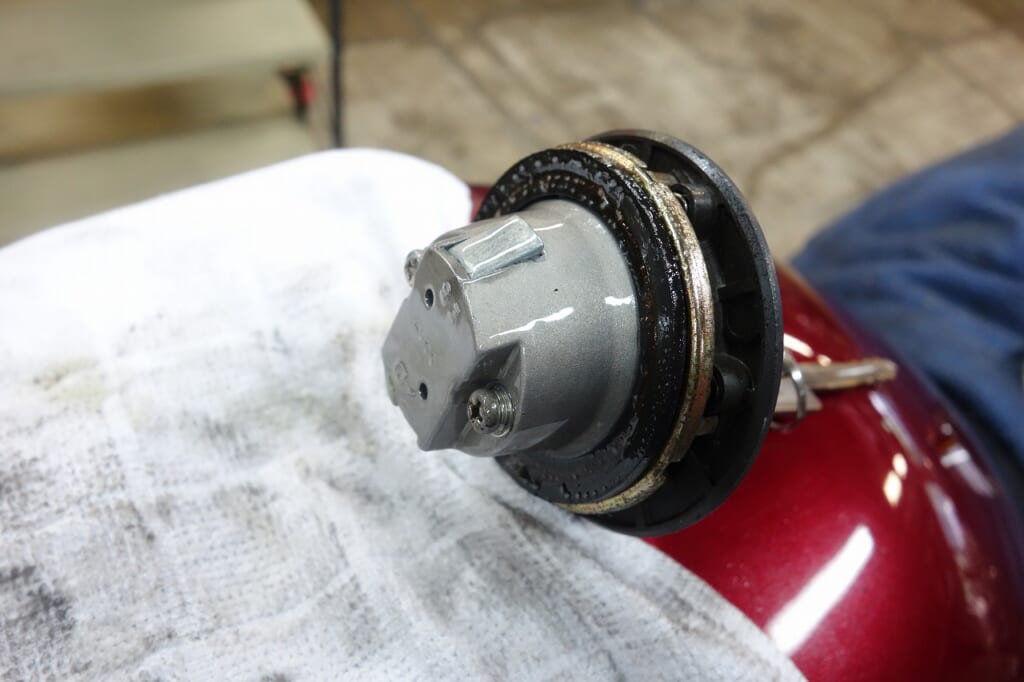
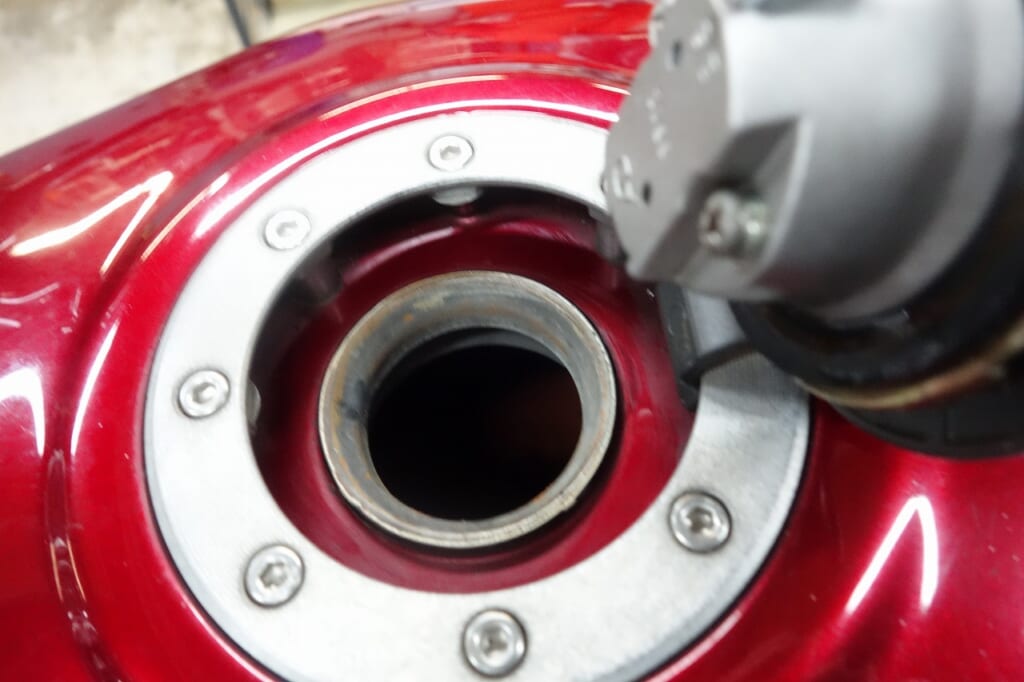
Occasionally protecting and cleaning the cap helps ensure smooth refueling.
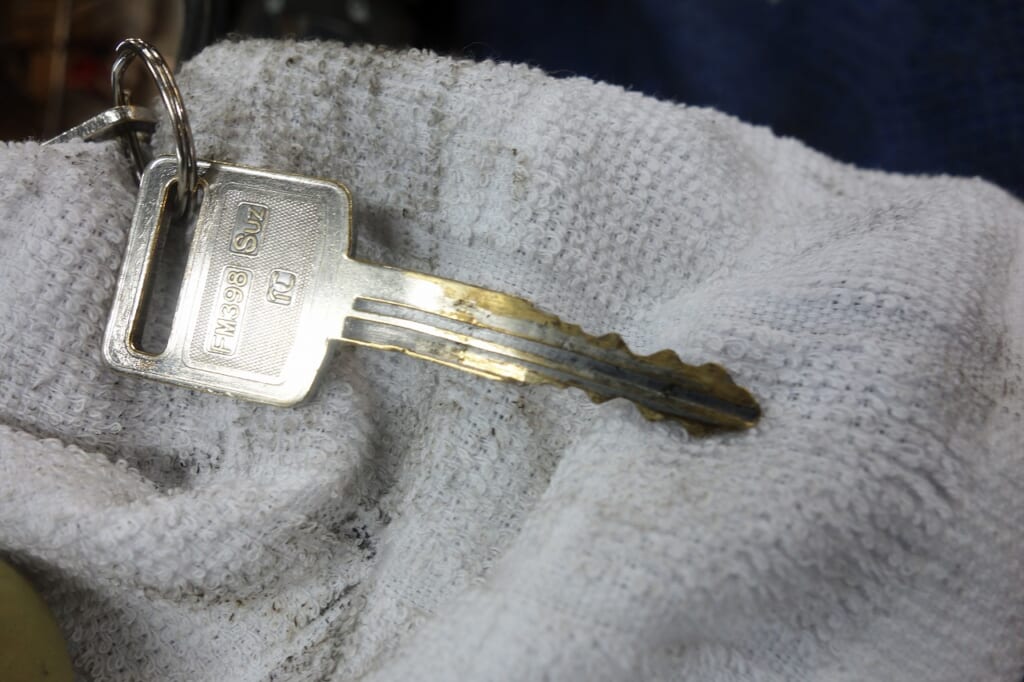
The key was stiff. Hmm, if the opportunity comes up, having a new key made would be better.
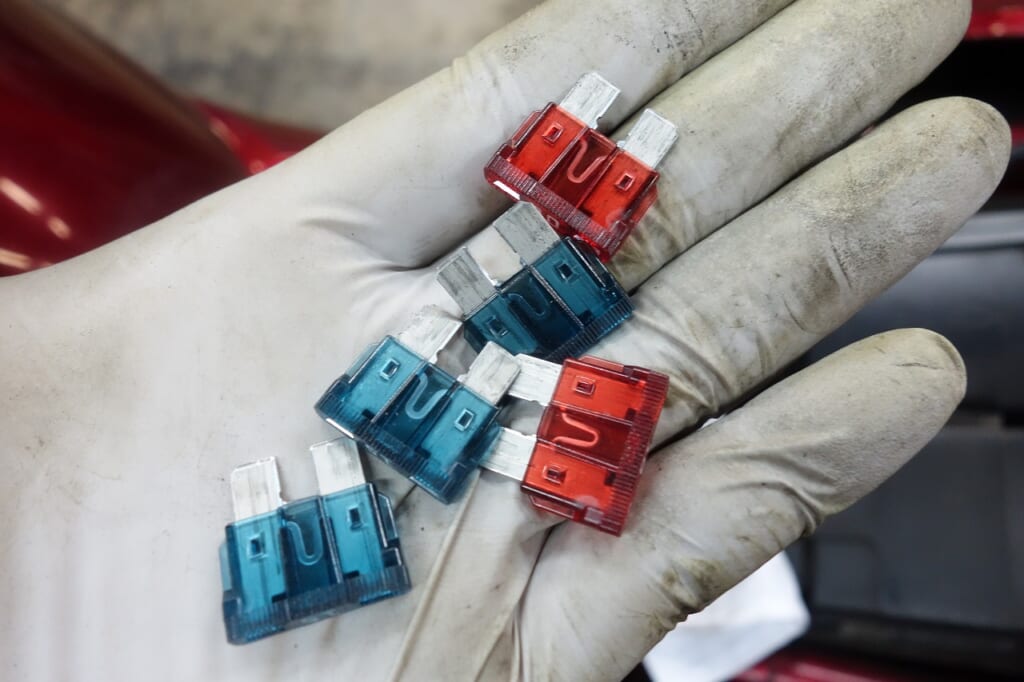
Since I replaced the harness before, the fuses were in good health.
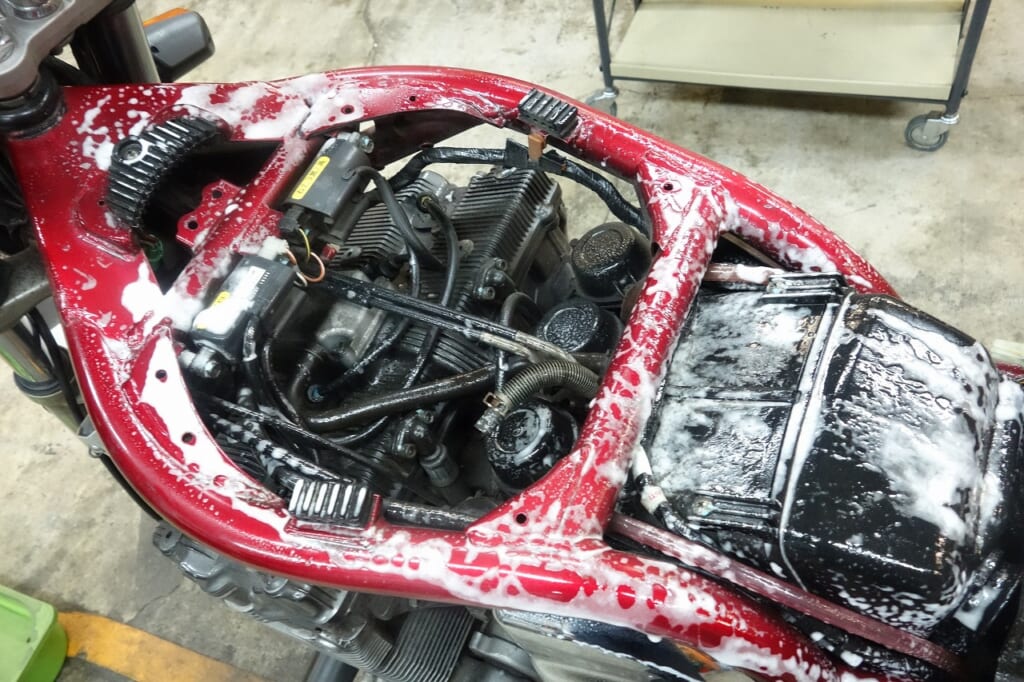
When the fairing is off and things look dusty, spray some No-Touch and wipe—it cleans instantly.
【Cleanview】 No-Touch UV Tire Cleaner, Shine & Protectant
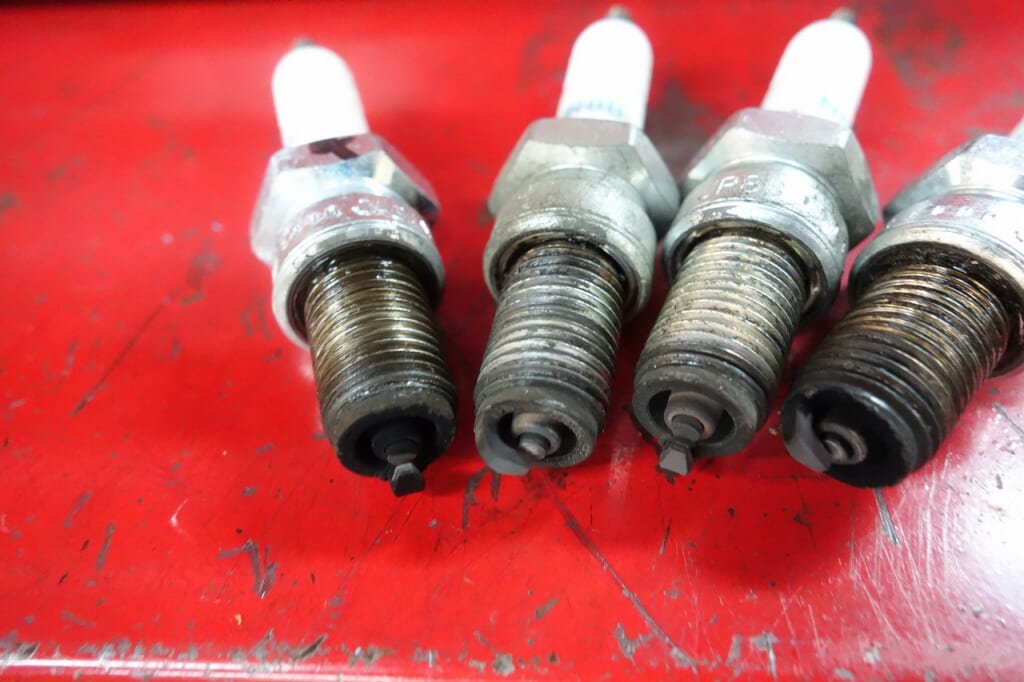
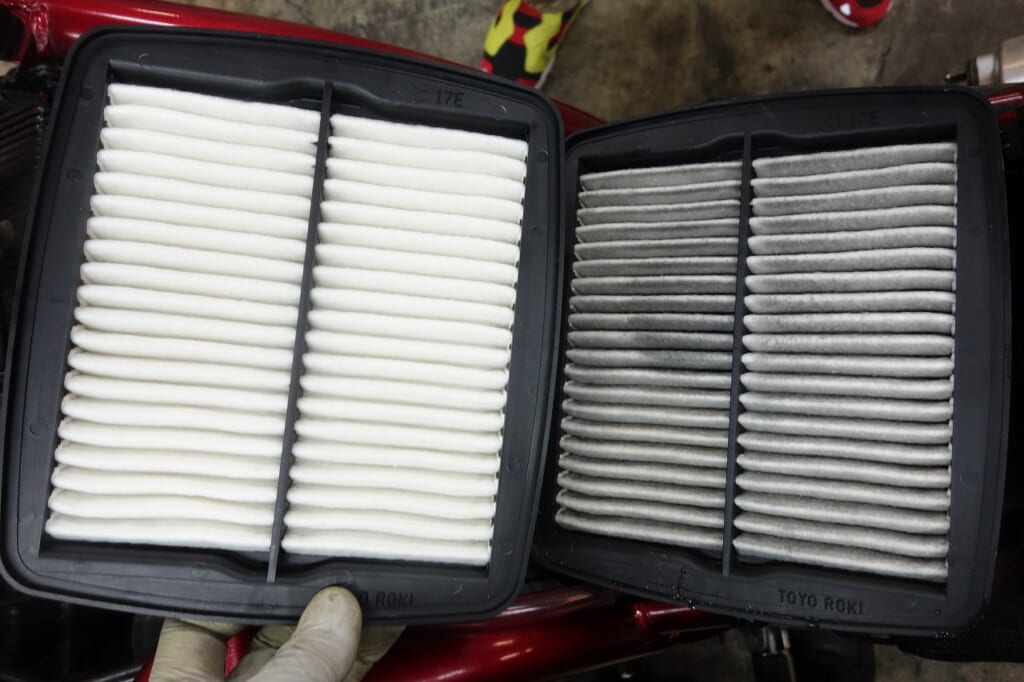
I also replaced the air filter and spark plugs.
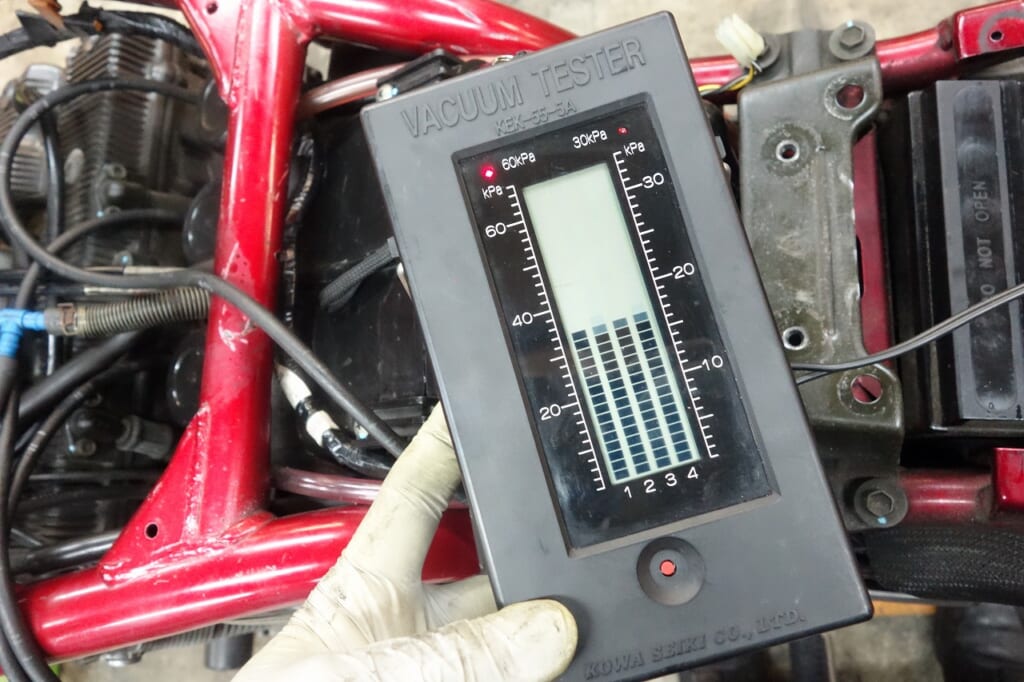
I didn’t need to, but I made a light adjustment anyway.
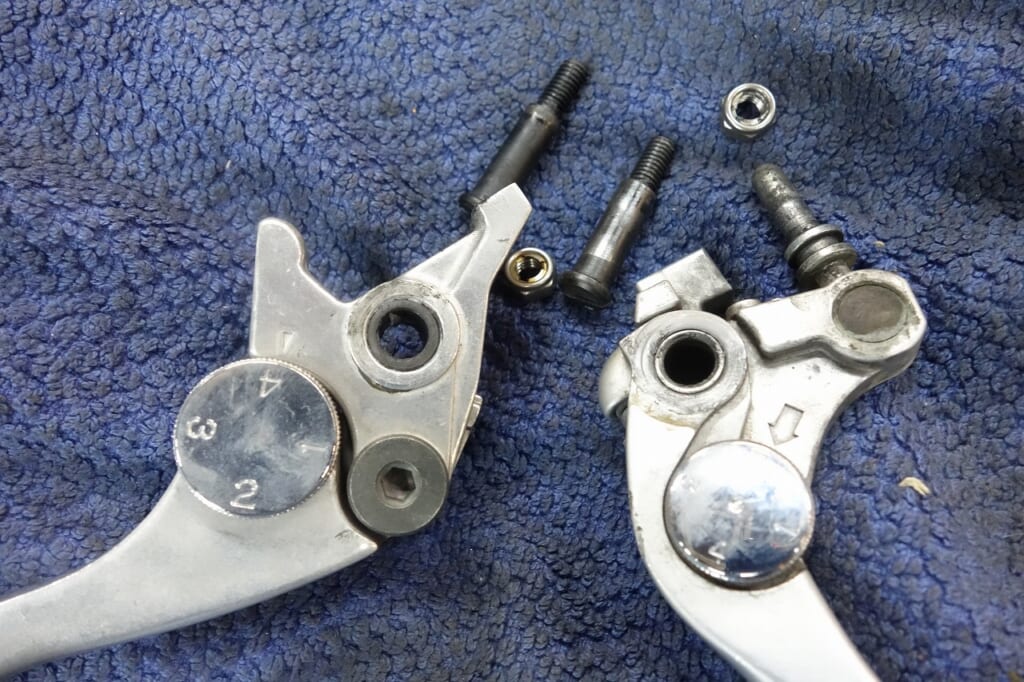
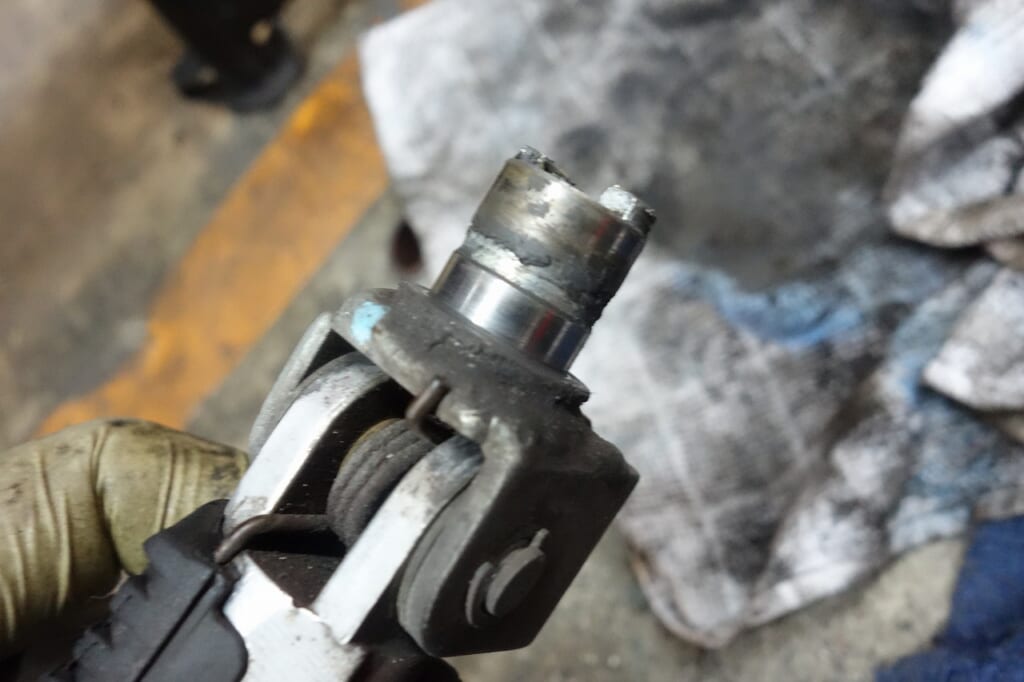
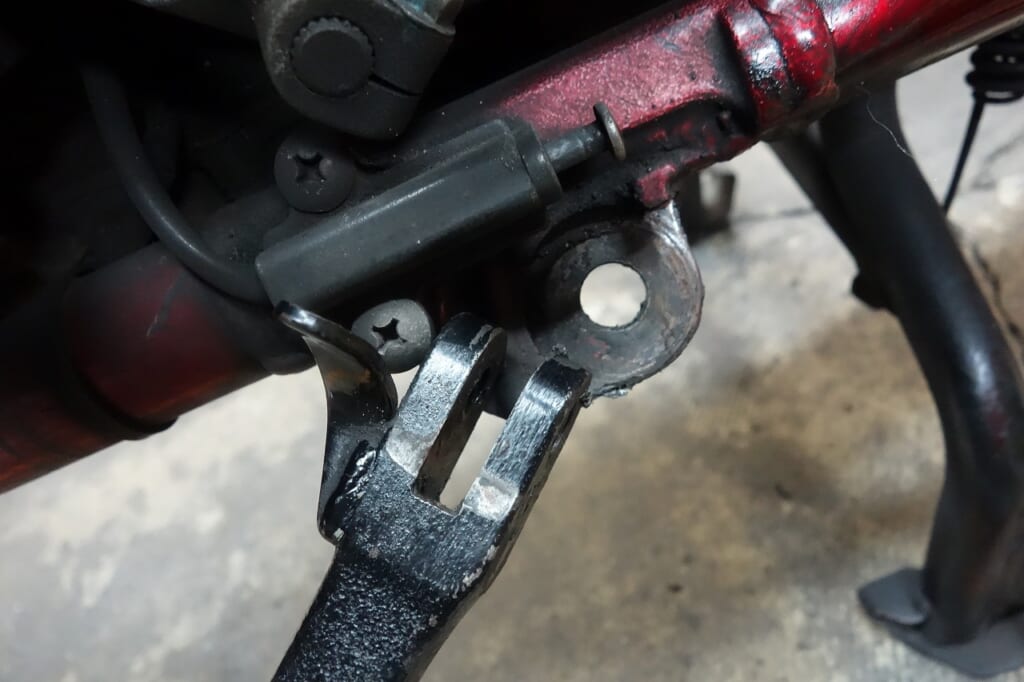
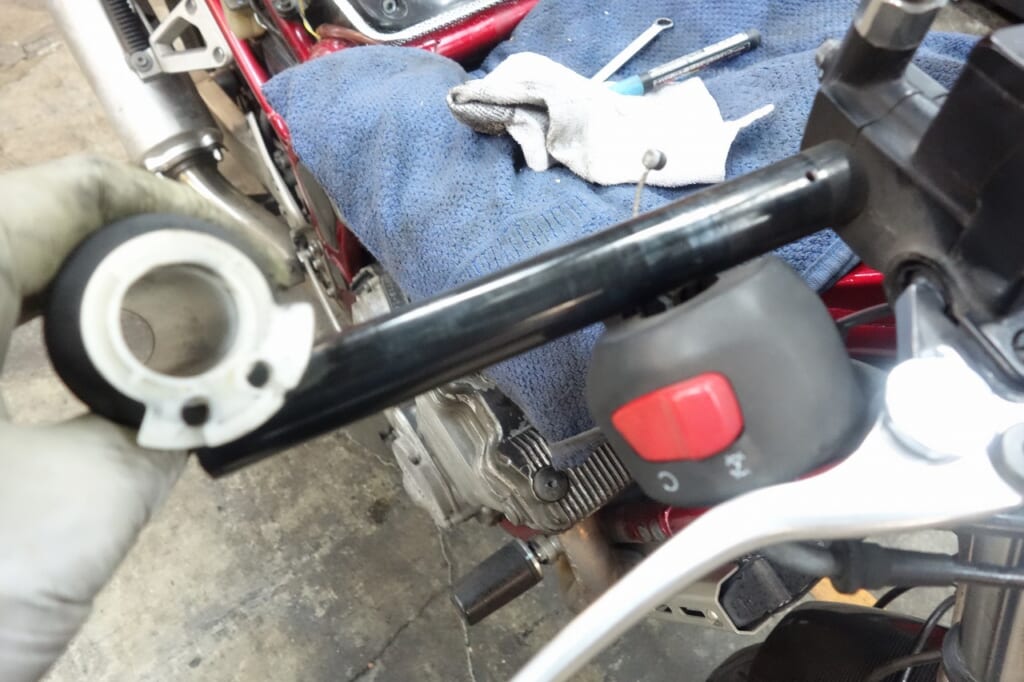
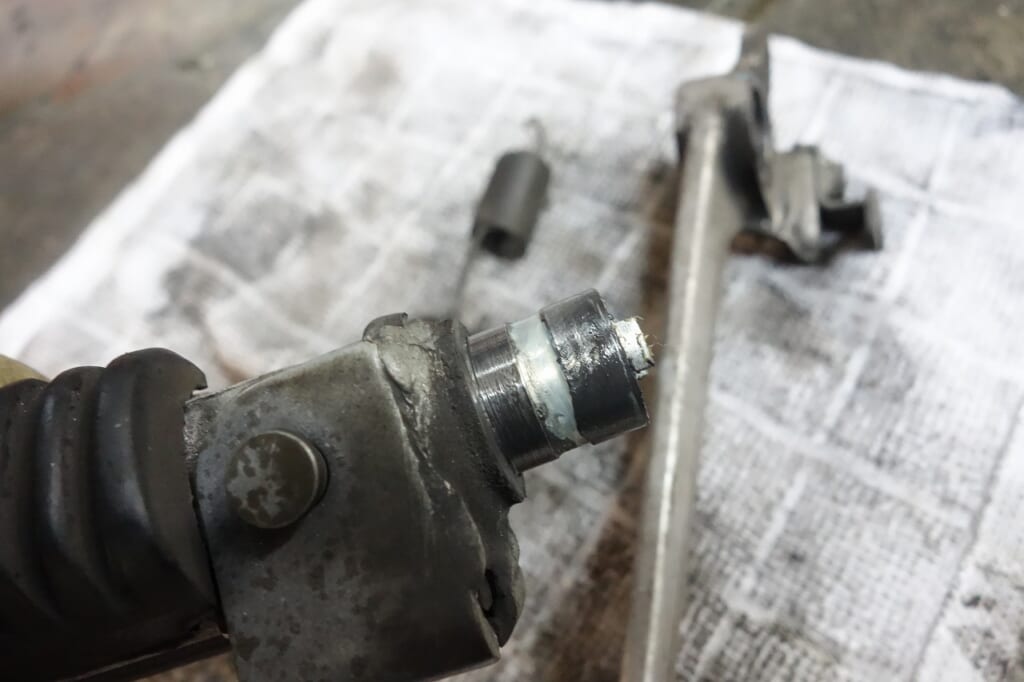
I cleaned and lubricated the control levers and side stand. Smooth operation lets you focus on riding.
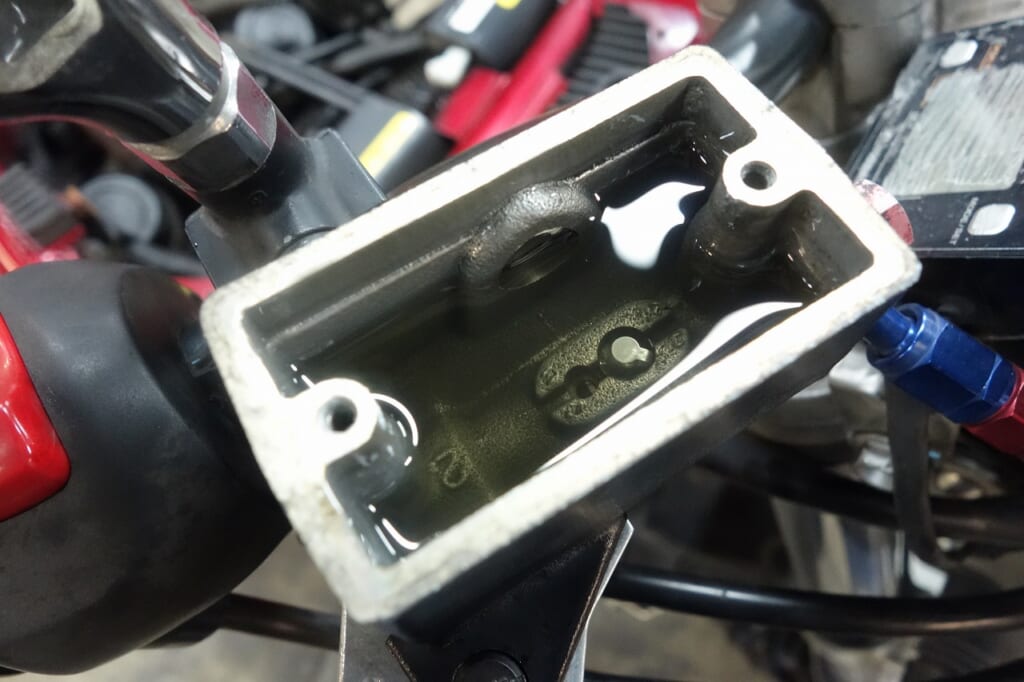
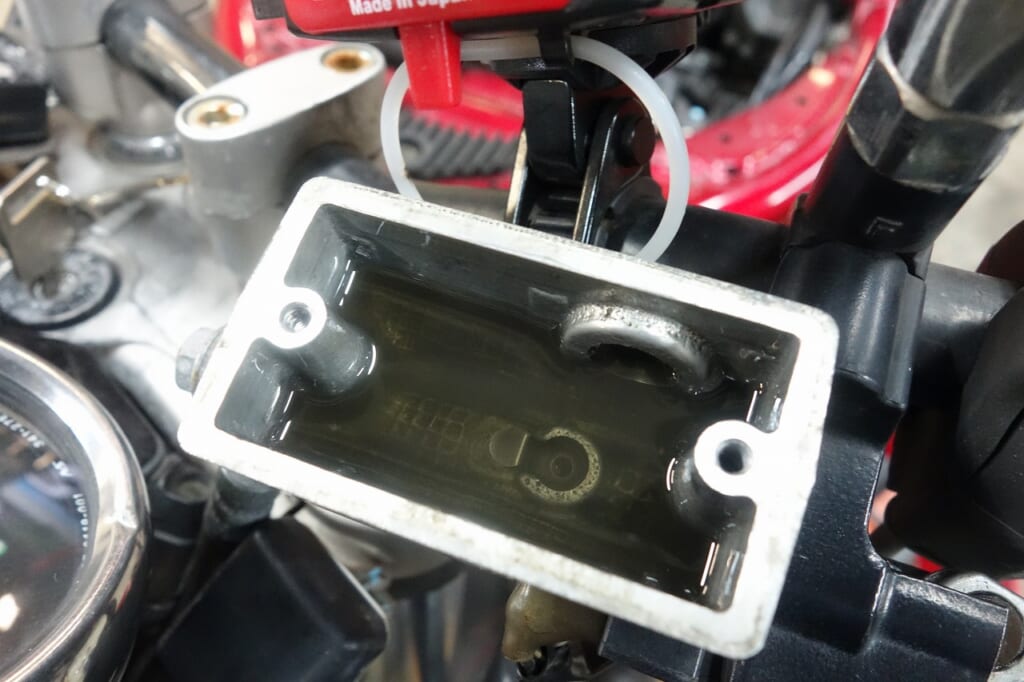
I replaced the front and rear brake fluid and clutch fluid. I used the usual Golden Cruiser DOT4. I drained the rear when replacing the nipple.
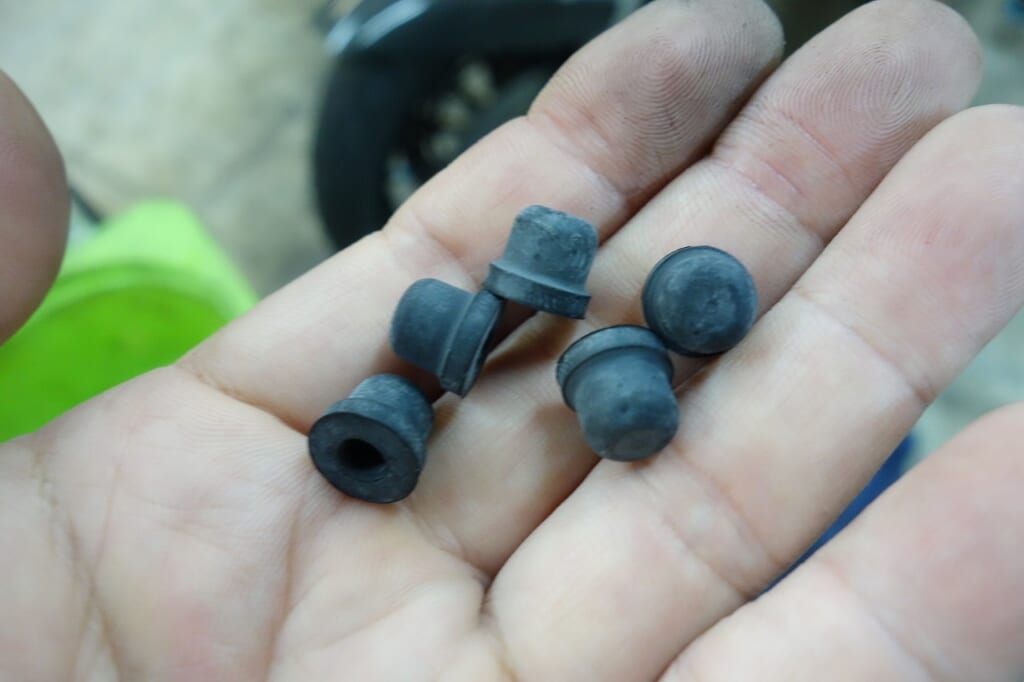
I replaced all the bleeder caps this time.
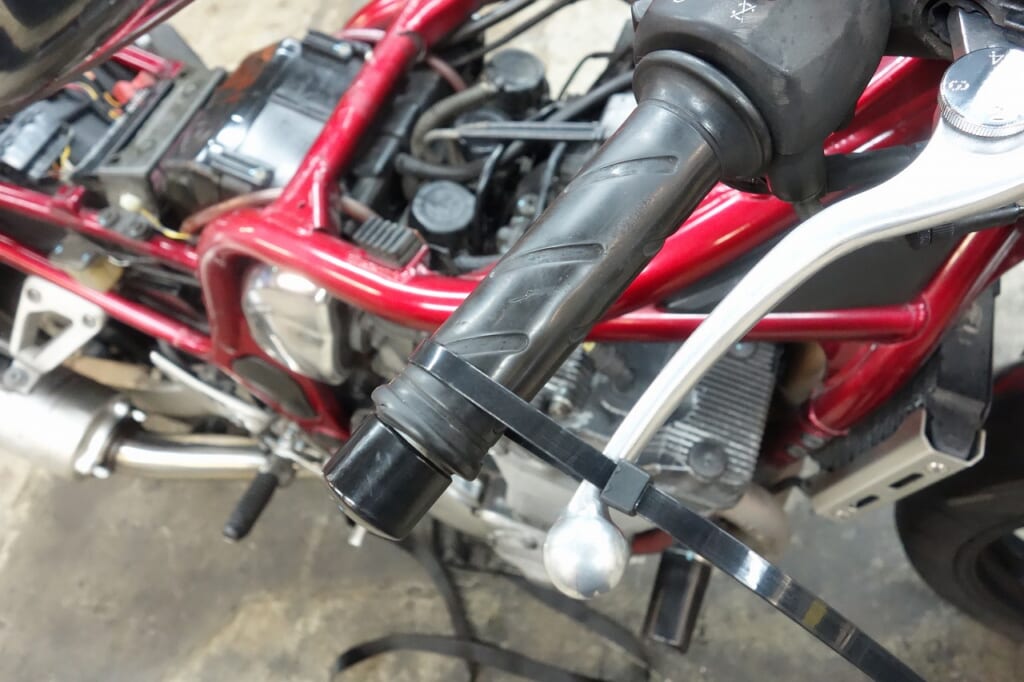
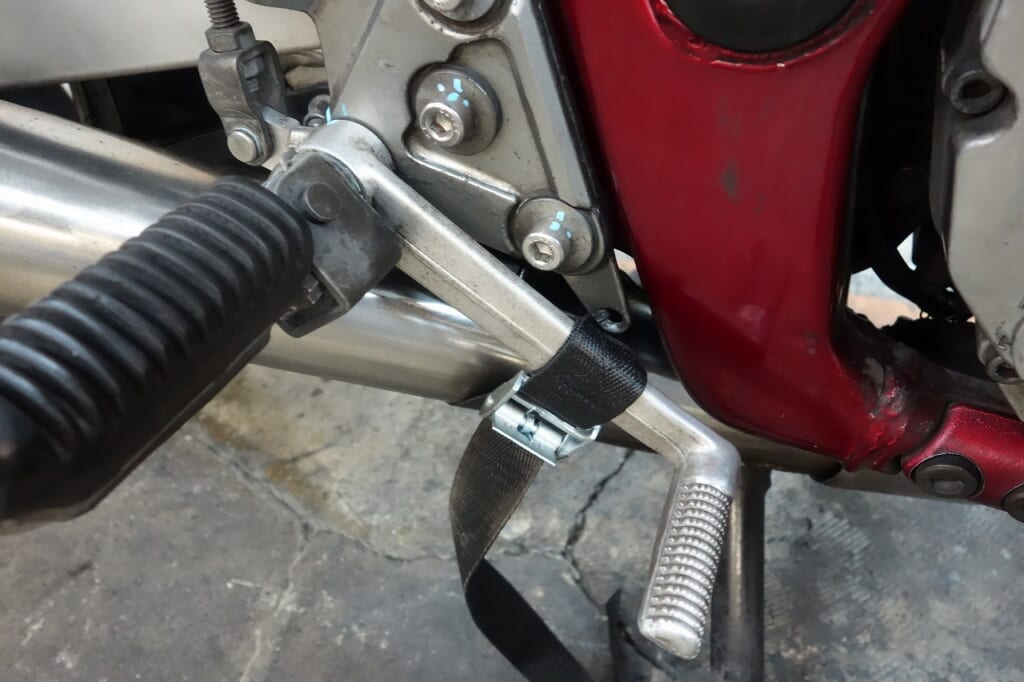
I checked the front and rear tires with the brake applied.
I wonder if this is becoming essential.
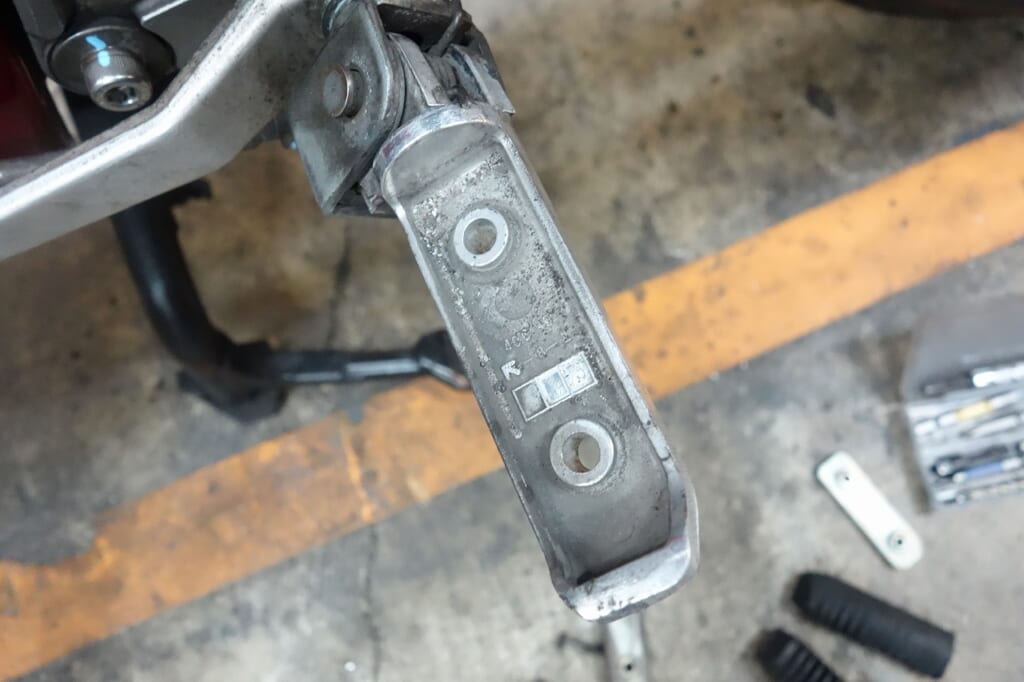
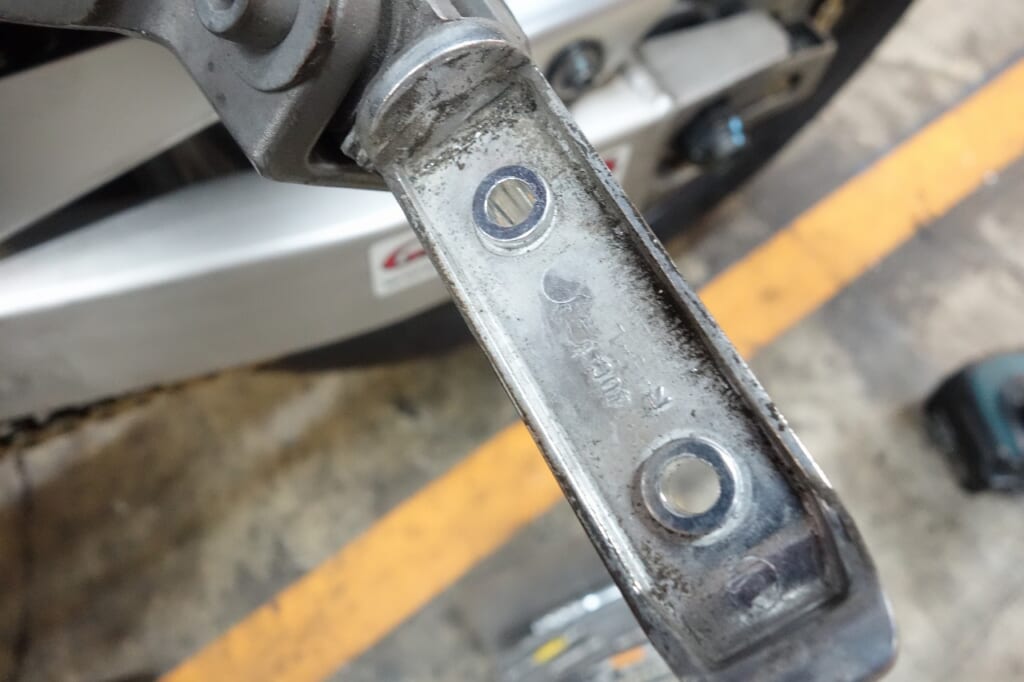
The step rubber was worn down.
The rear and front have different part numbers and parts, but with a little improvisation, they can be fitted.
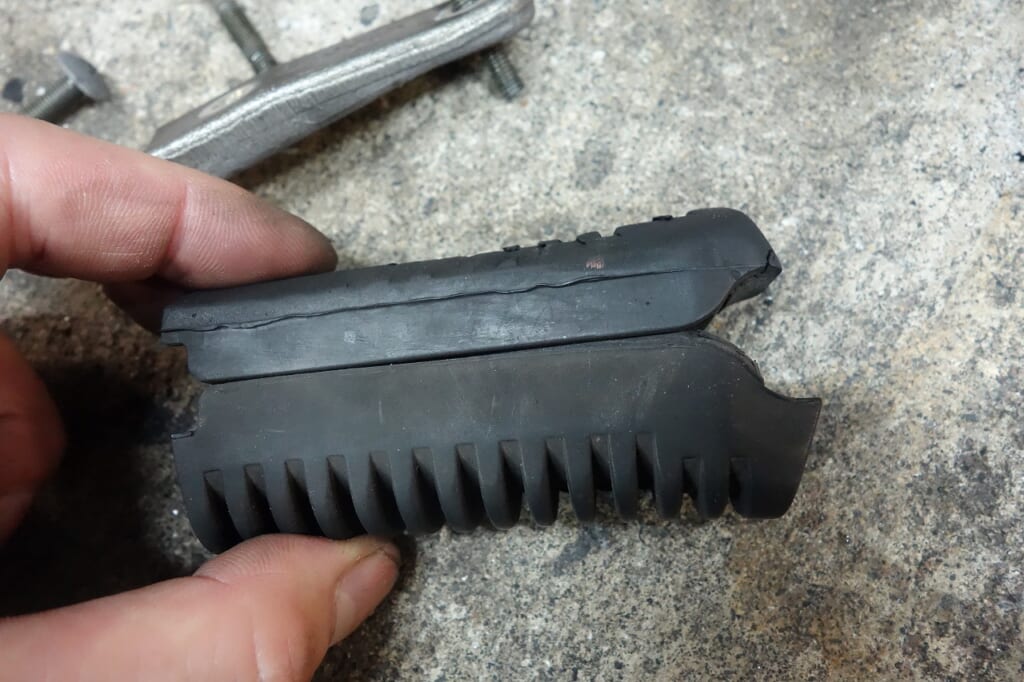
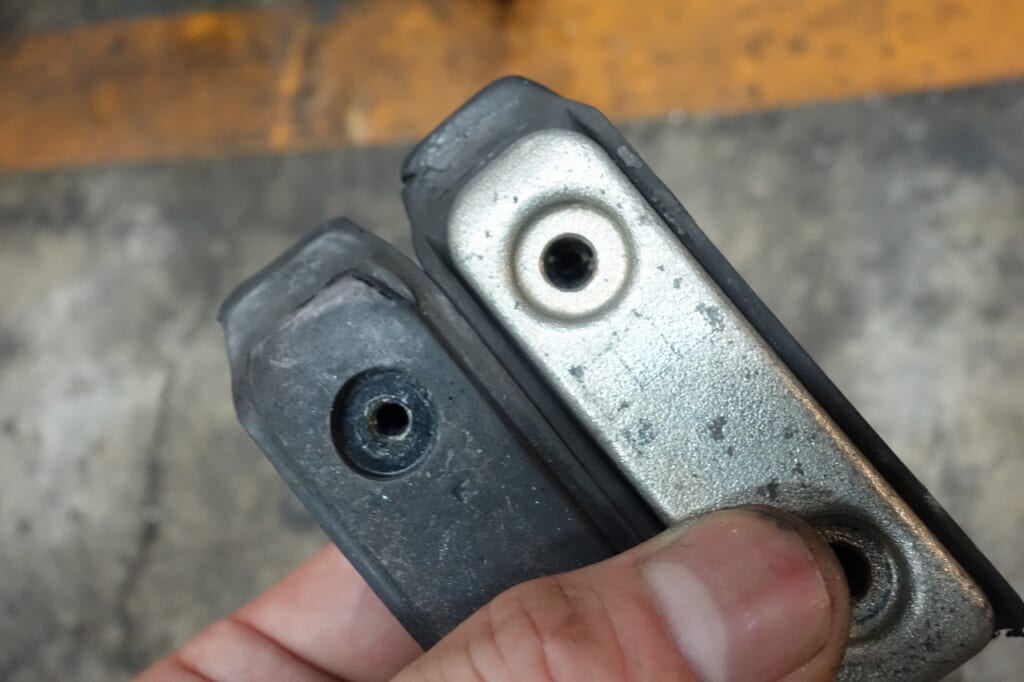
The rear is thick, the front is thin. But the front has a shim plate, and adding that makes it nearly the same size as the rear—so it fits.
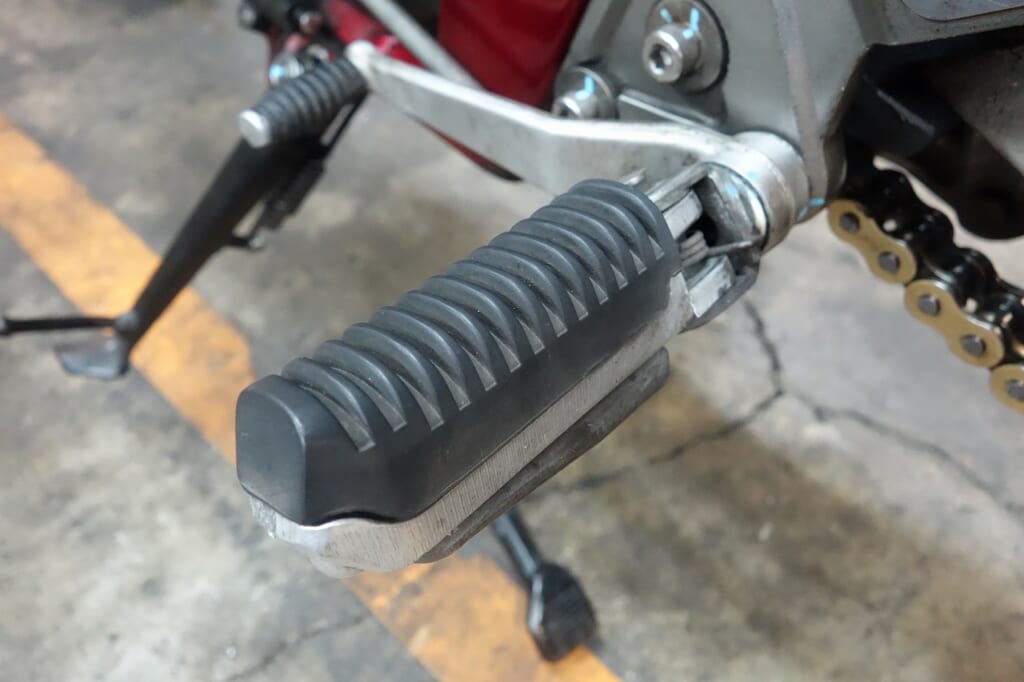
This restored the remaining thickness nicely.
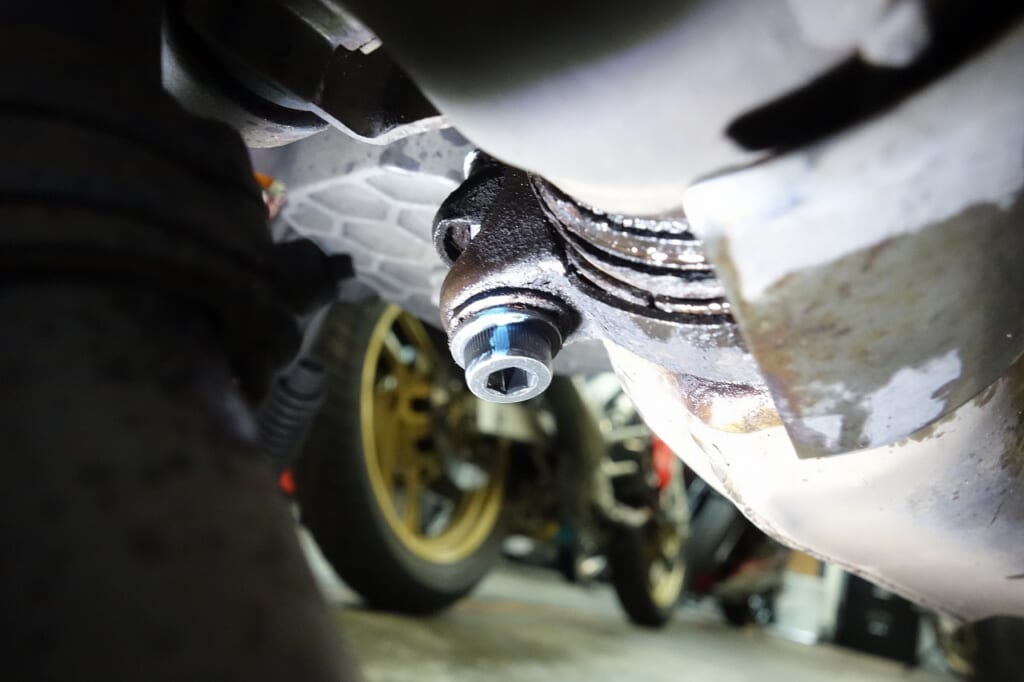
Finally, the reason the silencer bracket broke was probably this M8 bolt came loose and fell out, causing the bracket to rattle and eventually break.
Next is a test ride and we’re done.