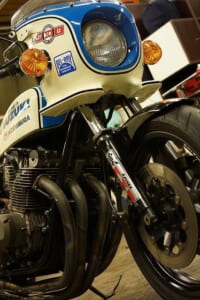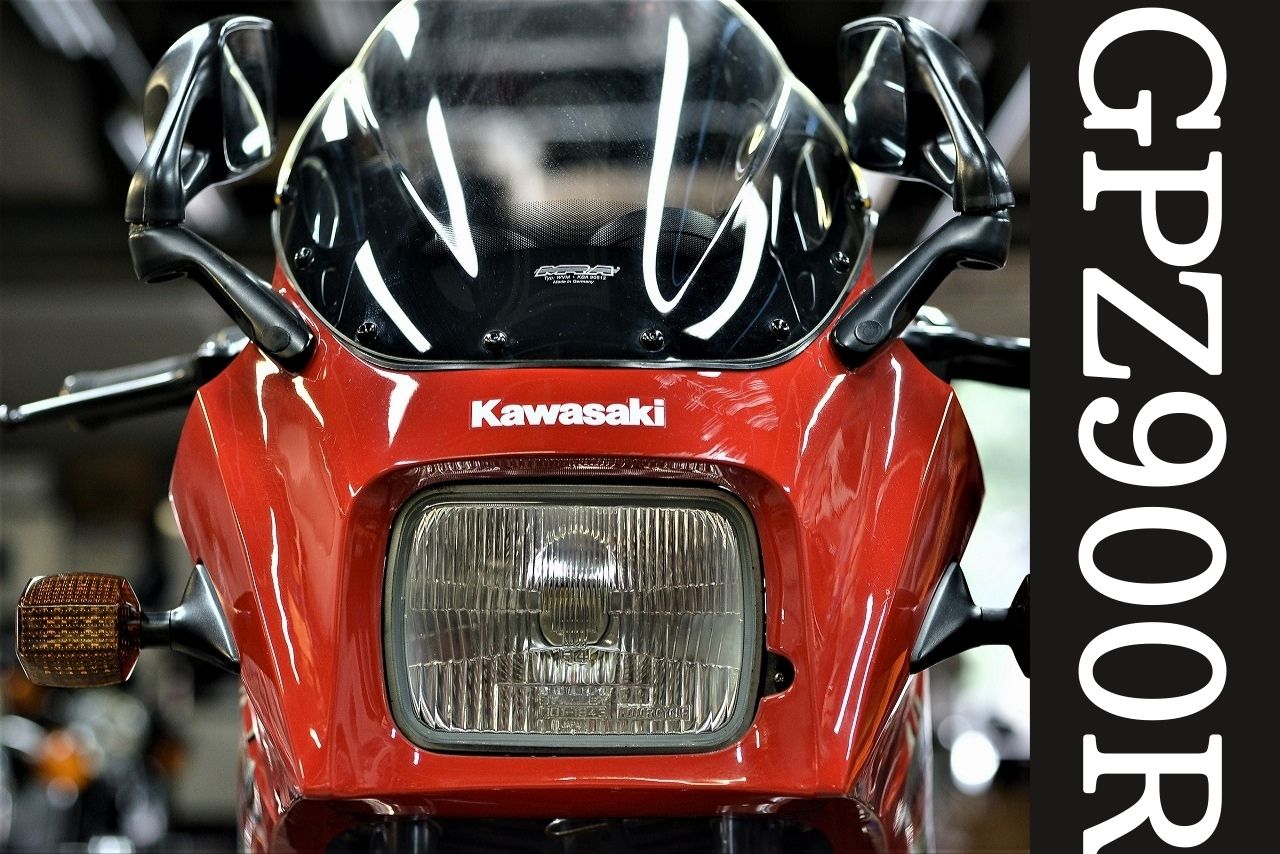
GPZ900R… walked with Tom Cruise? About 20 years.
It started in 1984 and continued production until 2003—an ultra-long seller.
Over 80,000 units shipped! But when you compare motorcycles to cars, that’s really quite small, isn’t it?
We’ve had it for a while, so time has passed—we’ll make steady progress.
The weather’s nice for riding, which is great, but we’re also getting a lot of requests, so it’s bittersweet.
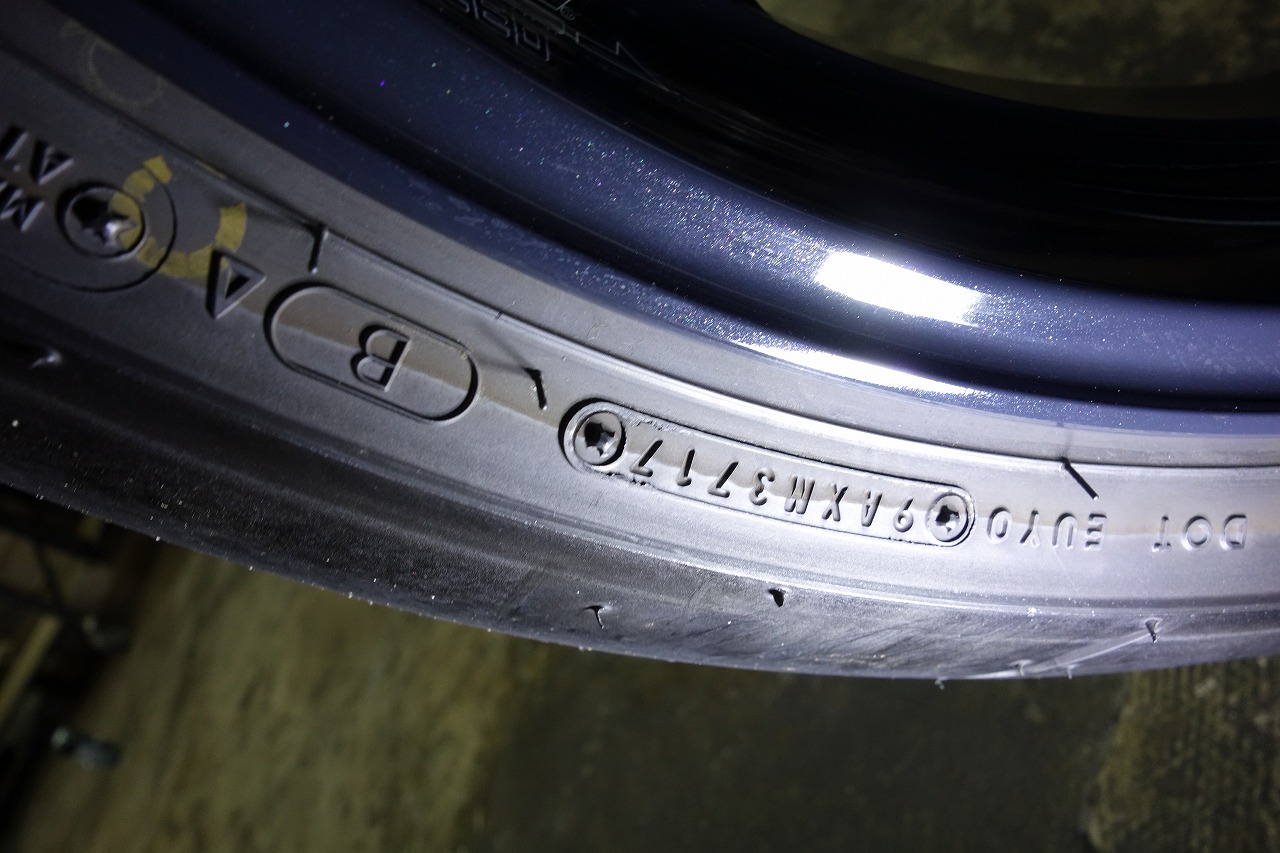
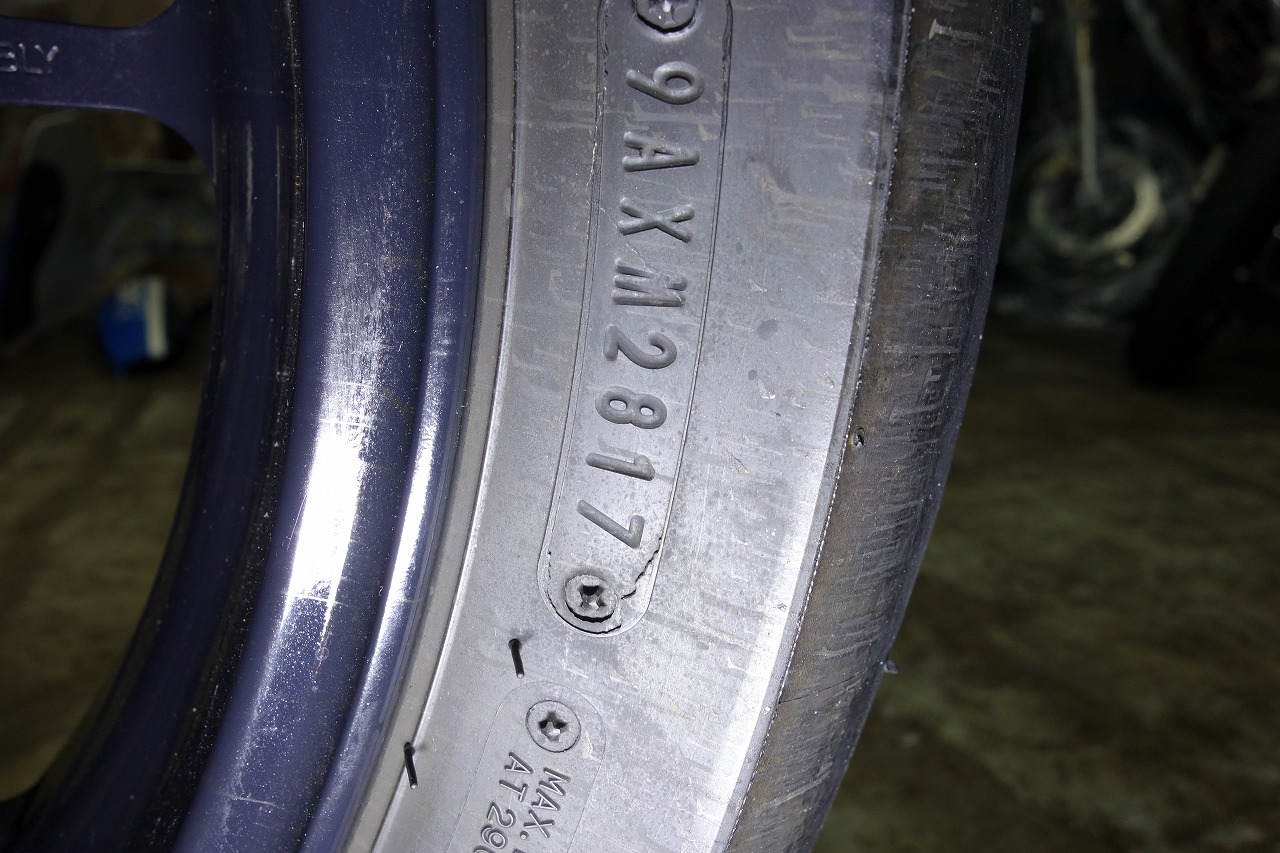
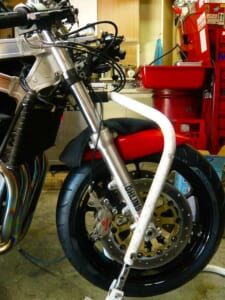
We’ll check the tire manufacturing date.
Week 28 and 37 of 2017—about three years have passed.
If you ride infrequently, it’s good to replace them when you plan to ride.
*They degrade even if you don’t ride after replacing them.
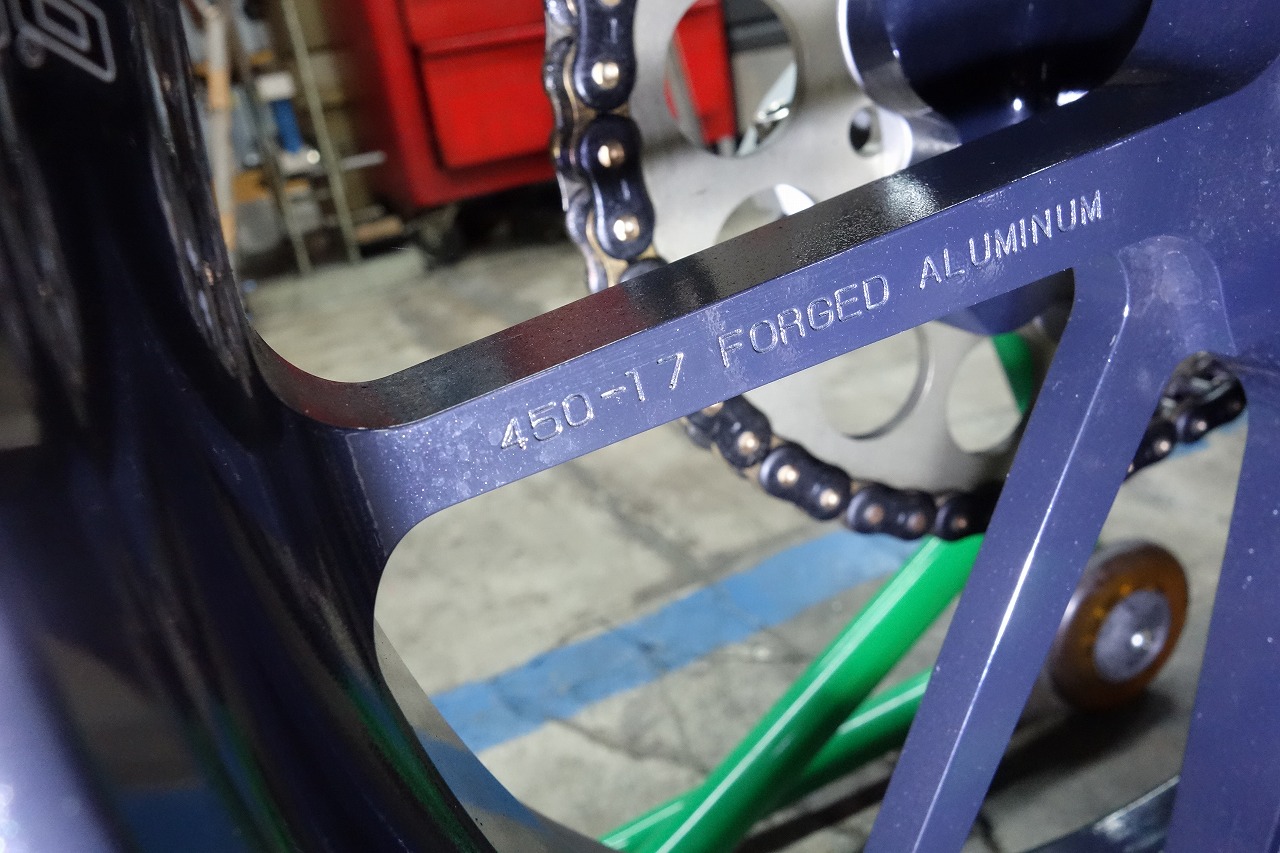
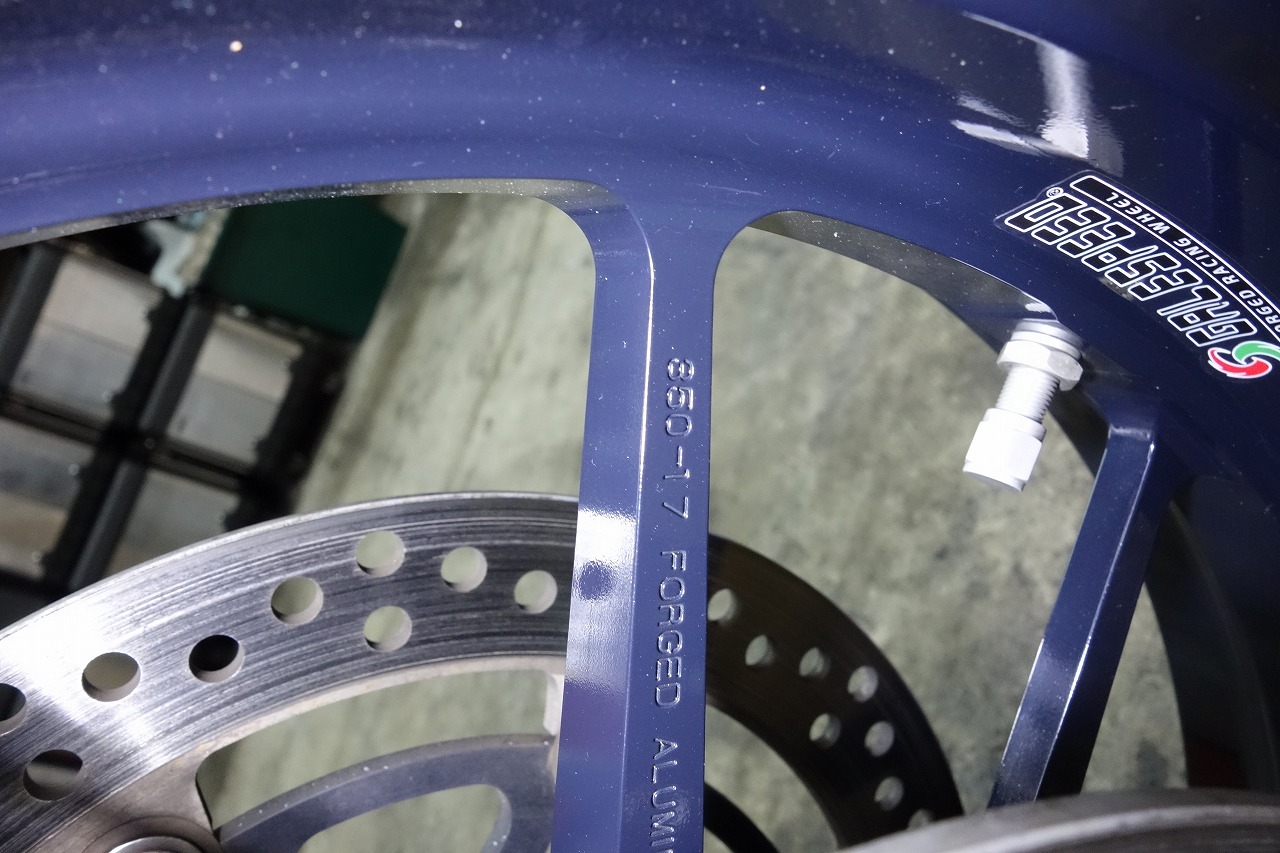
Knowing the wheel rim width makes tire selection a lot more fun.
If you look at the wheel compatibility range rather than just sticking to stock size, you’ll have many more options.
I recently noticed something.
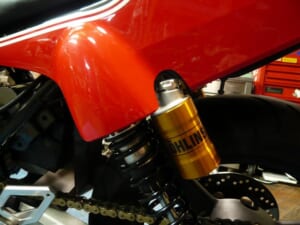
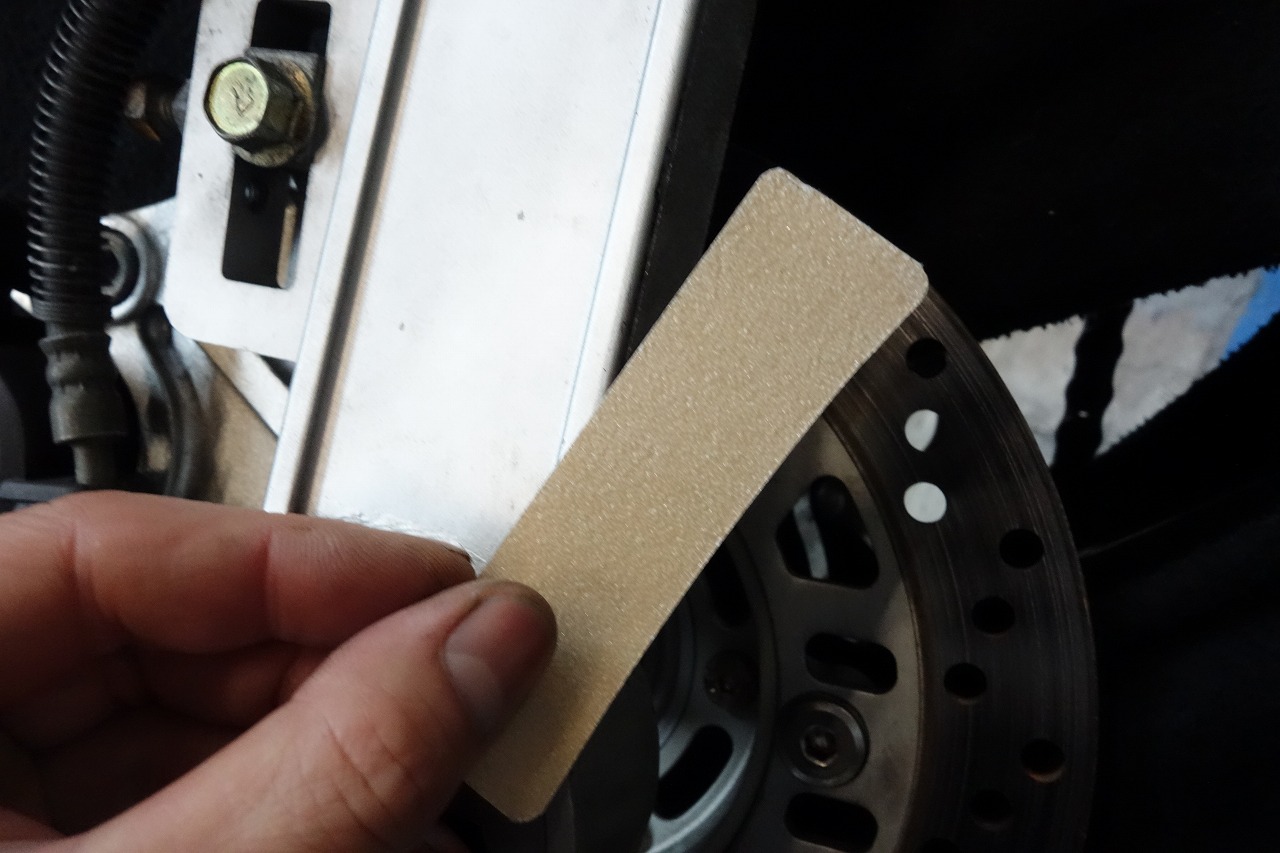
When the rear suspension free length is extended, doesn’t the racing stand slip? That’s scary.
I realized that putting anti-slip tape on the swingarm side really improves safety.
*Don’t put it on the stand side—it’ll scratch the swingarm.
3M Safety-Walk Anti-Slip Tape Type F Clear 50mm width × 5M
This is shop-sized quantity and pricing…
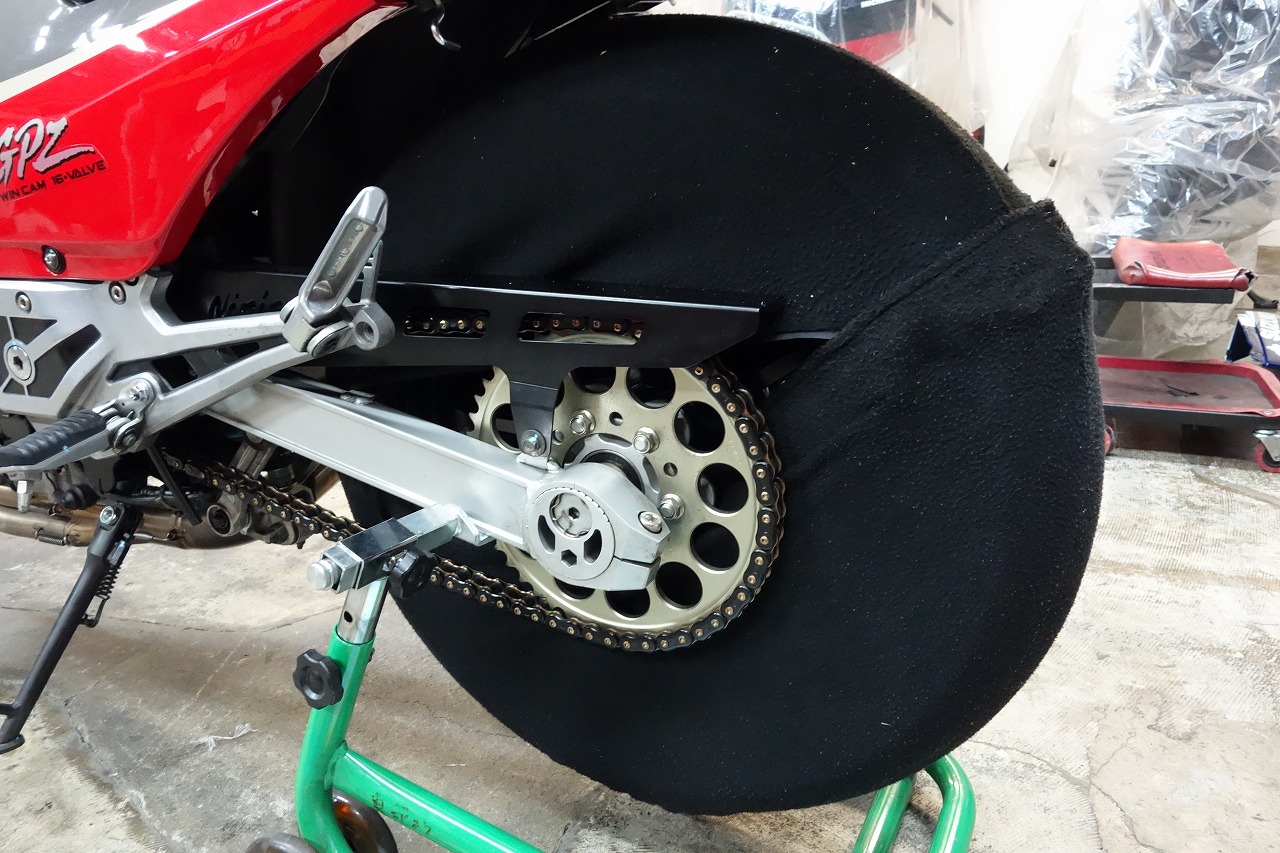
Hmm♪ It doesn’t slip at all… super reassuring.
By the way, it only works on square swingarms… (´;ω;`)
Wrapping the wheel with a cover and removing it carefully really boosts confidence.
It’s good for DIY folks and for those who lift and store their bikes.
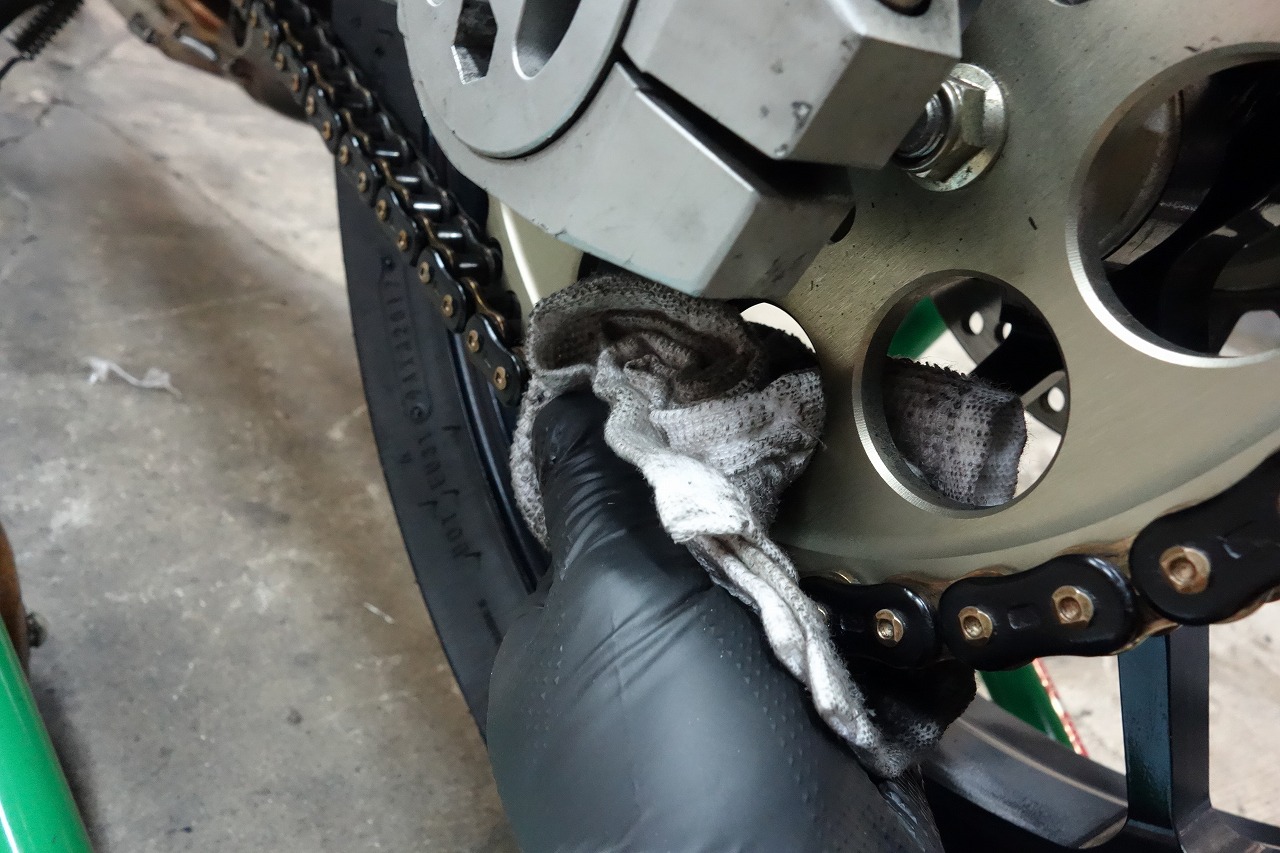
Let’s clean up the chain, rear sprocket, and the area around them.
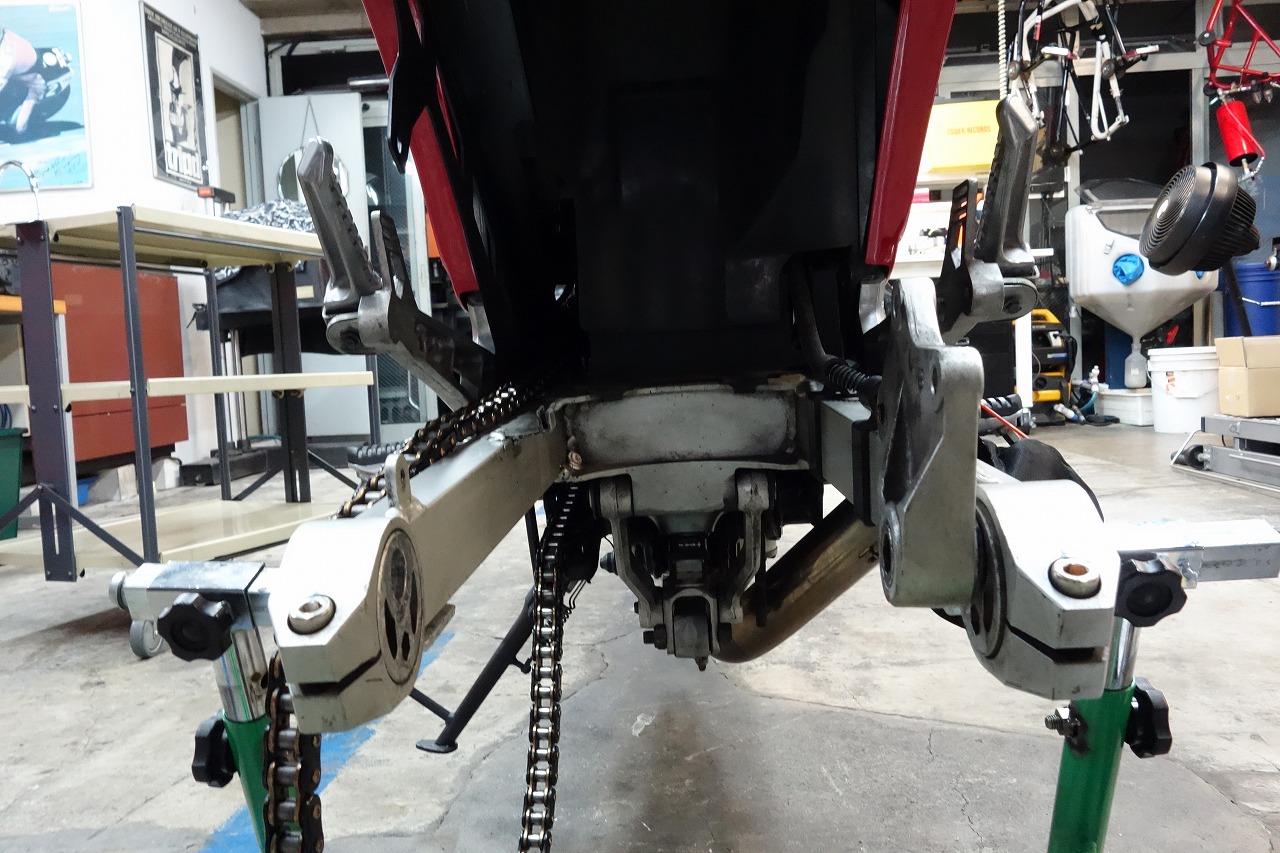
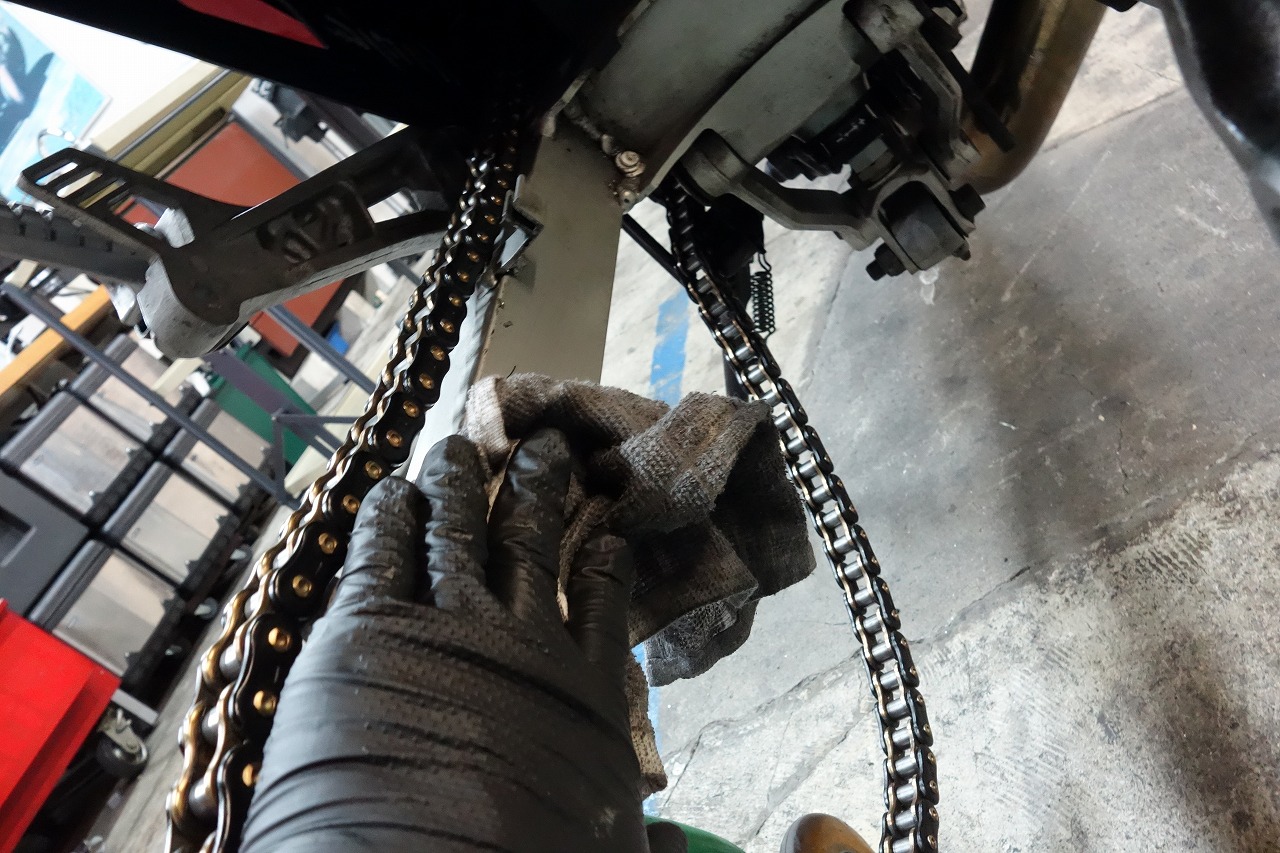
Places the owner can’t reach are where the technician comes in.
It’s nice when things stay clean and in good condition for a long time.
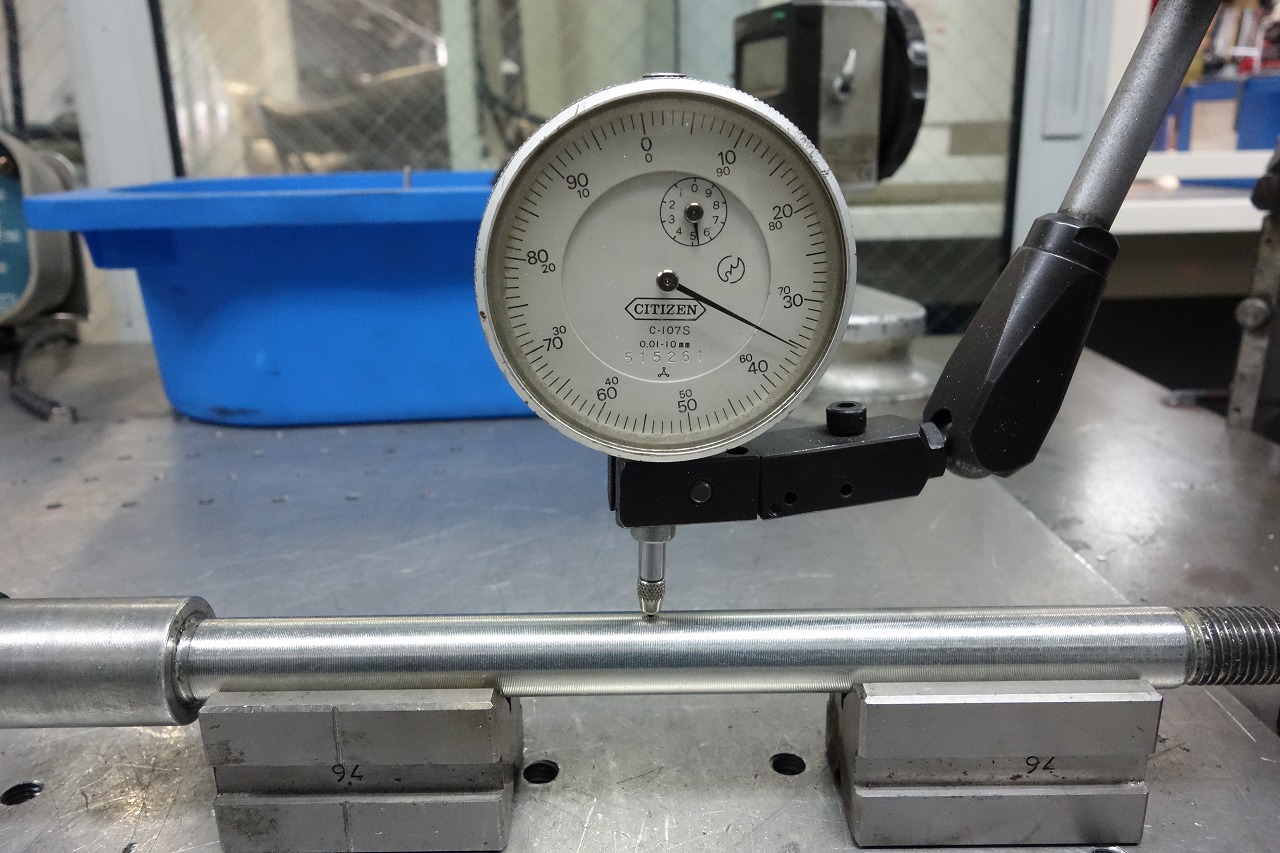
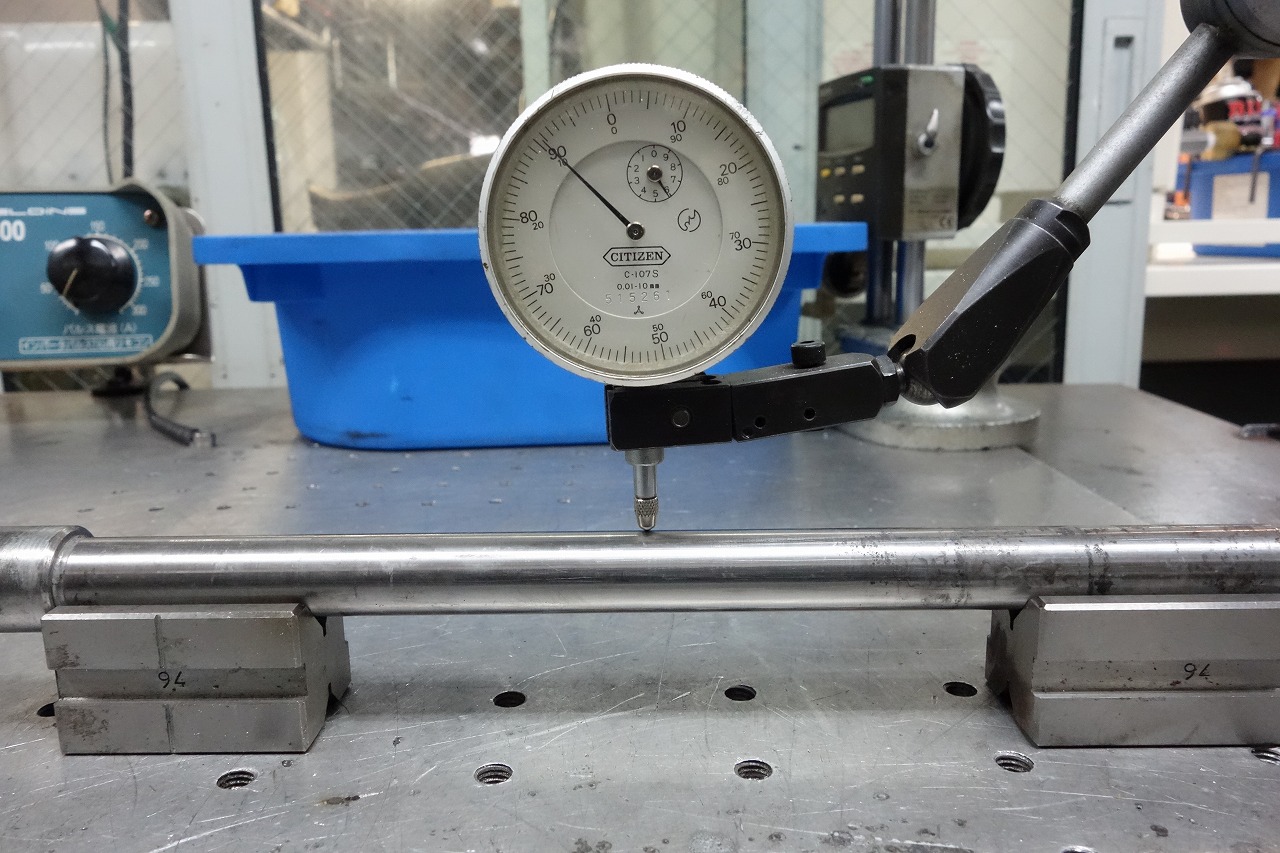
Let’s check the axle shaft too. There’s usually no problem with normal use, but we do it just in case.
Inspection and maintenance is the accumulation of small, unglamorous tasks.
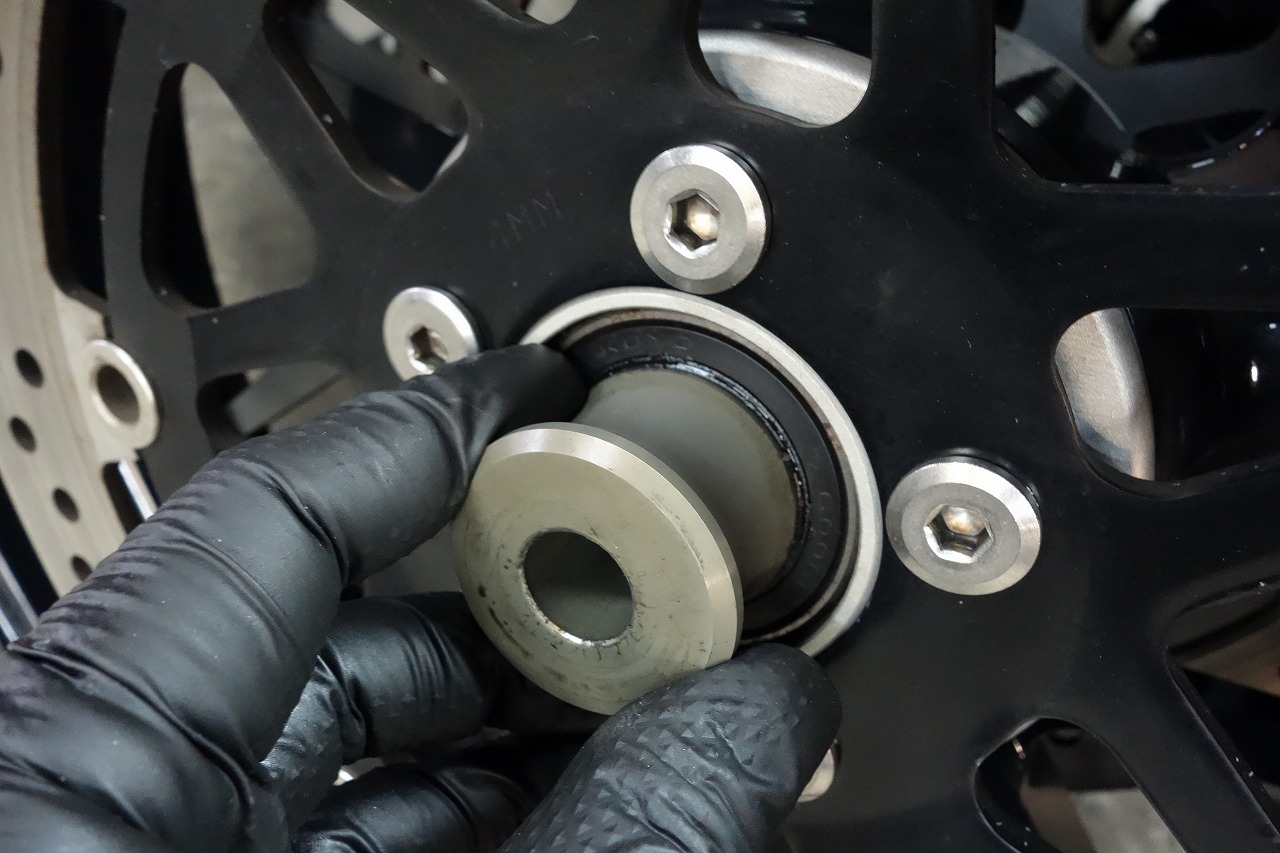
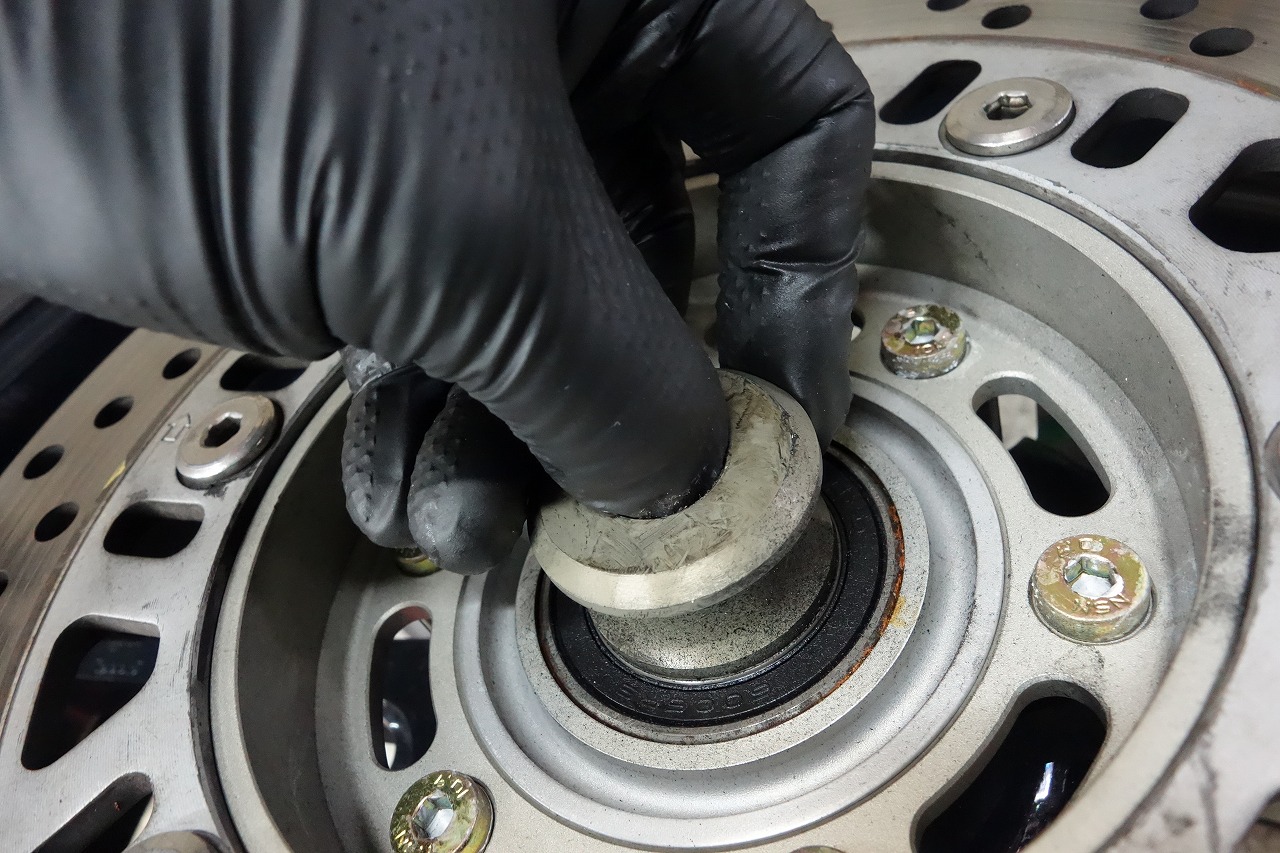
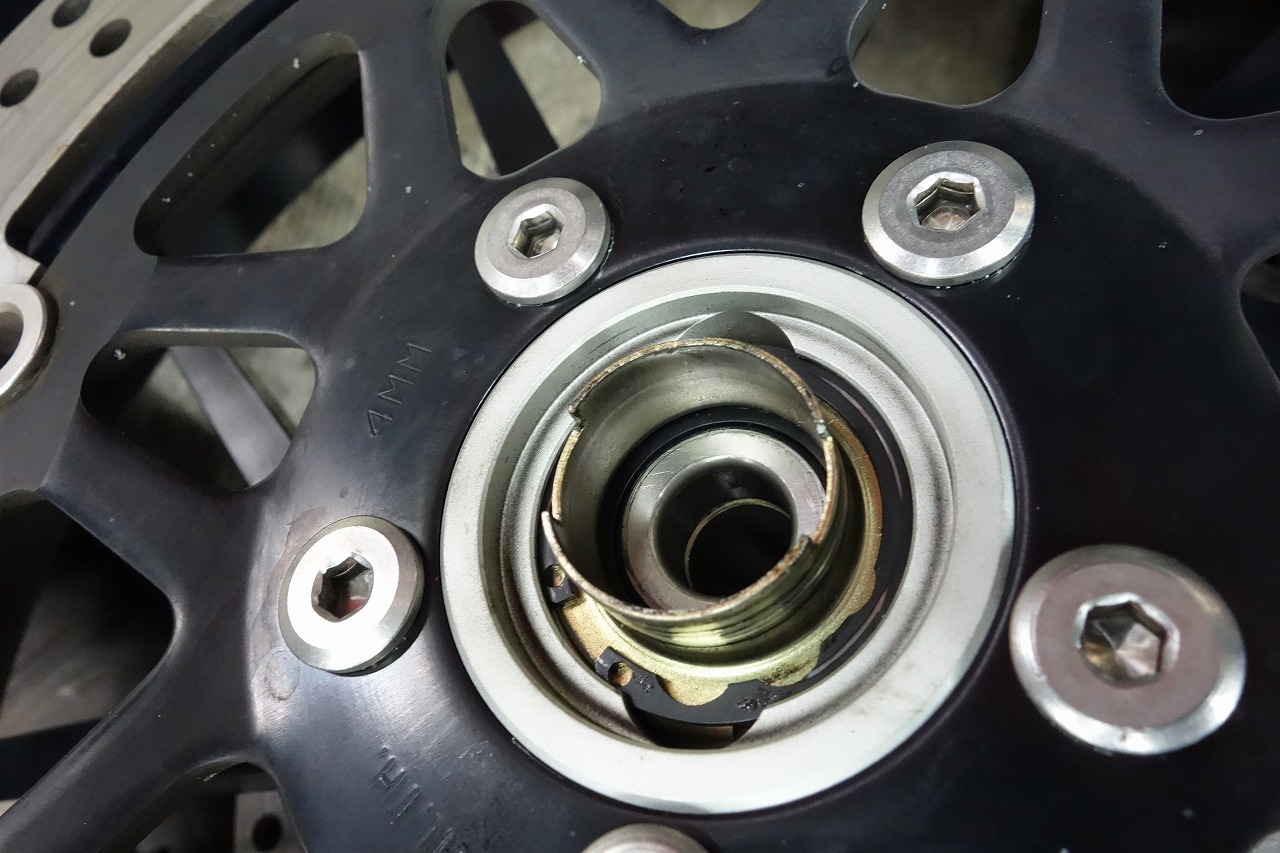
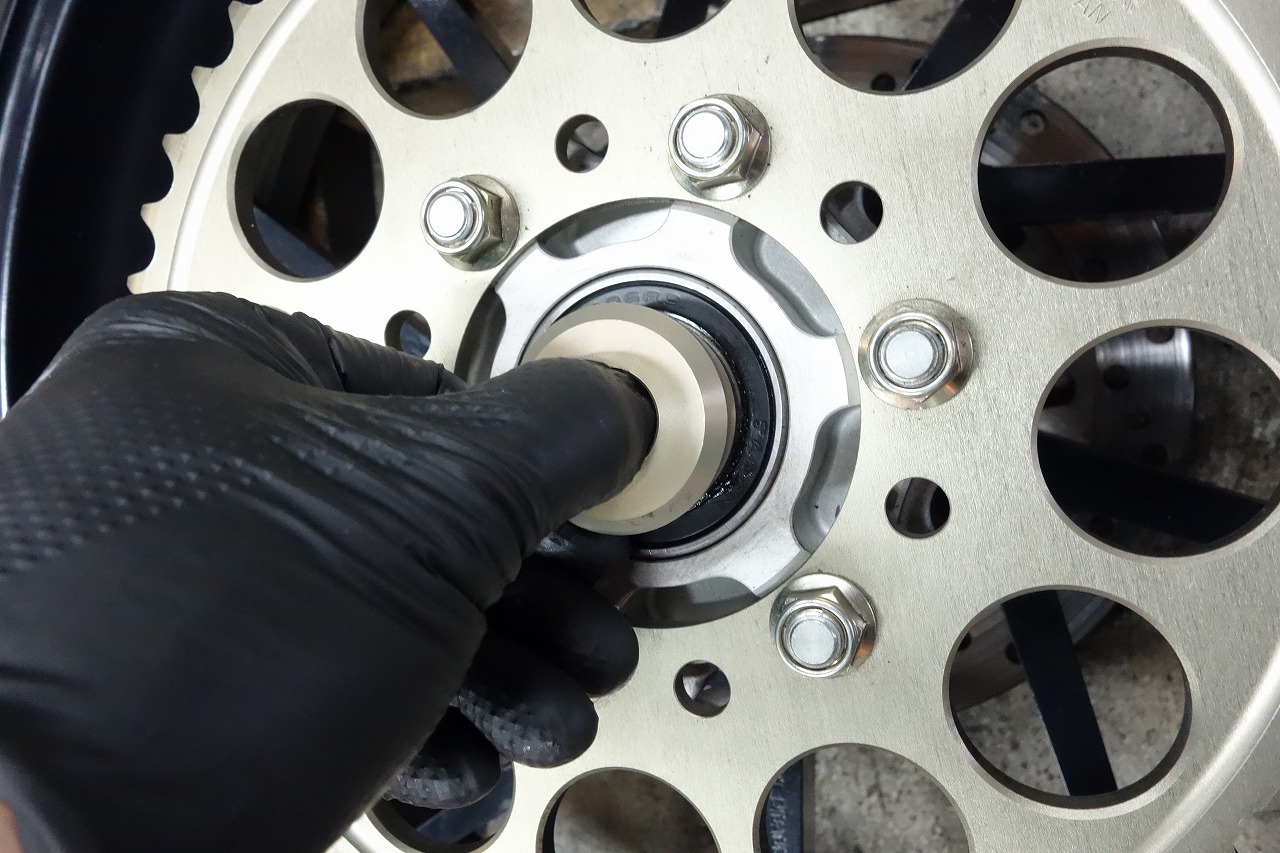
Let’s check the wheel bearings. How’s the movement? Where’s the distance collar? Any odd feelings? And so on.
It’s also good to check the bolts and nuts on the disc and sprocket.
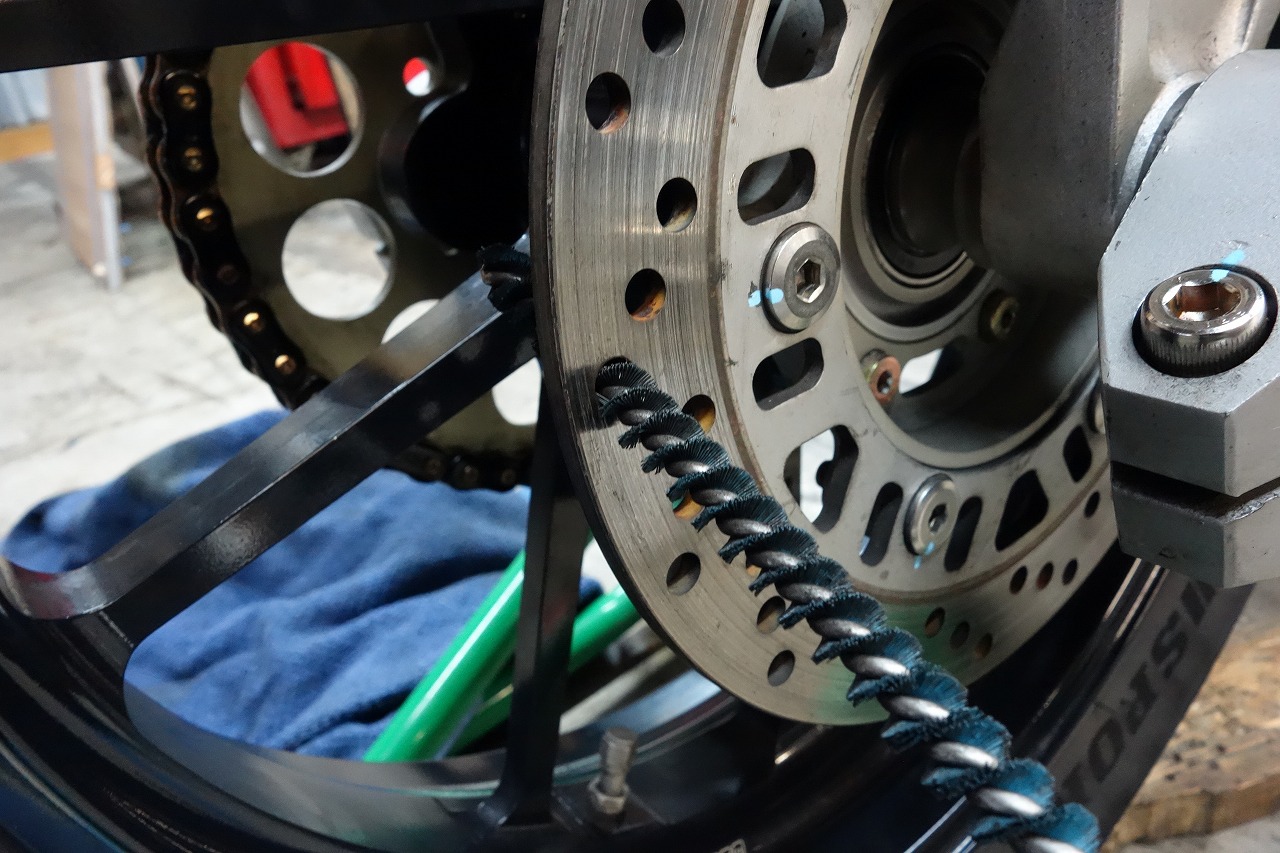
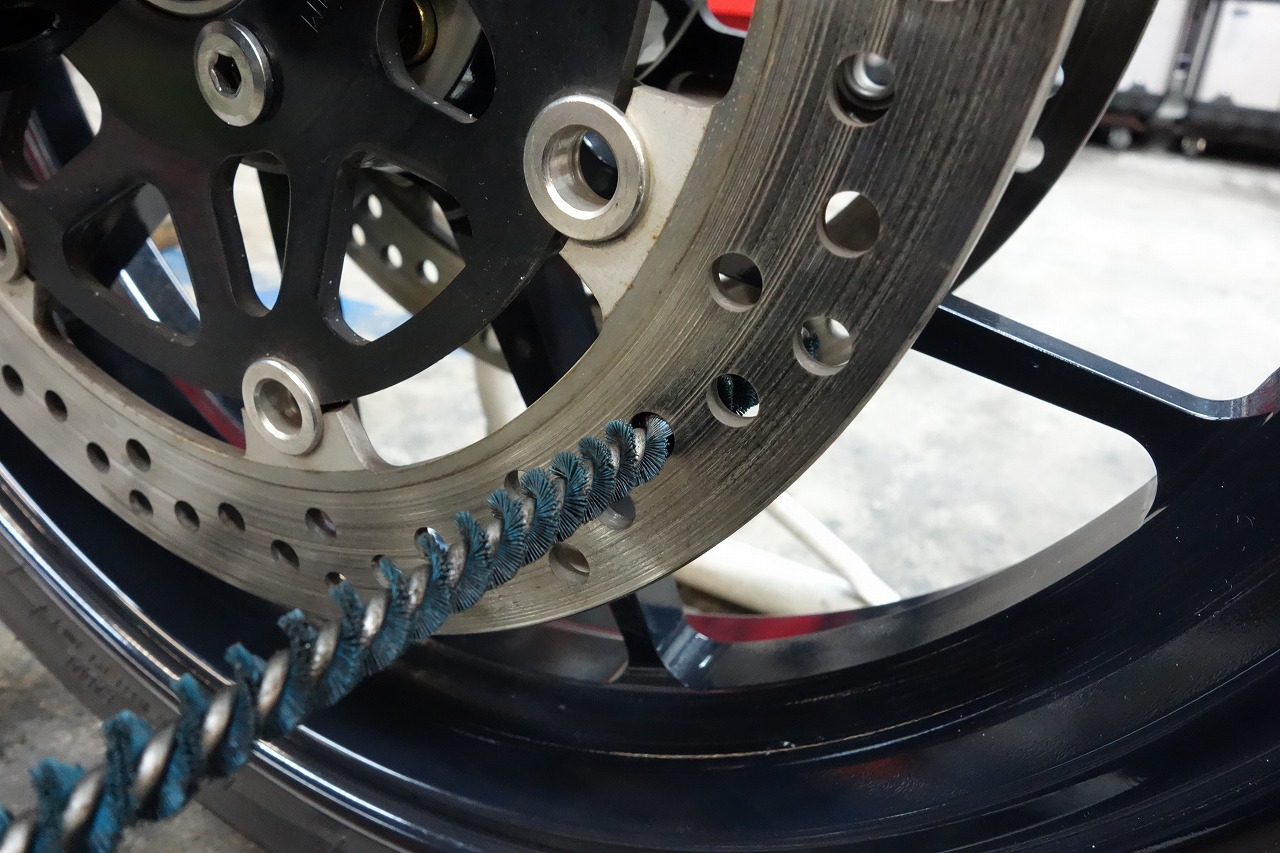
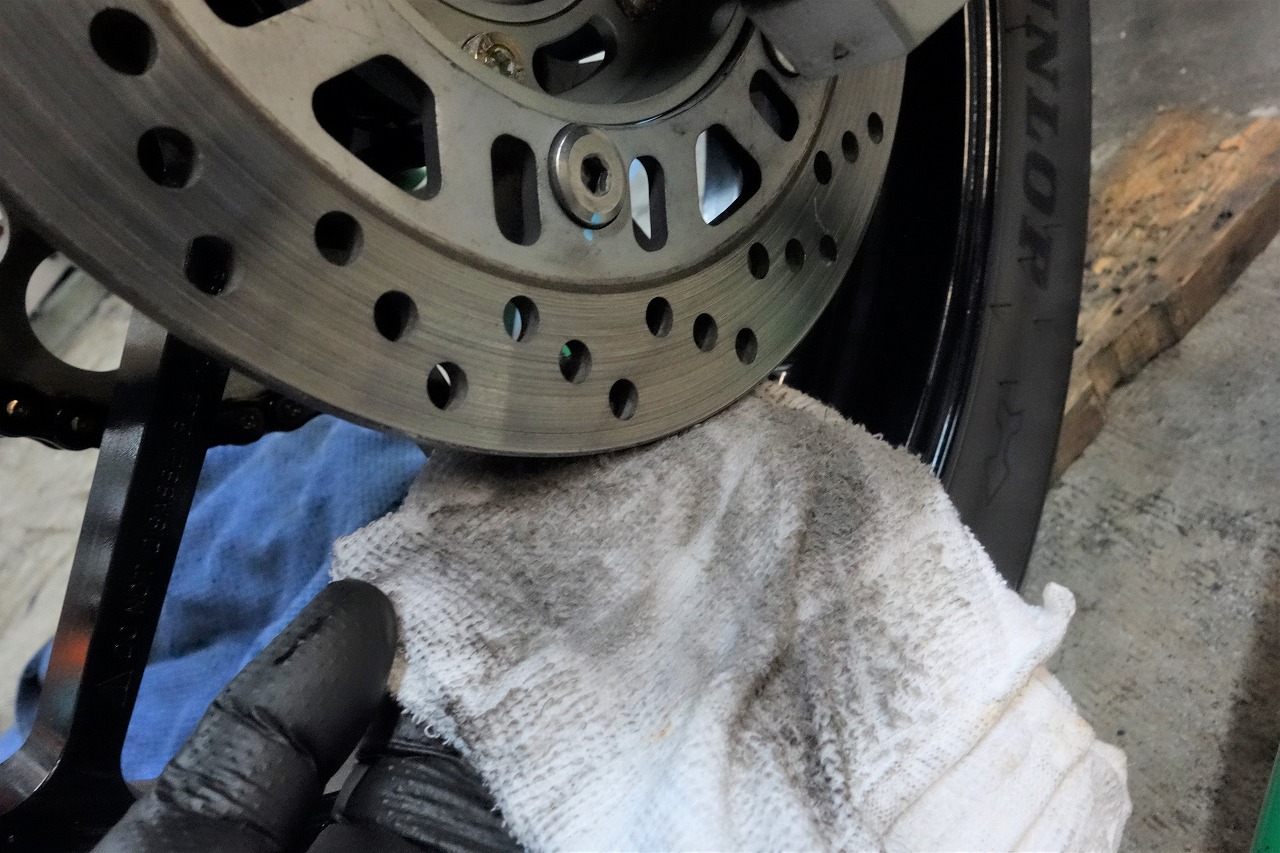
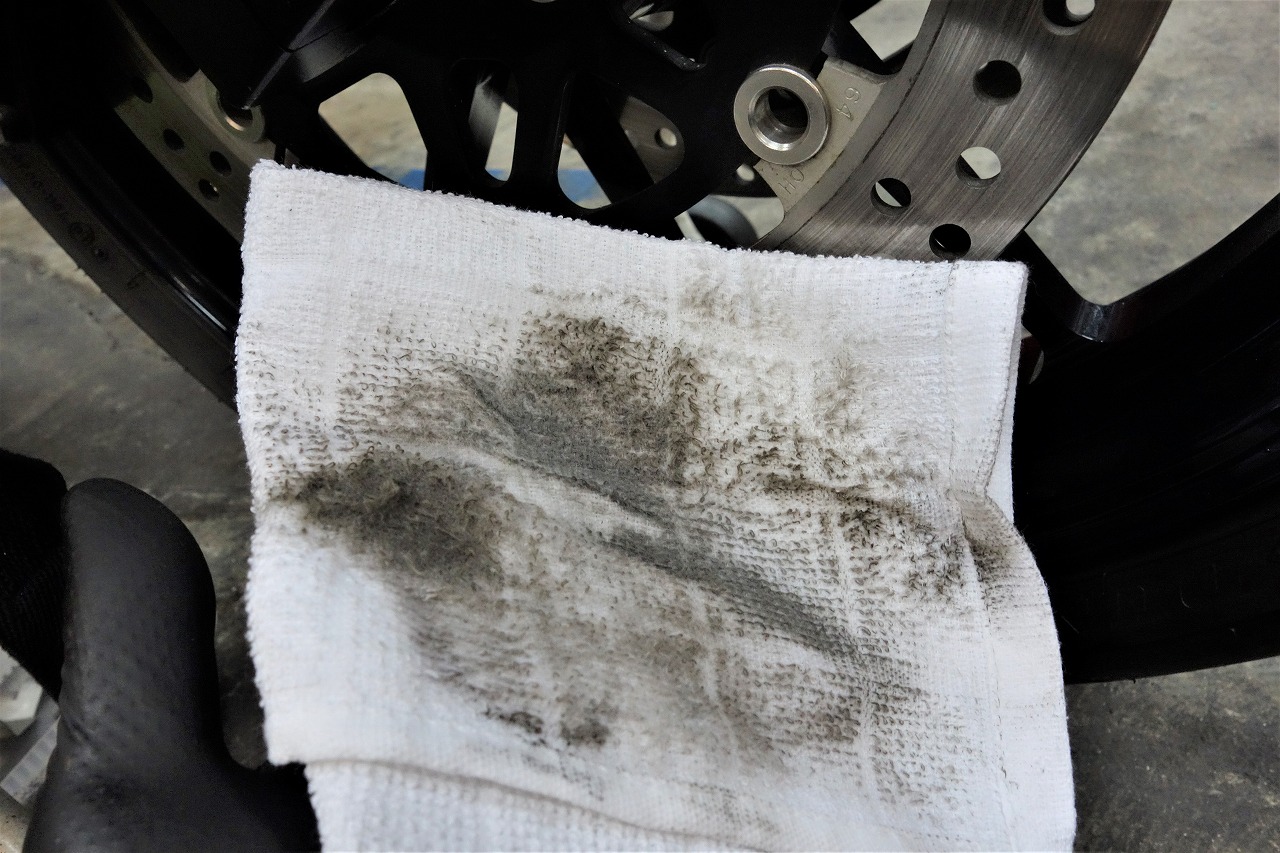
Disc rotor holes get a thorough cleaning too.
Well, cleaning won’t have a dramatic effect, but as they say, “it’s the thought that counts”…
Or as they say, “the underwear is Italian-made”?
If you’re degreasing the disc surface anyway, might as well do this at the same time.
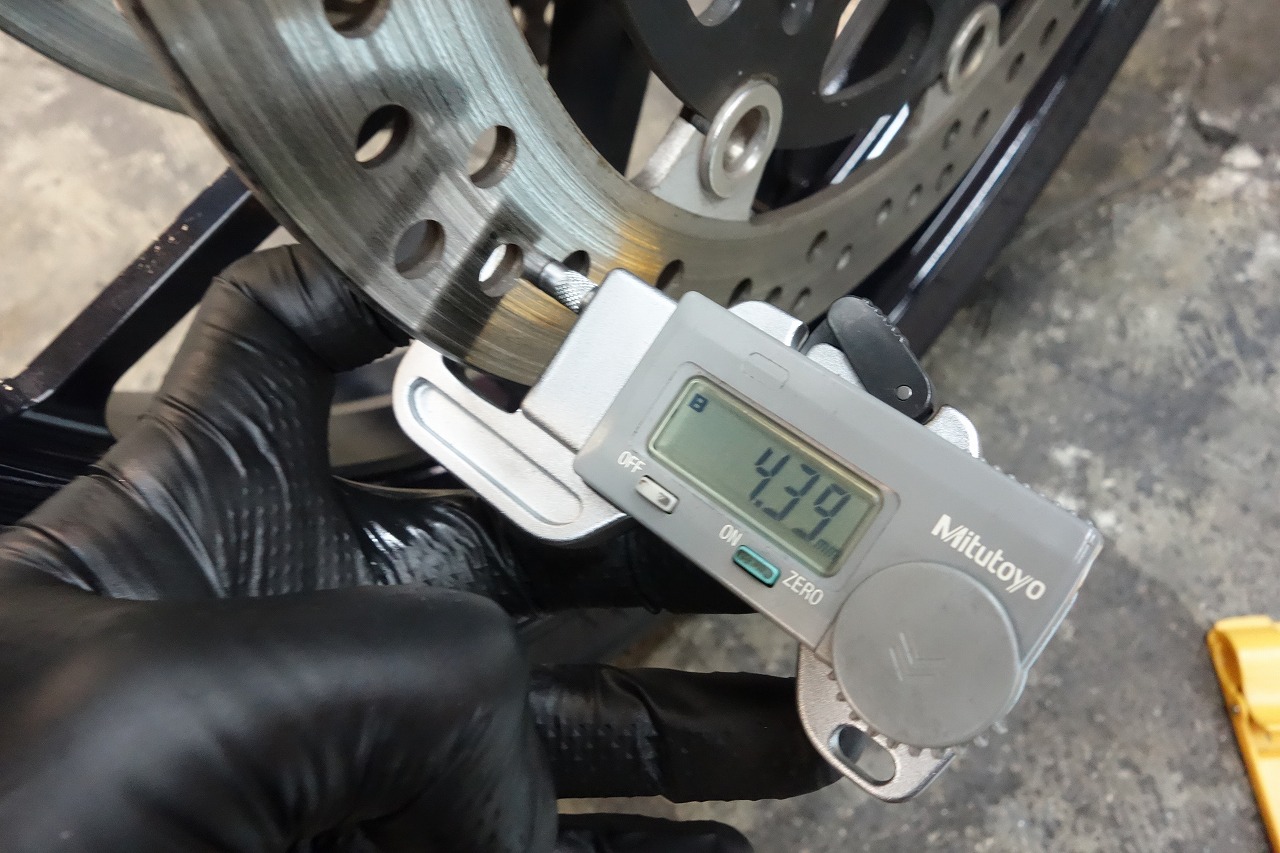
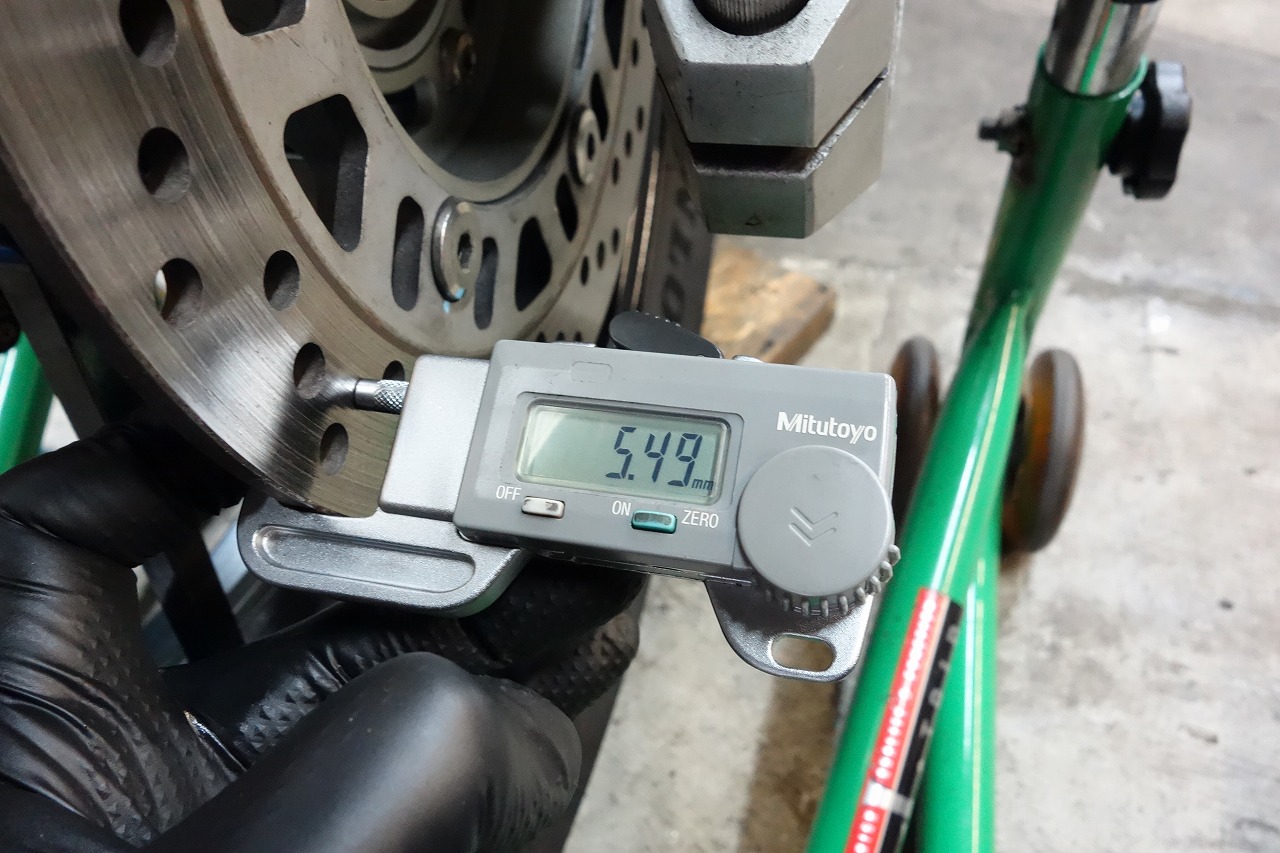
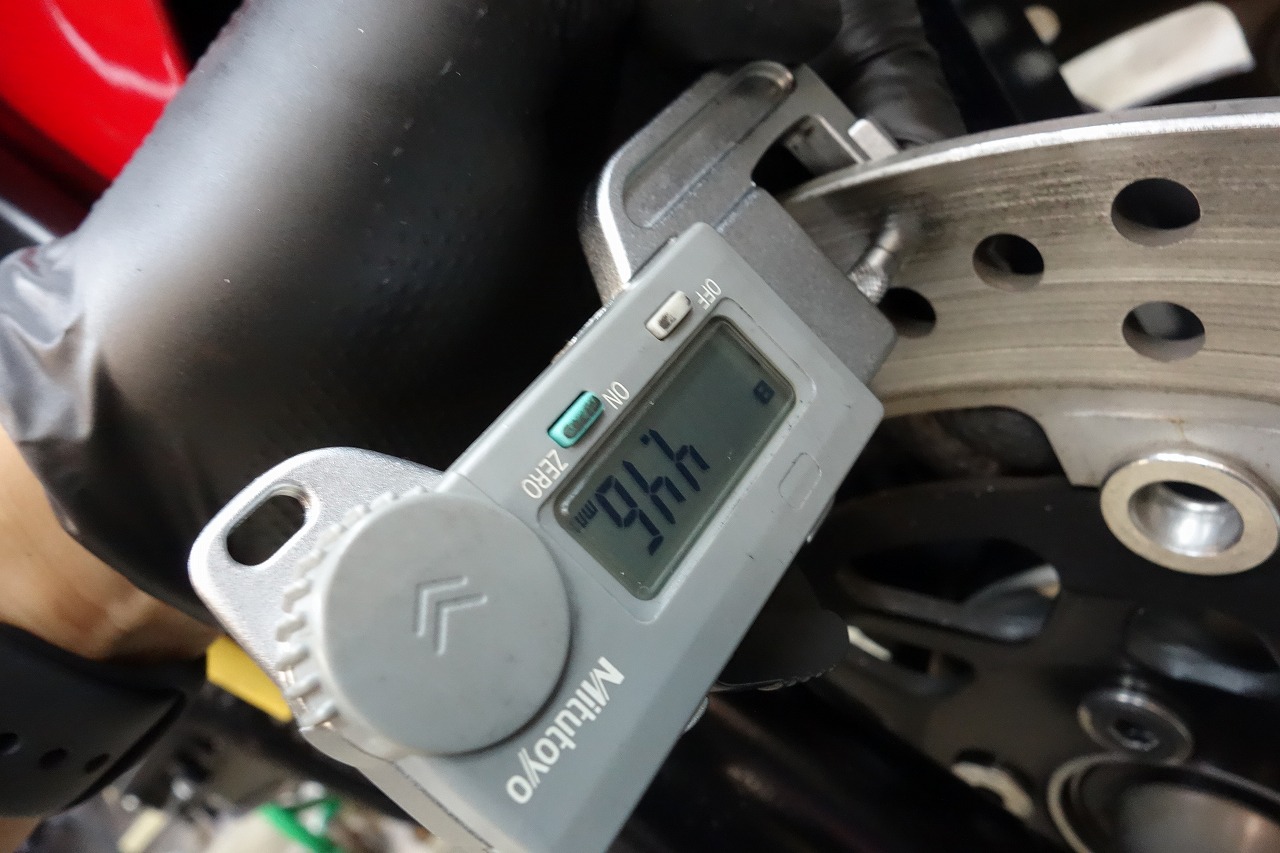
Disc rotor thickness looks fine. Since they don’t wear evenly all over, the measurement is just a reference.
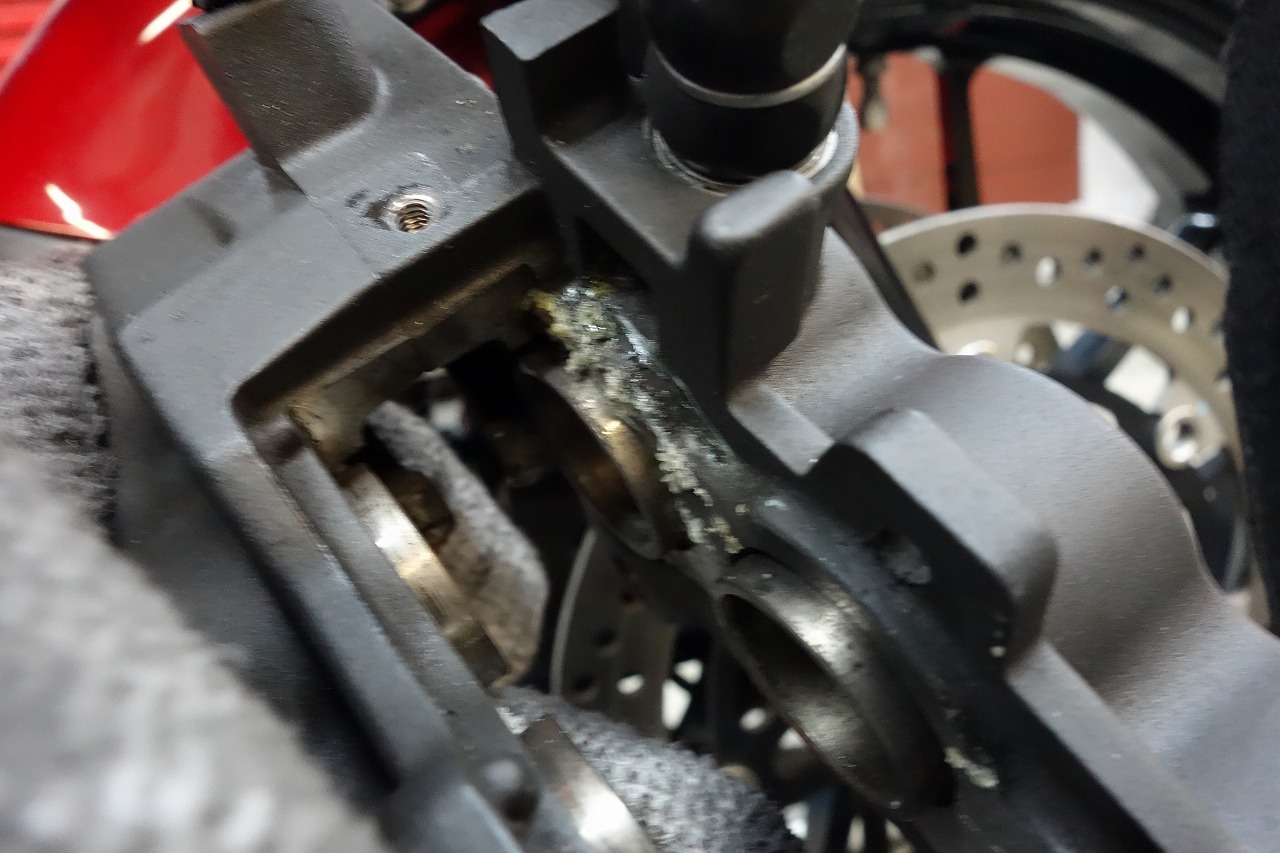
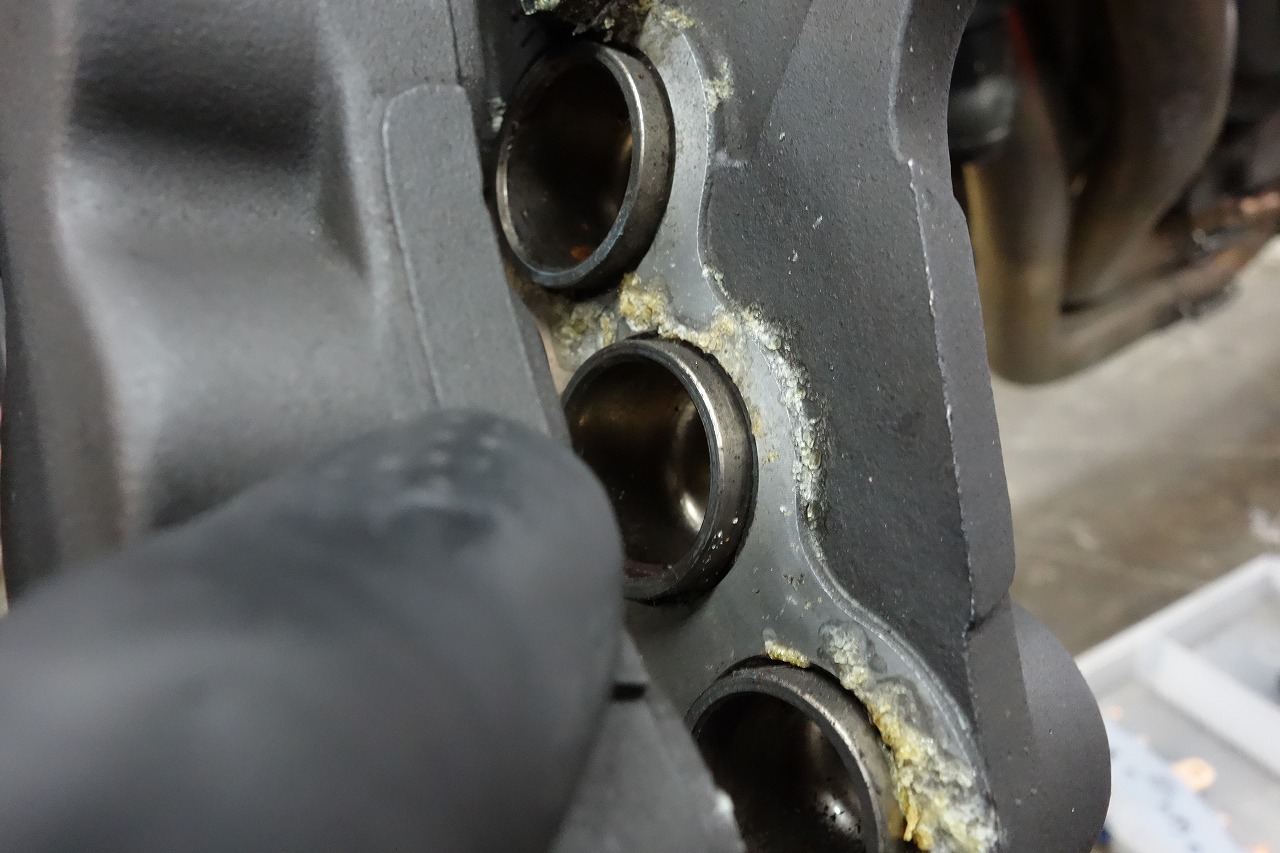
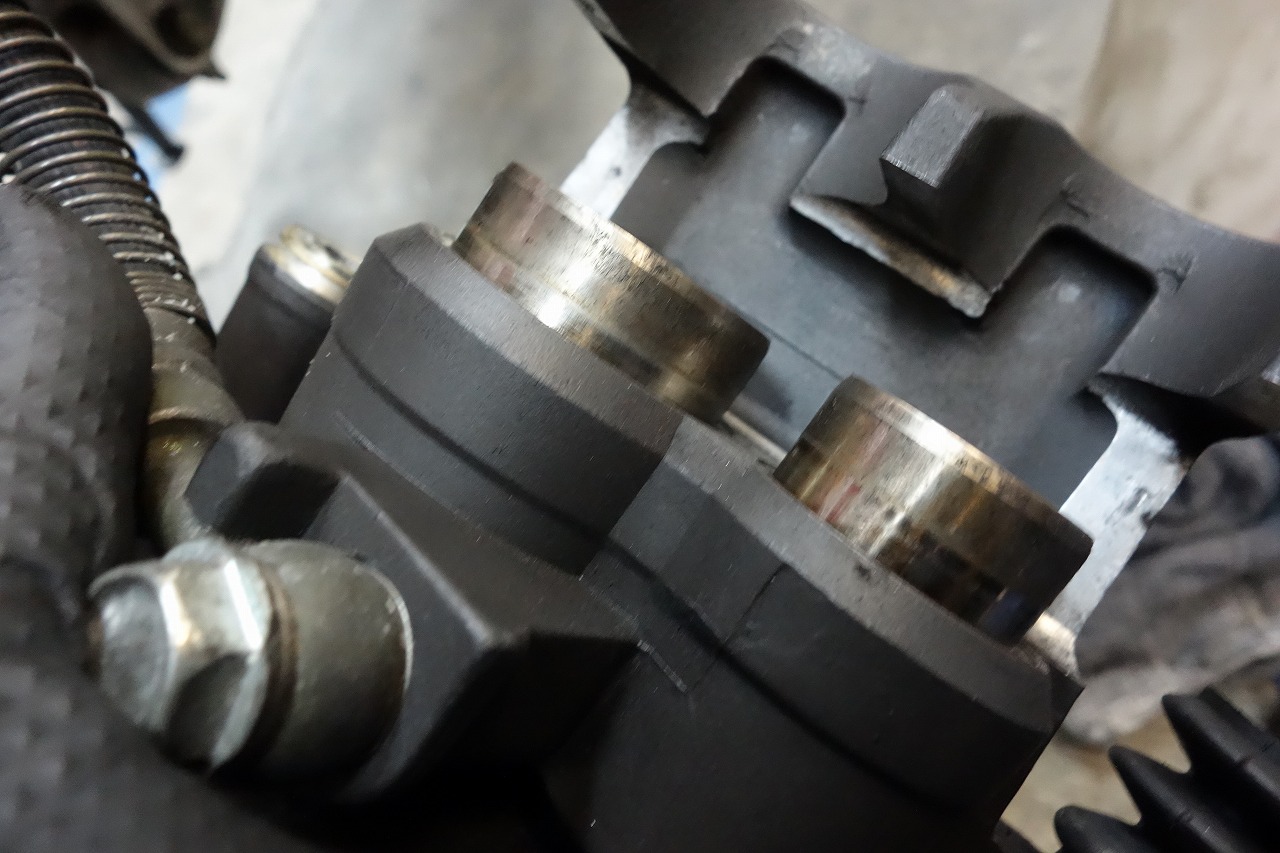
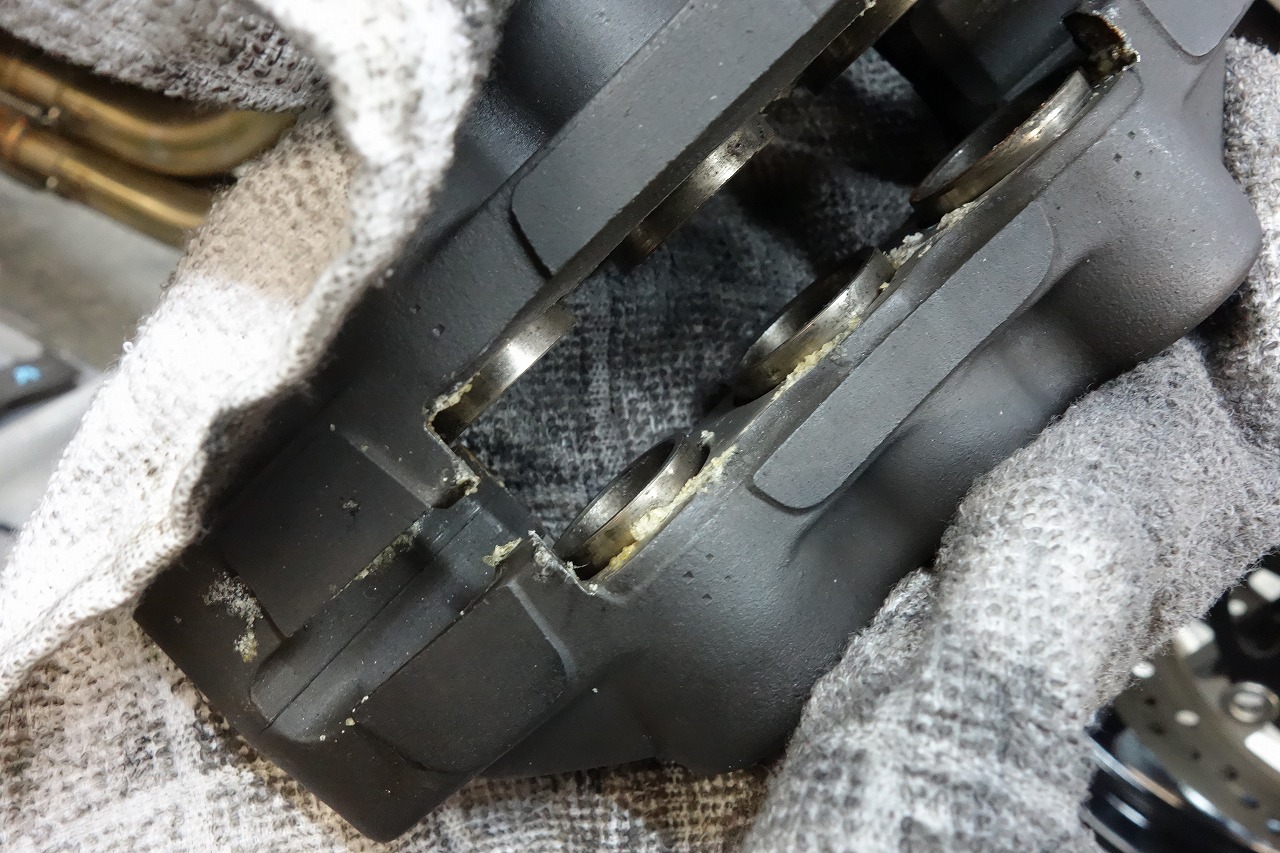
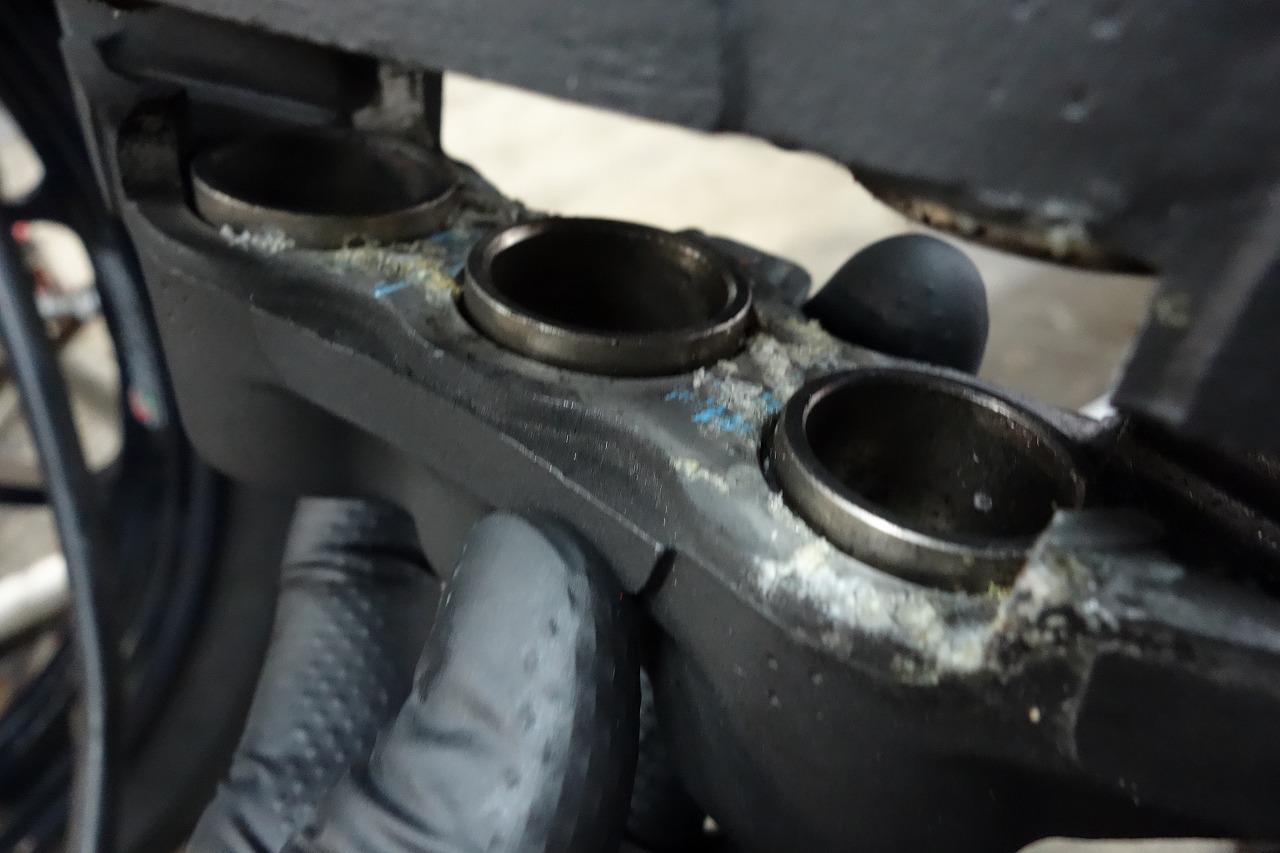
Is it humid? The front especially has a lot of moisture.
Operation is good and there’s no rust, so I’m relieved.
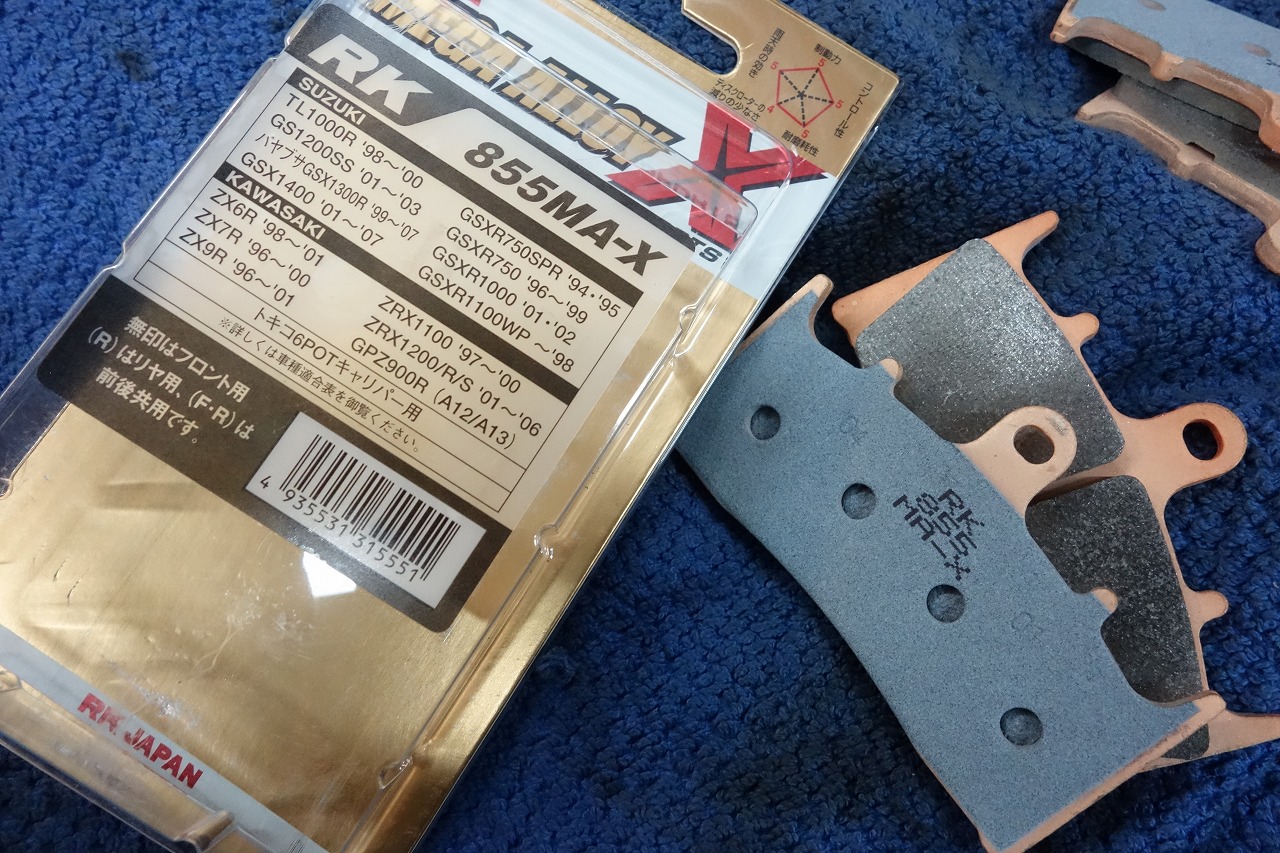
The RK-MA-X sintered metal pad has excellent performance-to-price balance.
For street use, we often choose this pad.
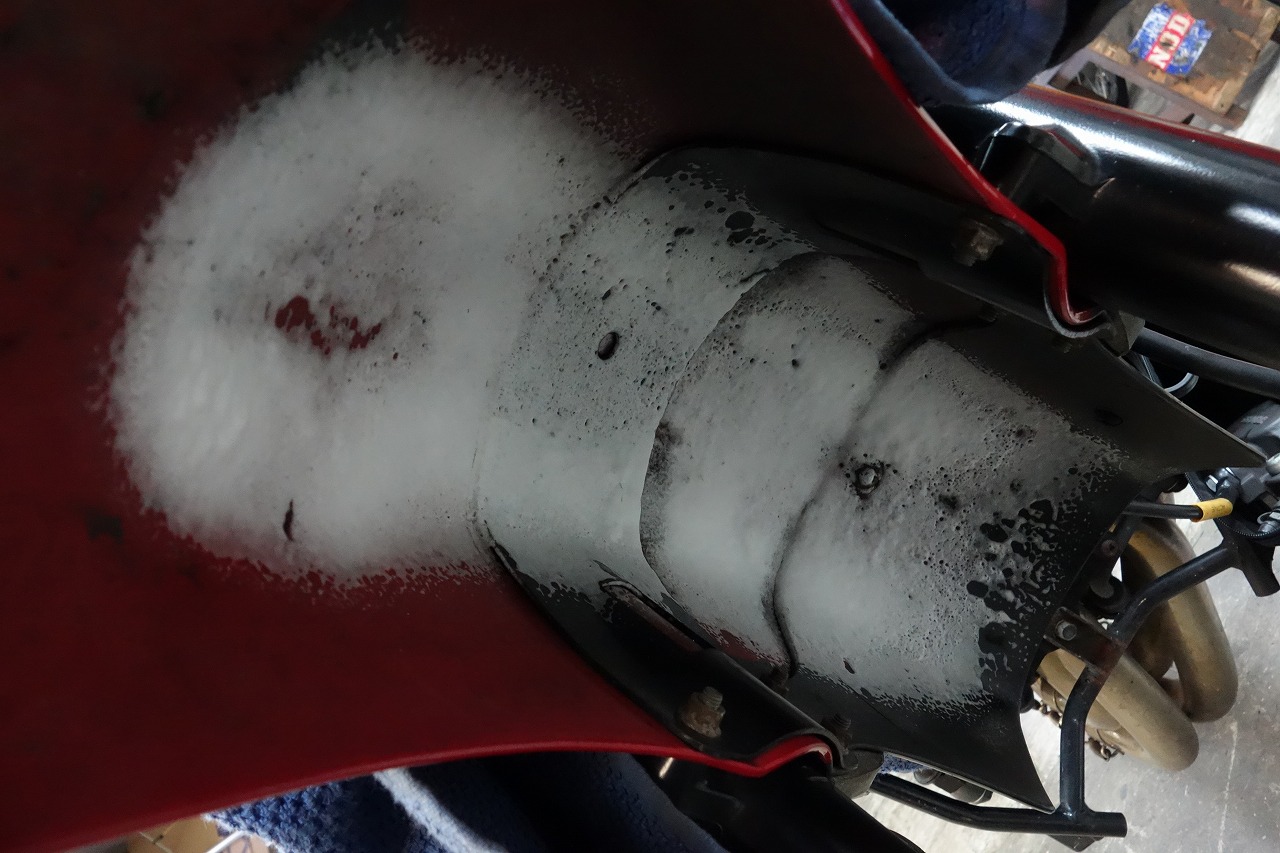
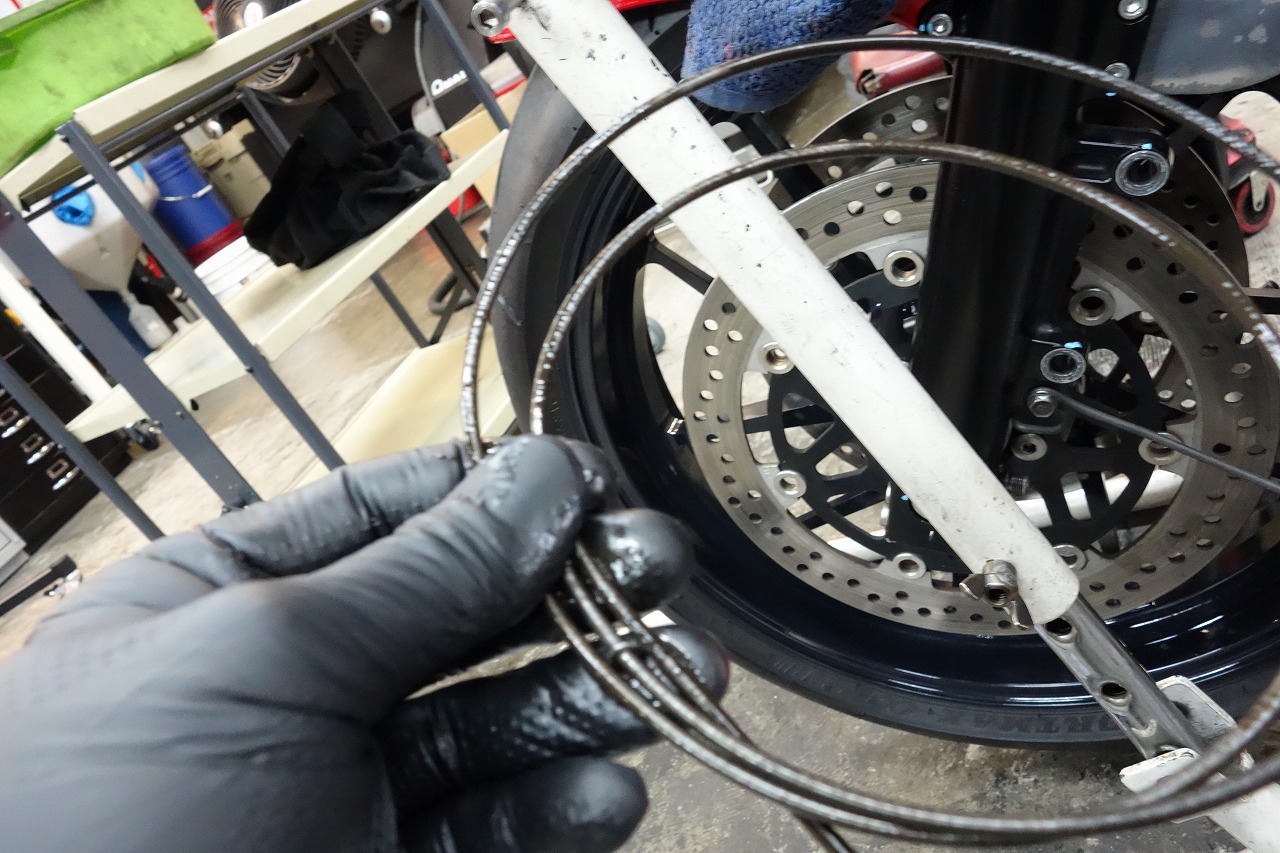
Let’s clean the inside of the front fender and lubricate the speedometer cable.
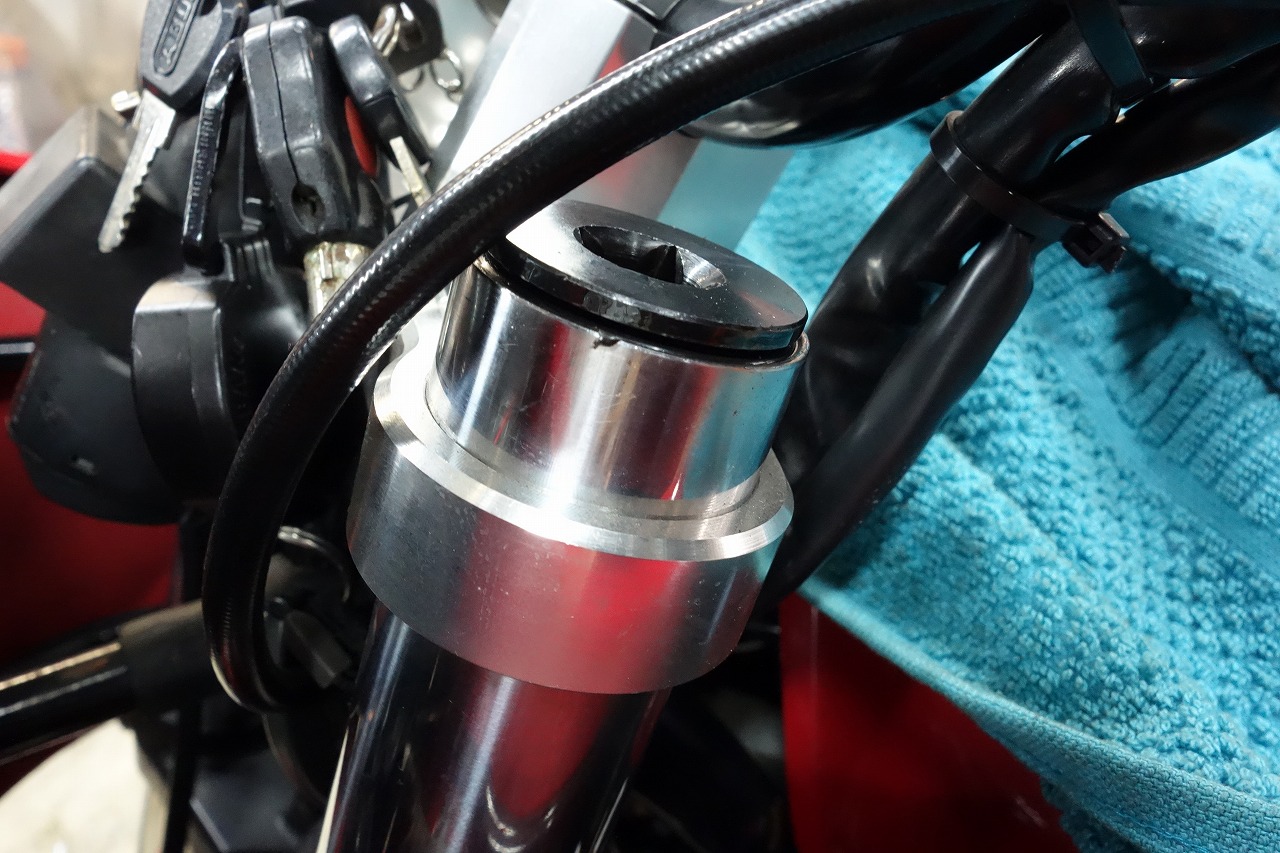
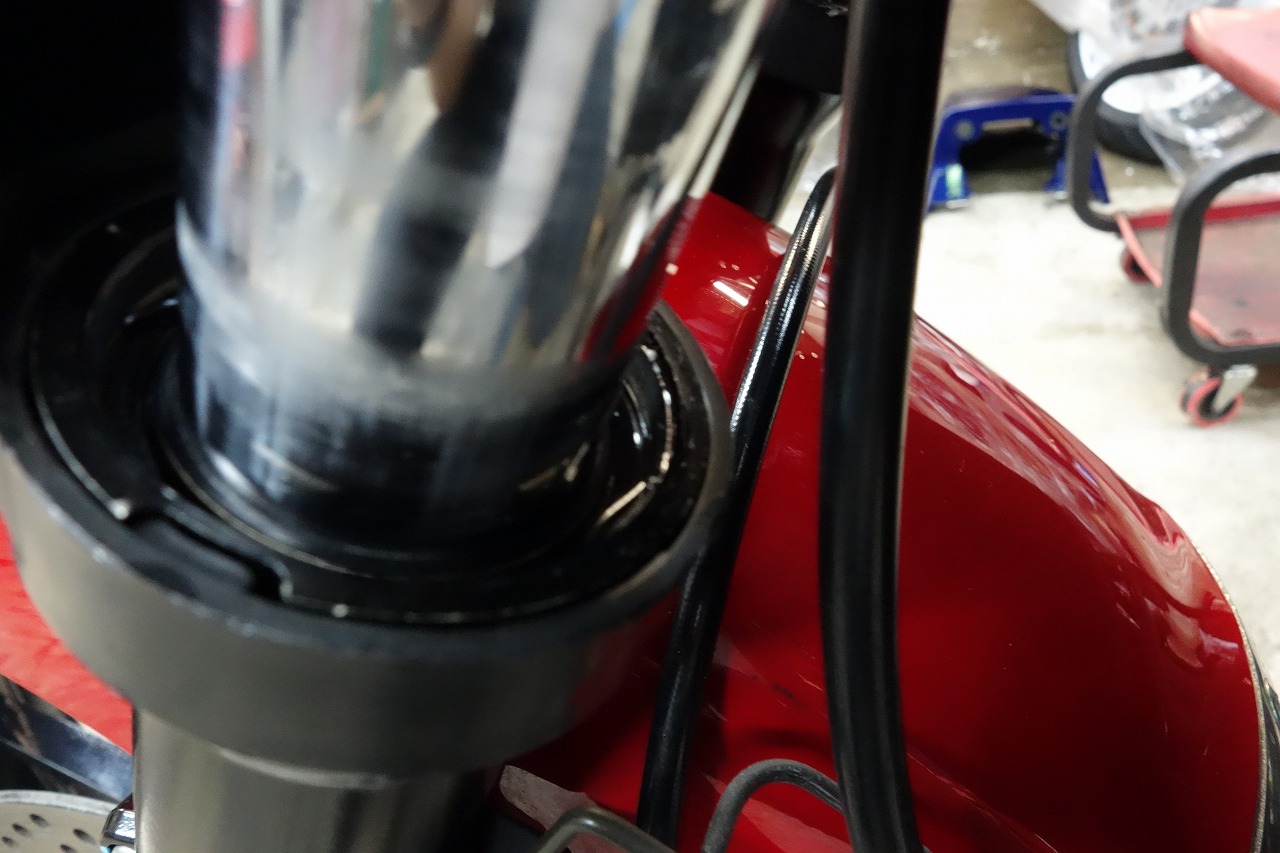
Lift the front and crack the cap open slightly for ventilation and atmospheric pressure.
*Since it’s not a cartridge type, be careful not to open the cap too much.
The left fork might be seeping—it’s hard to tell—so I’ll keep an eye on it and update you.
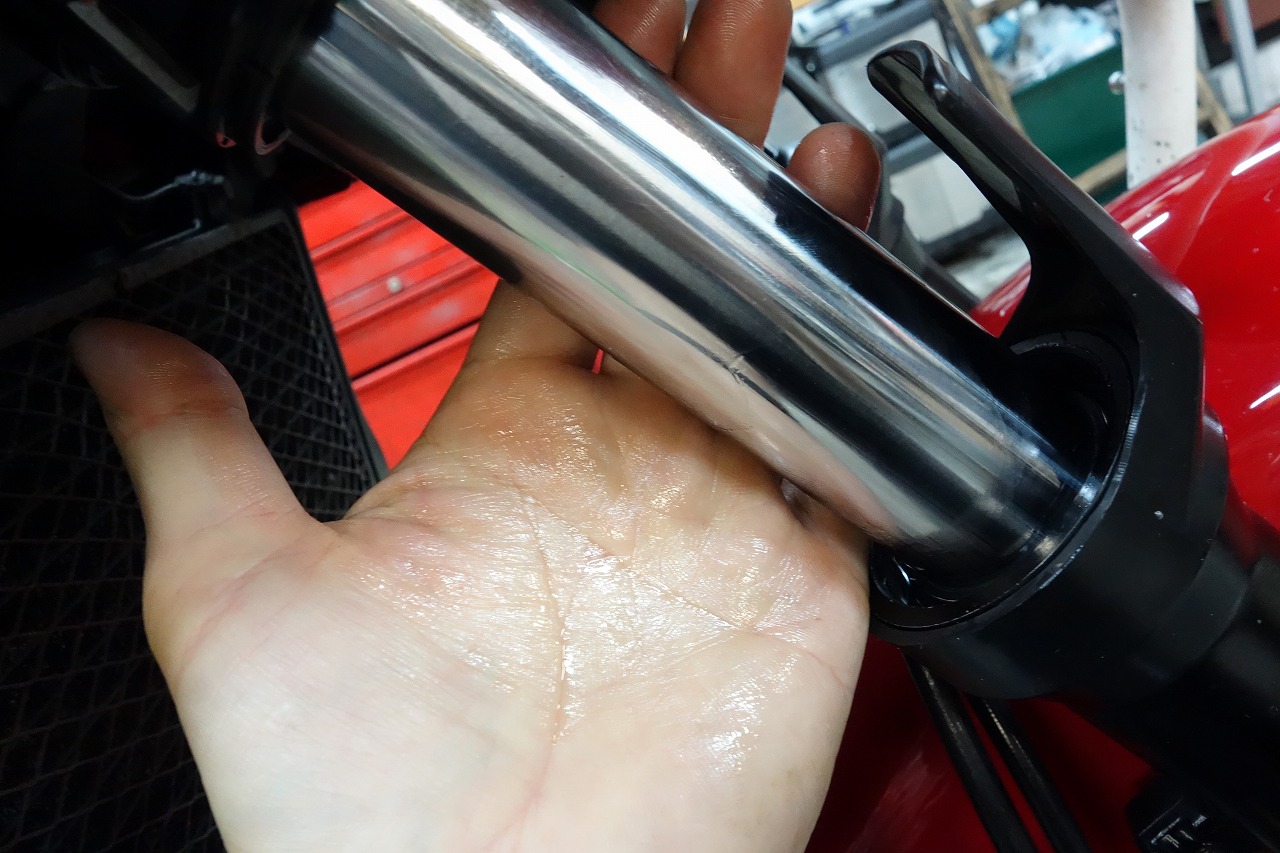
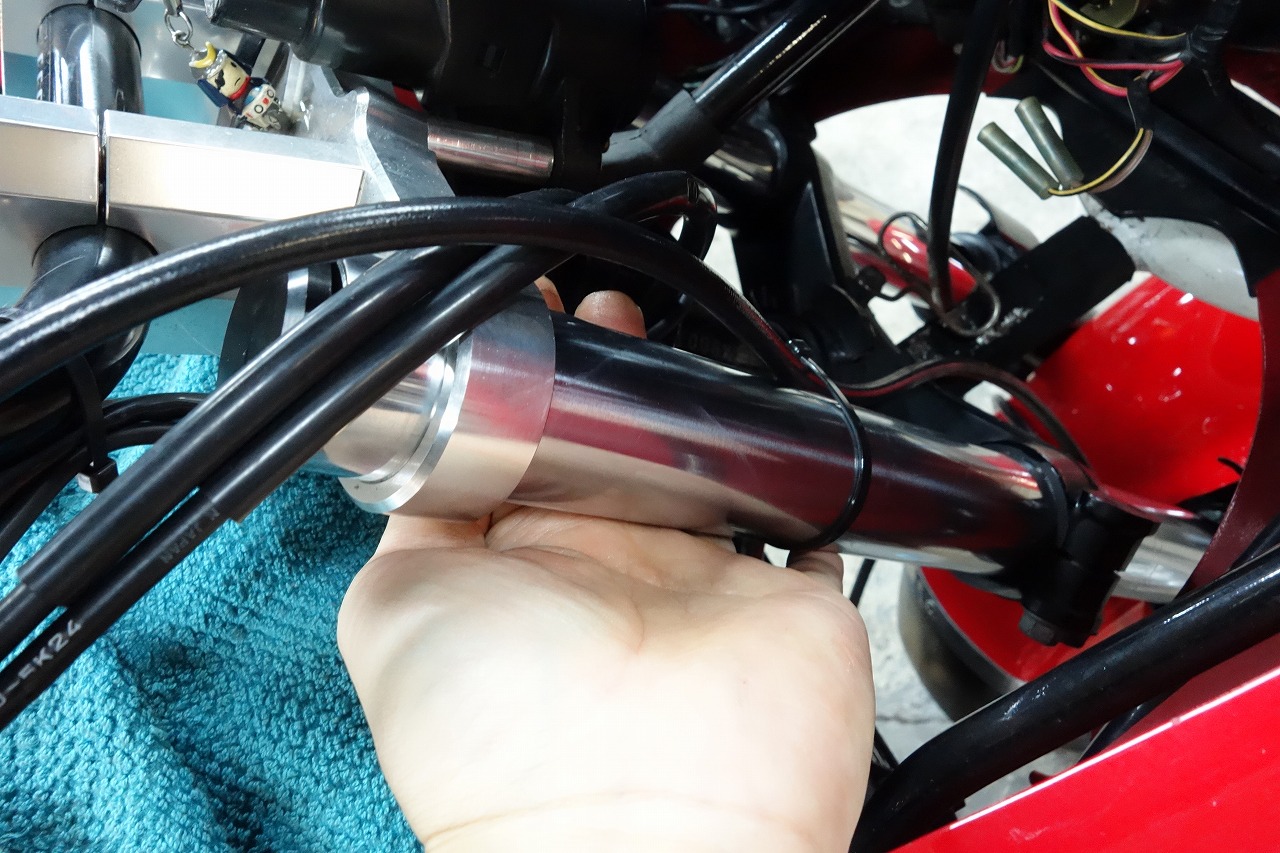
The stroke areas get lubrication and rust protection. Between top and bottom, rust protection is the main focus.
As long as an oil film remains, just spread it and wipe lightly.
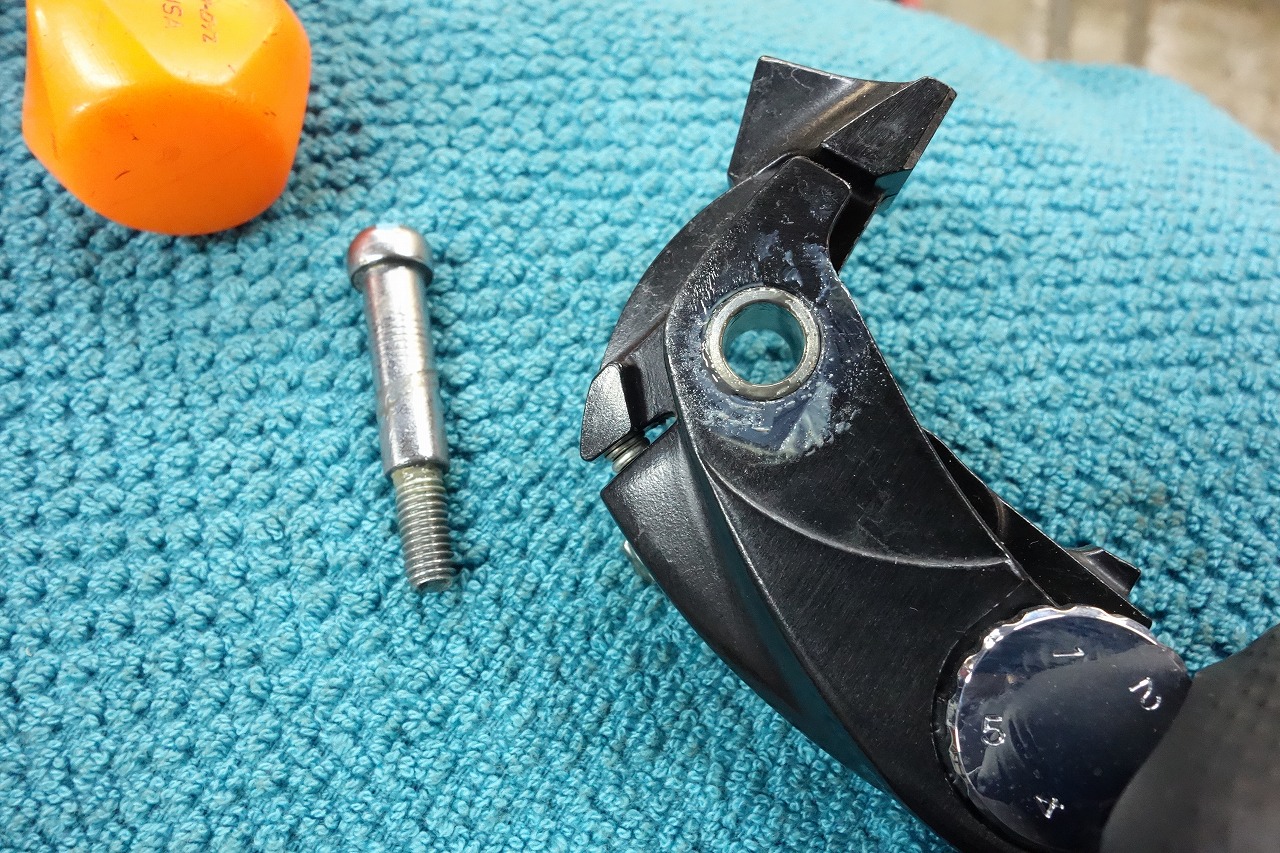
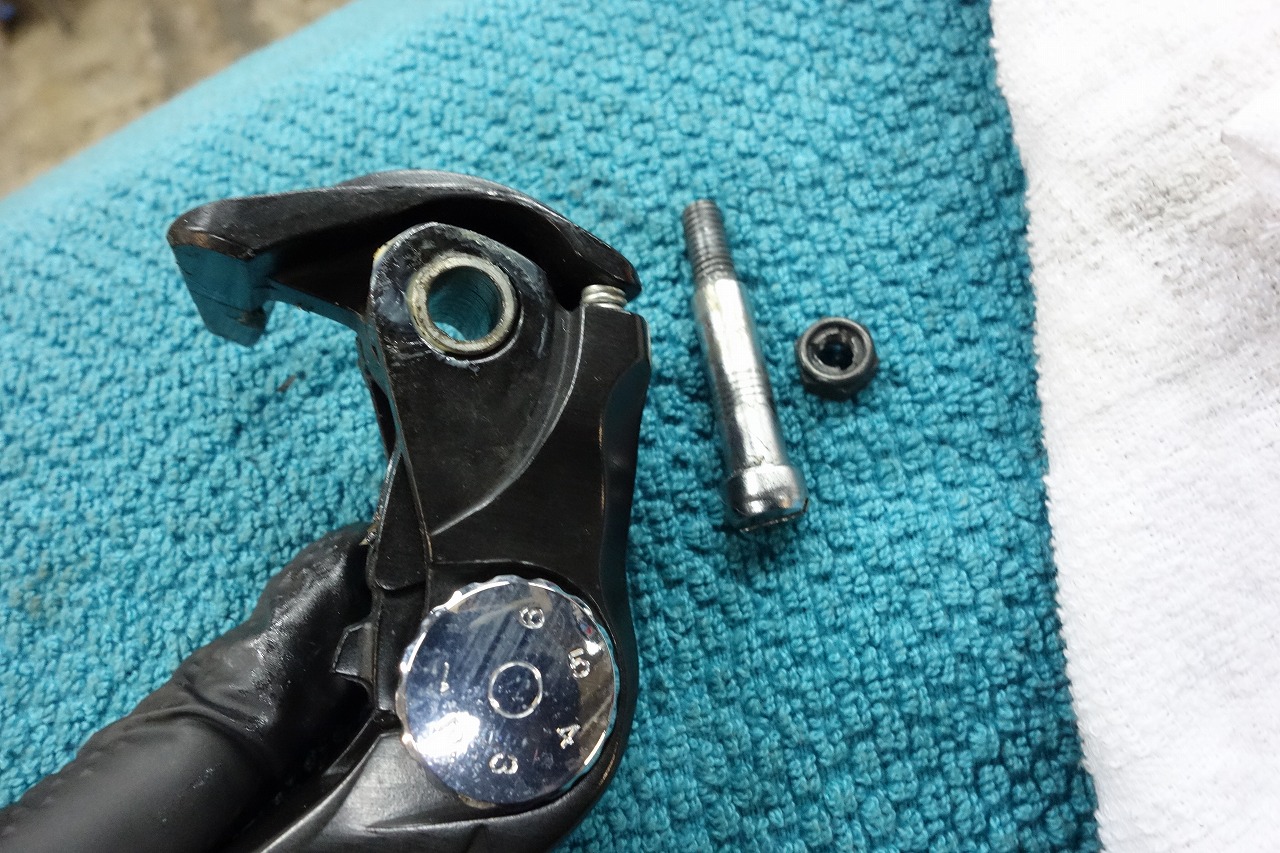
Replacing the grease around the levers feels nice too.
Smooth operation of the controls is really important. You’ll feel the difference when you ride.
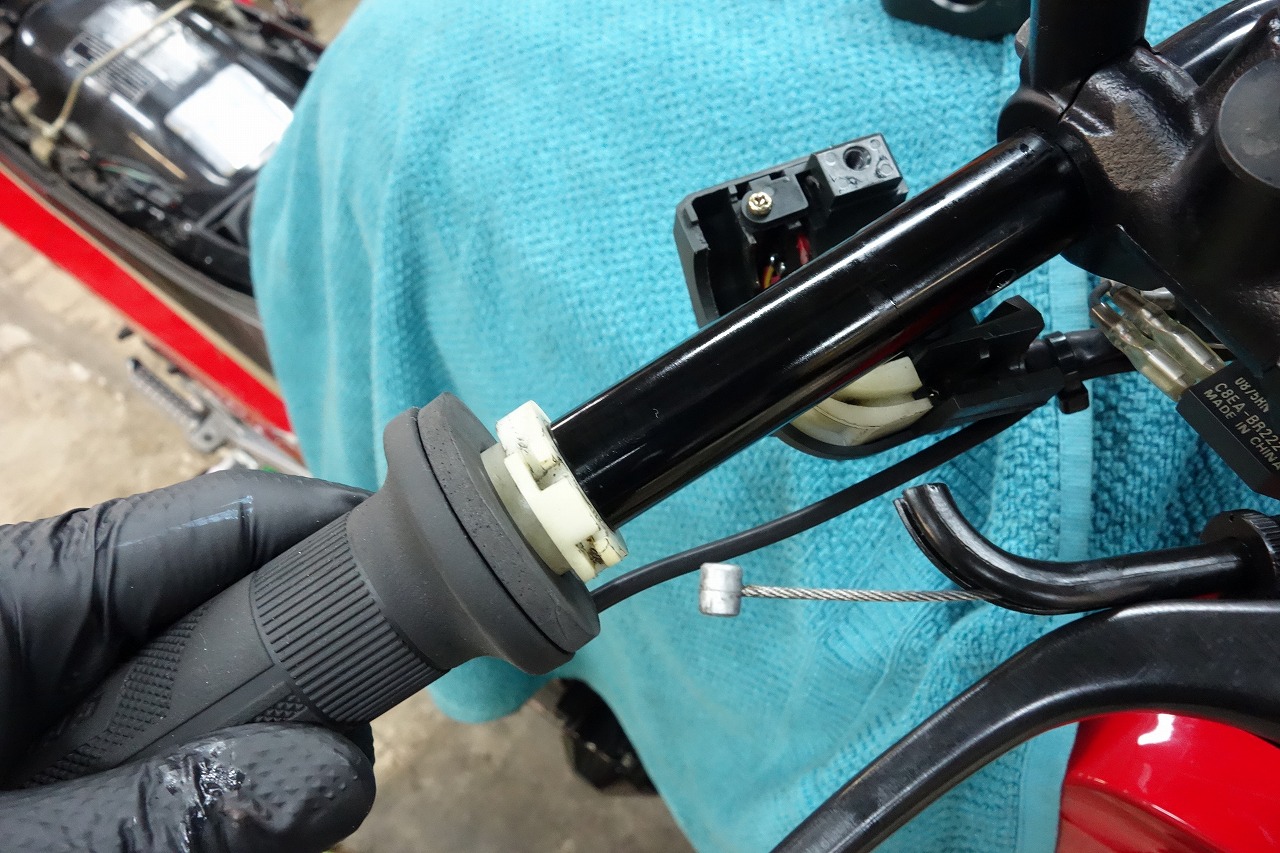
Let’s lubricate the throttle and accelerator cables.
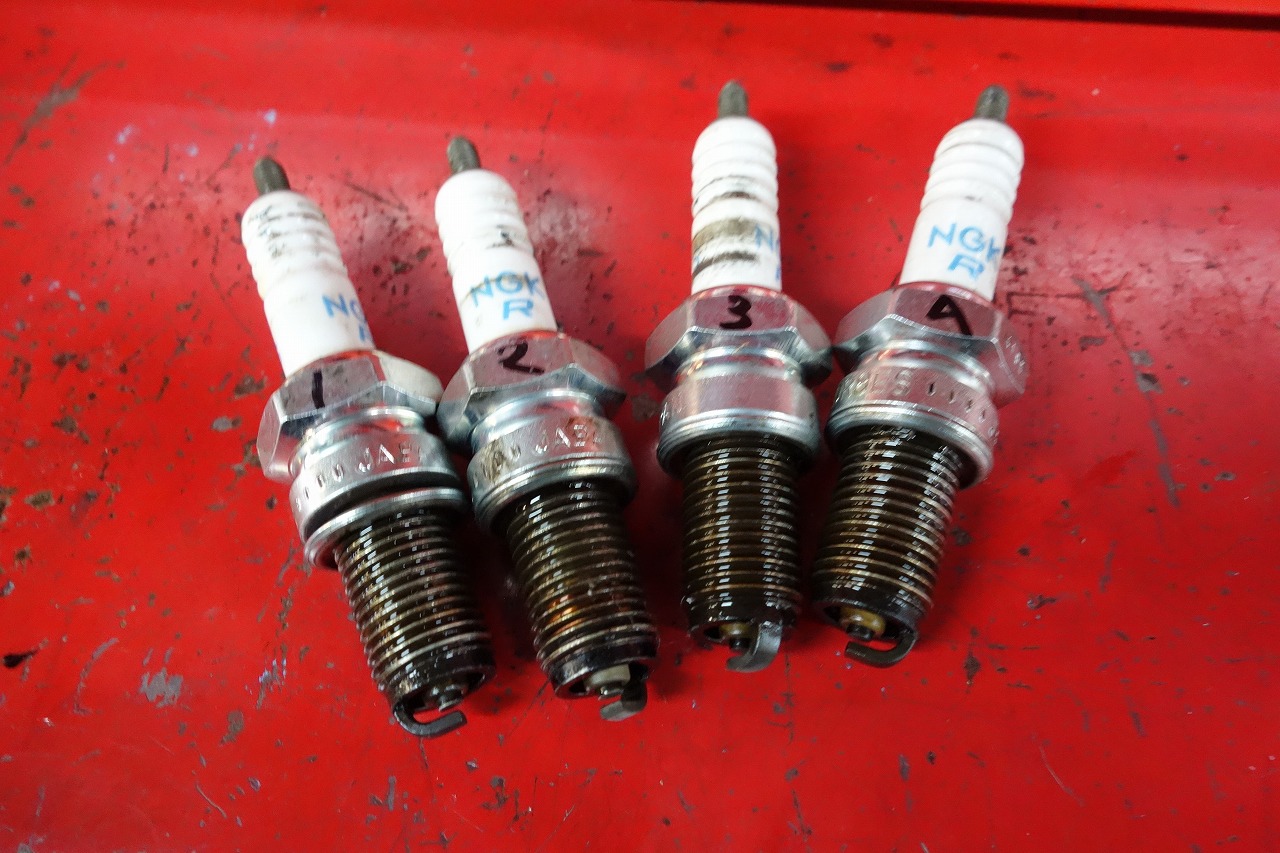
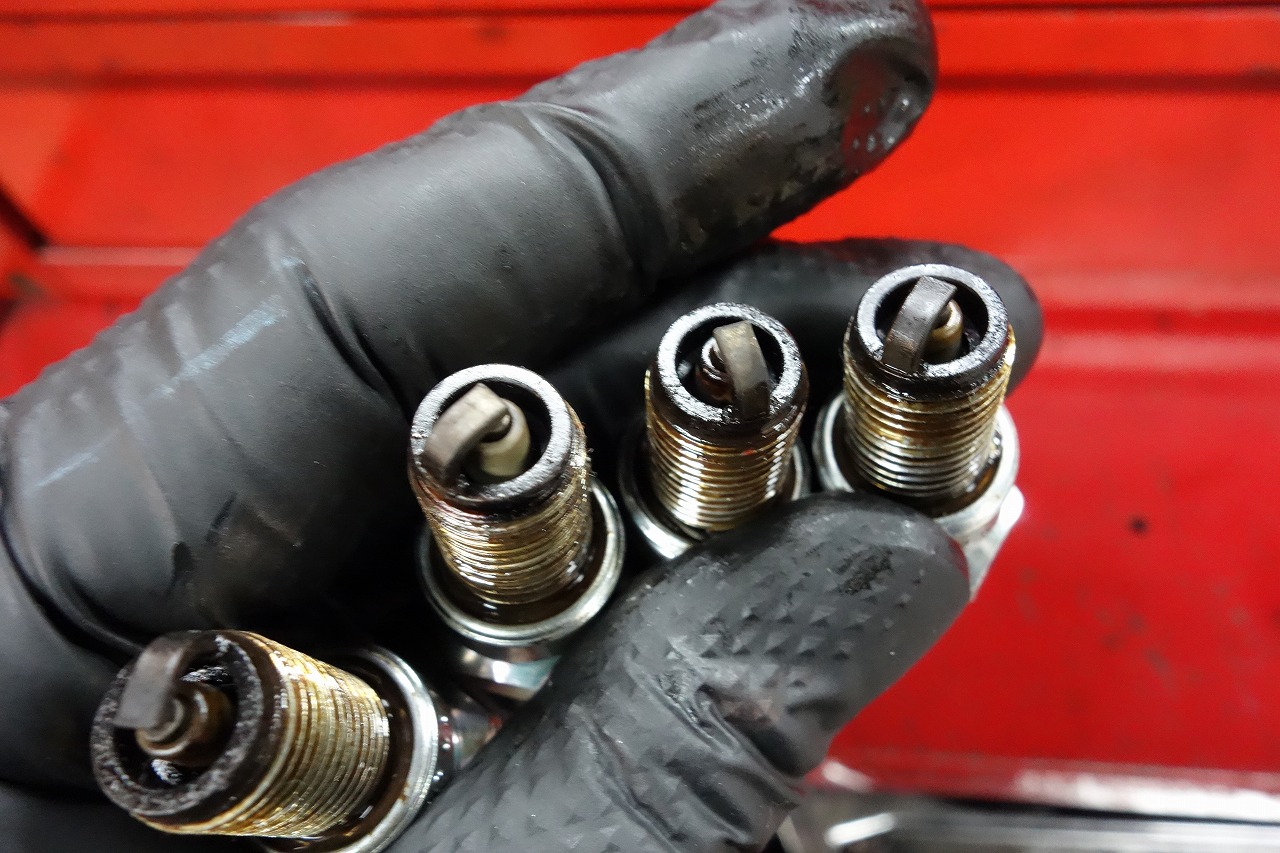
We’ll replace the spark plugs.
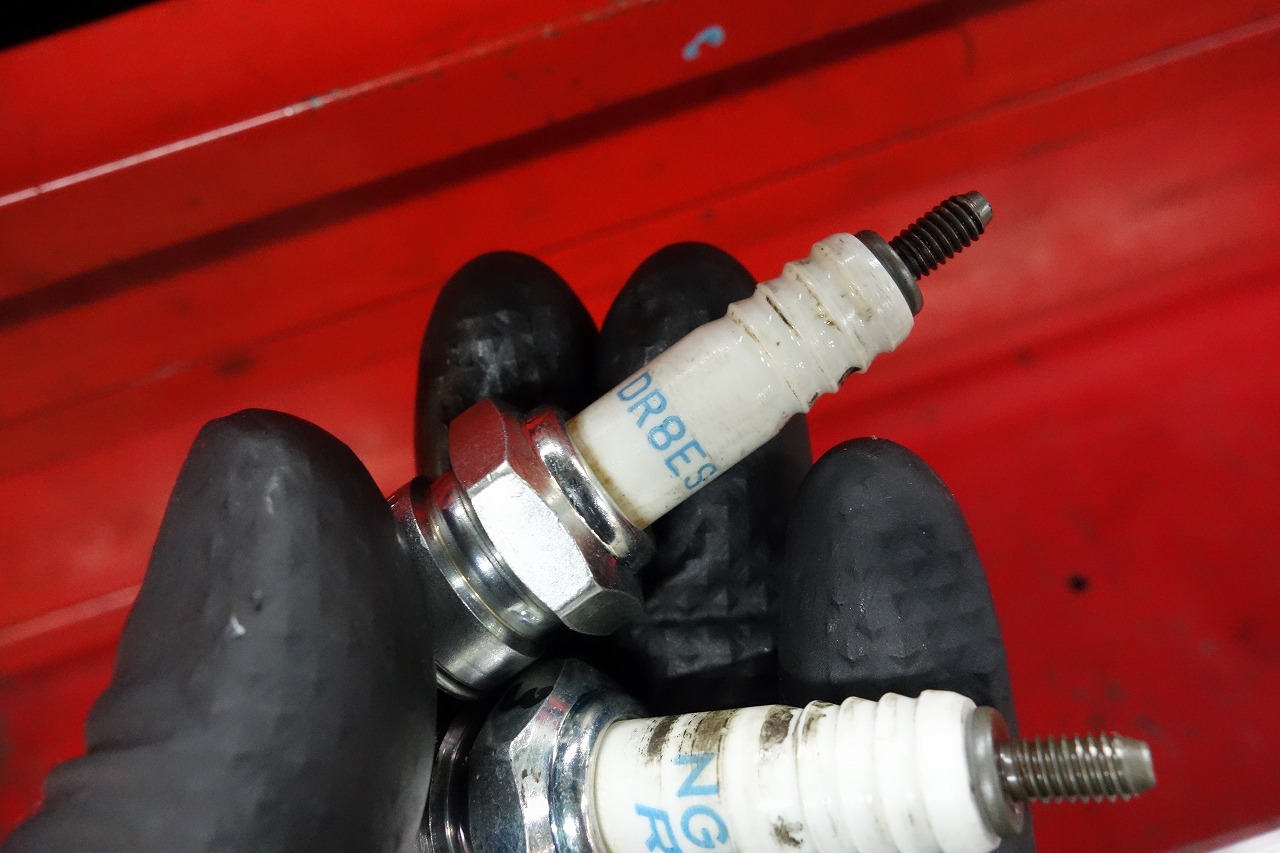
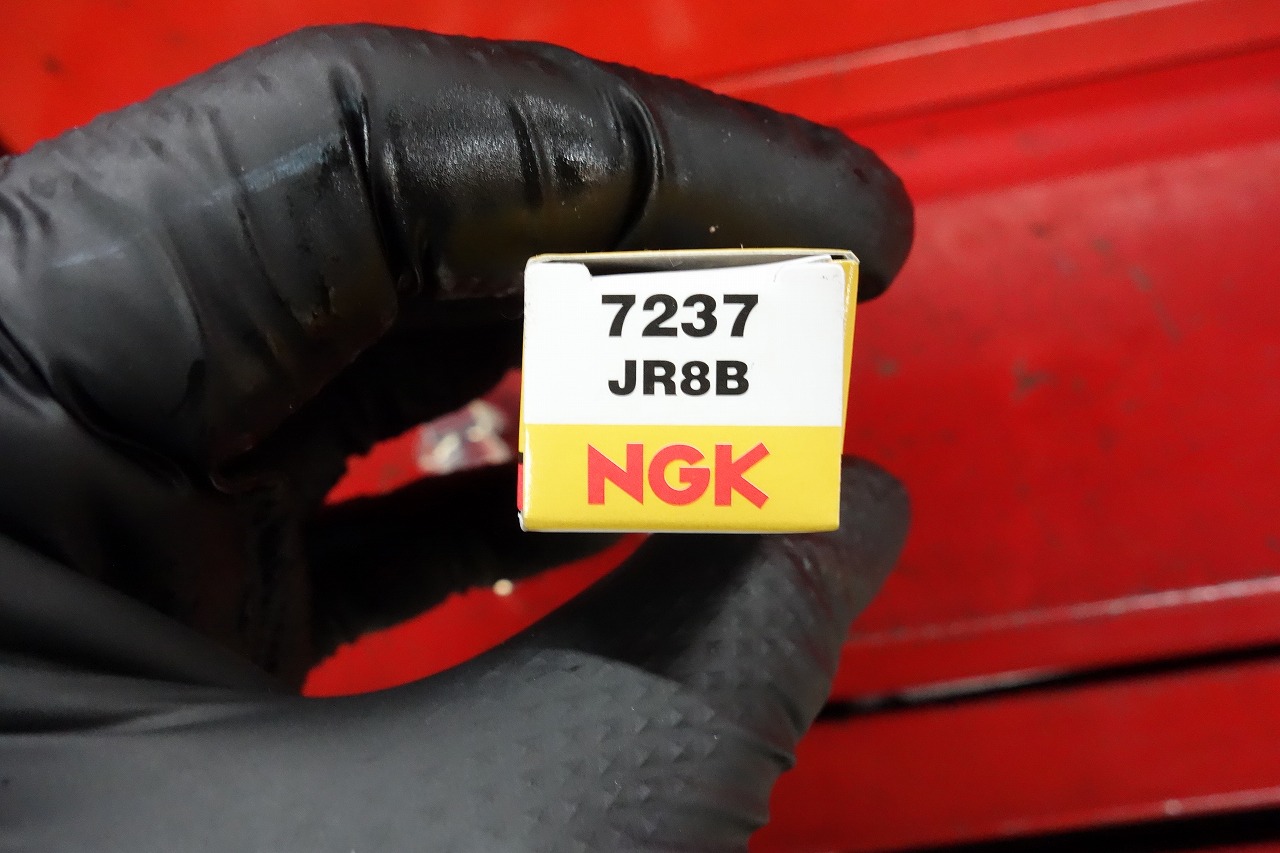
DR8ES <and JR8B performance comparison. Well, you don’t see DR8ES plugs much these days…
We’ve confirmed with NGK, so rest assured.
For the DR8ES plug, the JR8B has
a “taper cut” on the outer electrode tip
to improve ignition performance.
The “taper cut” is
a taper-shaped cut toward the outer electrode tip.
Besides the taper cut, there are no other differences.
It’s a small difference, but it’s a performance upgrade, and like the oil-cooled version, we always stock it.
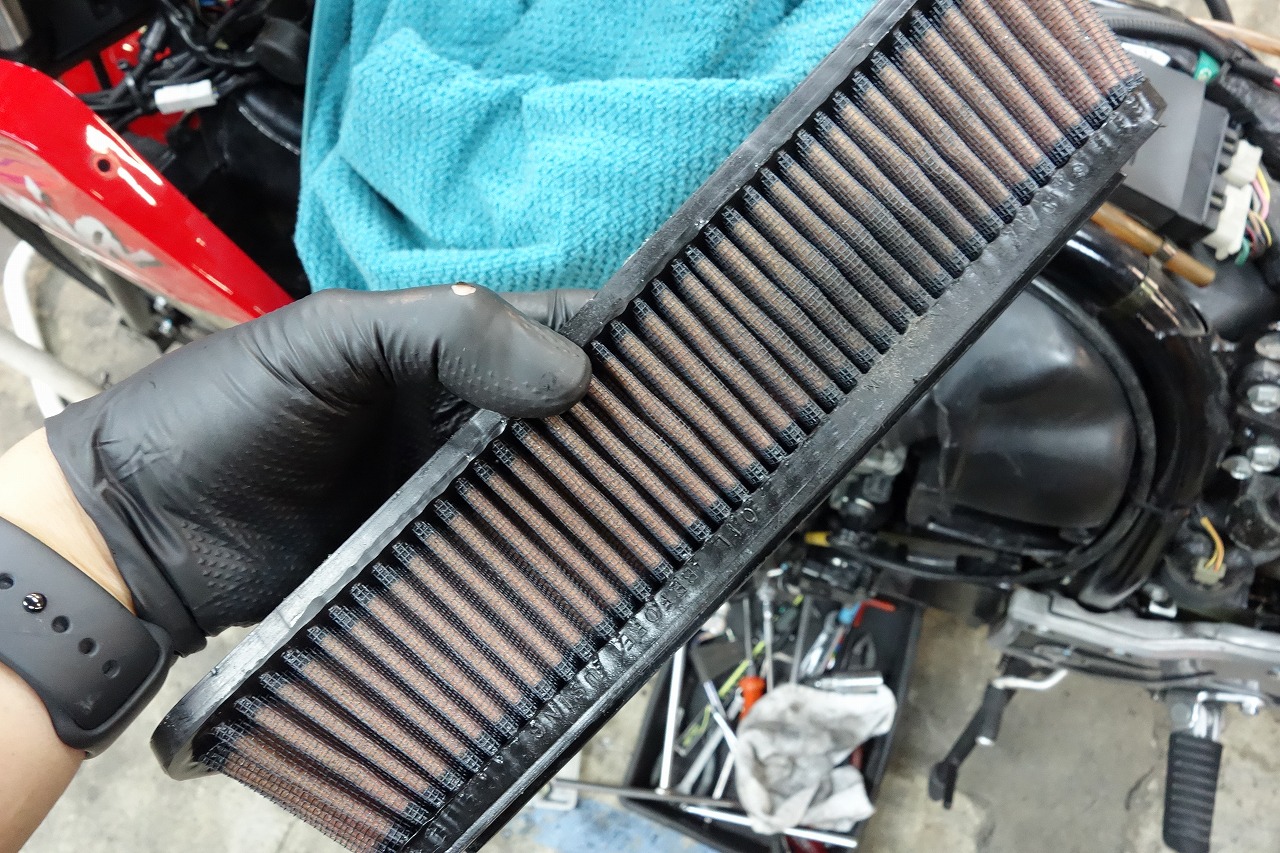
The air cleaner is washable—thanks, K&N! &
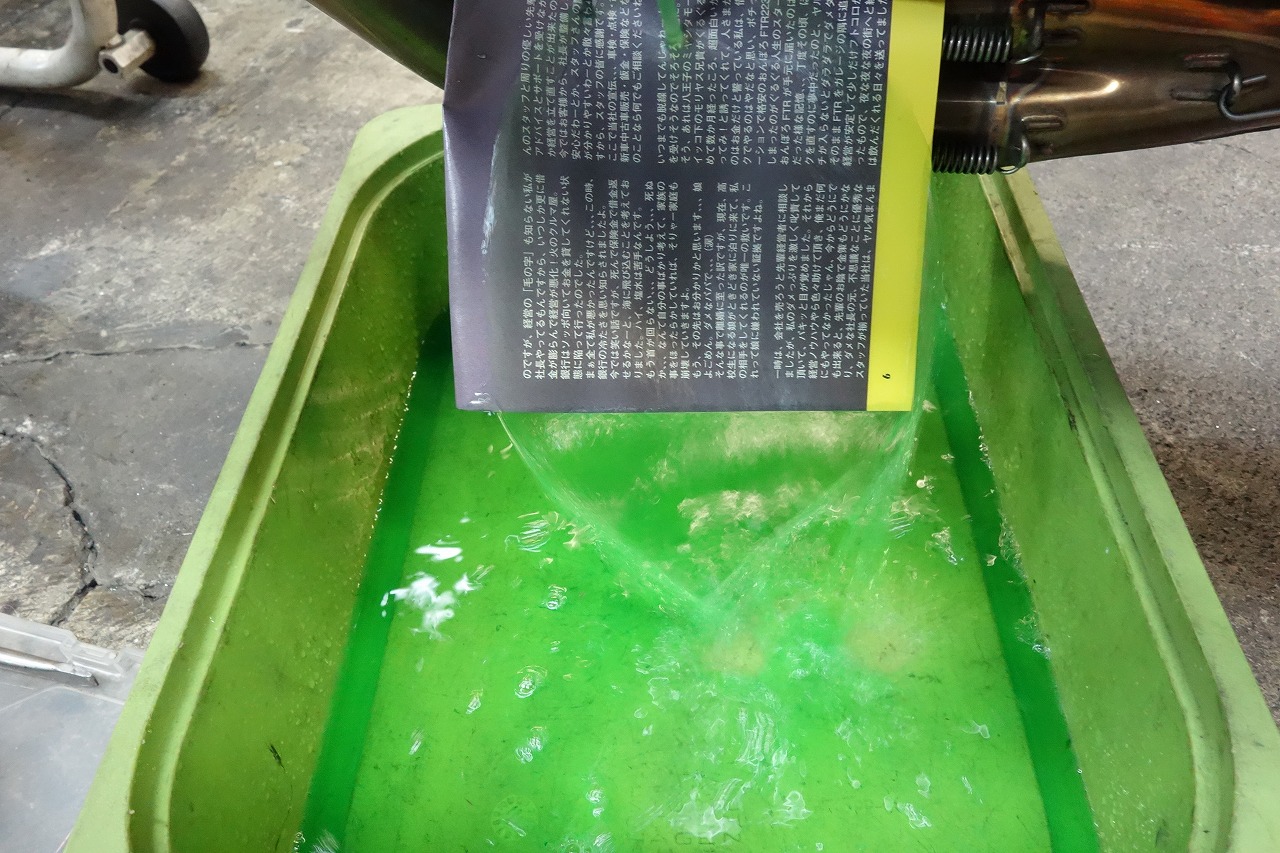
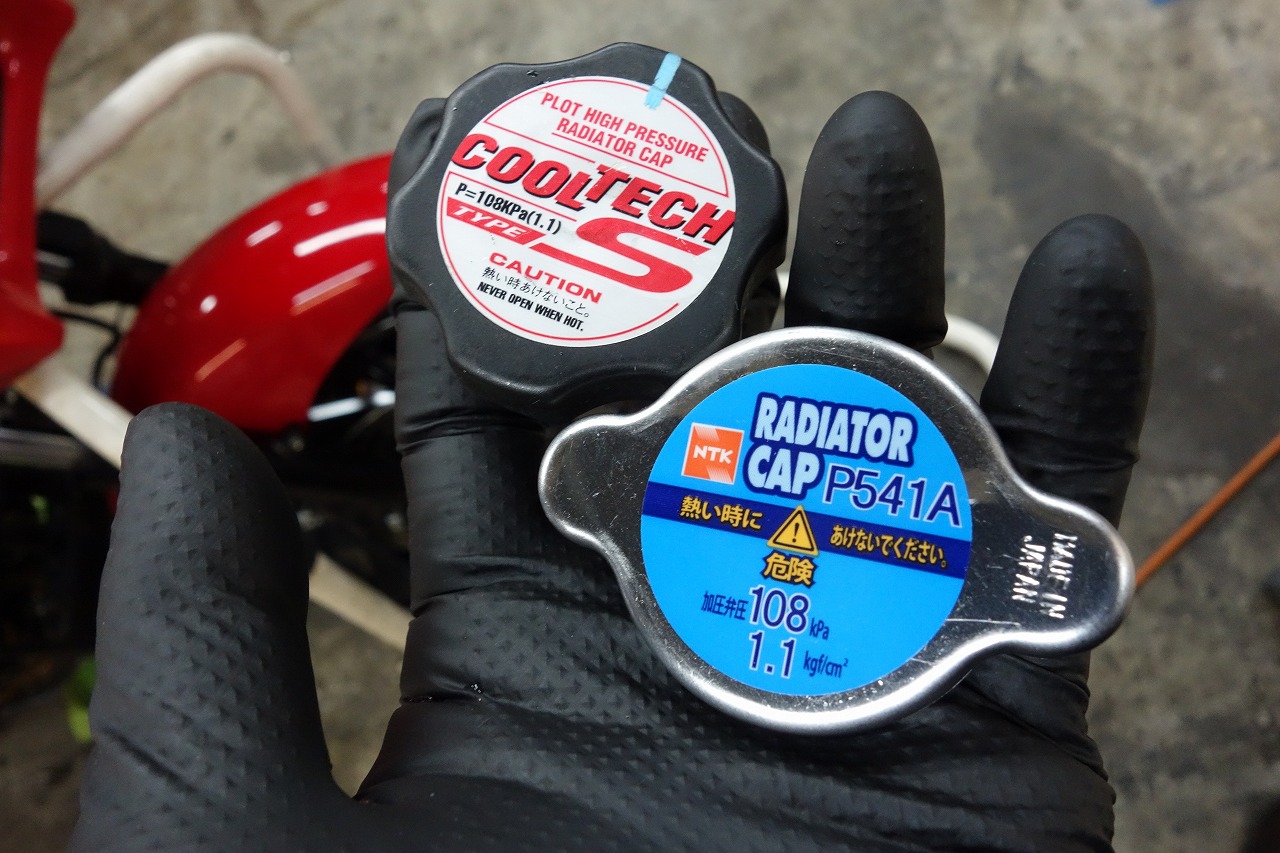
Let’s replace the coolant. The radiator cap is NTK P541A.
There might be unknown issues lurking, but most of the time they work fine. (We do check the numbers properly.)
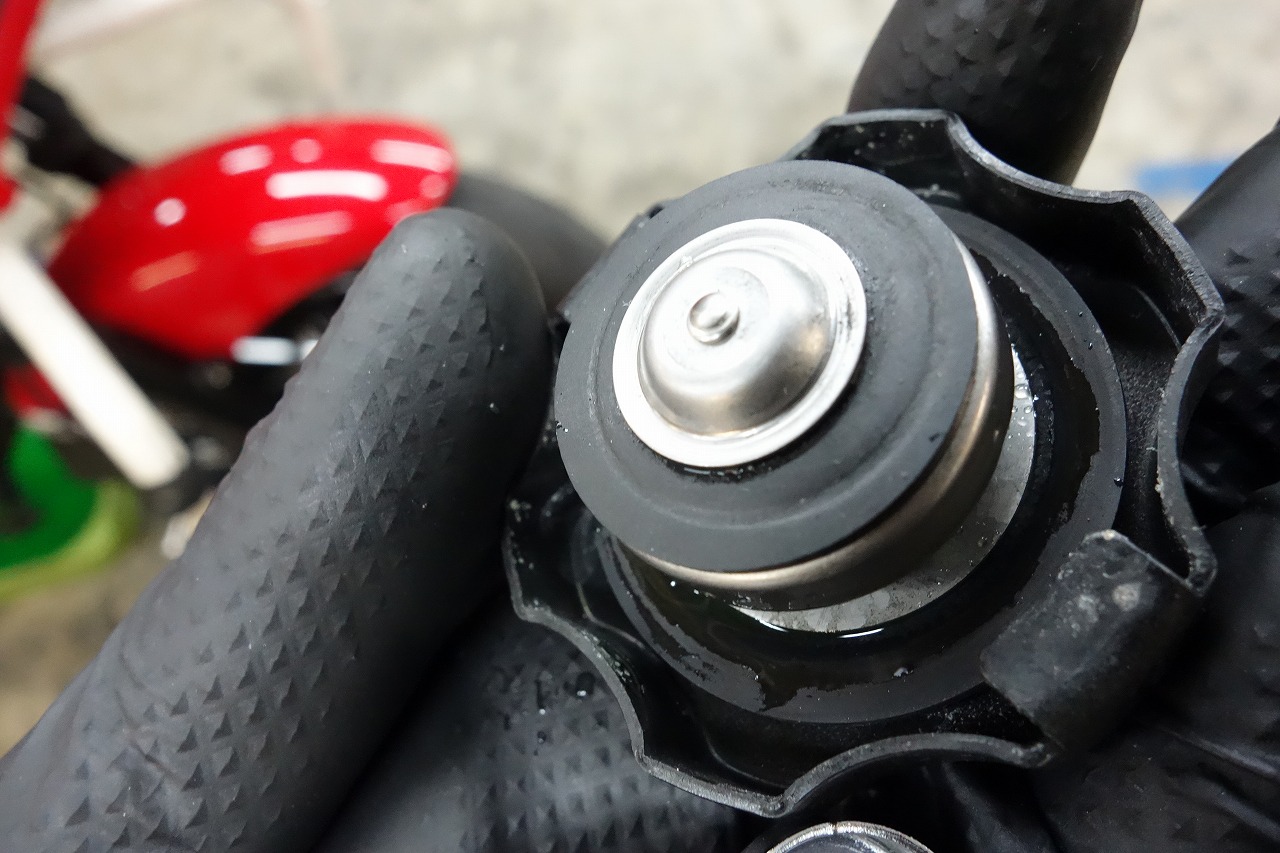
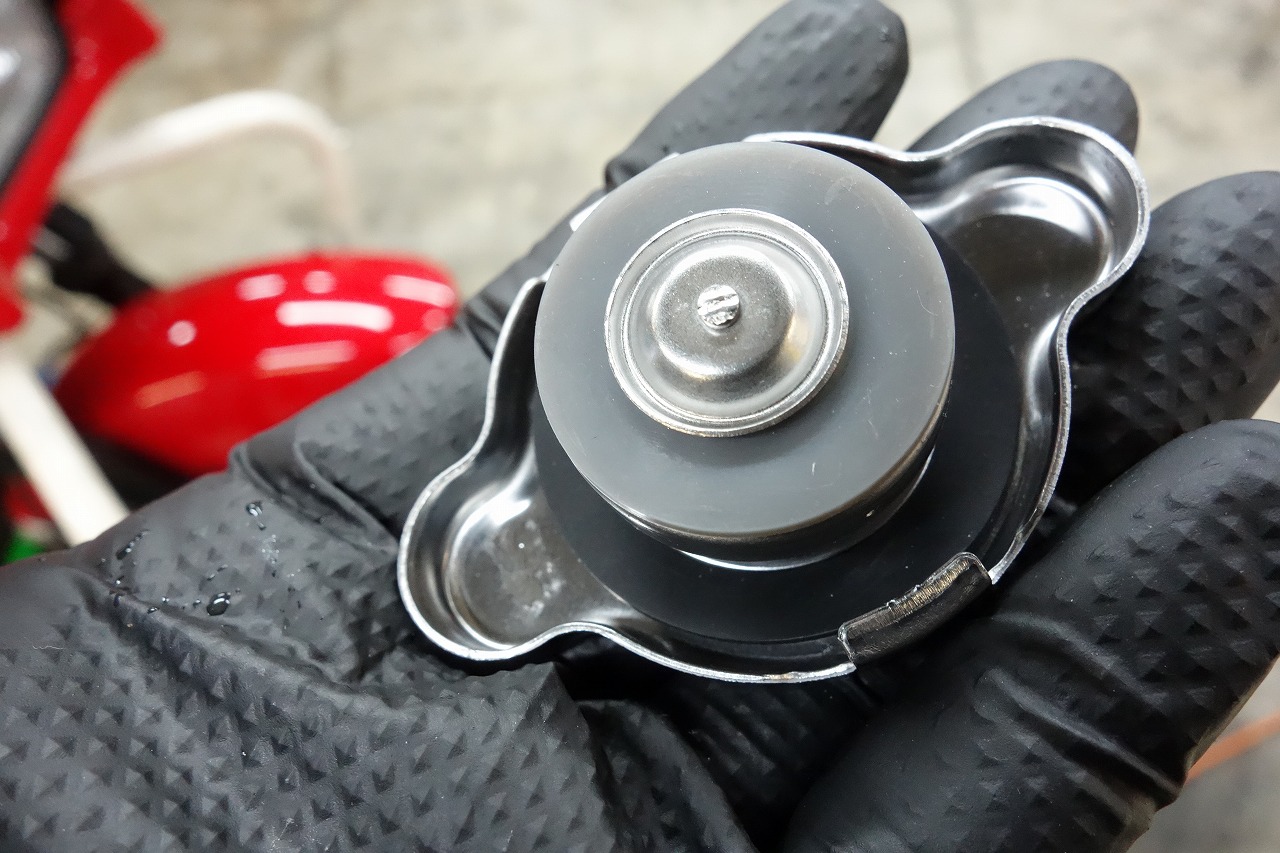
The gasket has turned gray and shows some change.
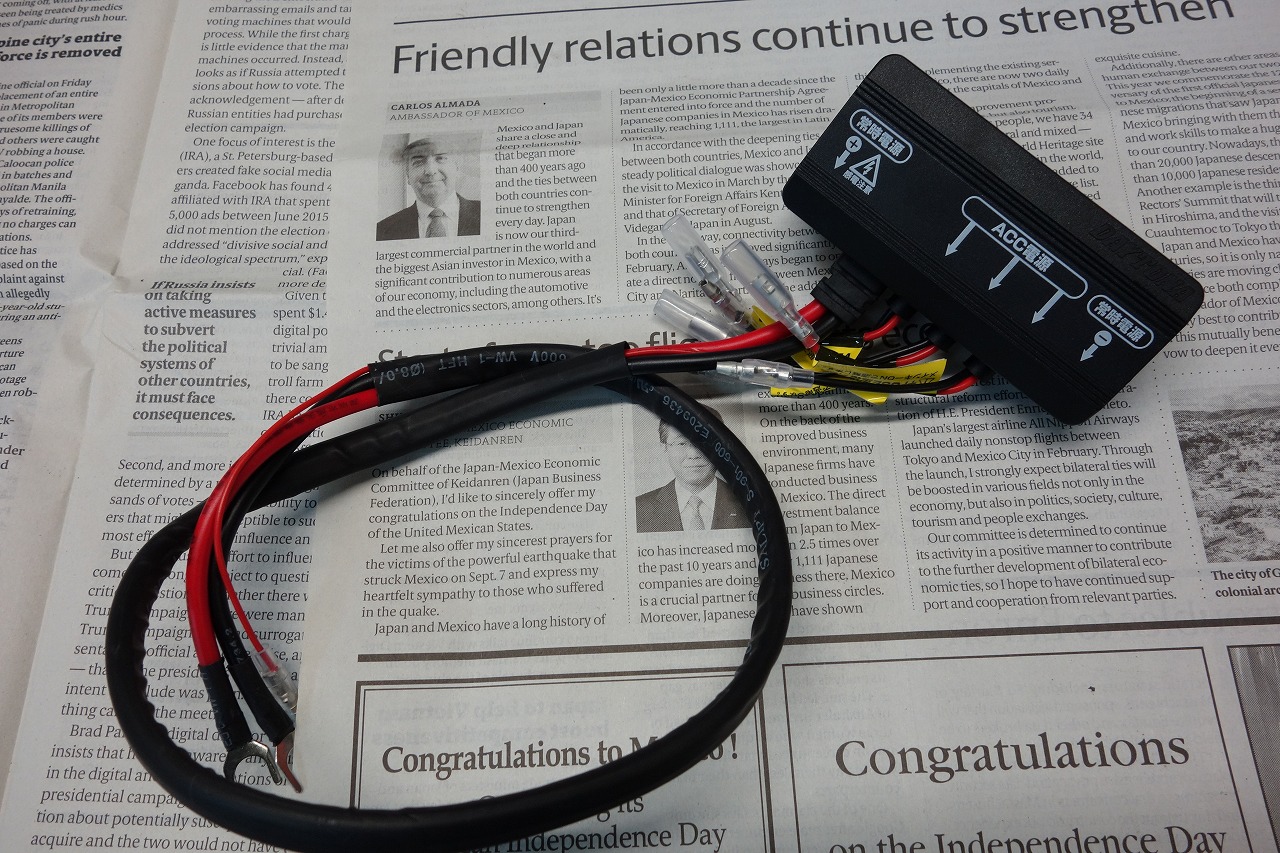
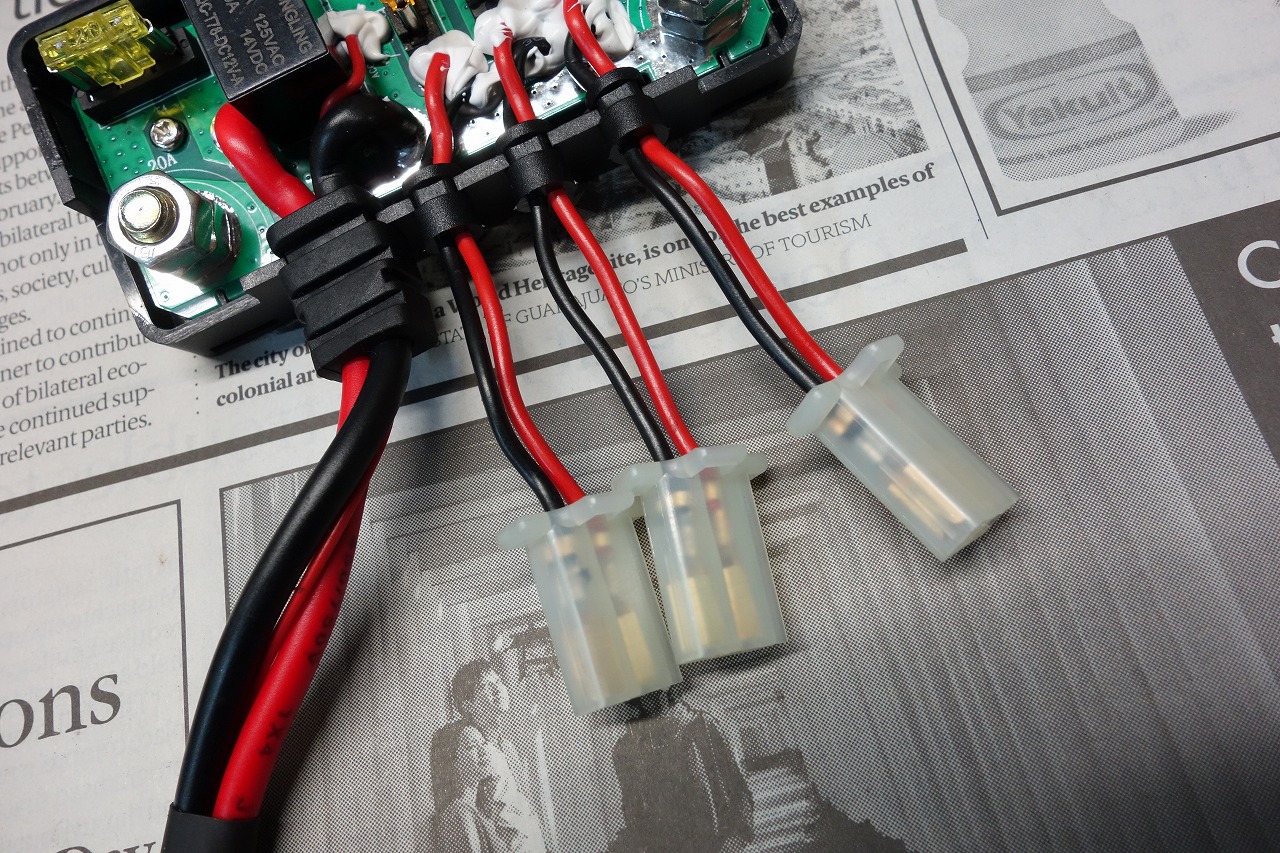
The electrical system’s savior? The Daytona D-UNIT+ is being installed.
First, changing the terminals to 110-series connectors will make things easier down the road.
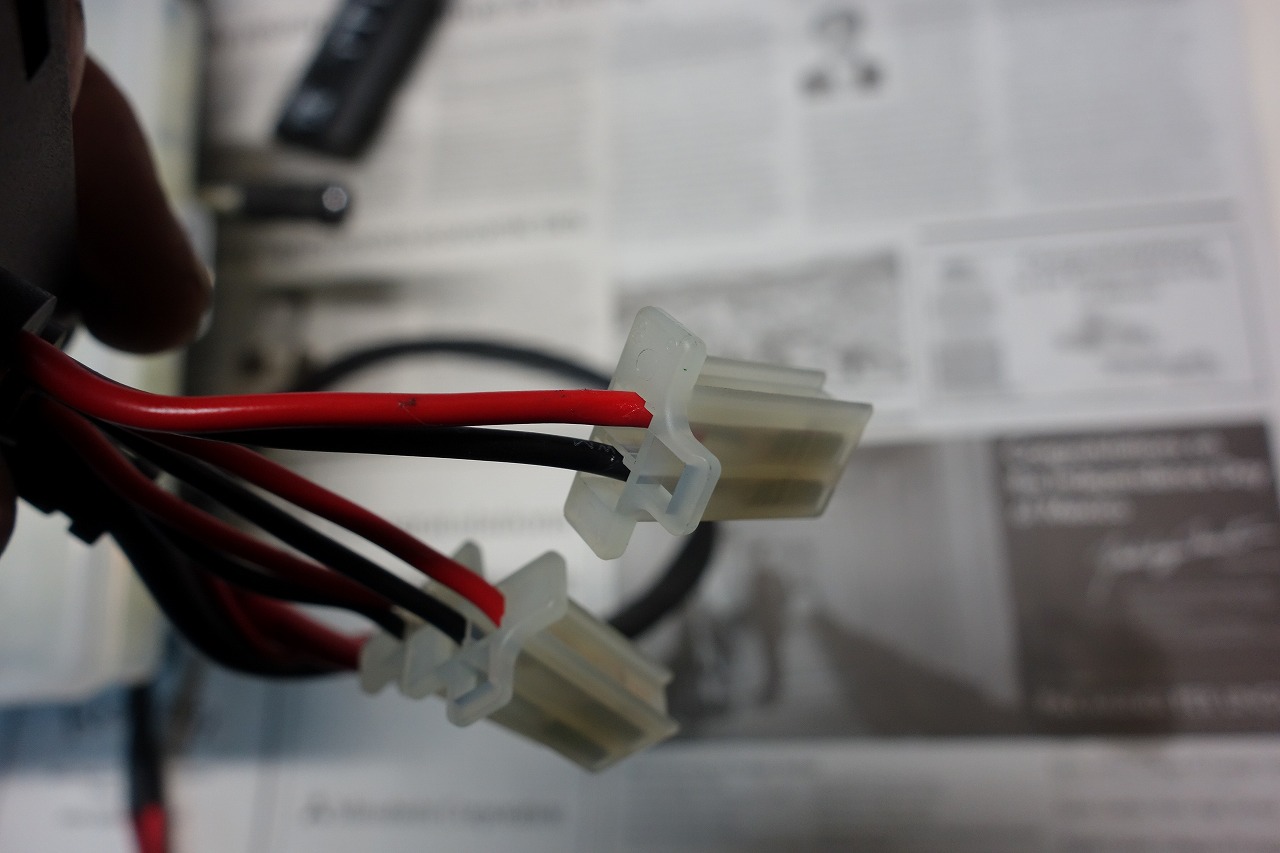
When inserting into the connector, it’s good to have your own polarity rule.
I basically put the positive on the concave side.
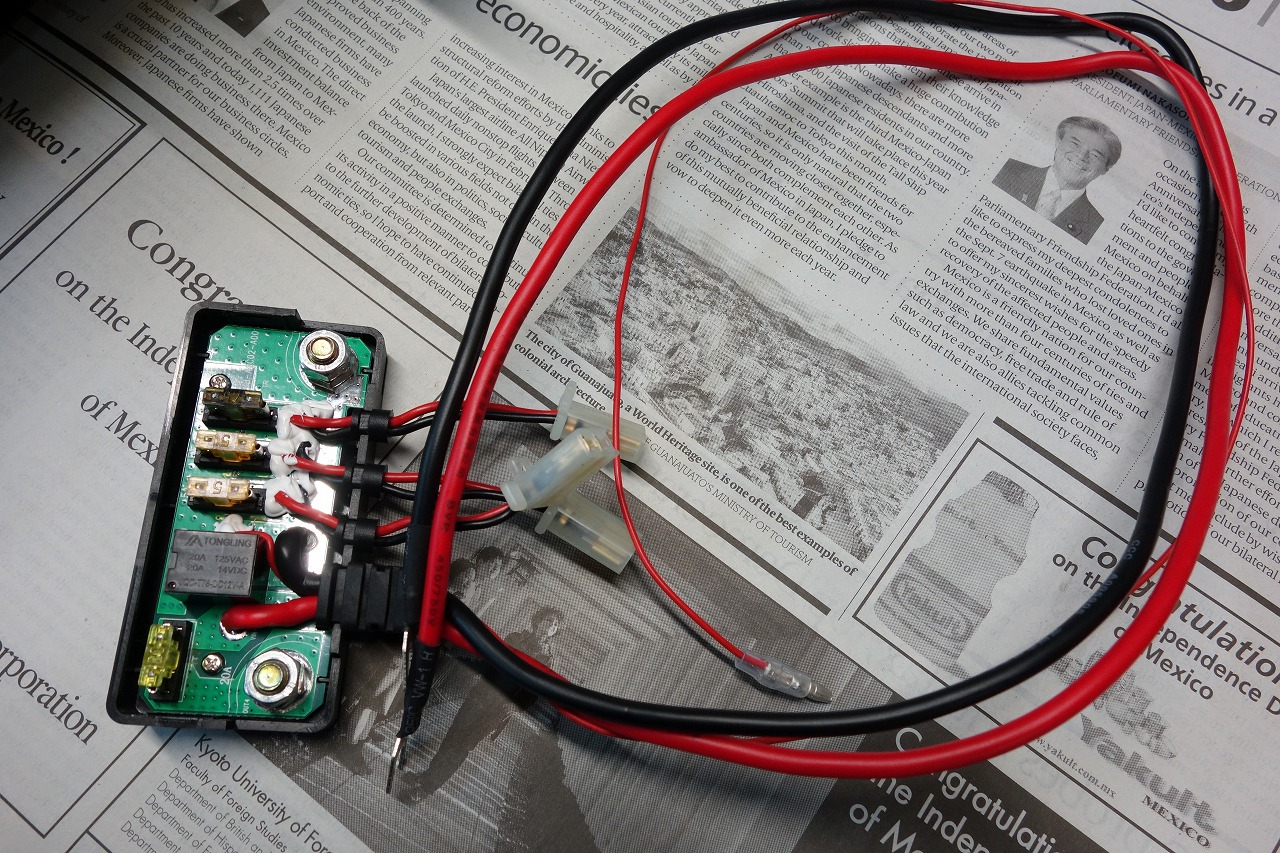
We’ll strip the insulation too.
This product is convenient, but…
constant 12V is running through it, so if you’re careless, you’ll get a short and a spark ☆
There’s even a fire risk during storage.
Installation requires extreme care.
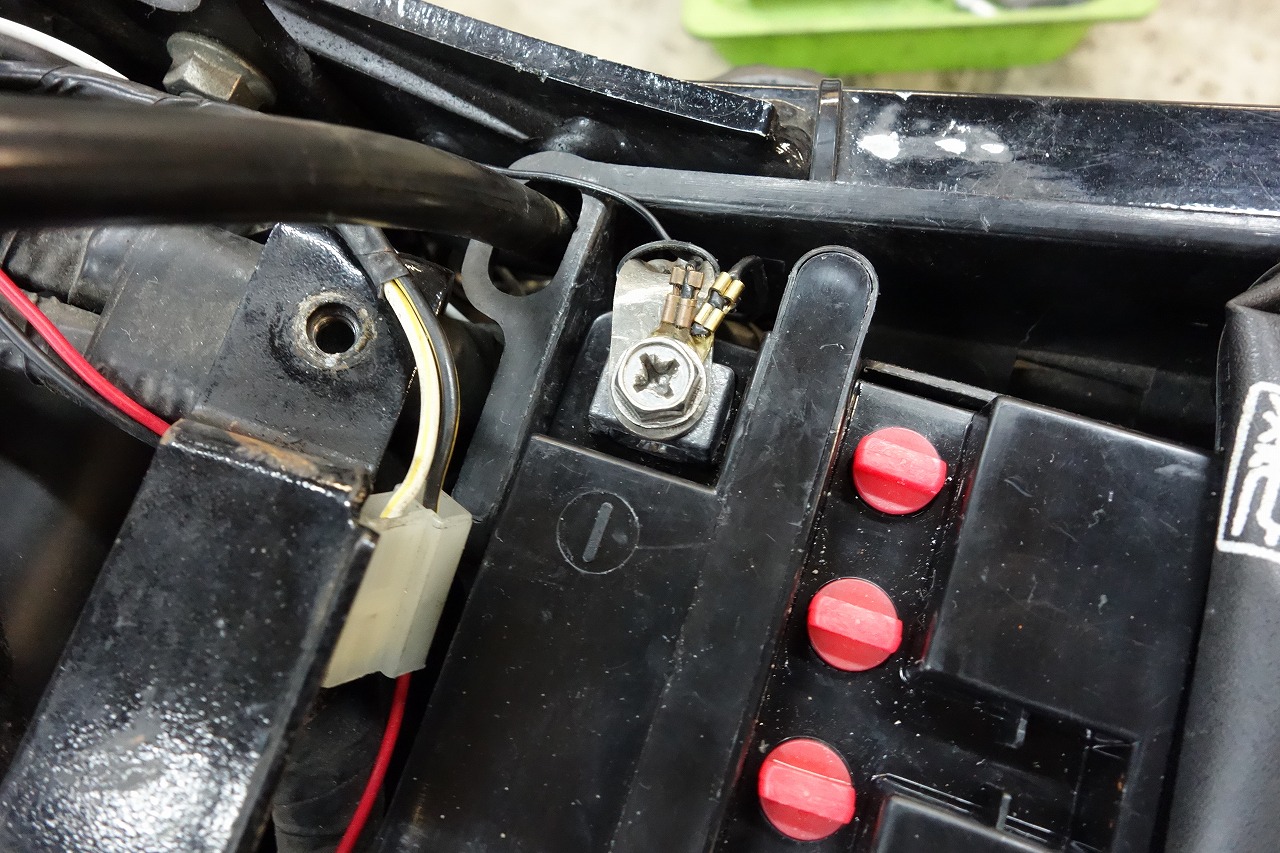
Everyone hates co-terminating to the battery terminal… Well, I understand it’s easier.
Ah, how much easier it would be to connect here…
As a shop, we can’t spend the time due to the balance between electrical parts pricing and labor.
Please understand.
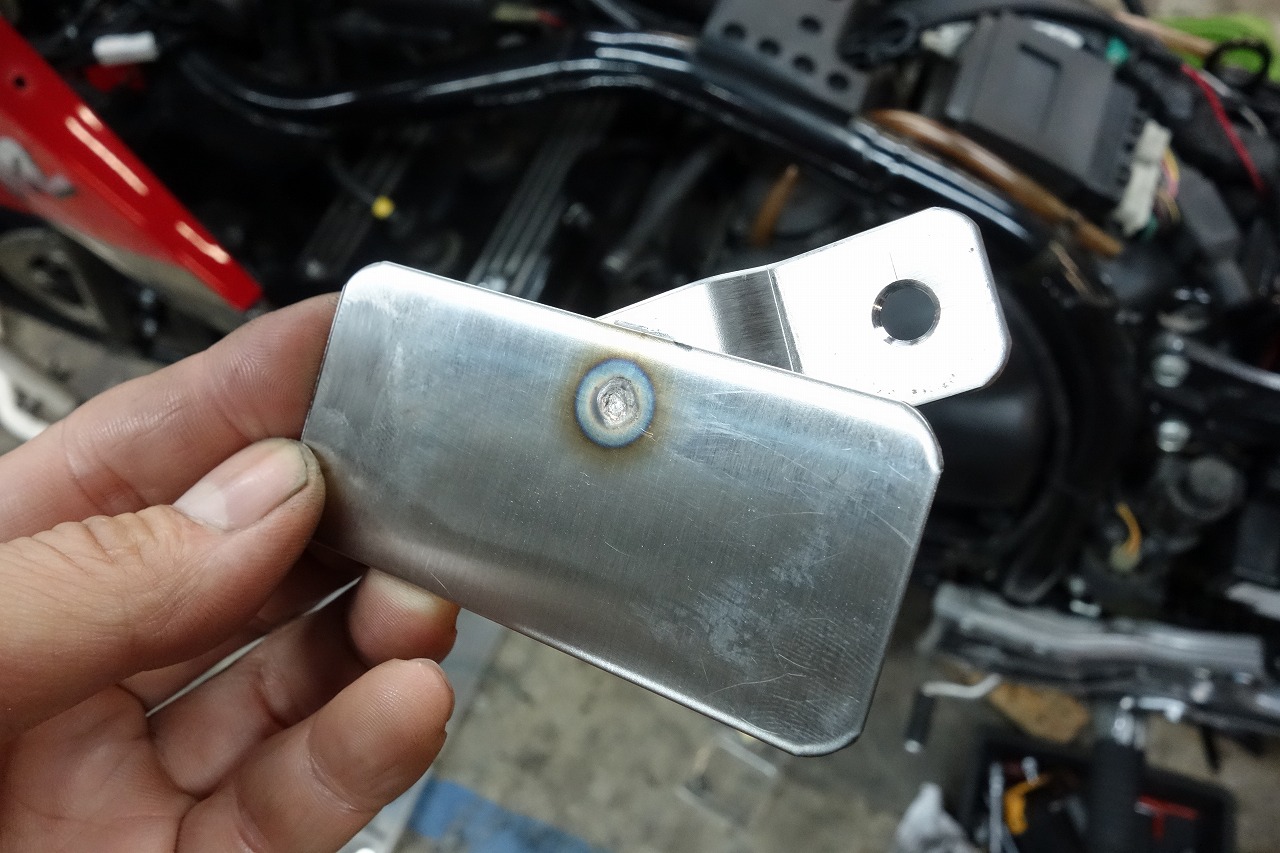
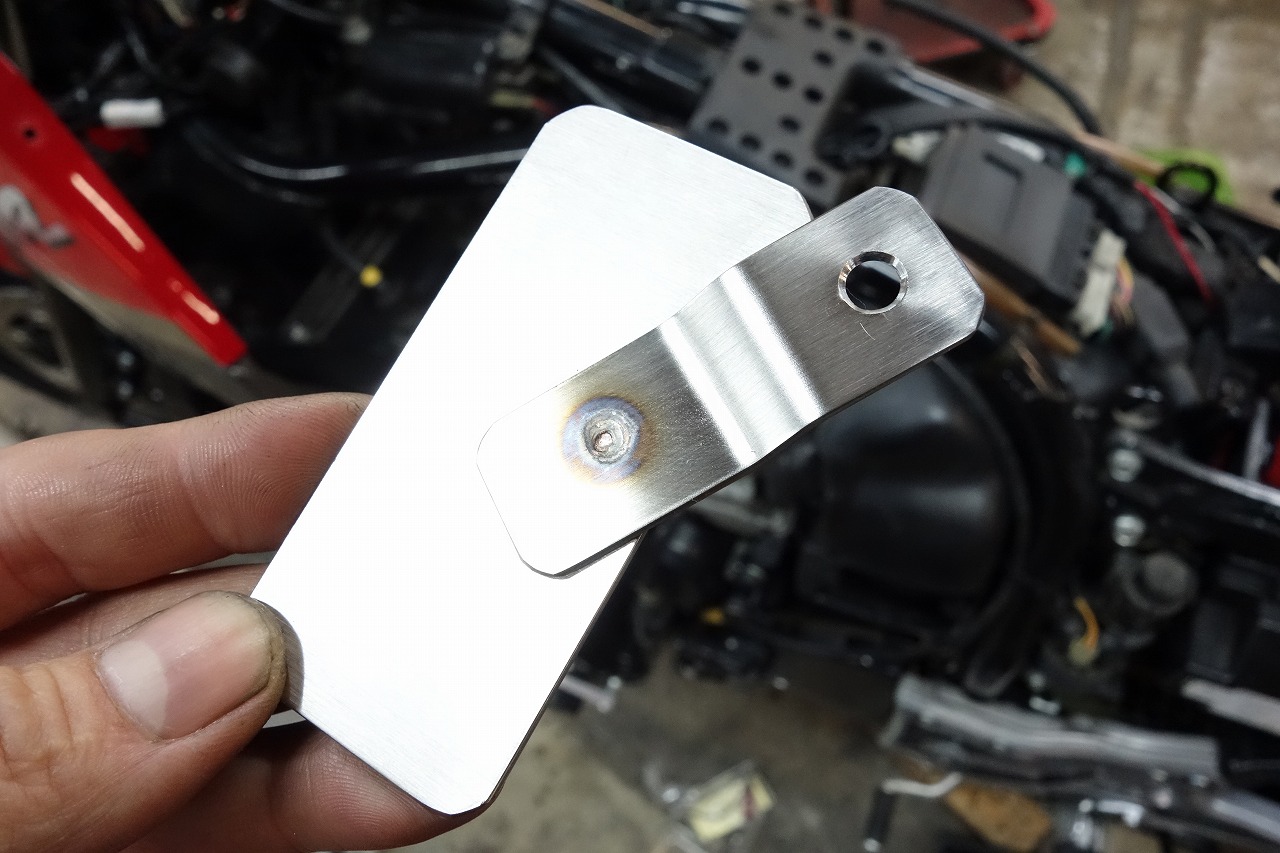
I made a D-UNIT+ mounting bracket from SUS304 stainless.
With shearing and set press & die, plus spot welding, it’s done in a flash.
If we did it with contouring, then belt sanding, then TIG welding, that would be… $!
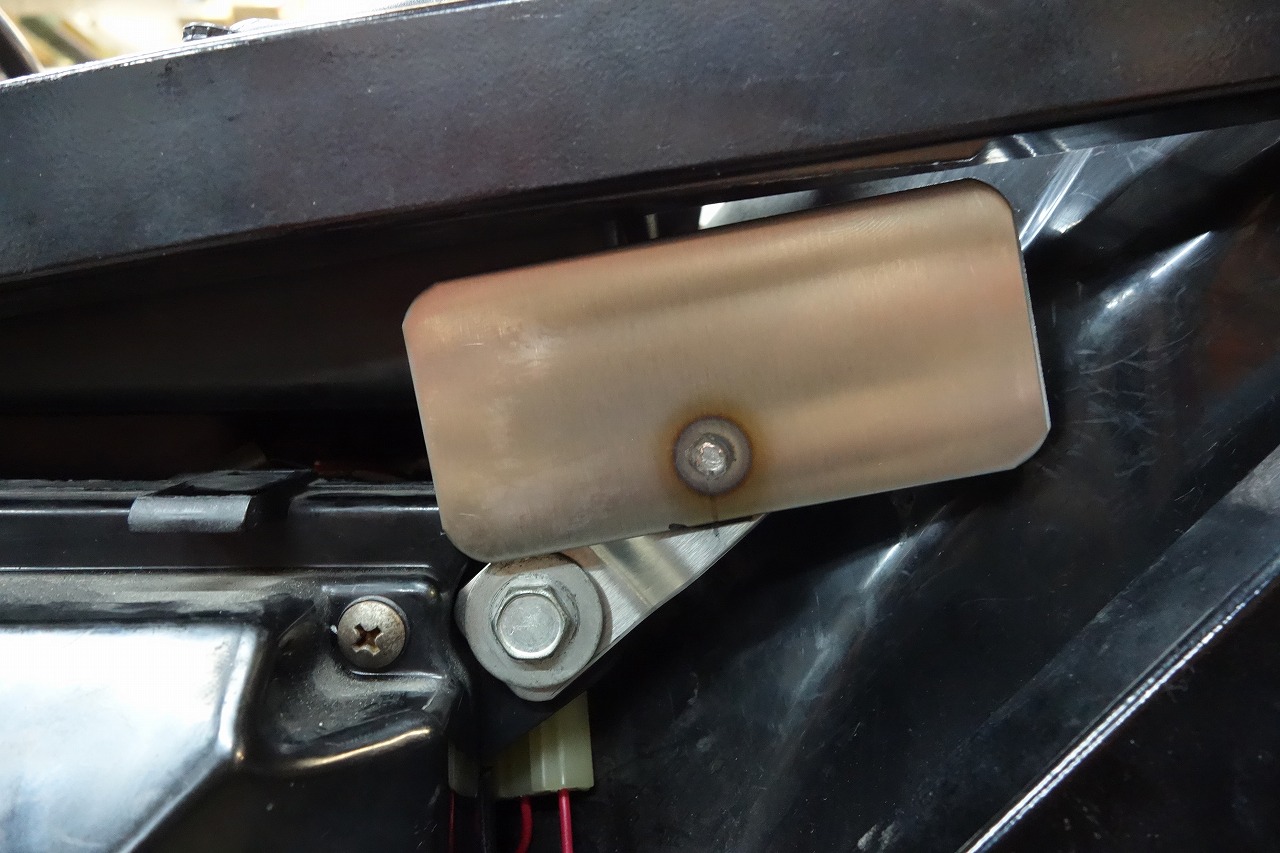
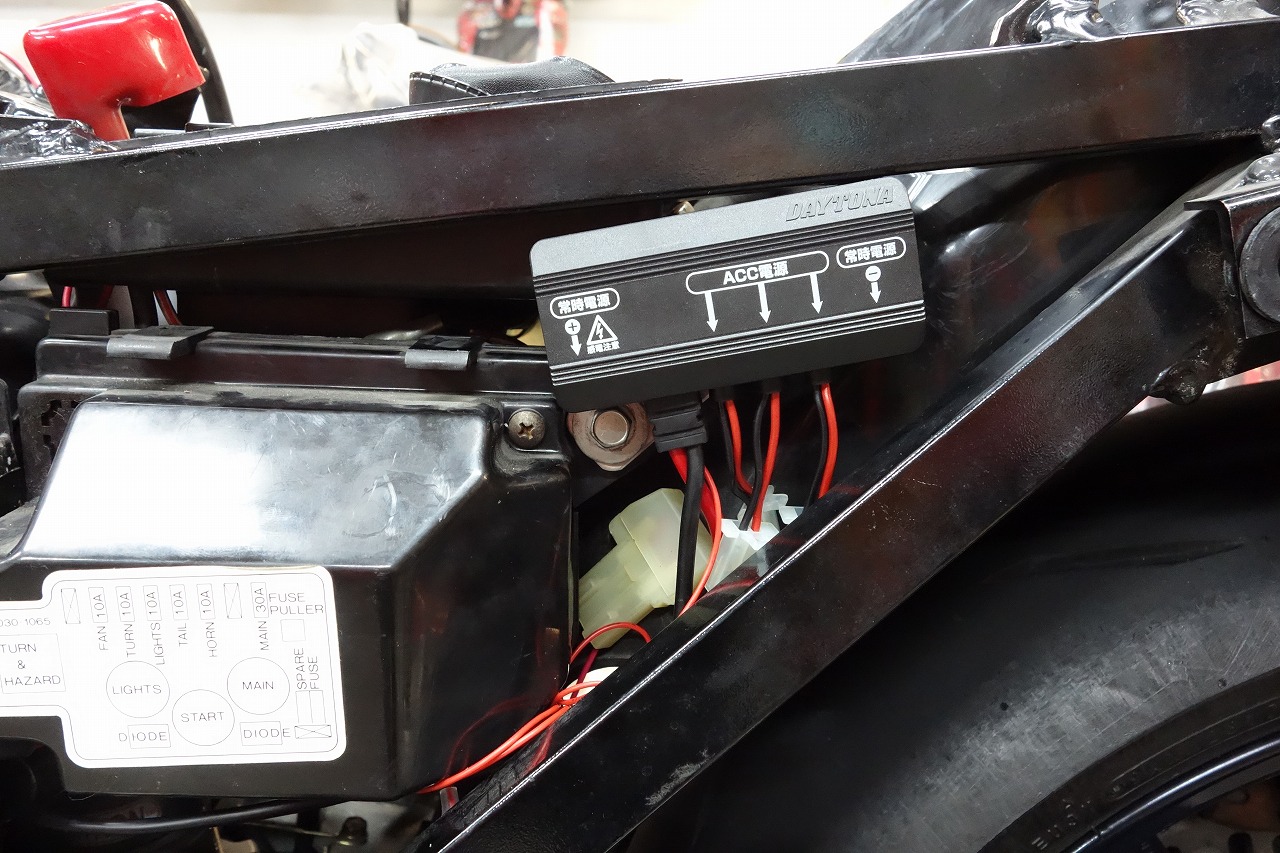
That’s how we got it installed.
The Ninja doesn’t have much space, surprisingly…
*People ask where to find us on YouTube, but…
we haven’t been uploading to our homepage lately. Click here to subscribe to the channel.