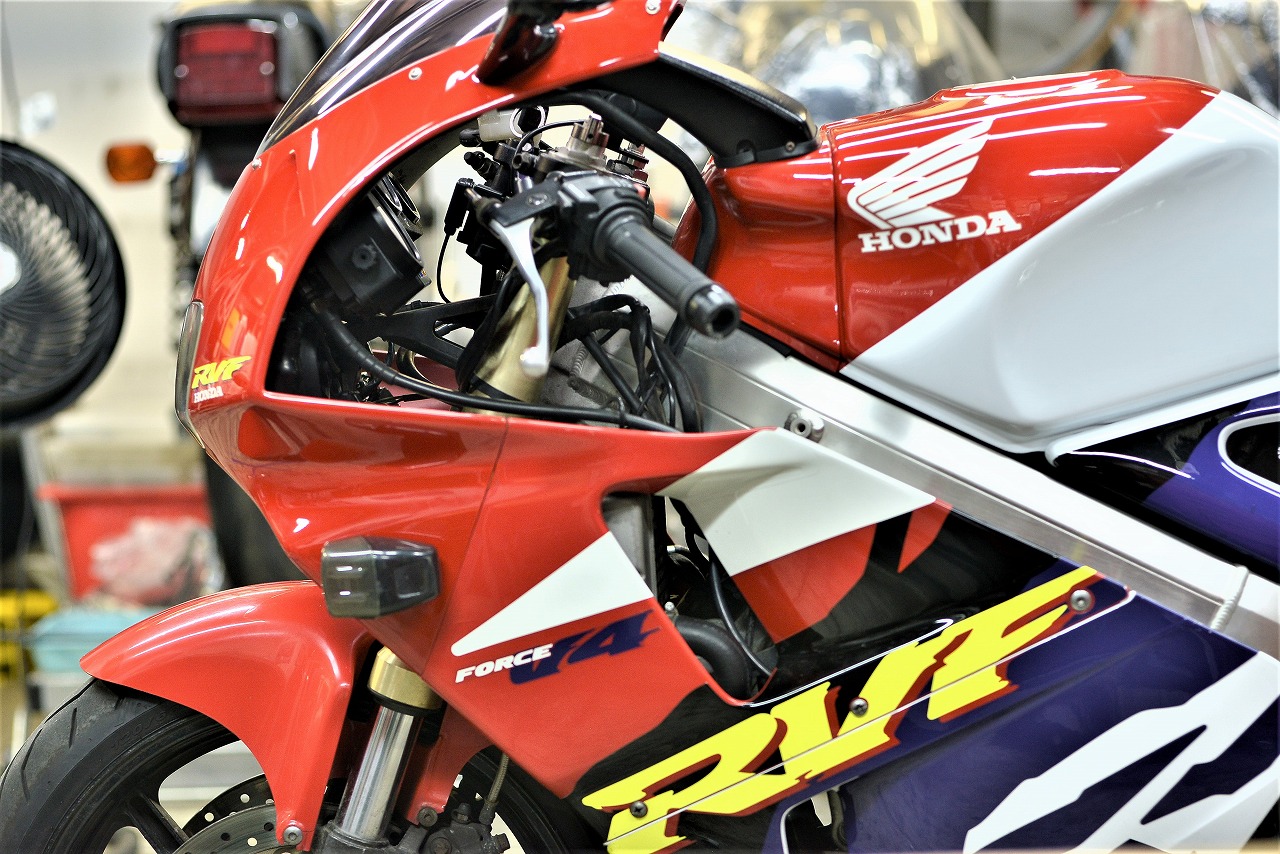
Honda RVF400—I personally think it’s a really nice bike. Size-wise and power and torque-wise, it makes a great impression.
I used to own one myself, but I wasn’t riding it much, so I sold it. Now I find myself thinking, “Oh, I wish I’d kept it…”
The customer originally requested Deco-mainte, but after taking it for a test ride, I thought it would be more enjoyable to ride if we serviced the front end first, so that’s how the work came about.
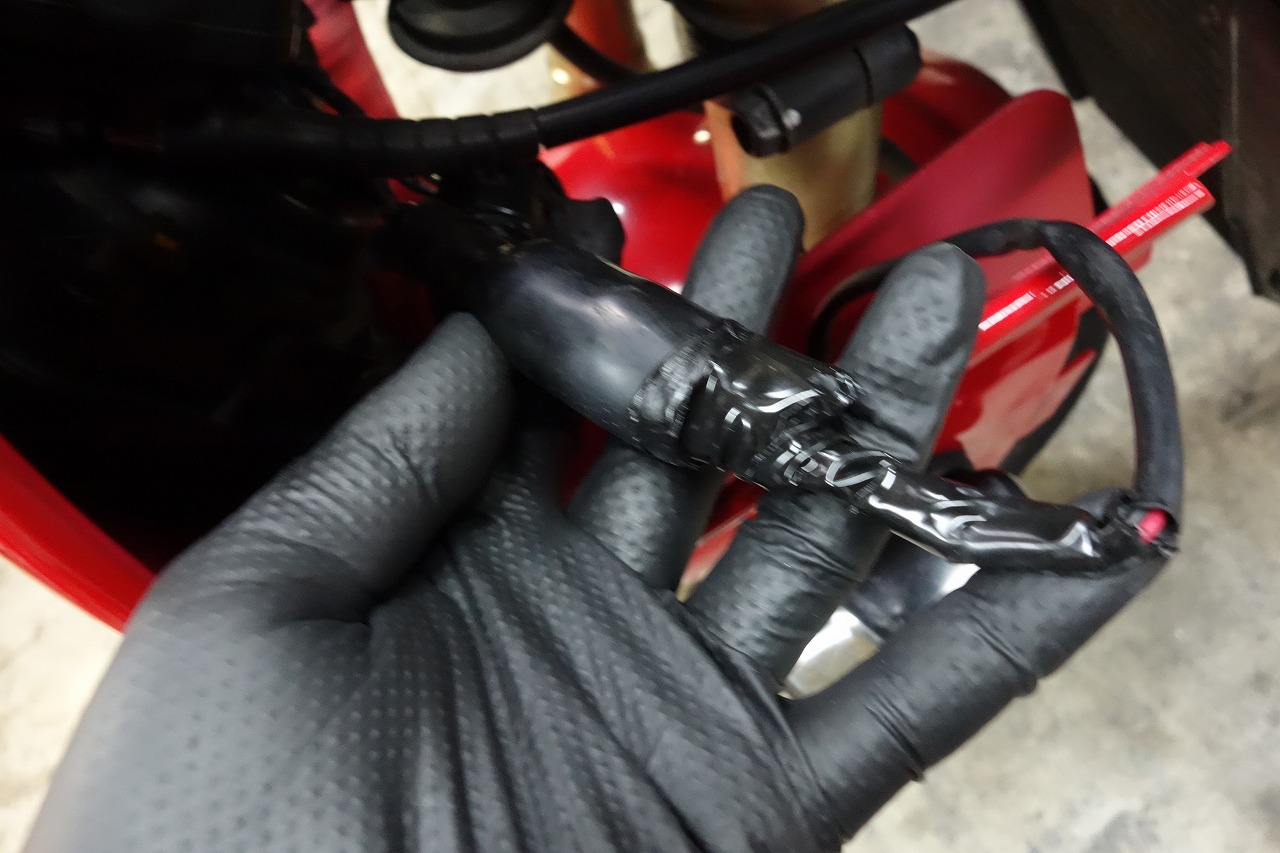
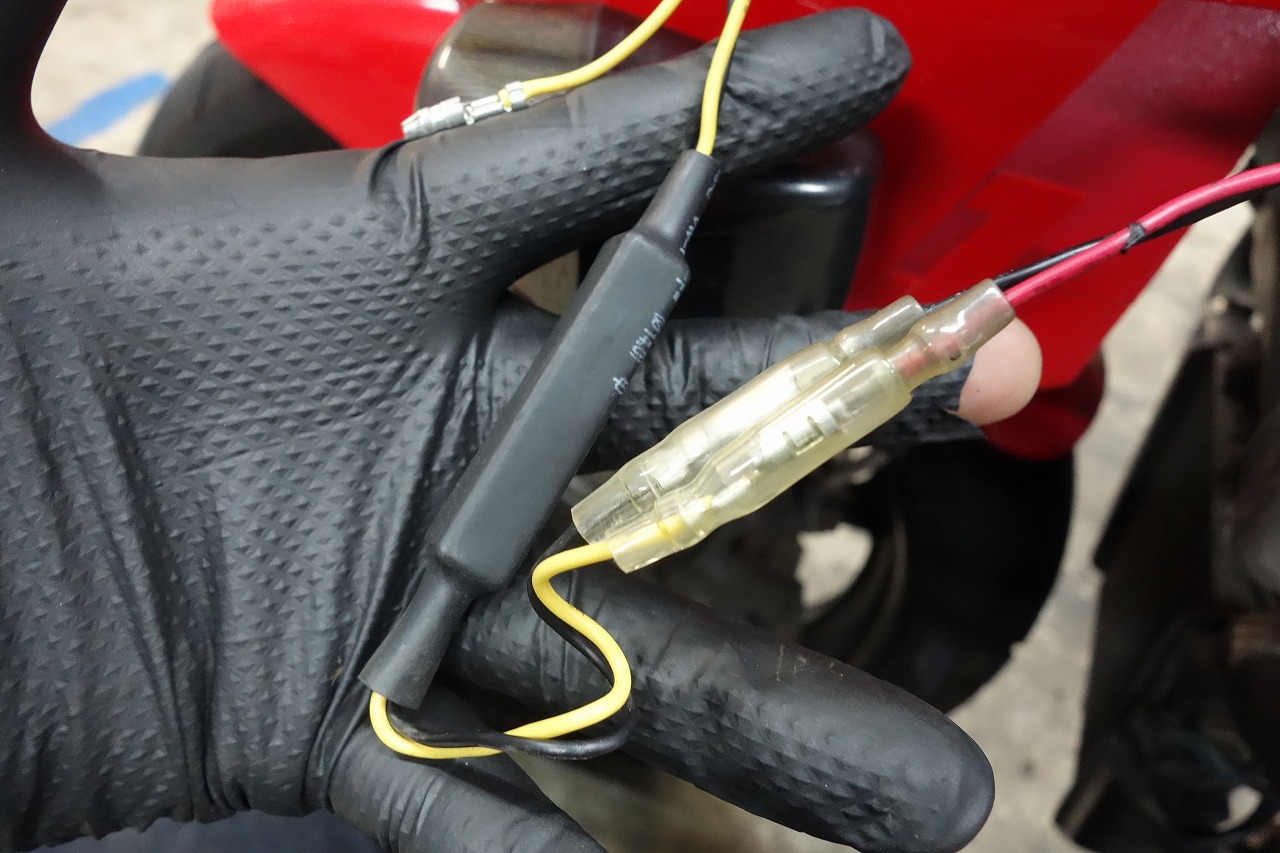
We remove all the fairings. The turn signal wiring looks pretty beefy.
Ah, resistors… I’m surprised kits like this still exist.
It’s quite a shock.
Swapping to an IC turn signal relay would clean things up nicely.
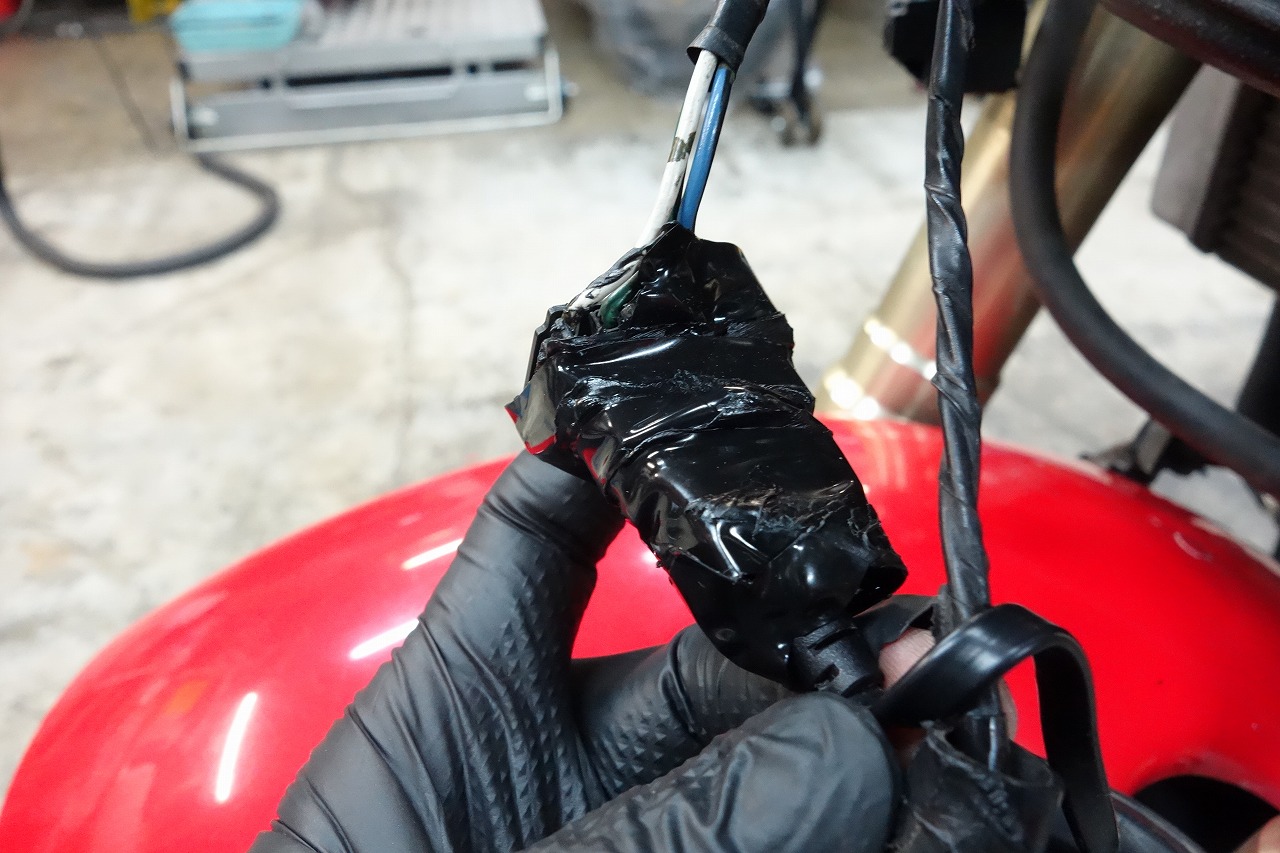
The headlight area is sealed up pretty well too. When we peeled it back, it turned out the connector wasn’t seated properly.
We’ll check on that later.
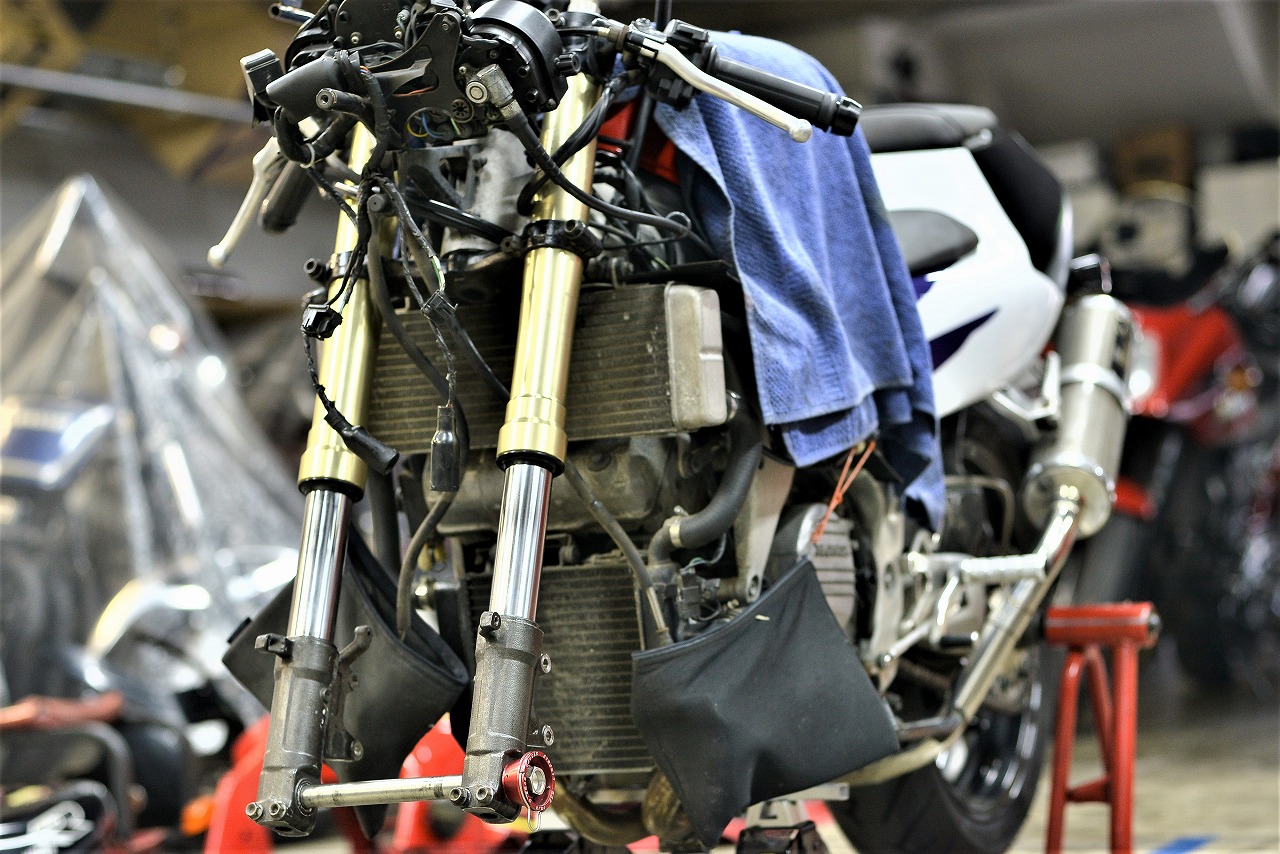
Lifting a bike without an under-tube is pretty challenging.
Hanging it from above is also tedious. We find a flat spot near the oil pan and manage to get it up carefully.
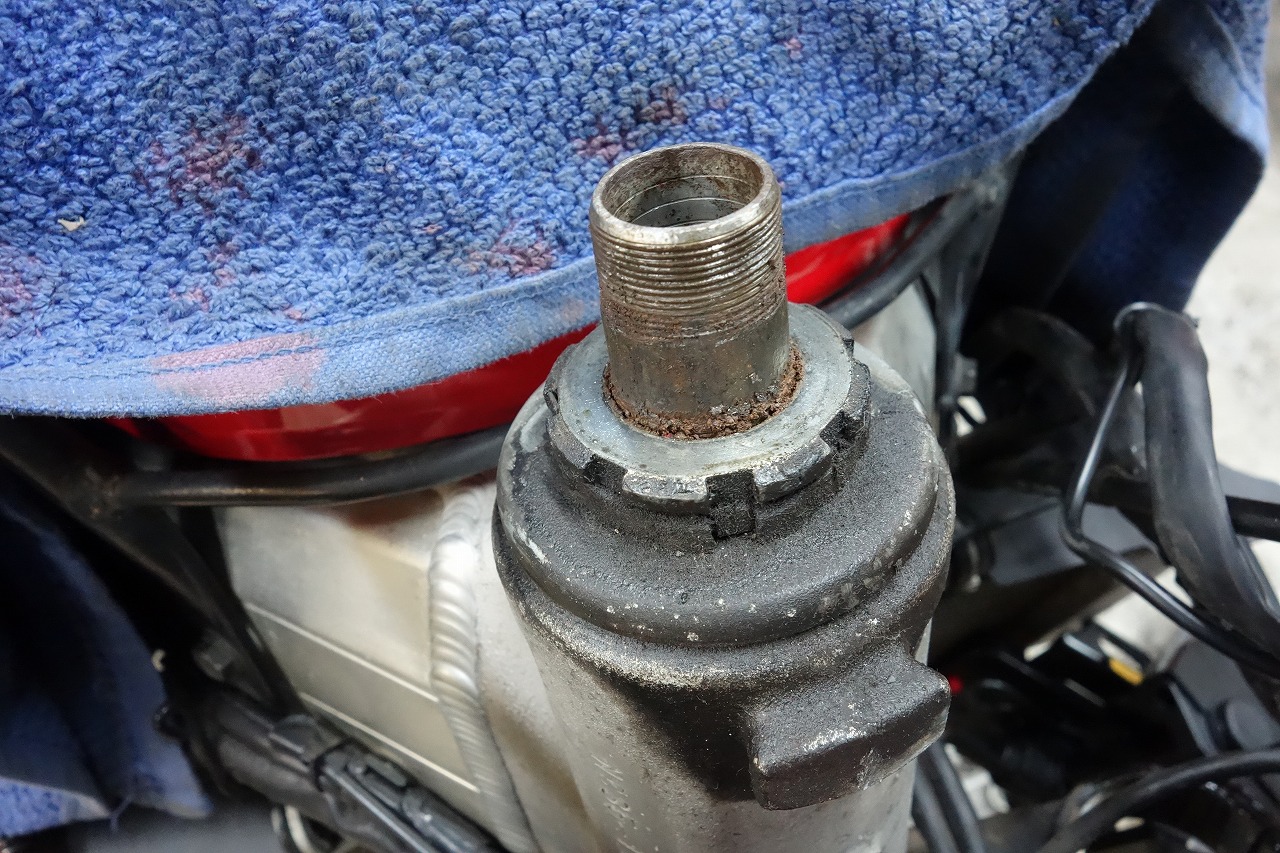
The condition is already looking scary. There’s rust bubbling up everywhere.
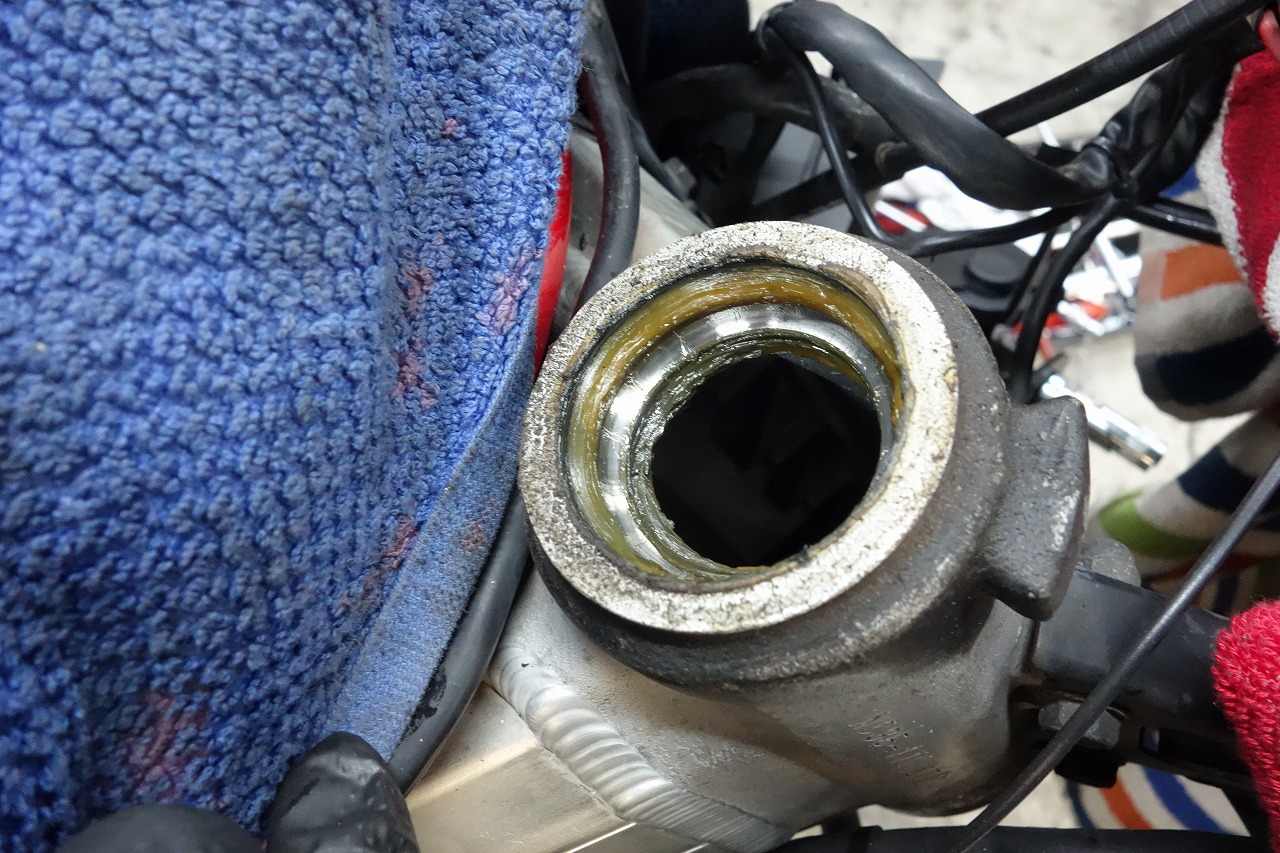
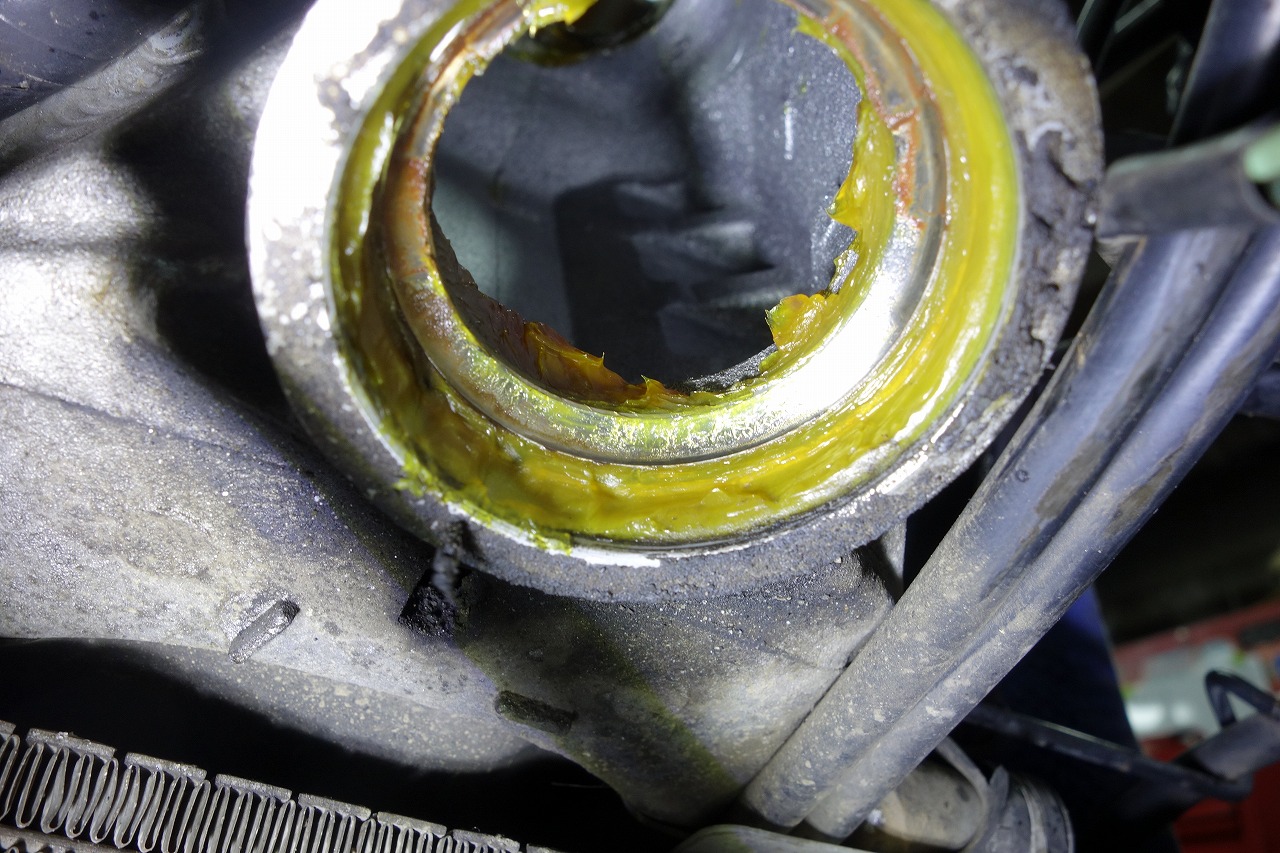
There’s still oil present, but the grease is pretty degraded.
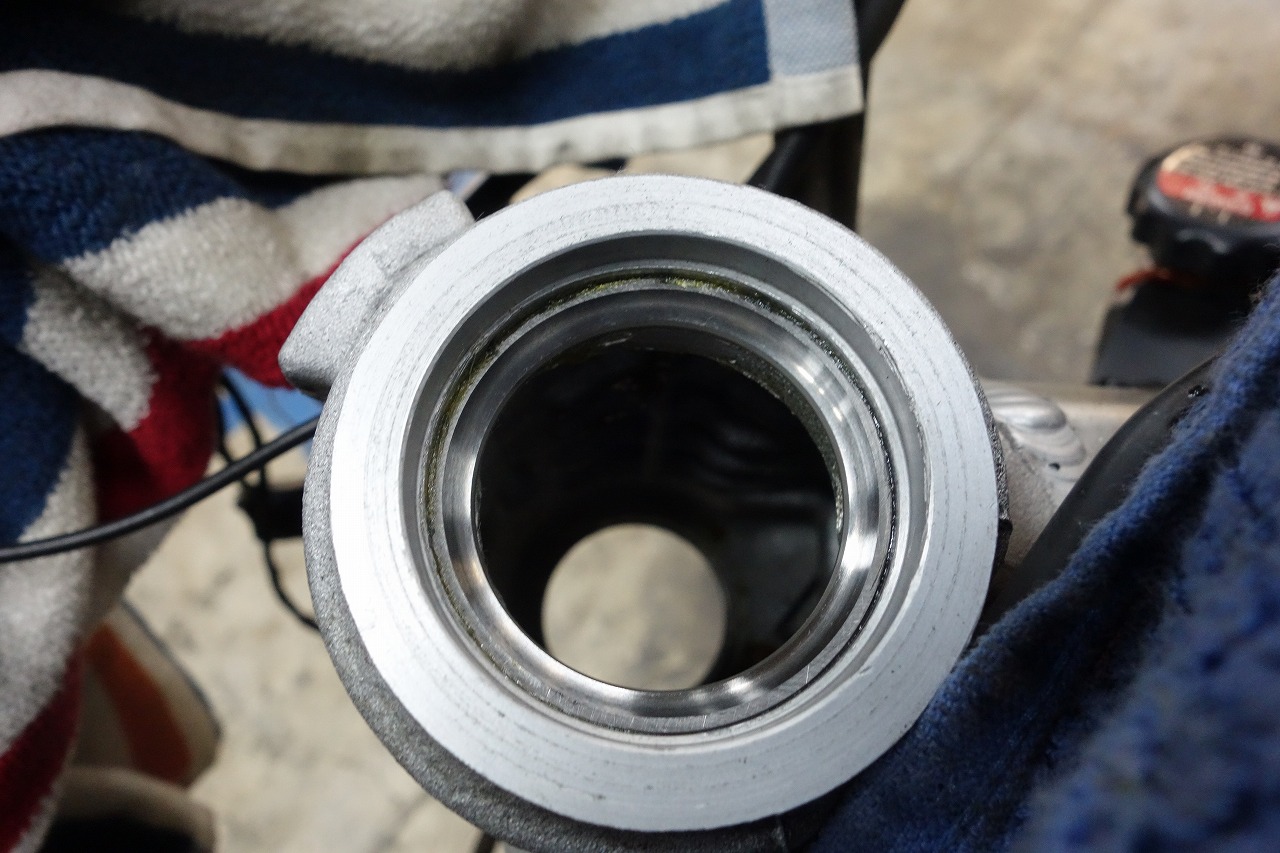
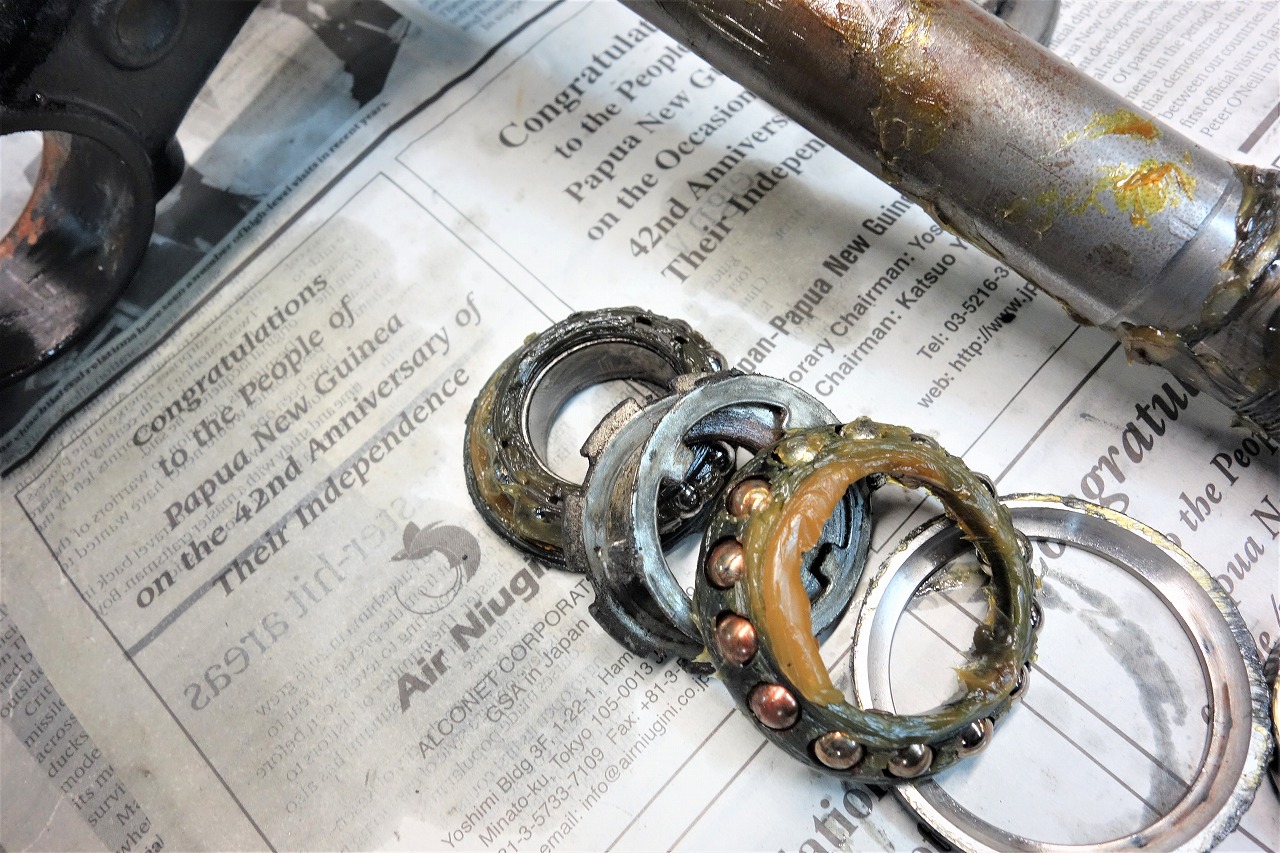
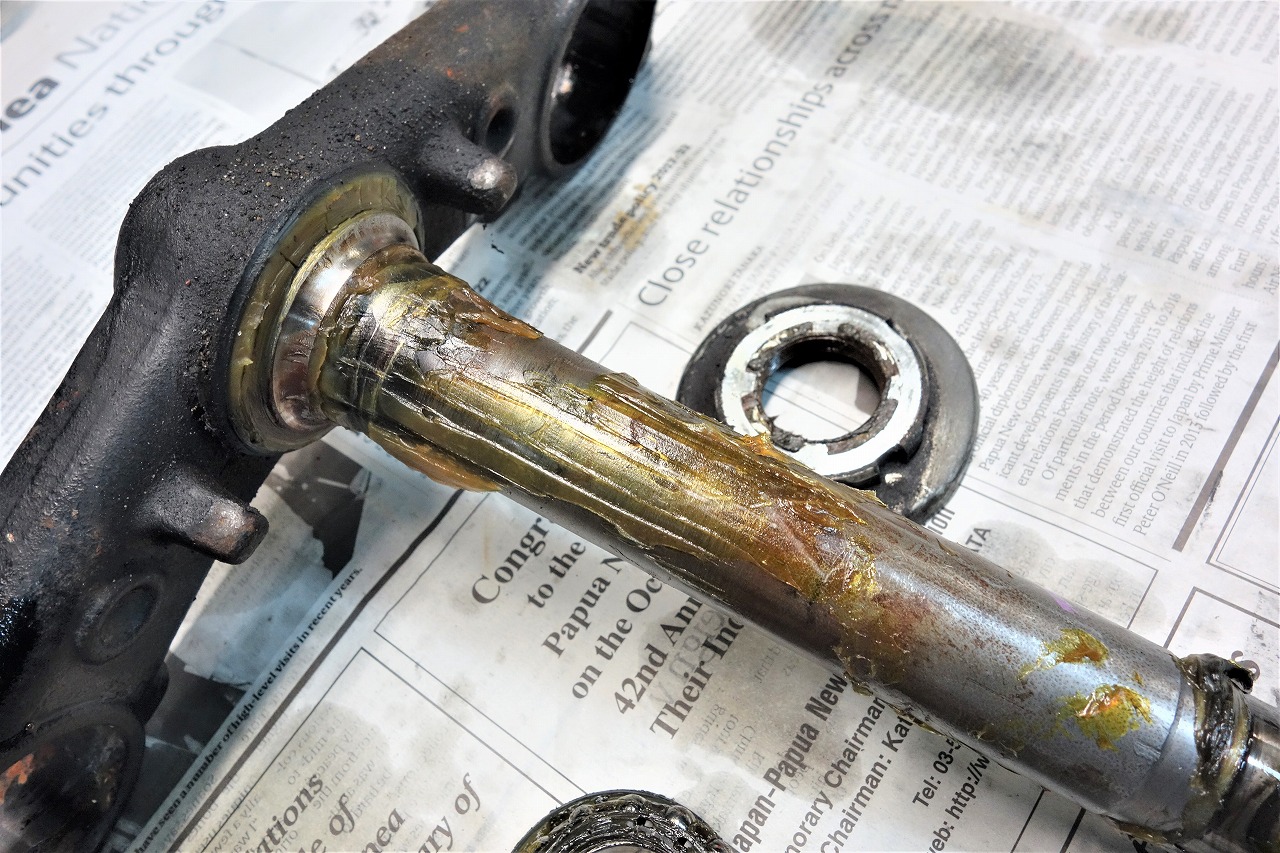
It’s looking pretty rough. For the shaft grease, if we’re applying it for rust prevention, keep it minimal.
An oil film is enough.
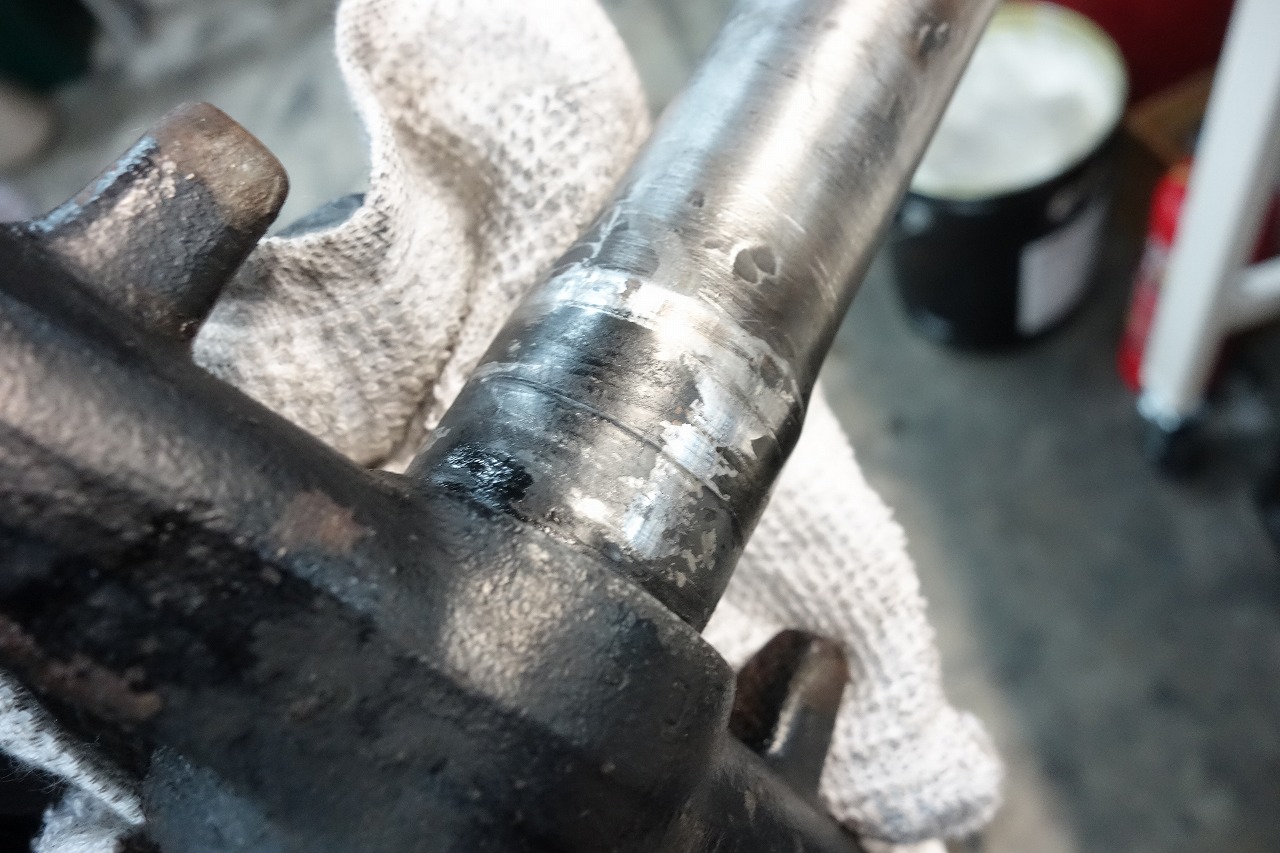
Hmm… there’s a pretty significant step wear on it. That’s not a good sign.
Let’s move forward anyway.
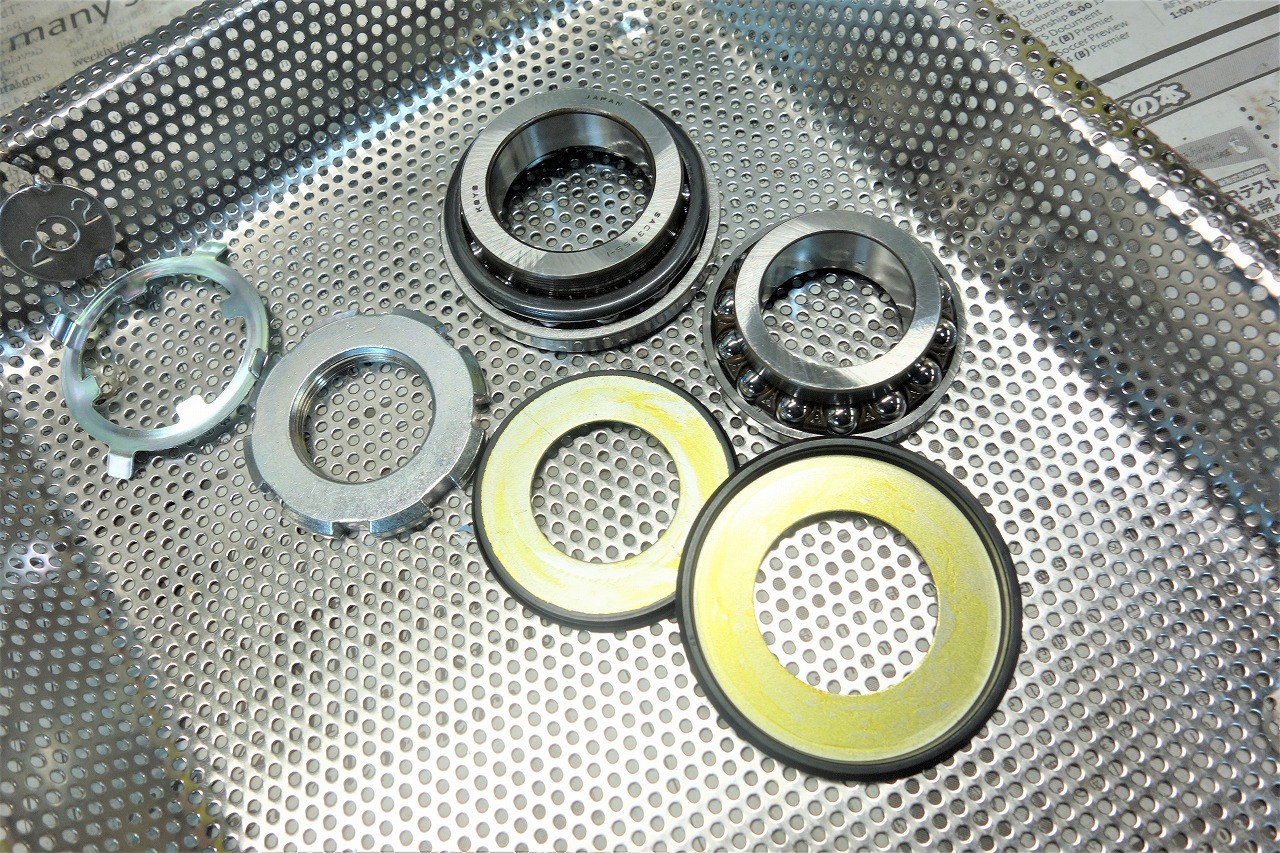
Here are the parts we’re replacing. The cap nut at the top is discontinued, so we’ll polish it and reuse it.
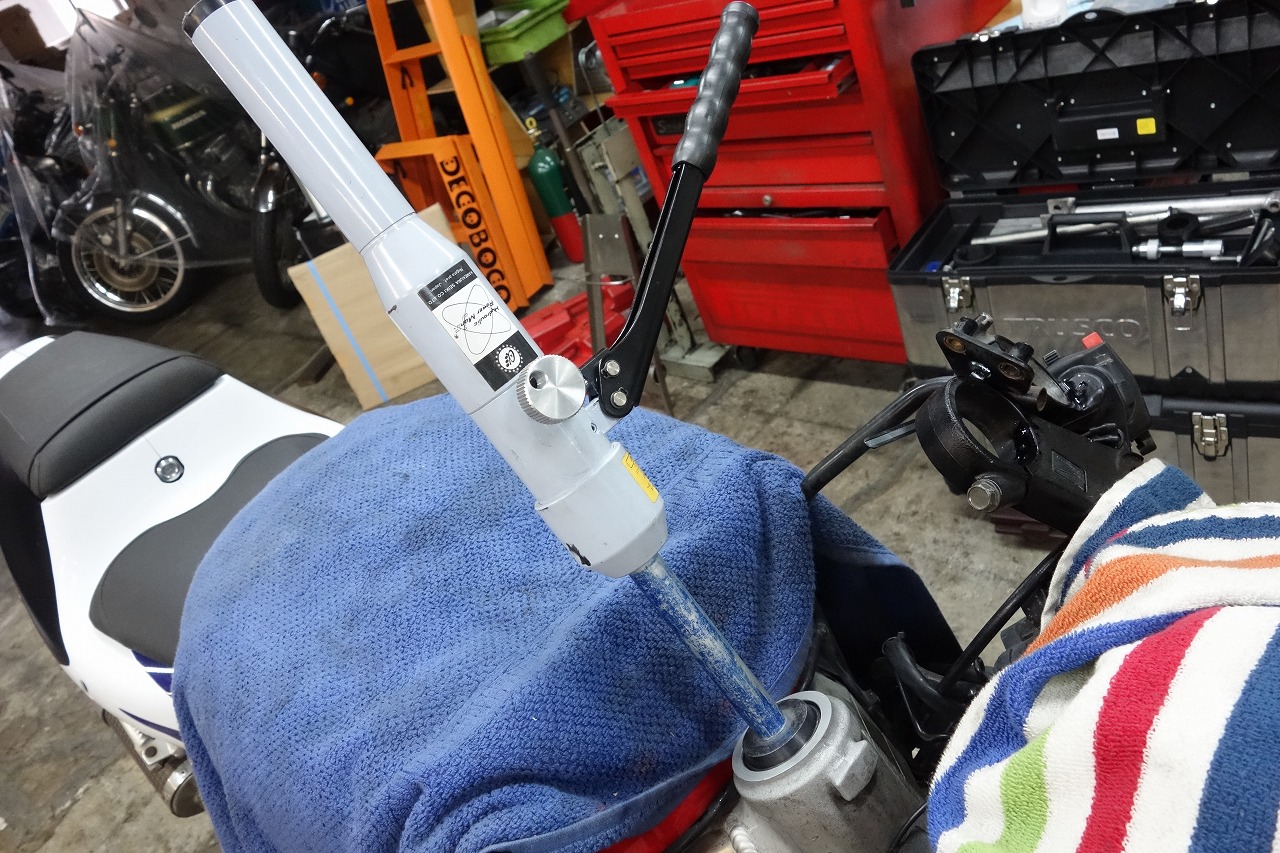
Pressing the aluminum frame requires careful attention.
If you set a reference point and press it in, you’ll be fine. Using a hydraulic punch for pressing is really easy.
I wonder why it’s not more widespread.
Park Tool Head One Punch
It’s not a universal tool, but if you’re a motorcycle shop, it’s worth having.
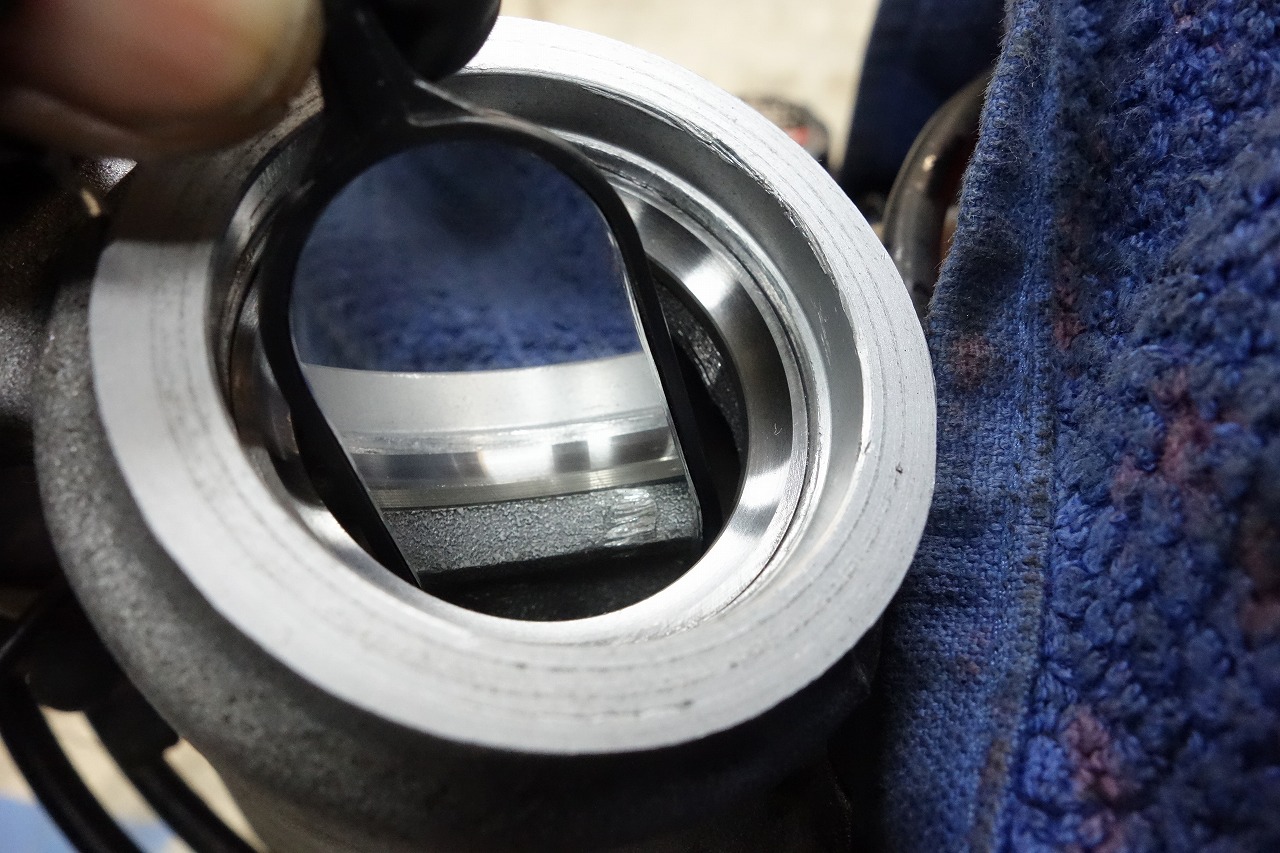
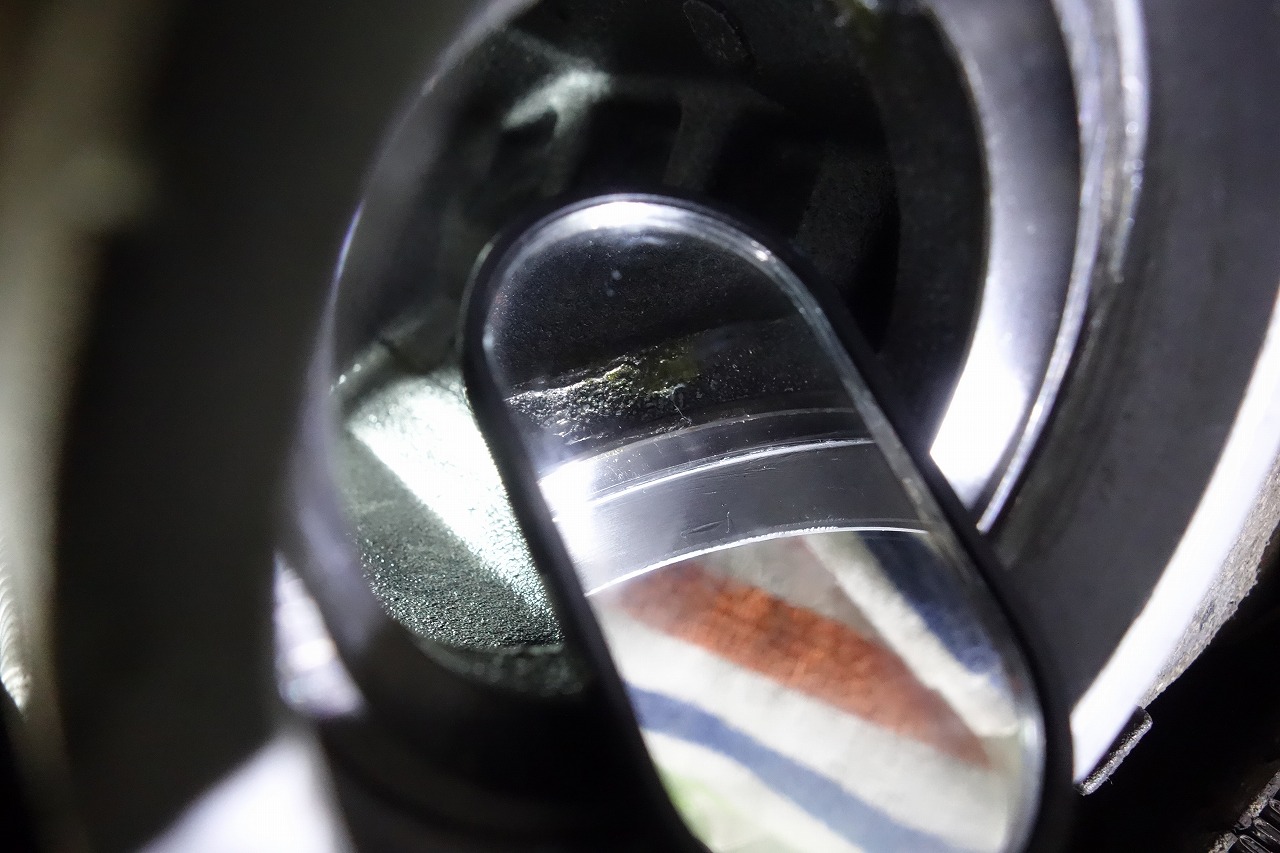
Once pressing is complete, always verify visually.
Check first, check second—that’s what the wise ones used to say.
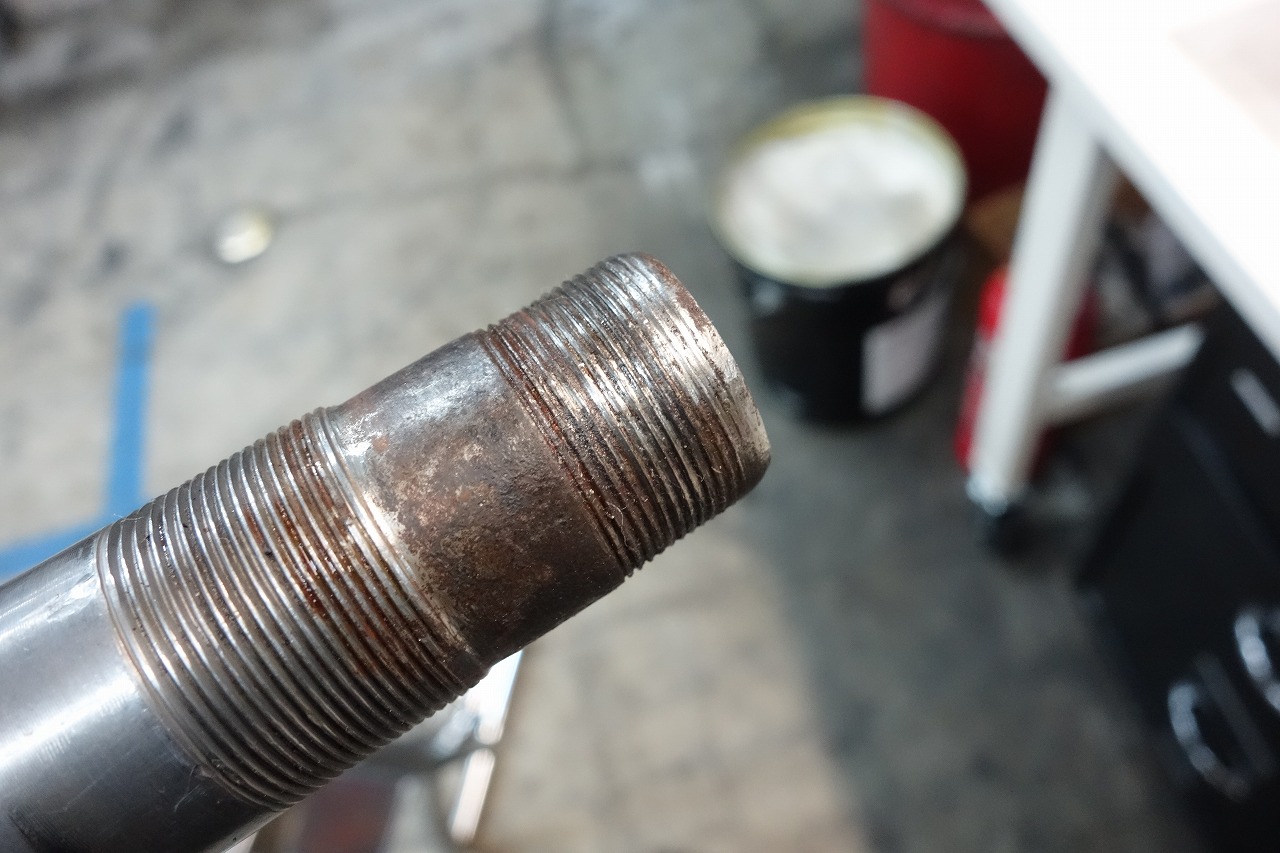
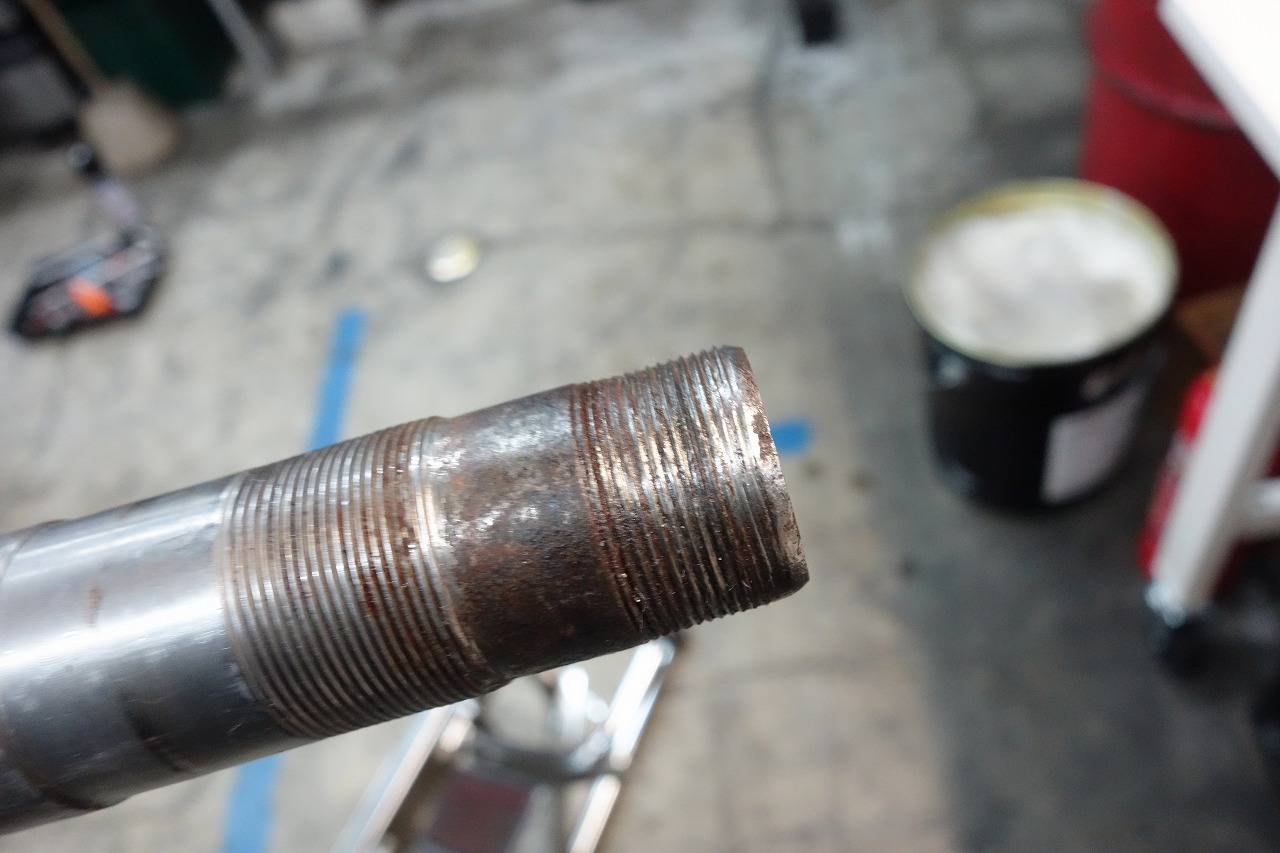
The rust is severe, and the threads at the tip look questionable. The rabbit hole goes deep.
For now it’s usable, so we’ll polish it and reuse it.
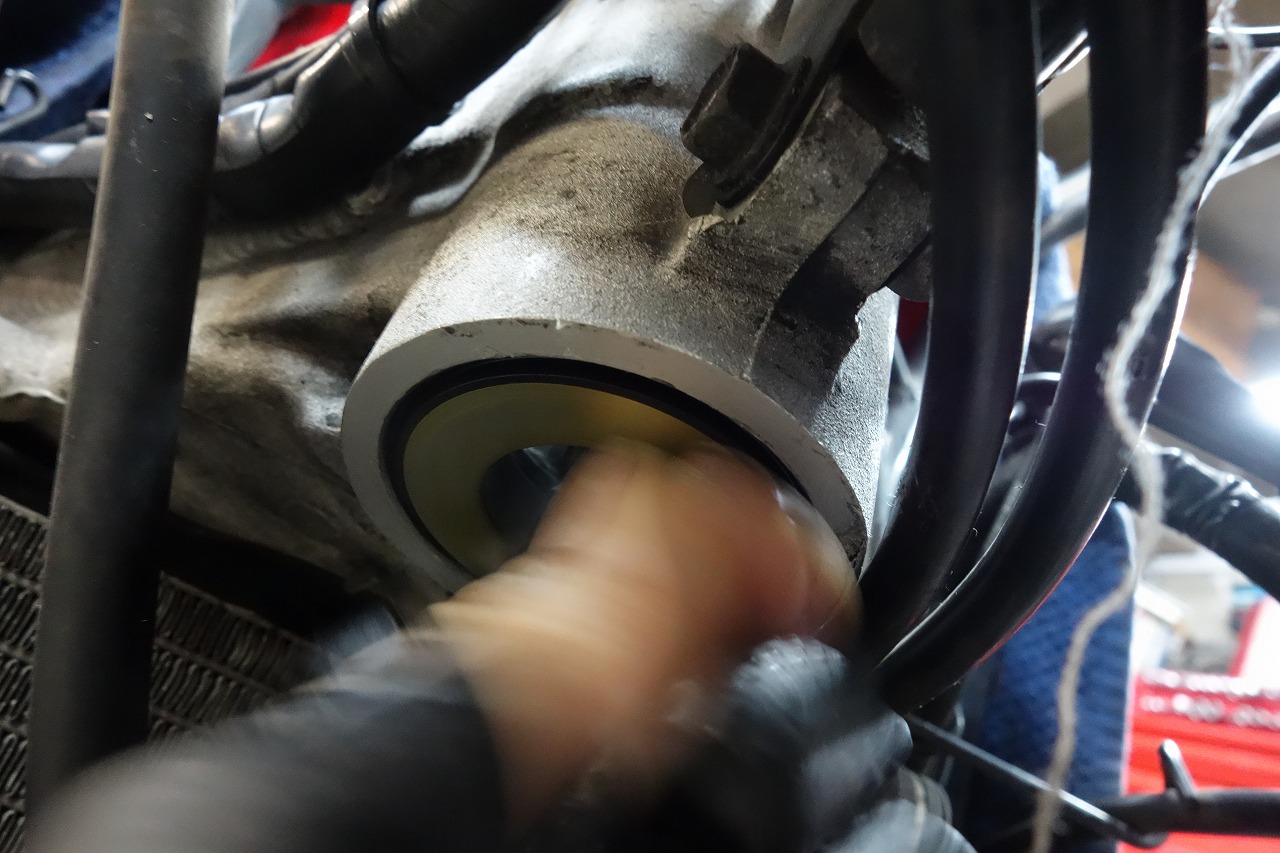
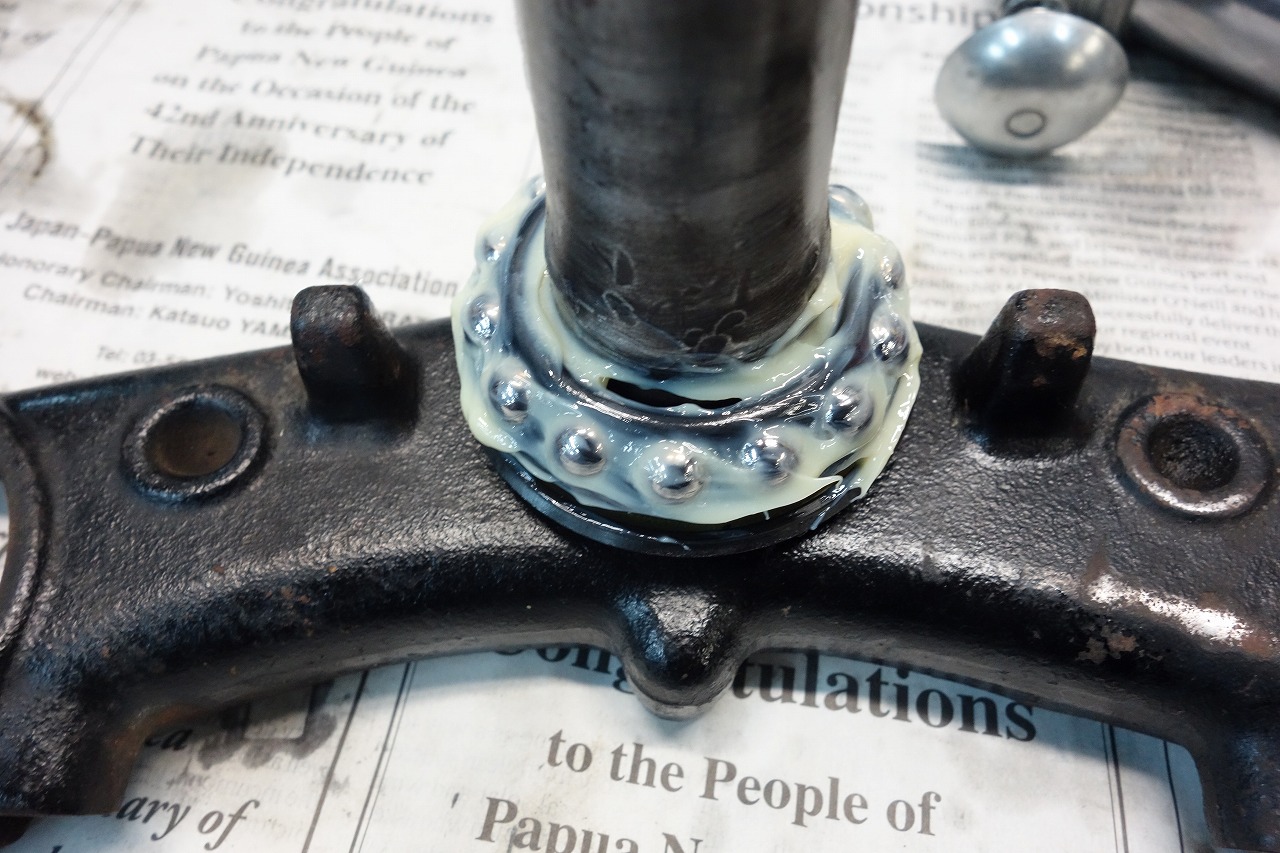
Check the lower bearing operation before pressing it in.
Some bikes have seals that work so well they’re almost too tight.
If you assemble the front end on one of those bikes without checking, it can get sloppy fast.
The seal contact gets established and you really need more preload, but if you think “this resistance feels wrong” and adjust it, you can fall into a trap.
Steering adjustment issues might actually be one of those hidden causes.
The stem bearing is done, so let’s move on to the fork oil change.
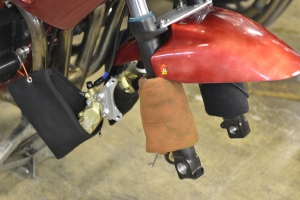
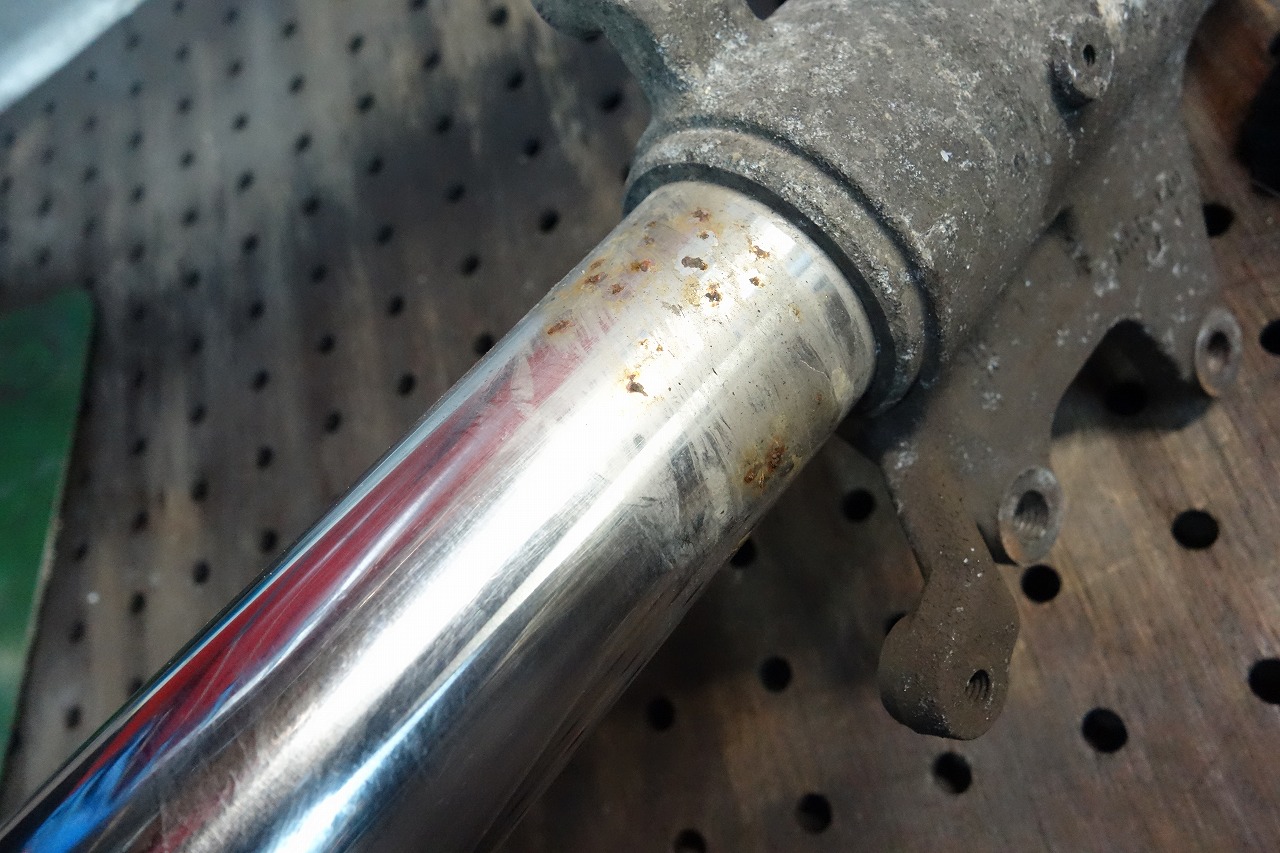
Inverted forks are hard to see inside and rust easily, so please clean them regularly and apply rust preventative.
In this condition, an OH would mean replacement or re-plating.
We’ve broken it in to operate smoothly.
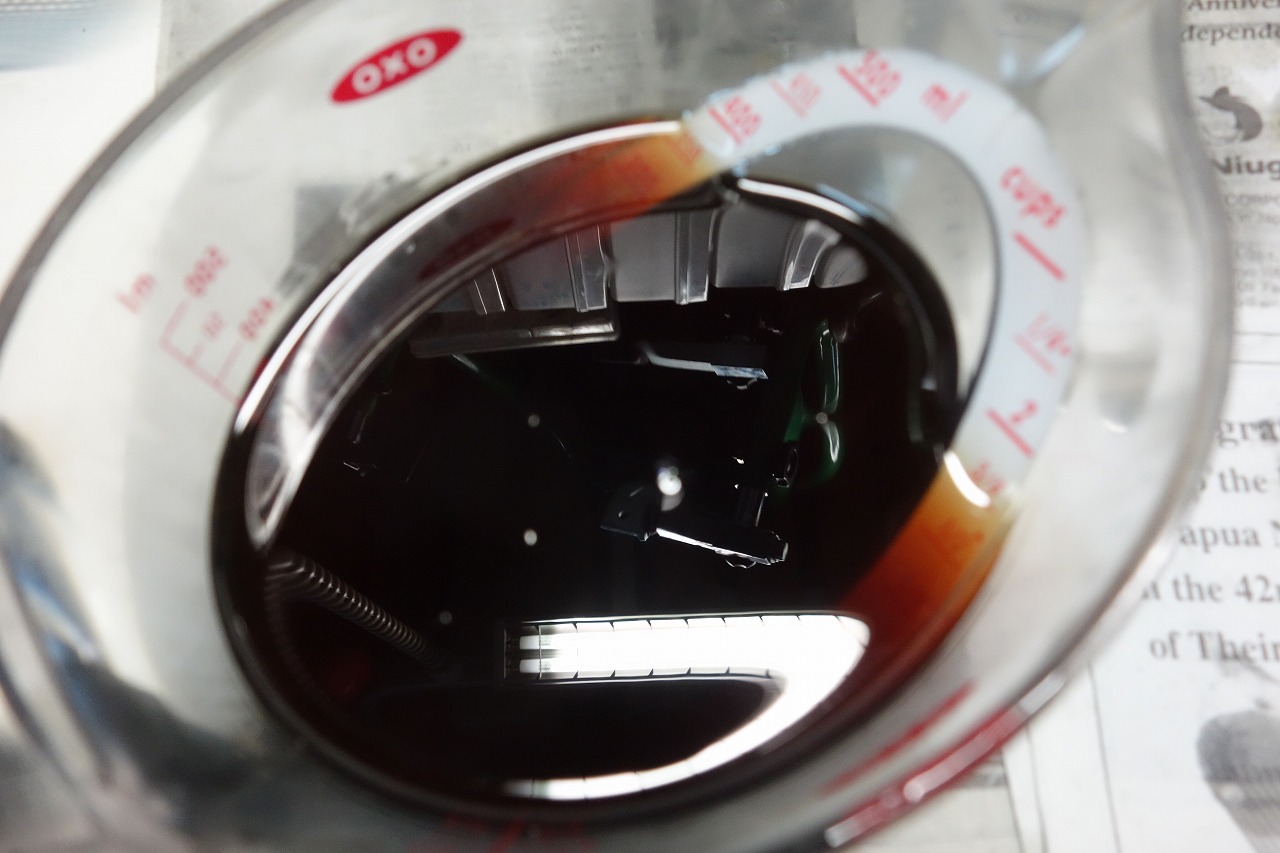
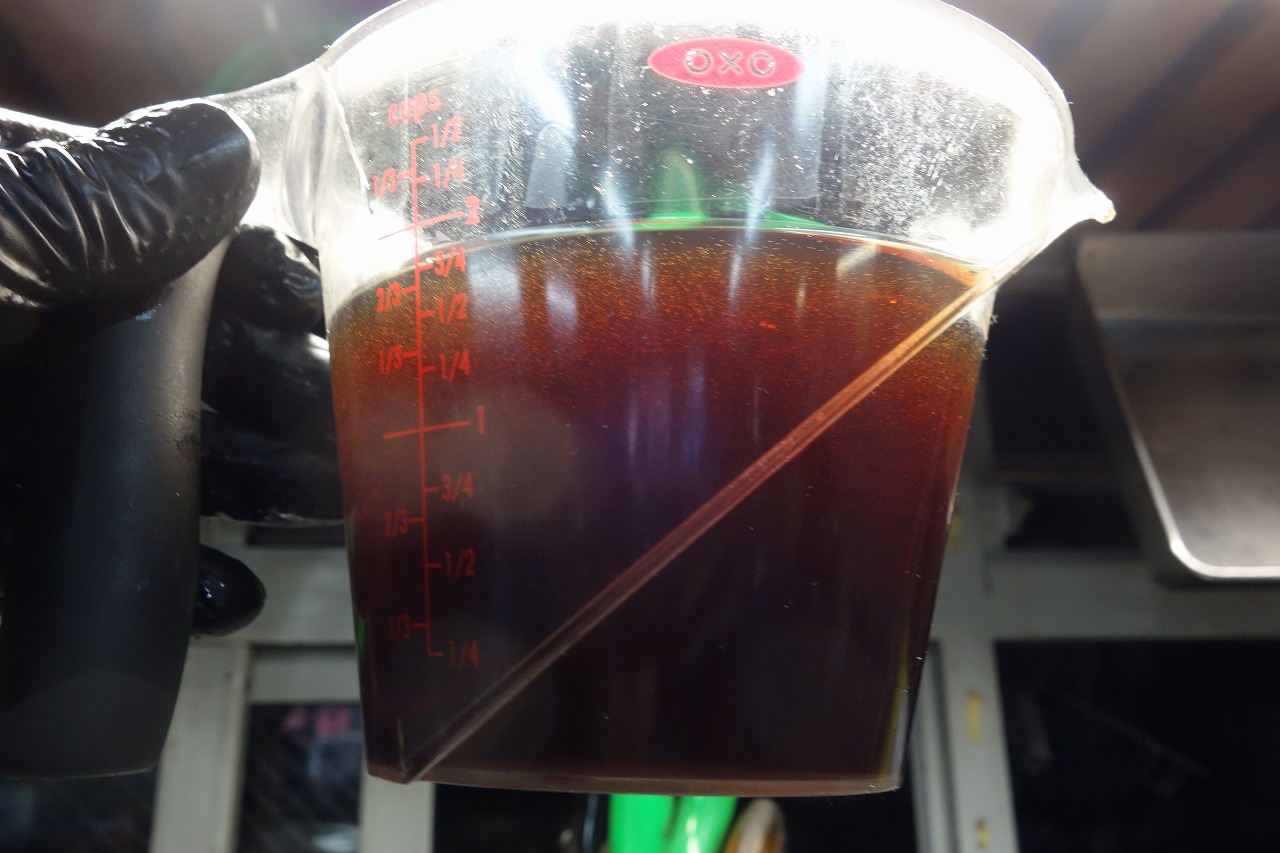
The fork oil looked like this. Pretty nicely blackened.
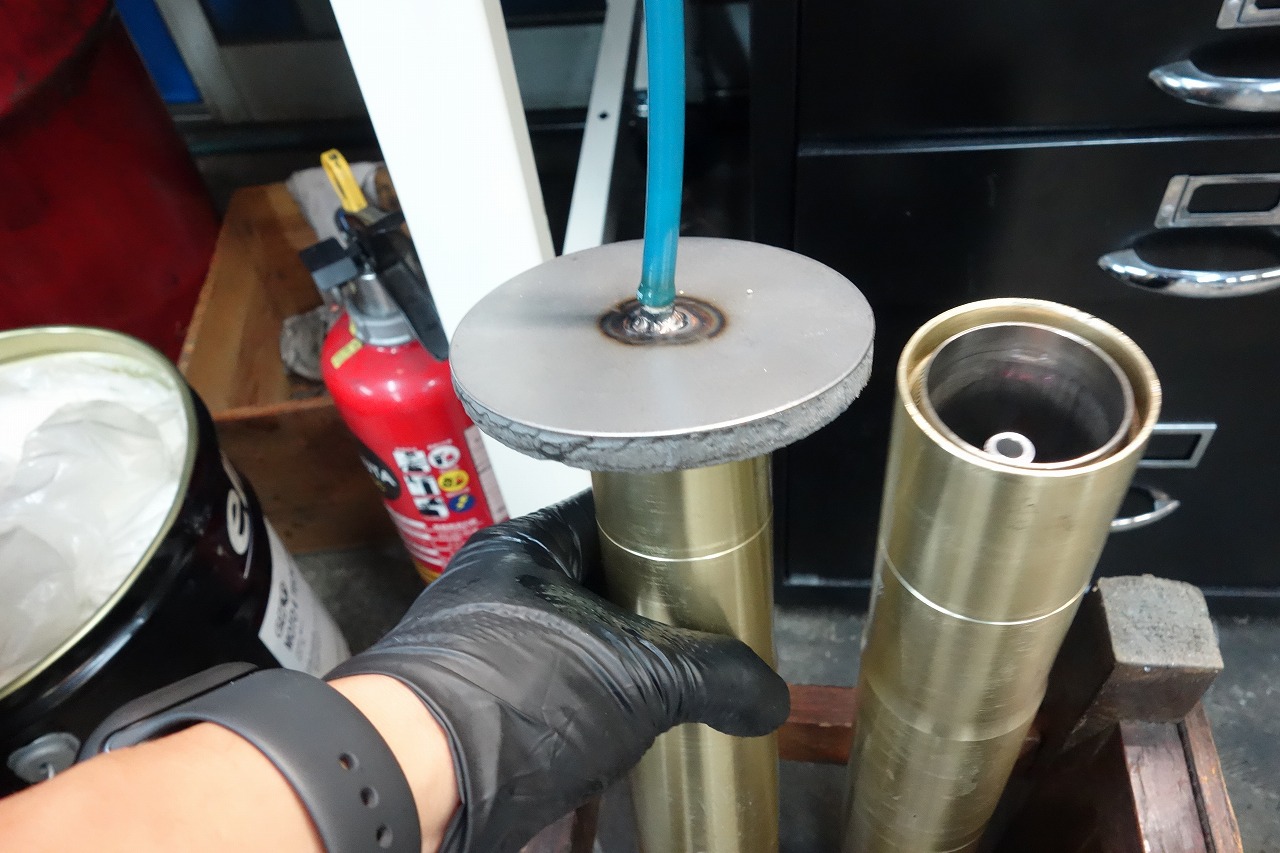
We bleed the fork oil air using a vacuum pump after the rod stroke.
If you want to be sure, a vacuum pump is definitely the way to go.
You can get other work done while it’s running, so it saves time.
Equipment generates time and value.
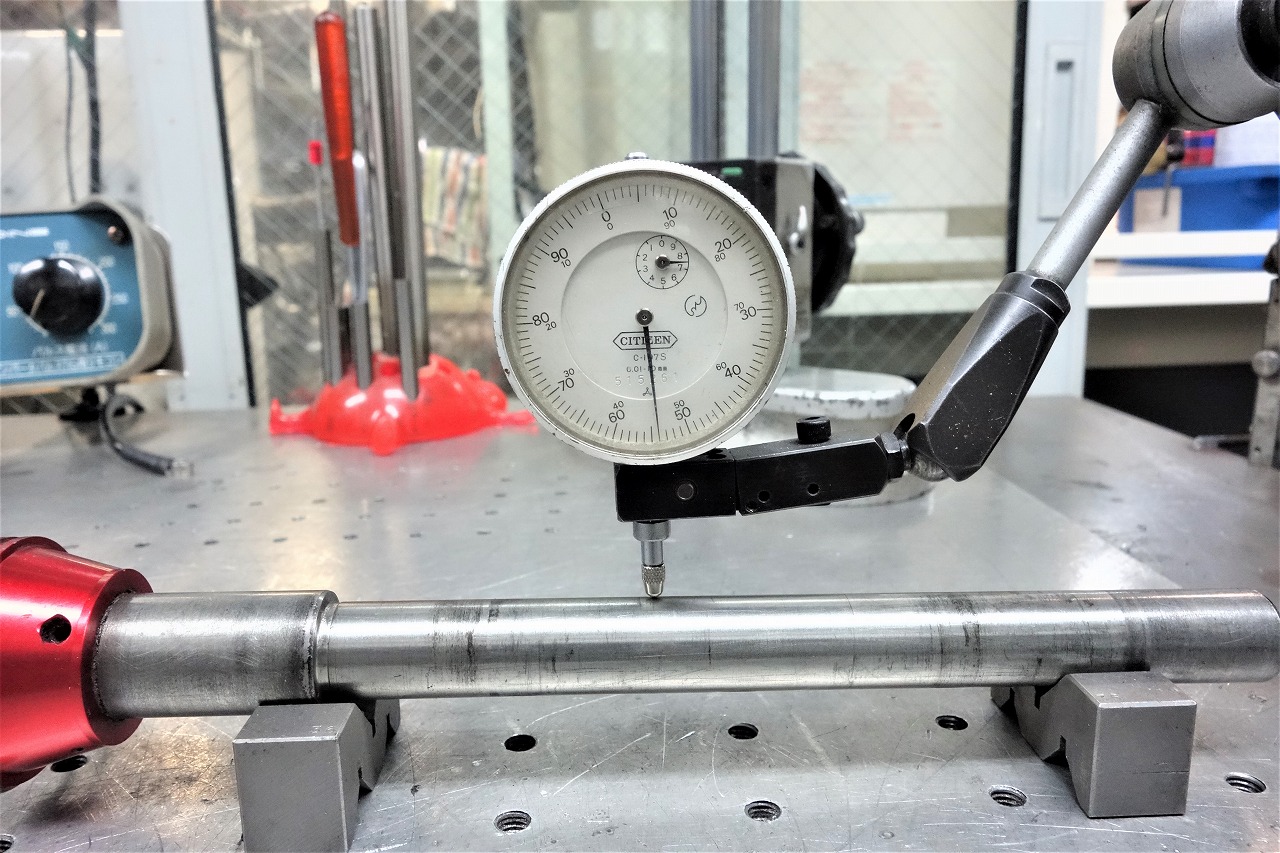
It’s an odd way to mount it on the block, but the axle shaft should be fine.
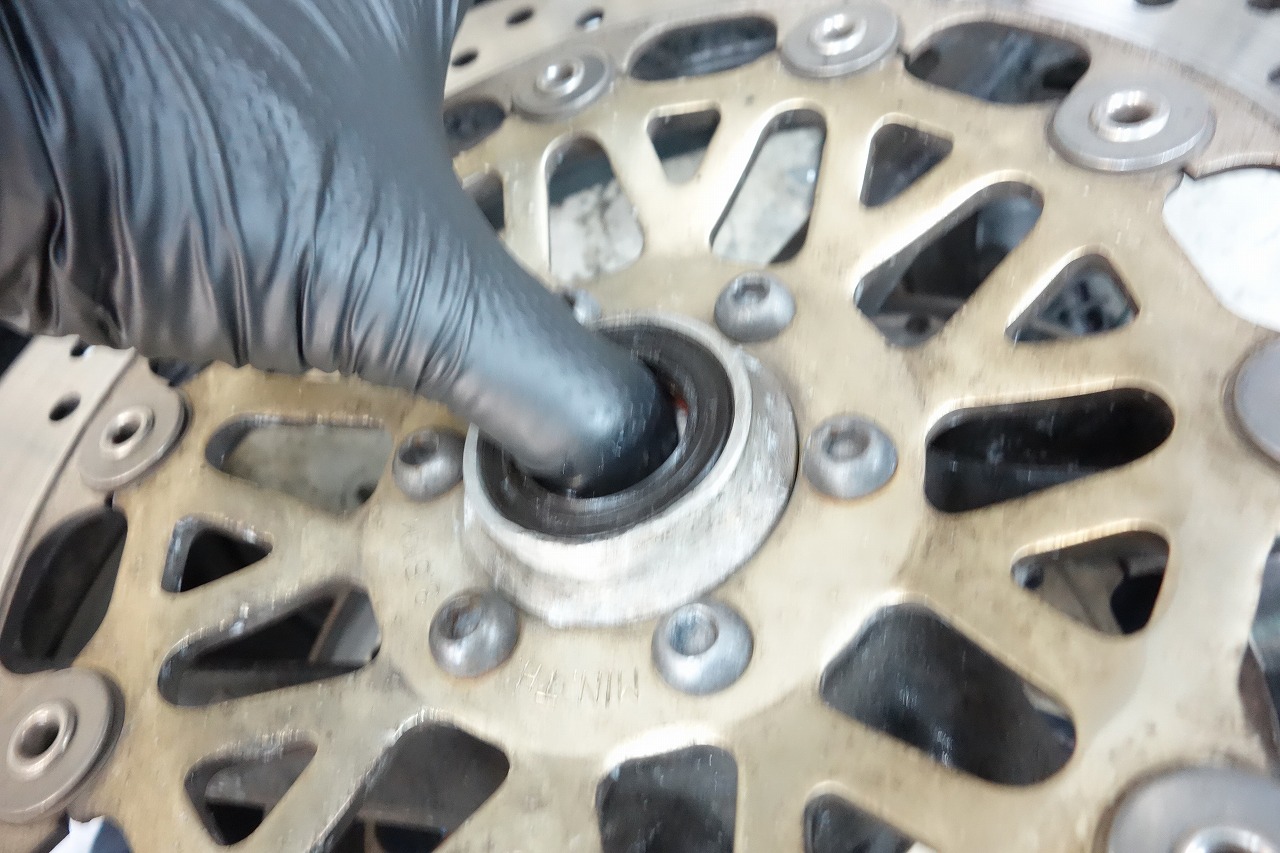
The wheel bearings are still usable as-is.
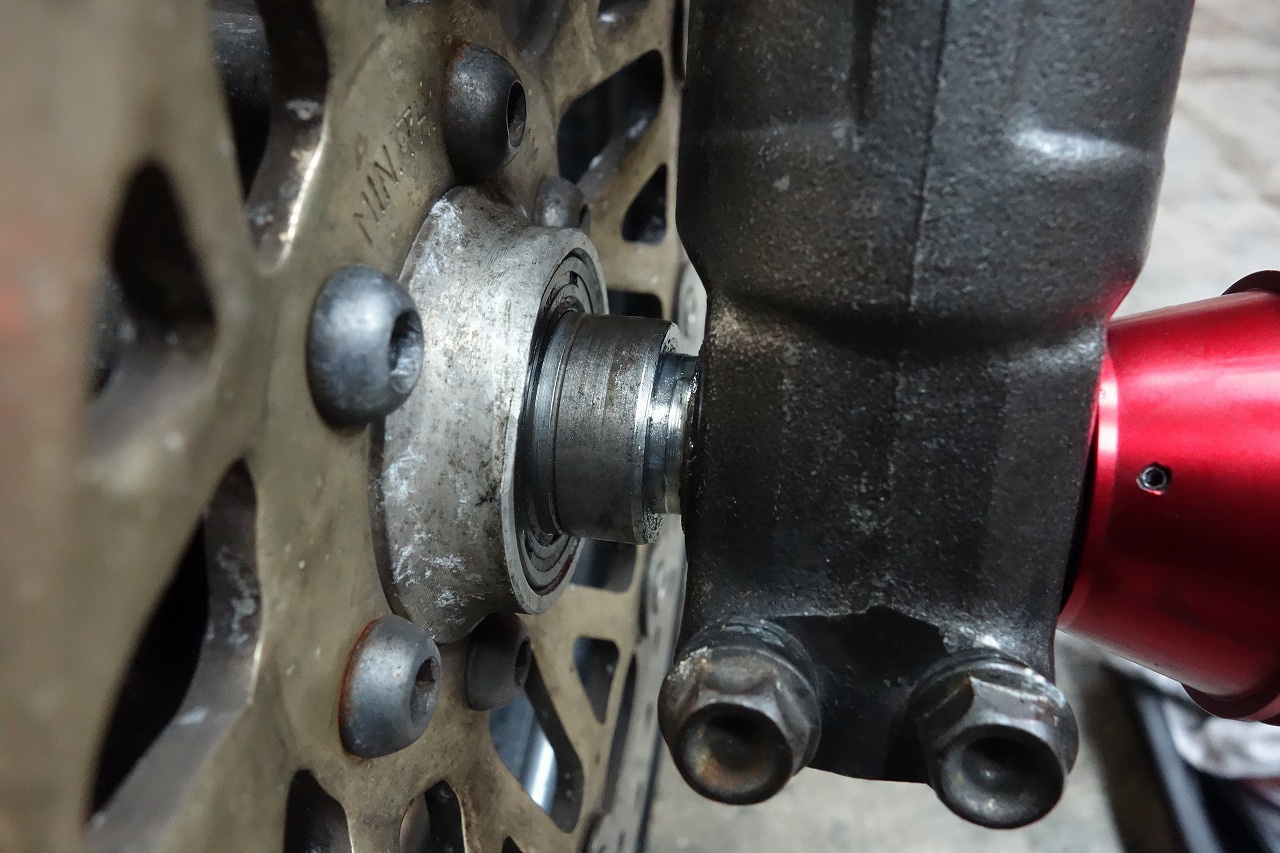
So we’re assembling and… there’s a gap that appeared.
(The spacer isn’t reversed or anything like that.)
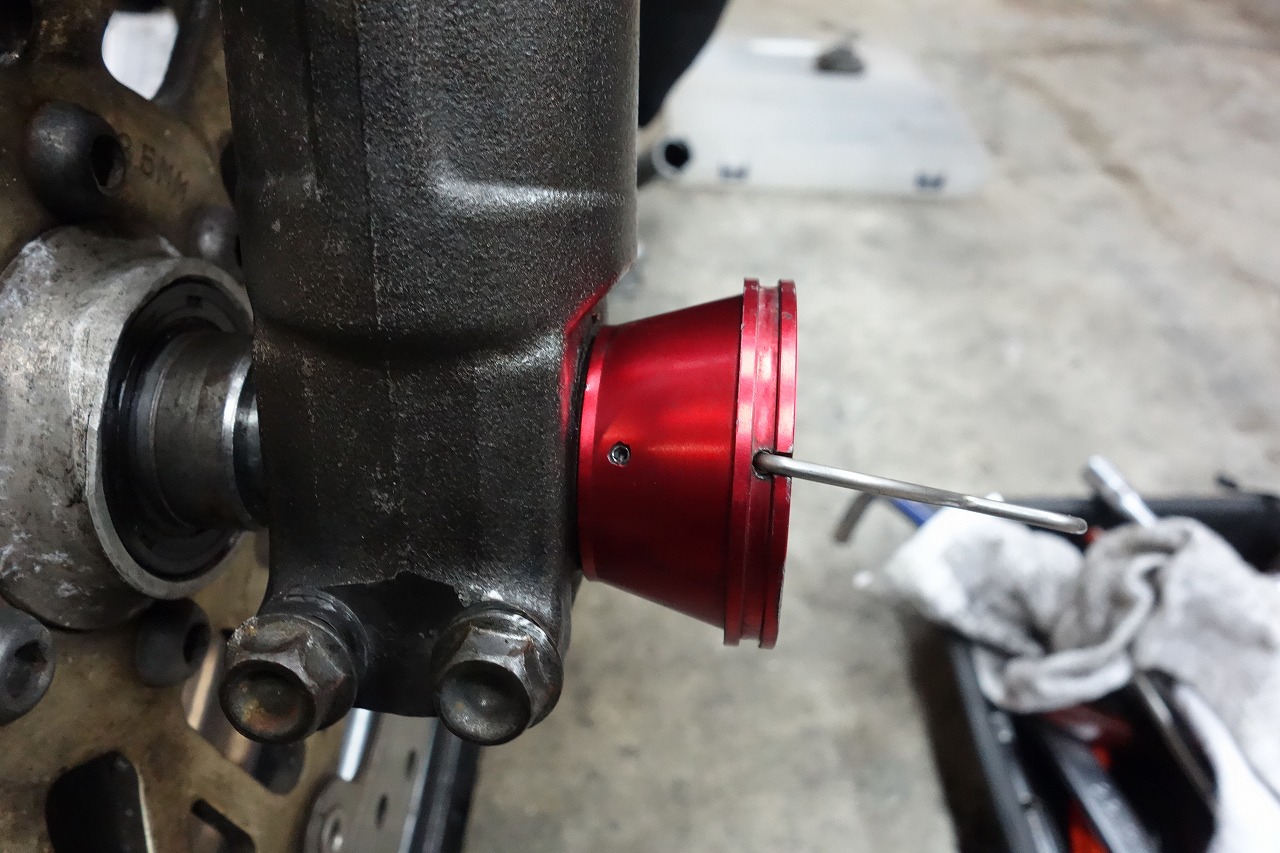
The tulip is definitely bottoming out on the bottom case. The shaft has step wear and needs to go further in. There’s a gap.
But here’s the shocking part—it was tightened up in this condition.
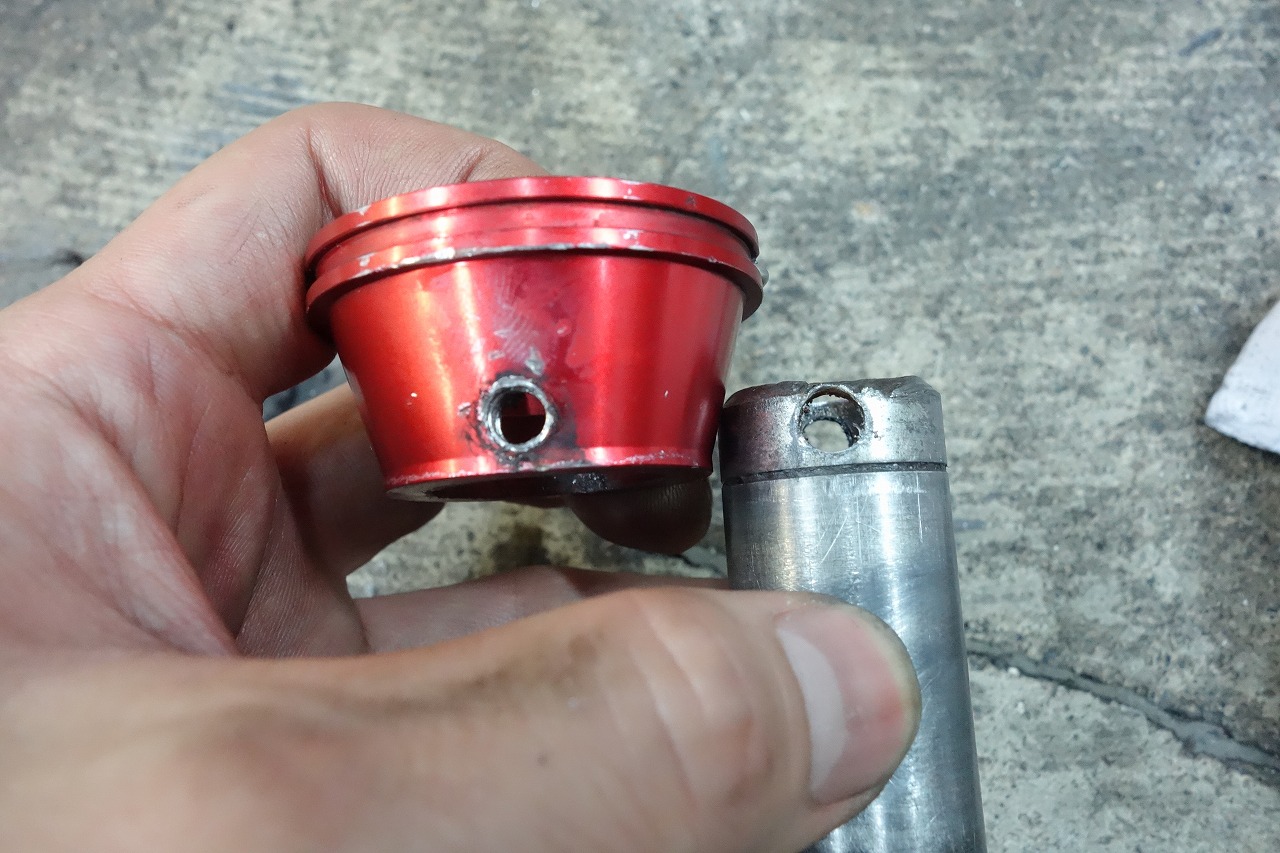
The RVF400 axle shaft is discontinued. Whether this shaft is original is unclear. It smells like an adaptation.
By the way, removing this tulip took 1.5 hours. The through bolt was V-bent and just wouldn’t come out.
The head was already damaged, so we TIG-welded and built it up to extend the head and somehow managed it.
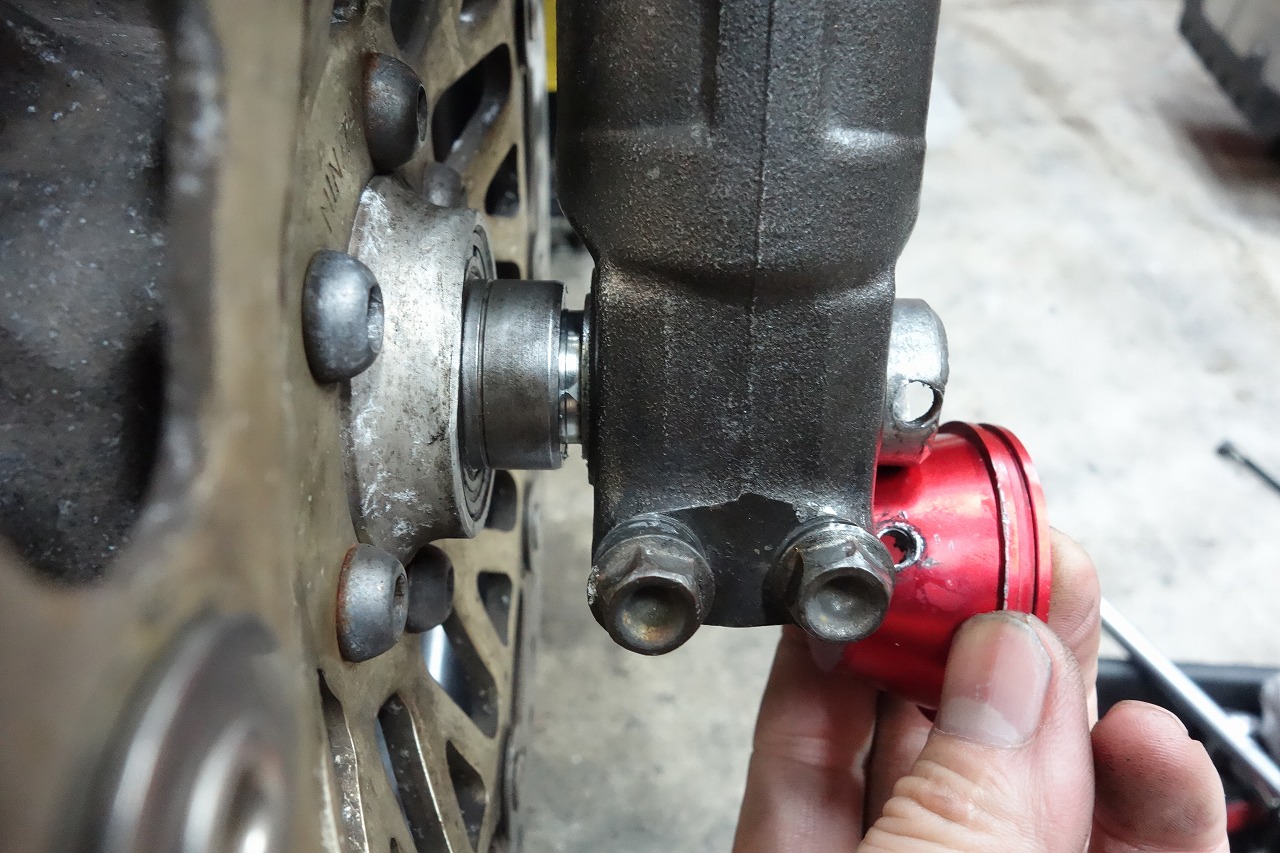
Whether this part is wrong or the shaft body length is different, I’m not sure.
But mounting it in this state is not good.
I mean, it’s amazing it ran at all.
Bikes are surprisingly tough, aren’t they?
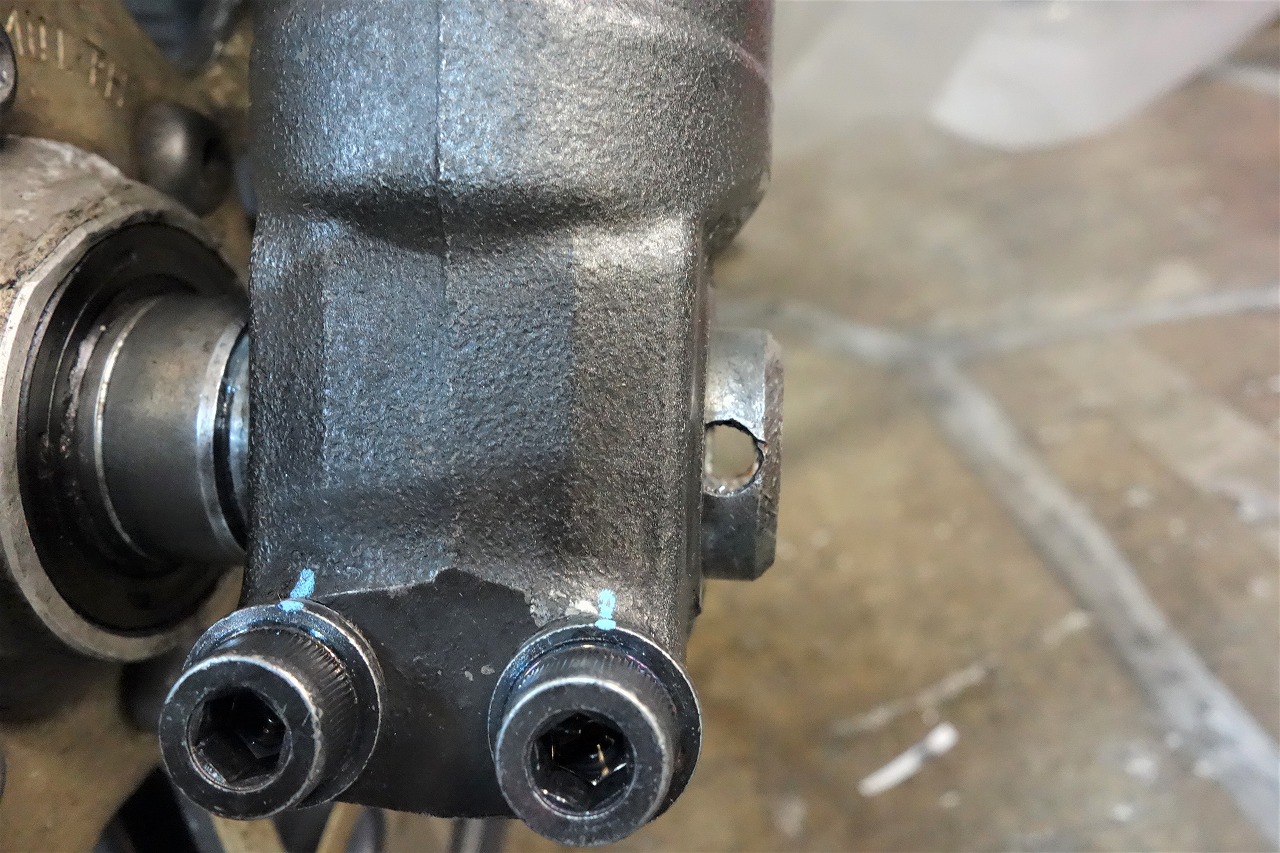
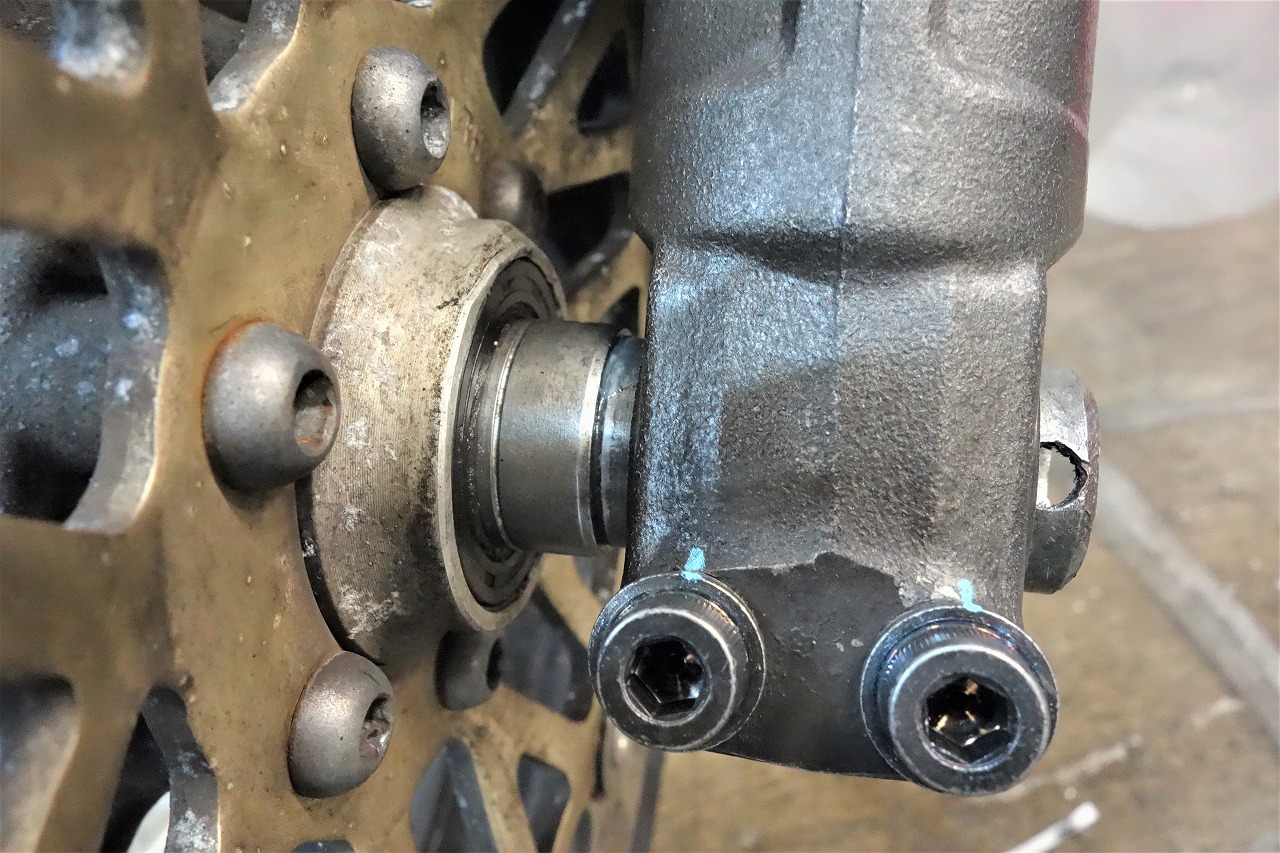
In the current state, the hole is completely hidden, so it can’t be installed.
To use this, we’d need to extend the left spacer length so the shaft hole shows properly.
With aftermarket parts, the instructions are important, but you also need to understand the assembly structure before you work, or you can run into trouble.
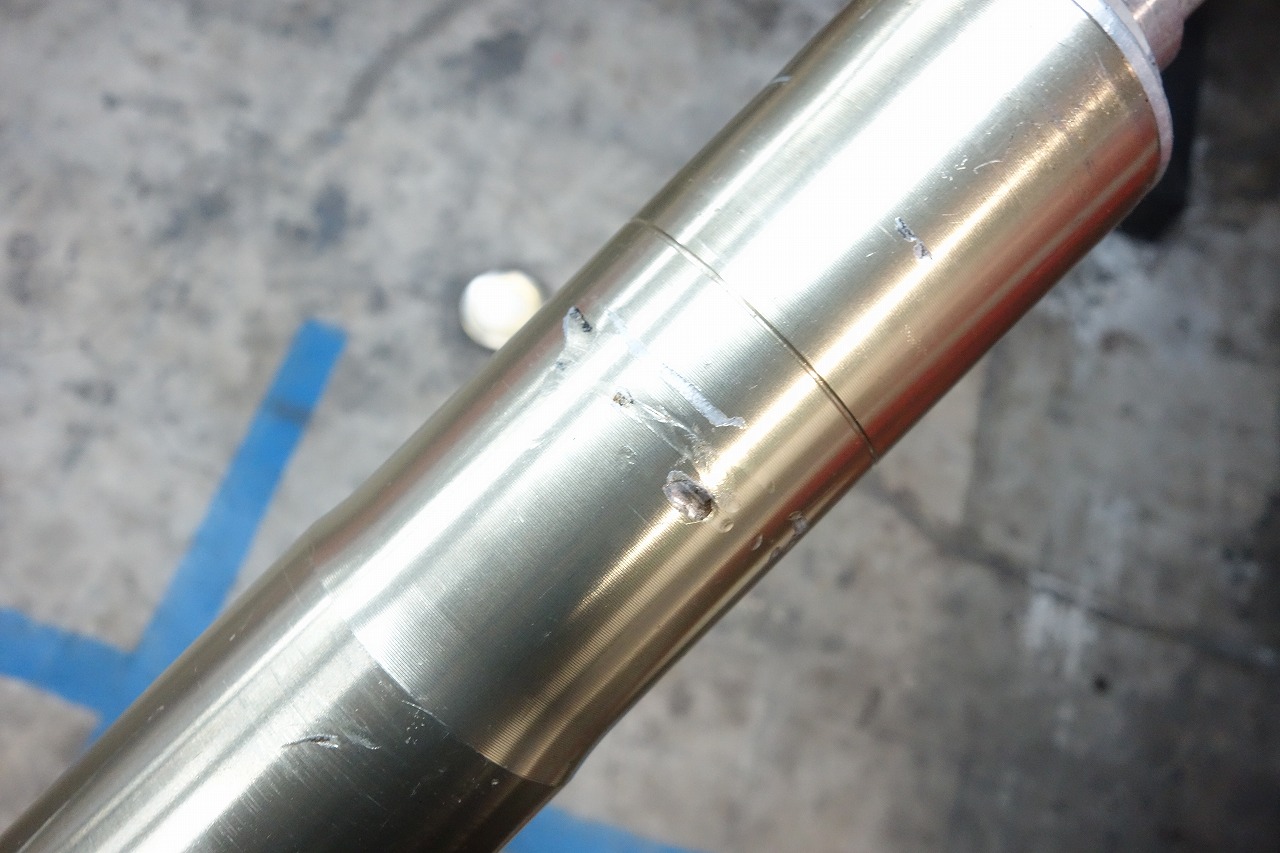
The outer case has some nasty impact marks and…
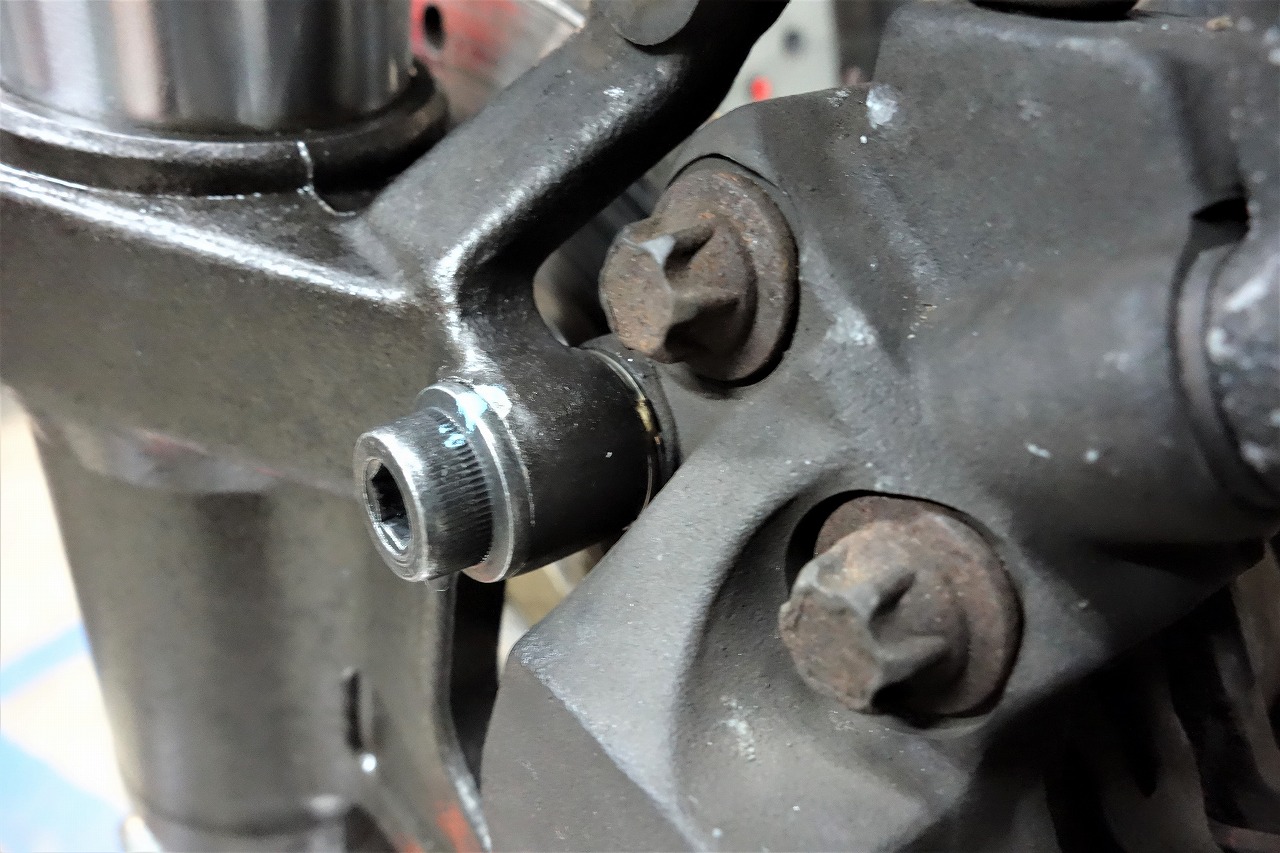
The right caliper is centered.
But the left caliper needs to be pulled in about 2mm to center it.
I thought it might be a disc offset difference, but they’re the same.
Used bikes have deep mysteries. We’re on hold waiting for some small bolts and missing clips.
[Work Progress]
9/17
● Stem bearing replacement
● Fork oil change
● Shaft inspection and parts removal
● Wheel bearing inspection
● Front tire runout check
● Axle shaft inspection
● Brake disc inspection