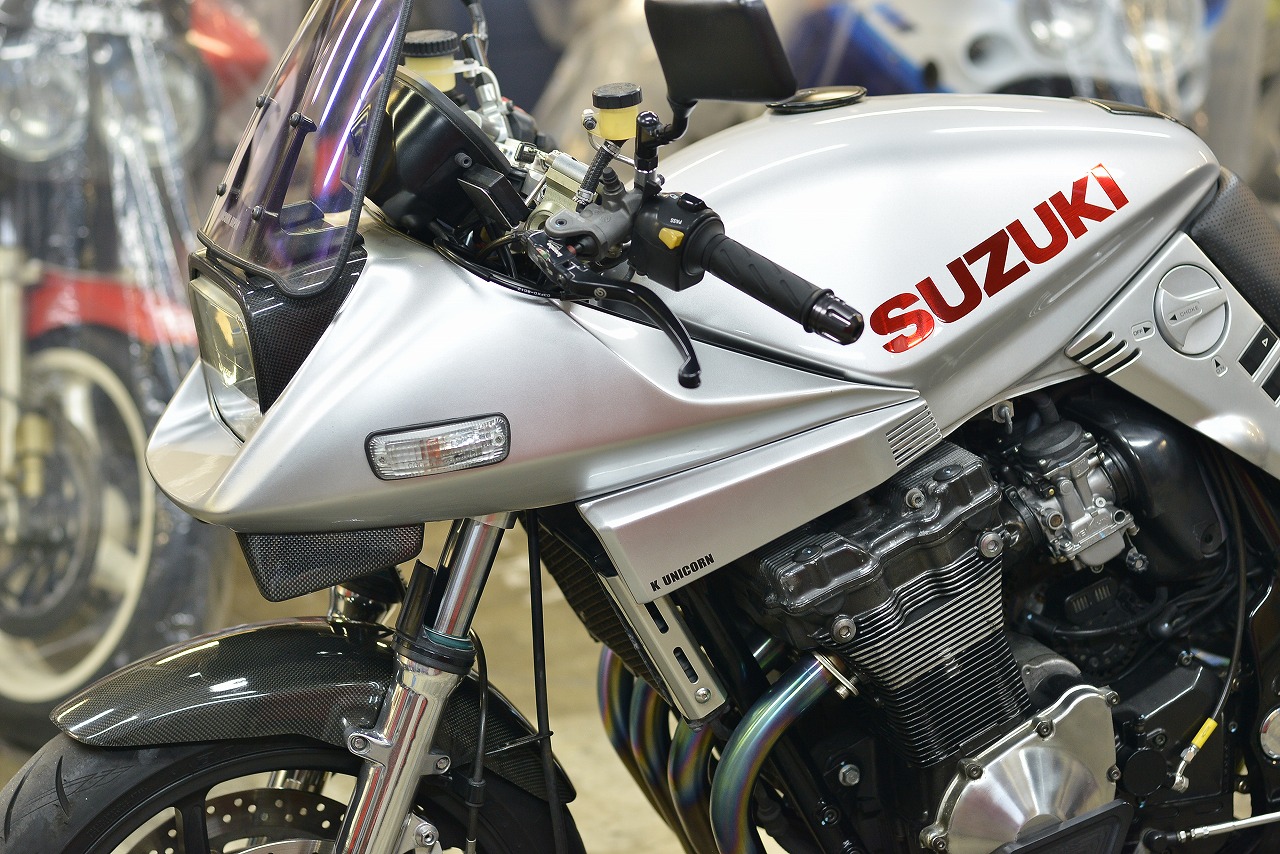
The Inazuma 1200 oil-cooled Katana is super popular?
The Inazuma 1200 was unpopular → make it a Katana! and it became a hit.
The GSX-S1000 was unpopular → make it a Katana! Big hit.
When in doubt, go Katana. If it’s Kawasaki, go Ninja.
Is it just me?
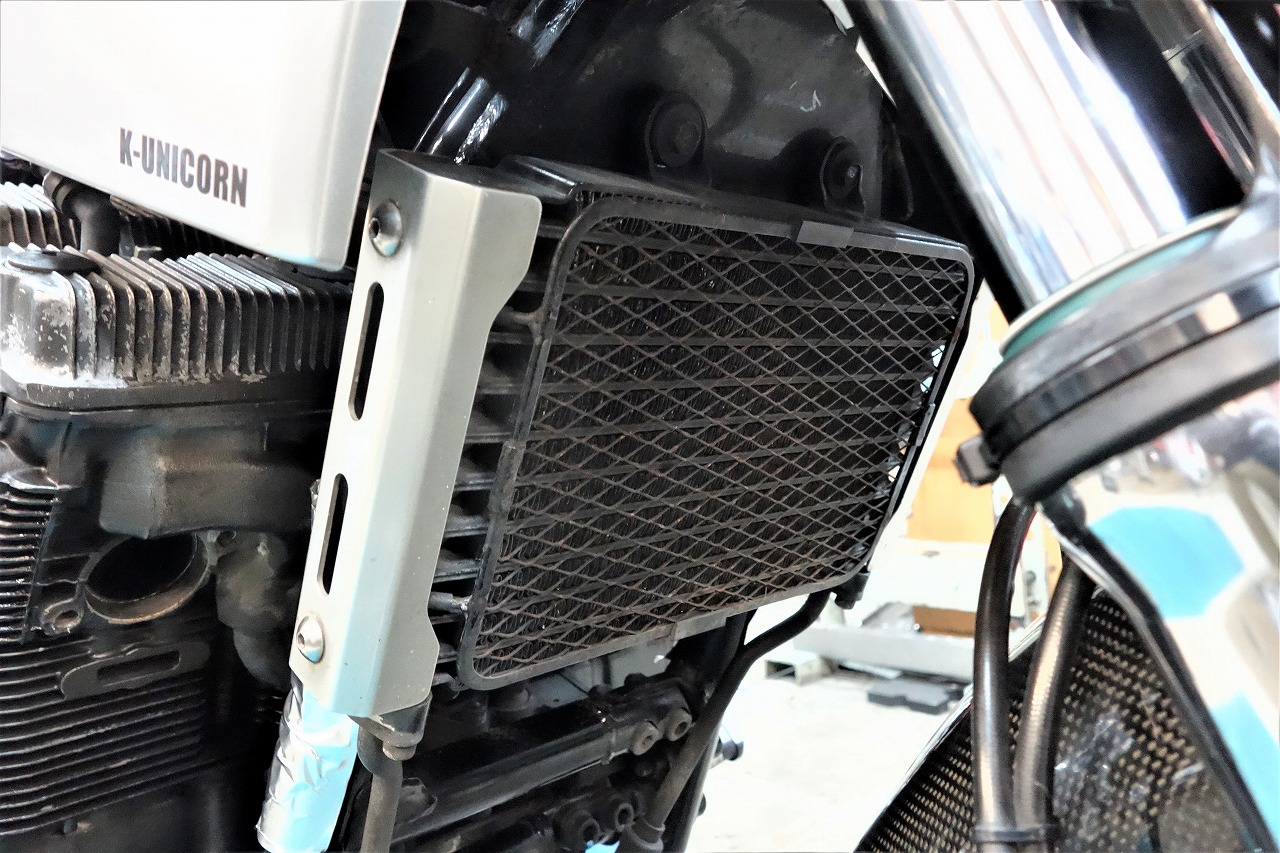
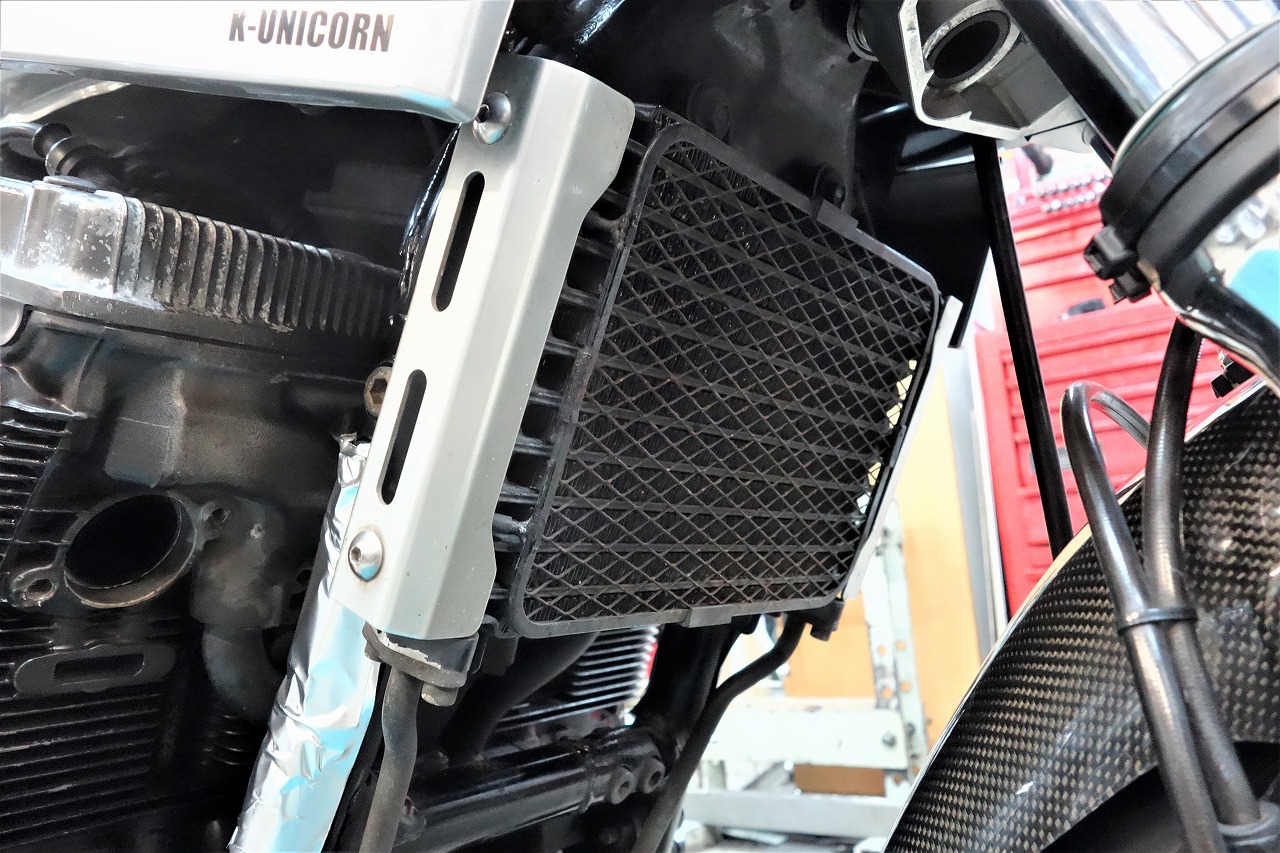
Before the change, for reference. You could use an oil cooler from a Bandit or GS1200SS (a bit wider), but it’s just a placebo. The oil cooling is still rough.
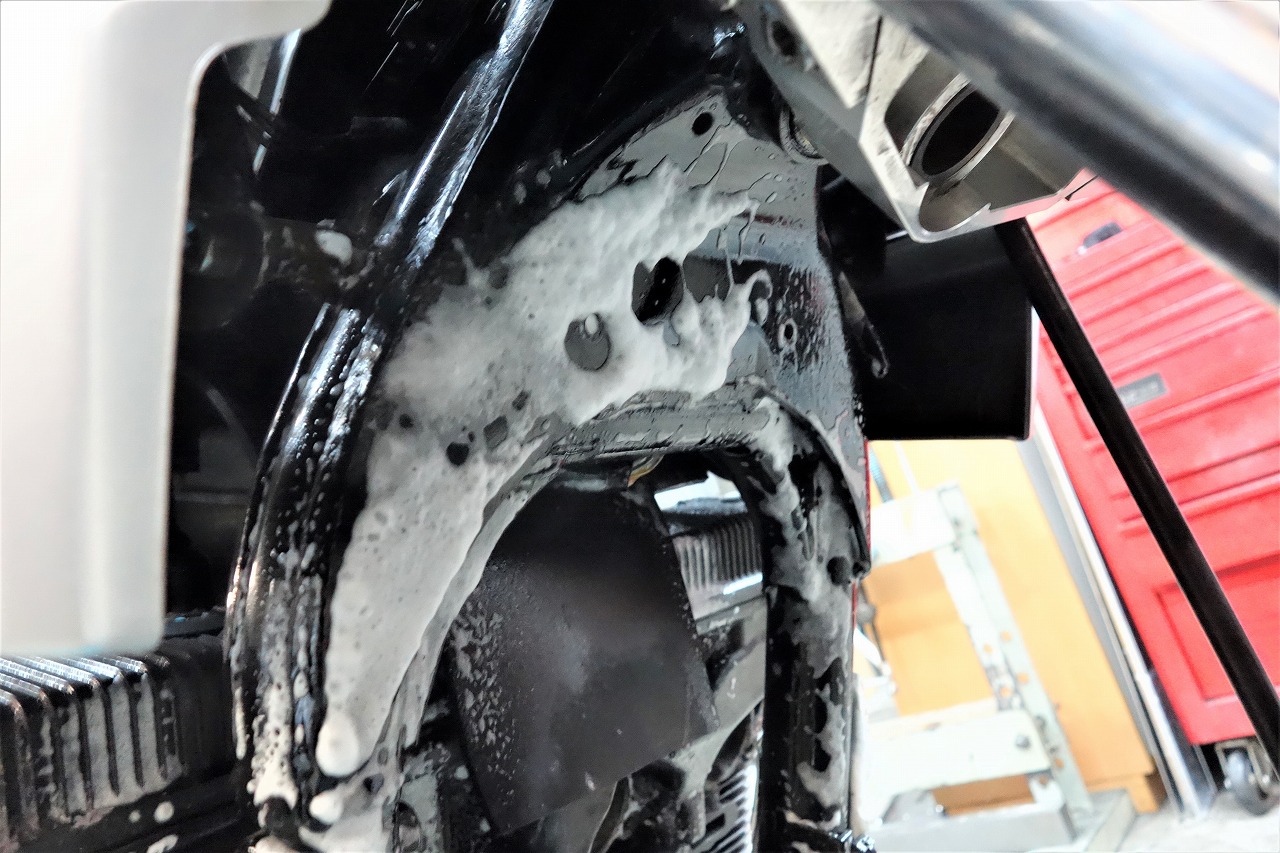
I applied it with a whoosh and left it untouched . I think this foaming action is what does the trick.
It feels like it penetrates deep with a kind of zzzzz sensation.
The other day I heard this wax is good Clean Innovator and it sounds nice when people say it’s similar.
This wax is a bit pricey too, but it’s quite handy and works nicely.
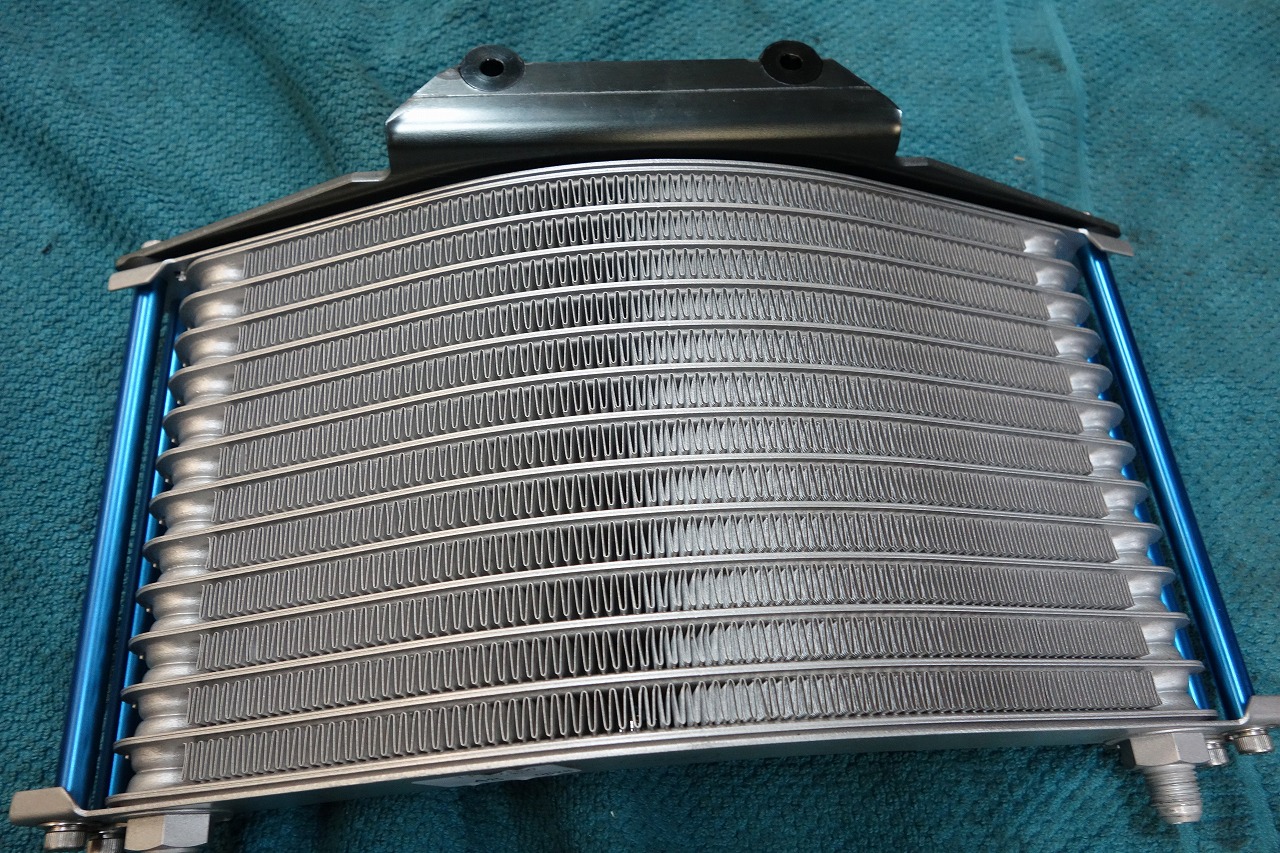
Nearly new P-brand oil cooler kit.
Hmm! Since it’s purpose-designed, I thought maybe we could finish it today? That’s what I was thinking at this point.
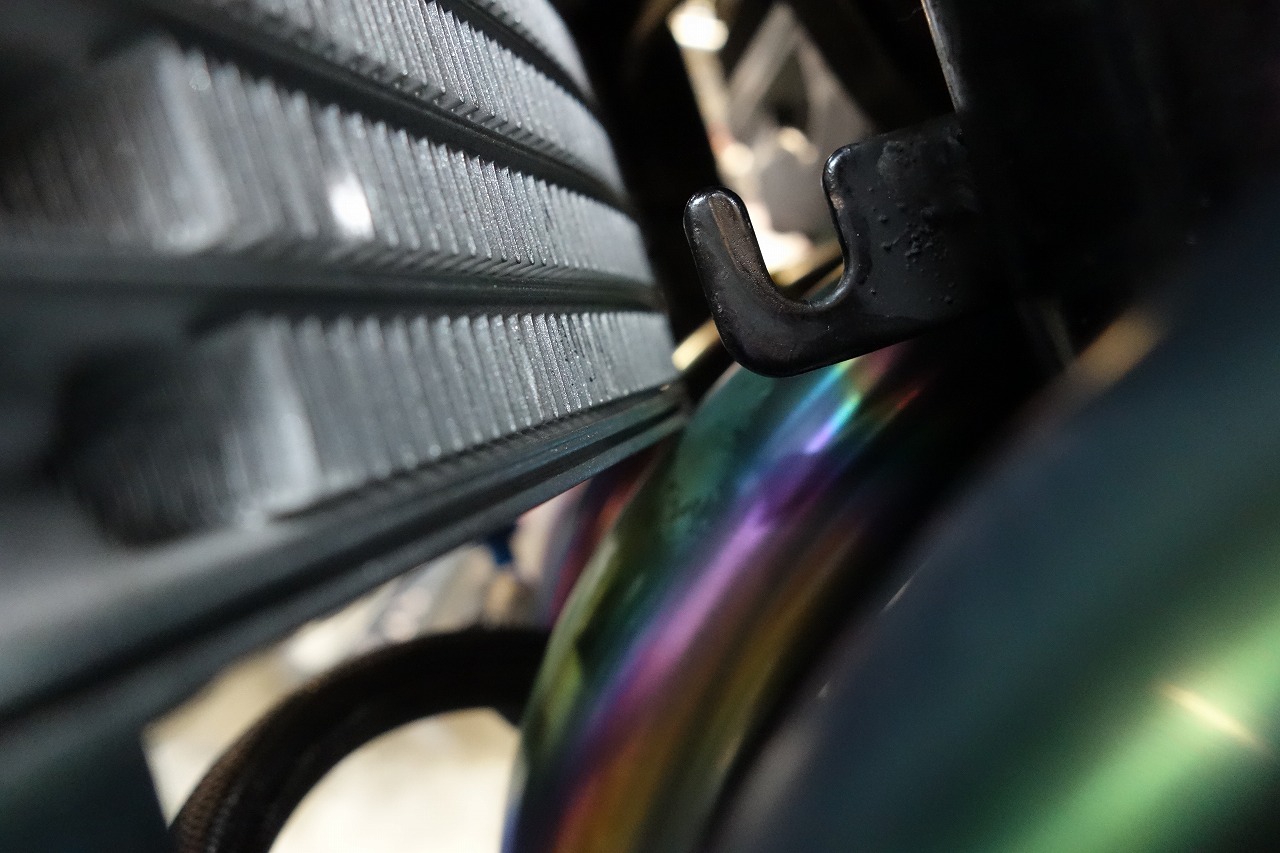
First… it contacts the exhaust pipe. That’s amazing.
Following the basic rule that bolt-on parts never fit
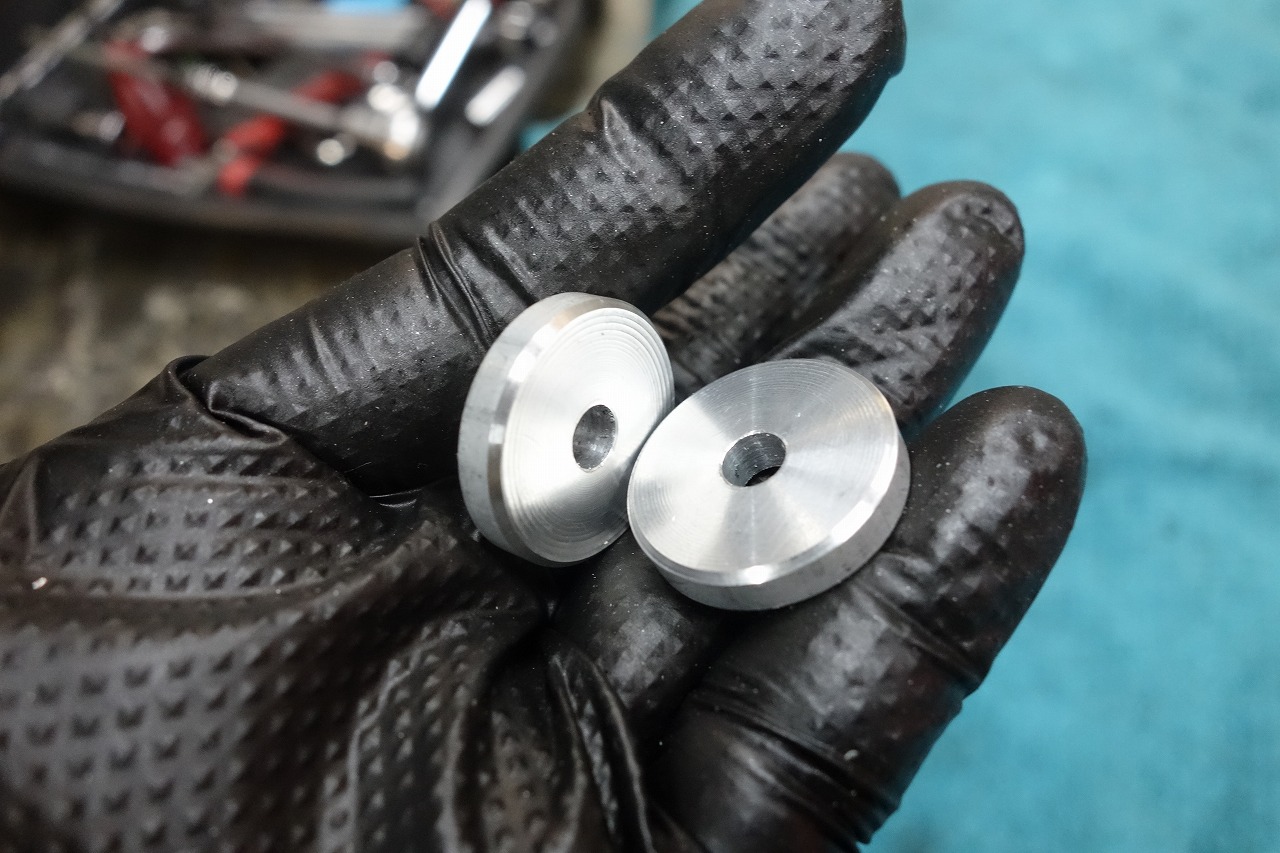
Wider outer diameter, moved forward about 5mm.
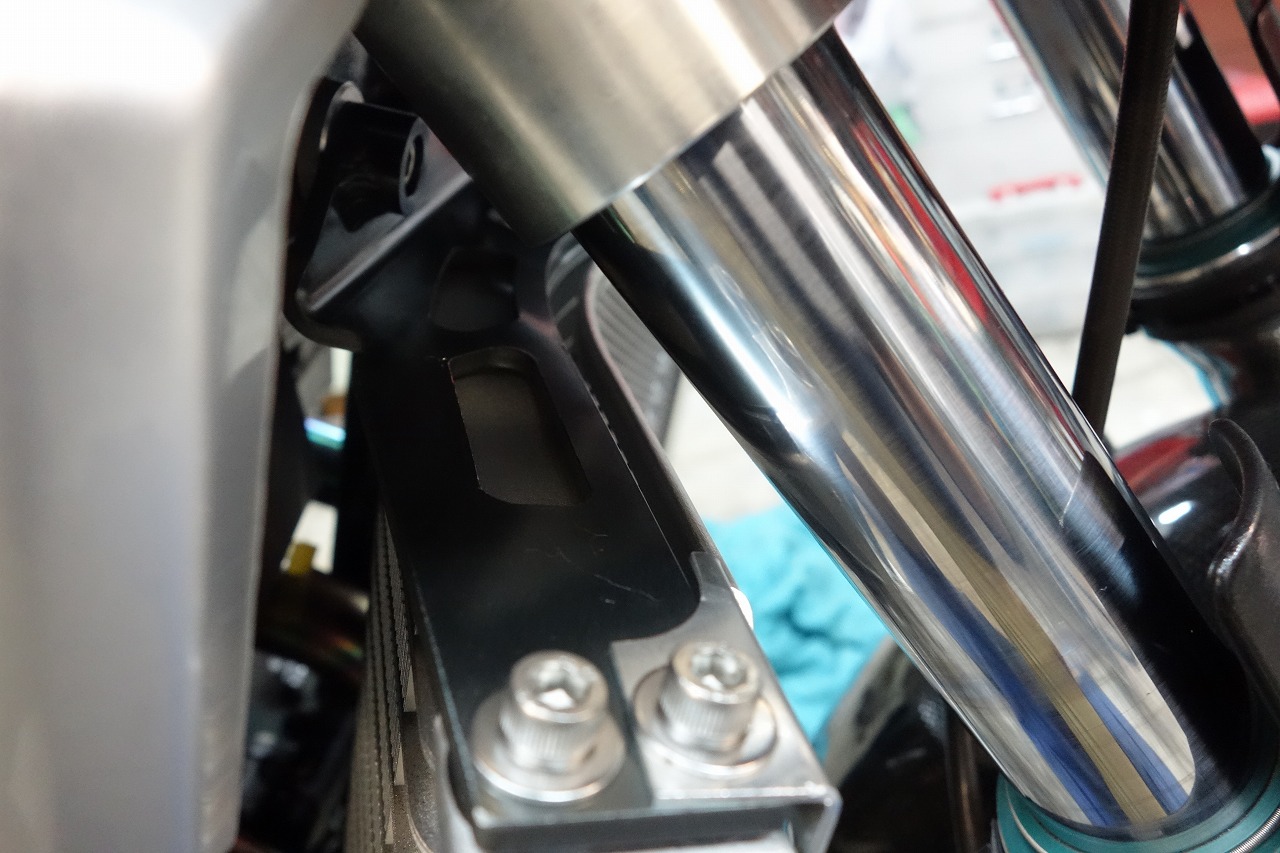
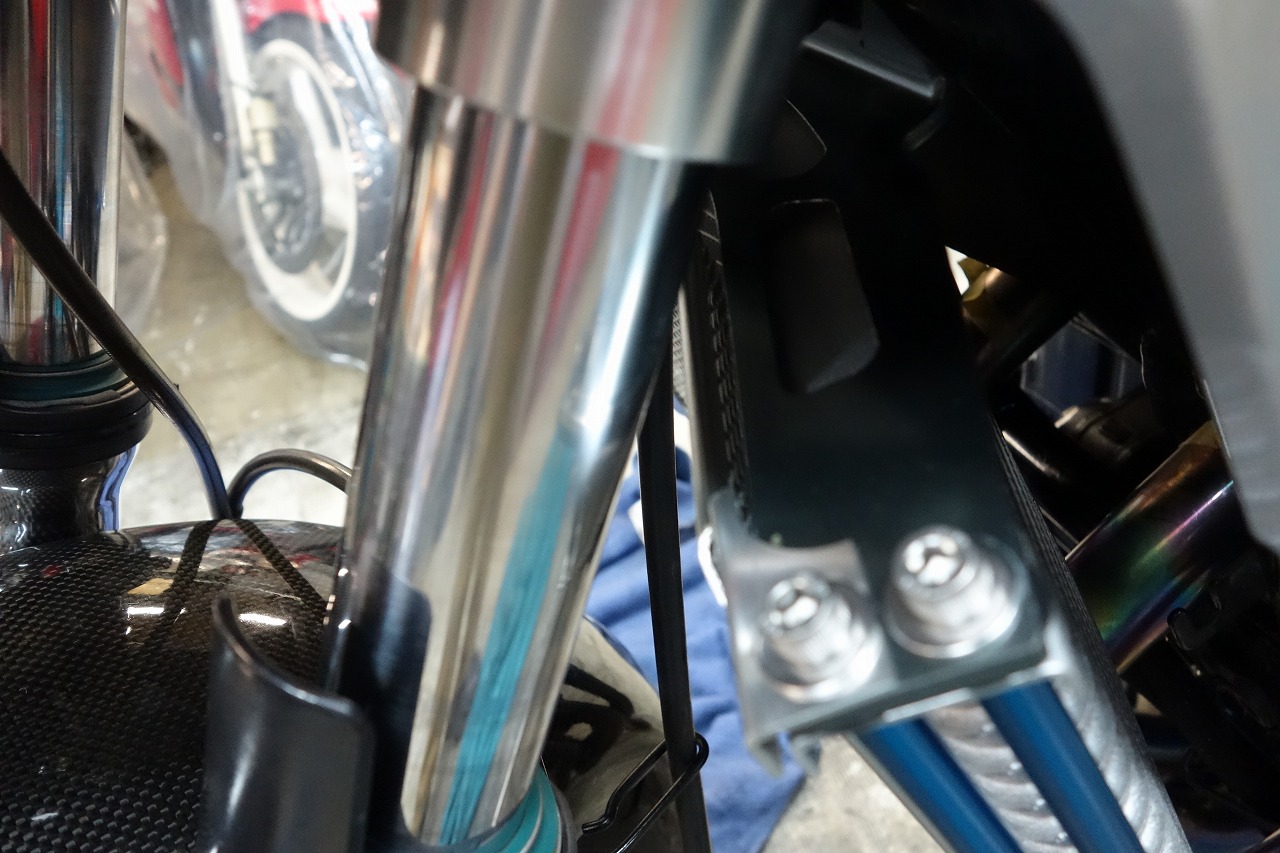
Next, lift the front and turn it left and right to check.
Oh… surprisingly clear.
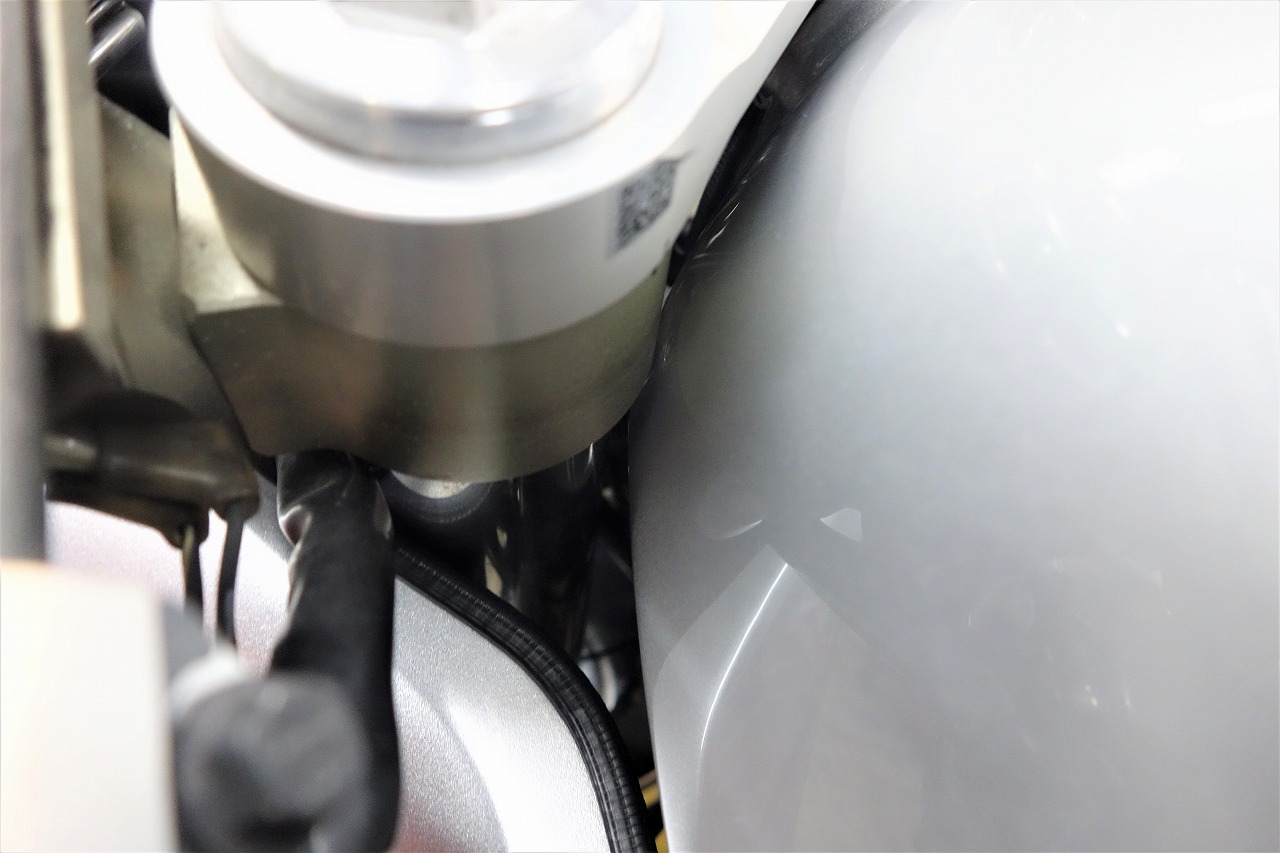
Looking closely…
the handlebar and tank are super close? Or when you push hard it hits…
Was it?
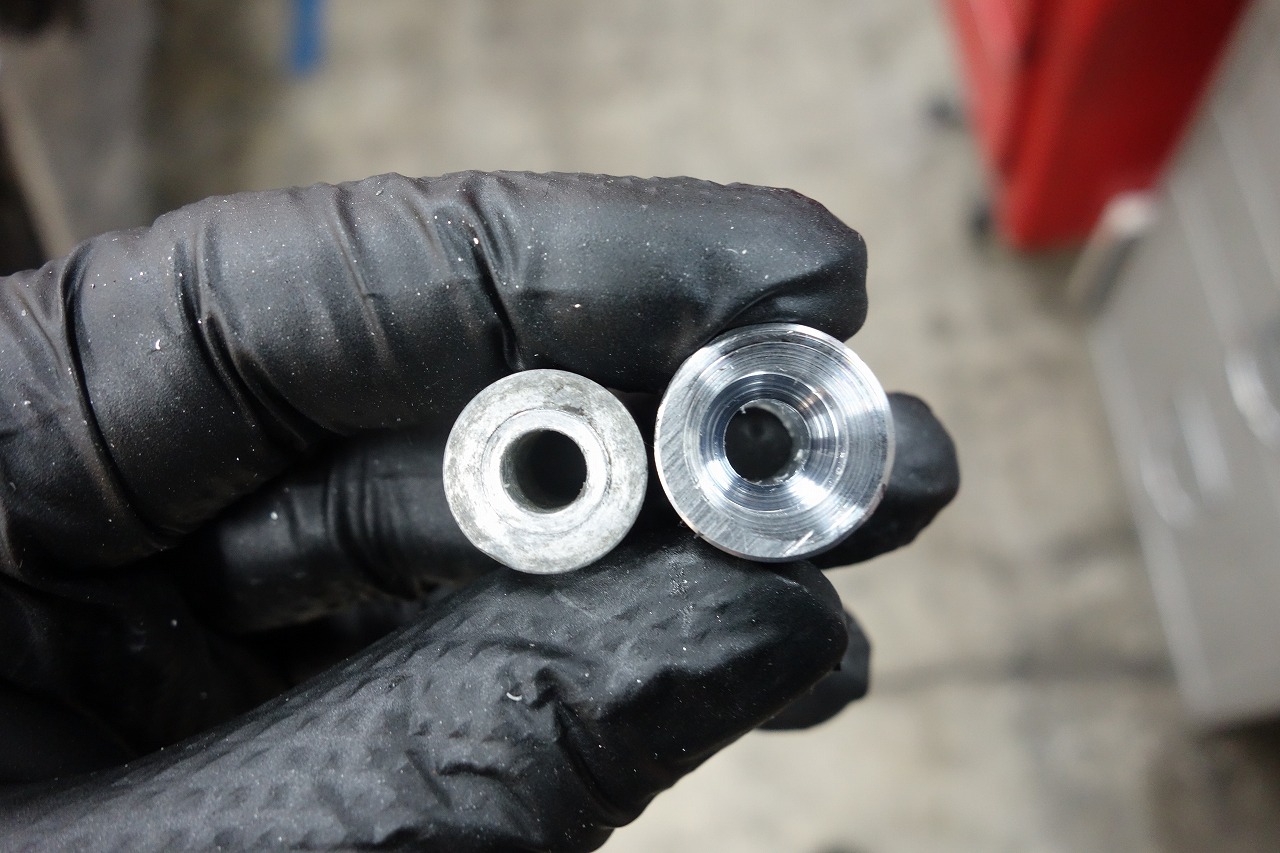
Make the stopper outer diameter larger, sink it, and also fix the head—that might make it really solid.
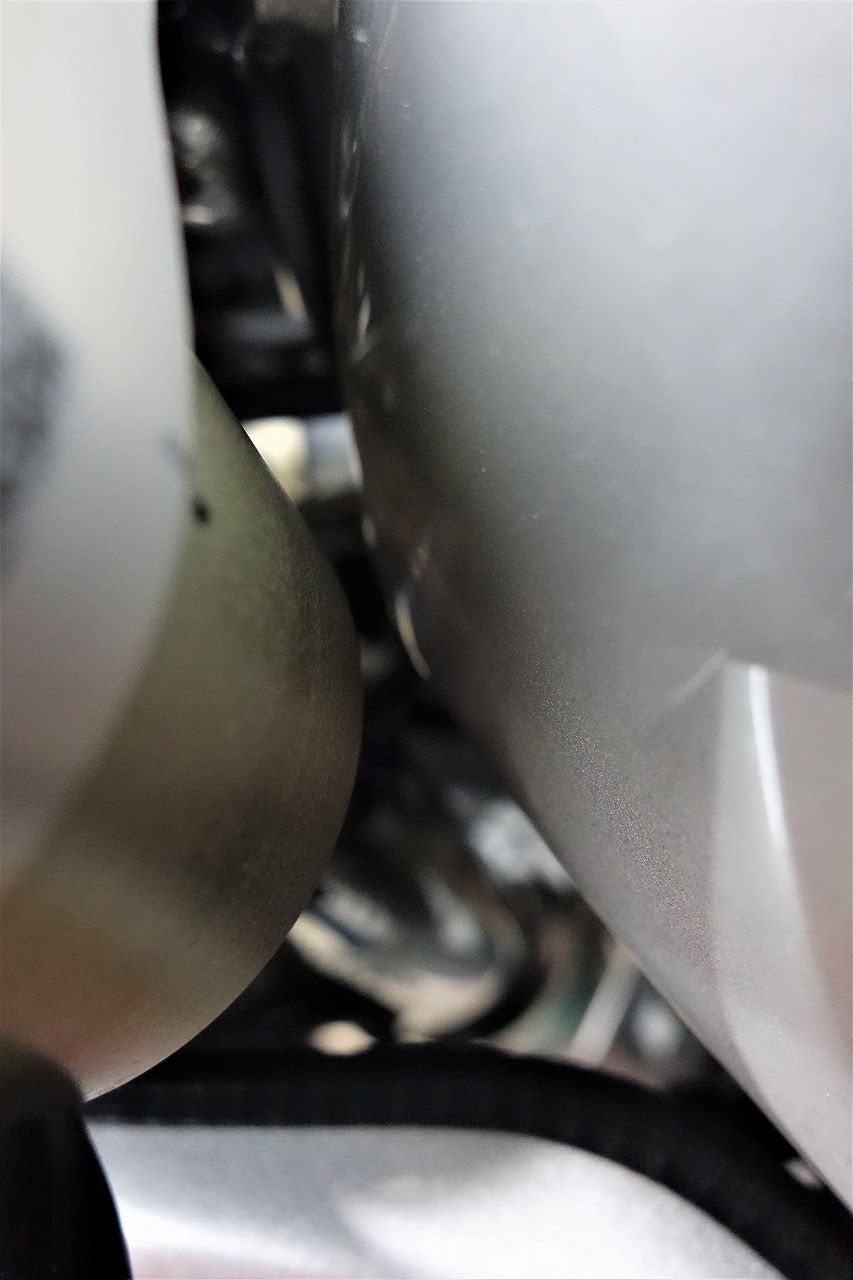
That’s reassuring. I got sidetracked, so let me get back on track.
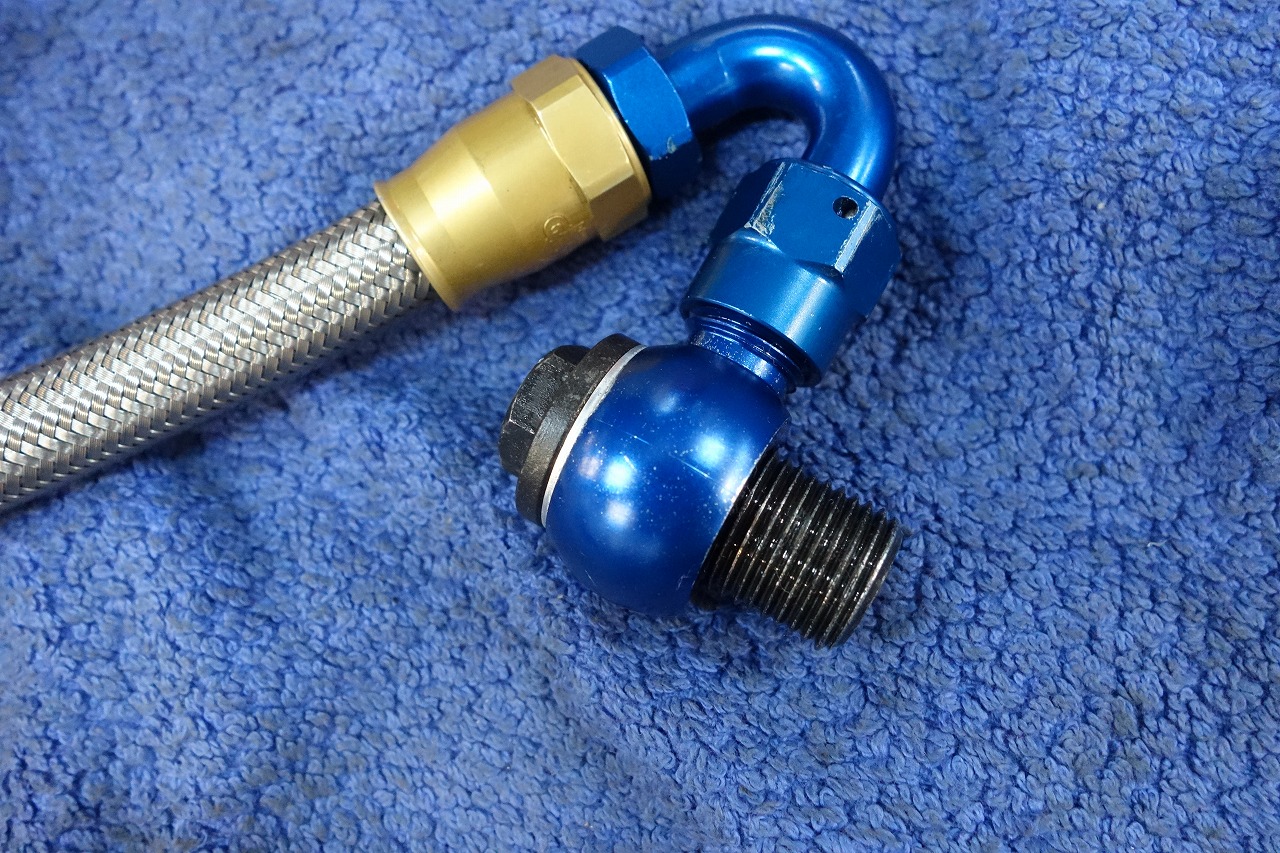
It’s such a maze… it’s kind of moving in a way.
*You can’t pass the bolt and gasket through unless you connect them first.
First
• The oil cooler has bottom inlet, bottom outlet (used to get criticized, but lately it’s OK?)
→ Probably they were worried it would interfere with the stem, I’d guess.
Because of that
• The hose layout becomes super tight.
→ With top inlet, top outlet you could go almost straight, but reversed it twists and turns around the exhaust area, and since it’s soft hose that looks nice at first glance, later you’ll need to restrict its movement…
The troubles of purpose-designed parts.
You can install it, but you can’t install it safely.
I thought for a moment, wouldn’t it be better to just use the cooler core and build it from scratch…
But since it’s purpose-designed… I decided to give it a shot.
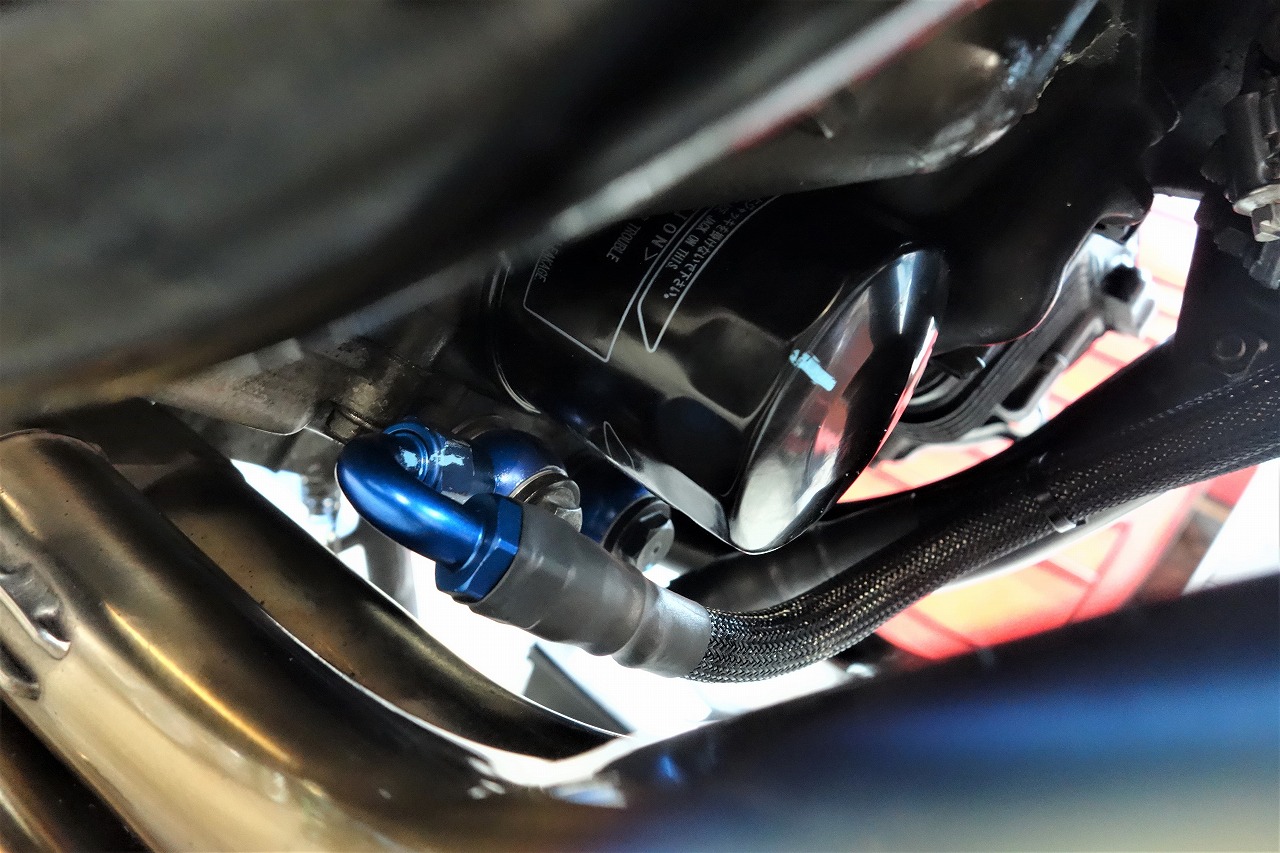
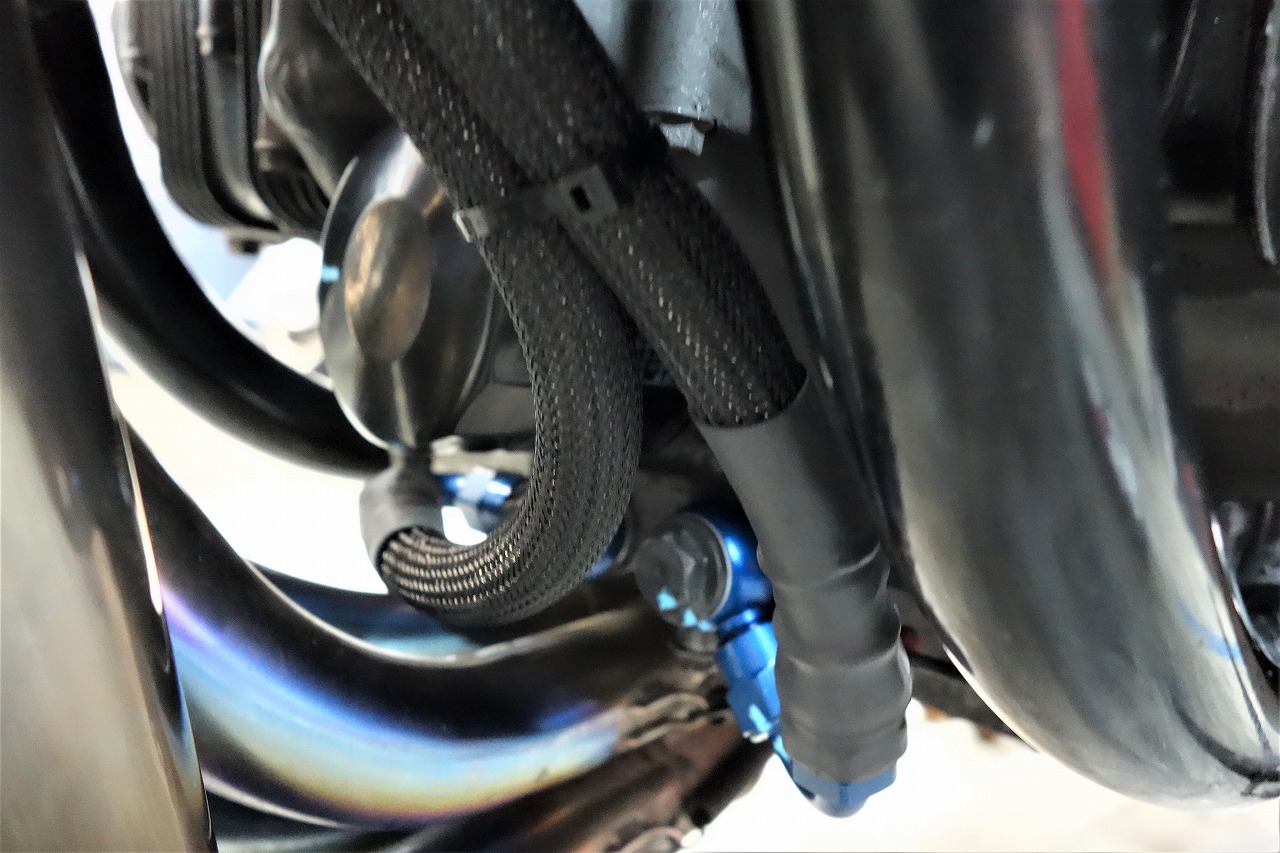
So the oil filter can be removed ~ keep heat away from the exhaust pipe as much as possible ~ that’s what I decided. By the way, the fitting angle is subtly different.
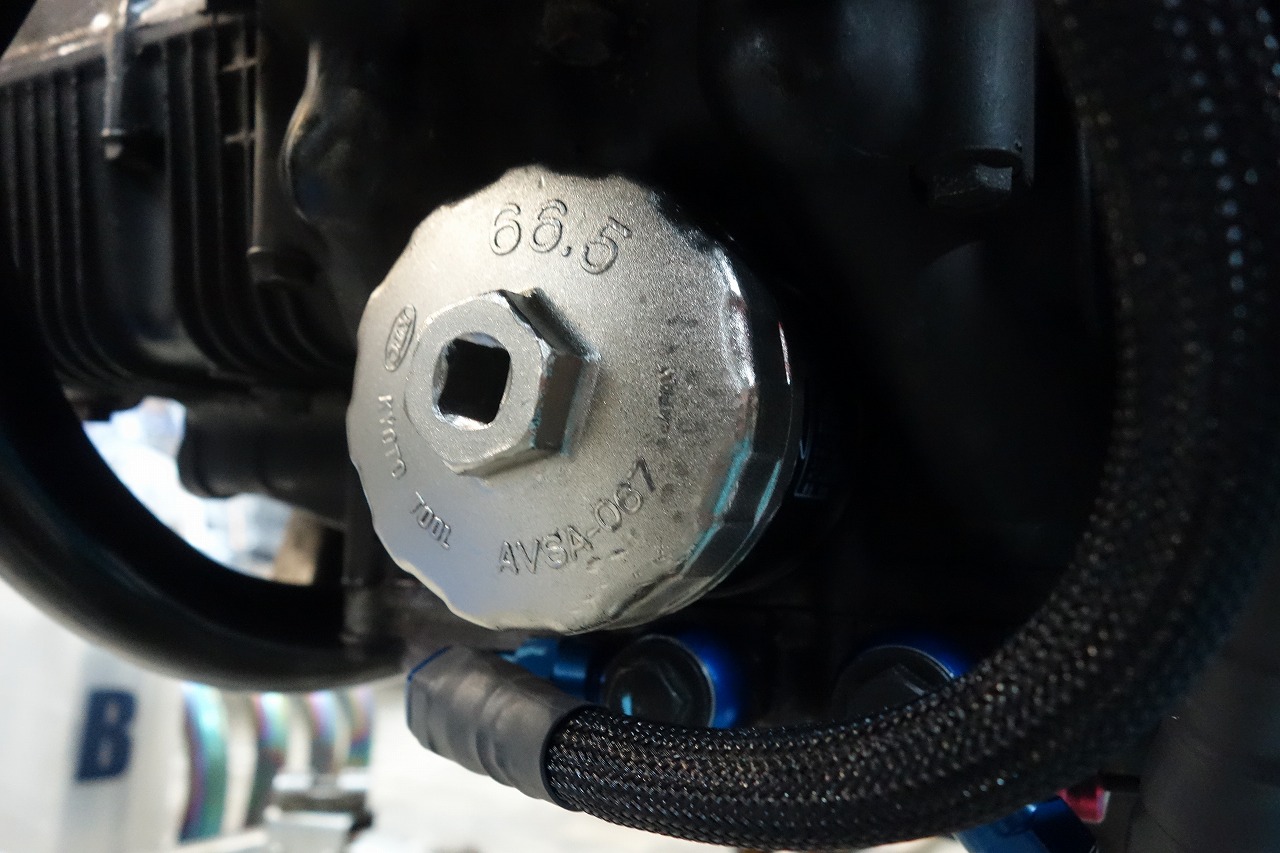
The filter wrench fits too, so that’s reassuring.
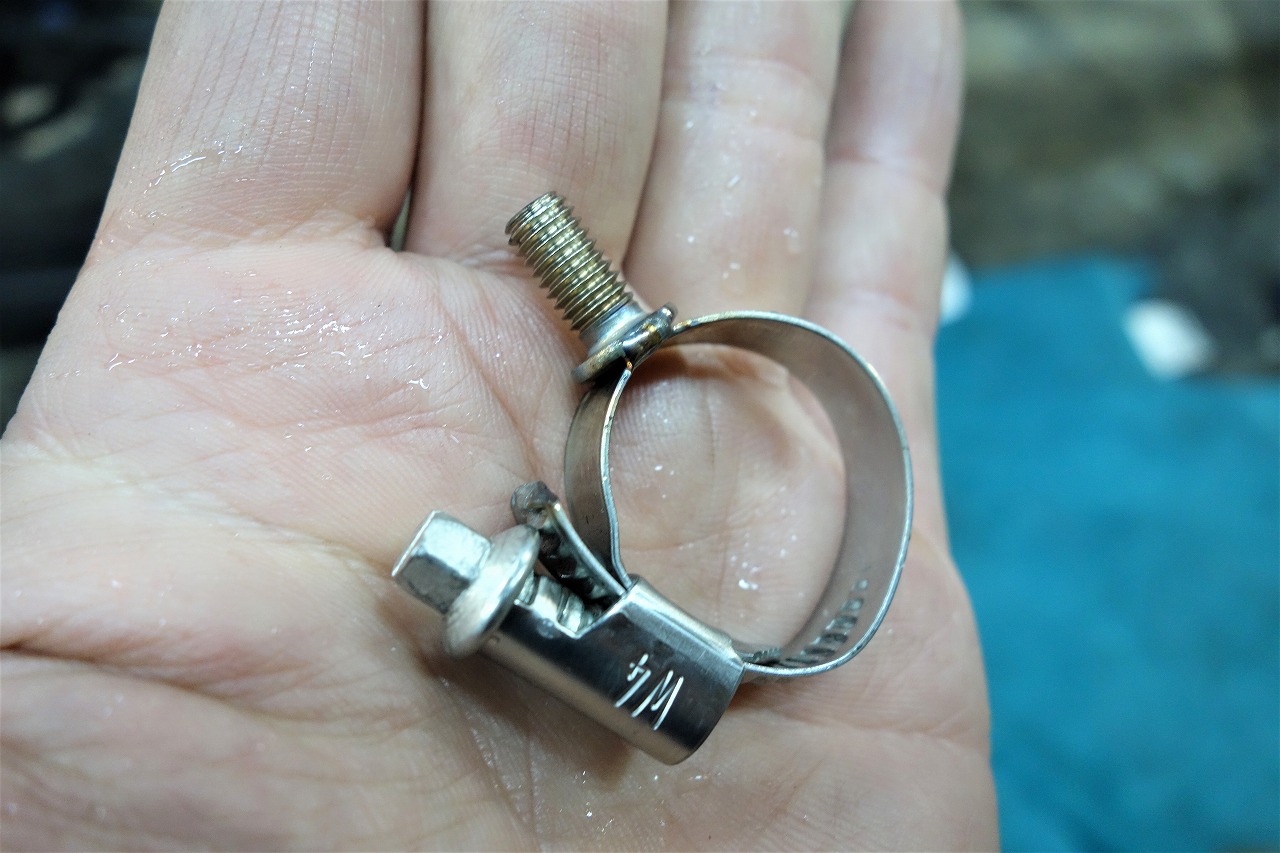
As usual Norma hose clamps (unlike irrigation hose clamps, these don’t have grooves).
Please definitely use grooveless hose clamps.
And then I spot-welded ultra-low-head bolts and mounted them here.
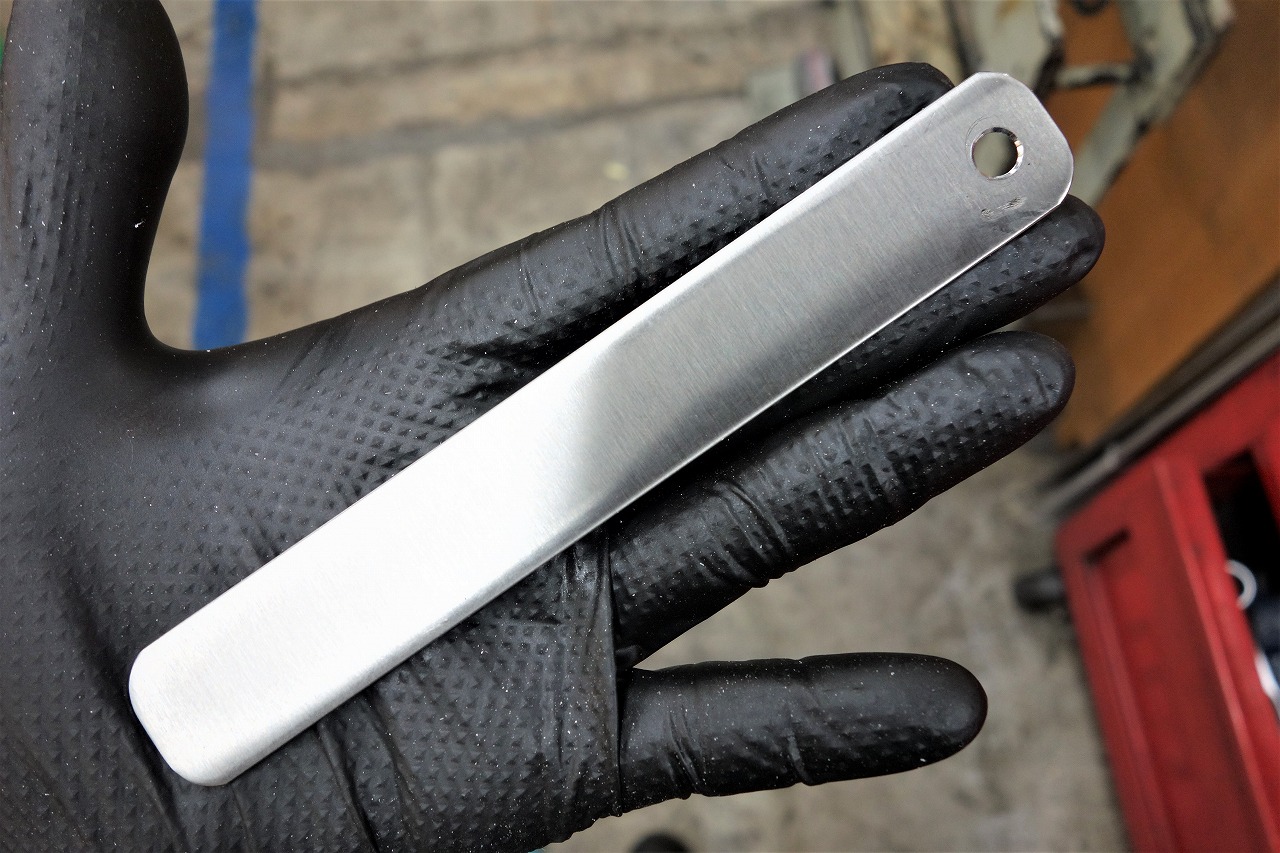
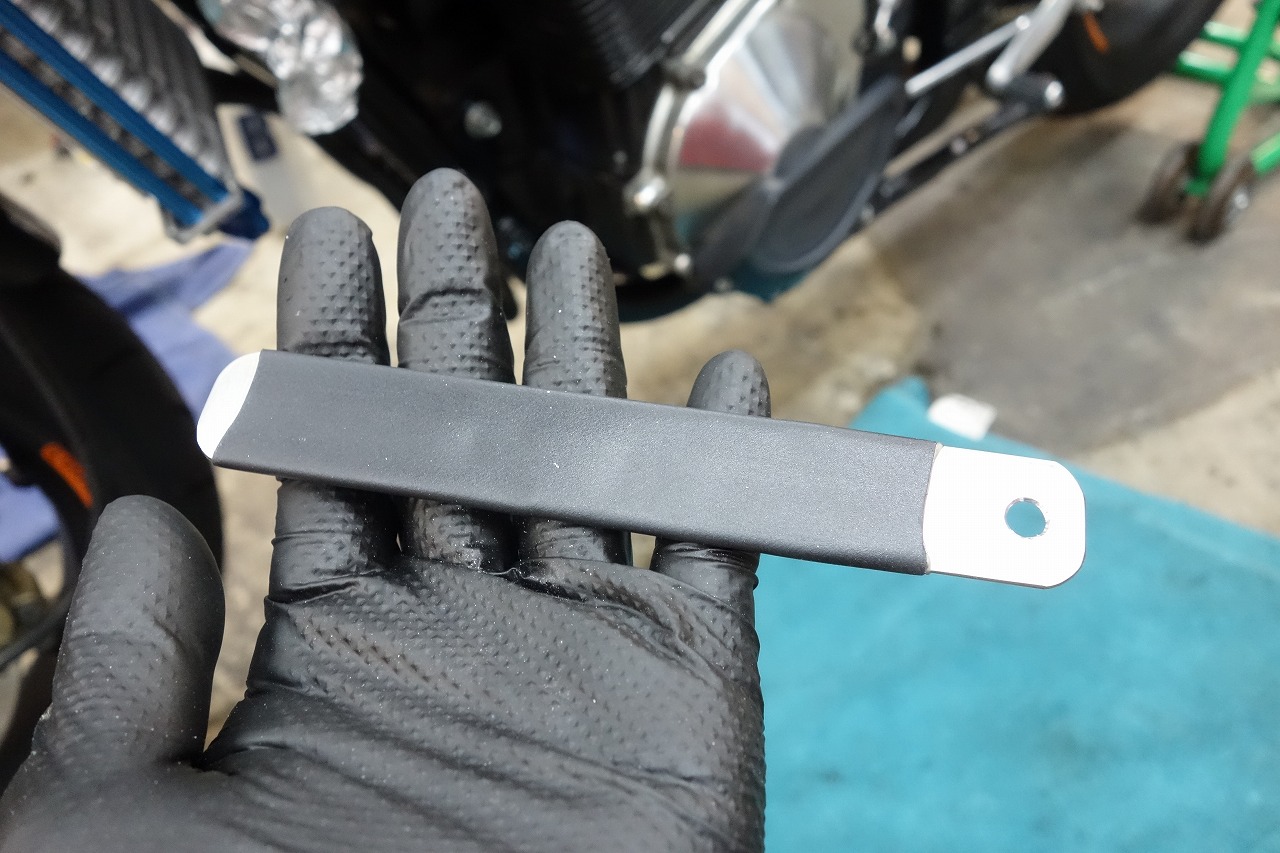
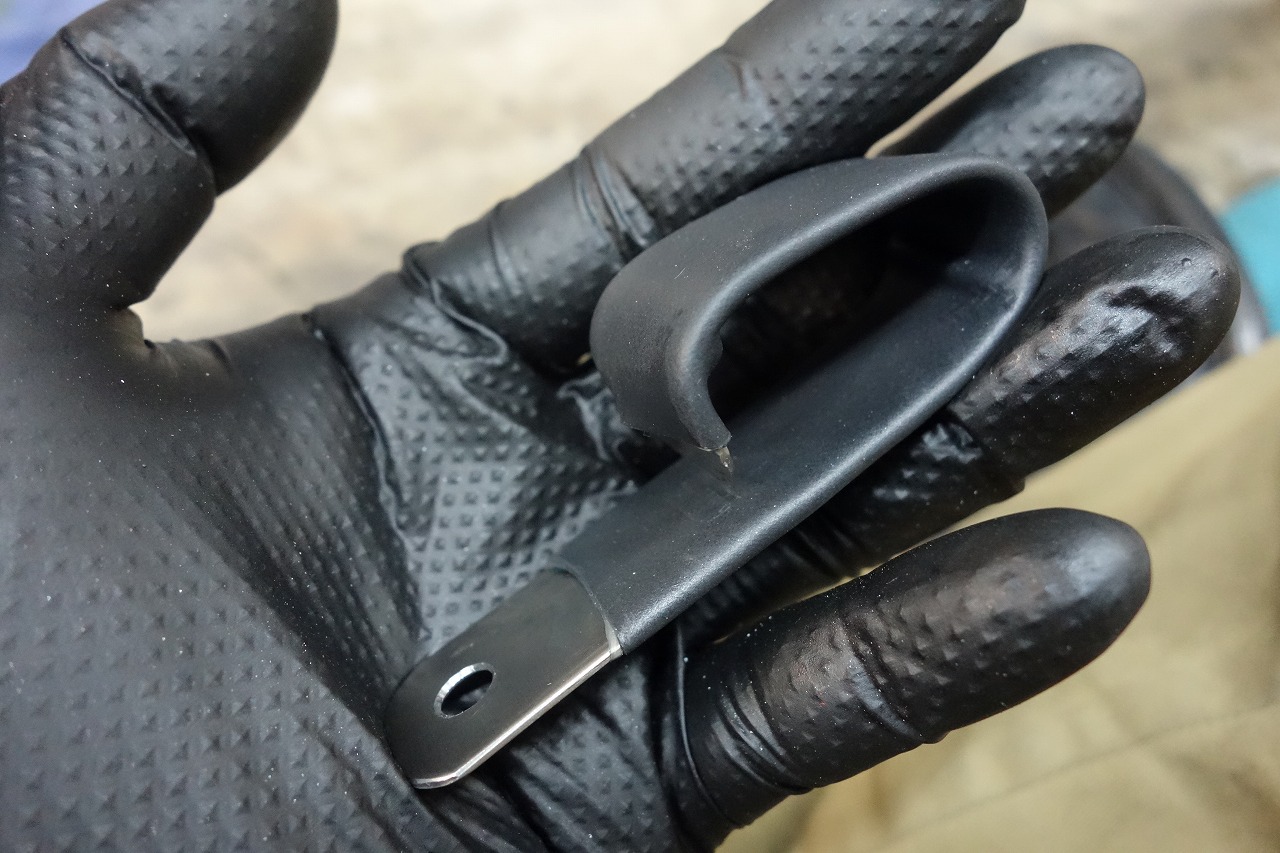
Cut SUS304 sheet with a shear apply 41 and shrink.
When heated, the adhesive melts and even if you bend the sheet, it won’t peel off.
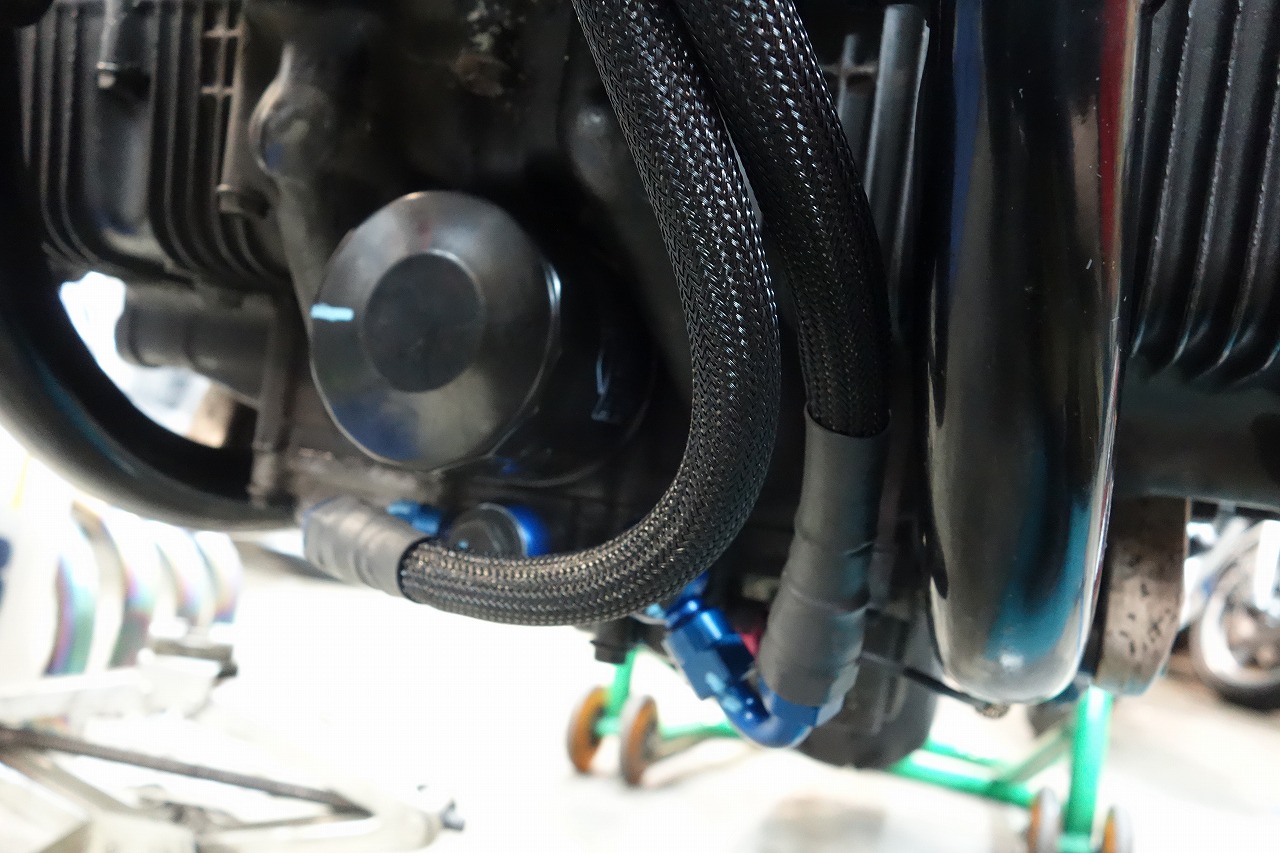
I made it like this
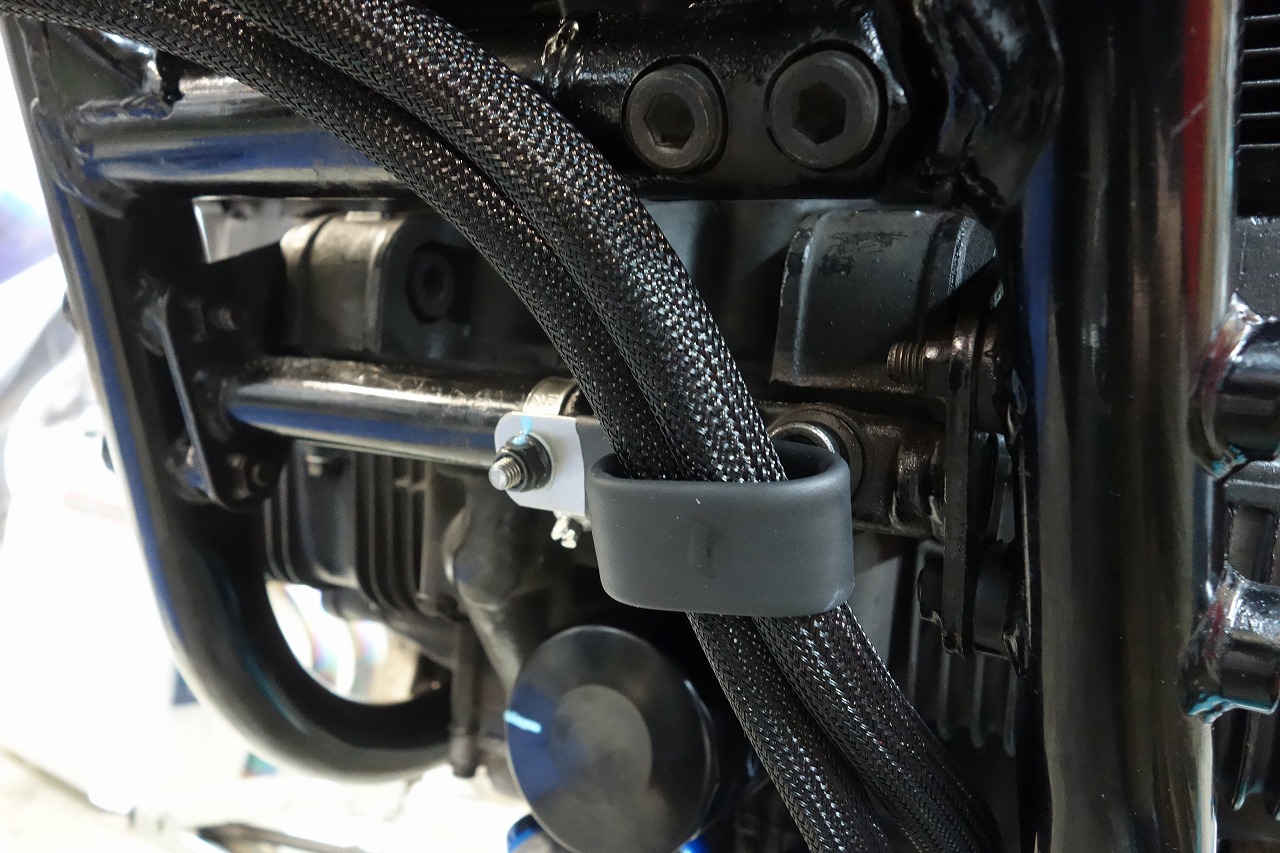
Like this.
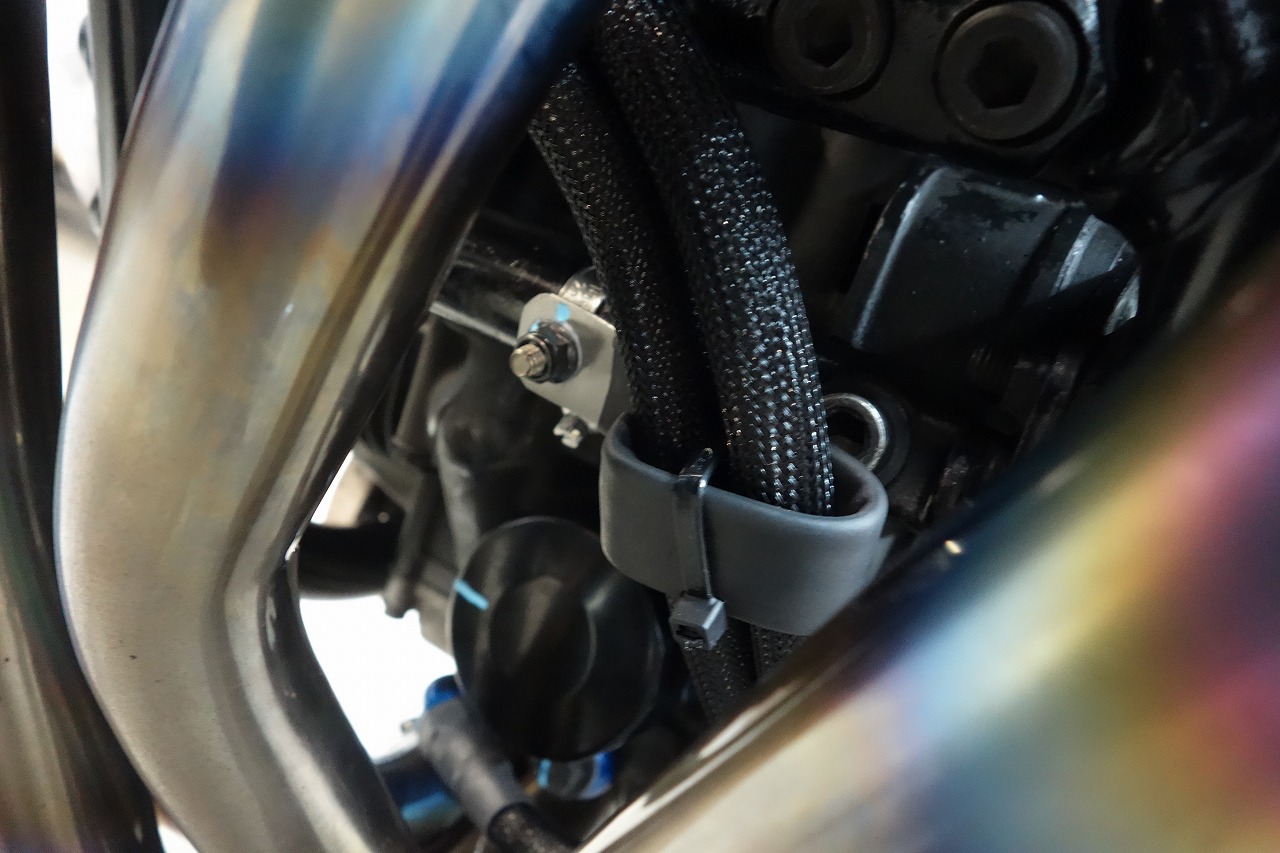
And to make sure it doesn’t move, I added insurance.
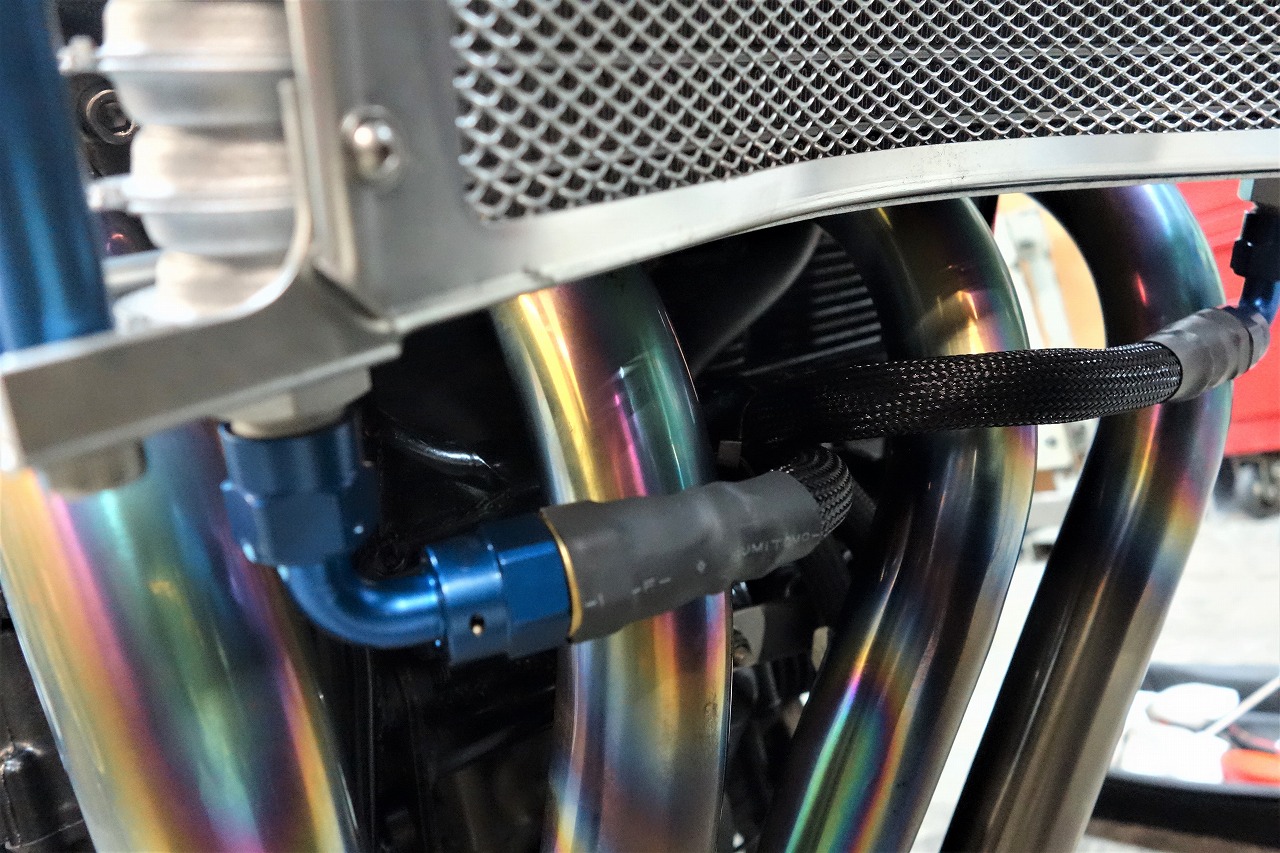
I also tried the 1-2/3-4 method, but it’s pretty risky.
I routed it with as gentle a radius as possible.
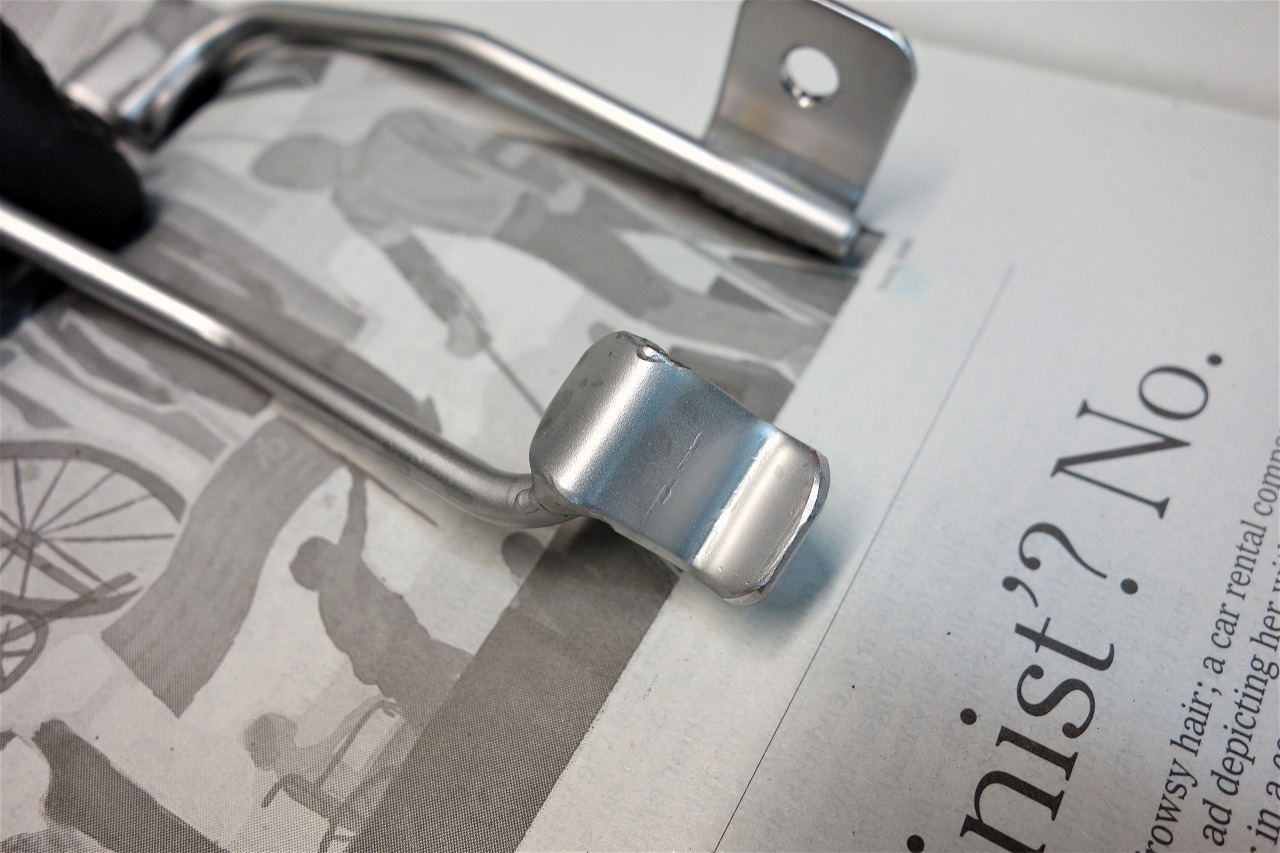
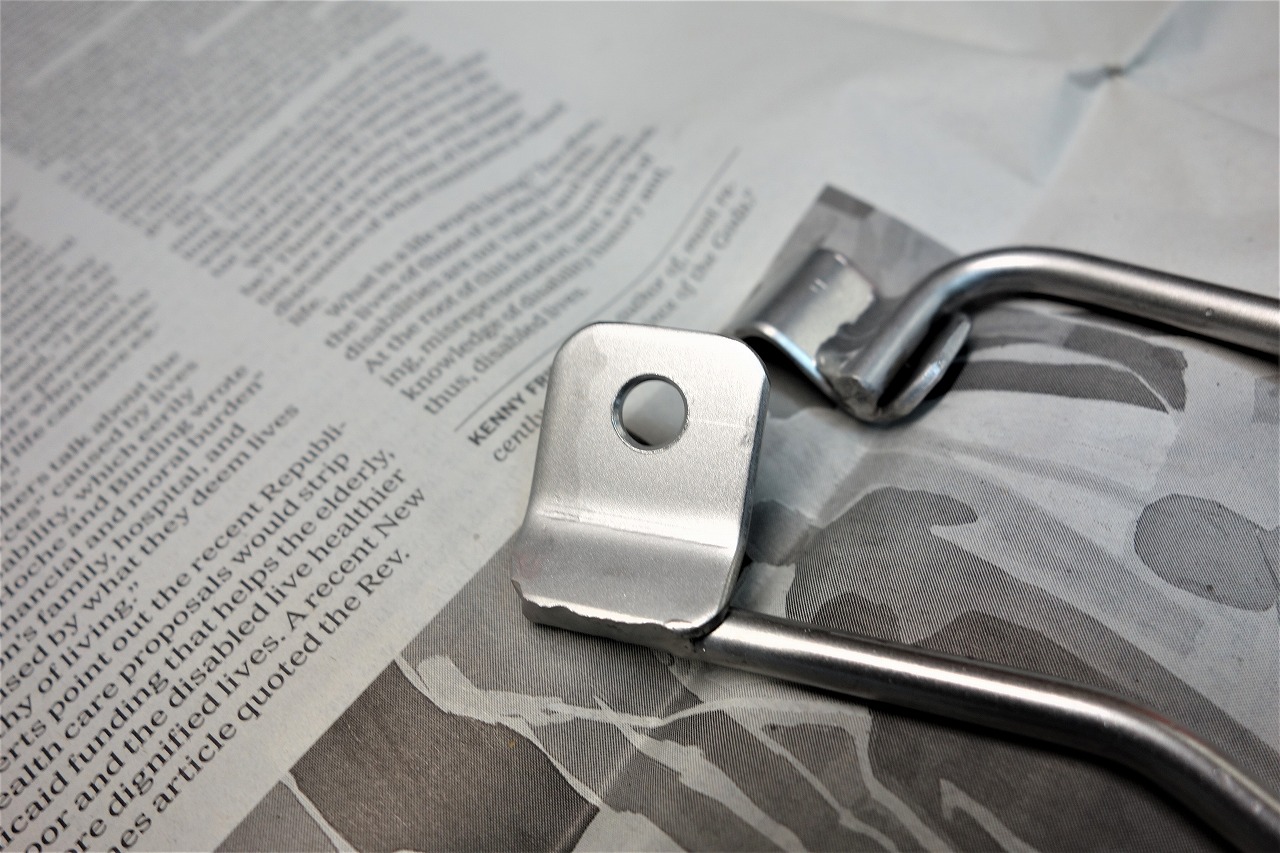
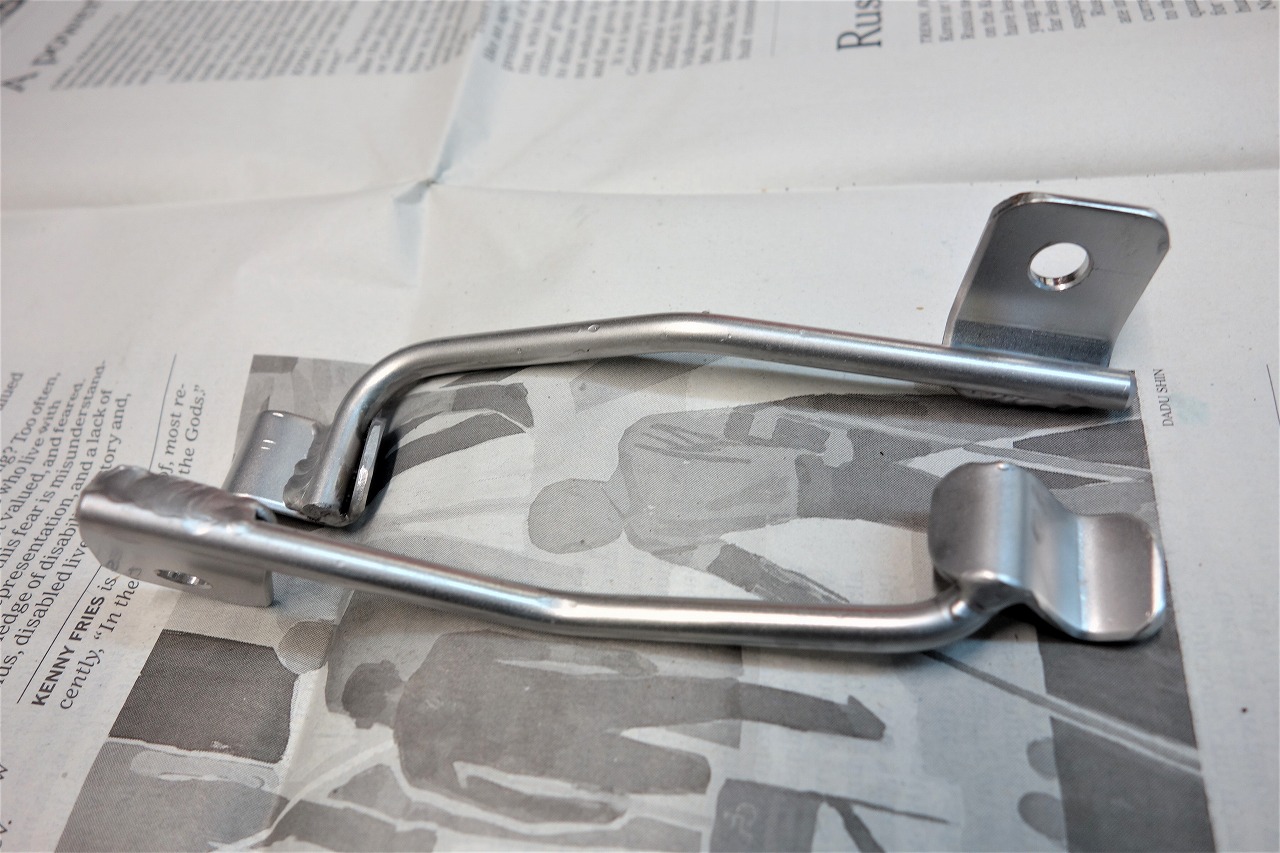
I made the vibration stopper in a way that’s as hassle-free as possible.
*Fixing only the upper side is really not recommended. It will definitely bounce around.
The chance of cracks and other contact issues goes way up = risky.
Wind hits and the cooler gets blown away = it might cool less.
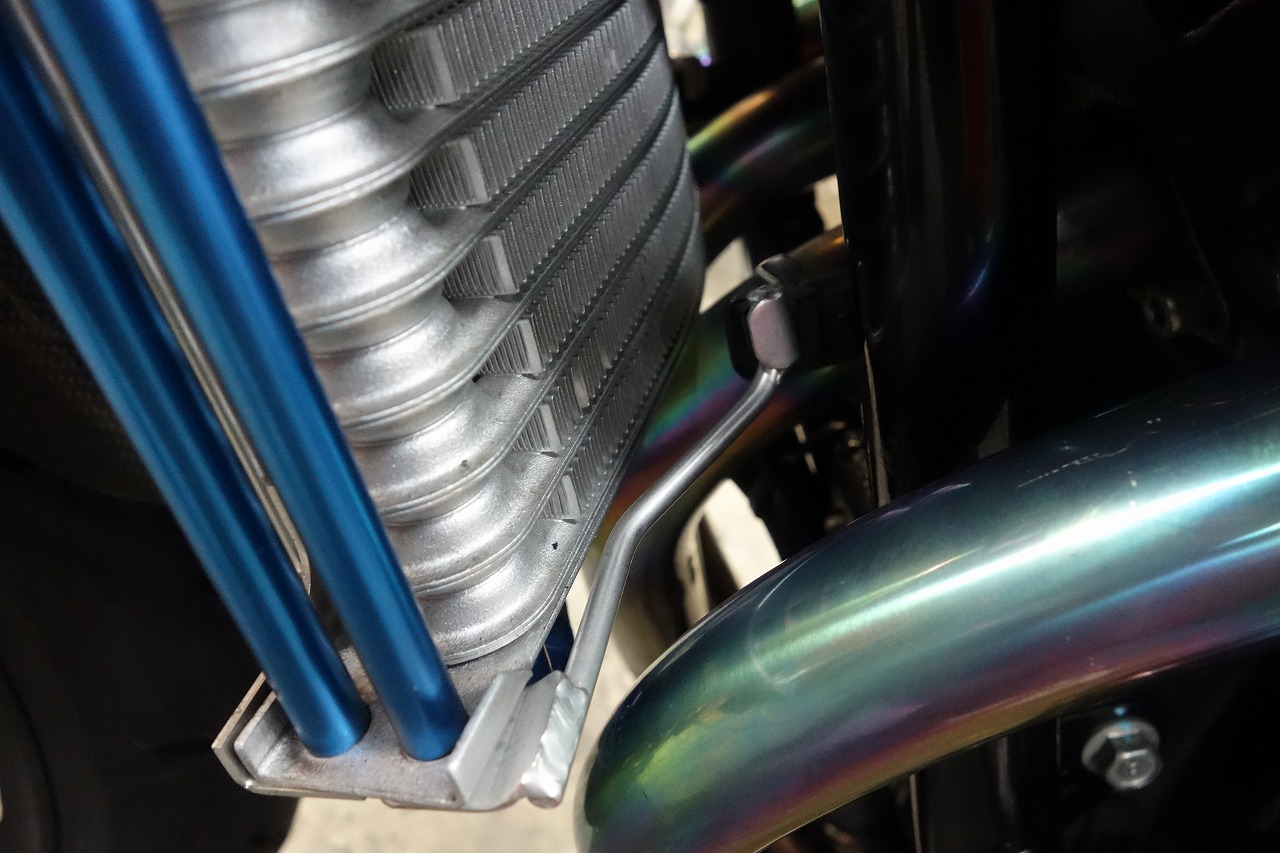
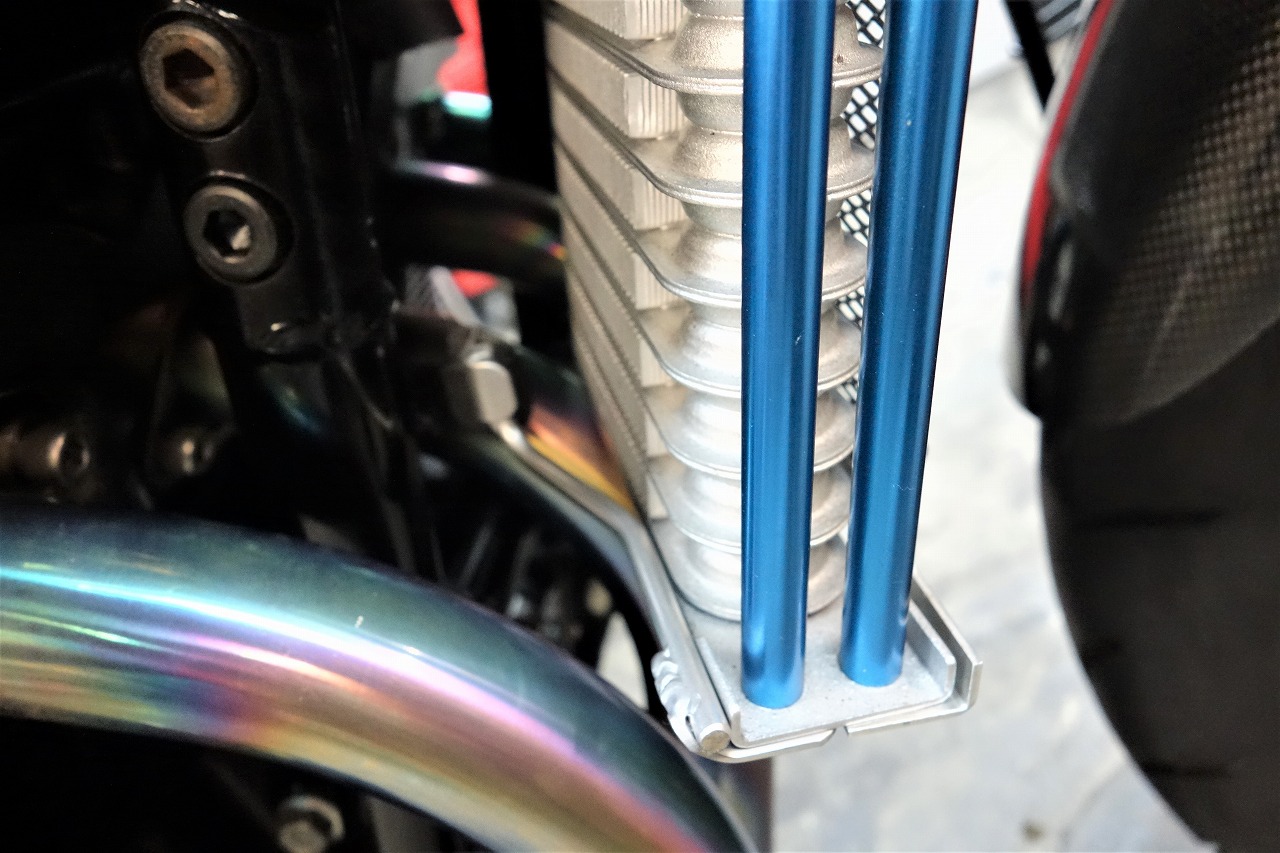
That’s how I made it solid and floating.
(Co-bolted to the oil cooler lower bracket)
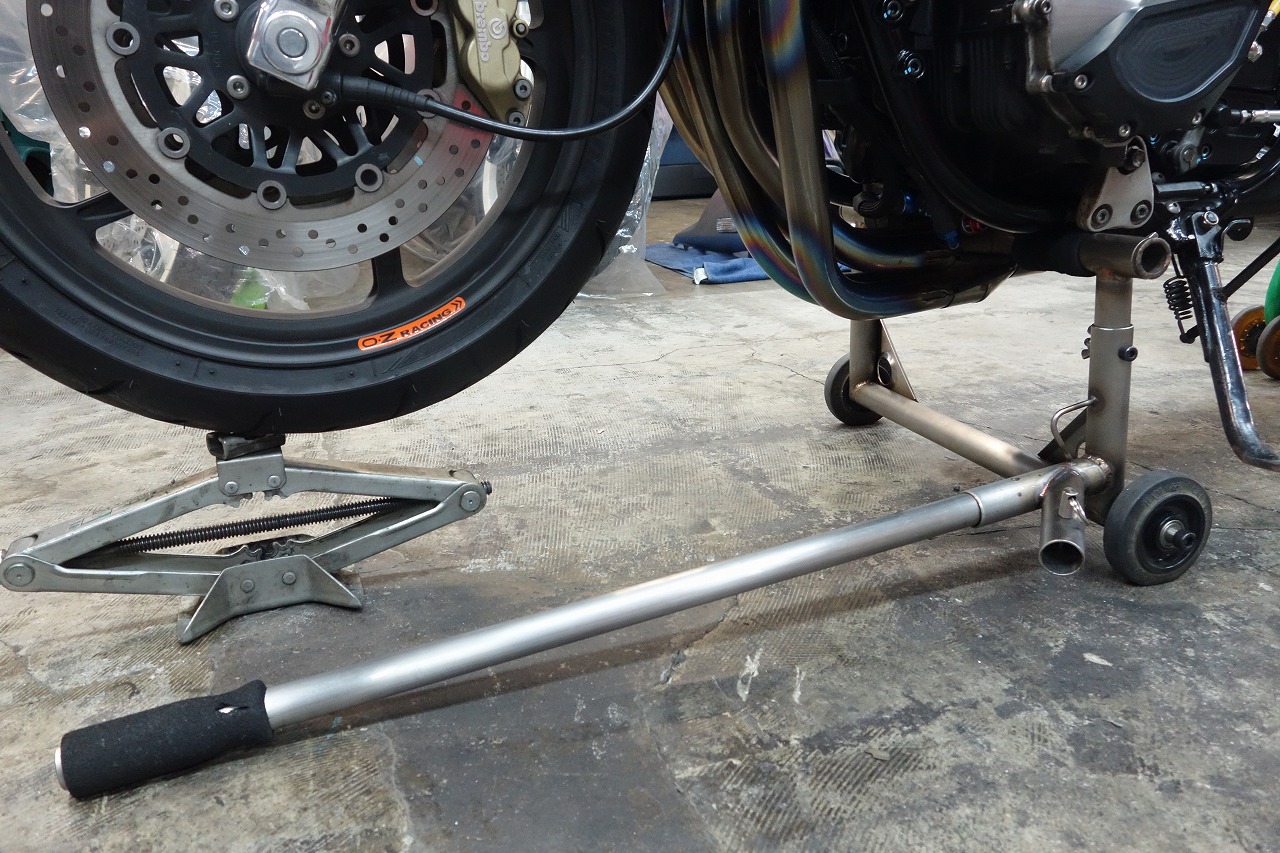
Worrying never ends… let’s do what we can do!
For safety, it’s good to check full stroke.
Whoosh! (full brake)
Thud! (contact or puncture sound)
Whoooosh! (oil spray sound)
Don’t underestimate oil-cooled oil pressure—it’s really scary. I once had a stock hose rupture and puncture, and it was truly terrifying.
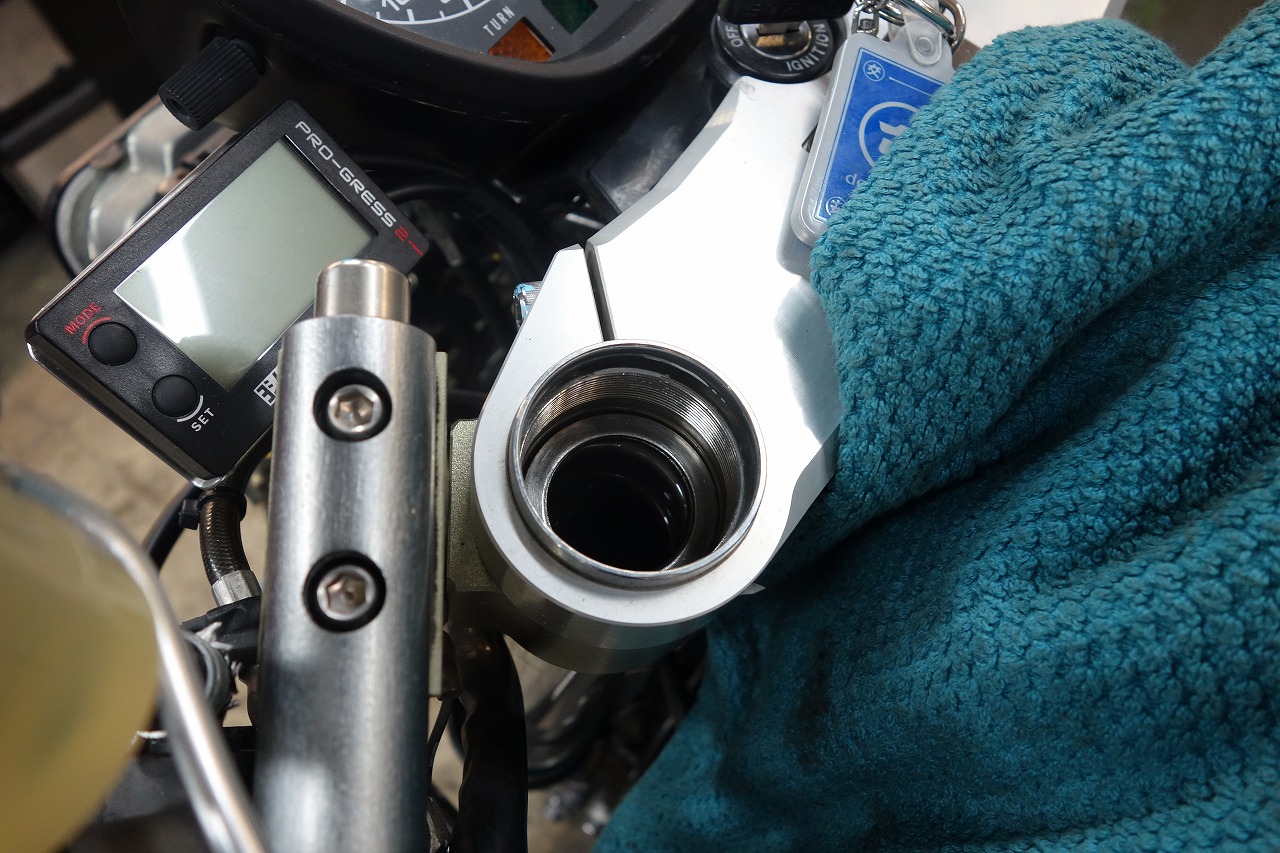
Always open the cap first—that’s essential.
Otherwise the oil seal load increases dramatically.
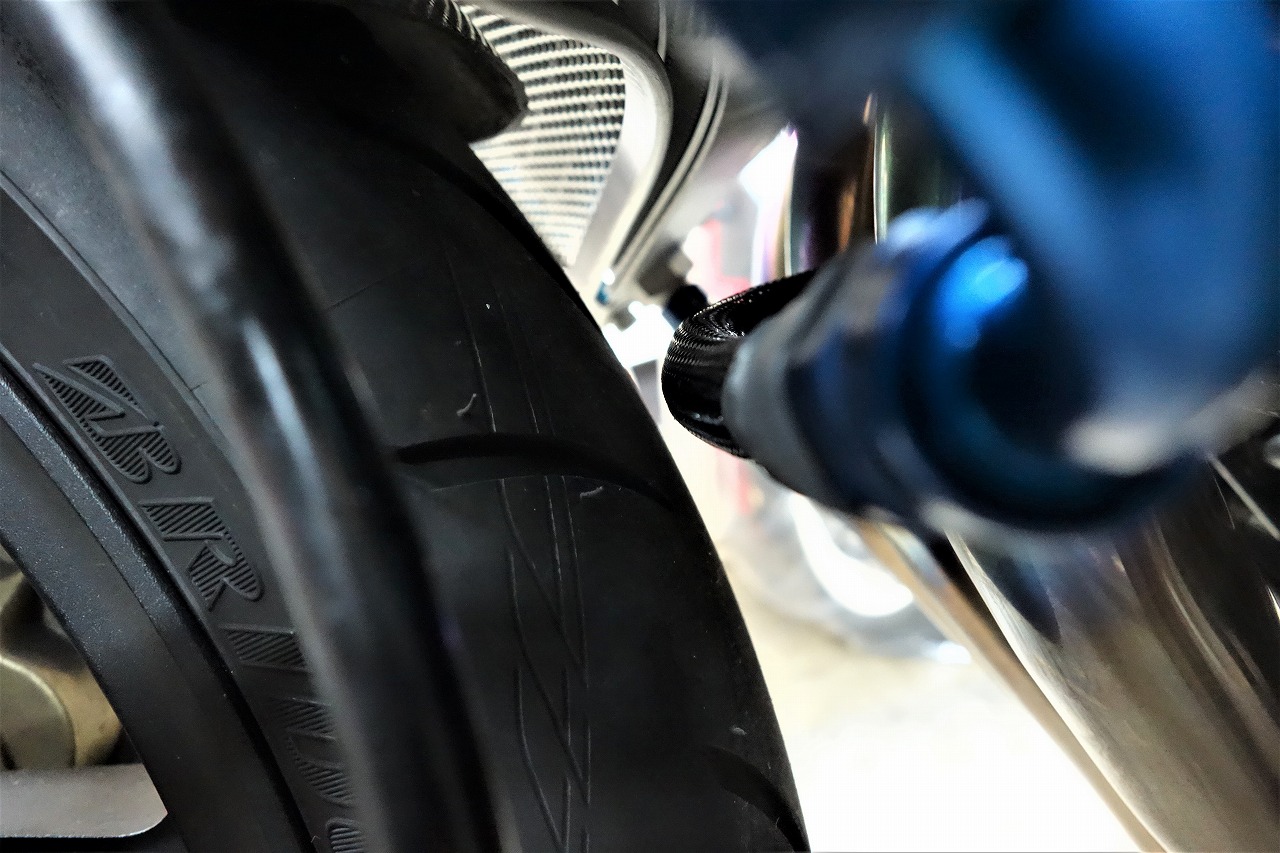
Looking at the current state like this, there’s a moment when everything feels scary.
Anyone doing DIY oil cooler installation… please be really careful.
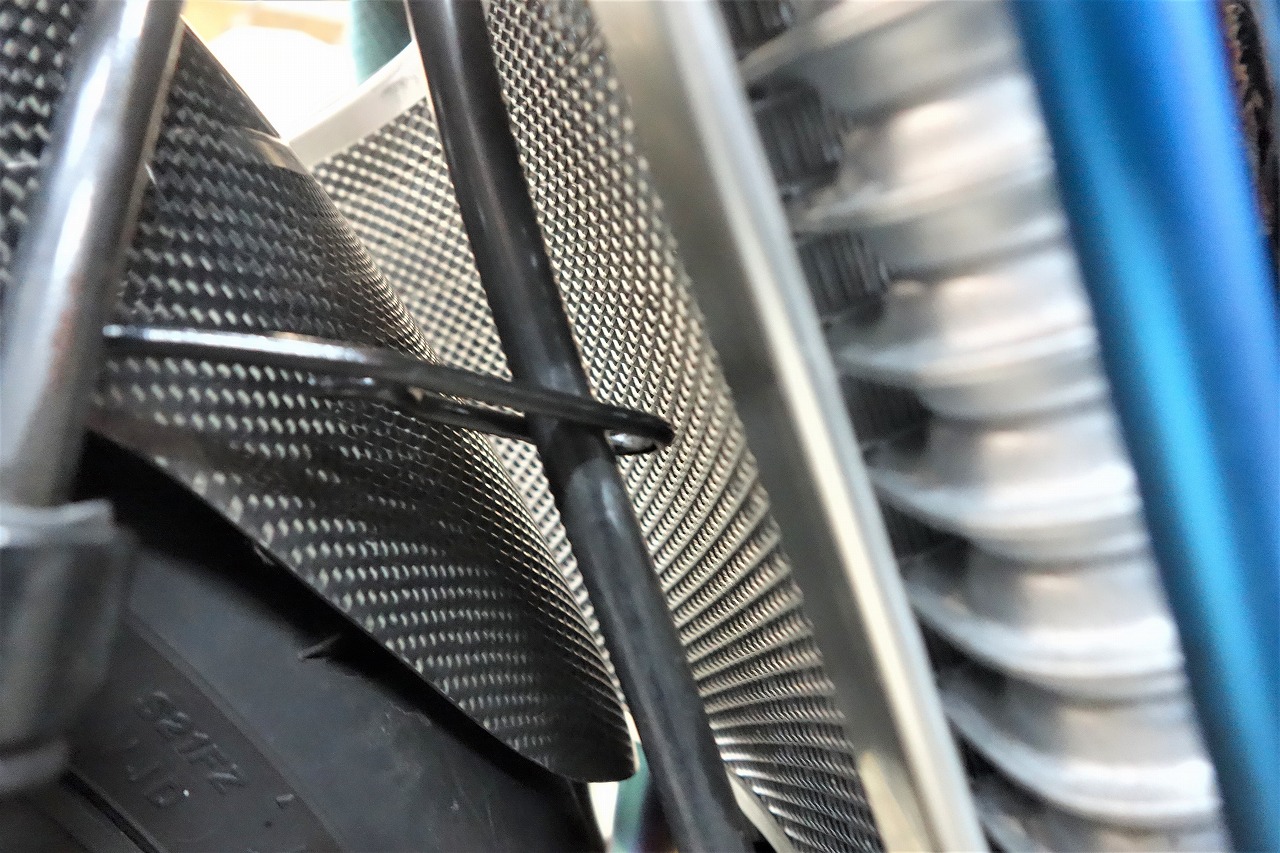
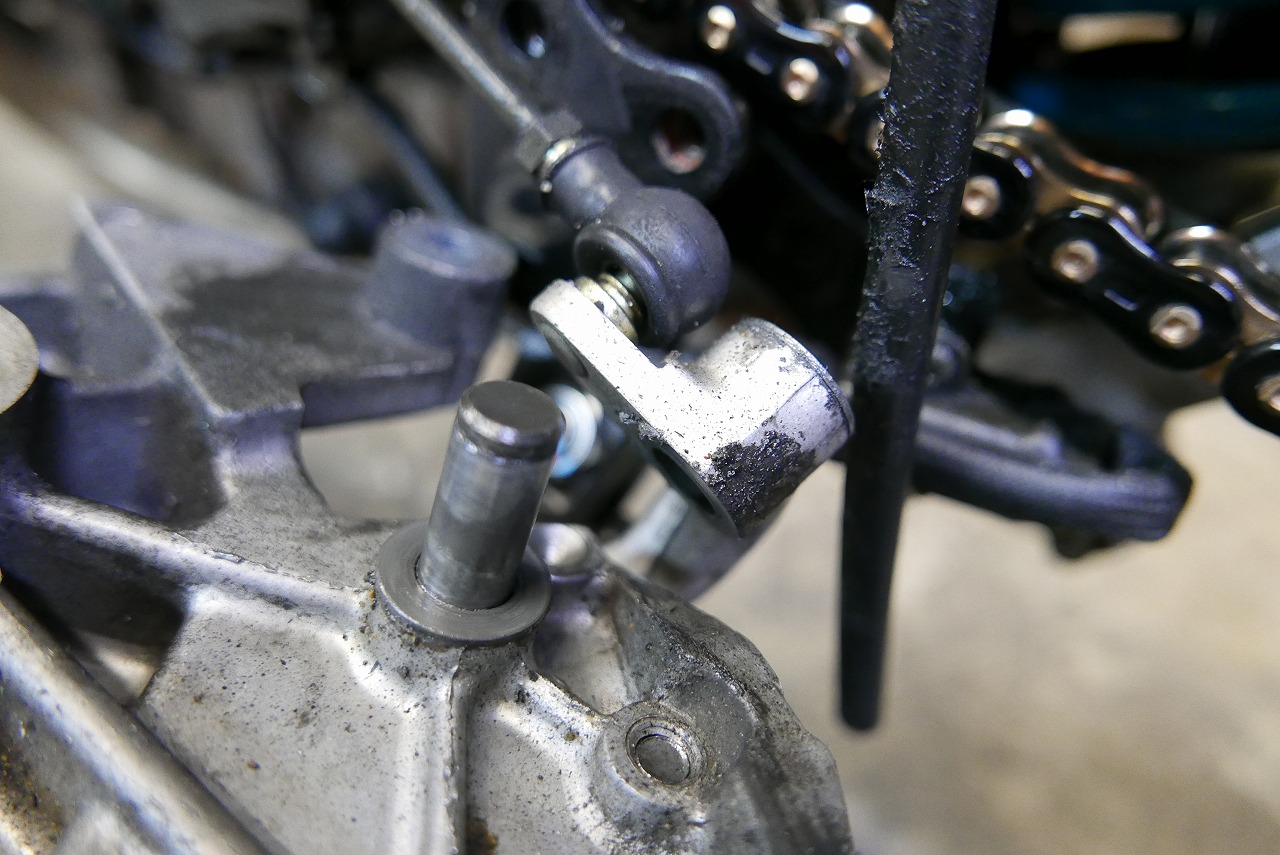
The speedometer cable clamp was a direct hit, so I bent it down.
I still have concerns, so I’m waiting for materials.