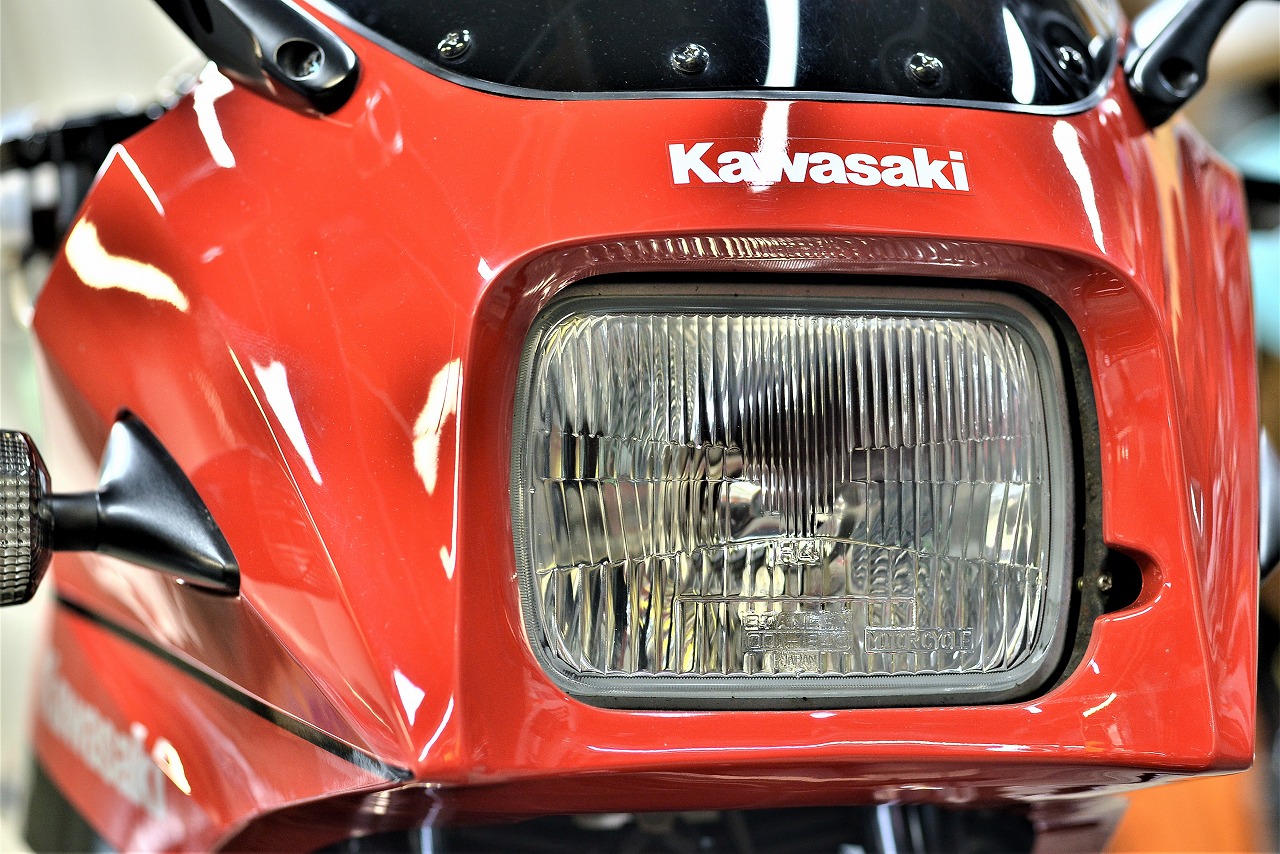
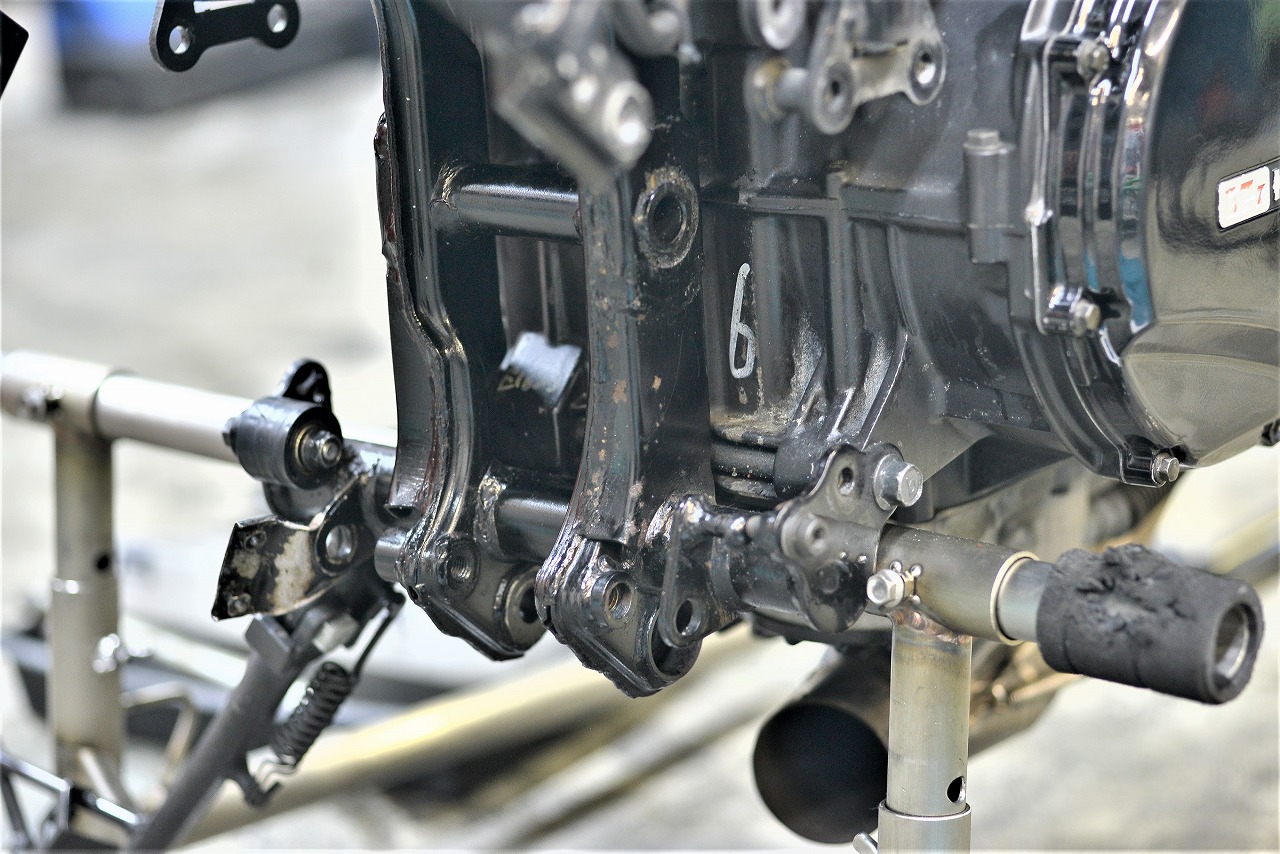
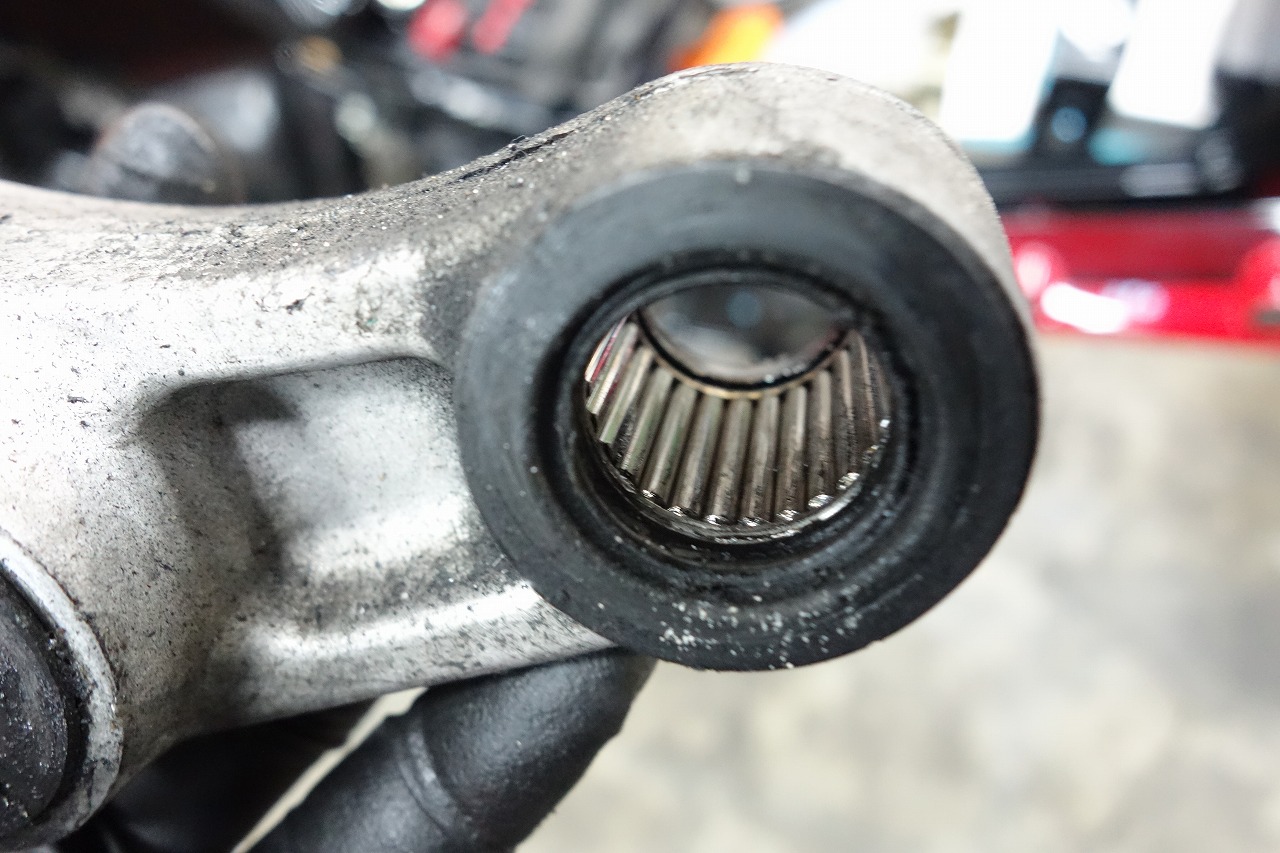
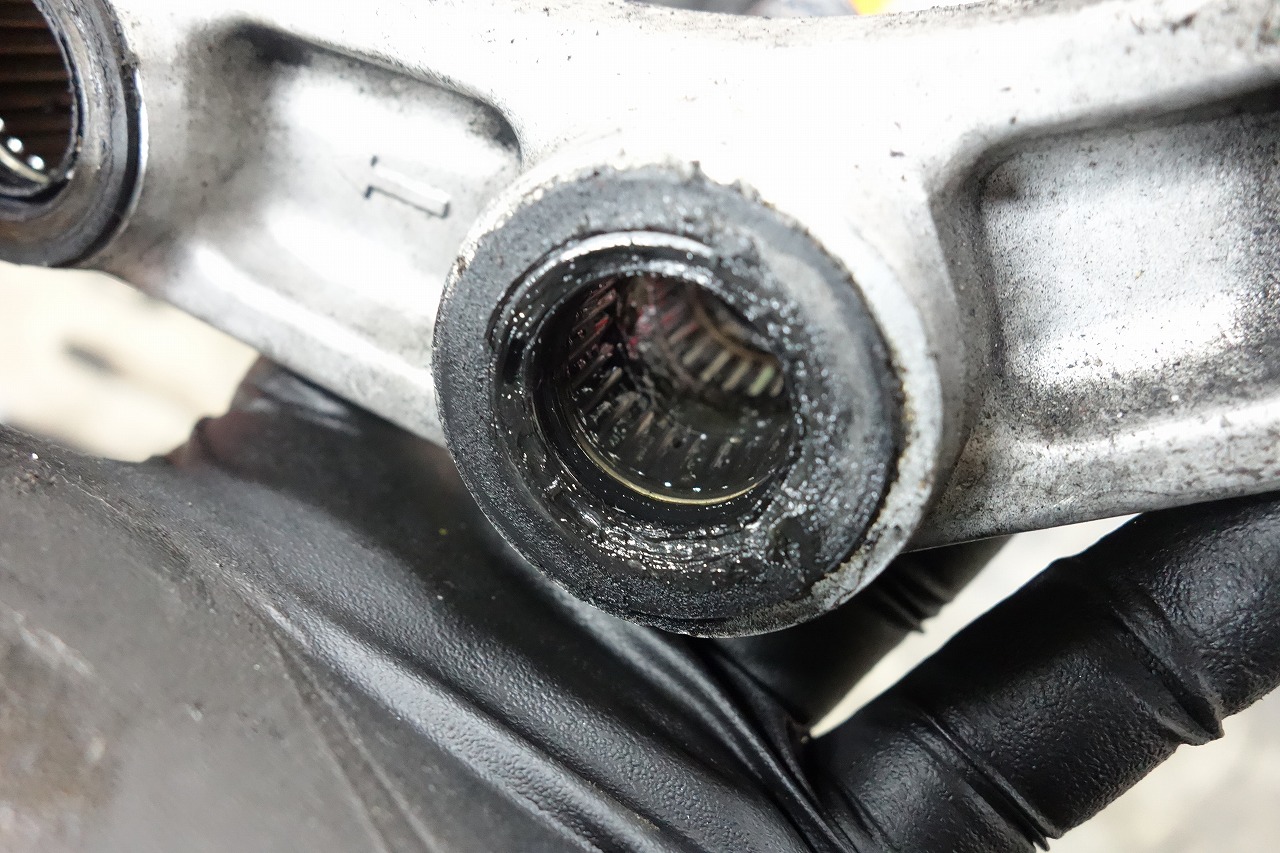
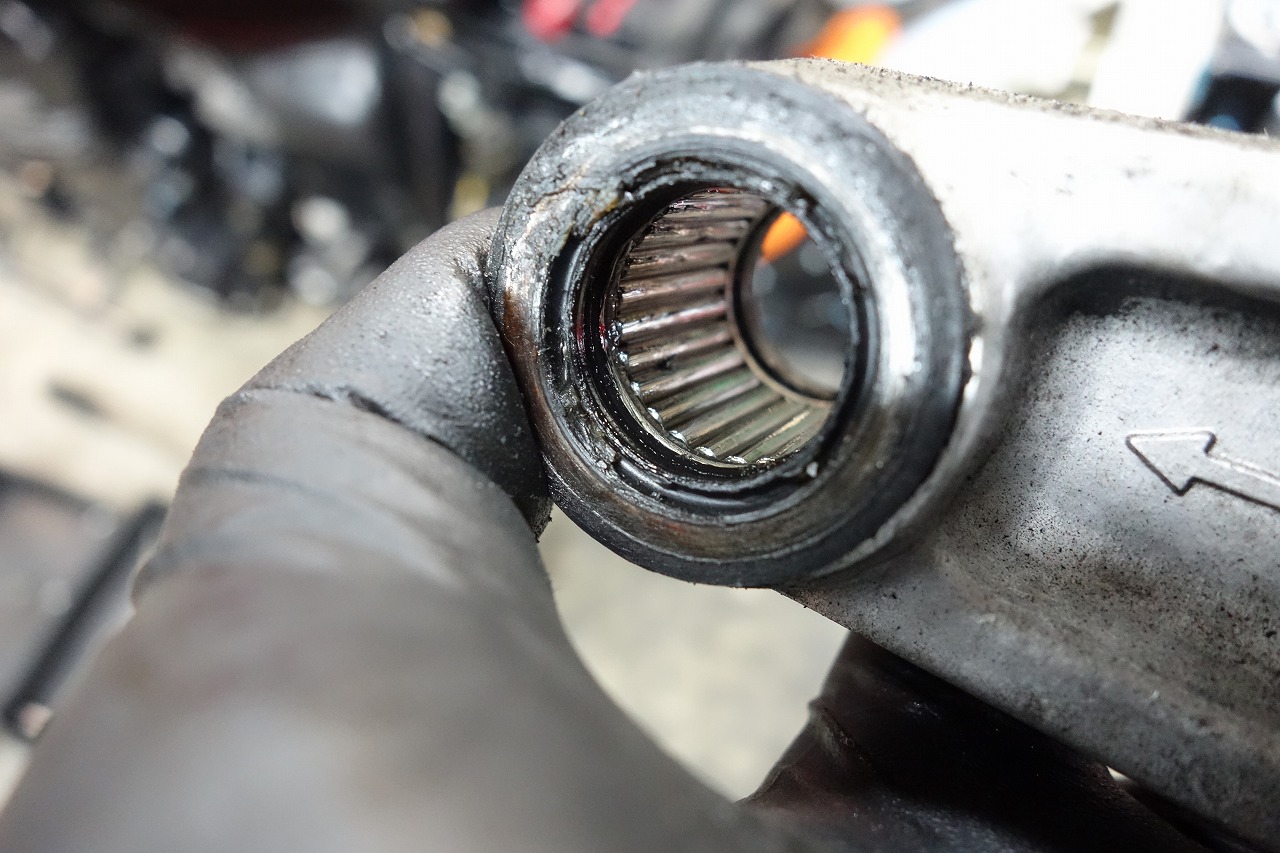
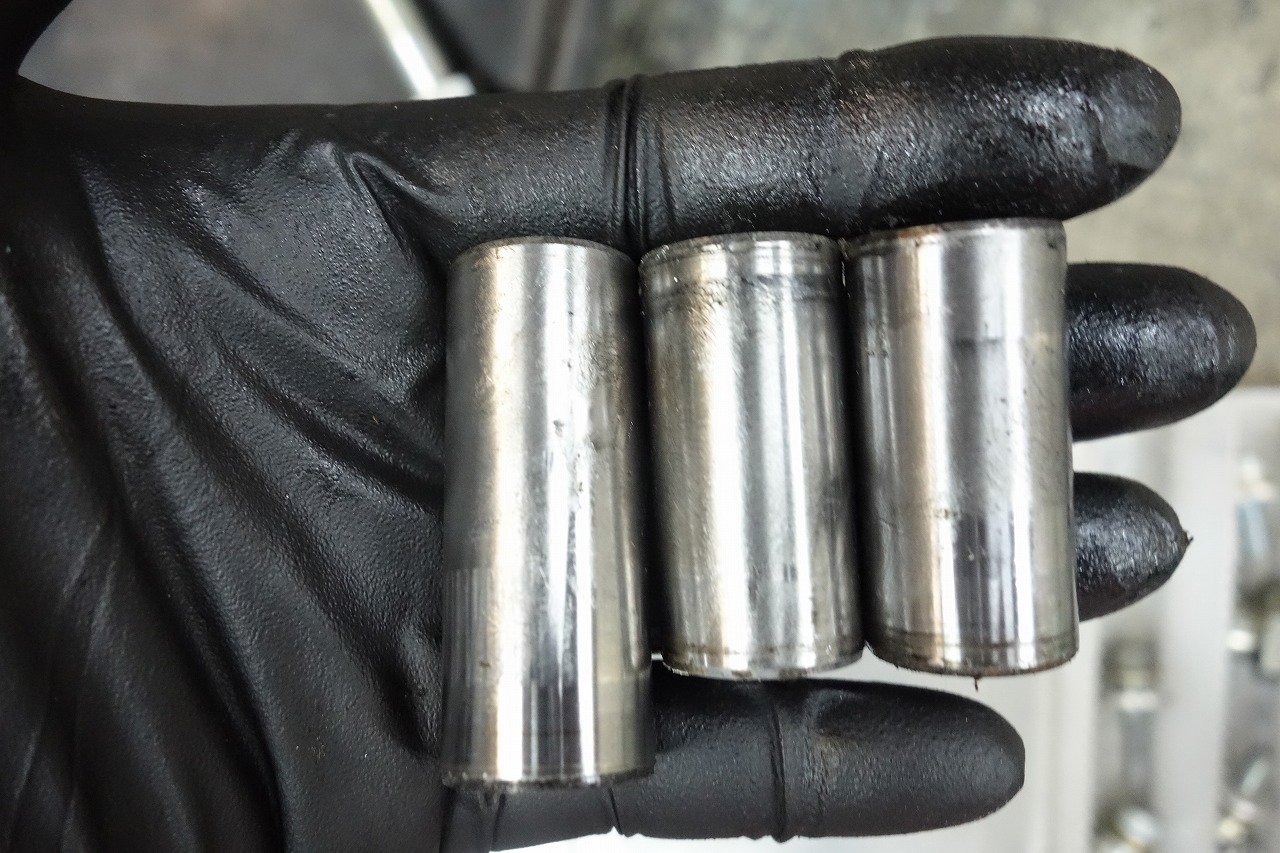
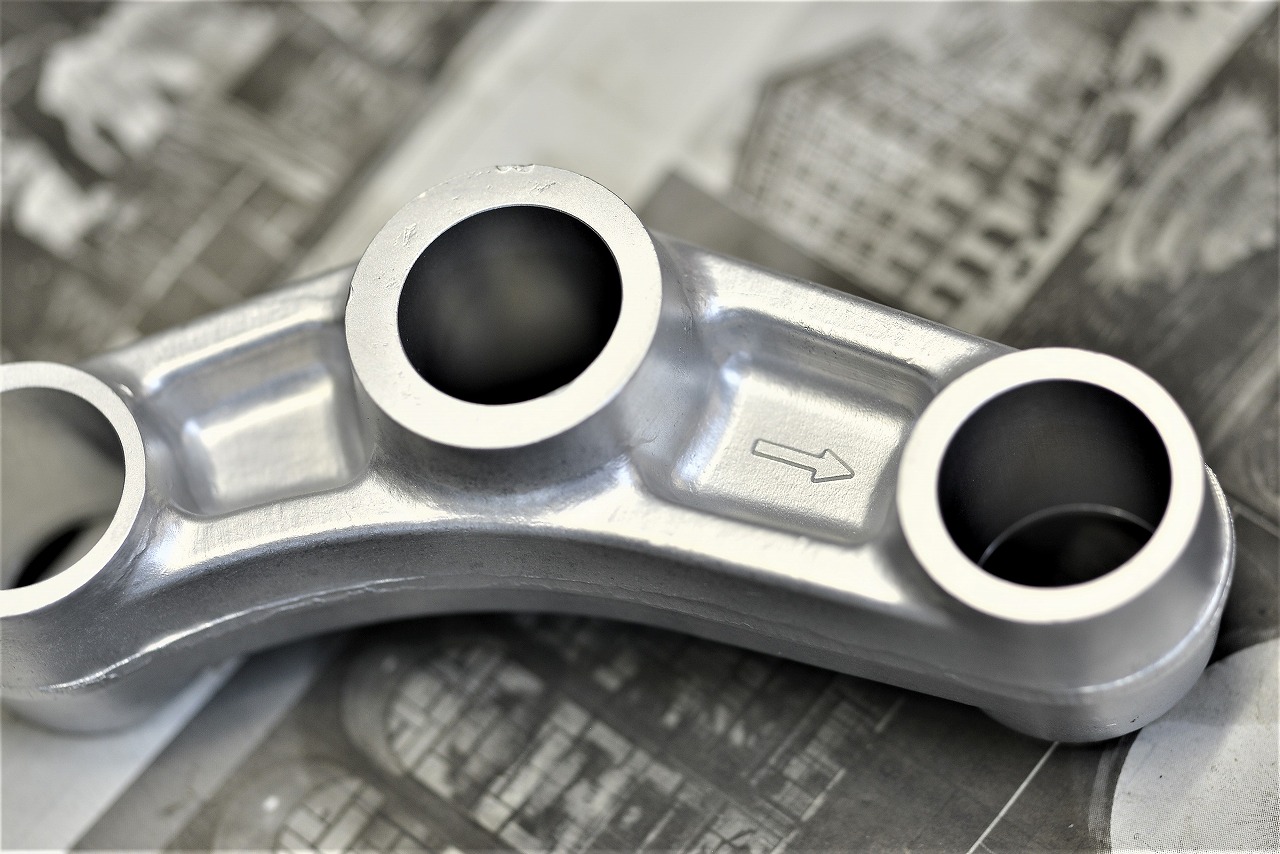
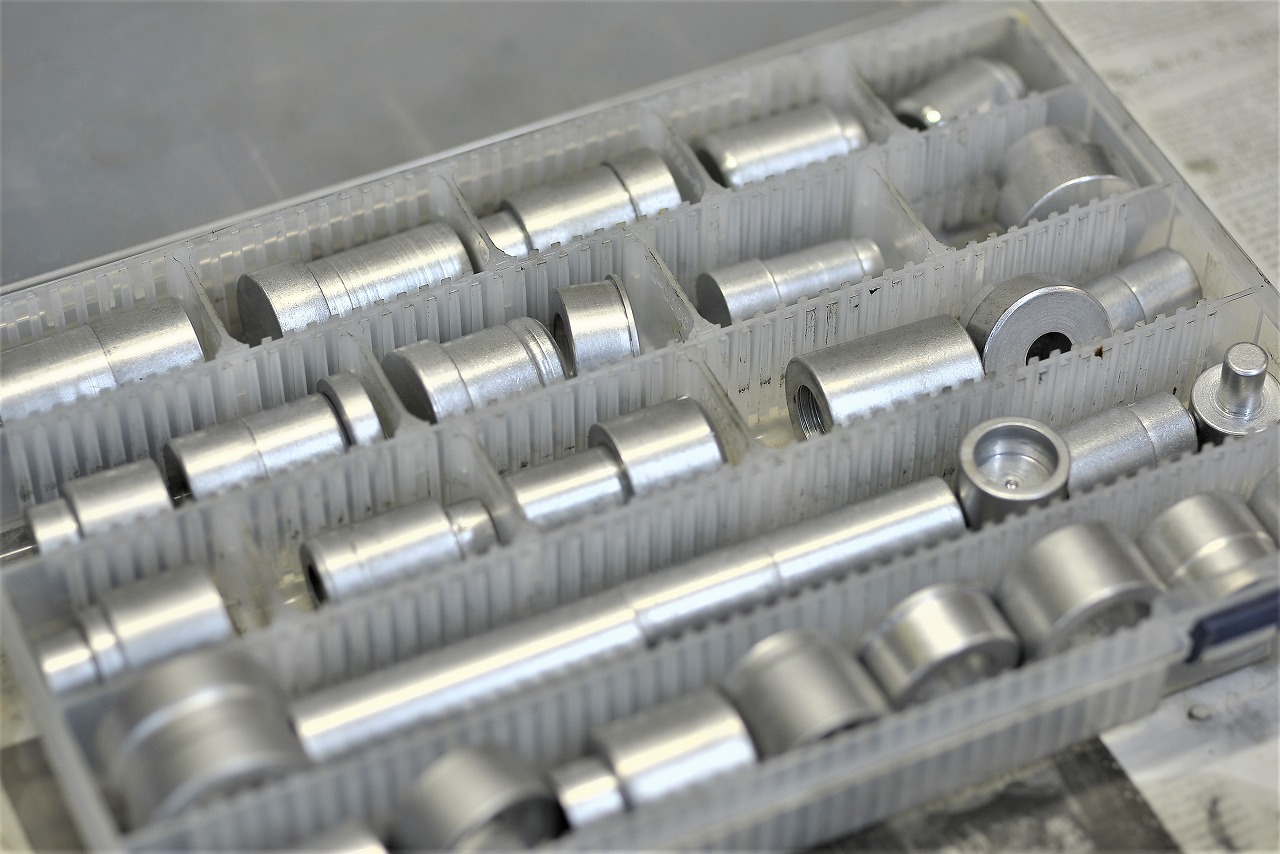
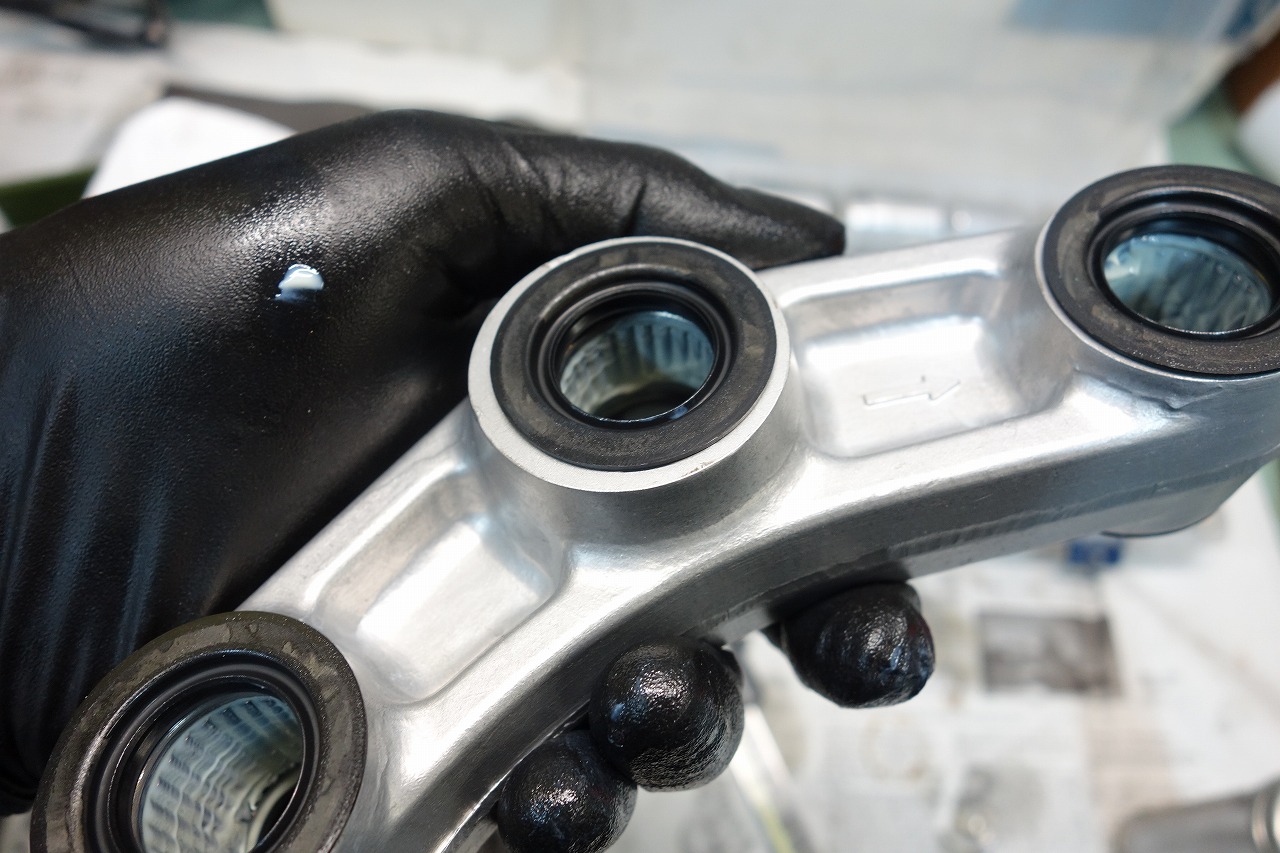
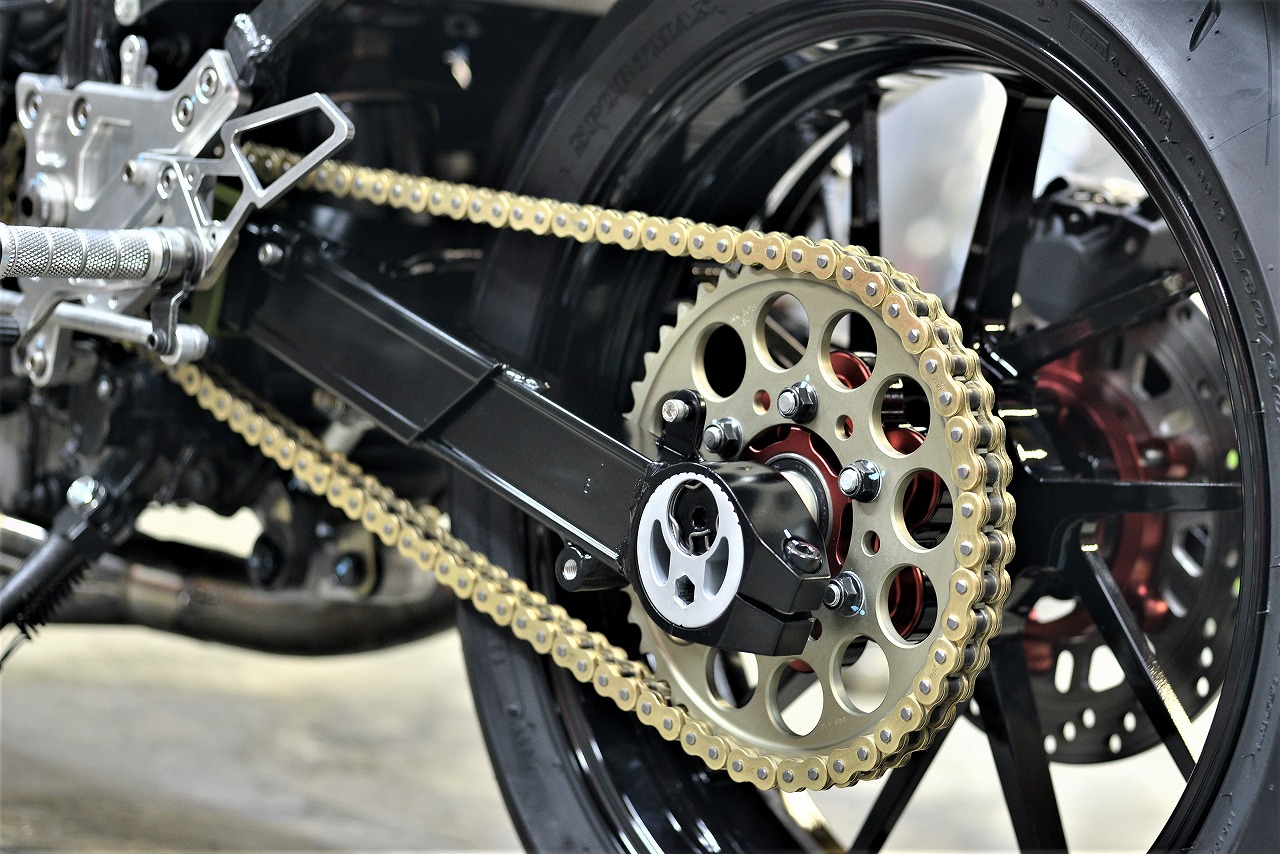
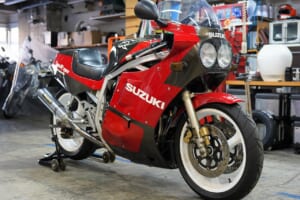
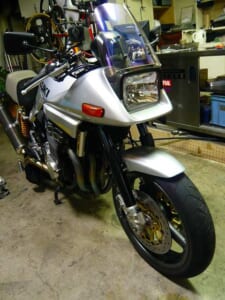
Kawasaki keeps coming in. Are Kawasaki and Suzuki on good terms? Our shop is about 70% Suzuki, 20% Kawasaki, and the rest is… well. It came right off. Bikes without an under-tube are pretty tough to work on. If there was a chain hoist on the ceiling, it’d be easy, but… there isn’t, so we struggle. Using our original frame stand with a through pipe worked out. The swing arm was already out, so we only did the linkage side. The condition was pretty good. Since we don’t plan to remove it again, we’re replacing it now—next time we can just clean and oil it. We polished the linkage, so it’s nice and smooth now. Better than new, hopefully. Press-fit work. If you save a custom attachment each time, it becomes a shop asset.
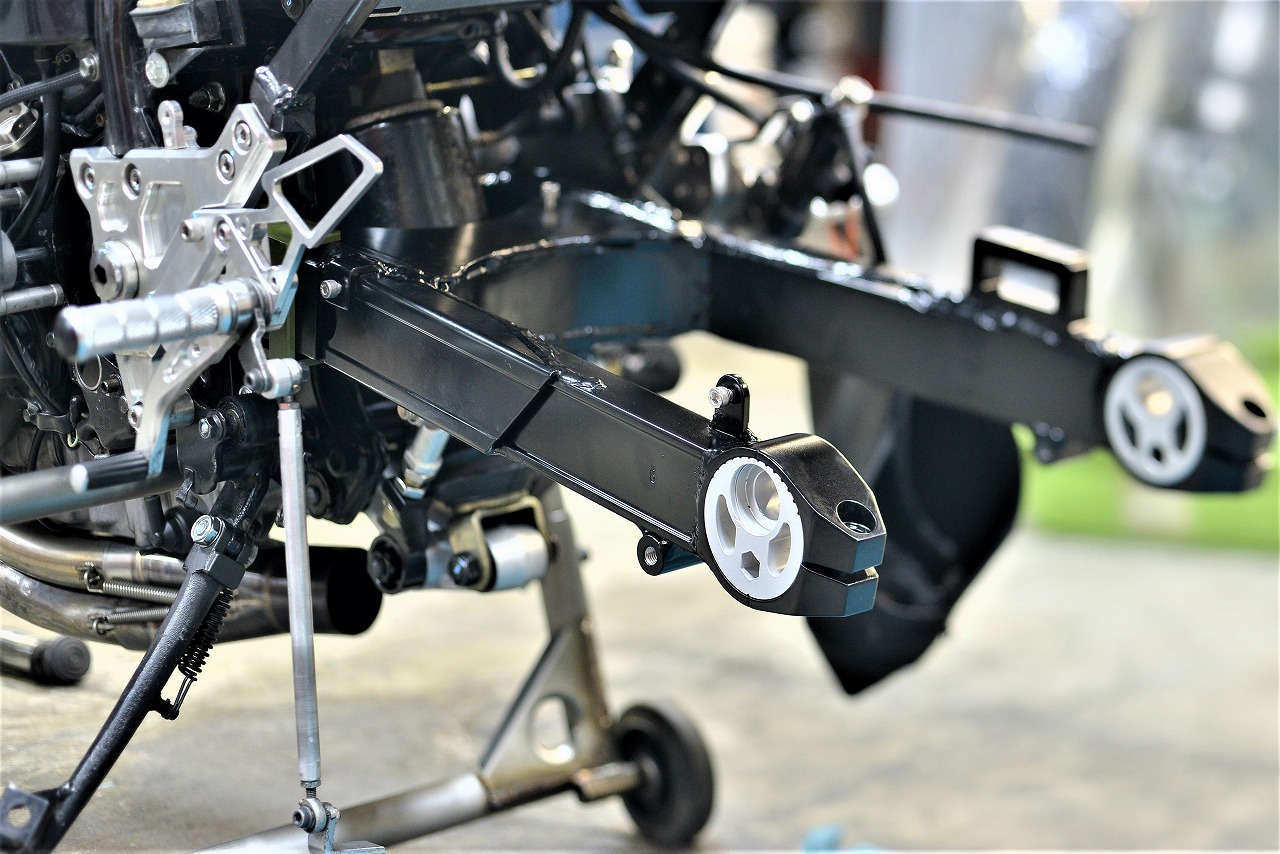
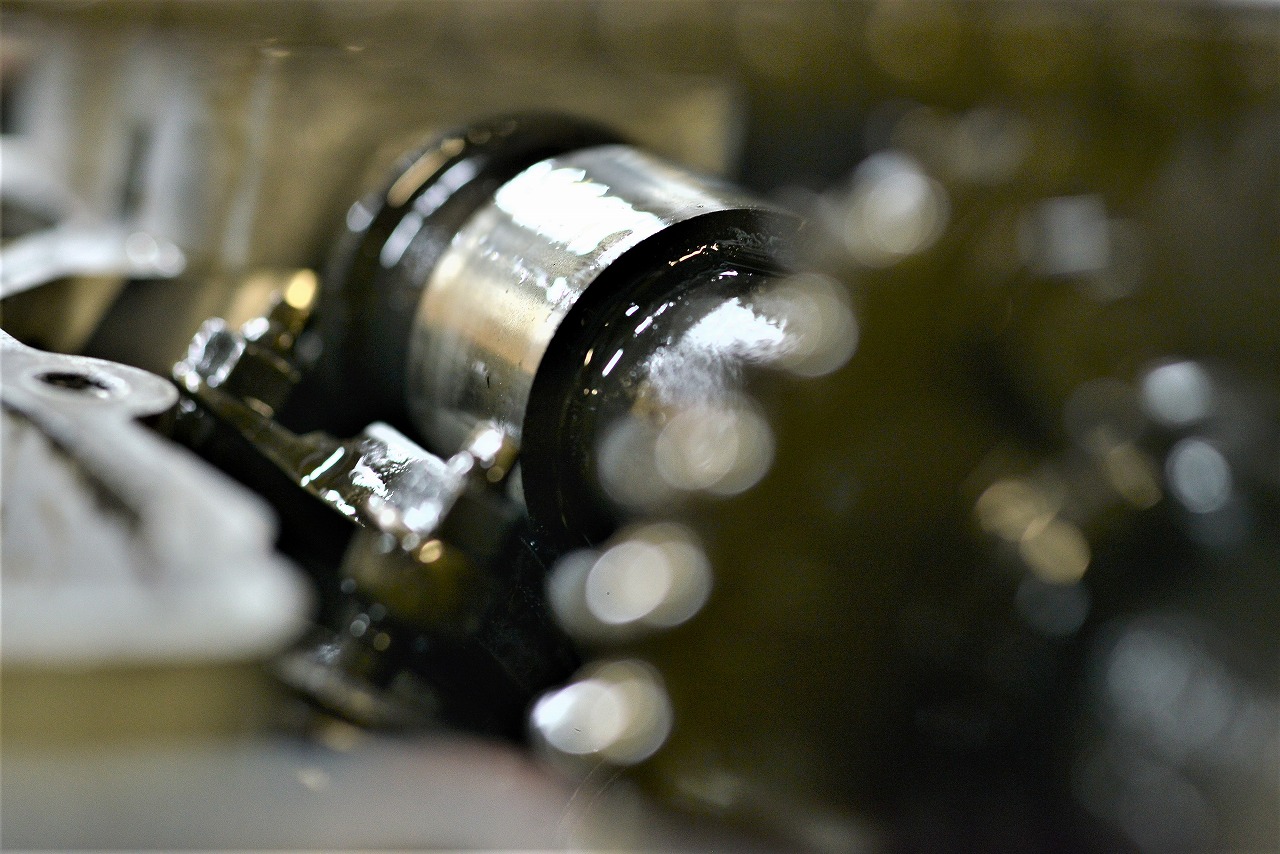
You can do it with a regular vise, but pressing in while supporting the inner diameter gives you a different level of confidence. It increases reliability, so everyone’s happy, right? It just goes in—no fuss. These are the moments when you really appreciate Japanese engineering. Looking at the old swing arm… it’s cracked. I haven’t seen that very often (on Suzukis). We enlarged the diameter and installed a sleeve. It shouldn’t crack again now.
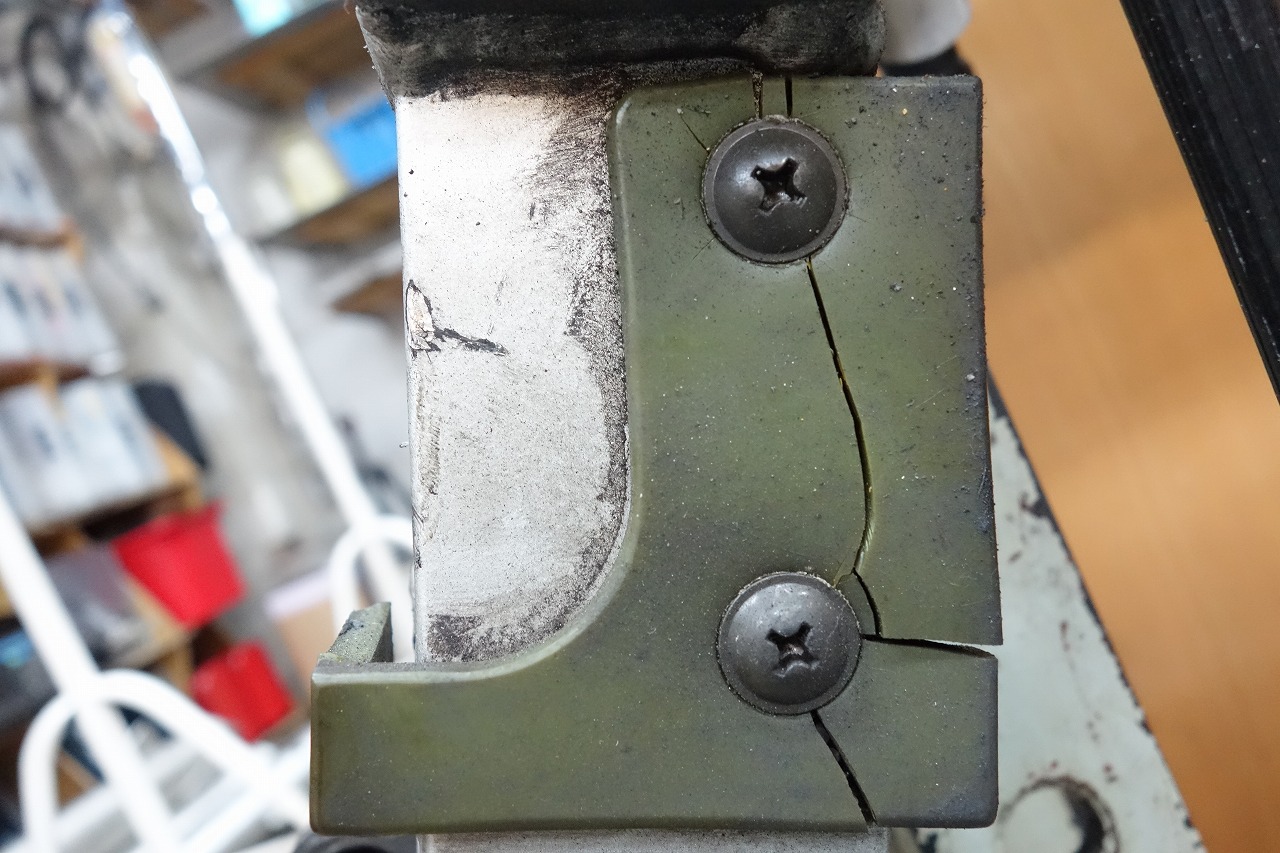
Fixing plastic with metal bolts is usually a no-no. But you might say this isn’t stock either… When you think about how long ago this was made, I figure there’s always room for improvements. This might be the first time I’ve ever torn down a GPZ900R. The serviceability is really poor. The seat rail fitment is also not great. You could say it’s very Kawasaki.
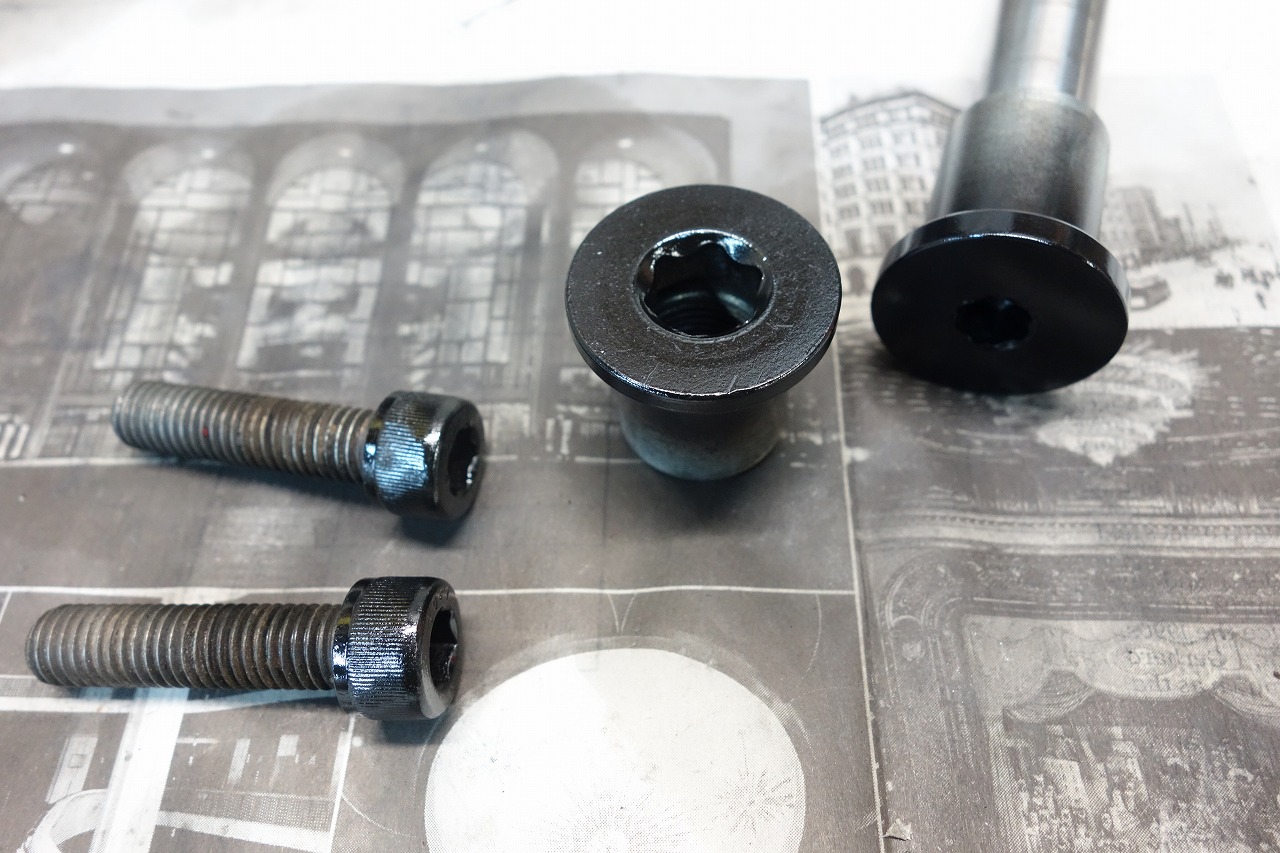
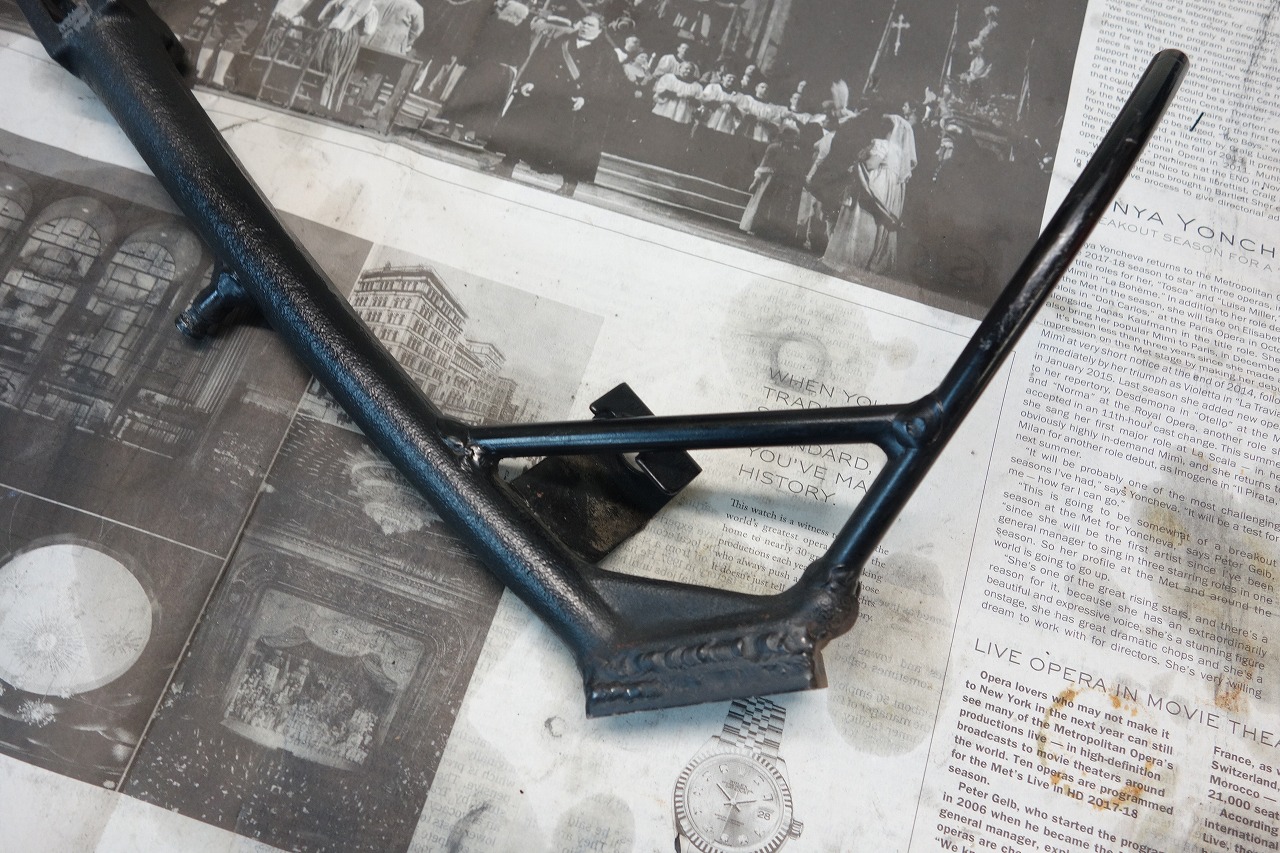
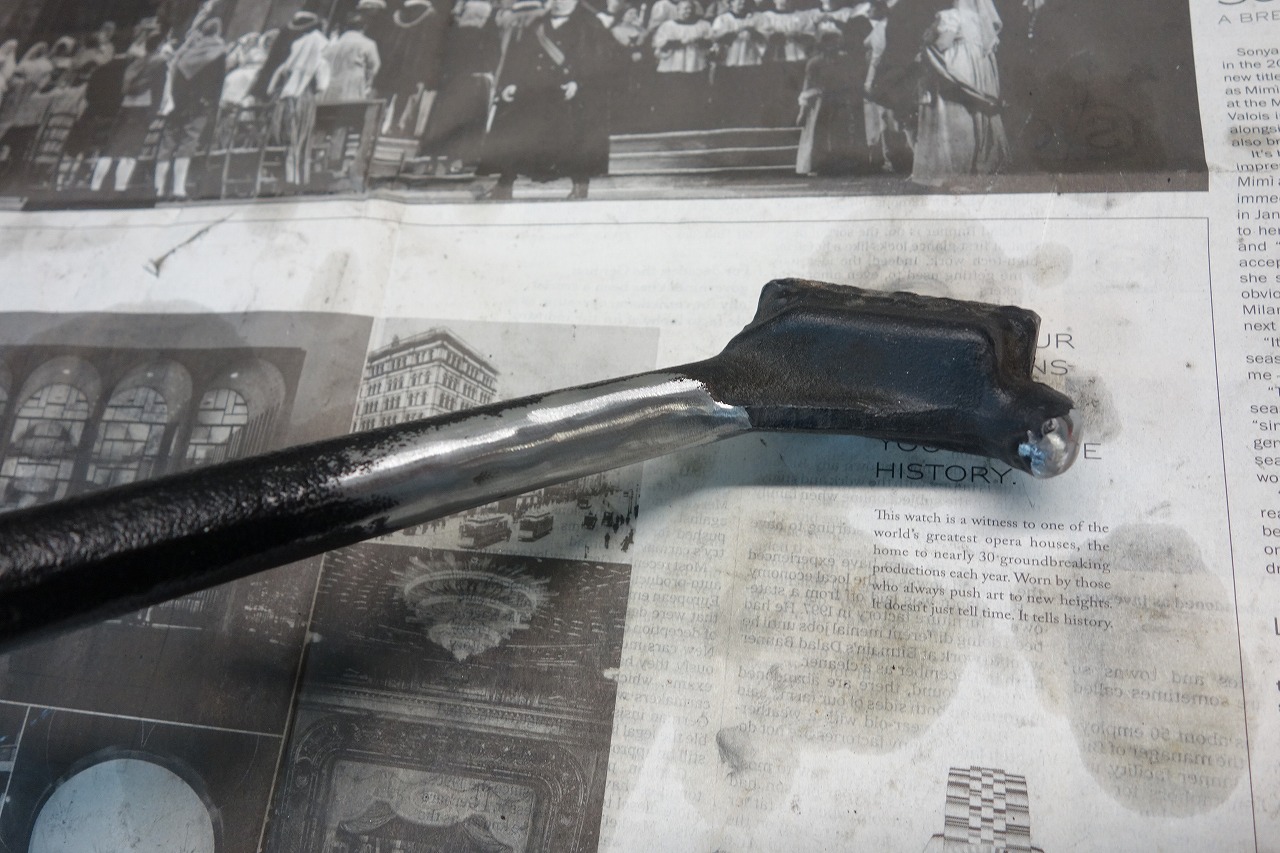
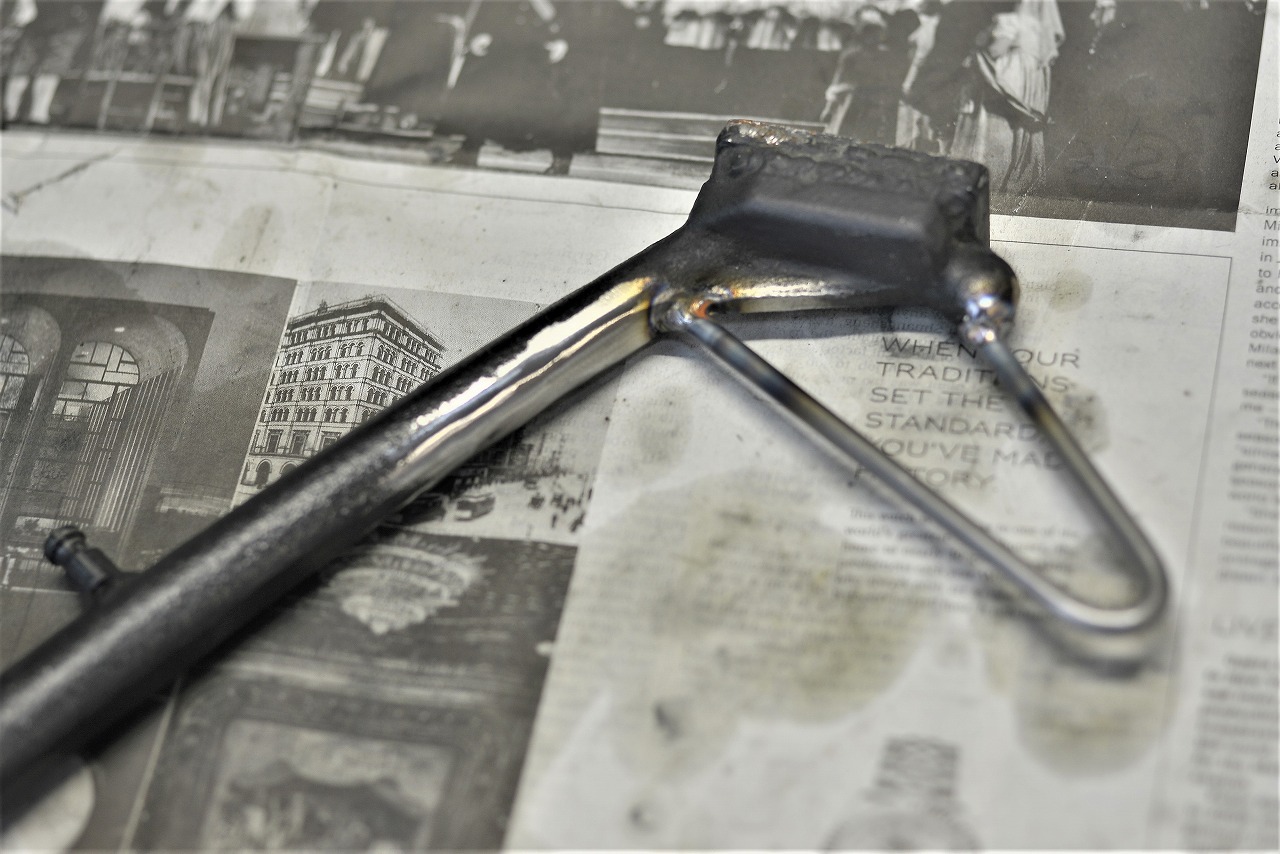
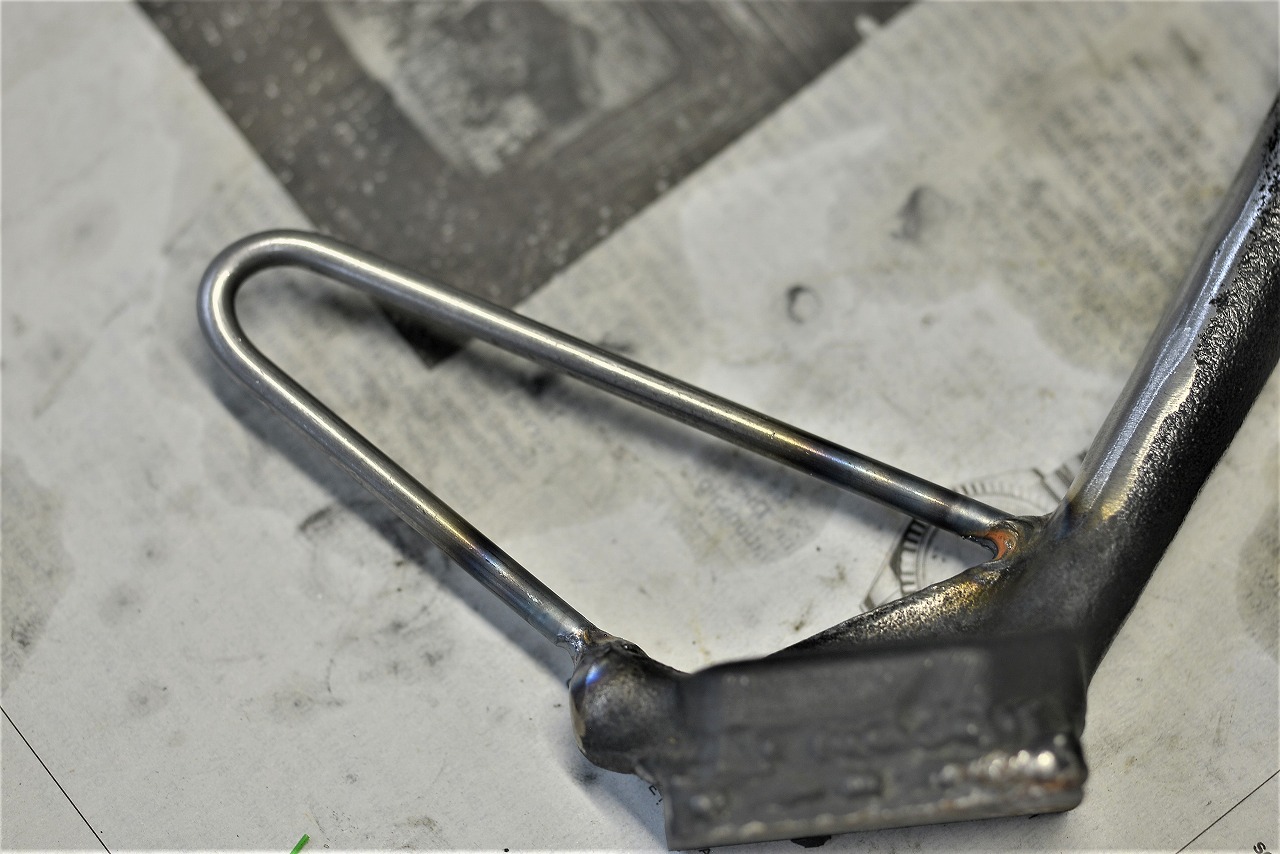
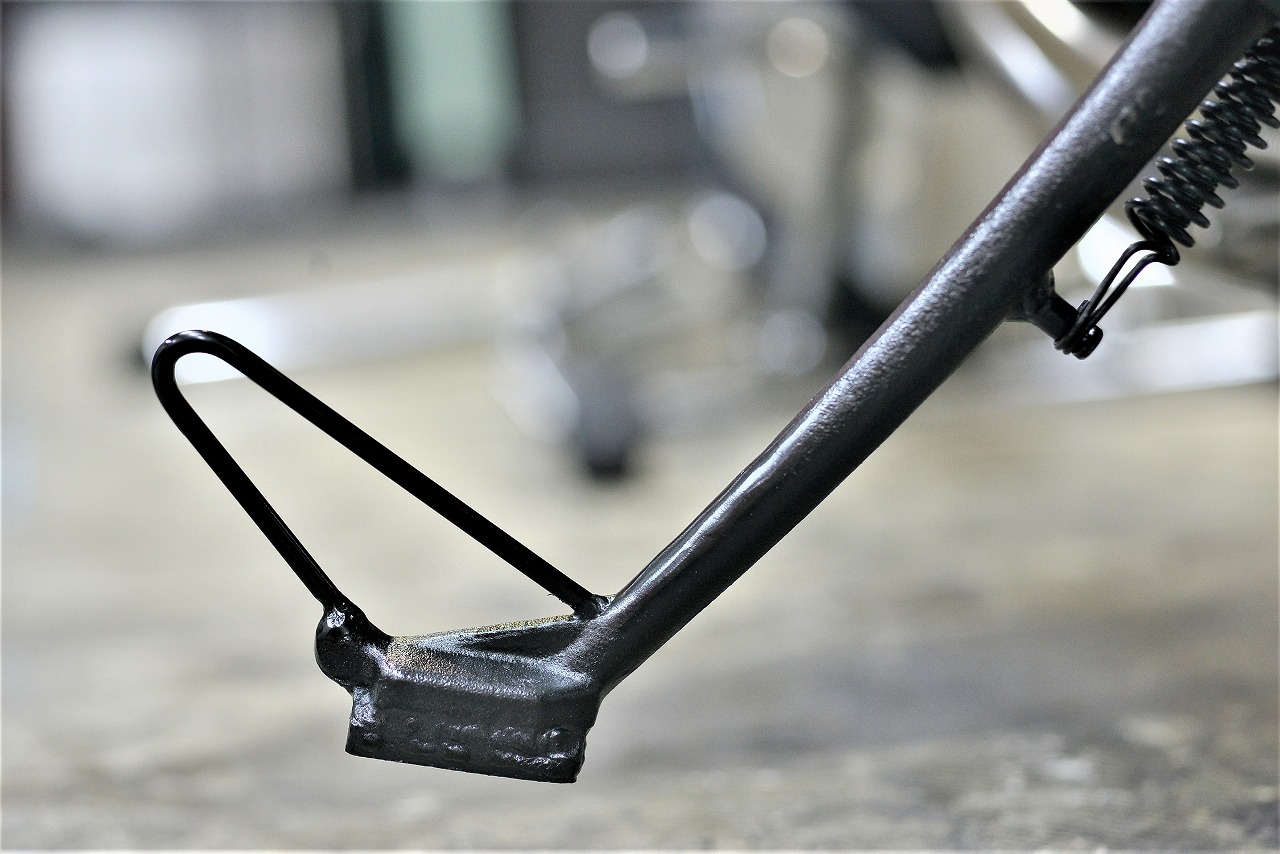
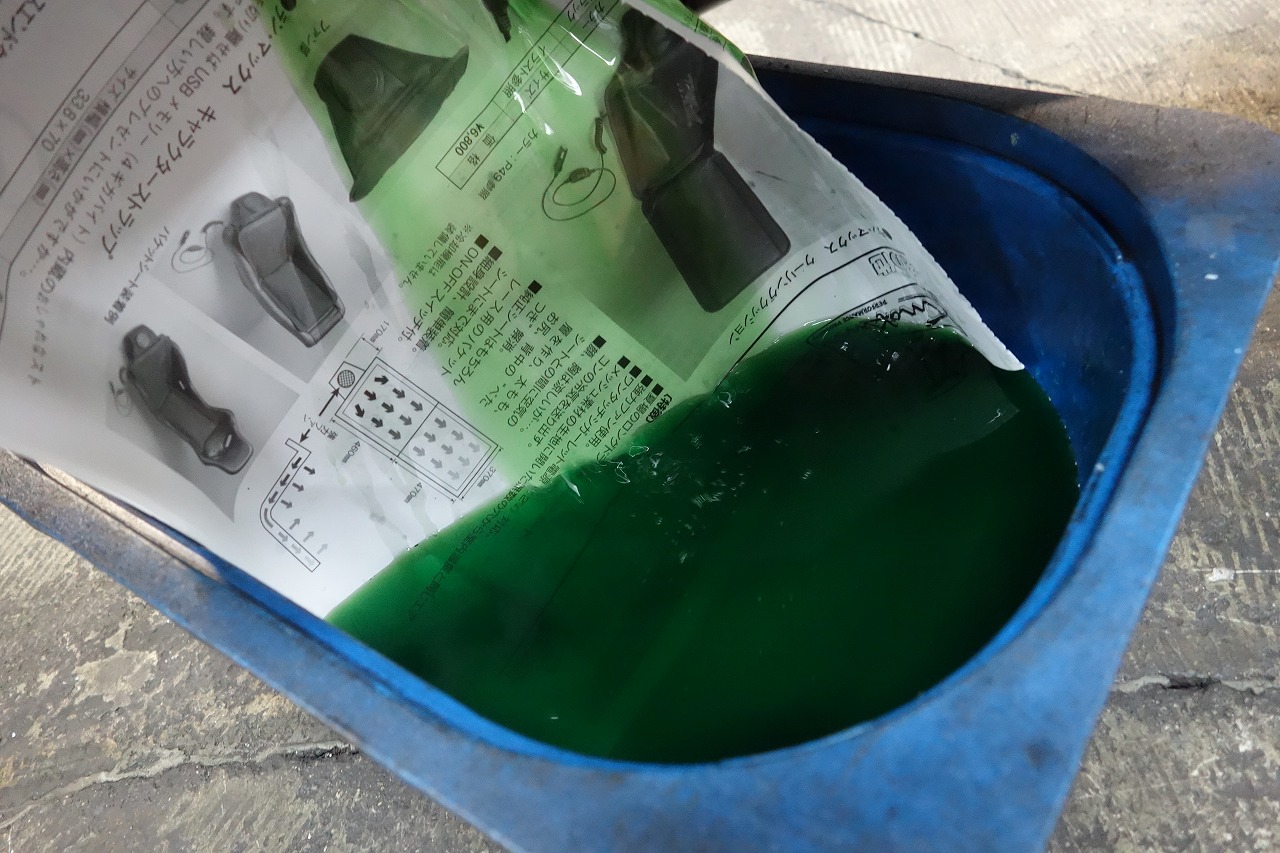
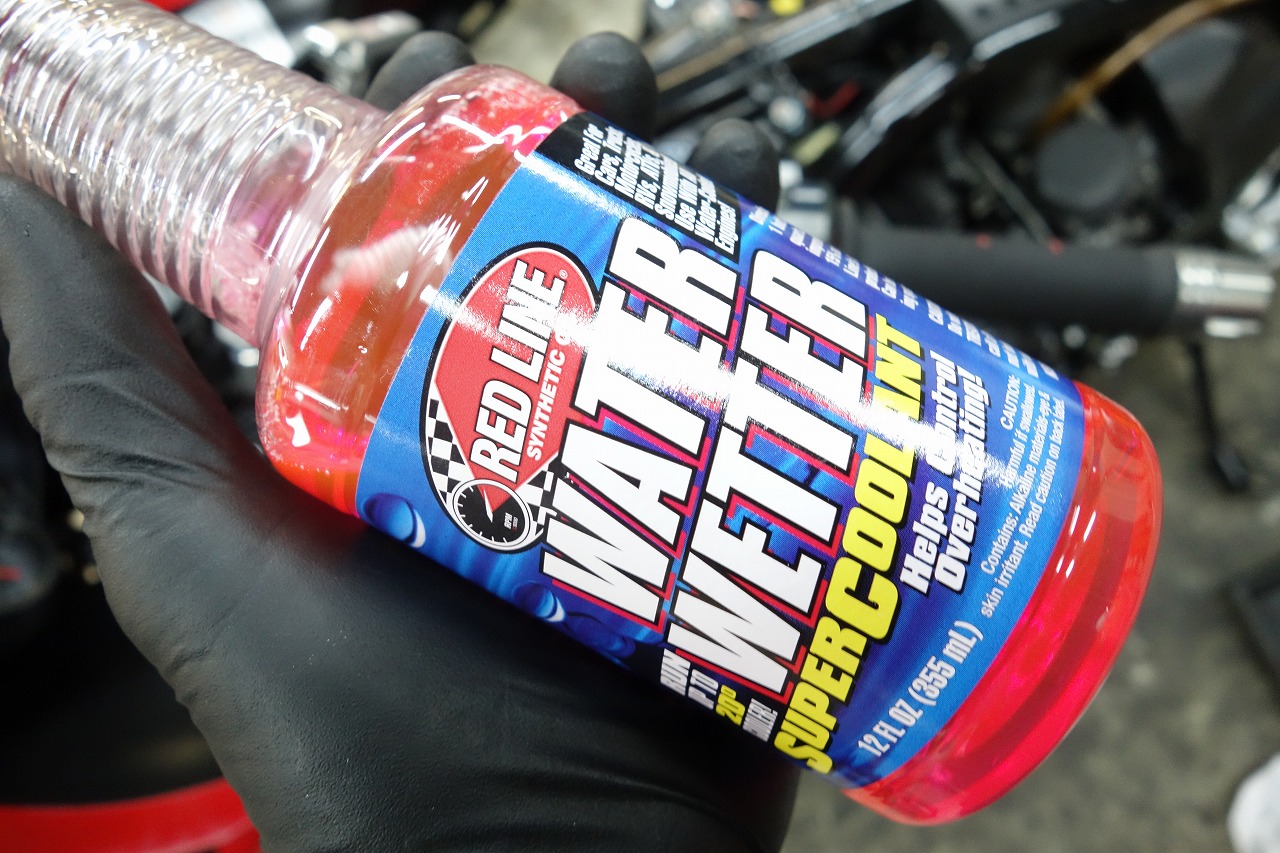
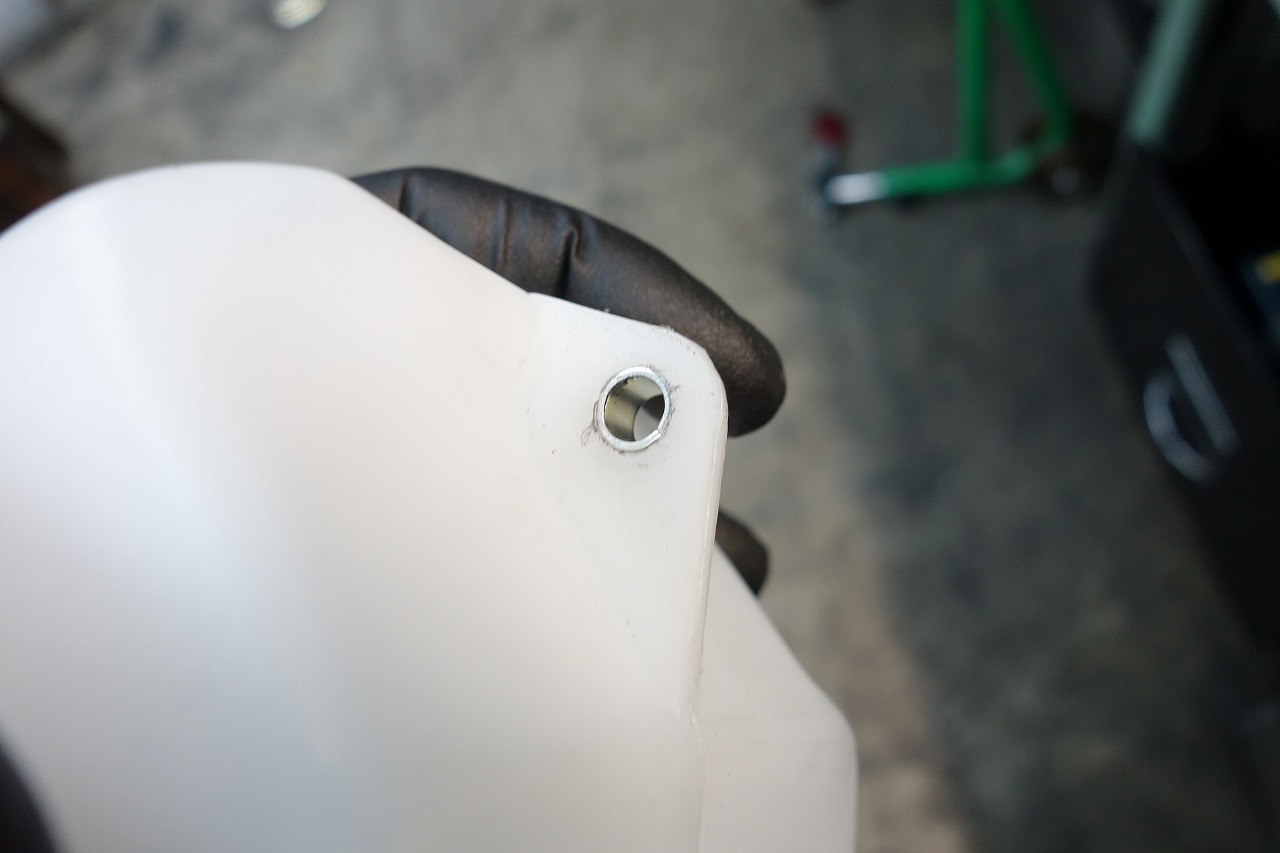
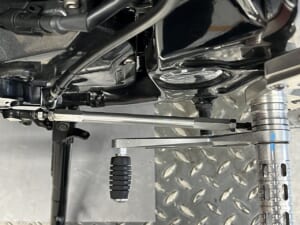
The seat rail is loosened and uses play to stay on. We polished the eccentric. It’s silver now, a nice accent. So we blackened the axle. I think I finally understand why the side stand looks like an insect’s leg. With a dual-outlet megaphone-style muffler, I bet they designed it this way to avoid interference and make it easier to deploy. A rod-shaped stand like this would be absolutely forbidden by today’s safety standards. We cut it and shaped it. A rod shape is a safety hazard, so it’s definitely better to bend it. I used to see a lot of imported bikes with bolts welded on—I really wish they’d stop doing that. Then we applied Guncoat (black) and we’re done. Next. We’re replacing the coolant. It was pretty concentrated. This is the product the owner asked us to use. It looks so drinkable… kind of scary. We also installed a sleeve in the reservoir tank.
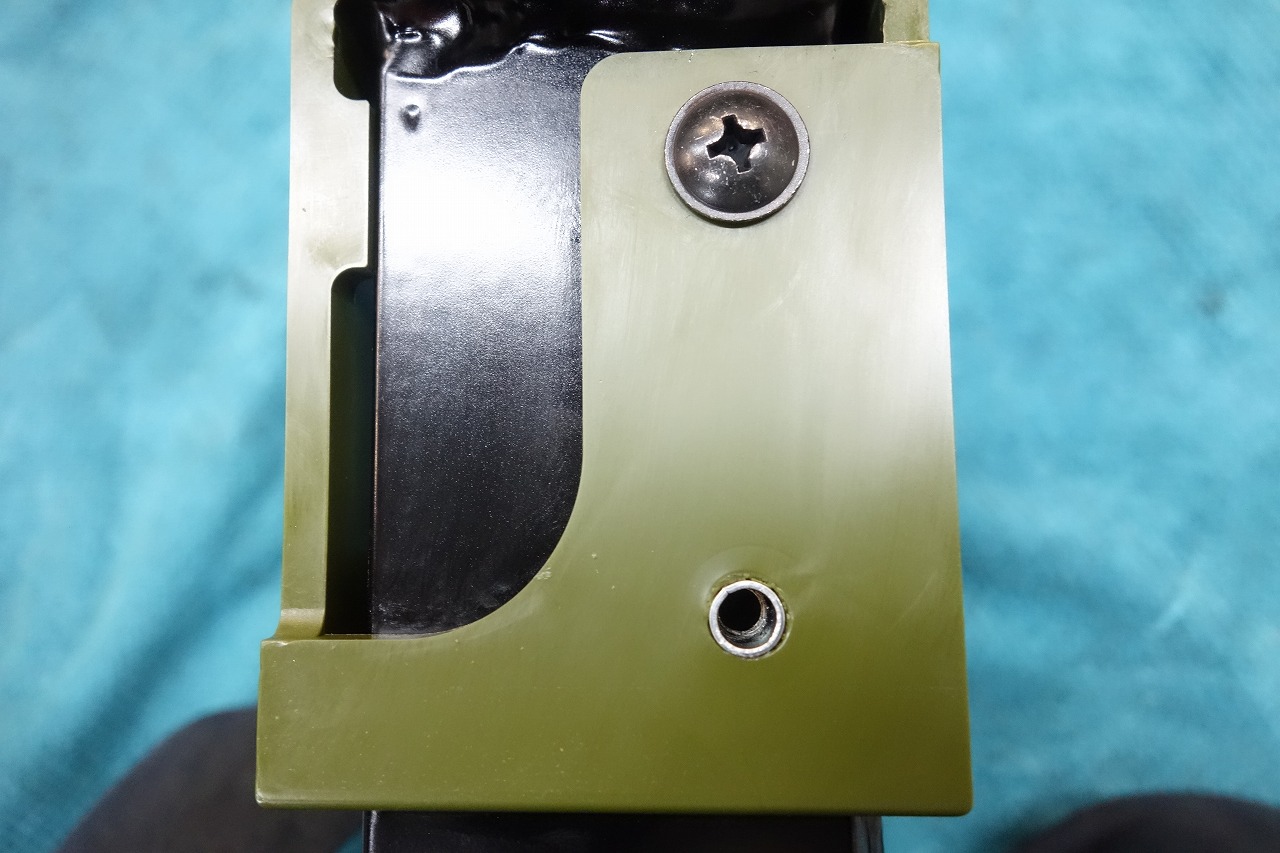
When you tighten plastic, doesn’t it feel weird with that “squish” sound? You might think 10 Nm is no big deal, but if the plastic shrinks, the clamping force weakens.
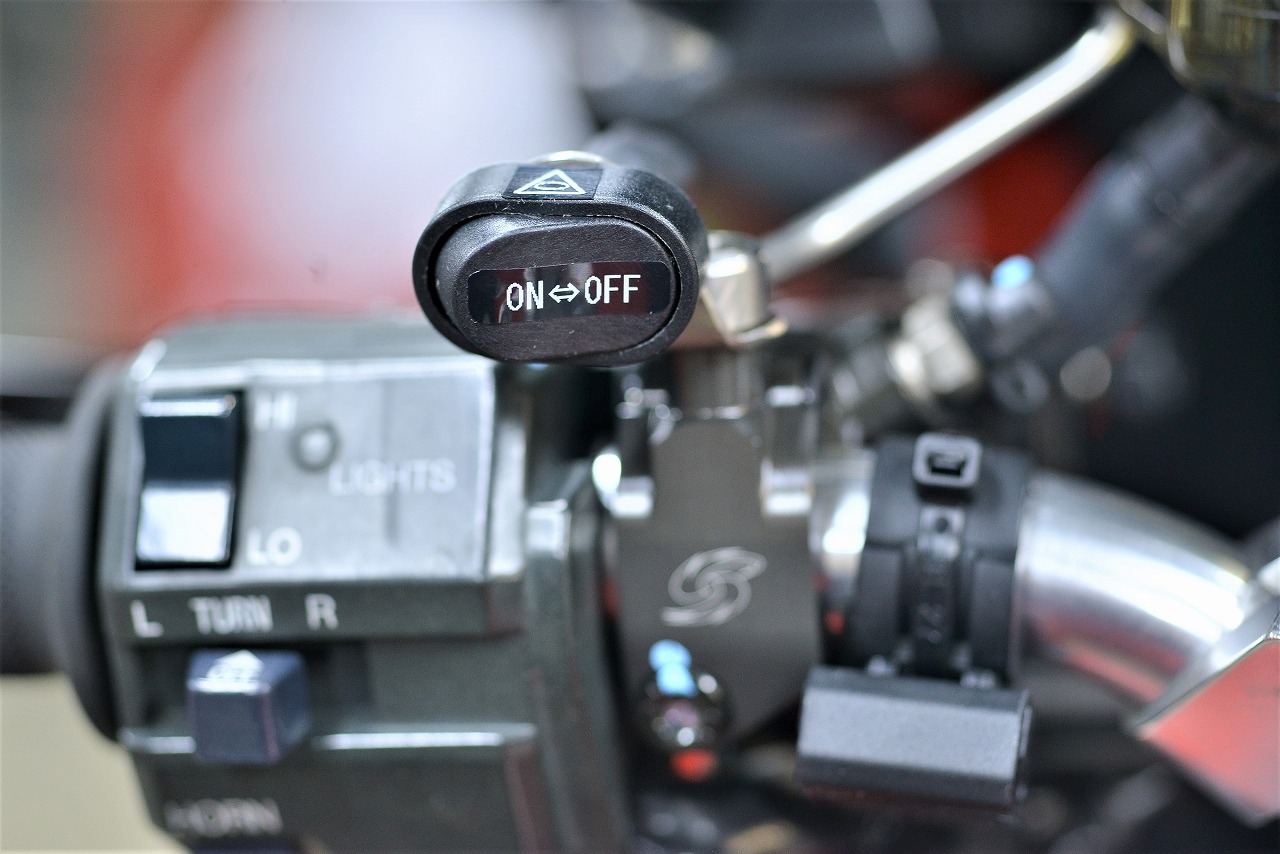
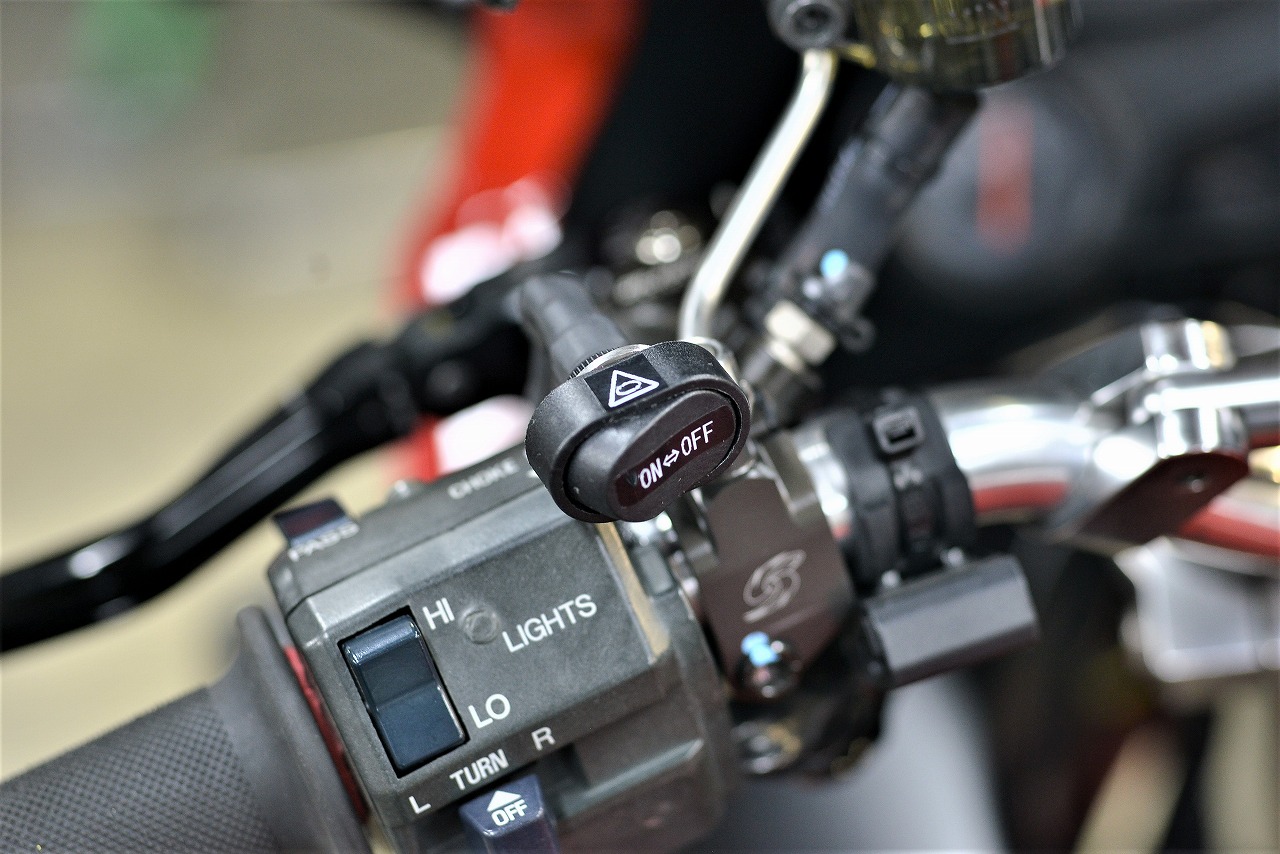
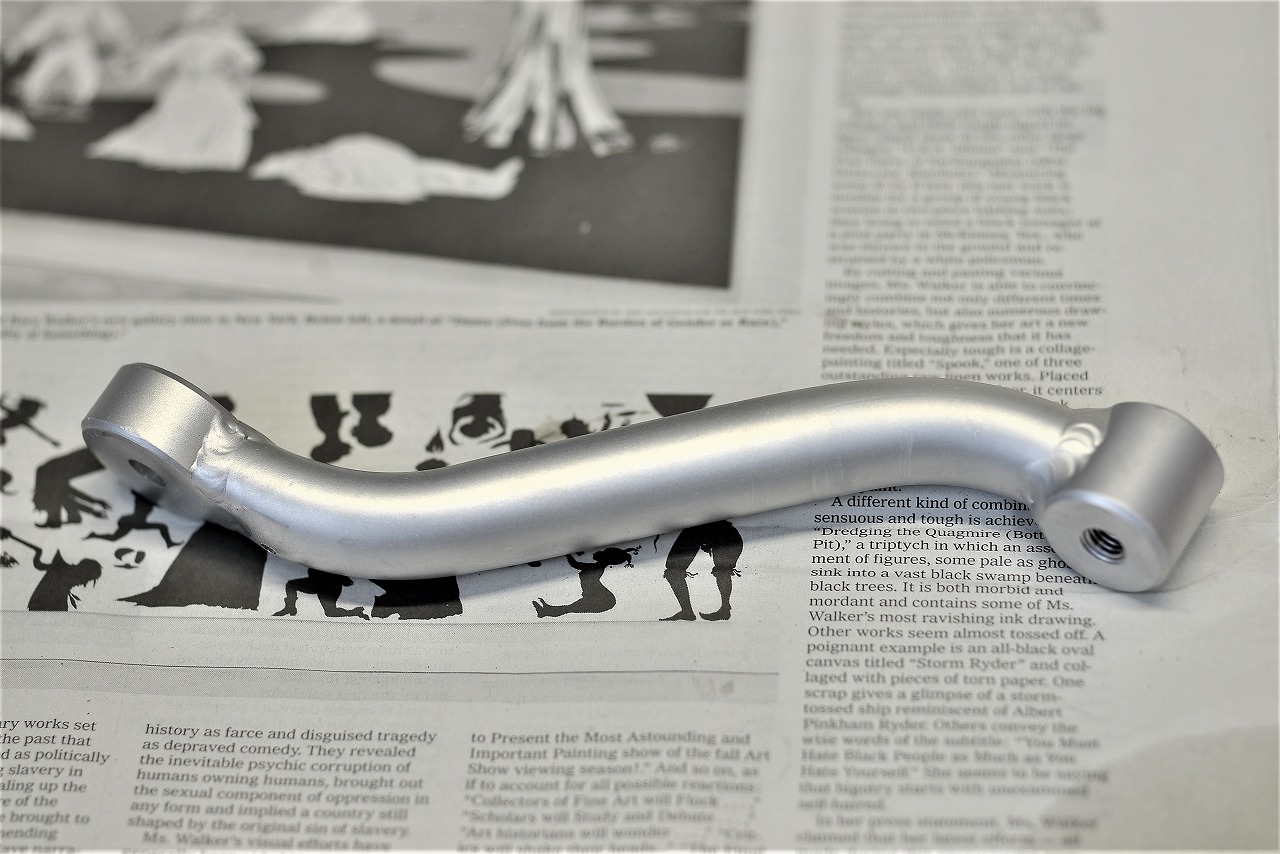
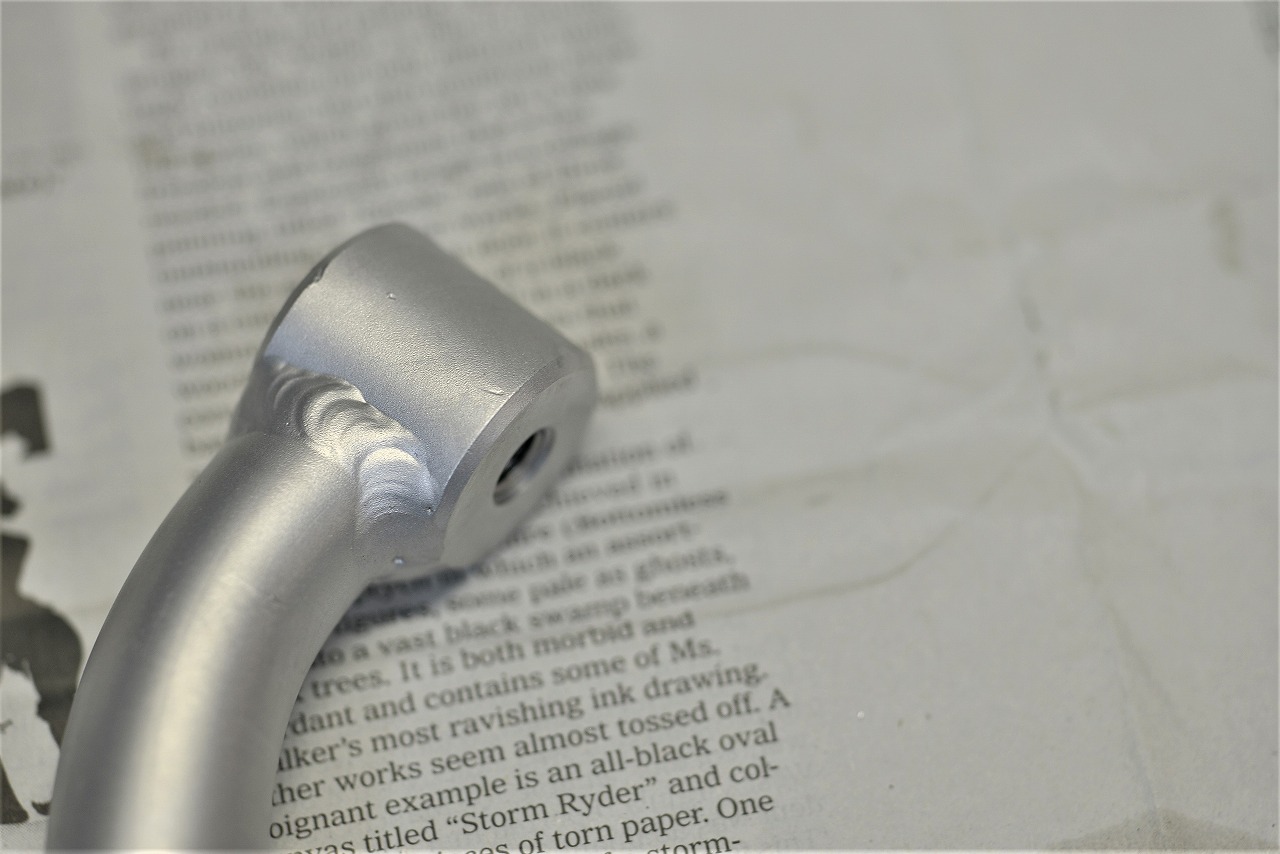
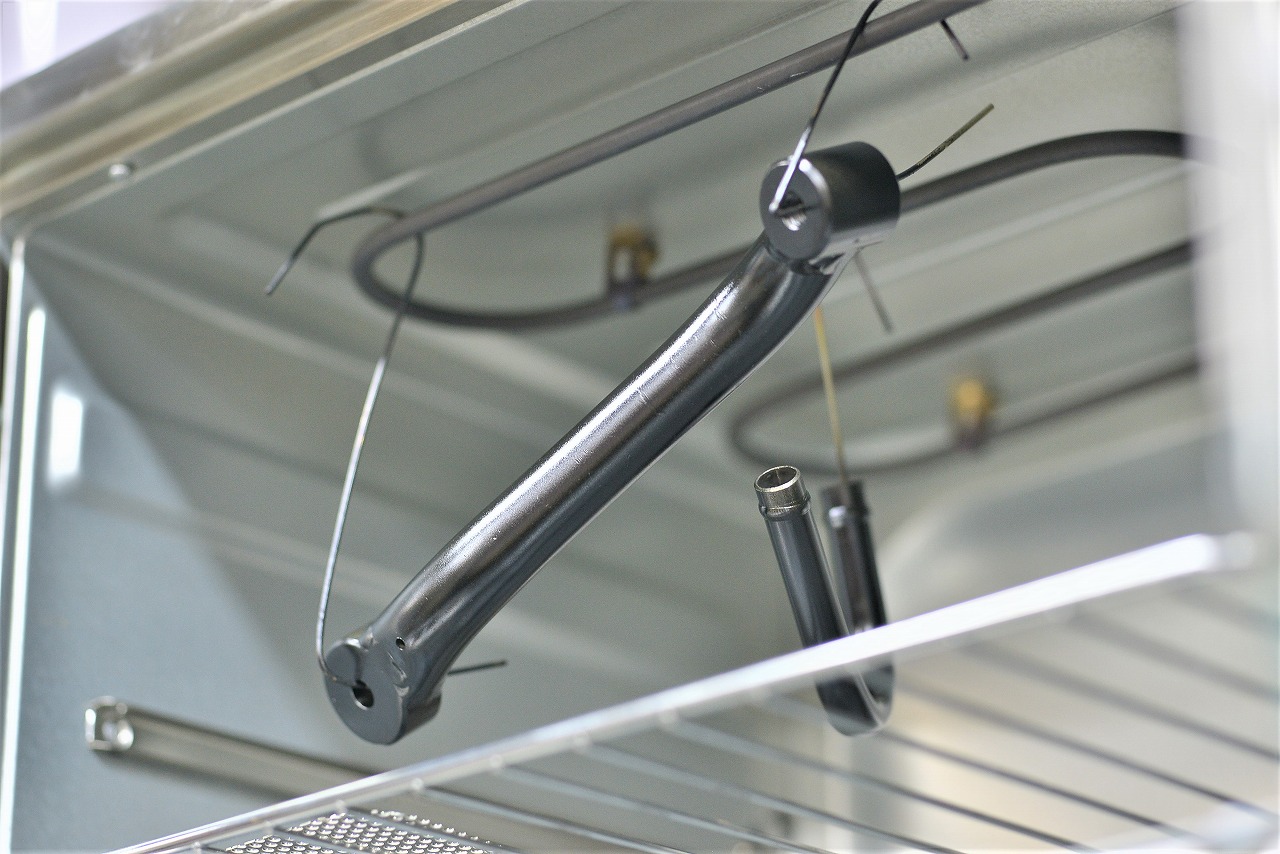
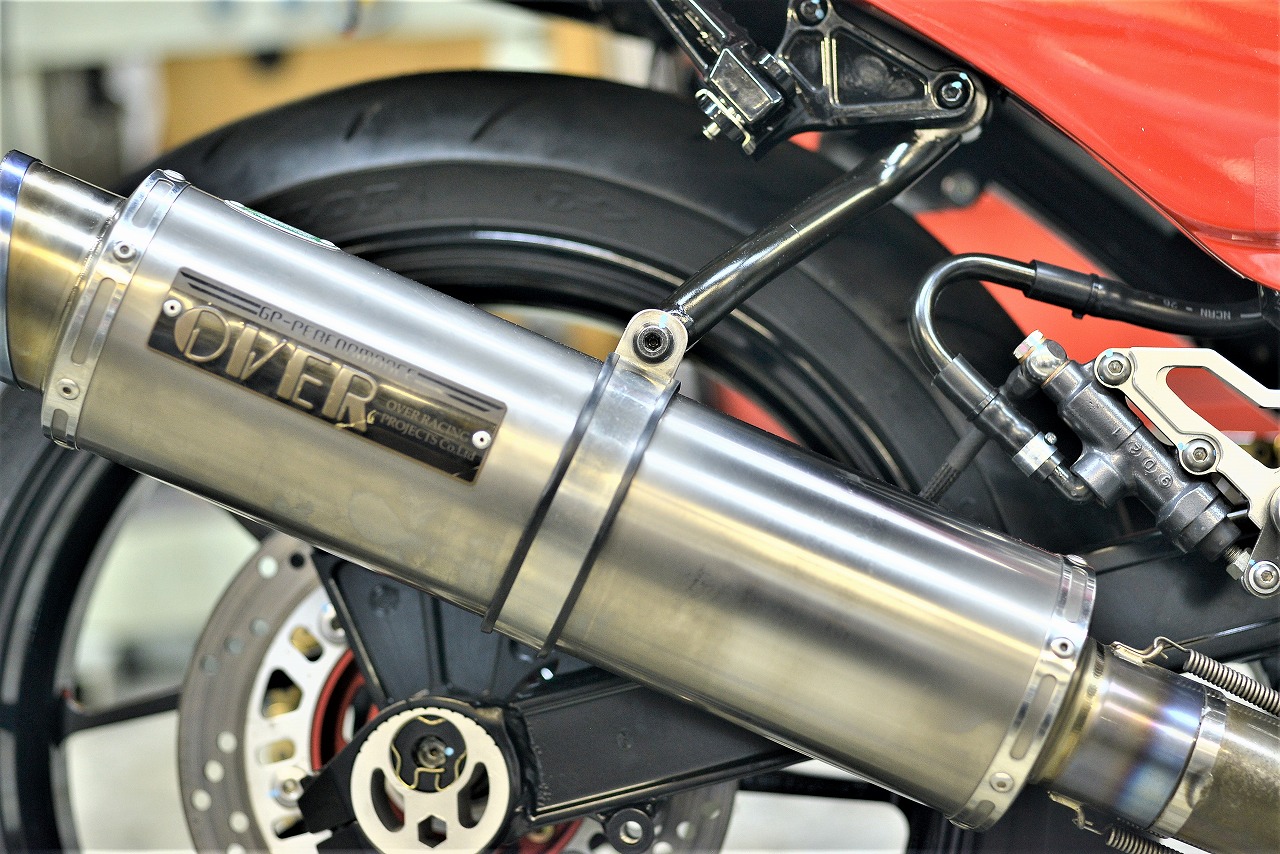
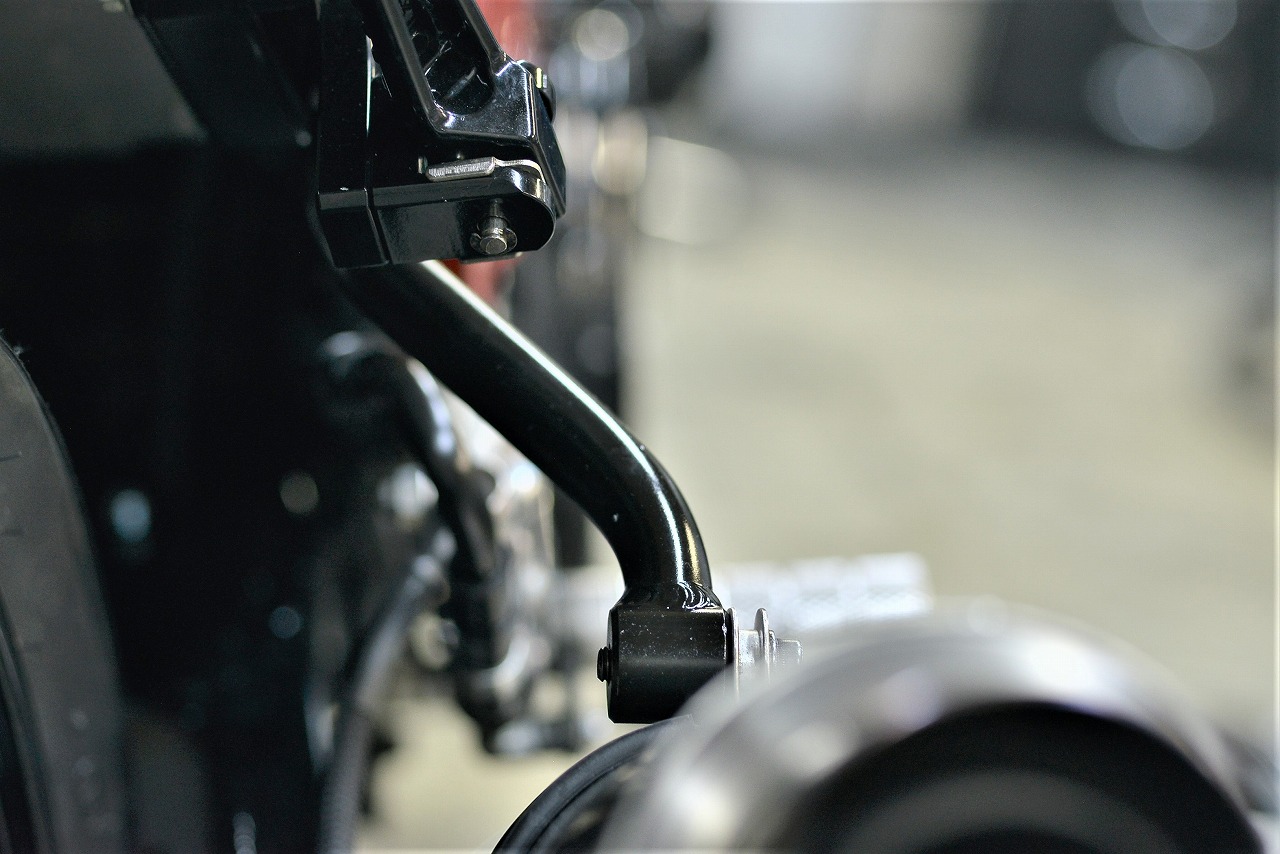
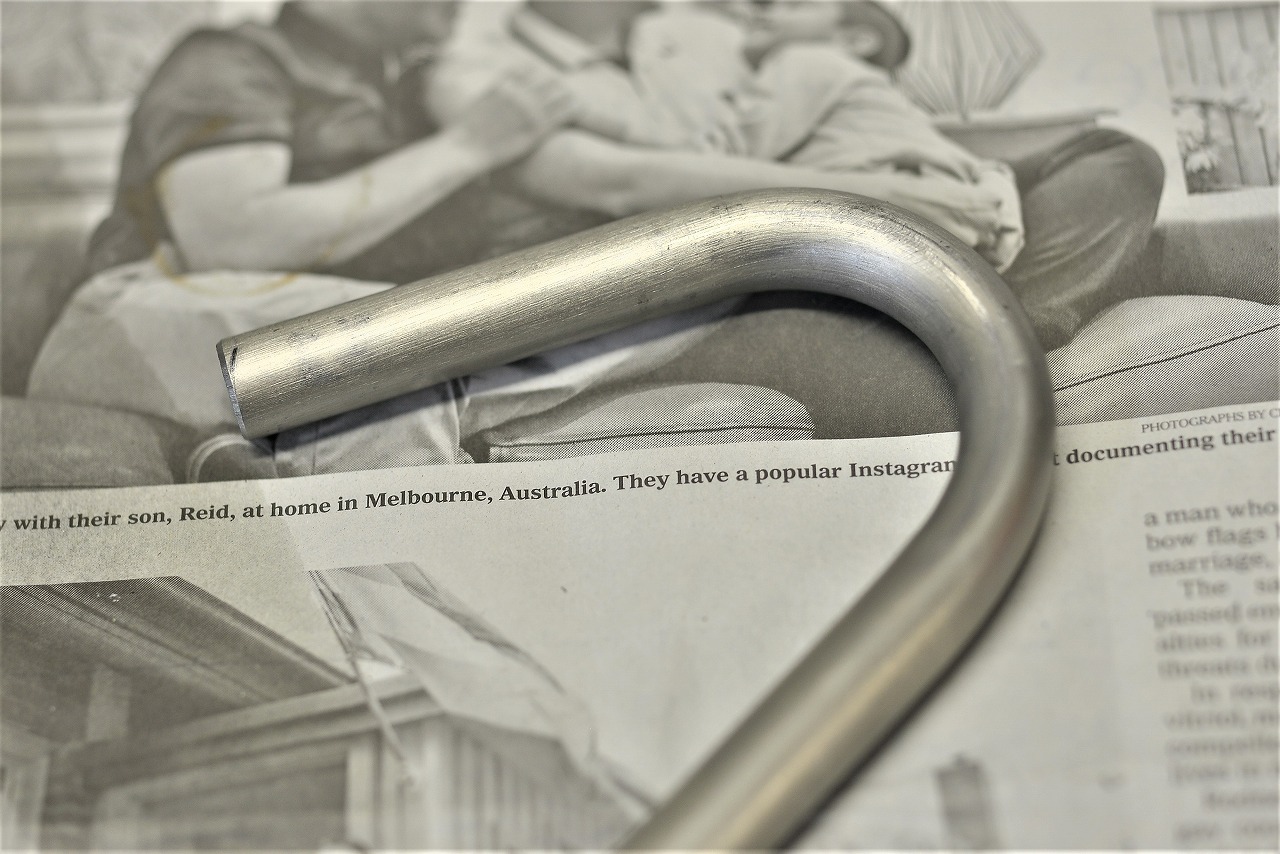
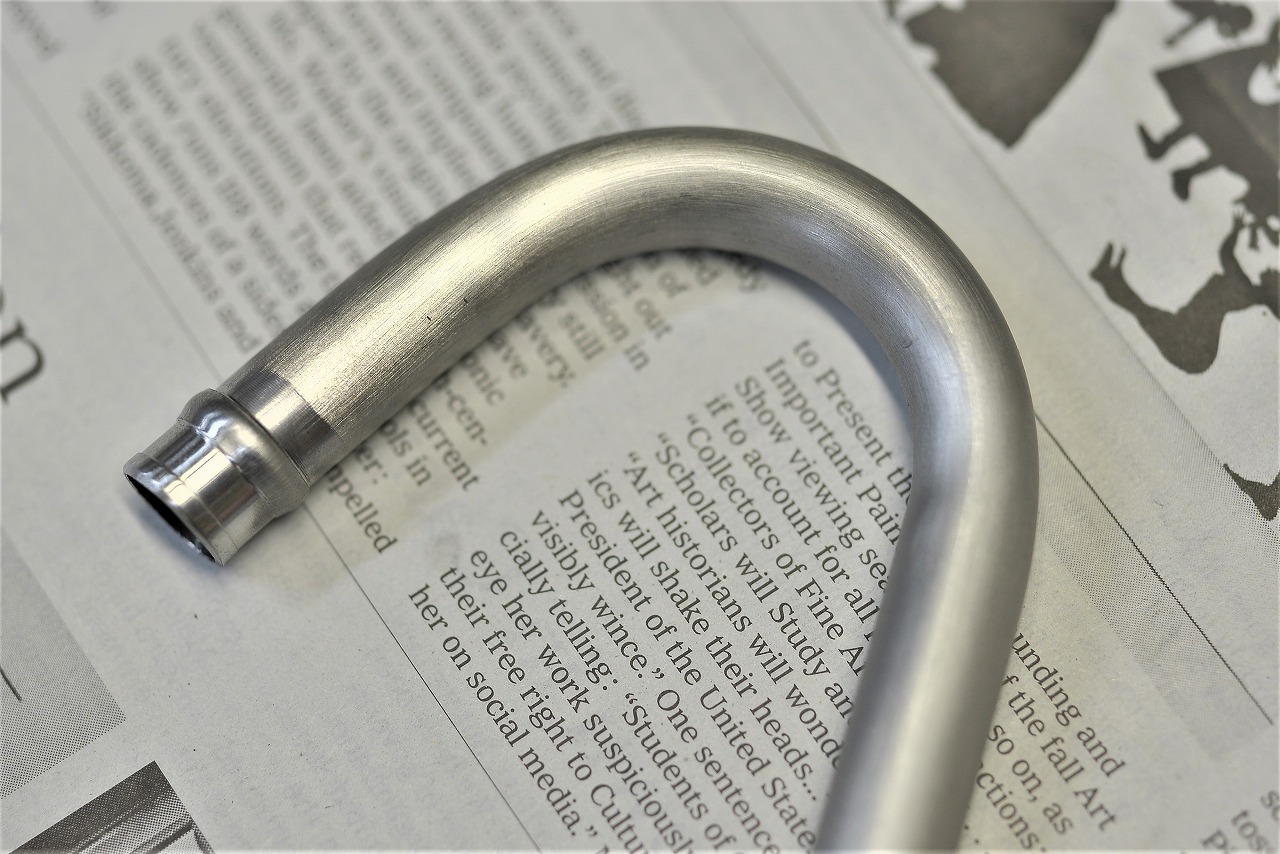
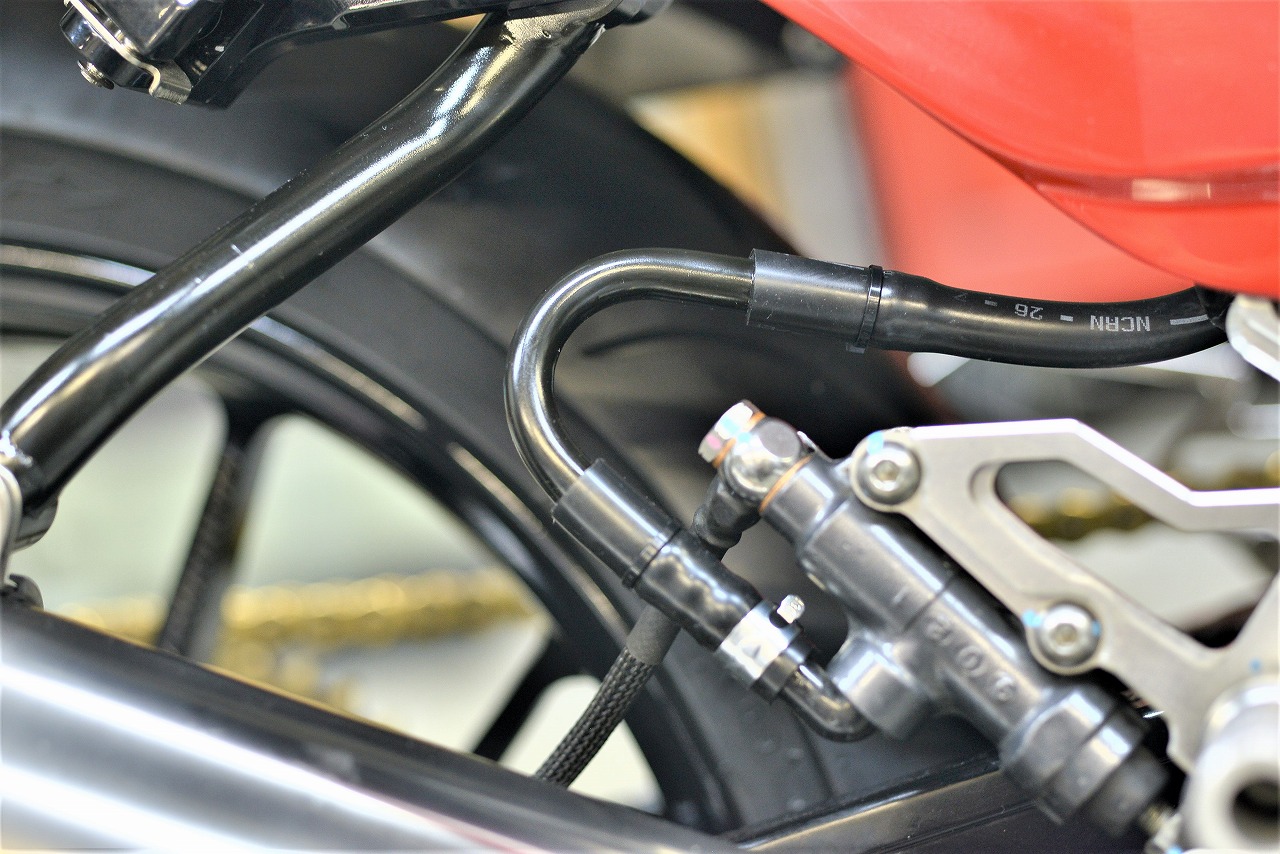
With a sleeve and bolt bottoming out, you get solid, reliable clamping, and the plastic won’t crack from tightening fatigue. The owner requested a manual fan switch. Looking at the wiring diagram, it just grounds the circuit. We made it easy to operate. You could even use a hazard switch and repurpose the hazard as a manual fan switch. We fabricated a muffler bracket. The process: collar fabrication, pipe bending, welding. We painted it with Guncoat And that’s how it turned out. The owner wanted the rear brake reservoir hose replaced. When we took it off, it was incredibly long—what the heck? It’s S-shaped, so we’re going to use stainless steel tubing on the tight sections. We used a bead roller to add a retaining groove. You absolutely have to add this—no exceptions. We also applied Guncoat to this. So we’ve done quite a bit of refreshing! The bike looks shiny and new now. That covers all the work for this time.