I’m afraid of building an image of “installing little parts here and there = doing it for you.” Basically, we don’t accept that kind of work.
Custom = custom shop,
fabrication = fabrication shop, right? It’s a different story if you’re ordering a vehicle inspection. That’s the kind of capricious sole proprietor I am.
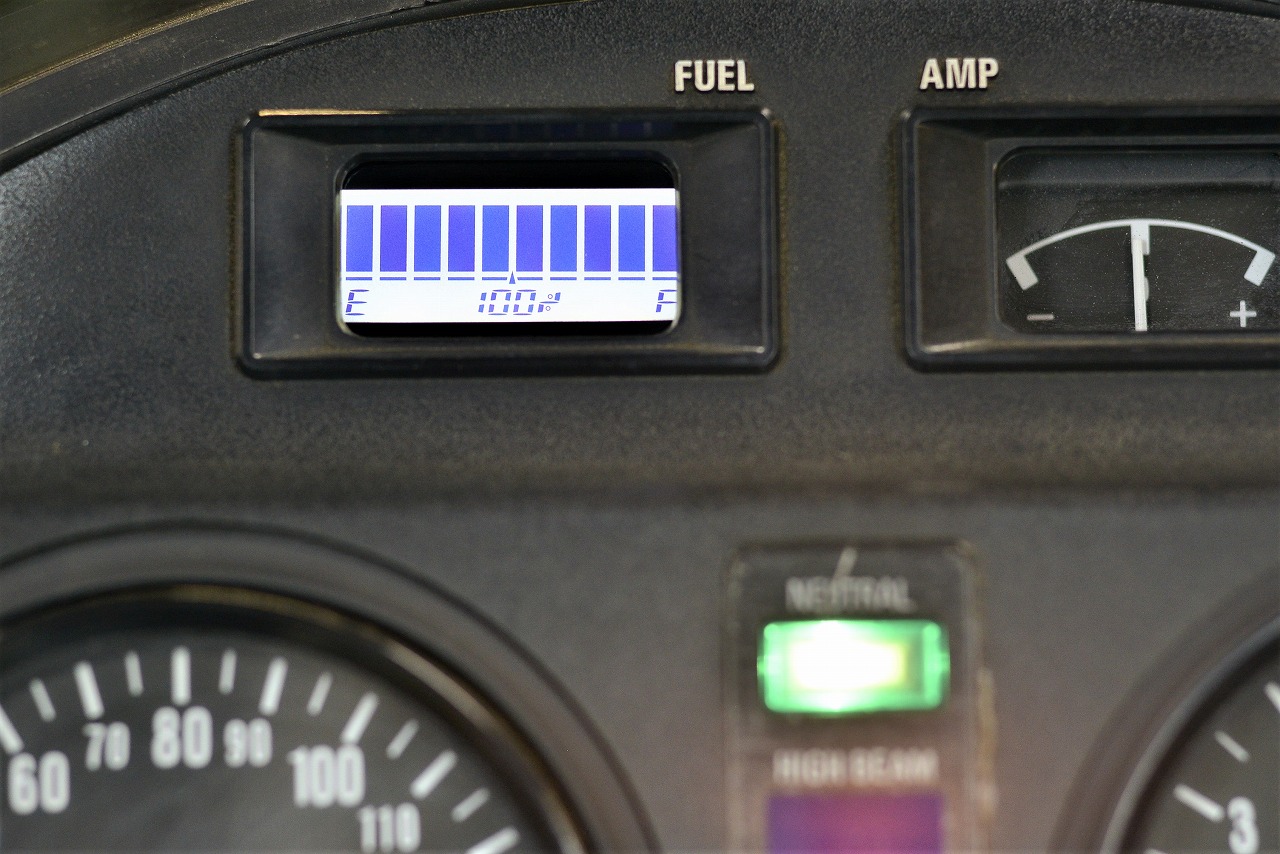
The fuel gauge just completely died right after I fixed it, so we’re moving into the 21st century with digitalization.
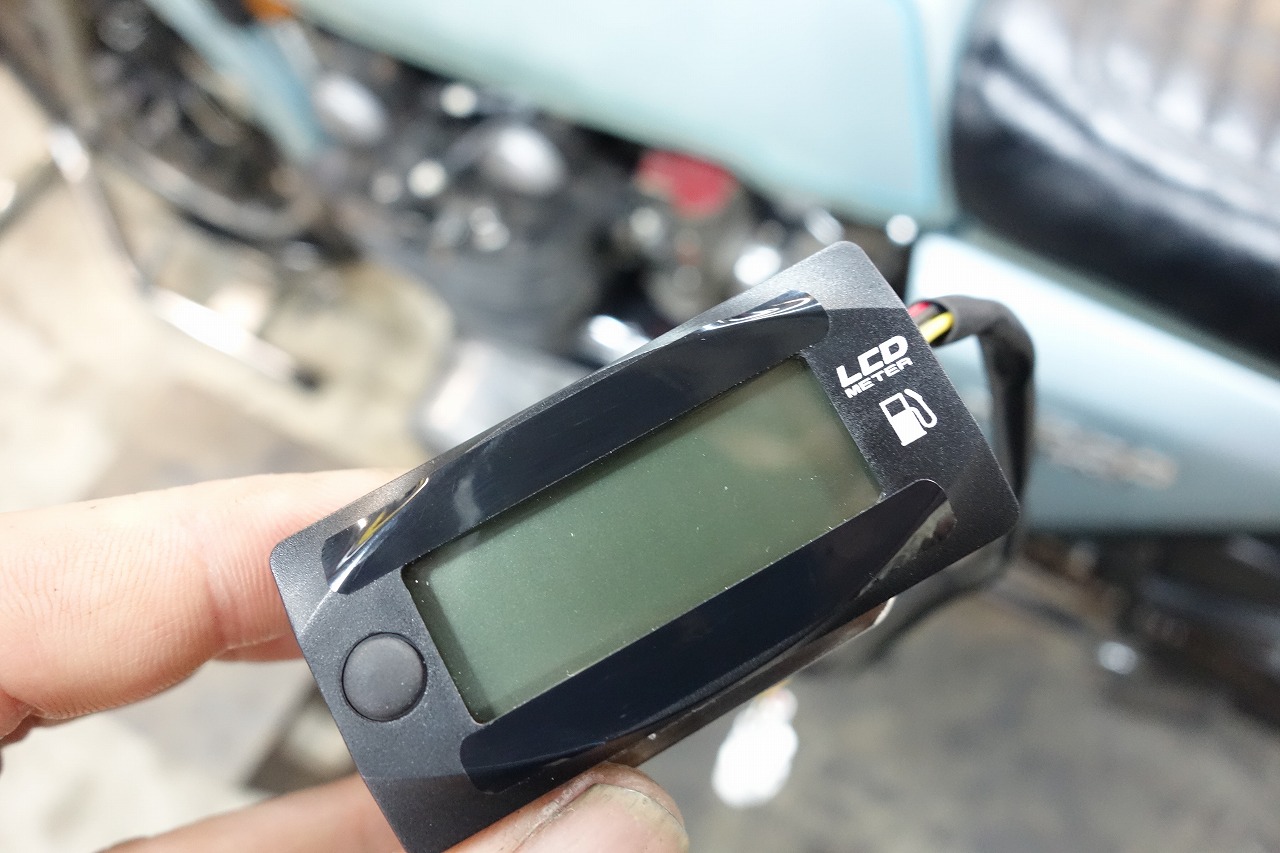
The shape is like a digital tachometer.
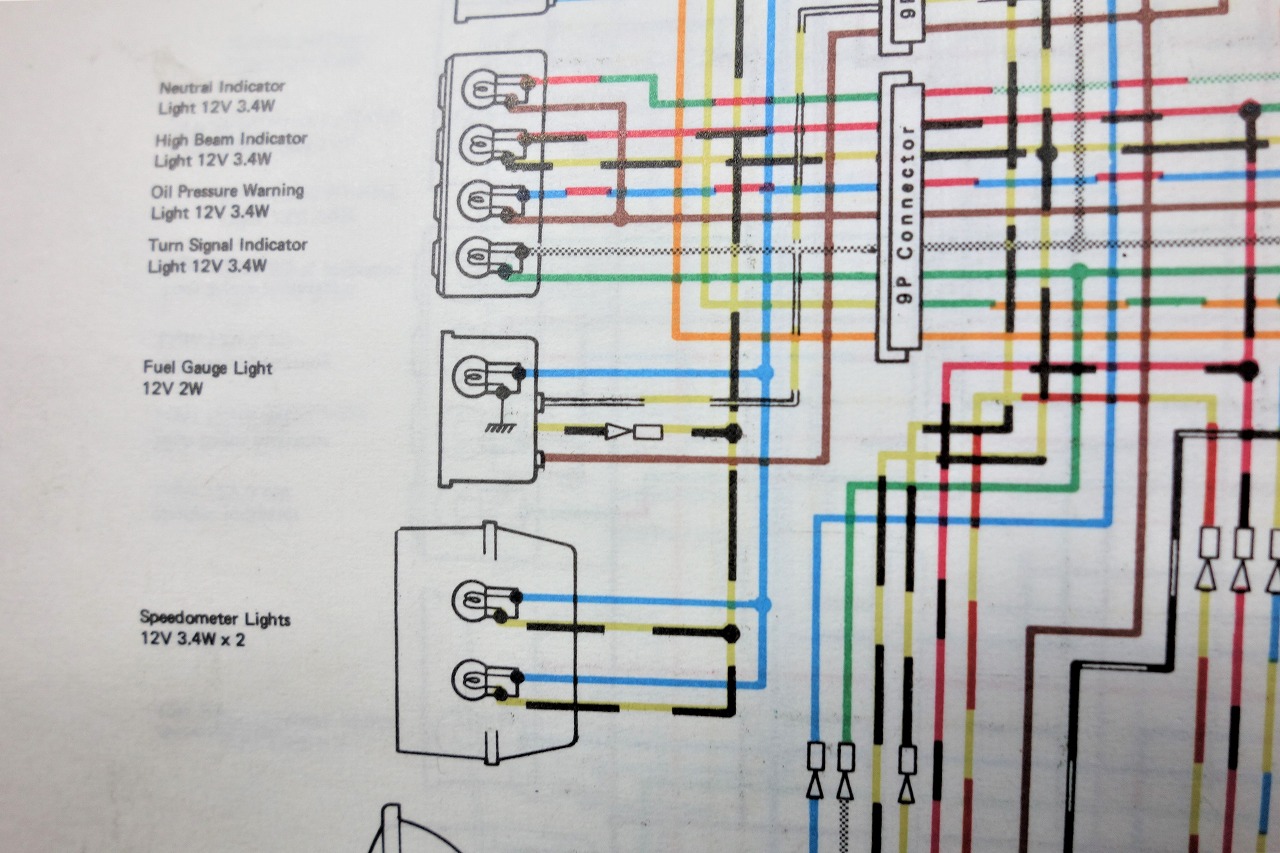
But as I’ve gotten older, the checklist of “safety, verify, safety, verify” has grown, and now I’m at the point where I won’t do it without a wiring diagram—which is my way of saying I turn down jobs I don’t want to do.
It’s pretty simple: power, ground, and signal (variable resistor). Easy peasy.

• Cheap! Ugly! Double-sided tape mounting → ✗
• Sloppy board double-sided mounting = fixed → ✗
• Spot welding patch strategy → removable
Meter position adjustment becomes difficult → ✗
Suddenly hit a dead end, and I just stood there staring at the fairing with my mouth hanging open. (This part actually takes a long time.)
Why do I basically hate making things?
• Lots of materials needed
• Machine tools required
• Design, functionality, and durability all matter
* In the end, there are problems both before and after making something.
• If it breaks, I’m responsible (industry standard is a year, but people expect more)
• I can’t let people down no matter how they look at it (sorry if I have)
• Thinking time and making time are long
• Sometimes I mess up = have to redo it
That’s the deal. I hope some of this reluctance comes through.
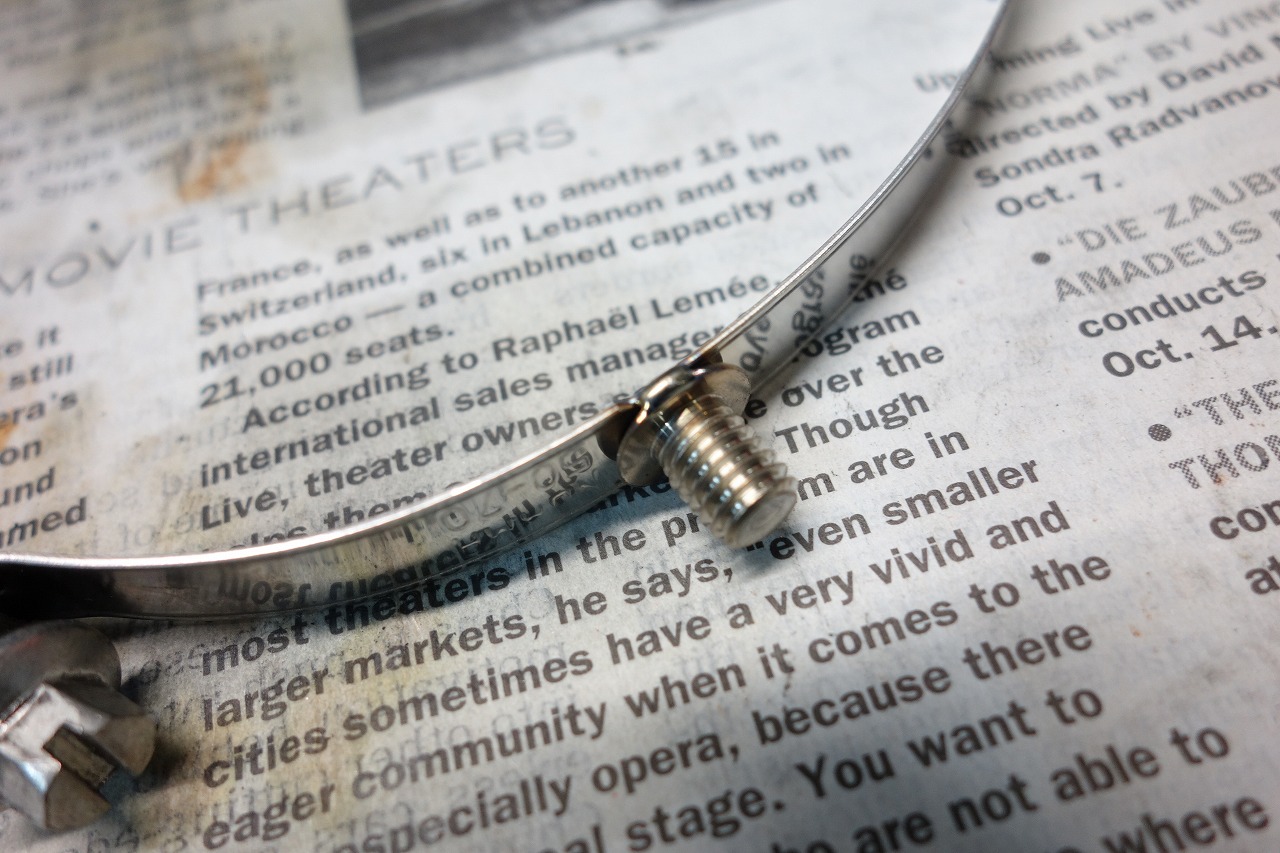
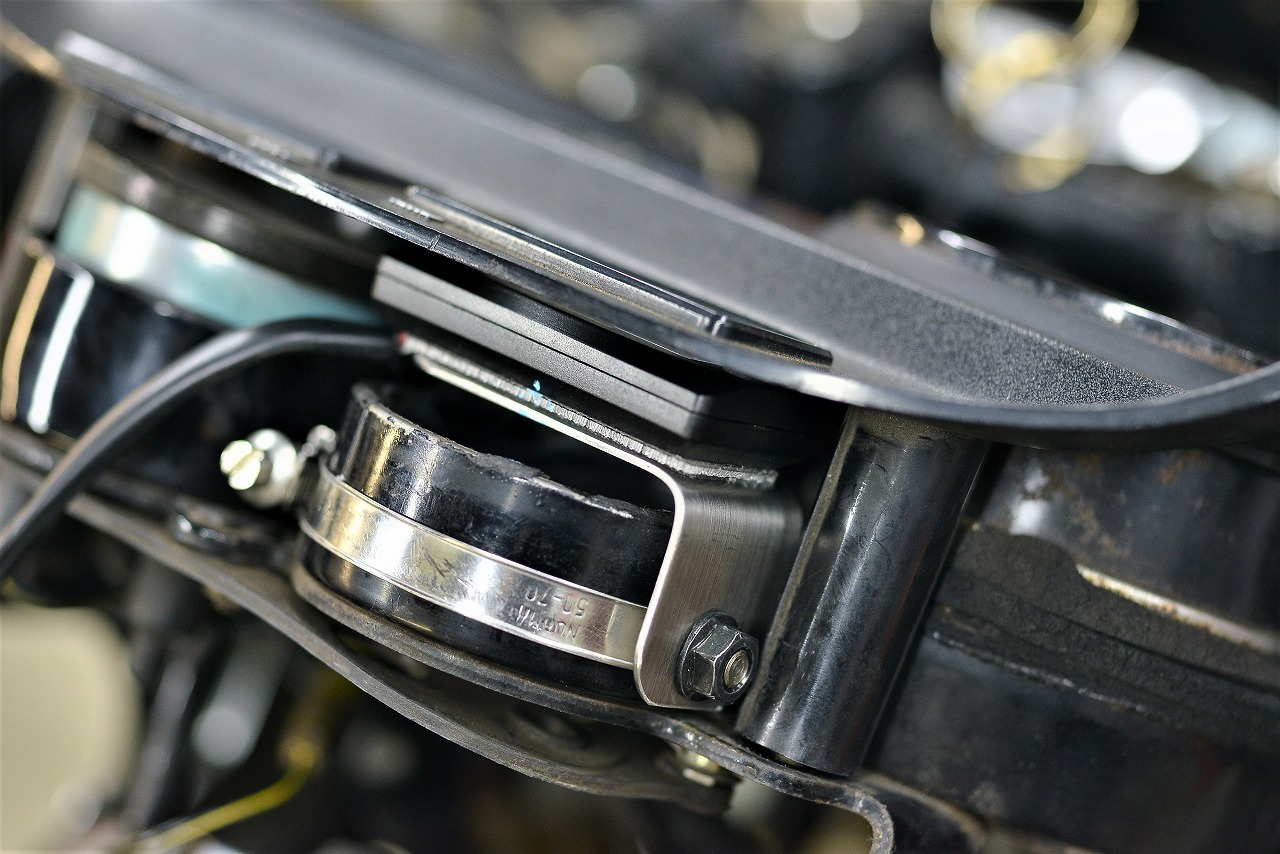
* By the way, the first attempt had the bolt sticking forward and it hit the fairing, so that was a bust… this kind of thing happens a lot.
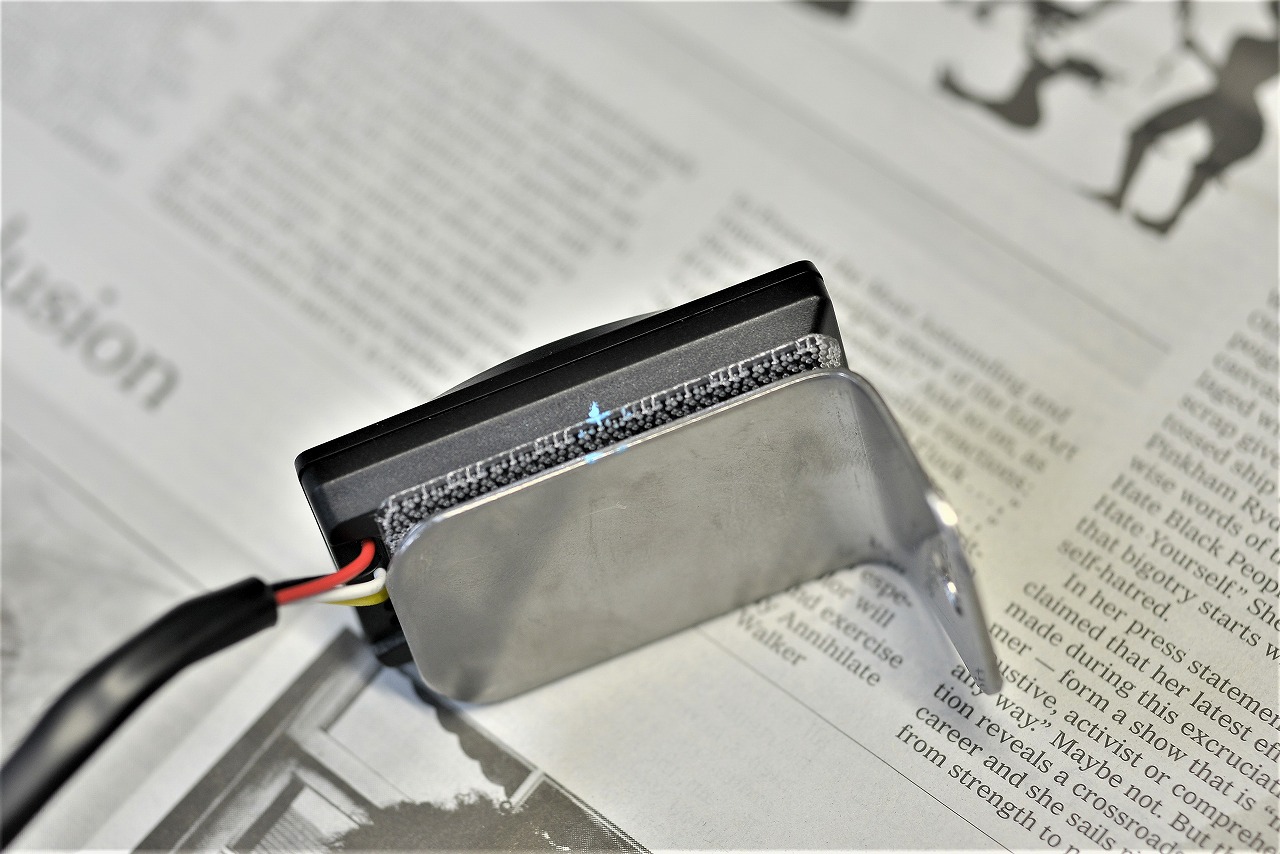
For mounting, 3M Dual Lock (the thin stuff) works great.
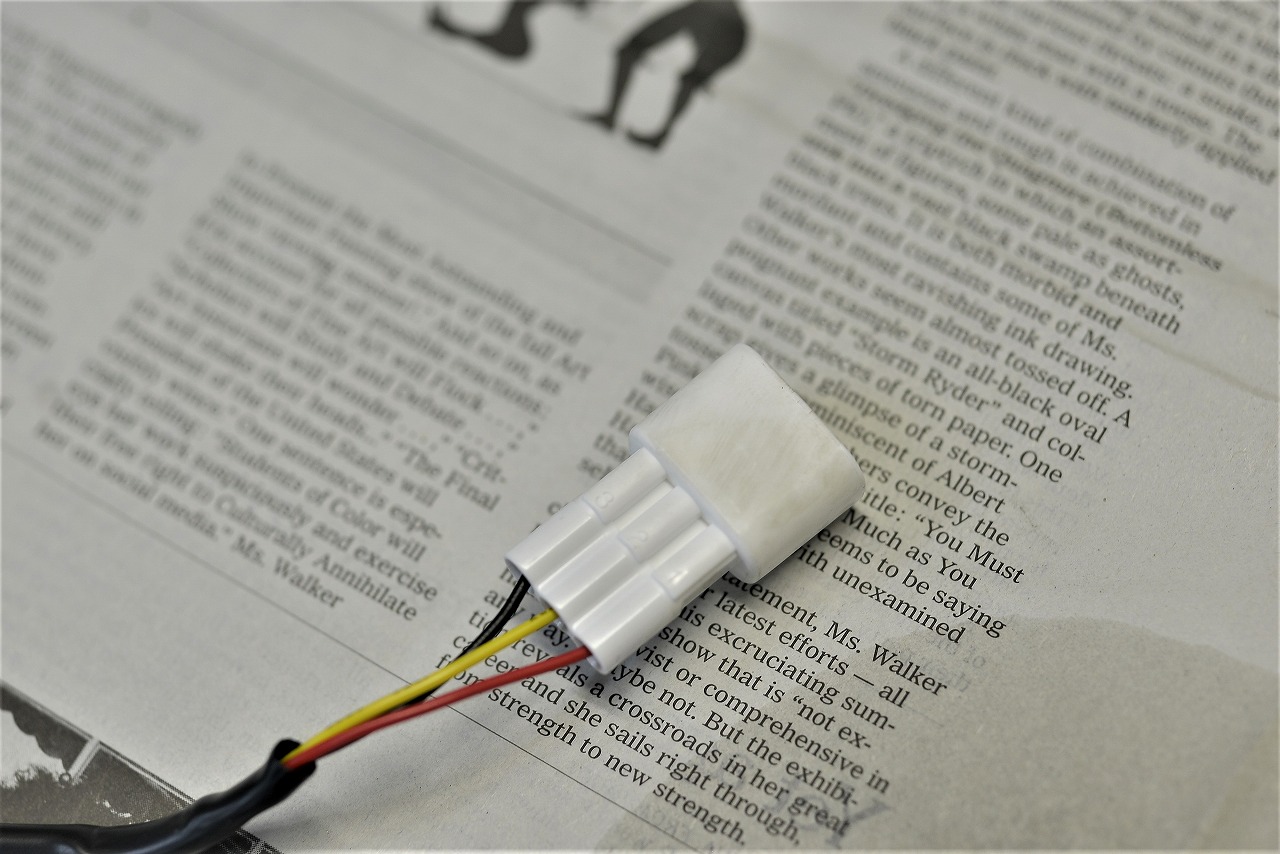
It doesn’t really matter much, but I have my own rule: “with three or more pins, don’t put power and ground next to each other.”
If they get crushed and go pop, it’s the same either way, but it’s maybe 0.1% safer this way… hopefully.
After that, I painstakingly drained all the fuel and checked the remaining amount bit by bit.
Hmm, it’s kind of plain. Maybe I should go digital on the voltmeter too?
That wraps up this job.