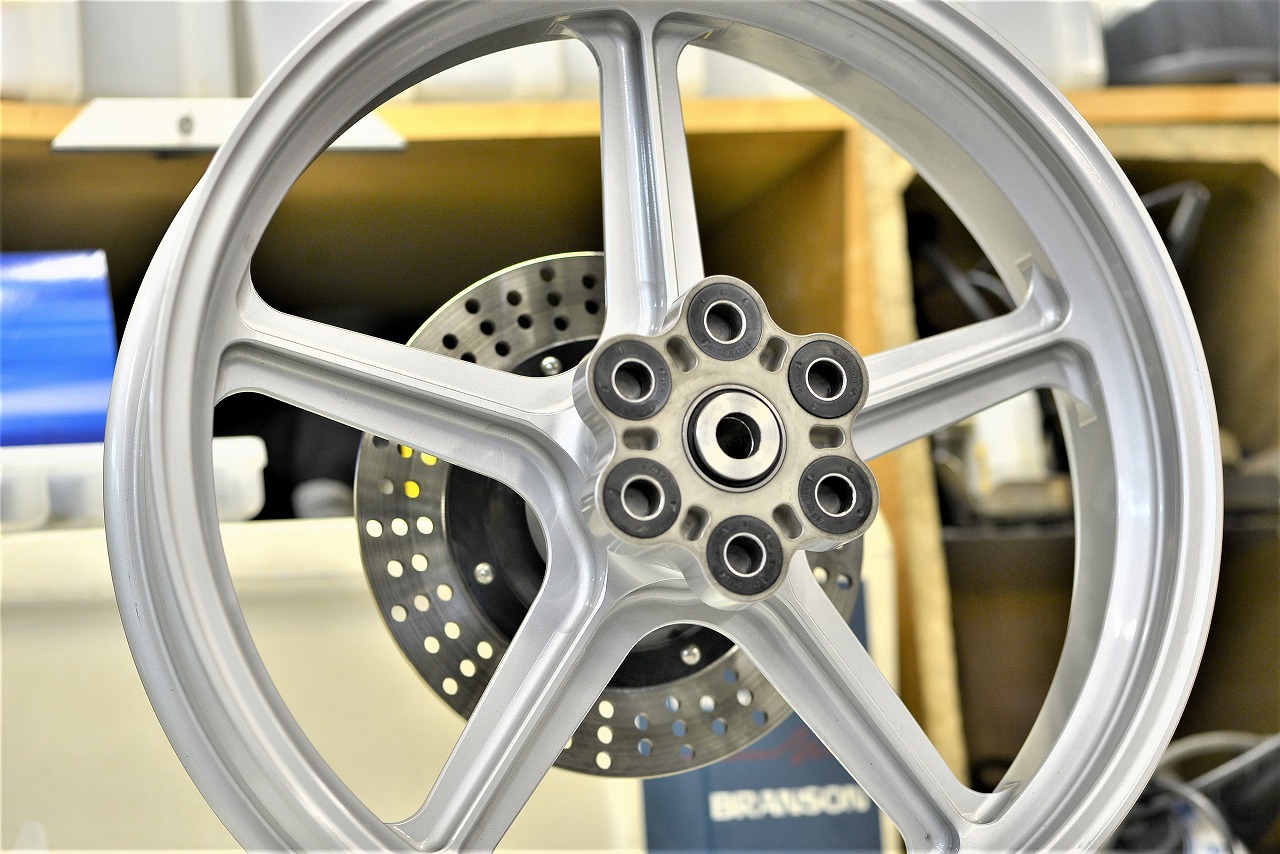
The rainy season arrived with a bang. It’s a bit chilly rather than the typical damp feeling.
I thought, summer calls for iced coffee! and arranged for a small refrigerator and a Hario dripper and such, but…
The work was finished quite a while ago and I completely forgot to update the blog.
A thick-skinned attitude of “I don’t care at all” is not something I need.
From my long experience, I’ve learned that if there’s something unpleasant about your own bike, you shouldn’t do it to a customer’s either.
And when you protect the area, you can work without worry (reasonably well), so it’s reassuring.
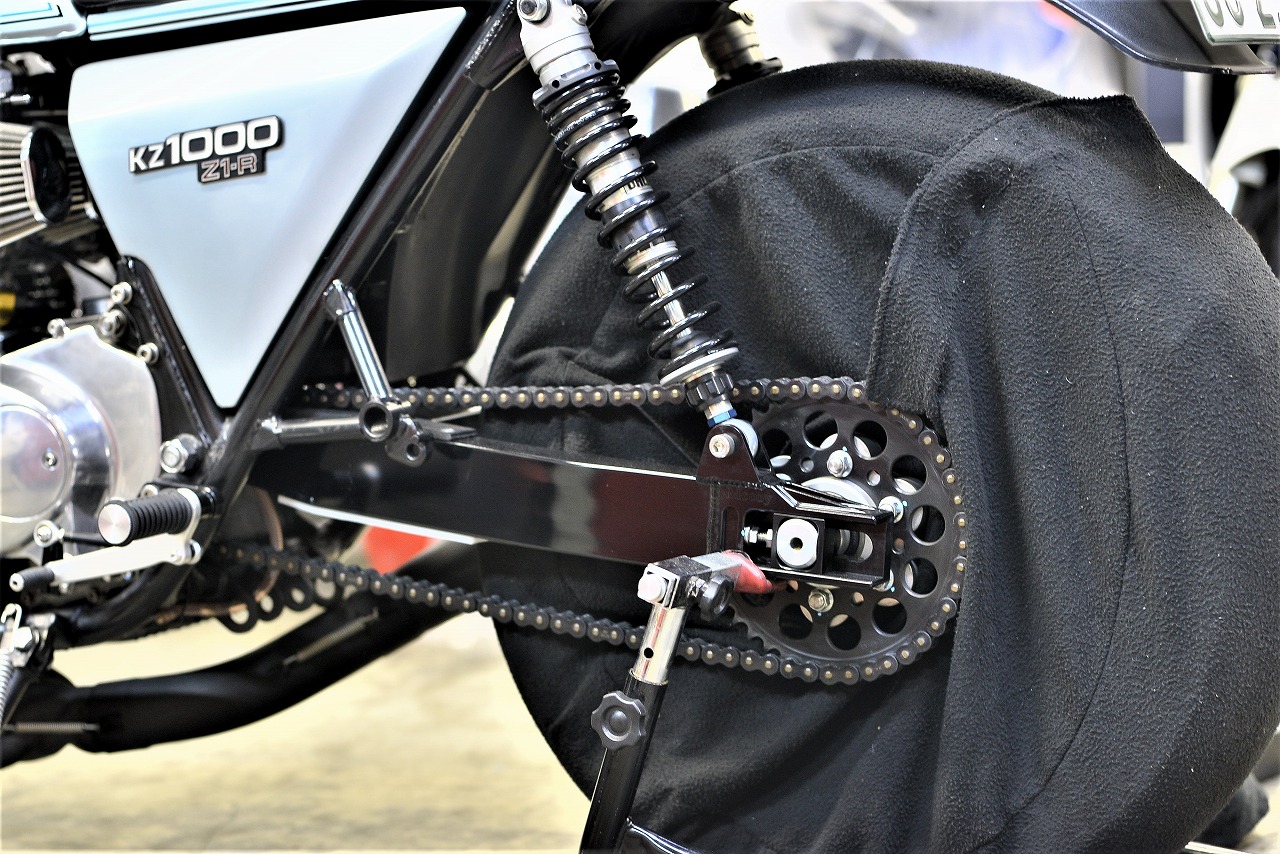
By the way, this is a warmer cover. It’s extremely convenient to have one.
I went with an α14 tire. No photos of the tire change itself…
I’m in the camp that prefers tires without tread.
There are also those who prefer tires with lots of tread on vintage bikes. This looks cool with a narrow rim. With a wider rim, fewer treads look cool, I think. Well, it’s subjective, so choose what you like.
*The superbikes back then were 18-inch slicks, after all.
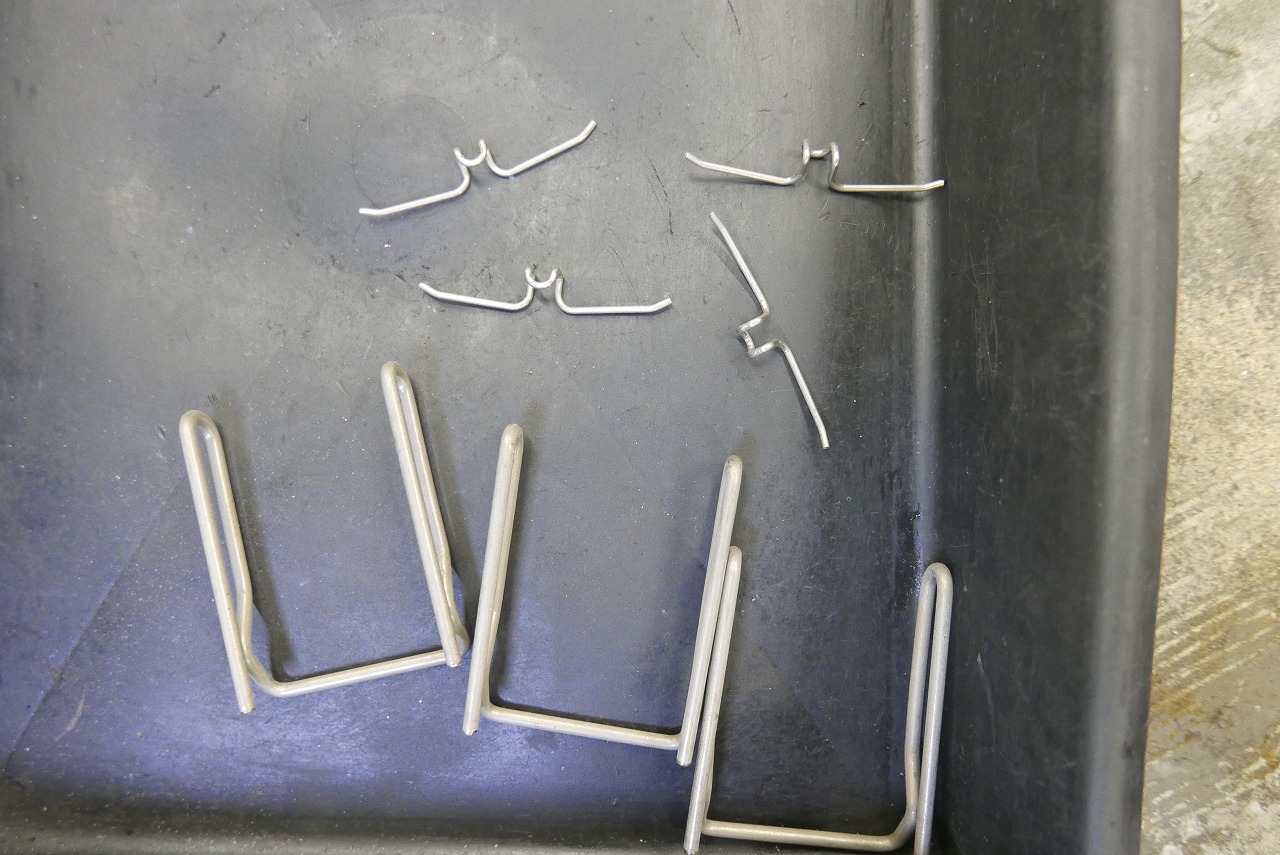
Well, that’s that.
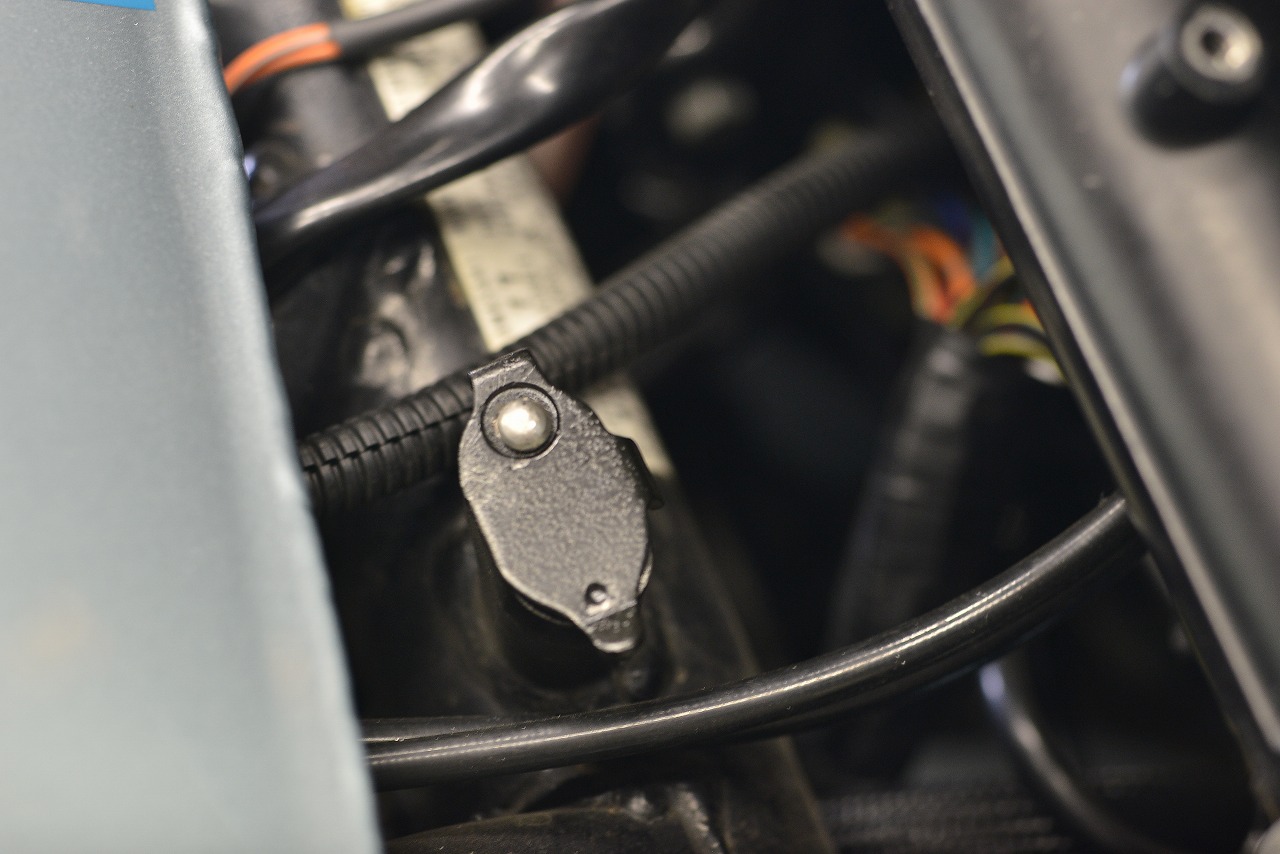
I wasn’t thrilled about drilling, but I managed to extract it without turning it to powder.
Hmm, don’t need it again? My skills leveled up. I always think about this, but…the internet is amazing.
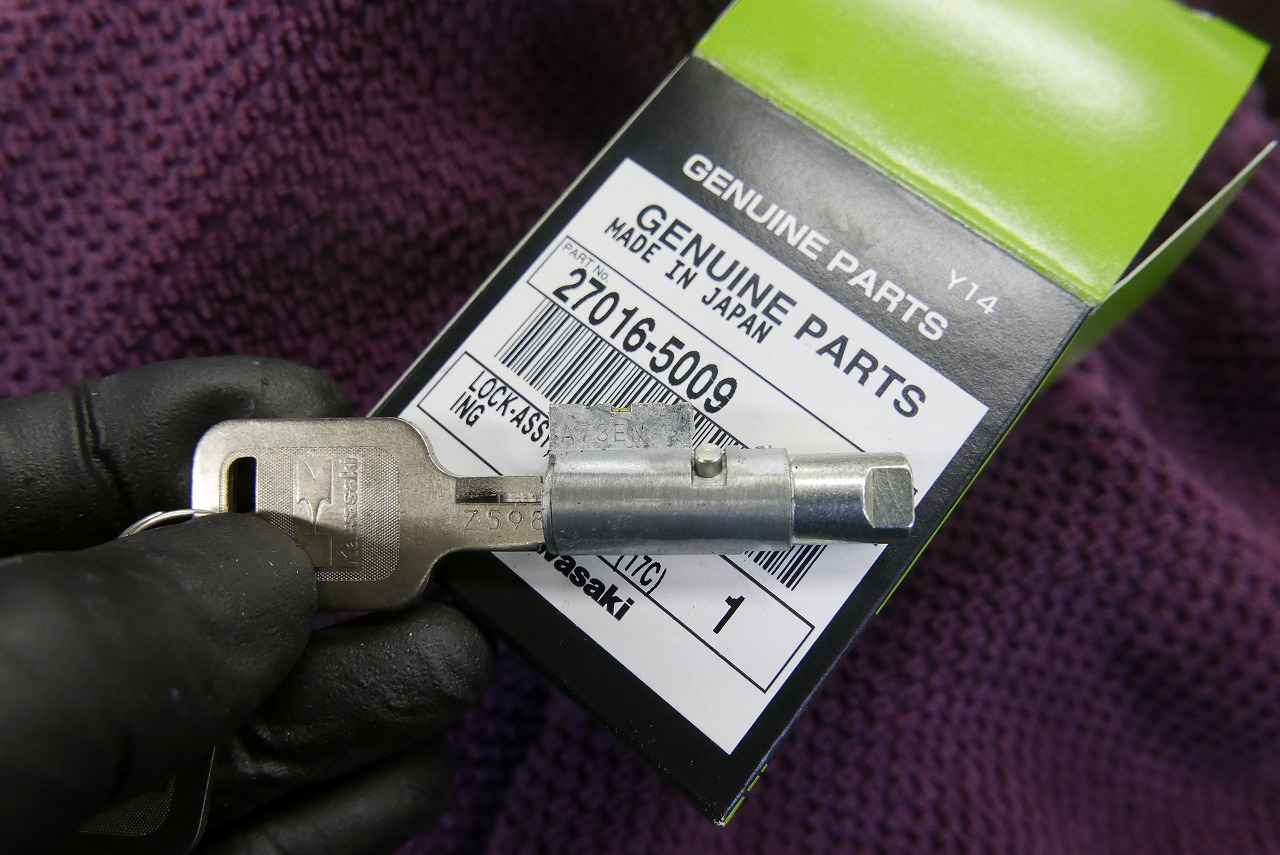
I swapped it out.
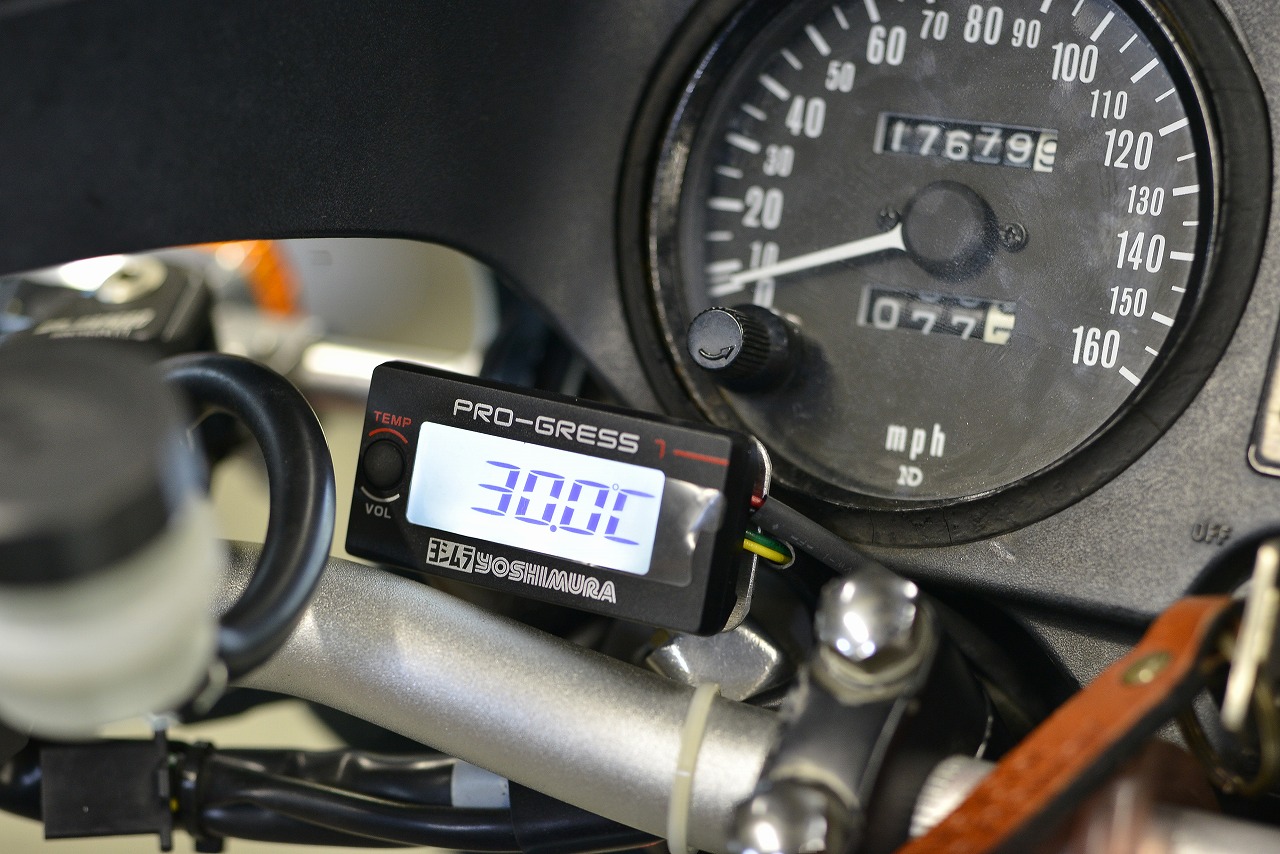
Since it’s just a temperature meter, I managed to mount it below the speedometer. I used titanium at 2mm thickness. It’s just a piece of sheet metal cut and spot welded, so no photos.
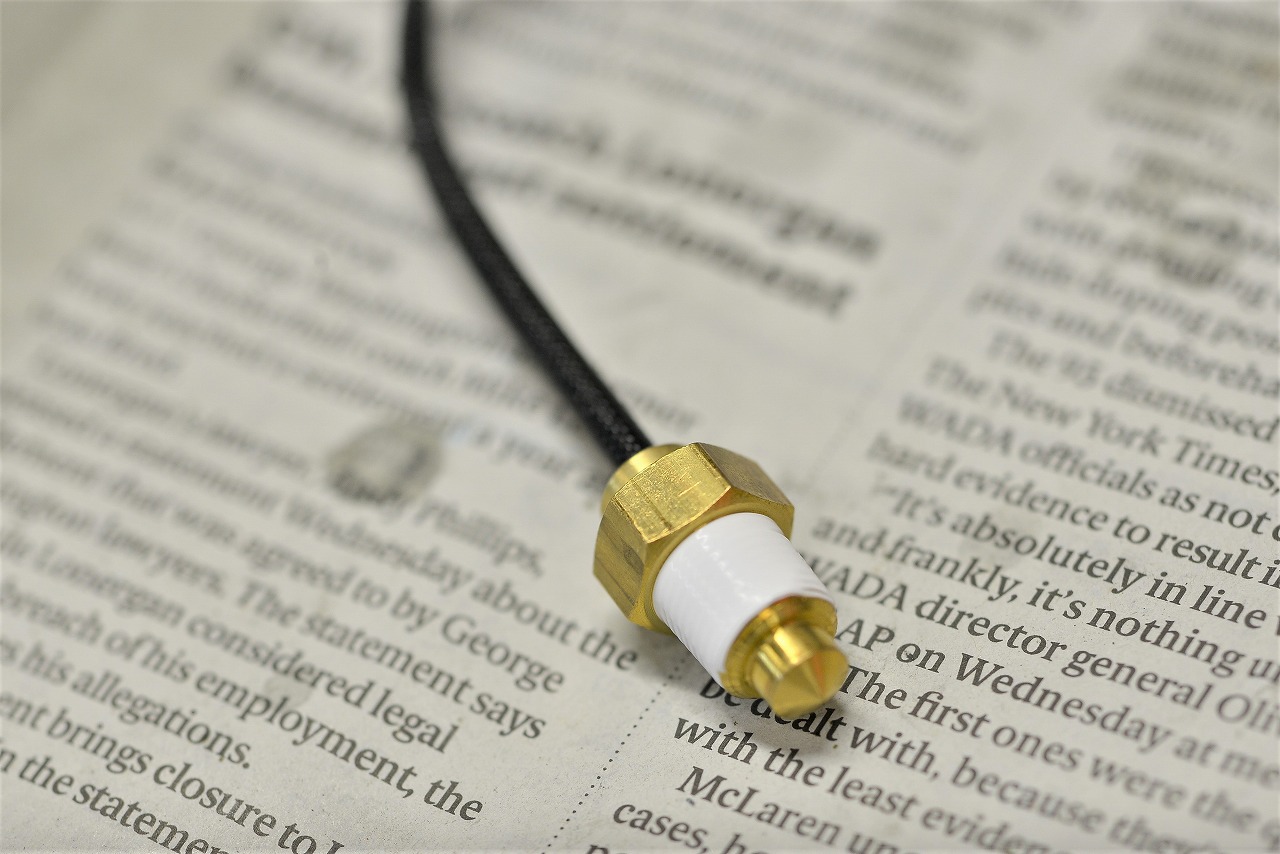
Well, if it’s bolt-on, that’s the place…but it looks ugly. I’m not planning to take it from there on my own Z either. The PT thread sensor is the smallest, so I’ll use that one.
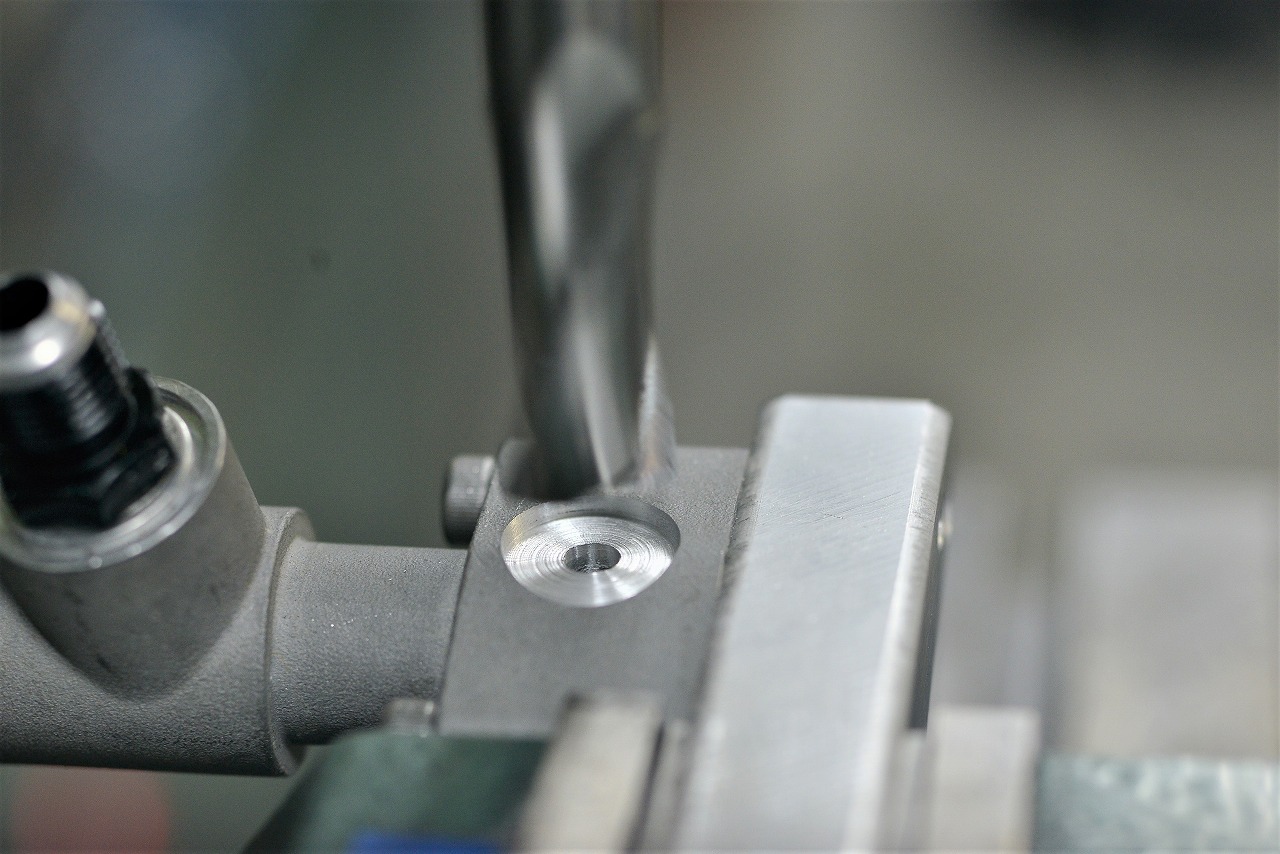
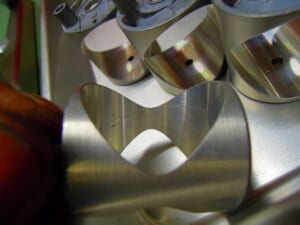
I chose this spot where there’s plenty of material and the weld bead won’t get in the way.
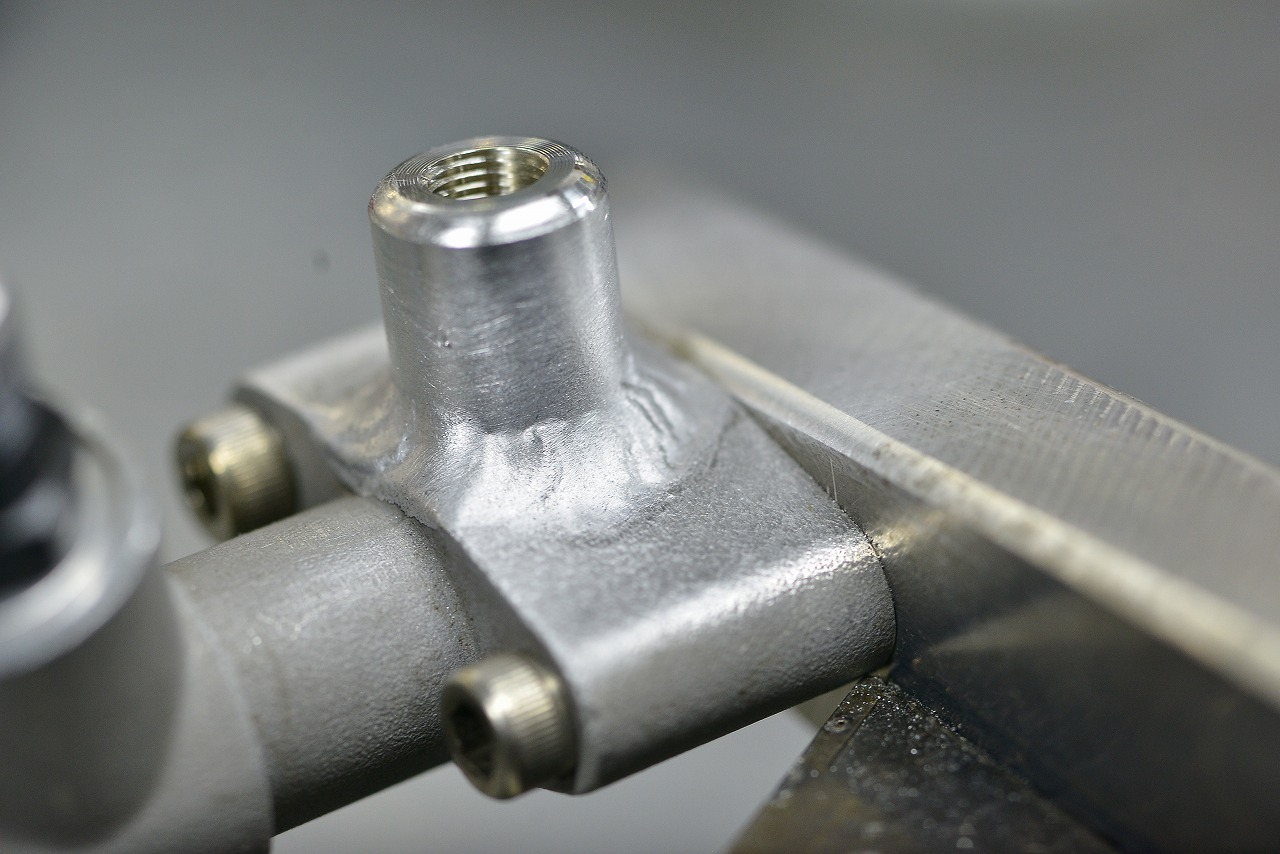
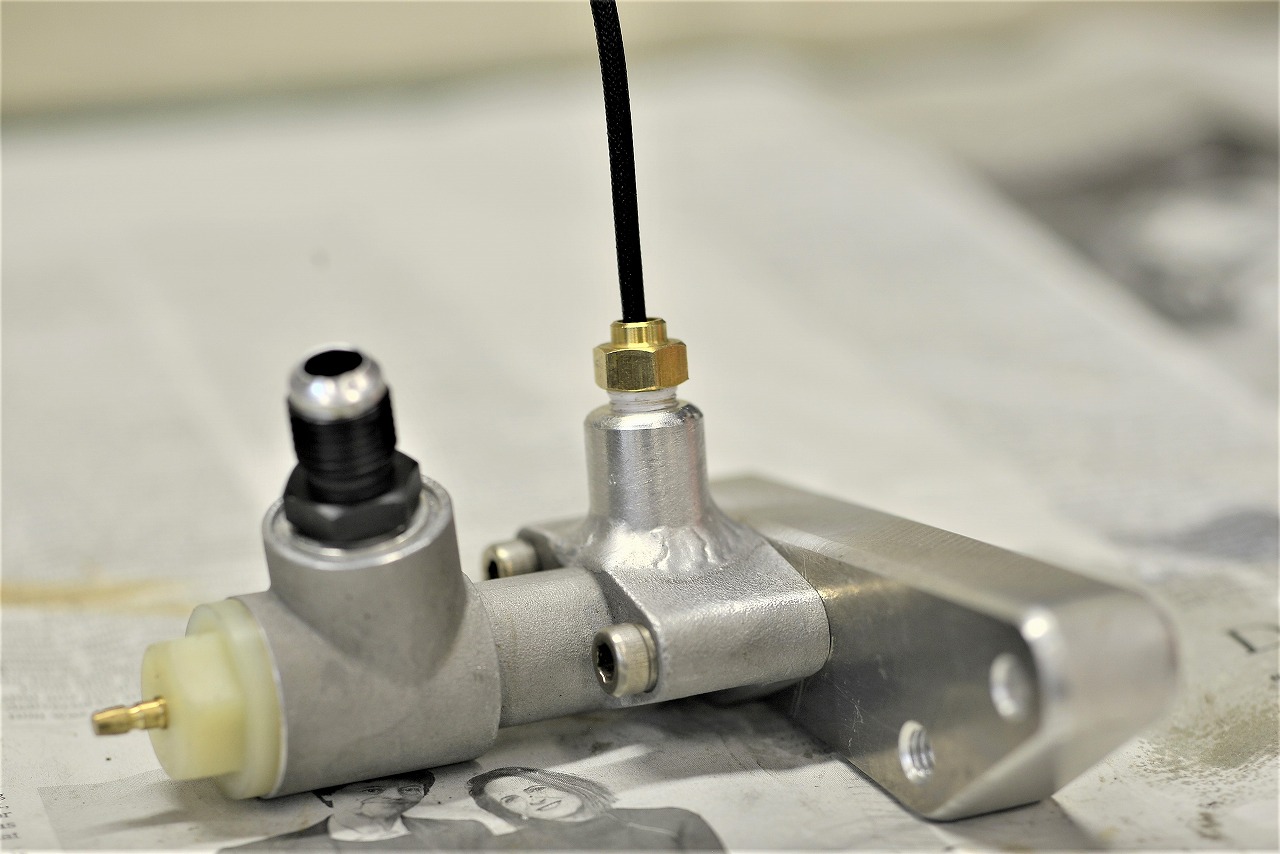
Just to be safe, I disassembled it, cleaned it thoroughly, and blew it out with compressed air, so rest assured.
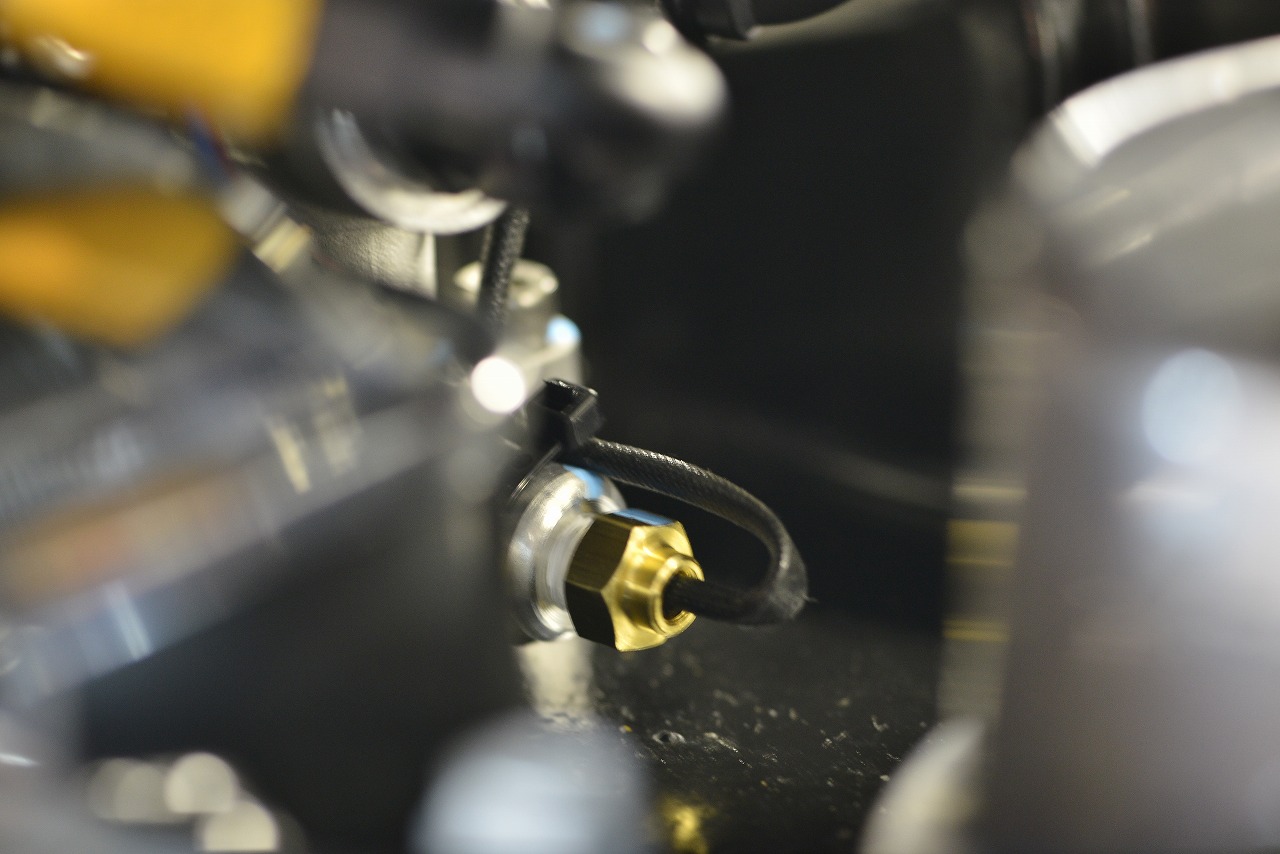
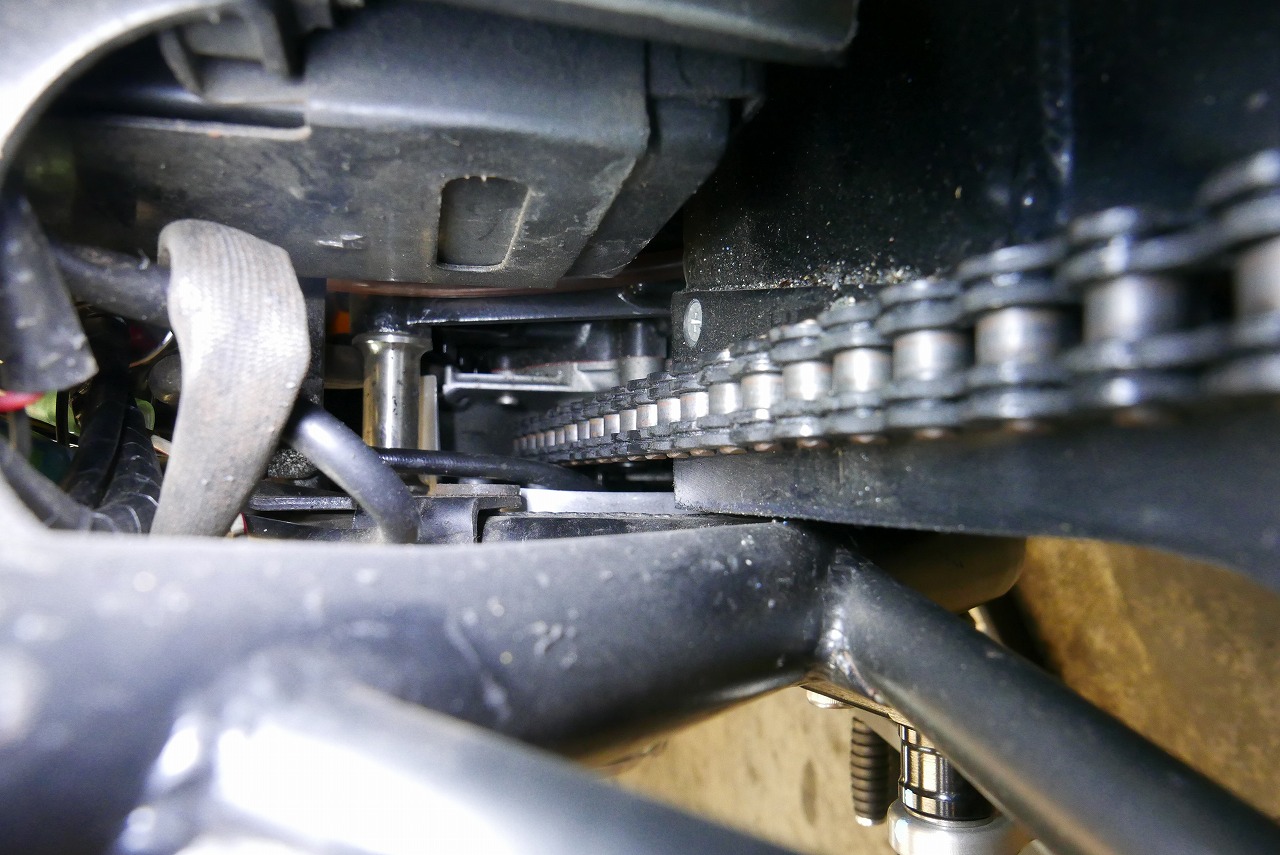
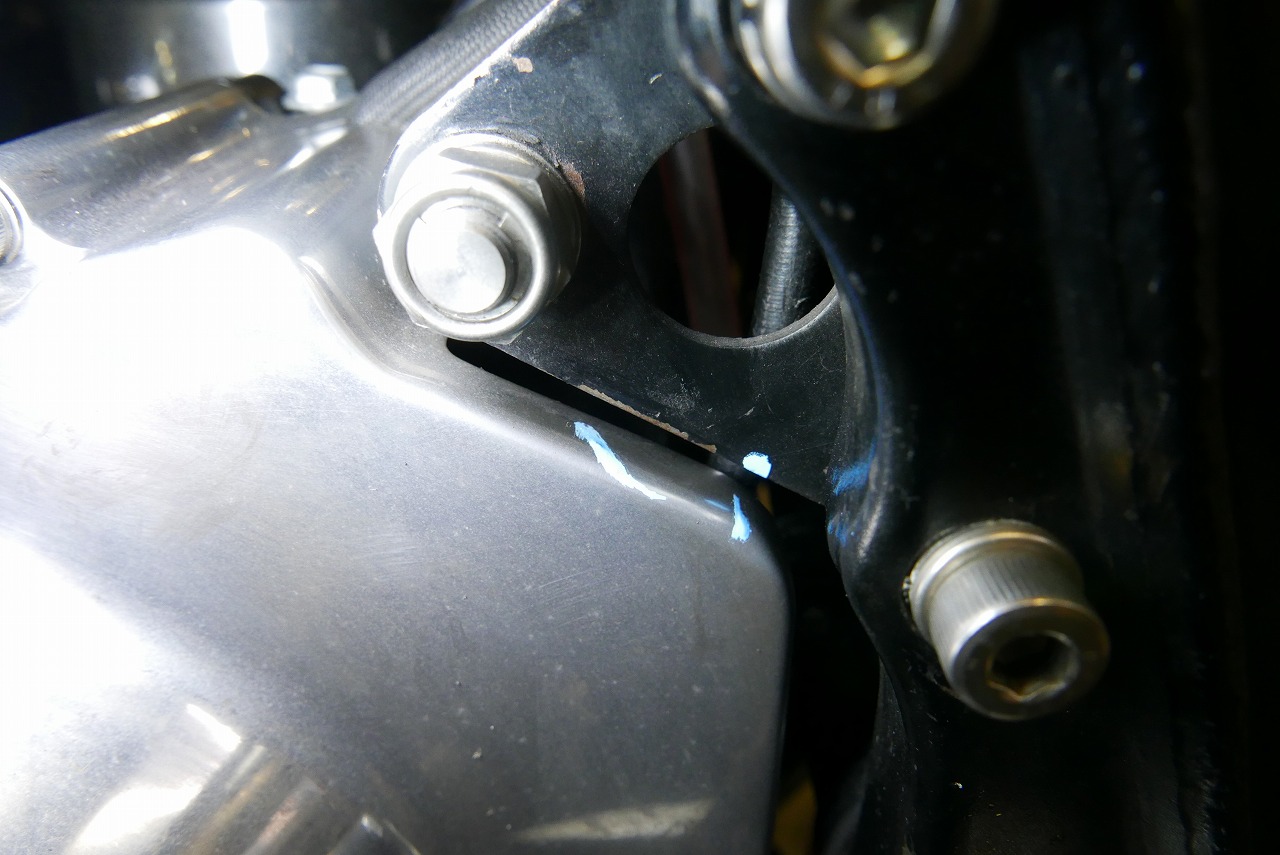
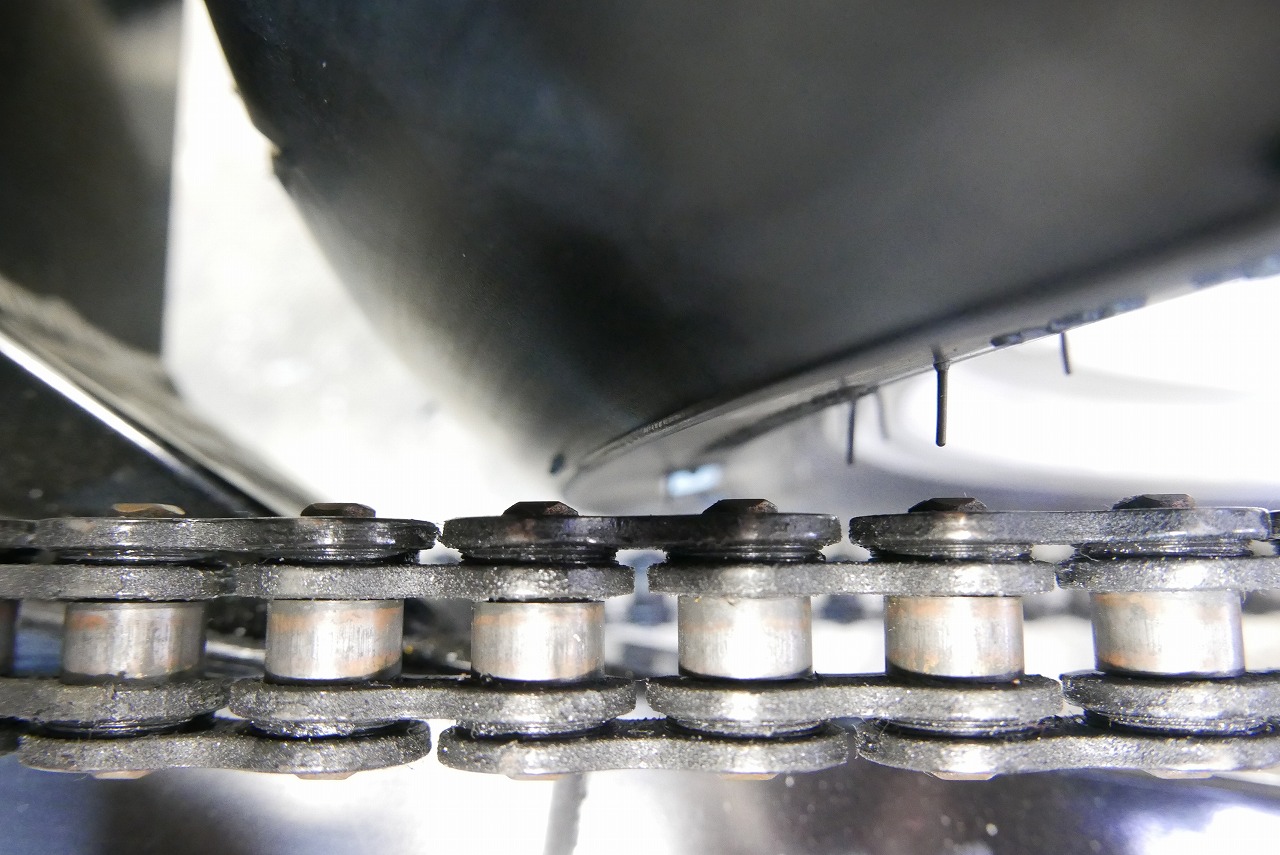
I aligned left and right using the pivot-to-axle measurement.
That wraps up this job.