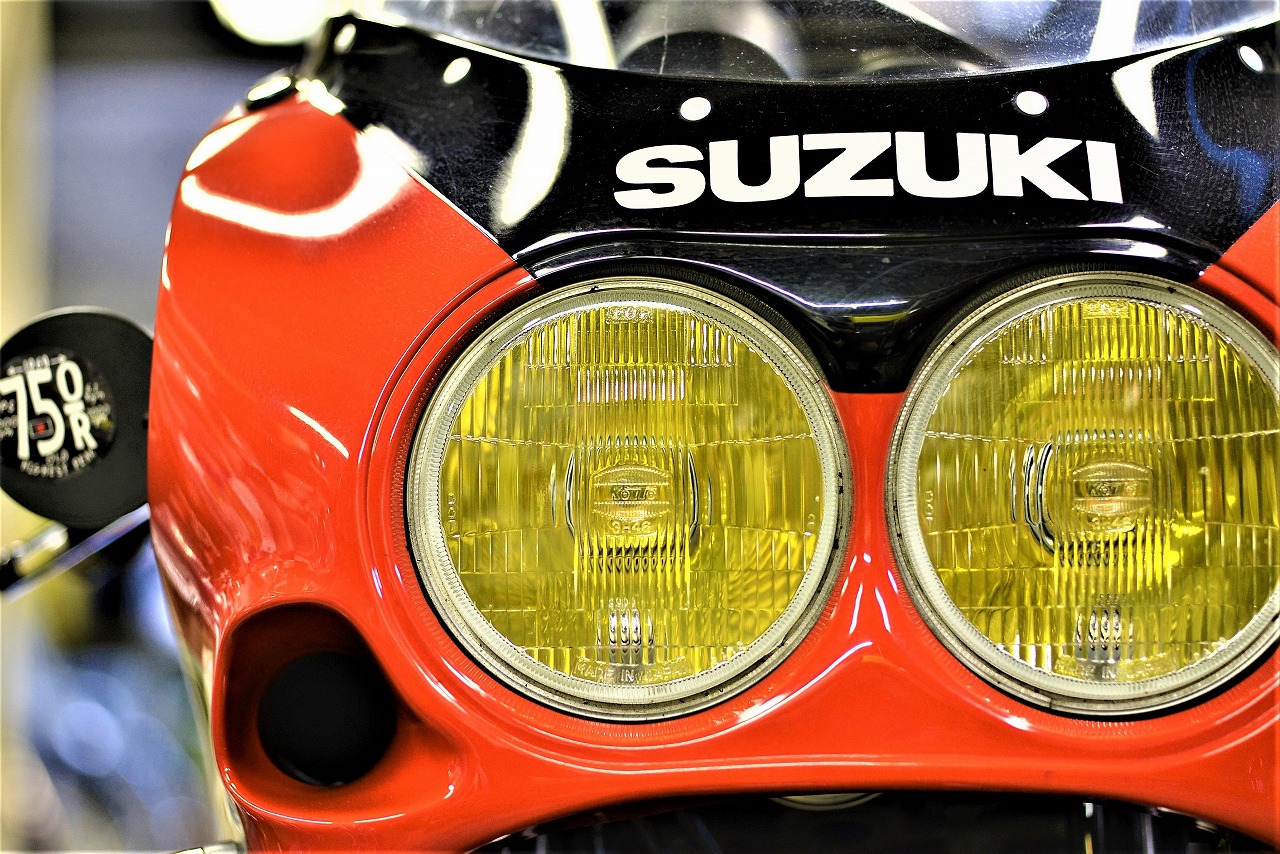
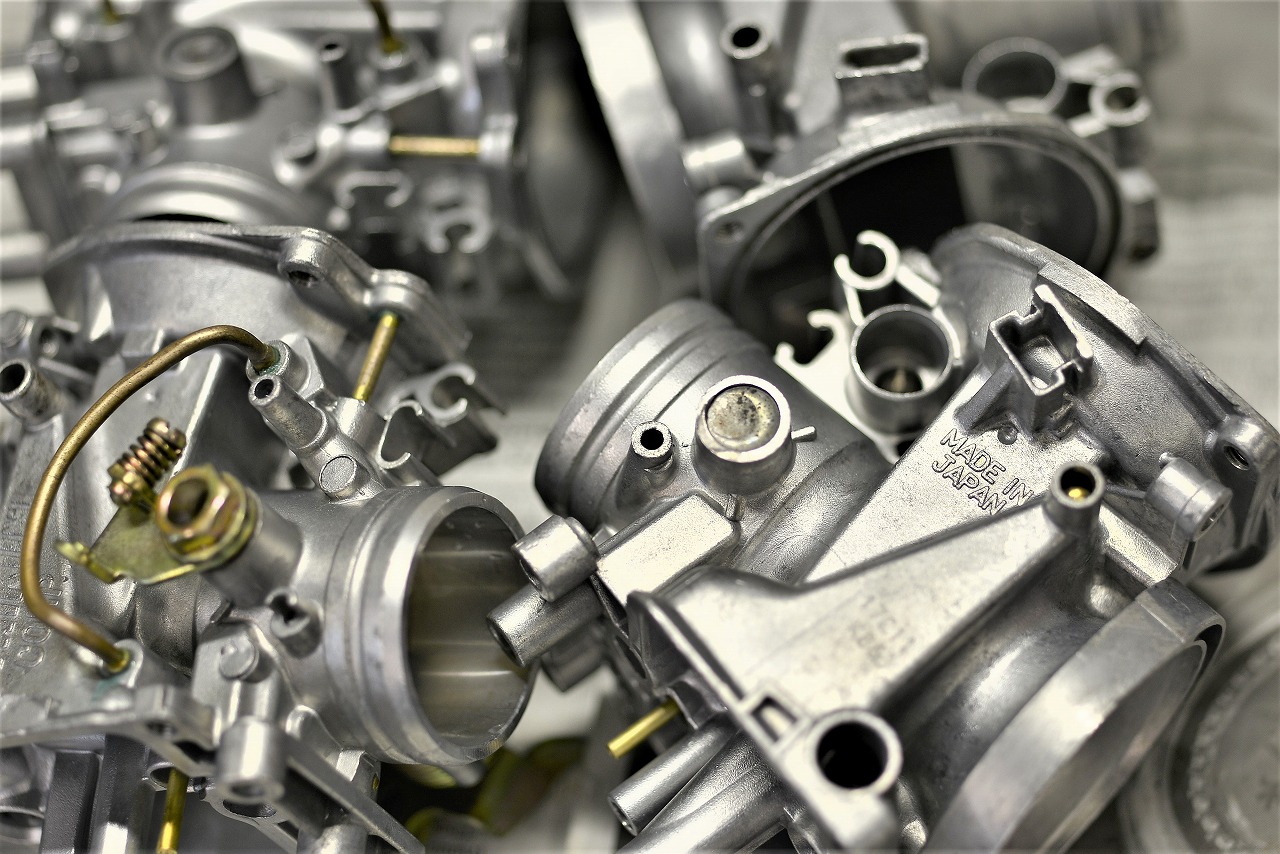
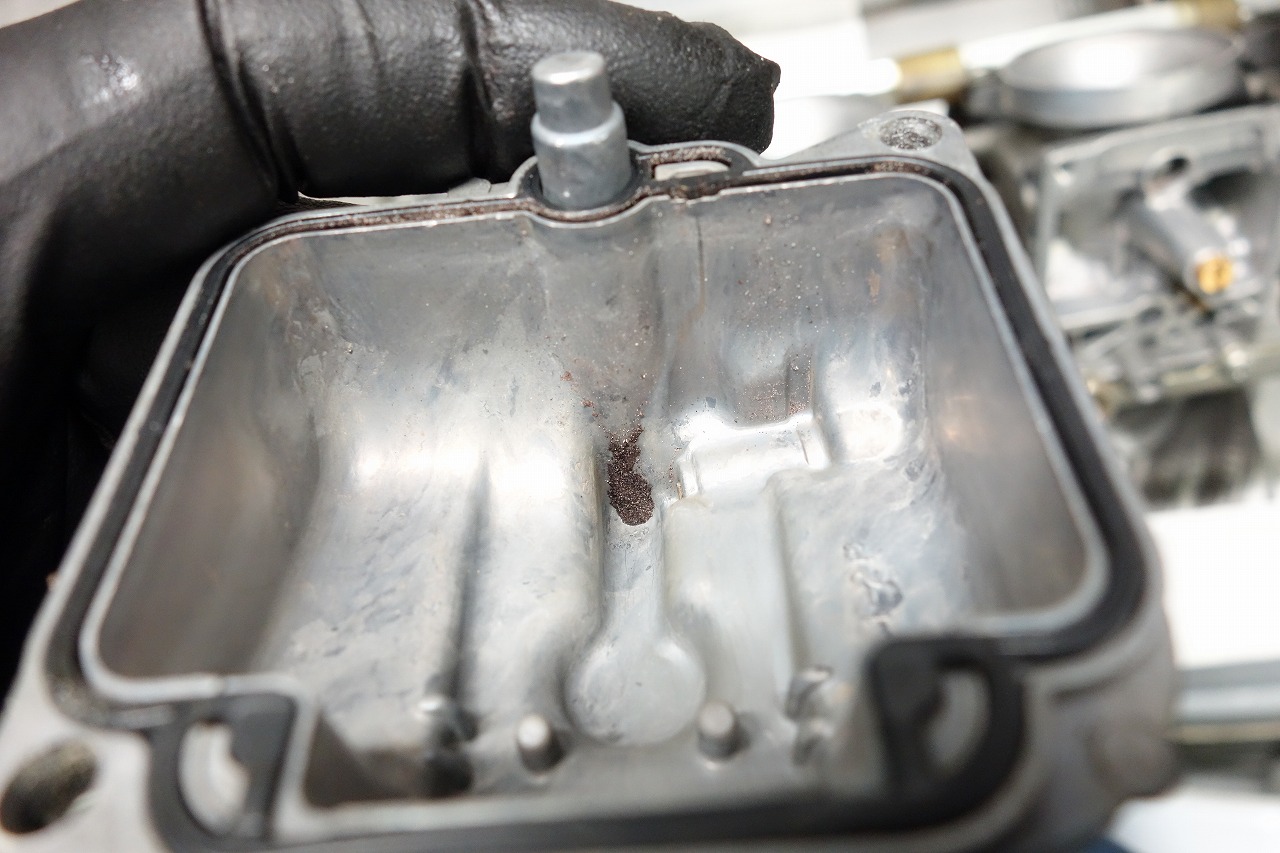
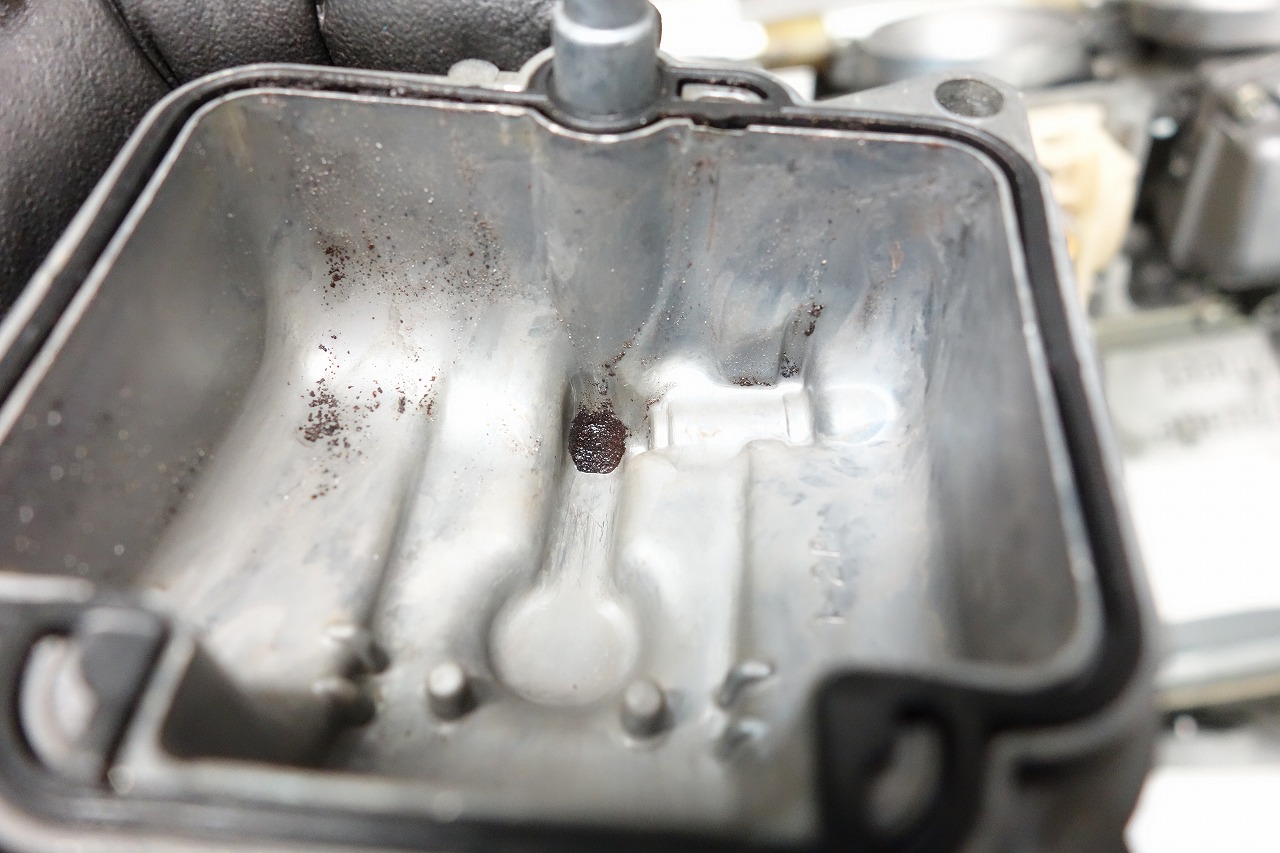
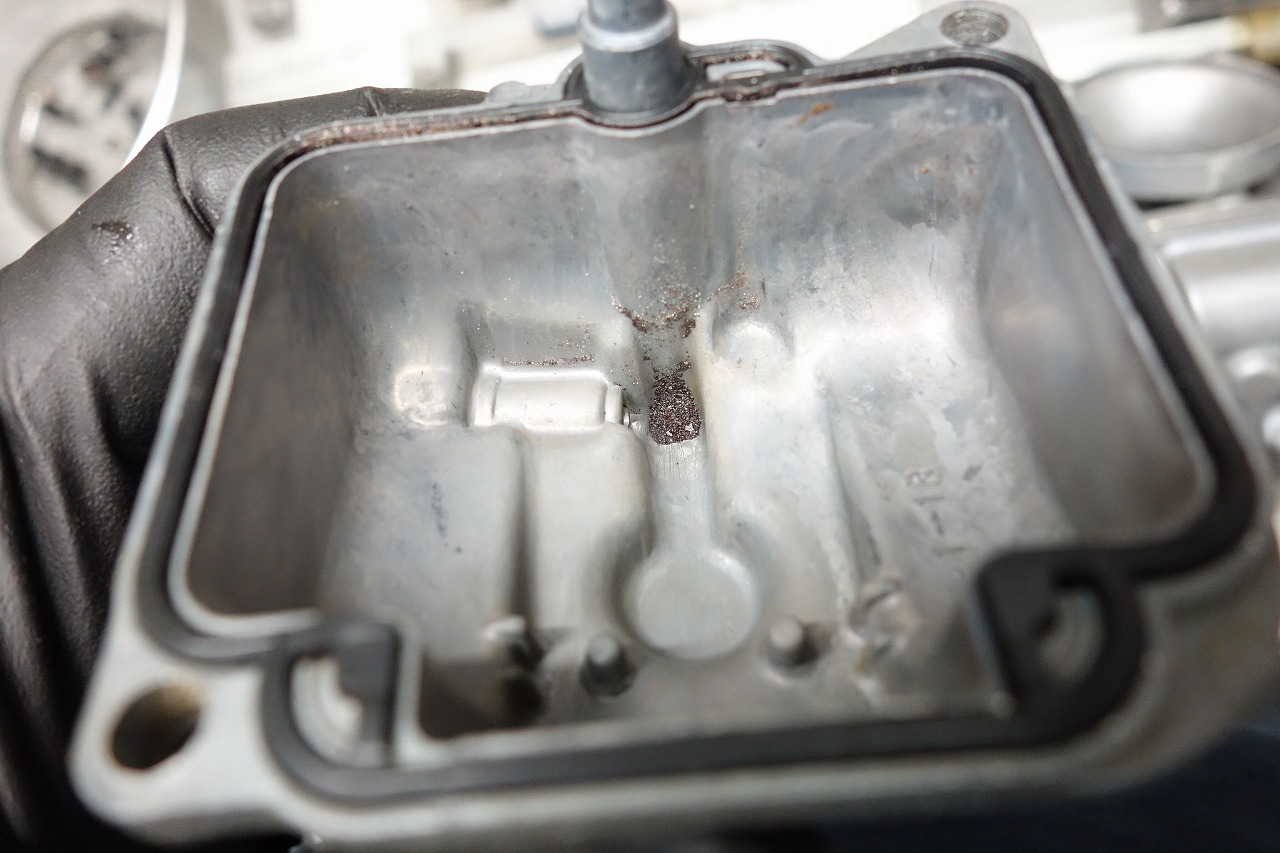
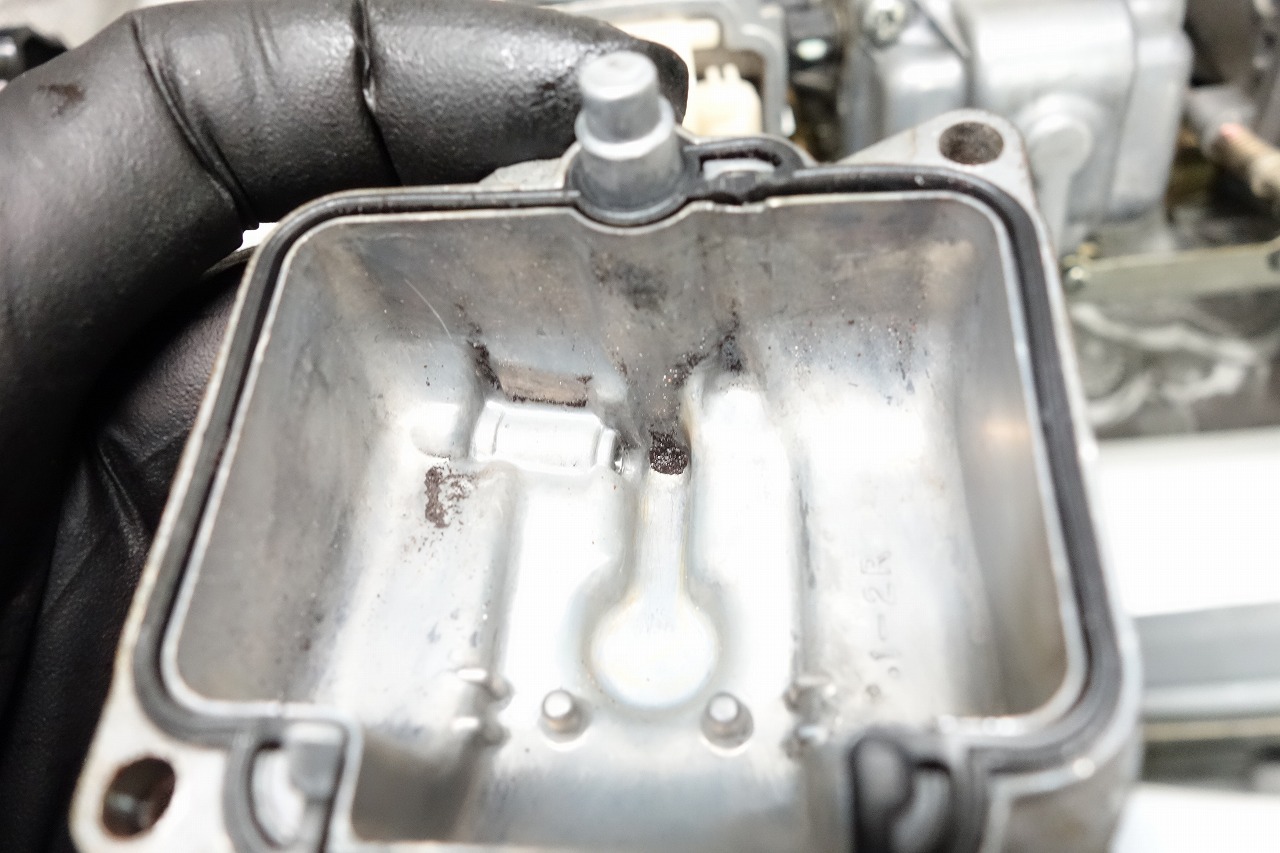
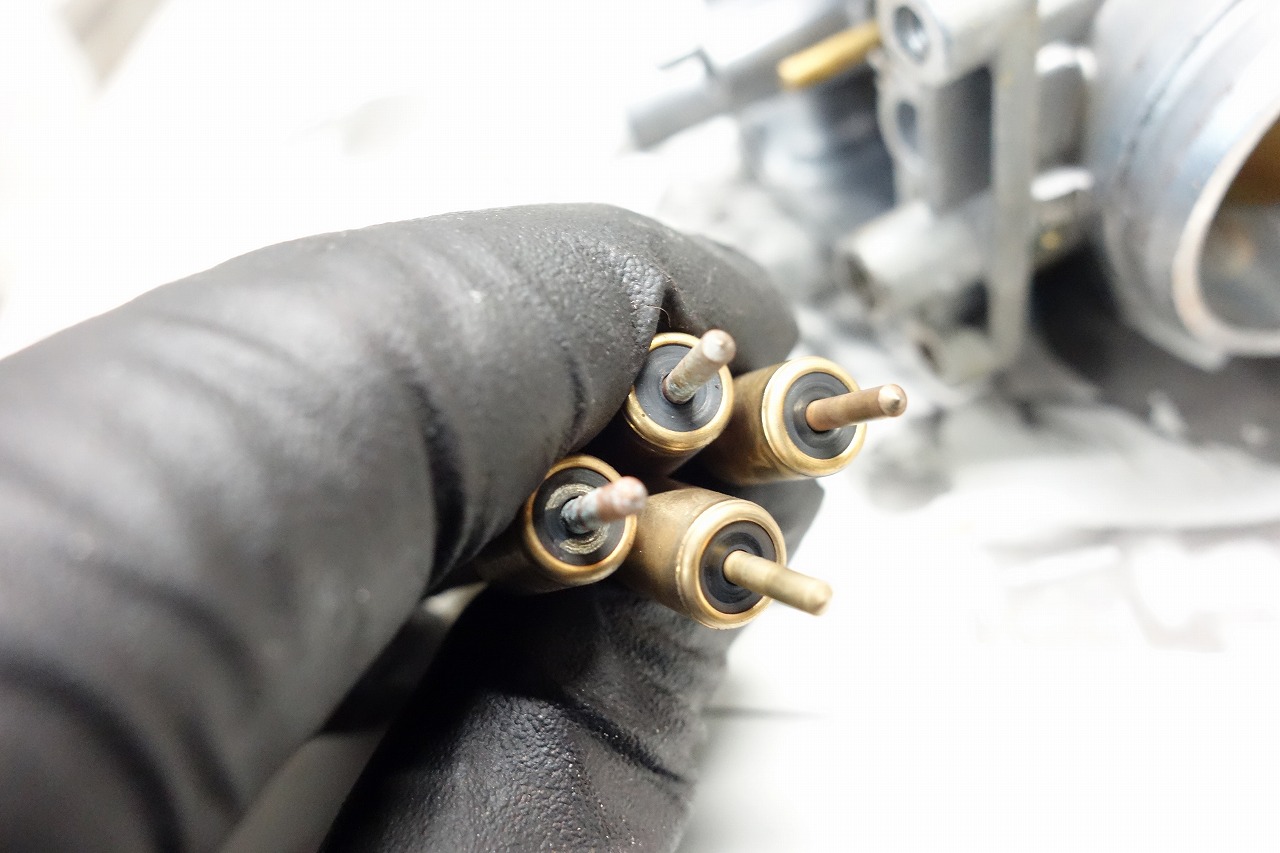
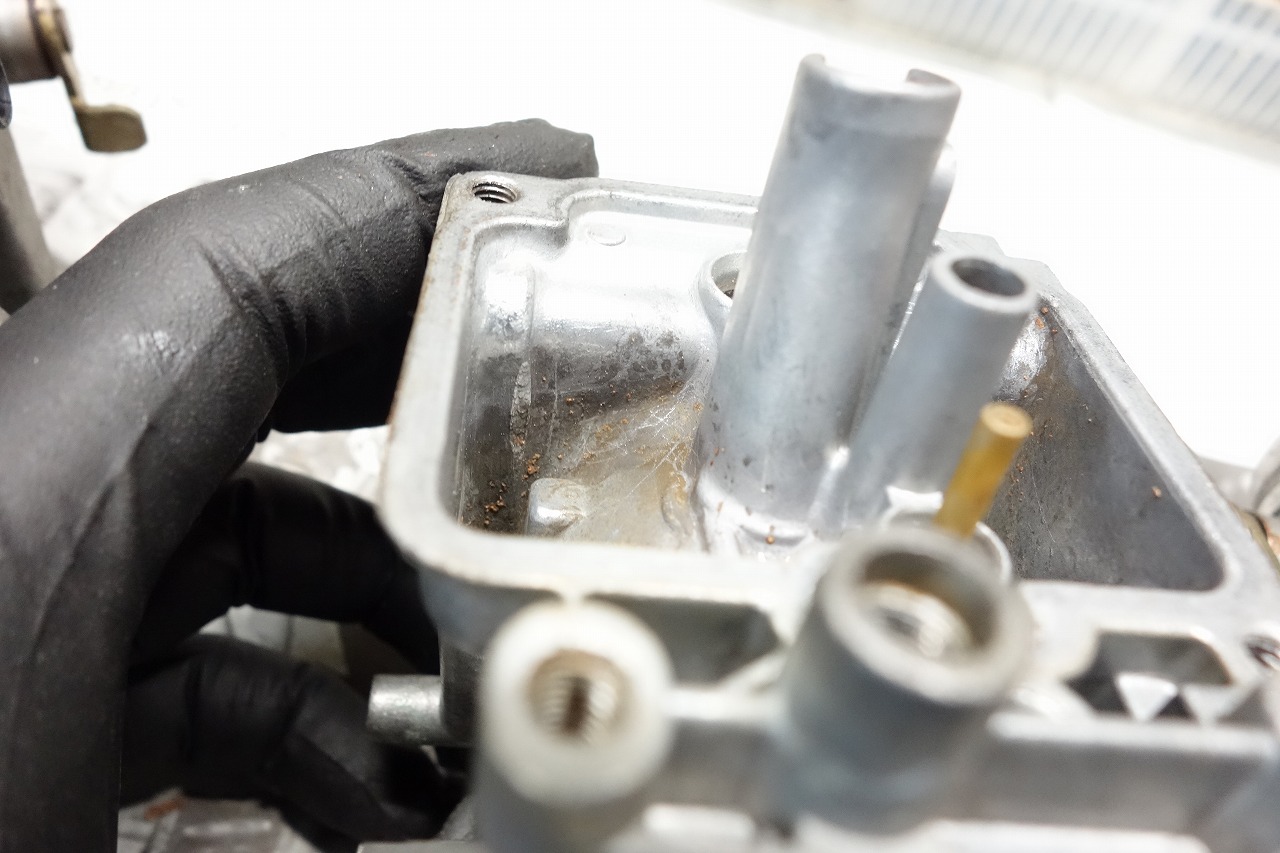
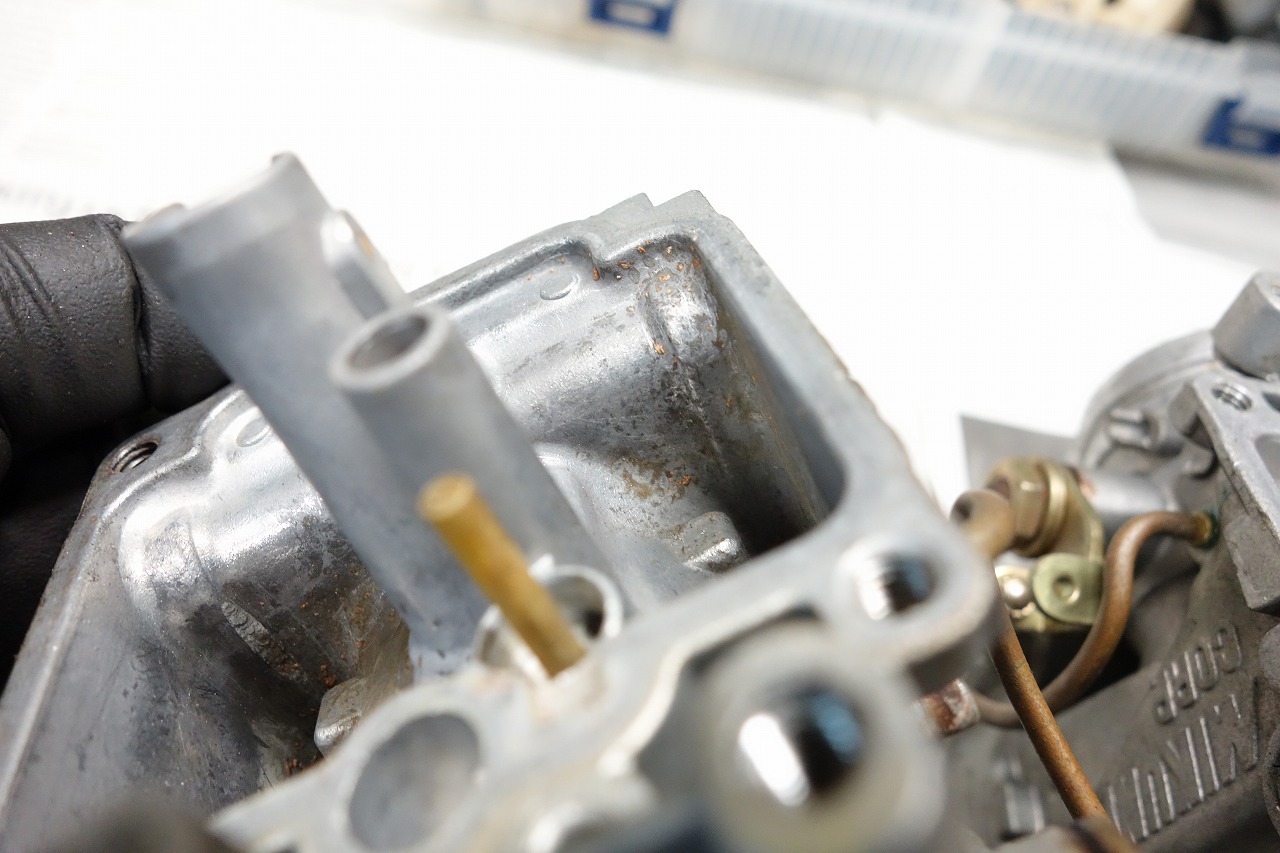
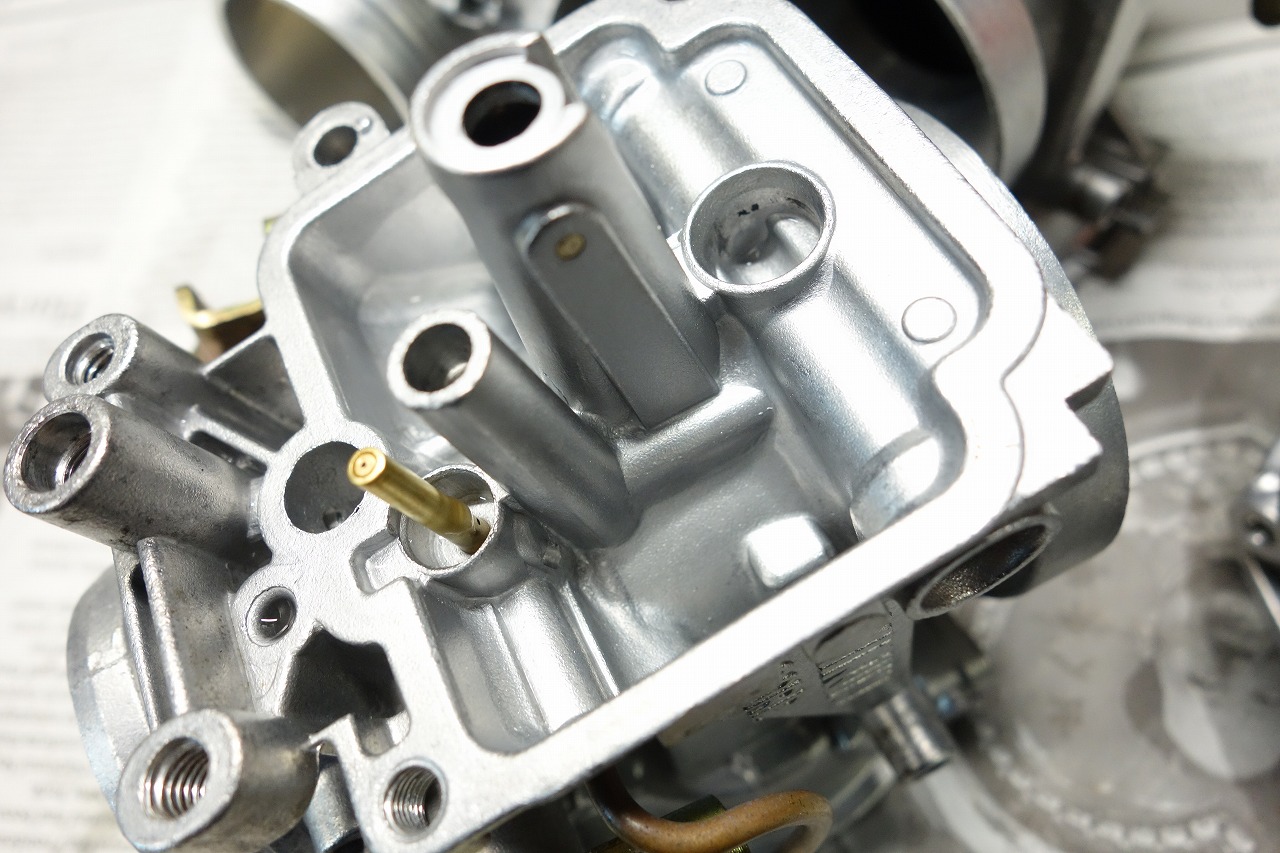
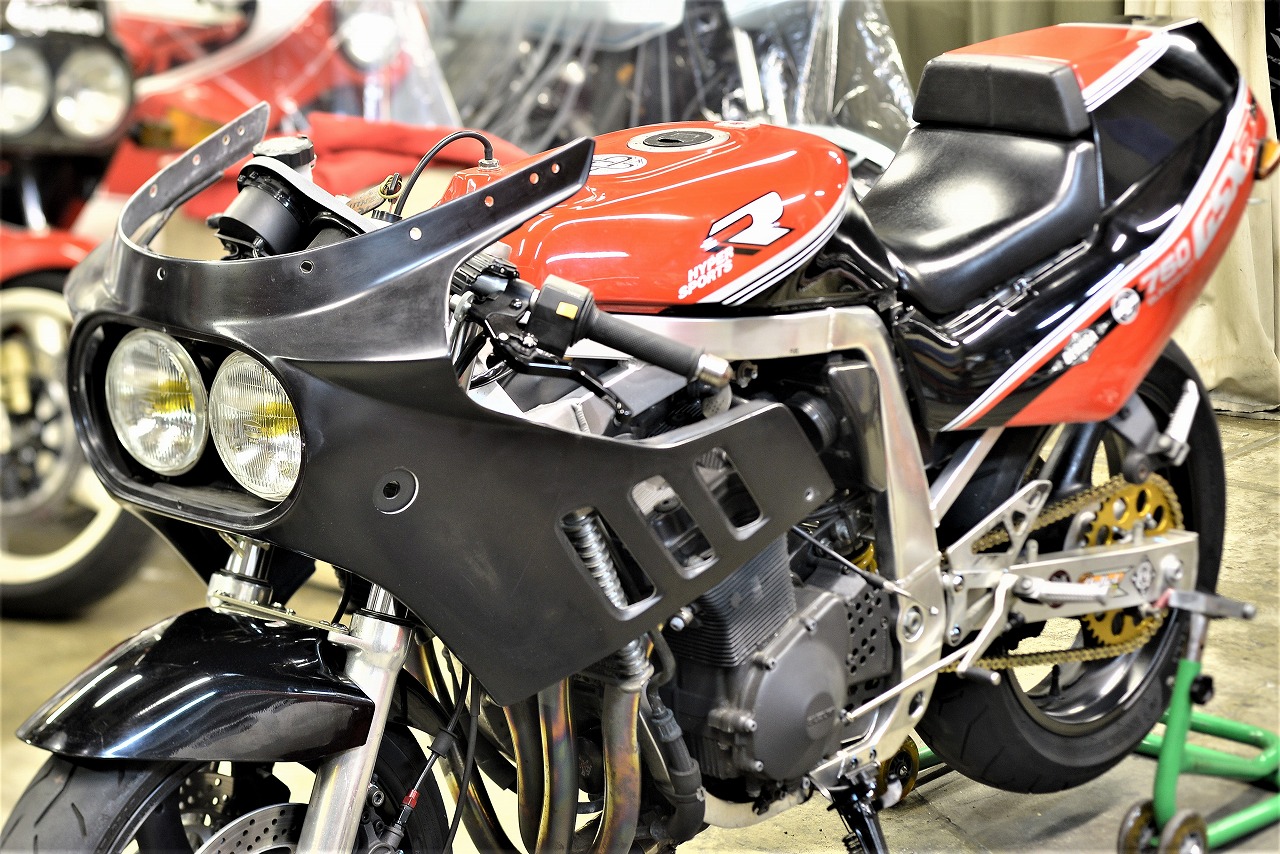
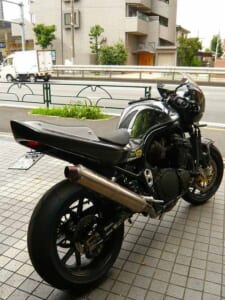
Isn’t there a trend these days where the 750cc class is experiencing an unprecedented boom? After gaining experience with various bikes, the theory that “bigger doesn’t always mean better” comes to mind. So is 750cc considered mid-range? A beautiful GSX-R750J carburettor and various other requests. First, we’ll start with carburettor maintenance. Since it’s quite clean, we’ll just do some light polishing. Adding liquid and polishing takes time, so we’ll handle it case by case. …Rust? Debris? It’s accumulating in all the jets, which is somewhat problematic. If the tank condition is poor, no matter how much you clean the carburettor, it’ll overflow or run rough. I thought “no way” when I looked at the tank… but it’s “super clean?”
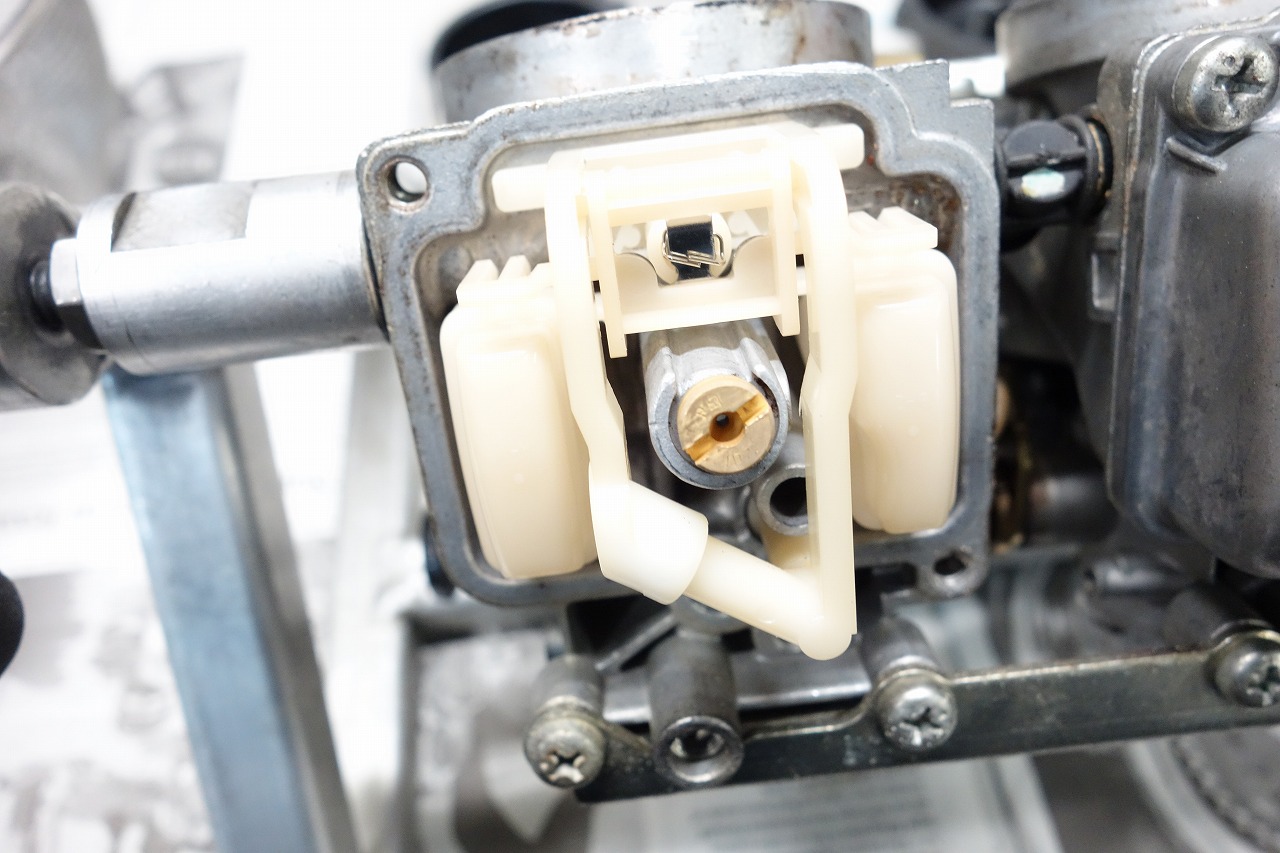
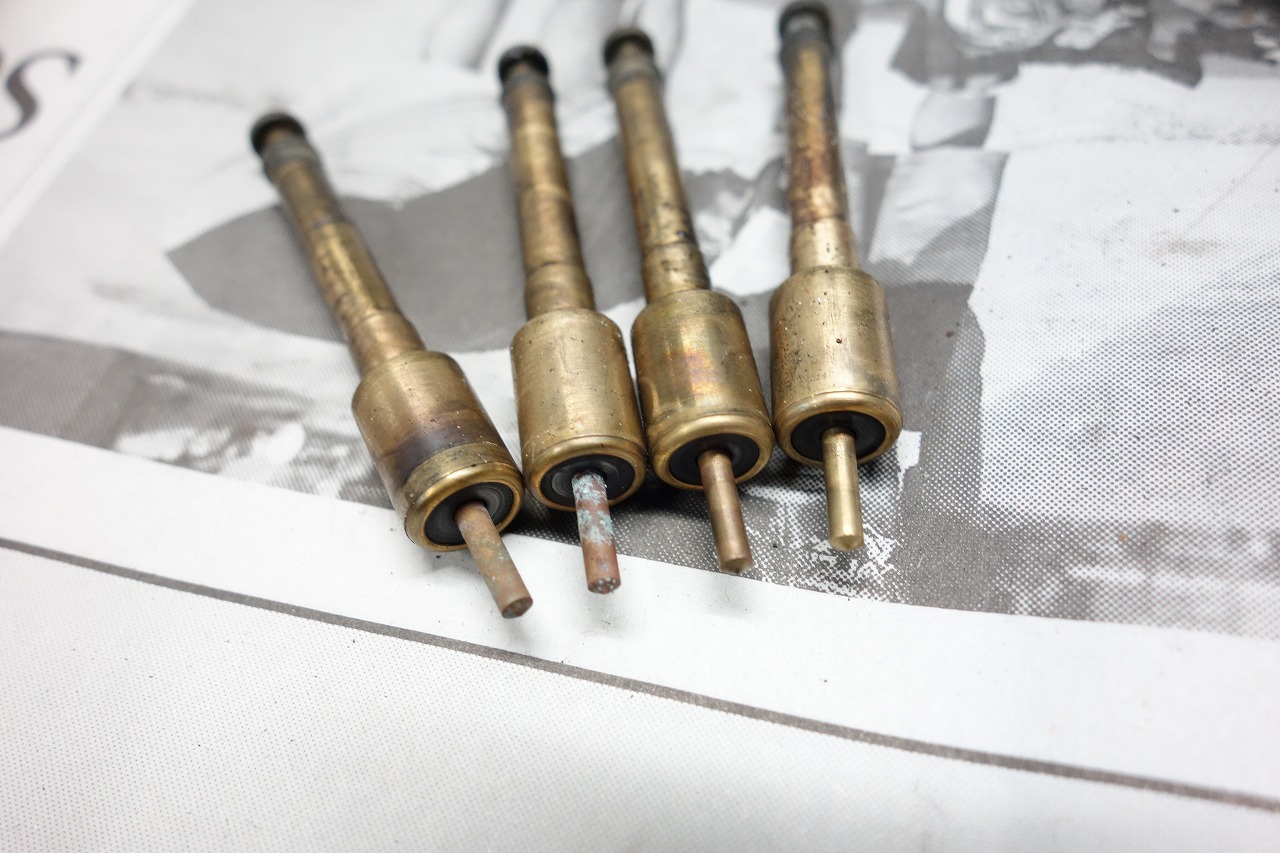
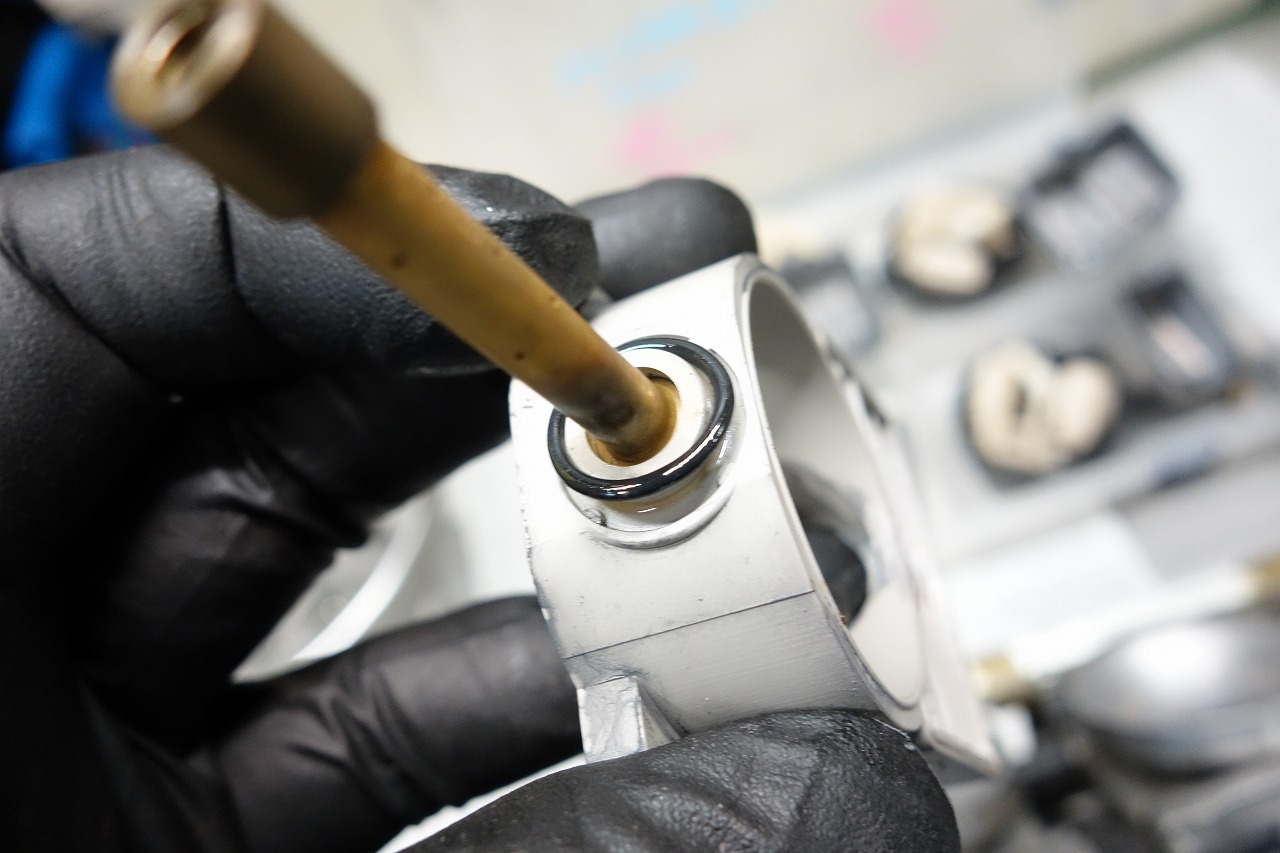
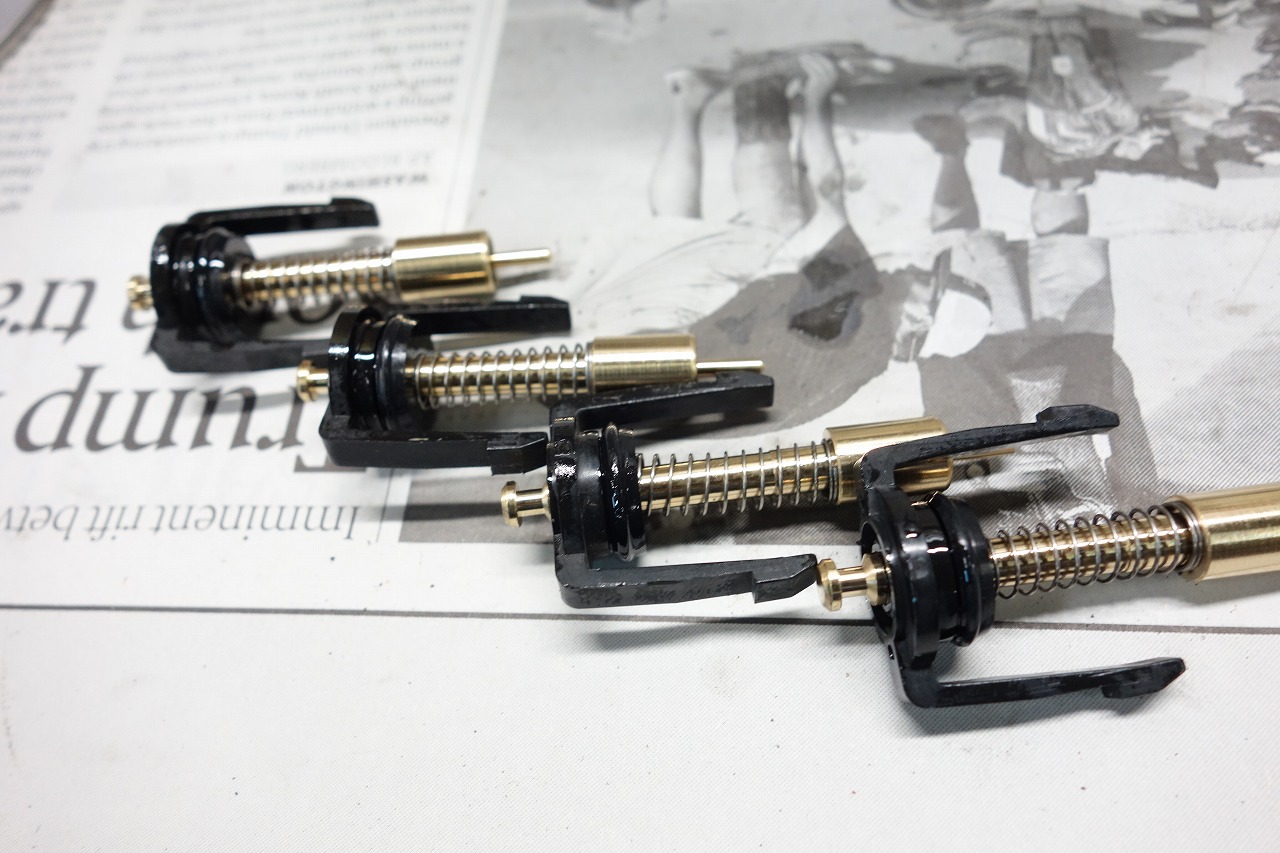
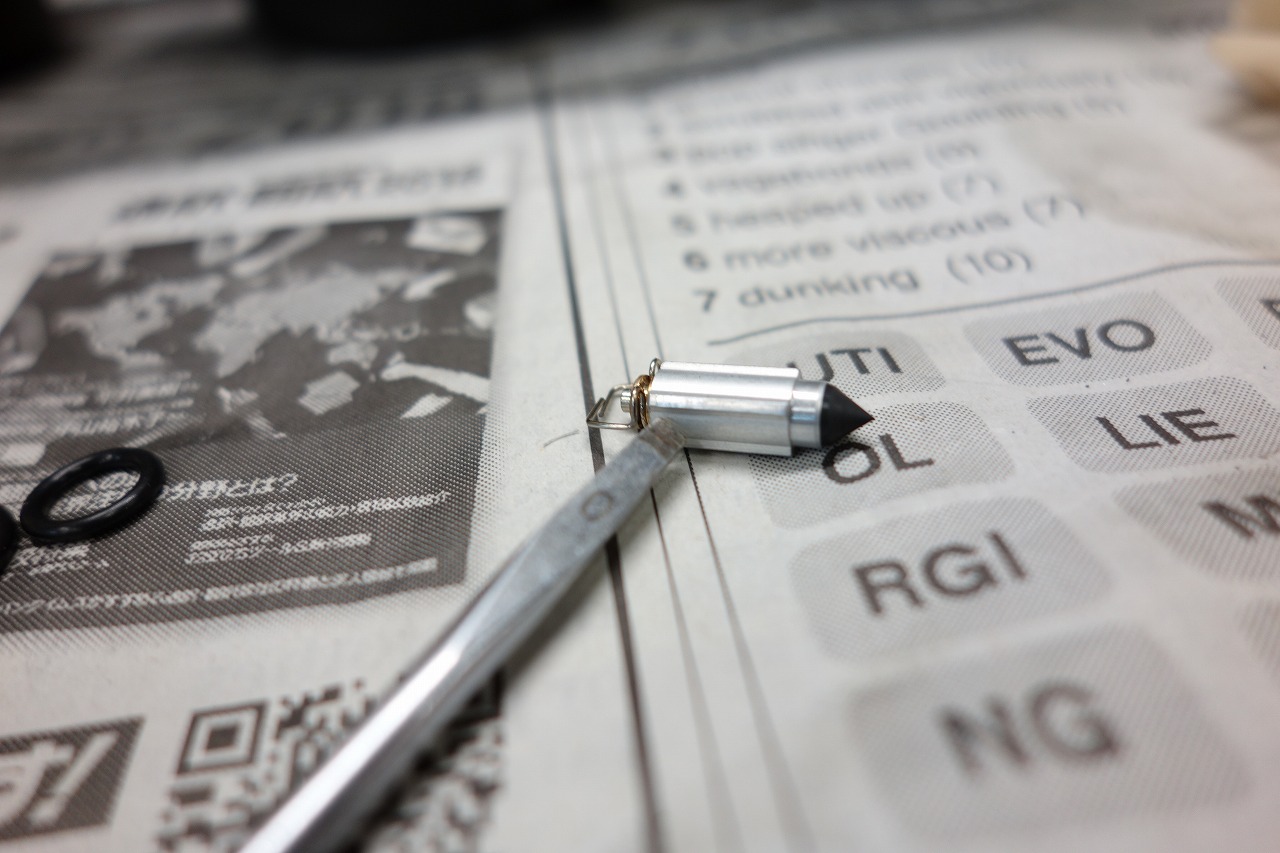
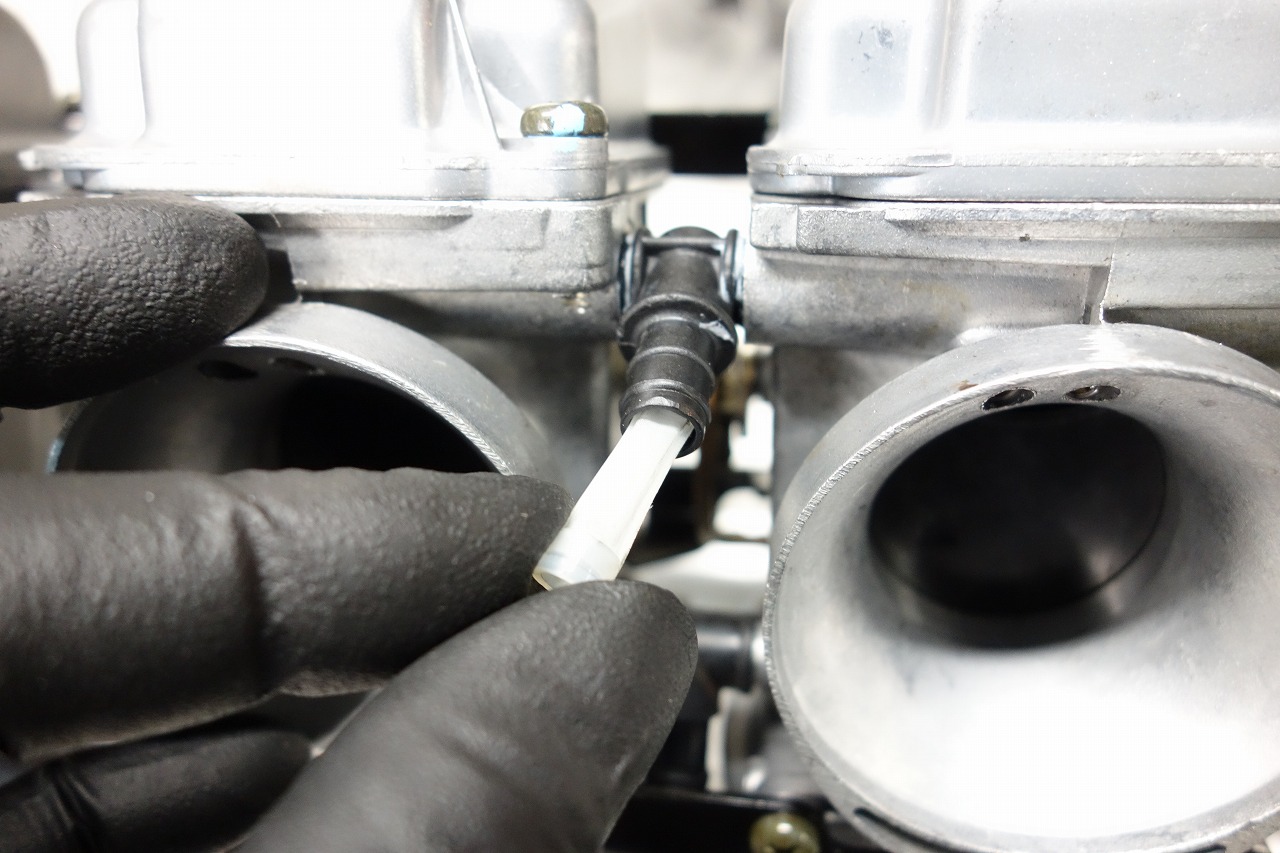
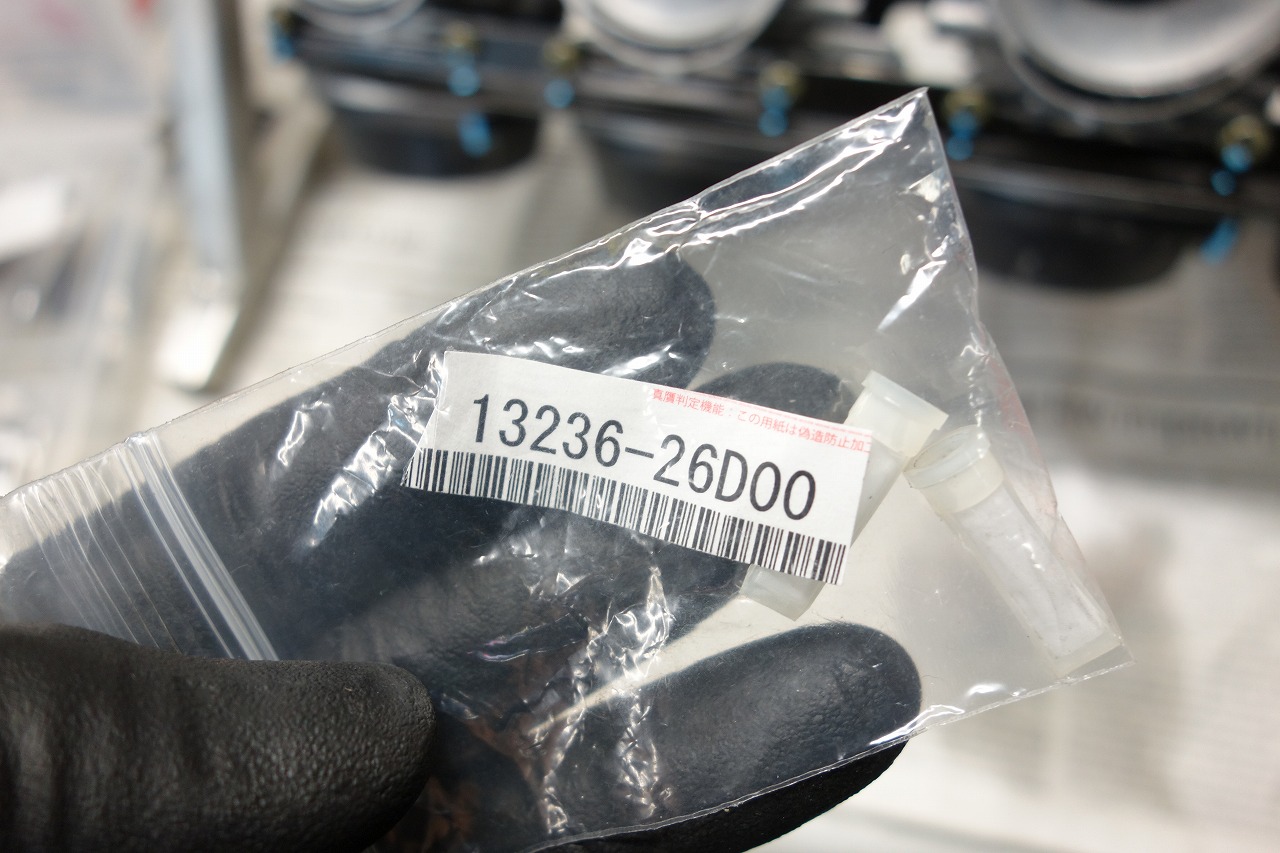
Since this is a used bike with various history, I won’t read too much into it. The float assembly is white and clean too. The condition is unusually good. It’s best to replace the starter valve while we have it out. The BST carburettor has an O-ring under the resin body, but sometimes it’s not listed in the parts list depending on the model. Using the O-ring from a GSF1200 (part number 13278-47090) works well. My guess. This corrosion… I have a feeling water got in. I’ve cleaned the inside thoroughly, so the past is history. These days it’s nice—you can get it coated with gun coat. Not long ago it was either uncoated or spray-painted (which dissolves instantly with gasoline). We’re constantly improving our service. The starter valve is now clean and should snap shut nicely! There’s a possibility the spring got mixed up, so I checked the length. The float valve is in pretty good condition too. You can easily check it by the light reflection on the slot where the minus screwdriver goes. Since the tank was clean, I installed a filter. This filter actually has pros and cons… If the tank is quite rusty or dirty, it’ll clog, so it’s better not to install it. If it’s fairly clean, it’s fine to install it as insurance. Suzuki 13263-26D00 from a GSF1200. I’ve checked and adjusted the fuel level on cylinders 1-4. Honestly, it doesn’t seem to make that much difference, but it’s reassuring to check visually.
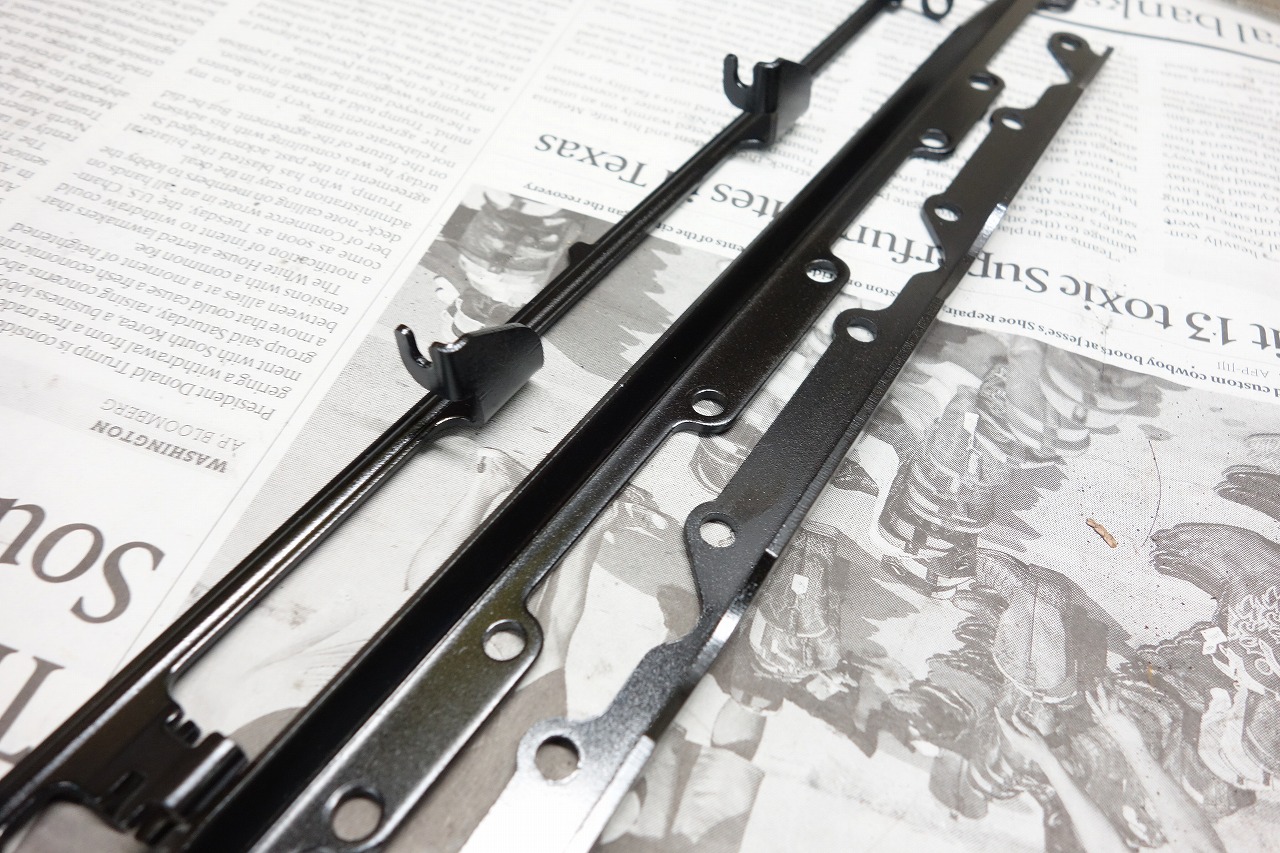
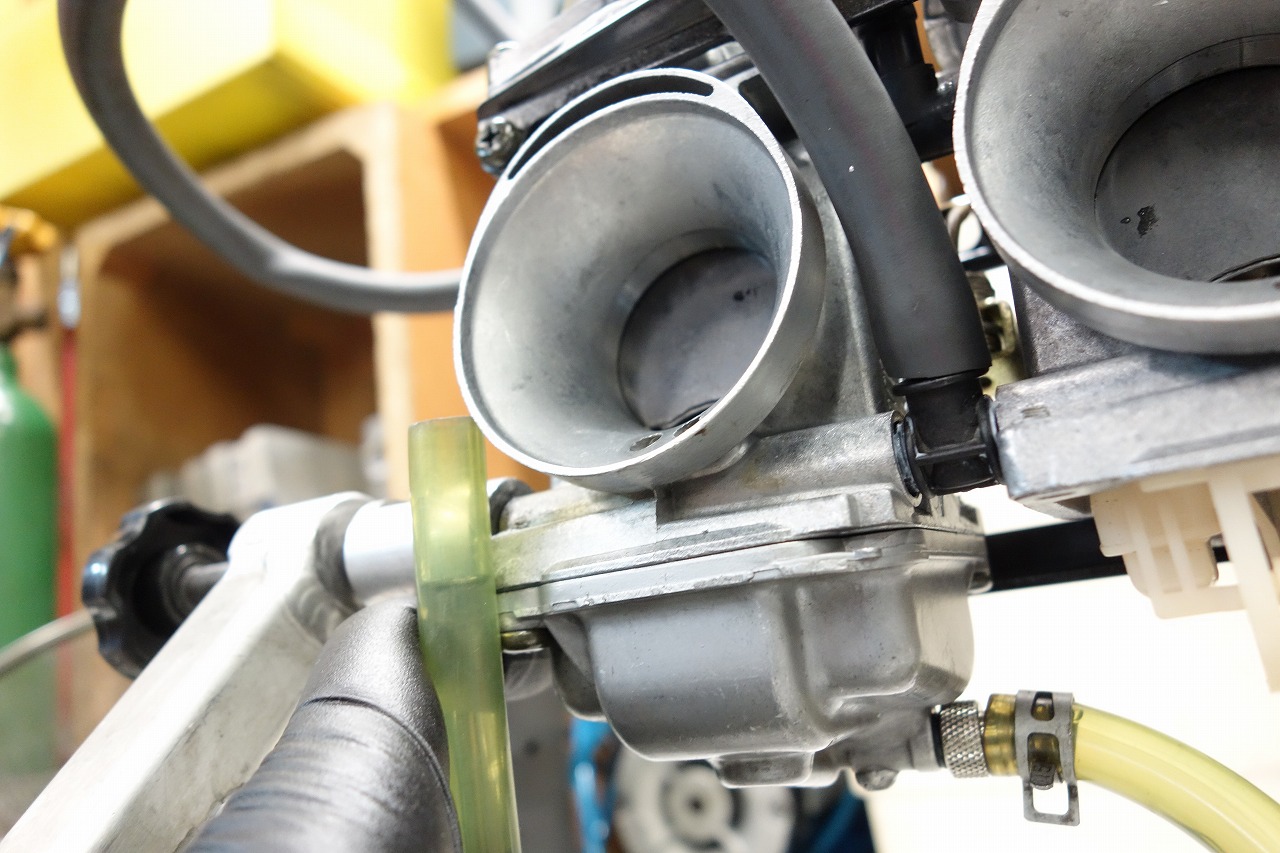
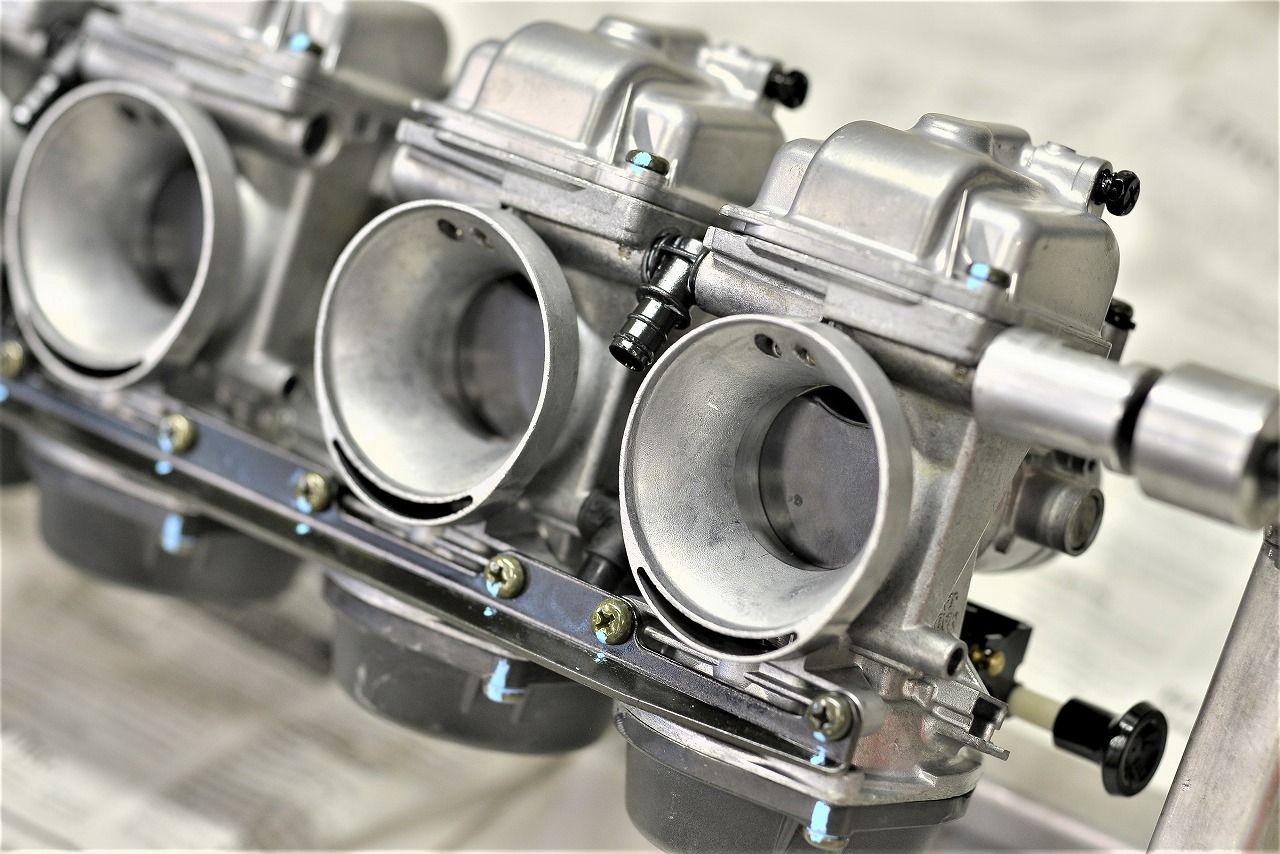
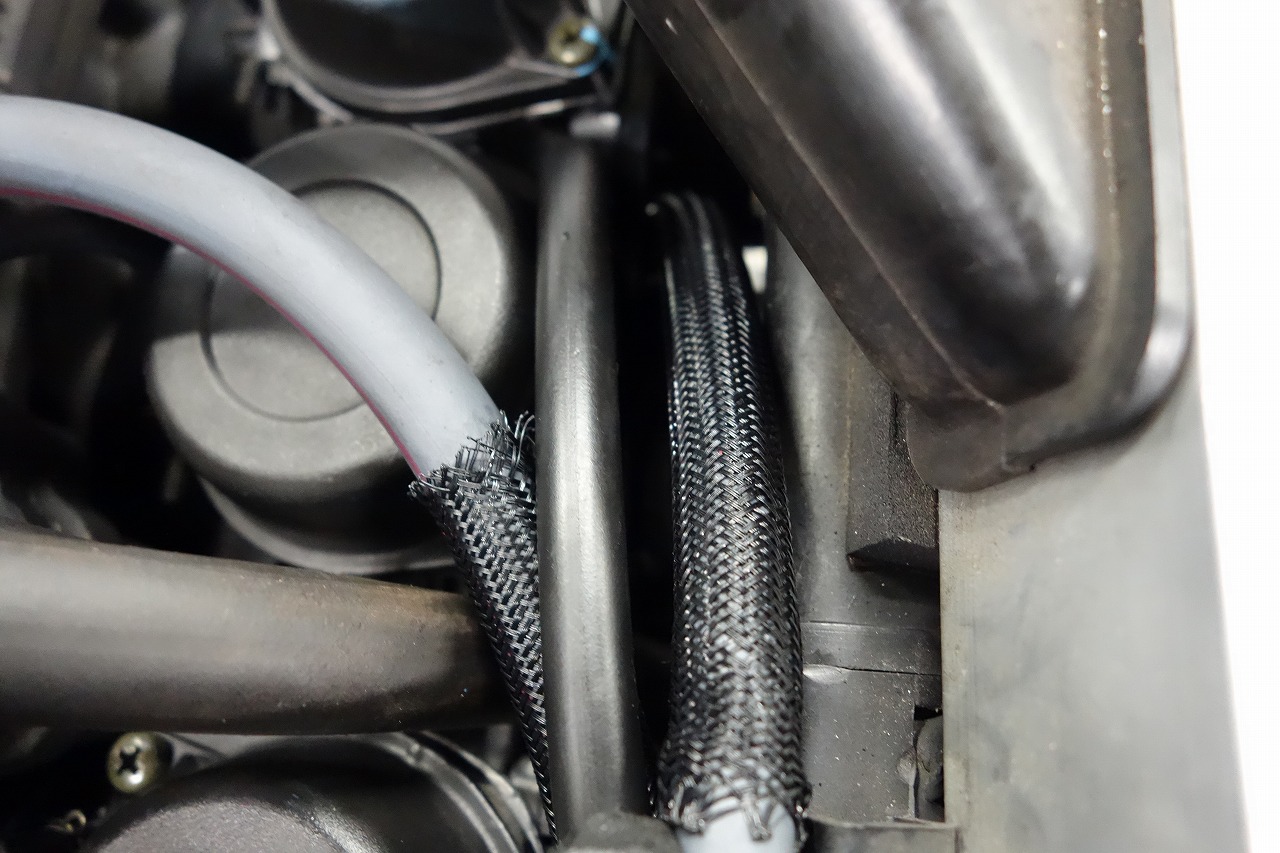
This BST carburettor has an innovative design where the float assembly can be removed as a base unit, and since the assembly just sits in the carburettor body, the float level is hard to check accurately and often imprecise. So the carburettor is all assembled! It’s good to cover areas that might rub with mesh. (Copying the factory design.) The GSX-R’s factory hose layout is really hard to work with, so I route cylinders 1-2 to the right side and make a U-turn. Cylinders 3-4 go straight to the petcock, which gives you enough hose length and makes tank removal easier.
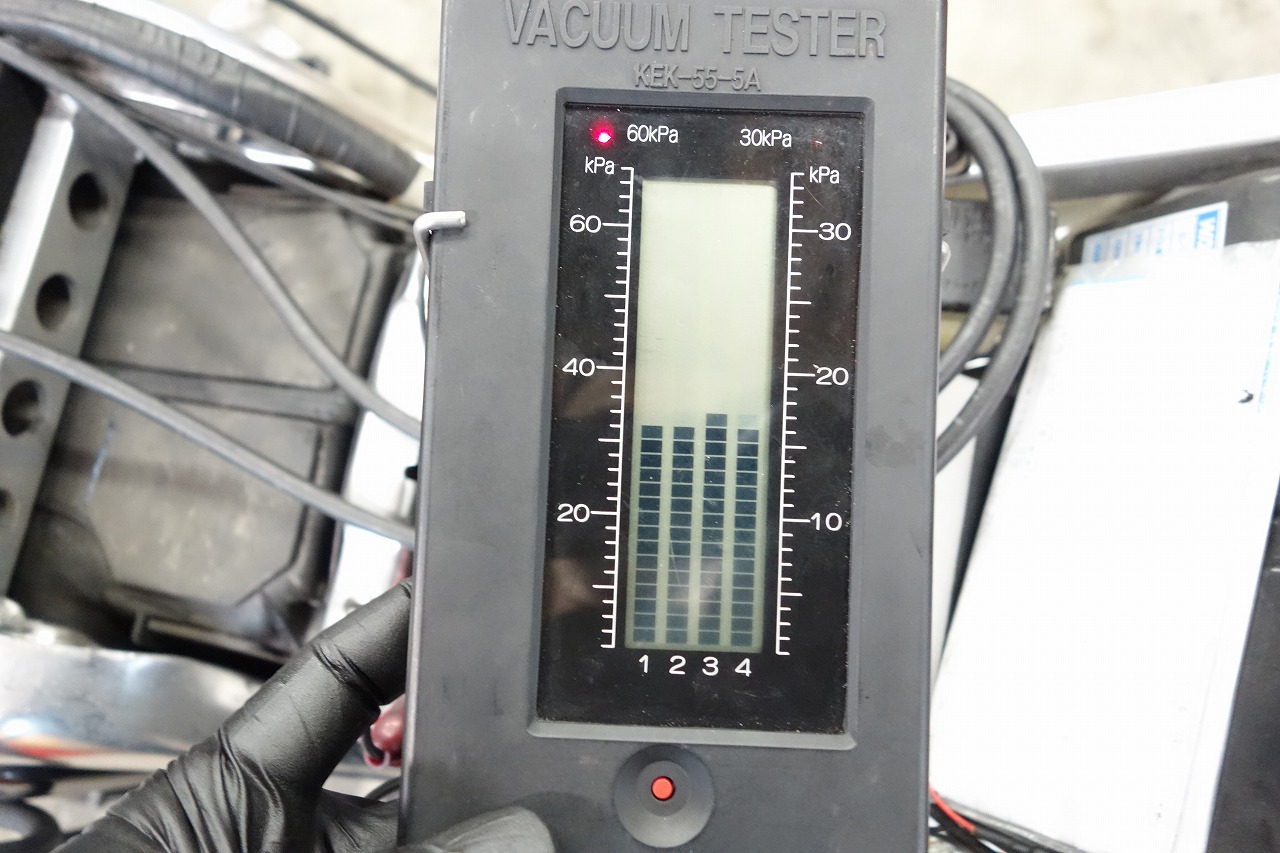
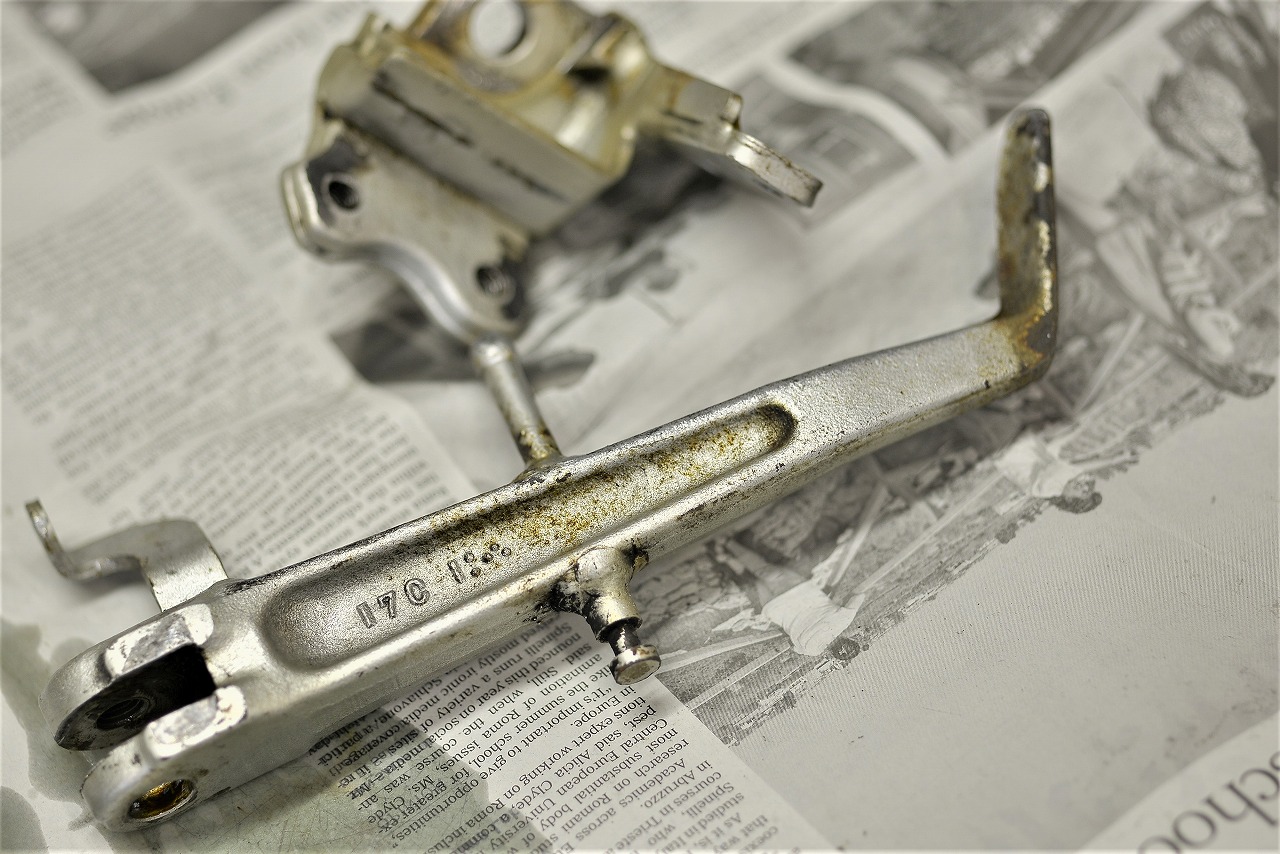
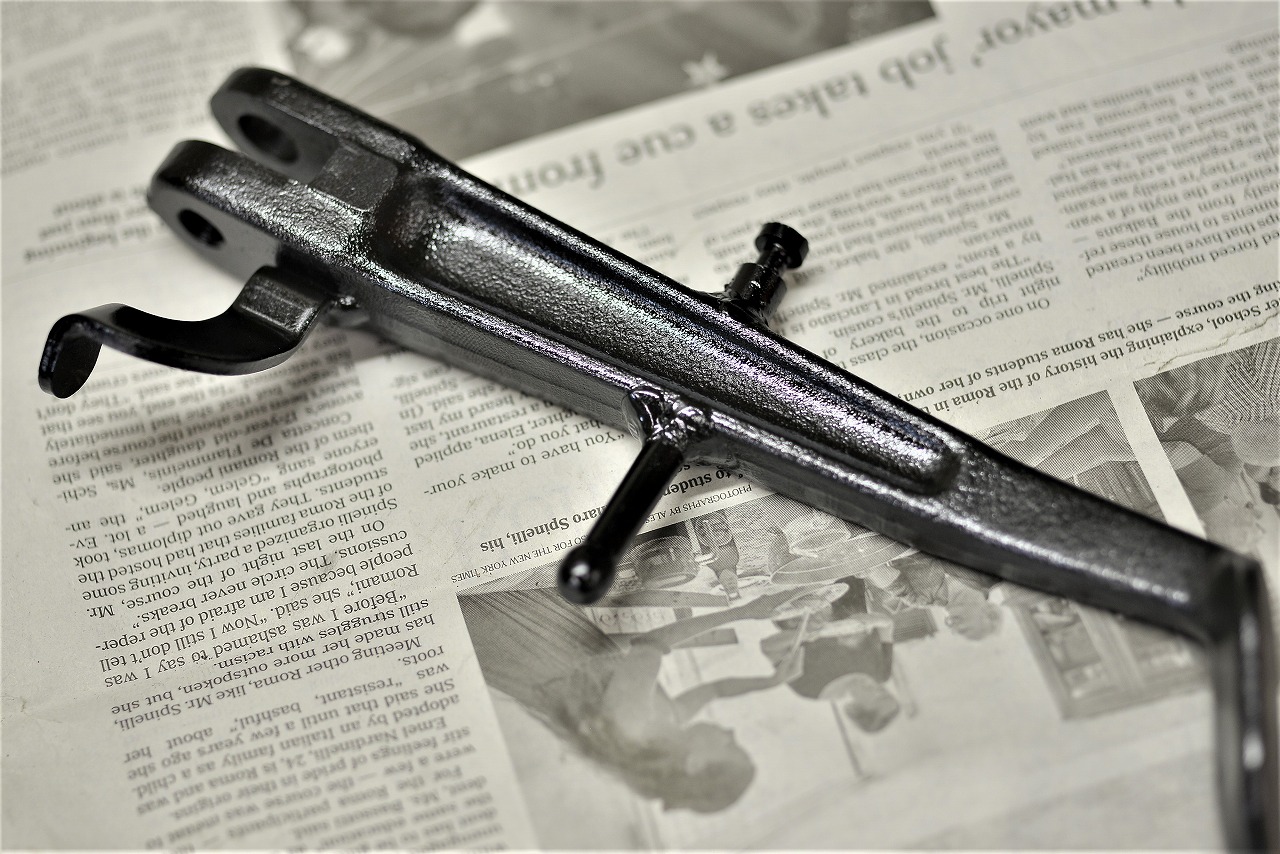
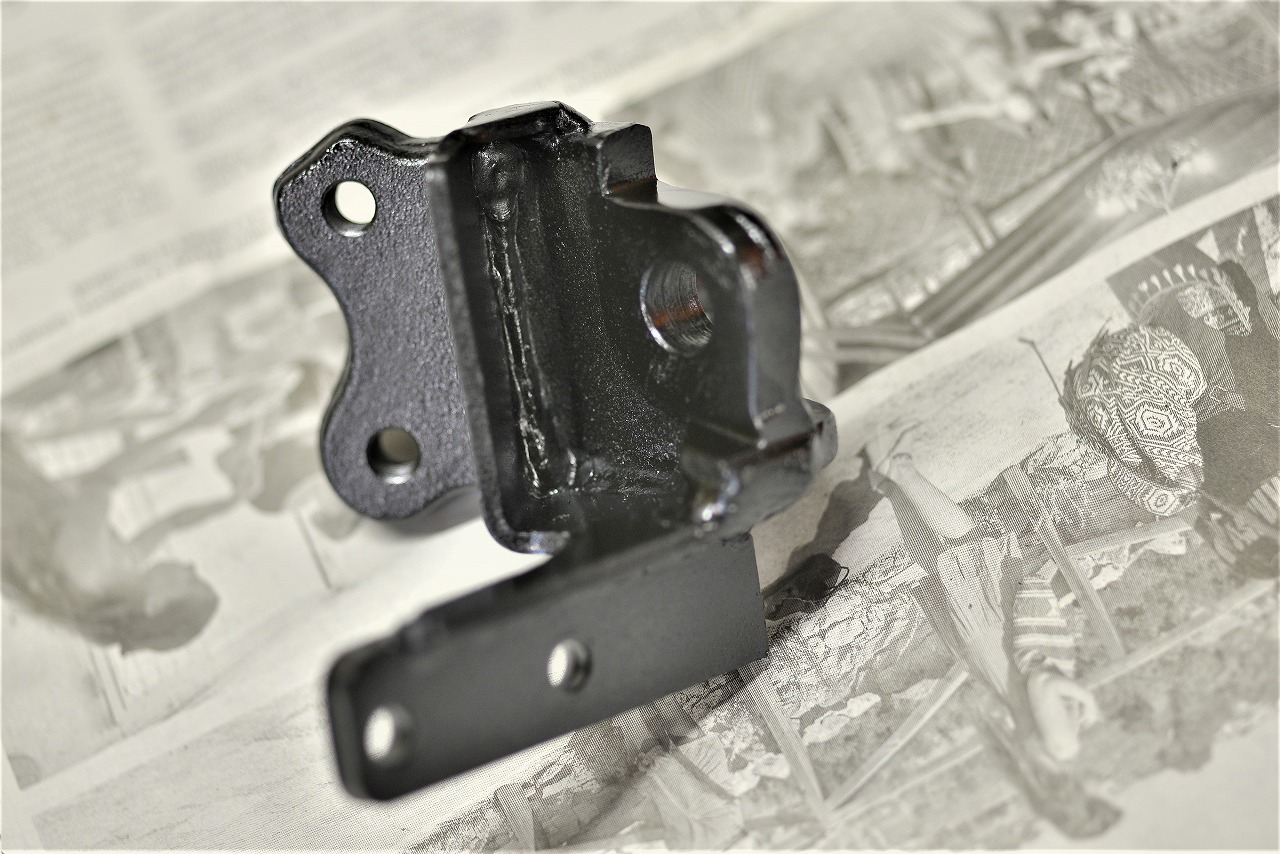
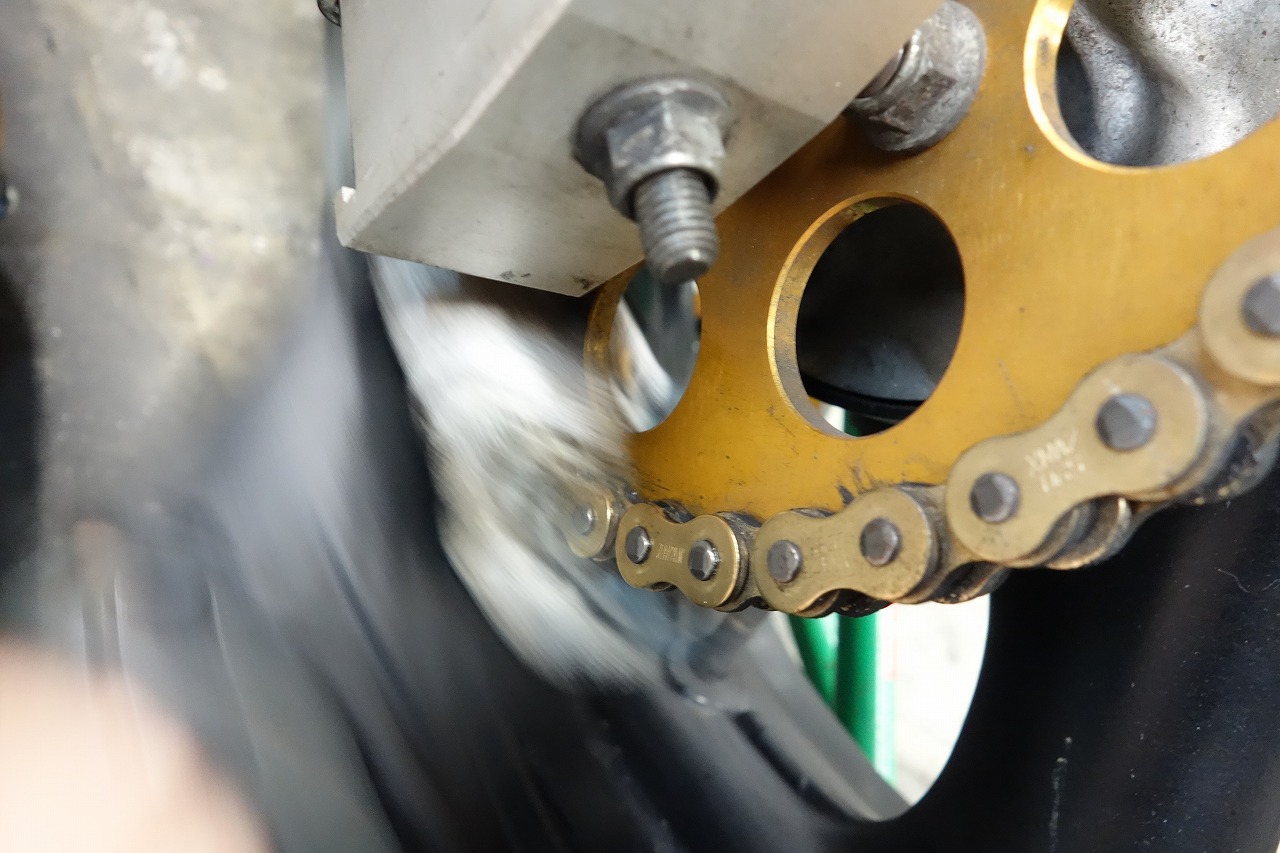
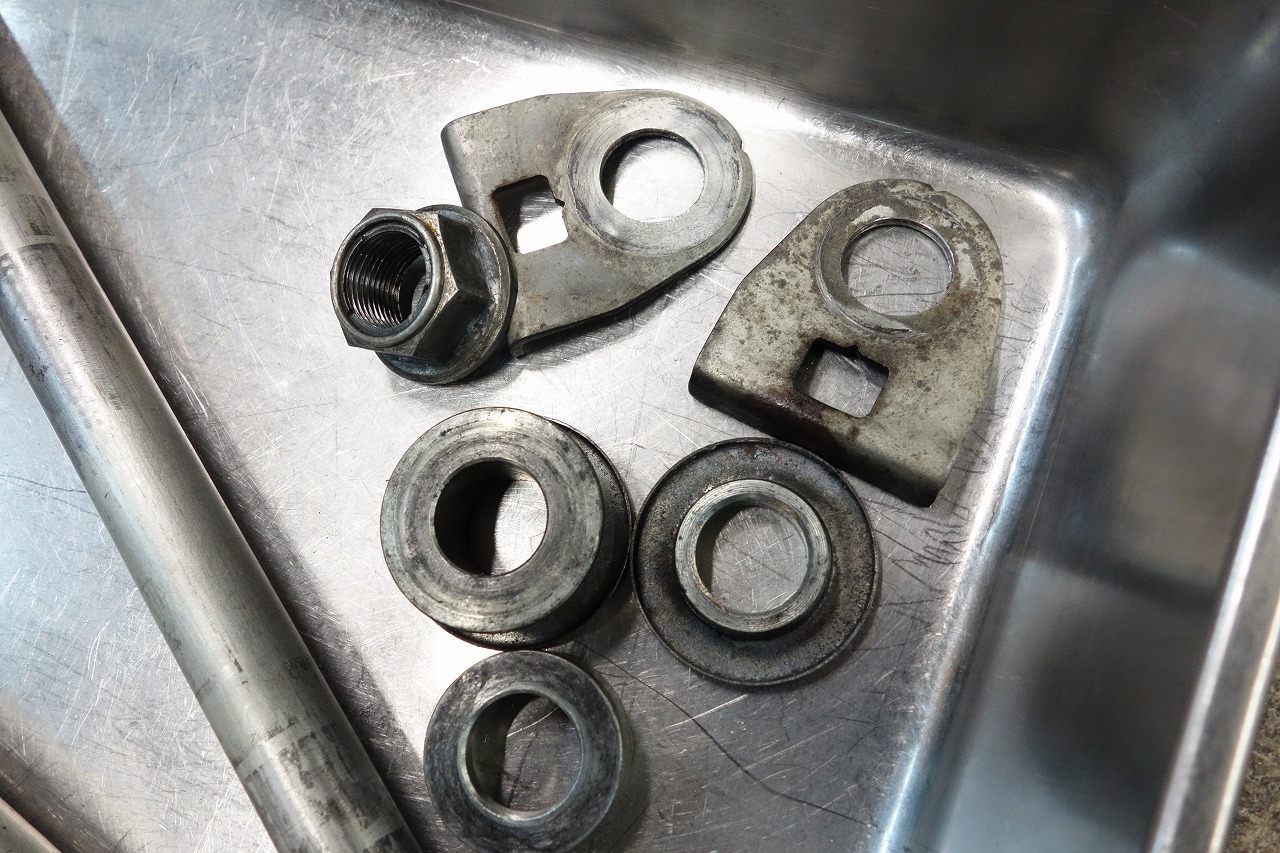
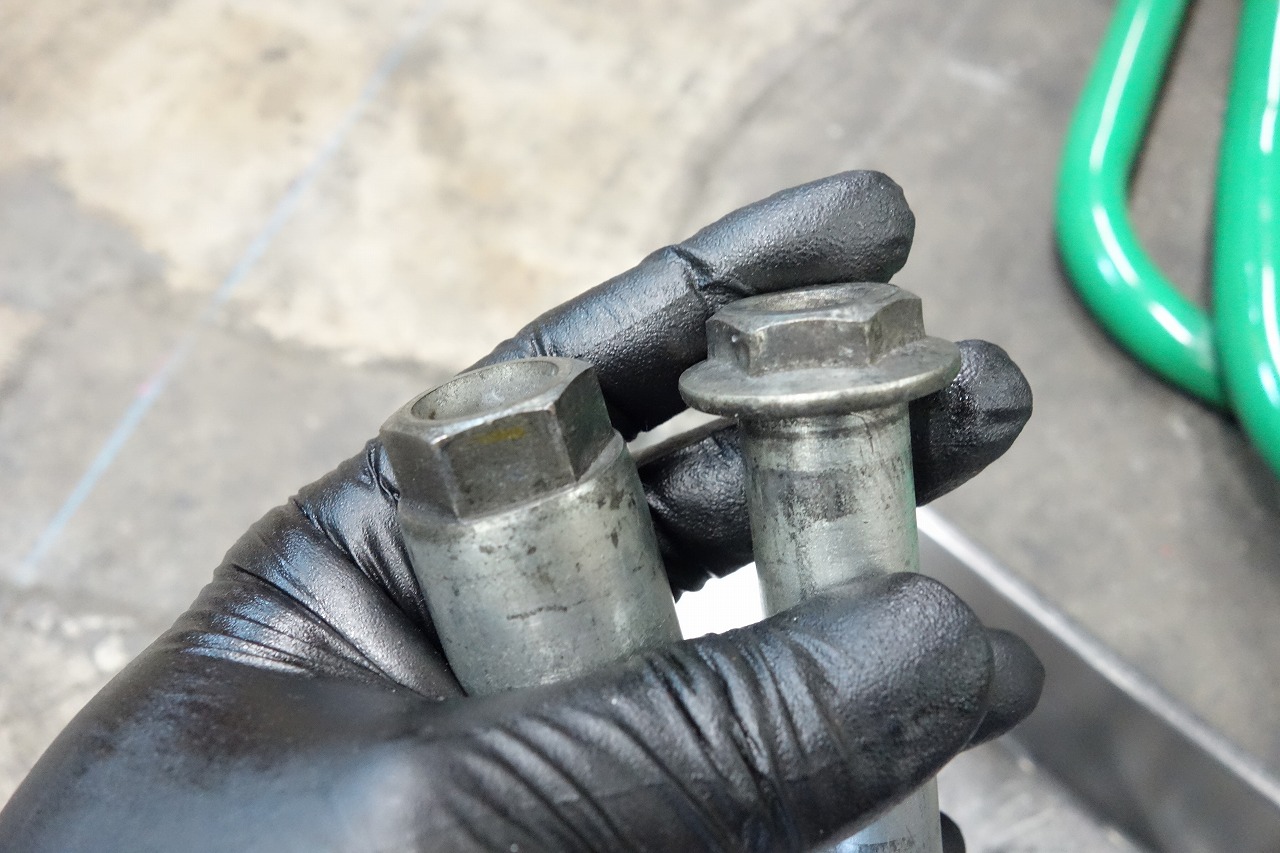
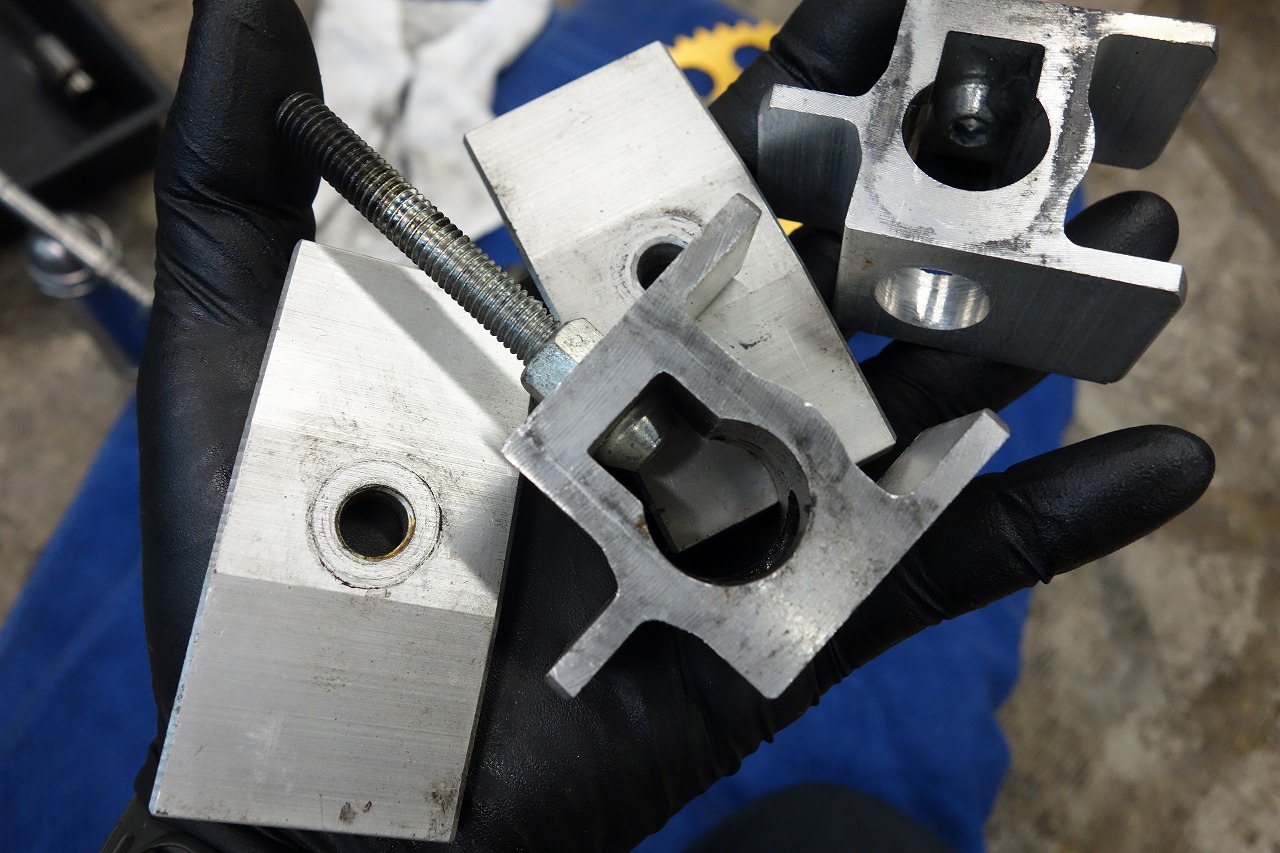
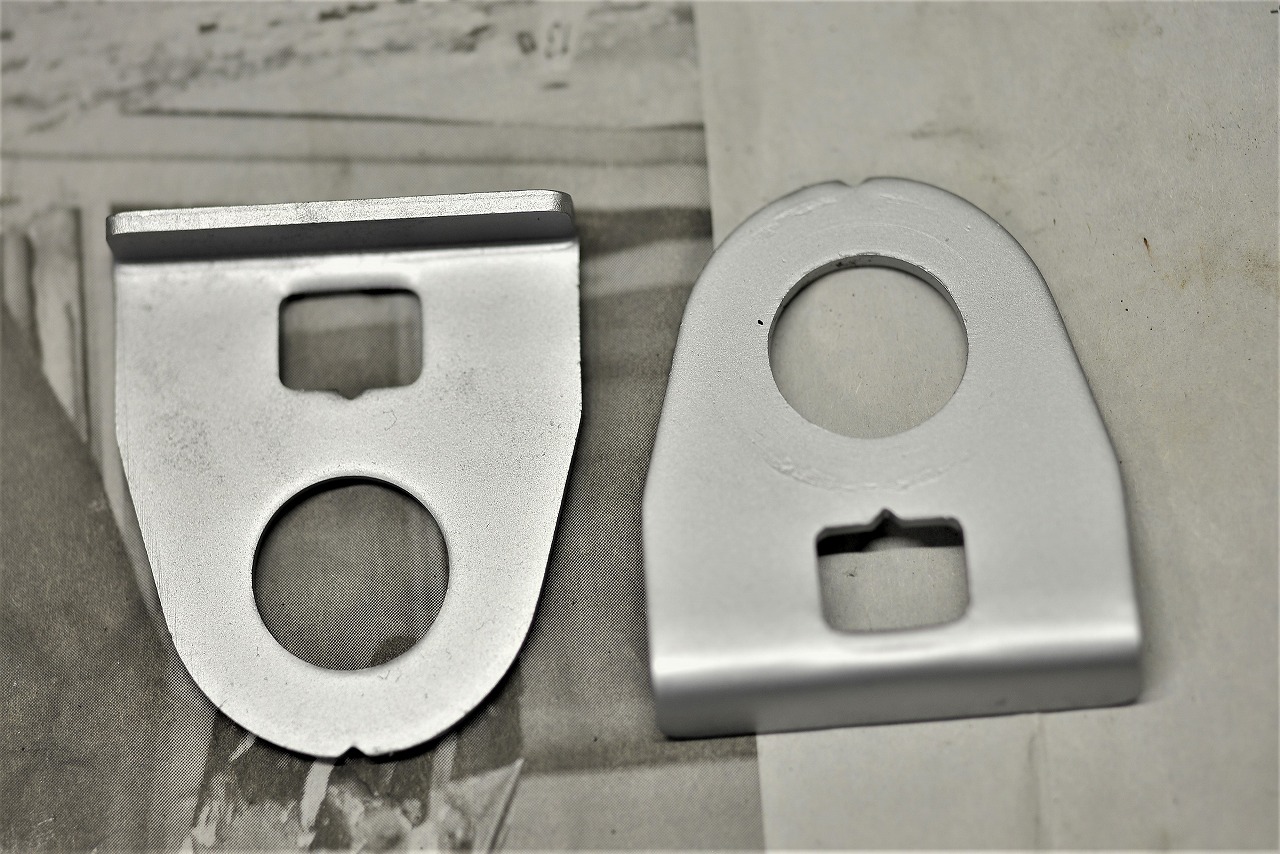
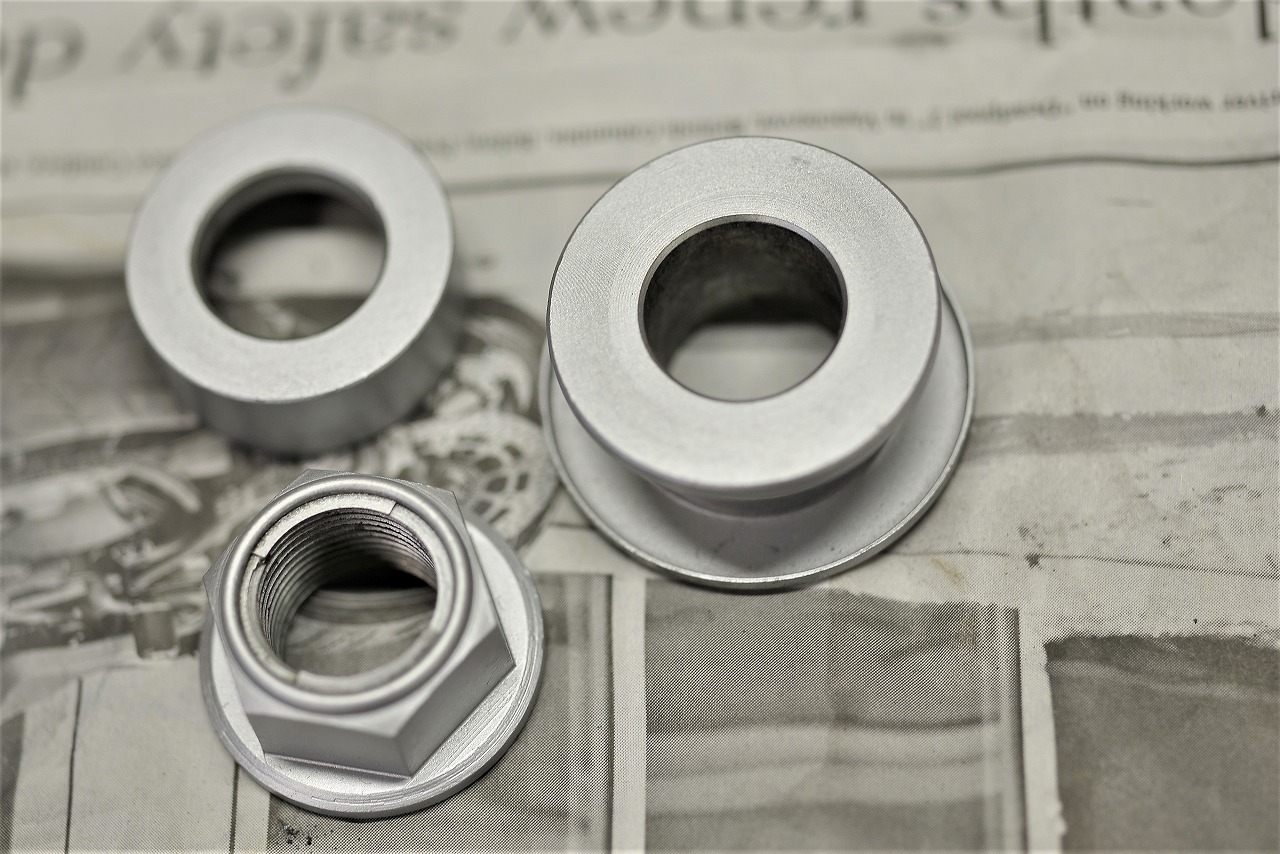
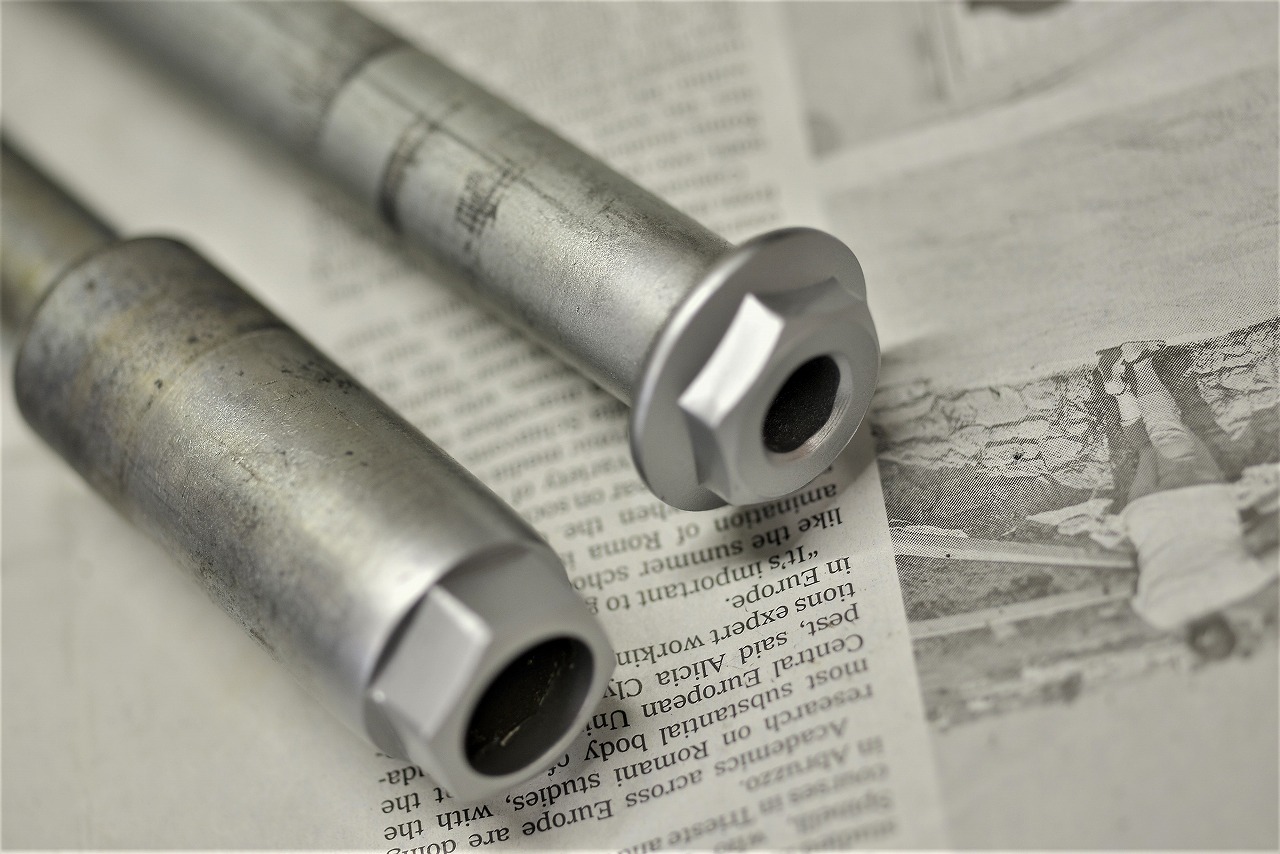
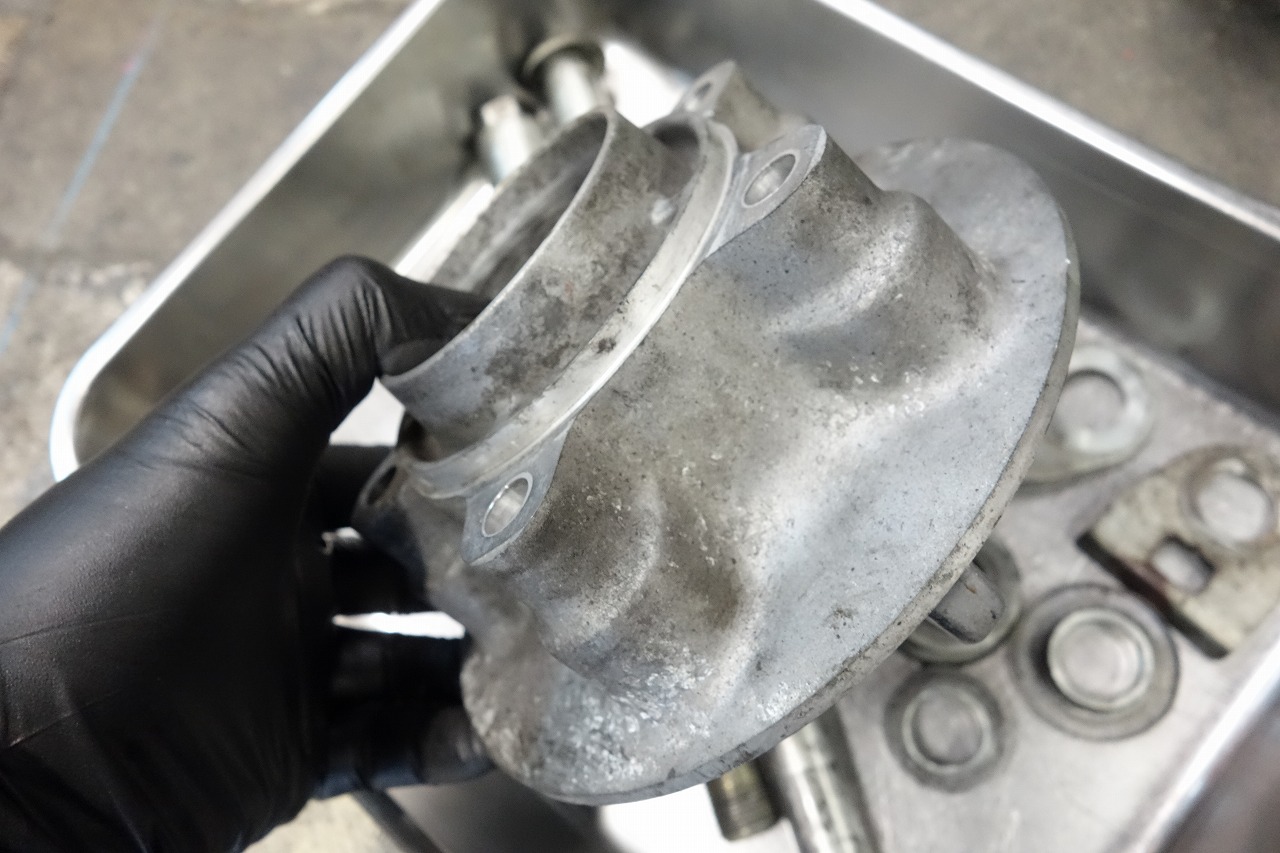
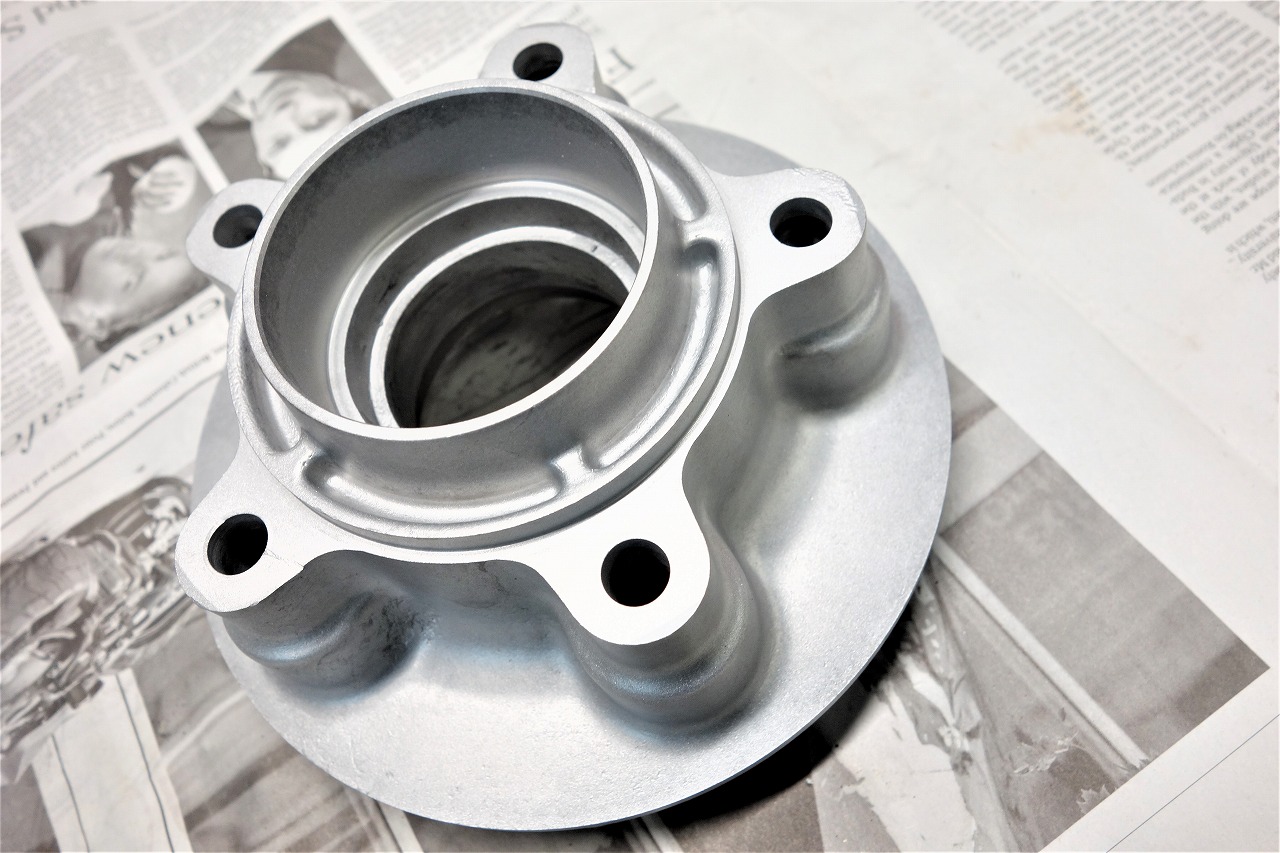
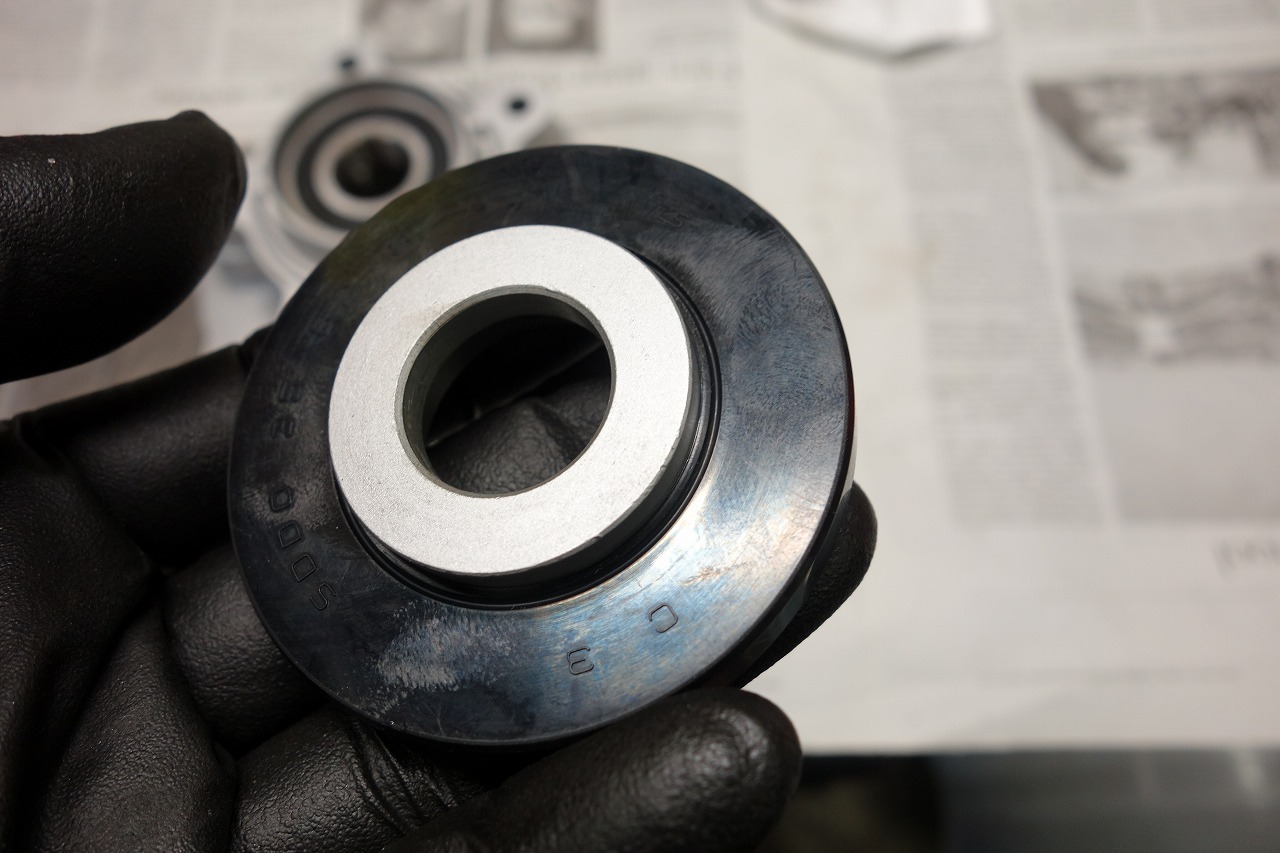
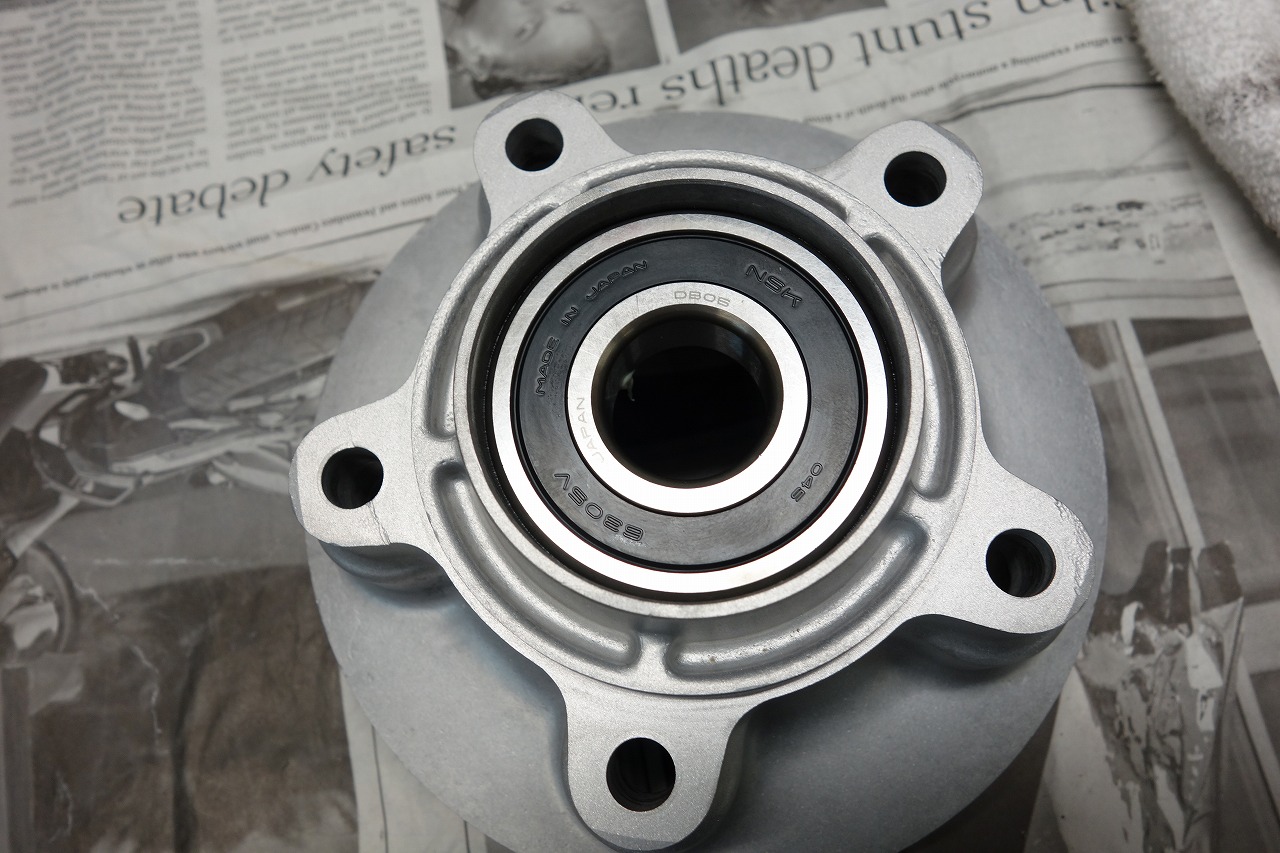
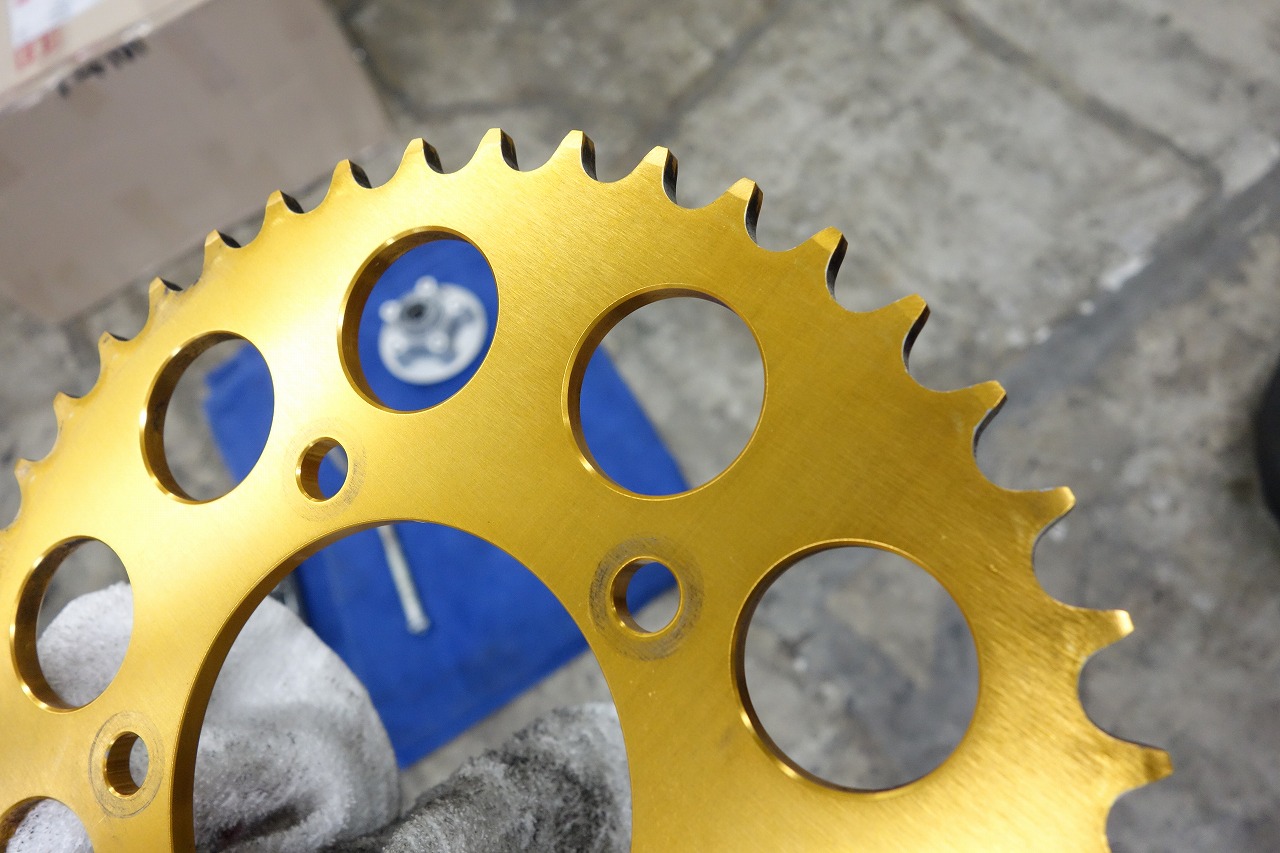
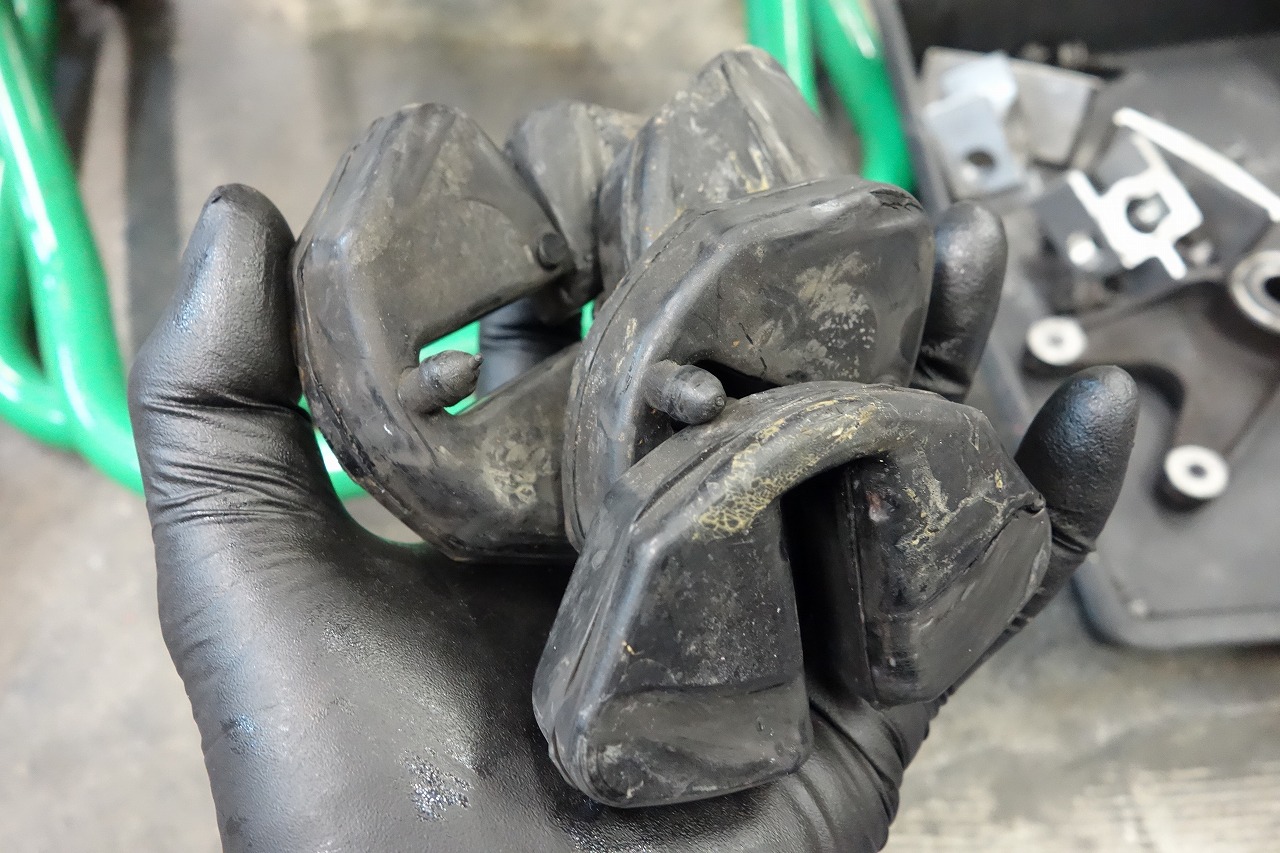
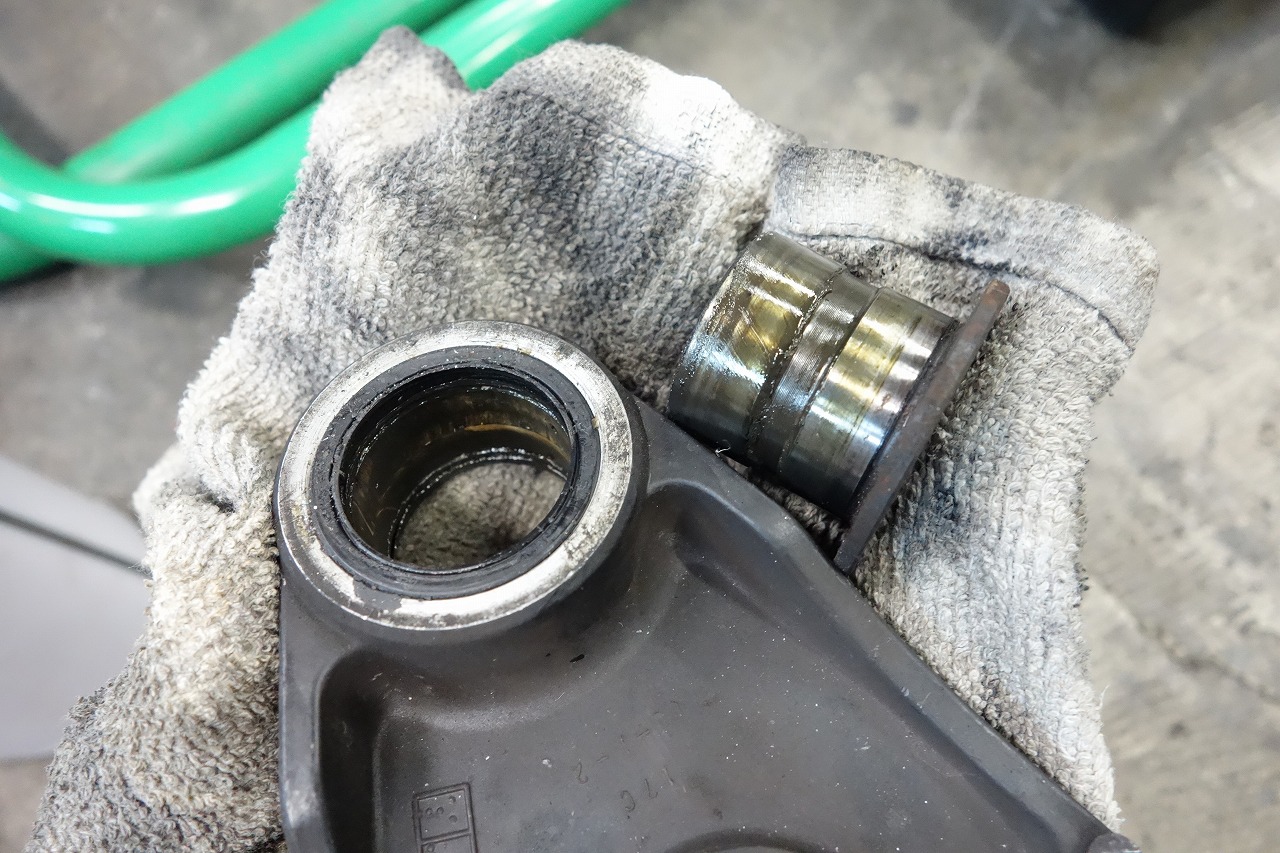
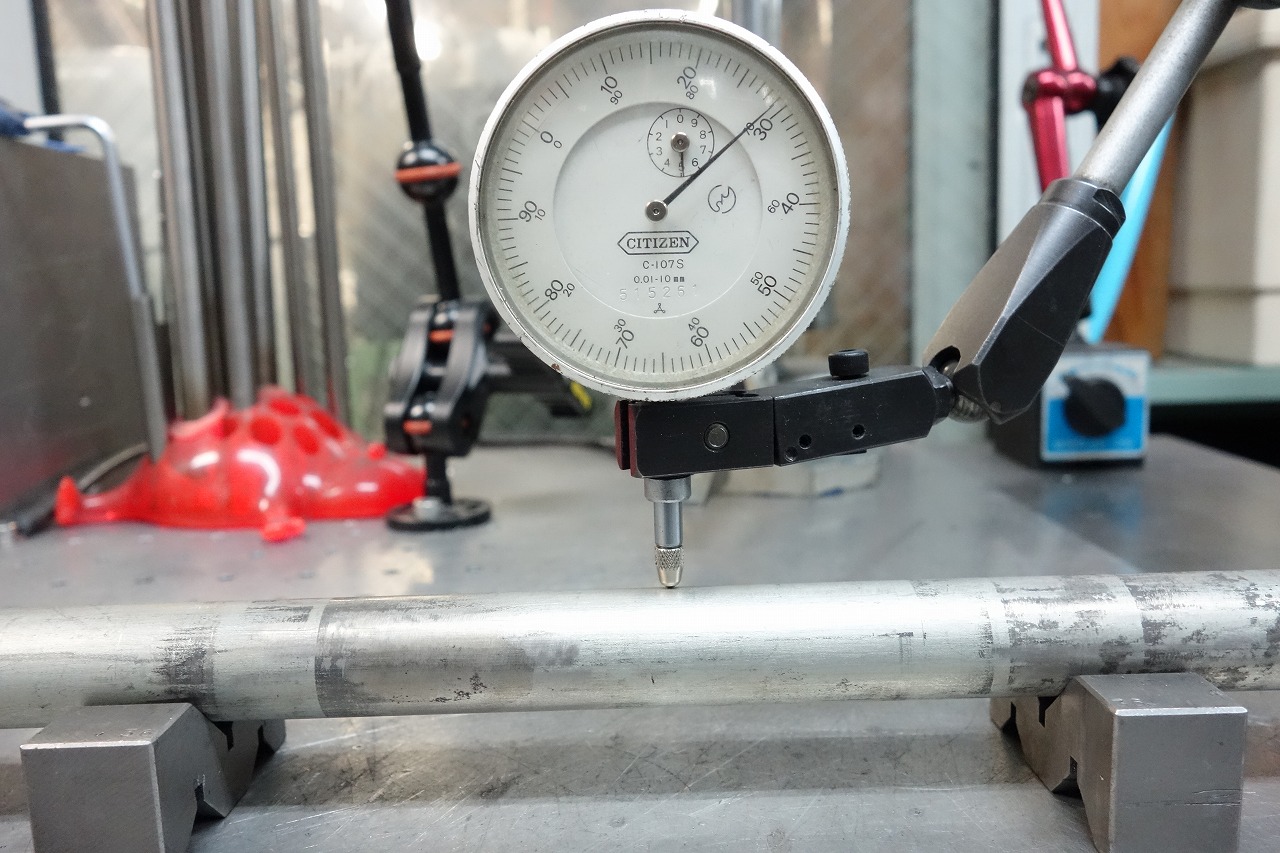
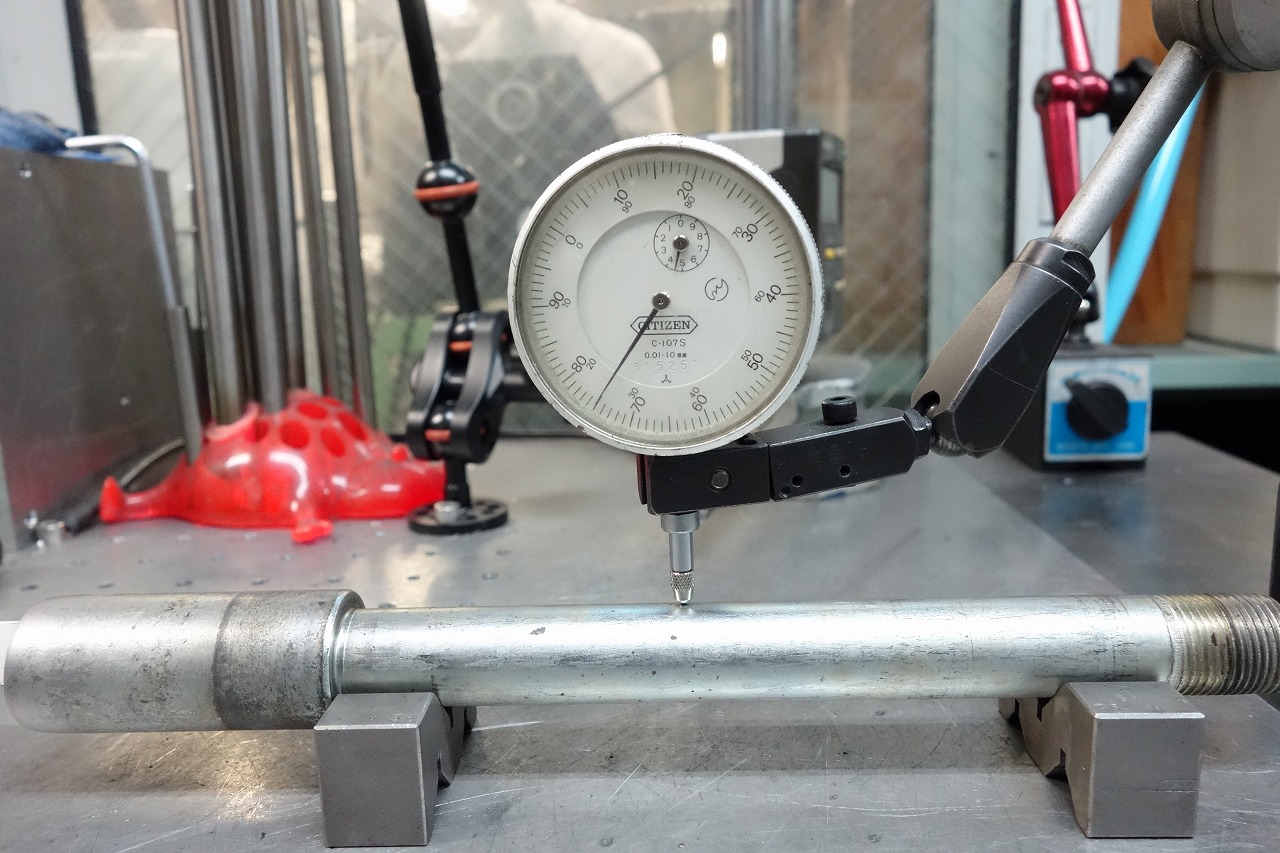
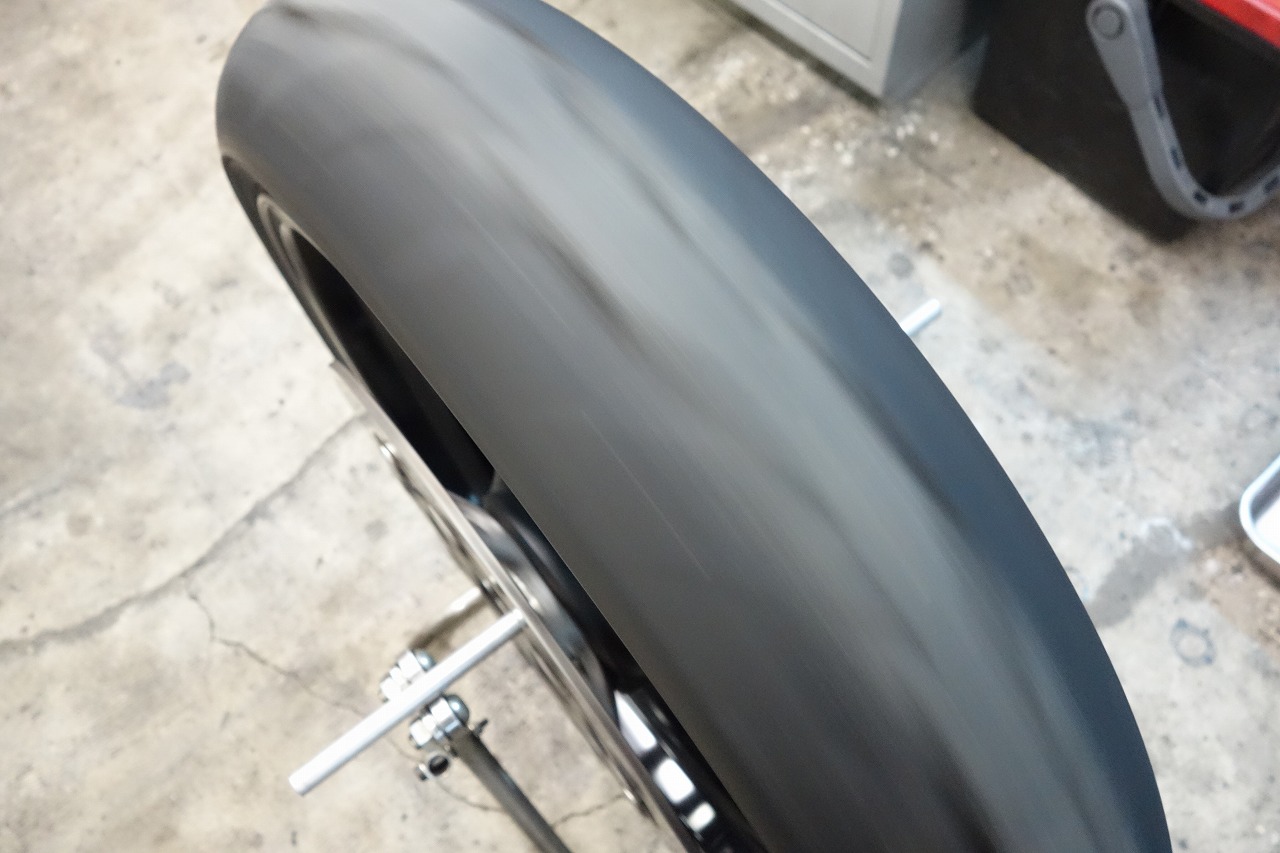
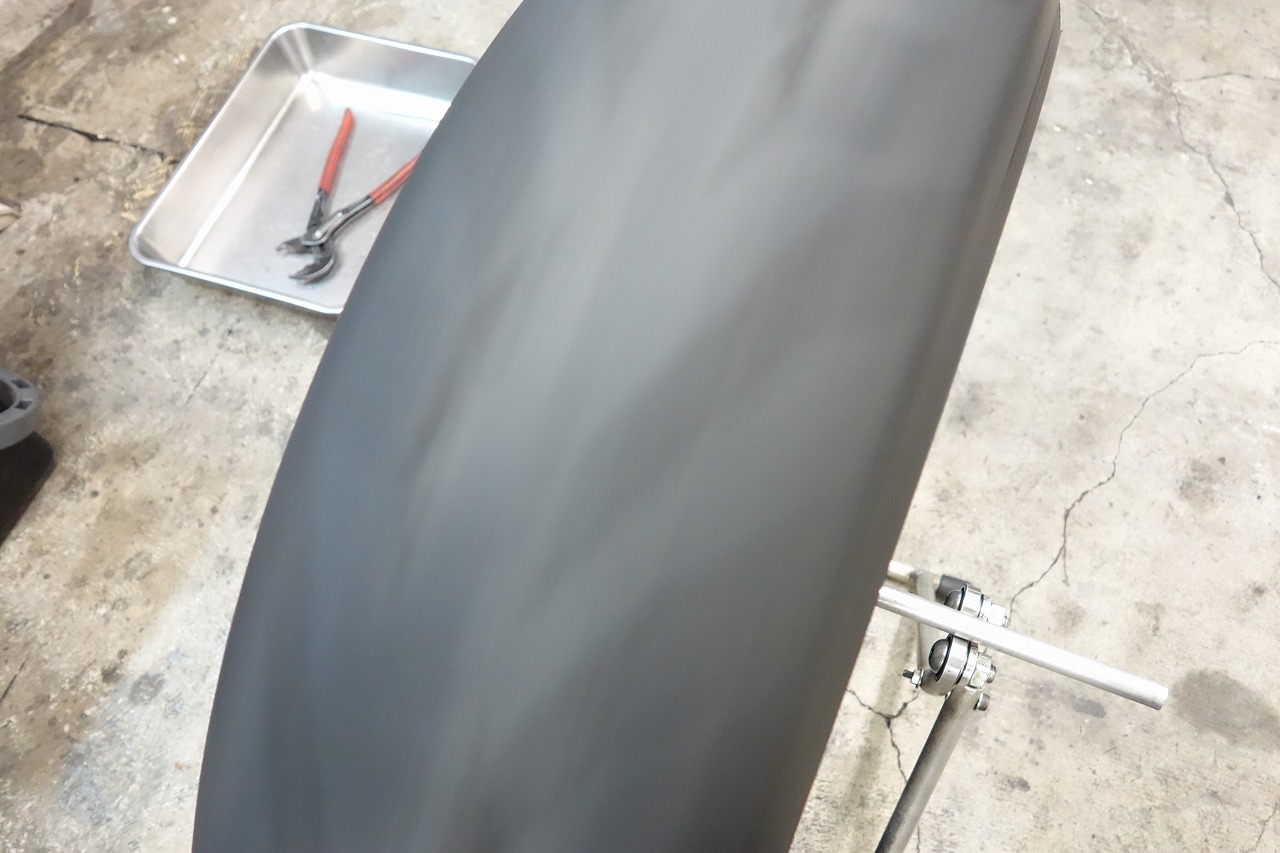
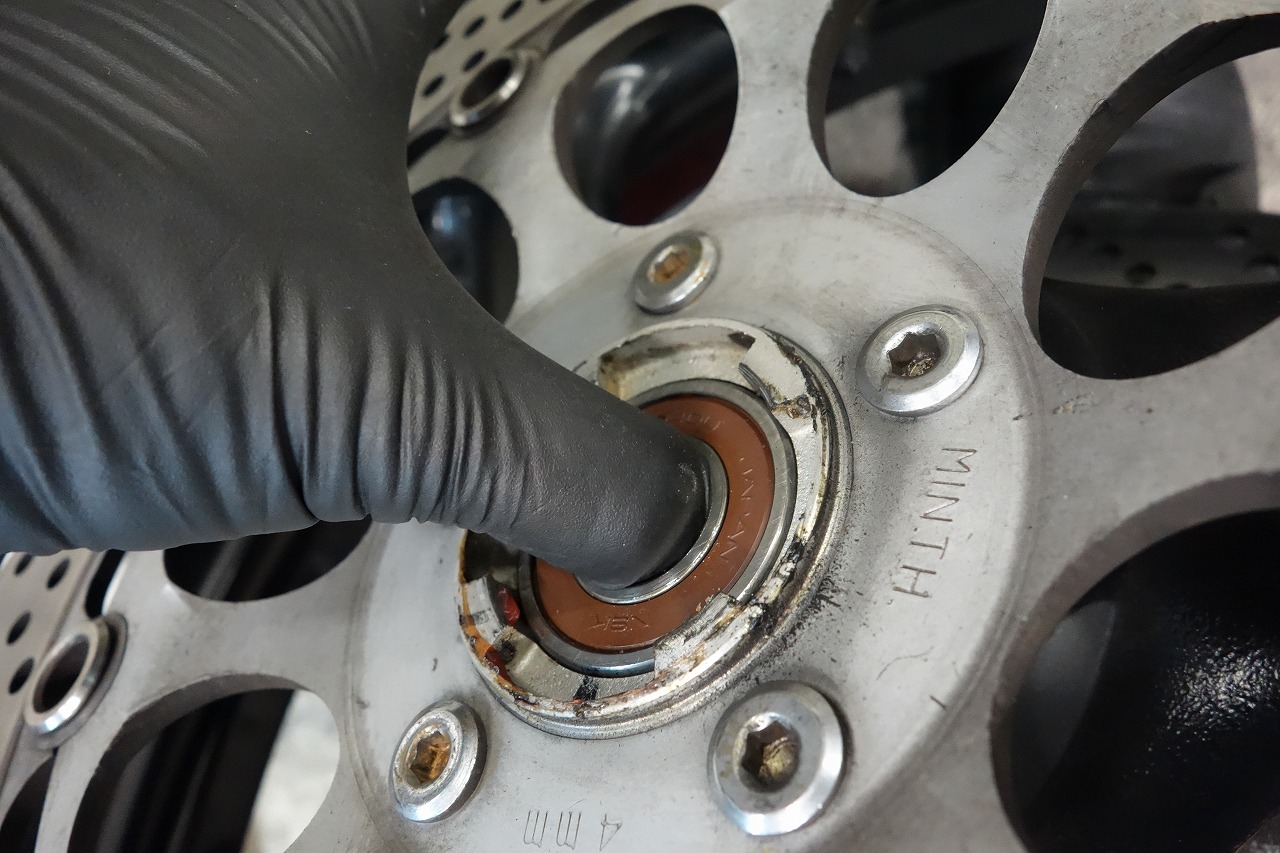
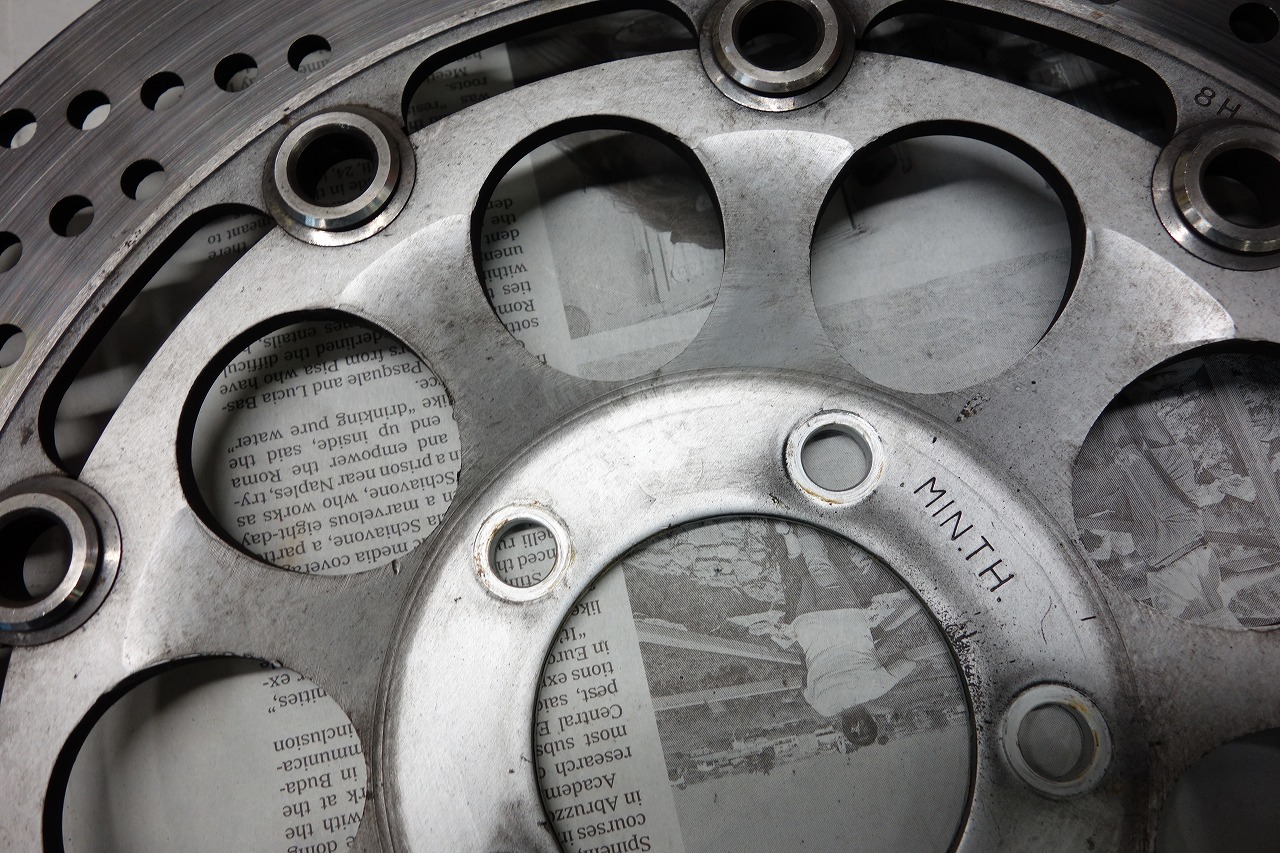
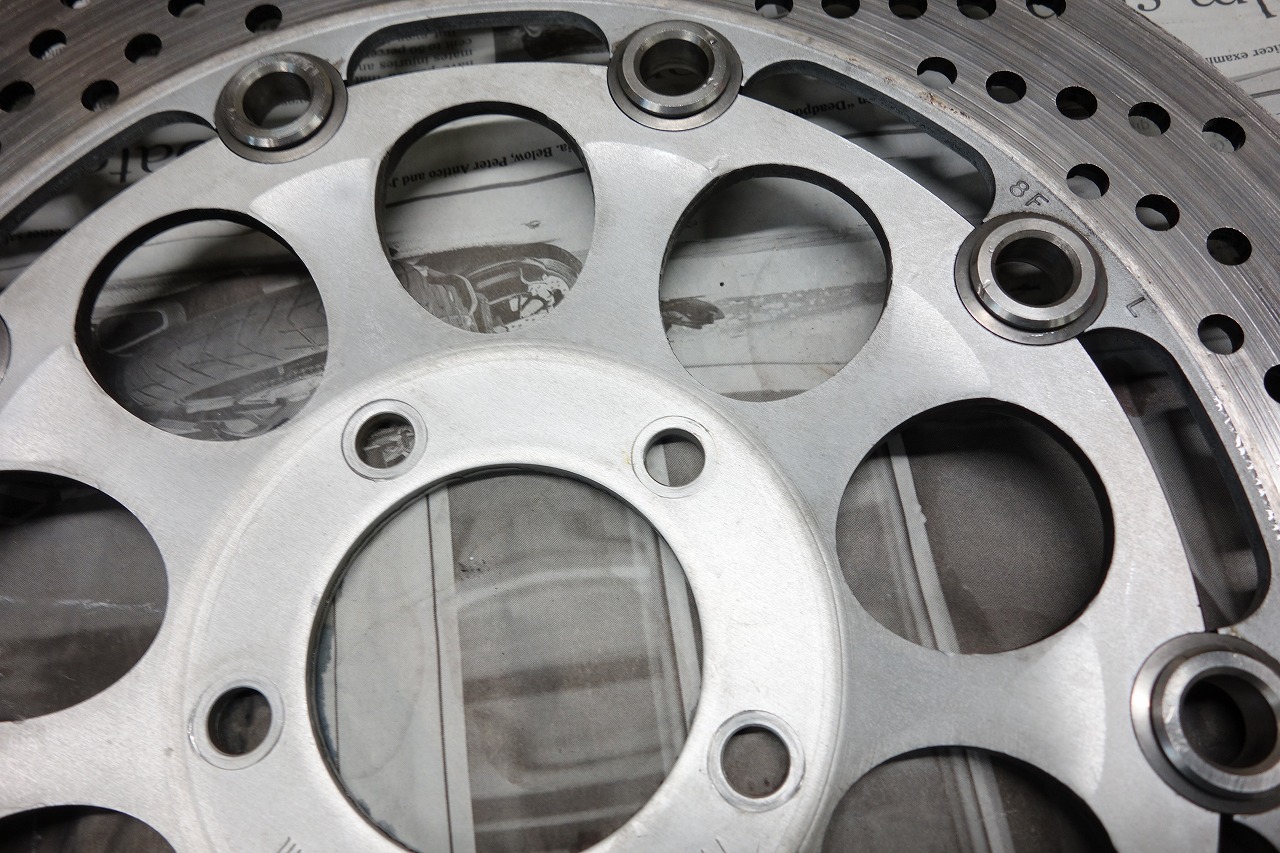
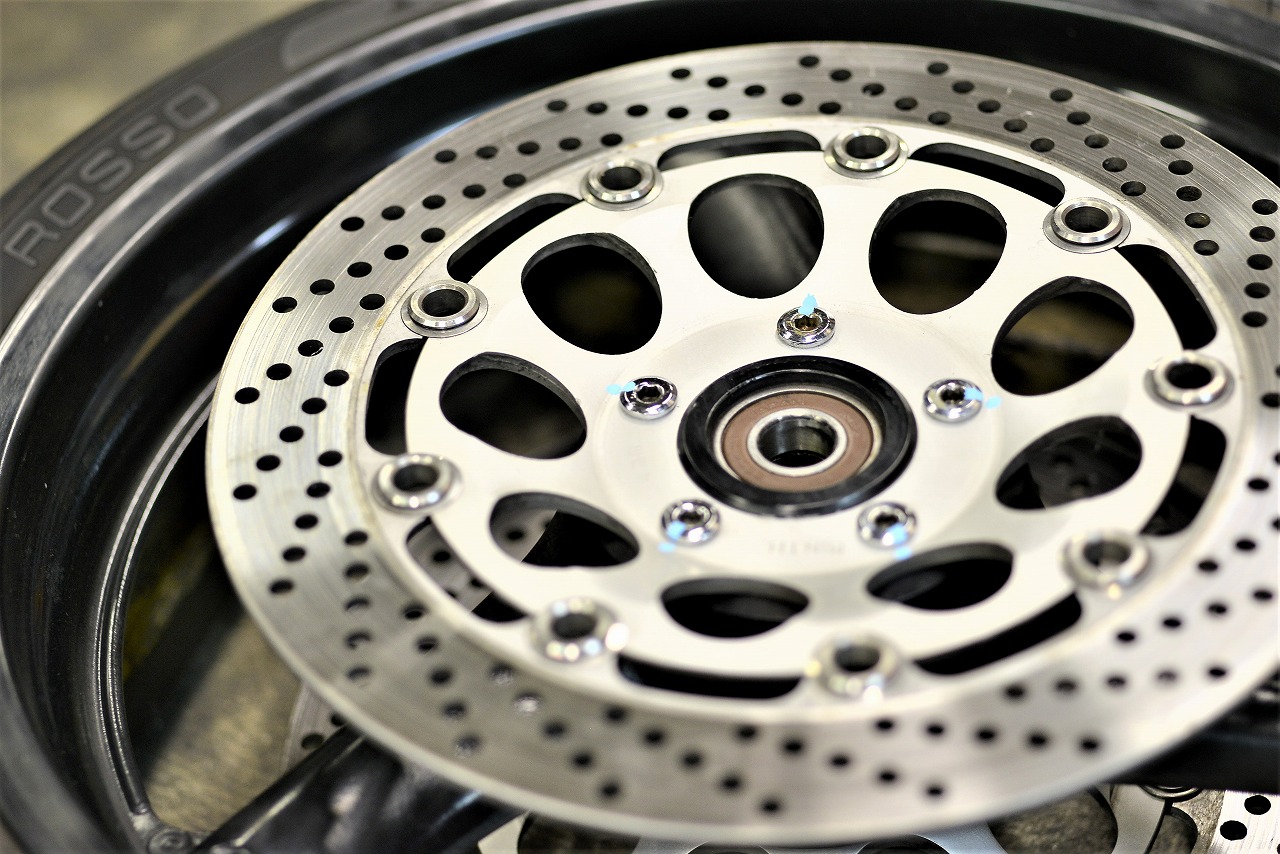
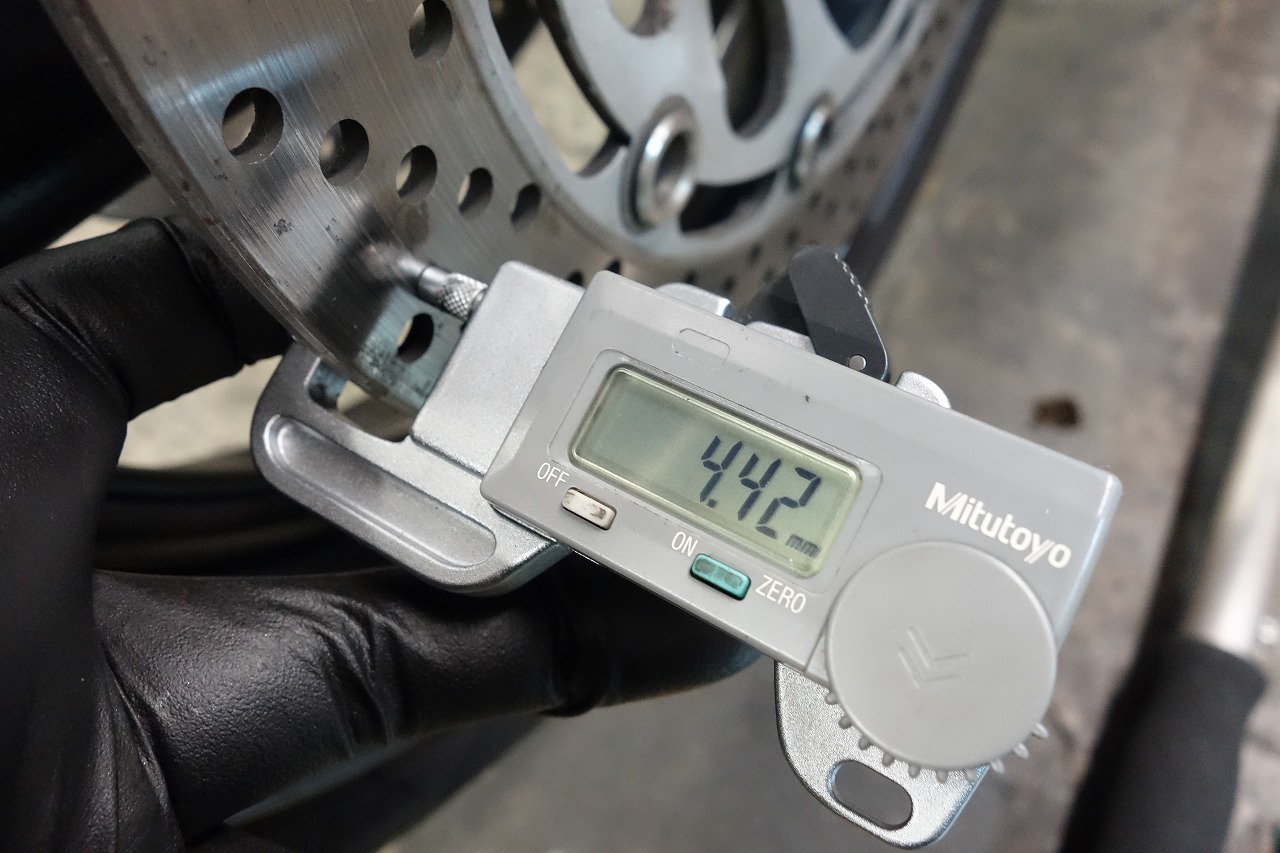
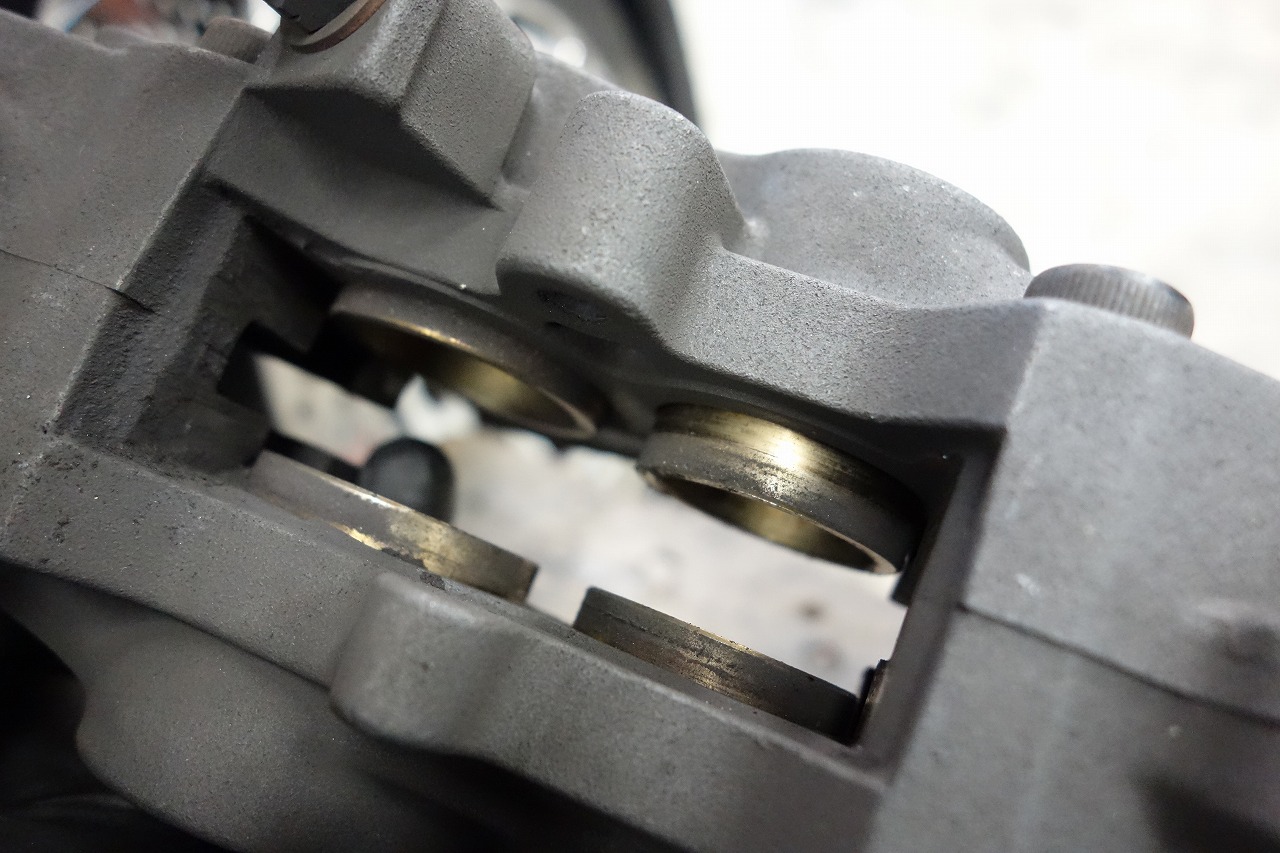
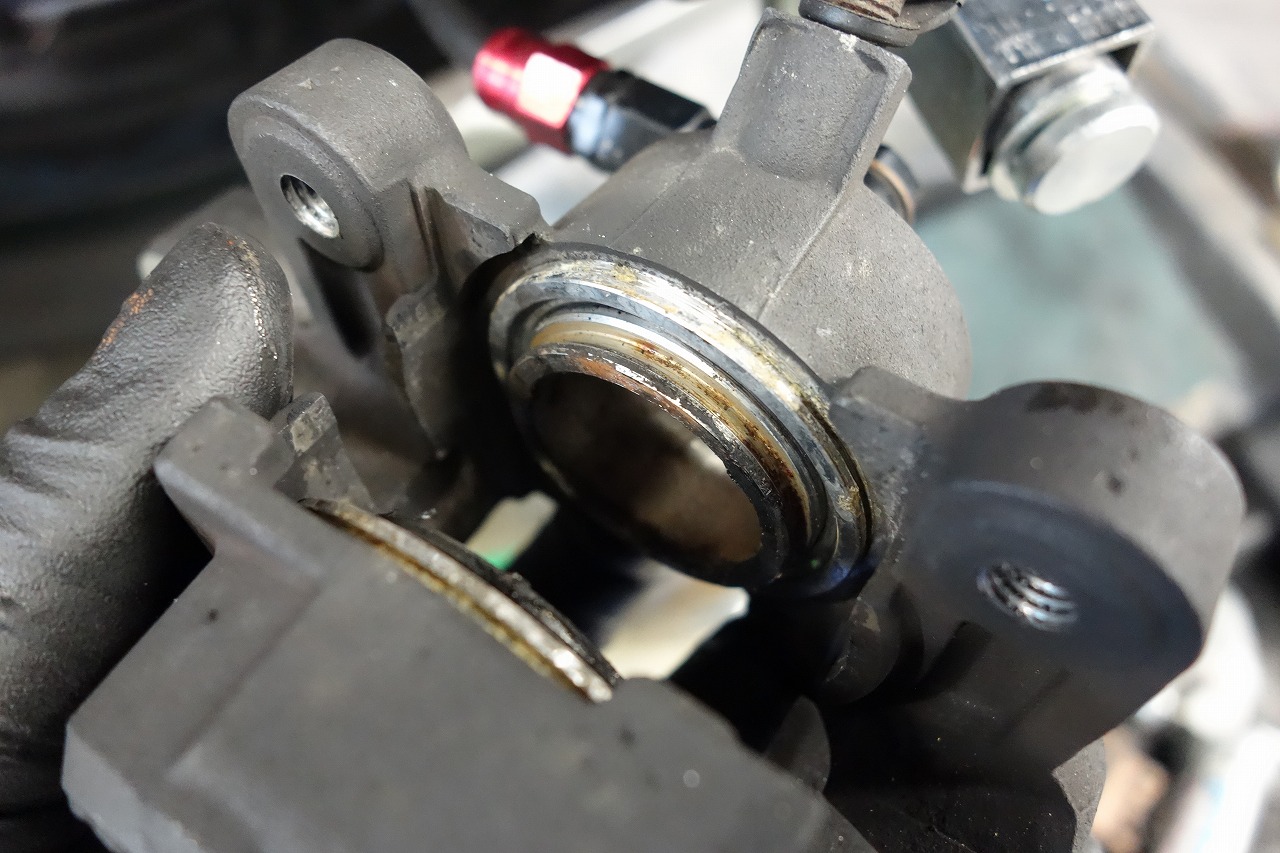
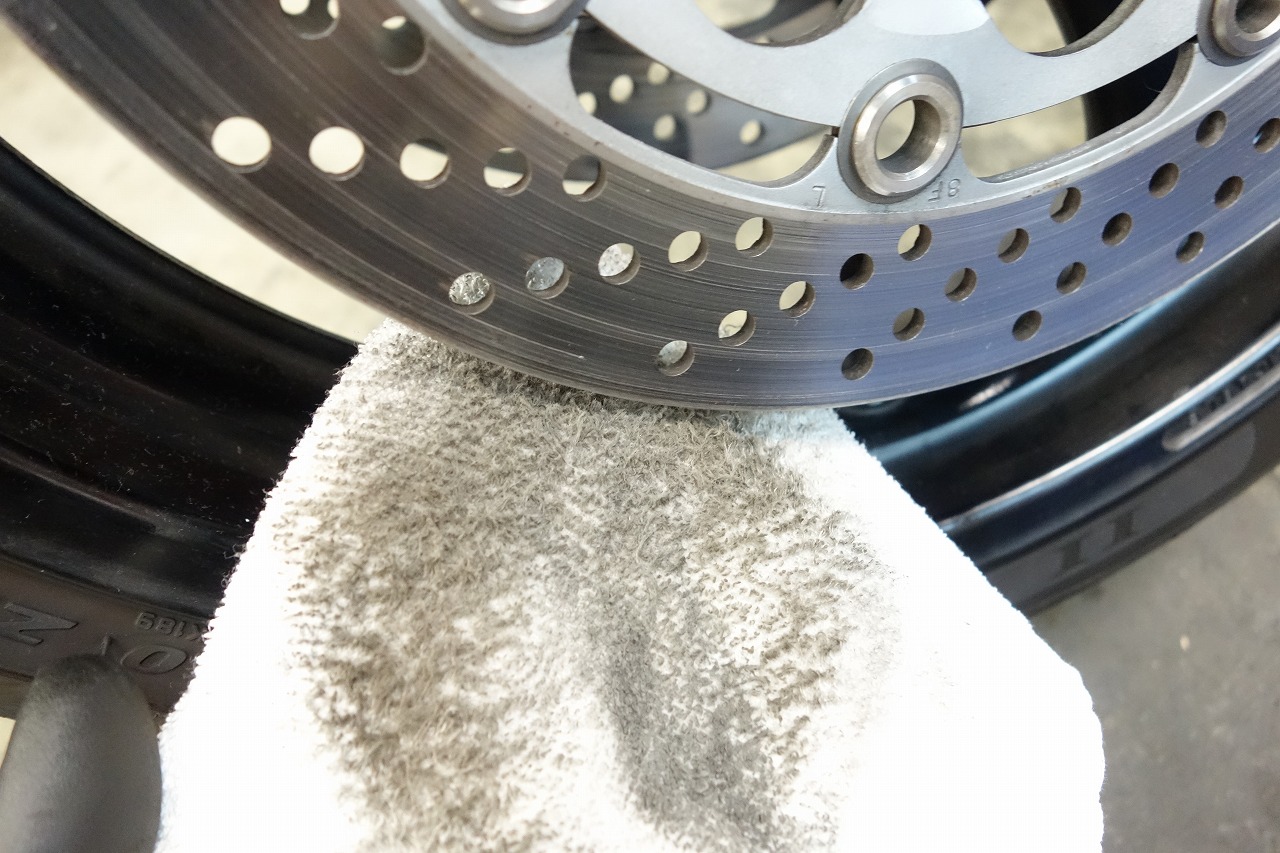
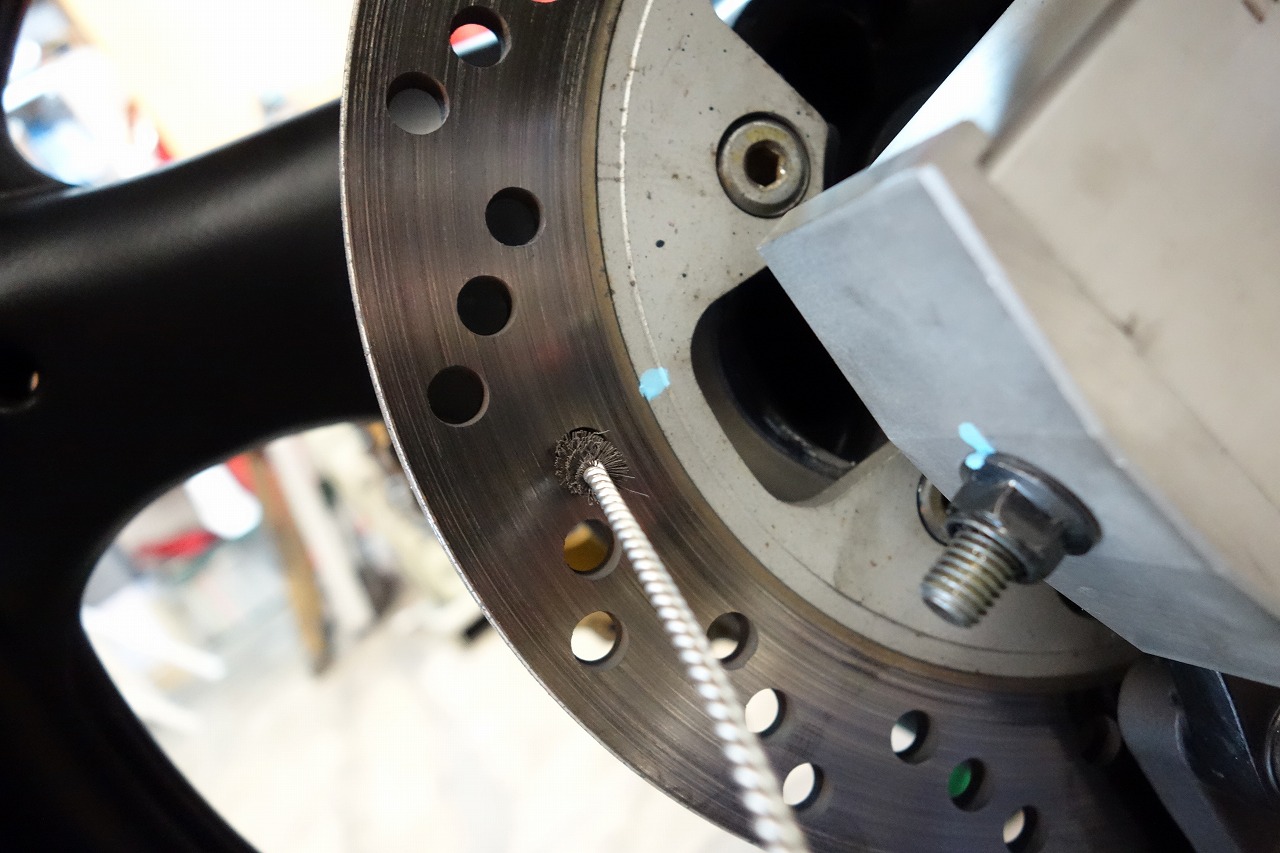
Since we use genuine Mikuni hoses, we don’t usually need to fit the factory hose springs, which also makes it easier to attach hose clamps. Next we’ll synchronize and adjust the pilot screw, then the carburettor is done. The sidestand looks off? While we’re at it, I’ll strip and repaint it. The sidestand base tends to loosen, so using a bolt that’s about 5mm longer and adding a lock nut will increase reliability. Time passes… (well, maybe not that much). The sidestand is painted. Personally, I like bright colors (silver, white), but silver tends to get all dull and stained pretty quickly, so lately I go with reliable black. It doesn’t show dirt as much. I polish the chain and sprockets thoroughly before oiling them. Quite… The passage of time You can really feel it. At times like this, a little bit of A little work makes it look rejuvenated. I believe in using what’s still usable! If the sprocket hub is bare metal, we can polish it, so feel free to ask. A small detail makes a big difference in appearance and helps prevent dirt buildup. Hub polishing + ¥6,000 (before tax) (bearings, oil seals, and lock nut required). As always, the tight seals are broken in with a rubber stone before use. Using sealed hub bearings keeps leakage to a minimum, so it stays clean. Since there’s no leakage, the bearings should last longer too. For aluminum, choose hard anodize rather than color anodize. If you think “I’m too lazy for that,” steel might be better. The hub damper was clicking, so I replaced it. This vintage floating design… honestly, it’s questionable. Many units are pretty worn out now, and the rear disc gets wavy or makes noise. I’ve got some interesting ideas for the future, so stay tuned! The front and rear axle shafts are fine. (The front is a bit tight though…) Tire and wheel runout are fine. Wheel bearings are good front and rear. For some reason, I removed the disc. Testing if it comes out clean. Hmm, it looks great! This large hole inner with hole outer design looks cool. The disc thickness is at the halfway point. (Still okay though.) With equipment that cleans quickly and efficiently, you save time and get a better finish. The caliper piston operation is good. The rear has some rust, but the condition is good. It’s been a while since I’ve had a brake disc worth digging into. You can get into a meditative state. I’ll dig into the rear the same way. You need to mask up though… it’s probably harmful. I think it’s very important to protect your body in any job.
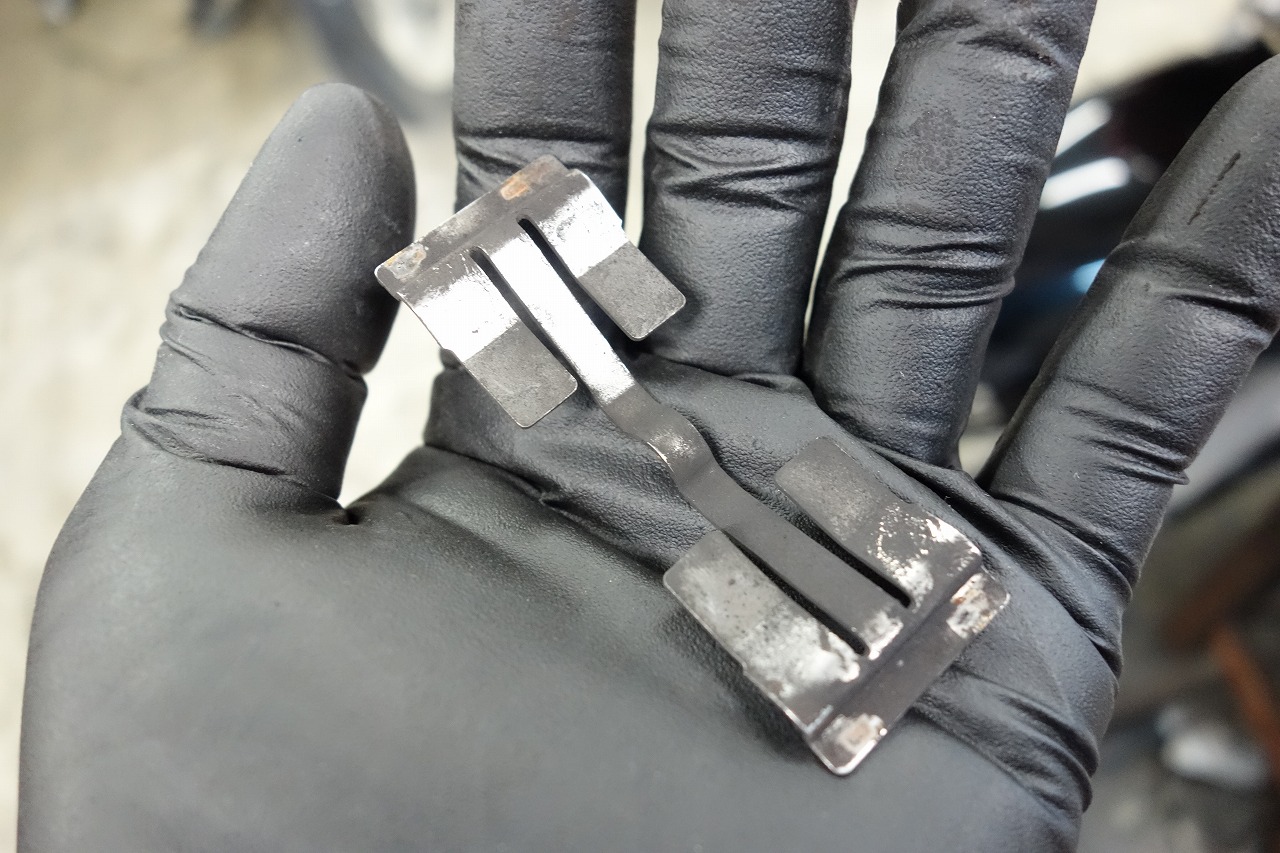
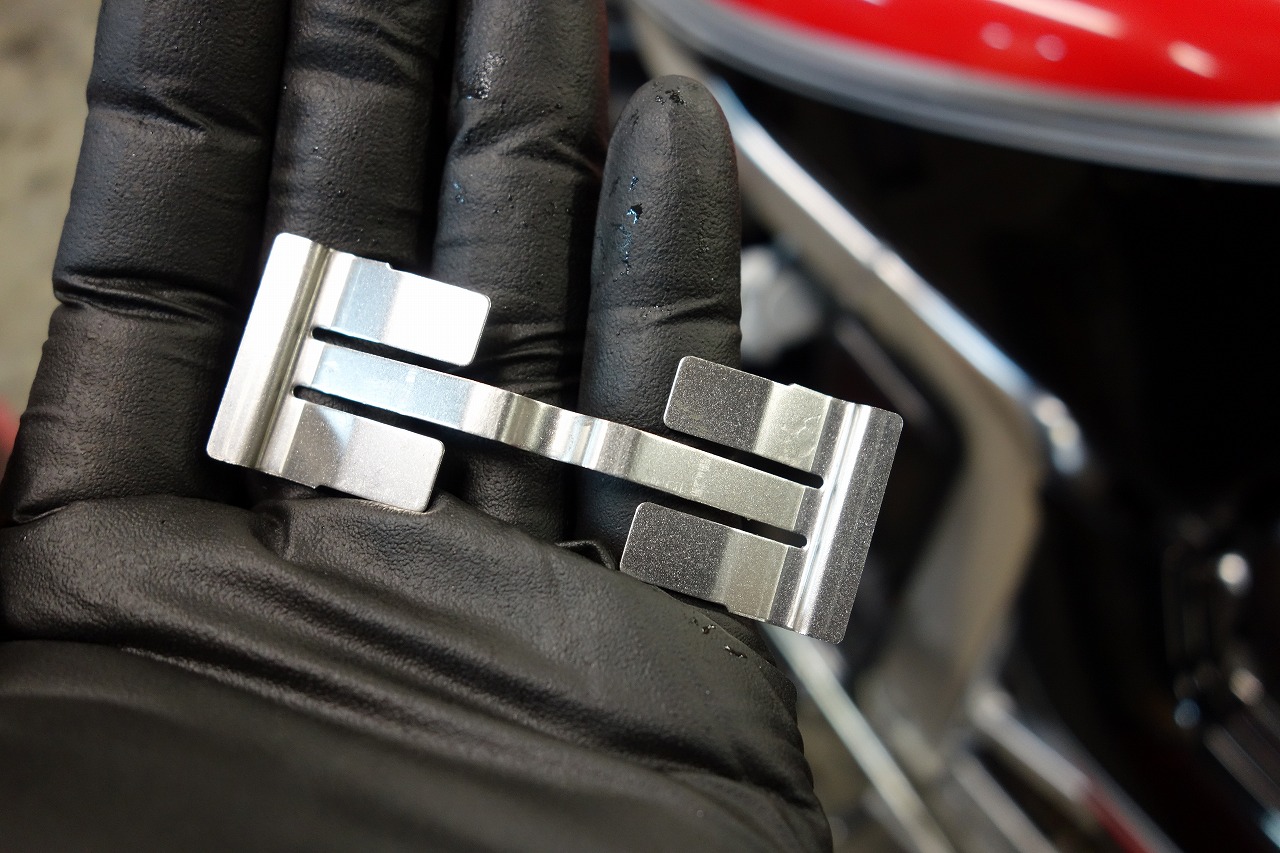
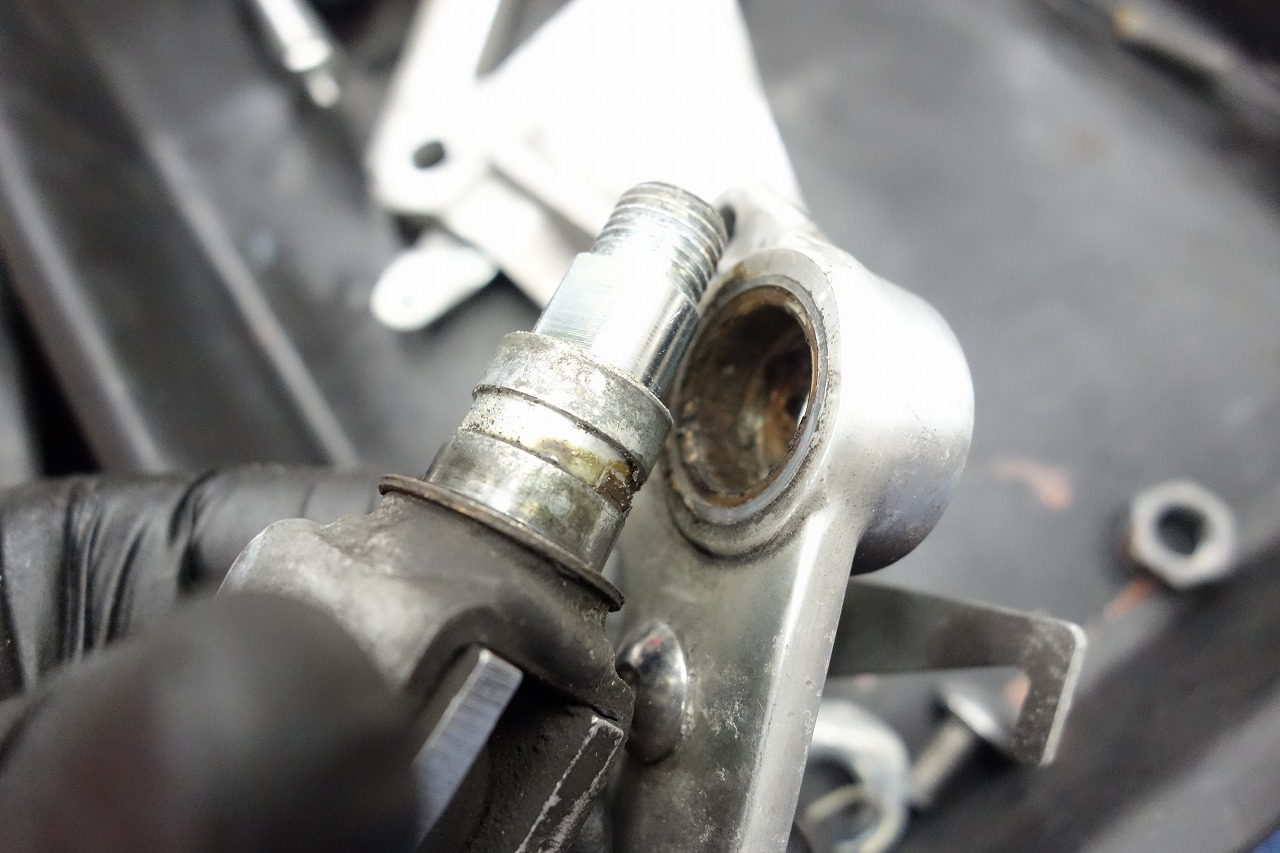
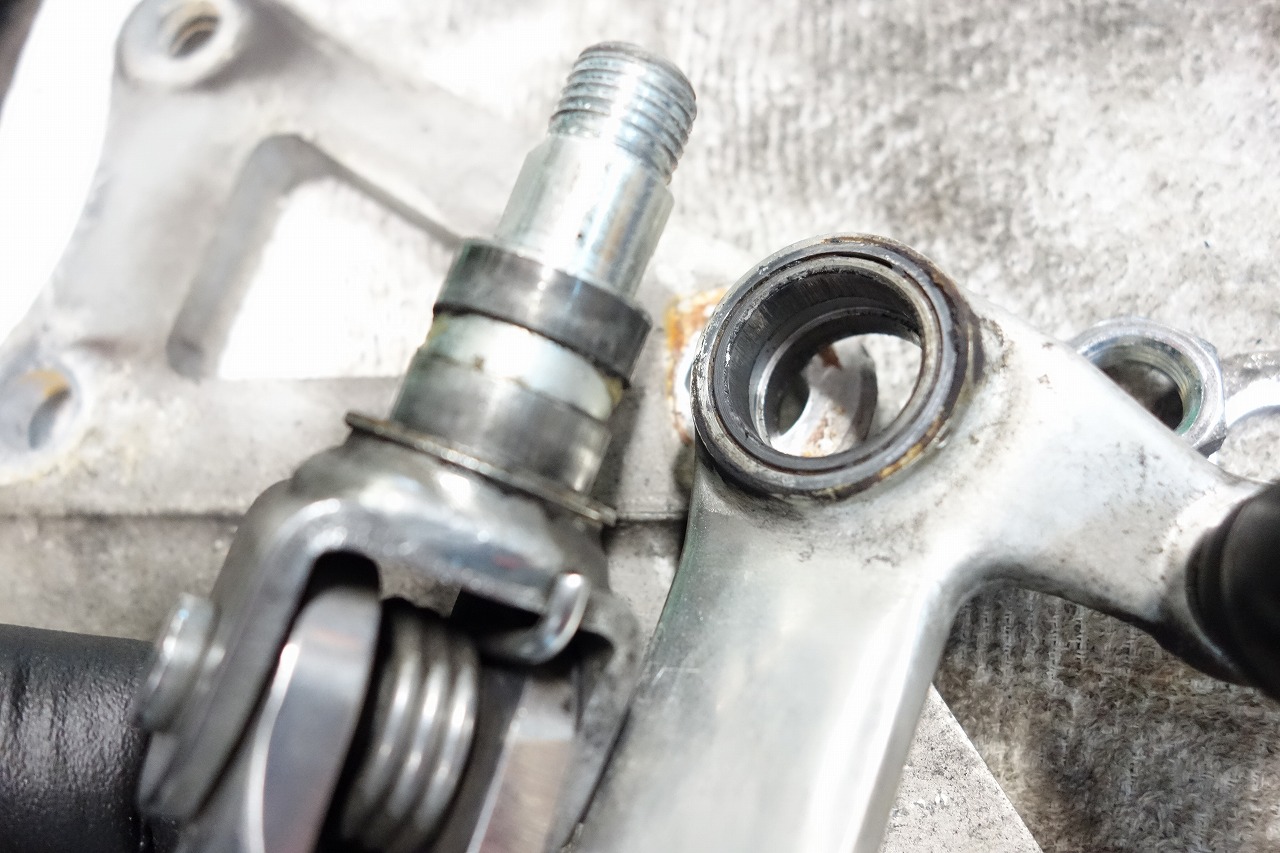
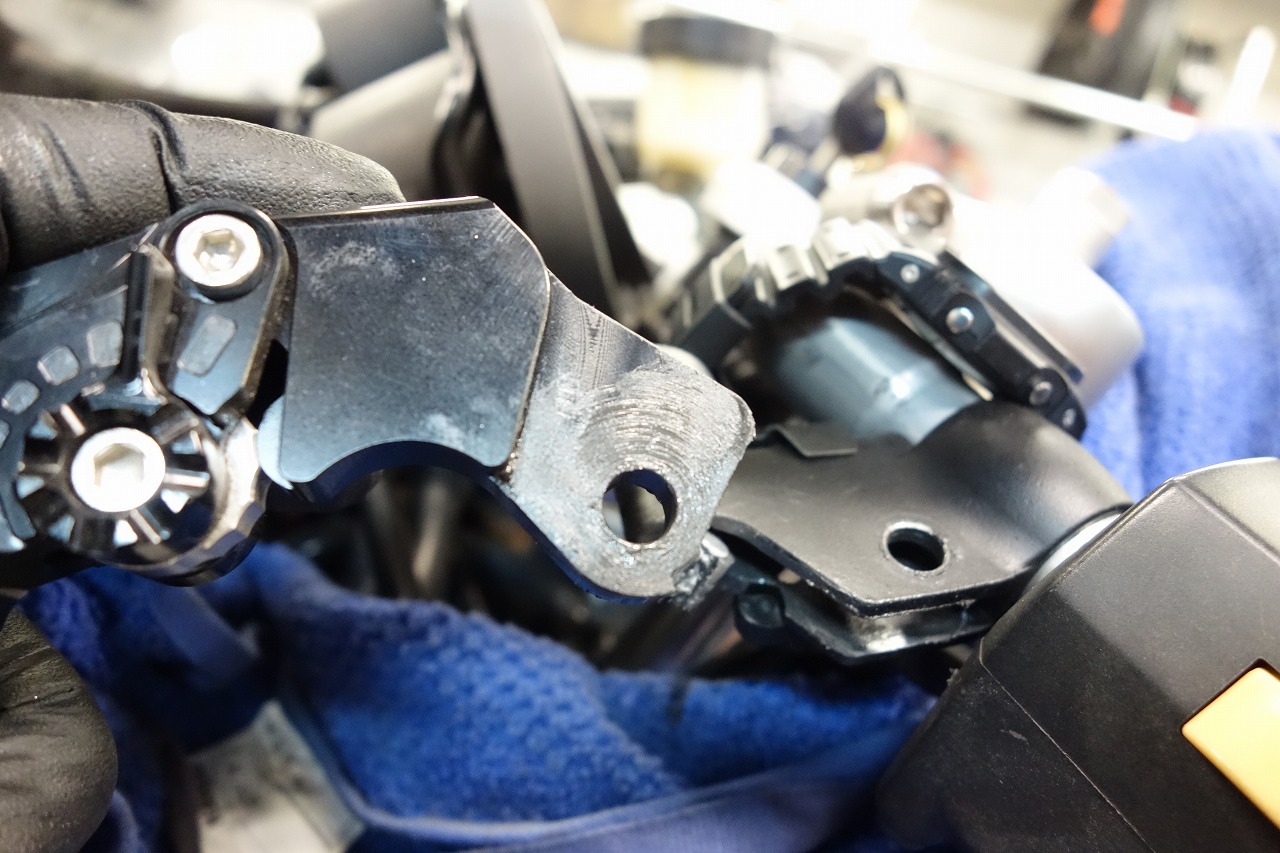
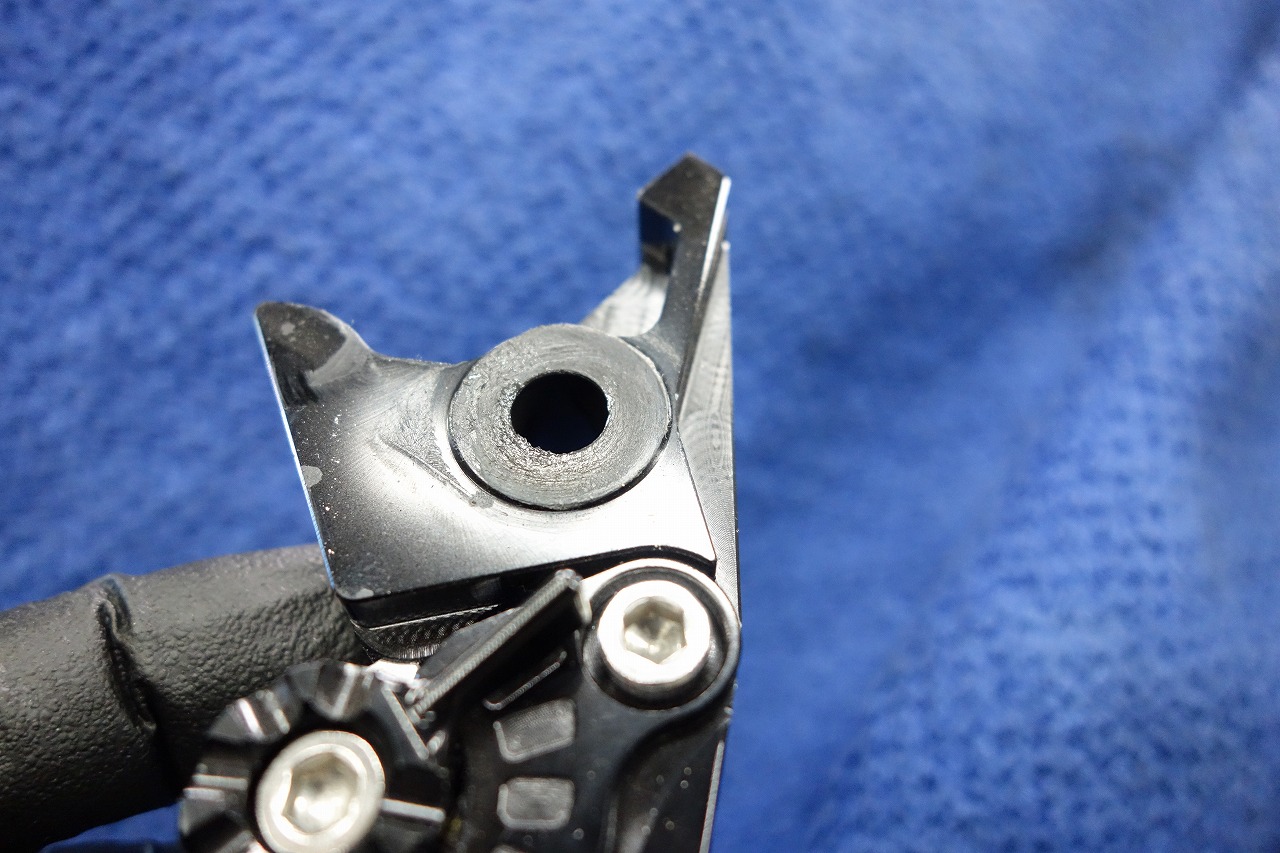
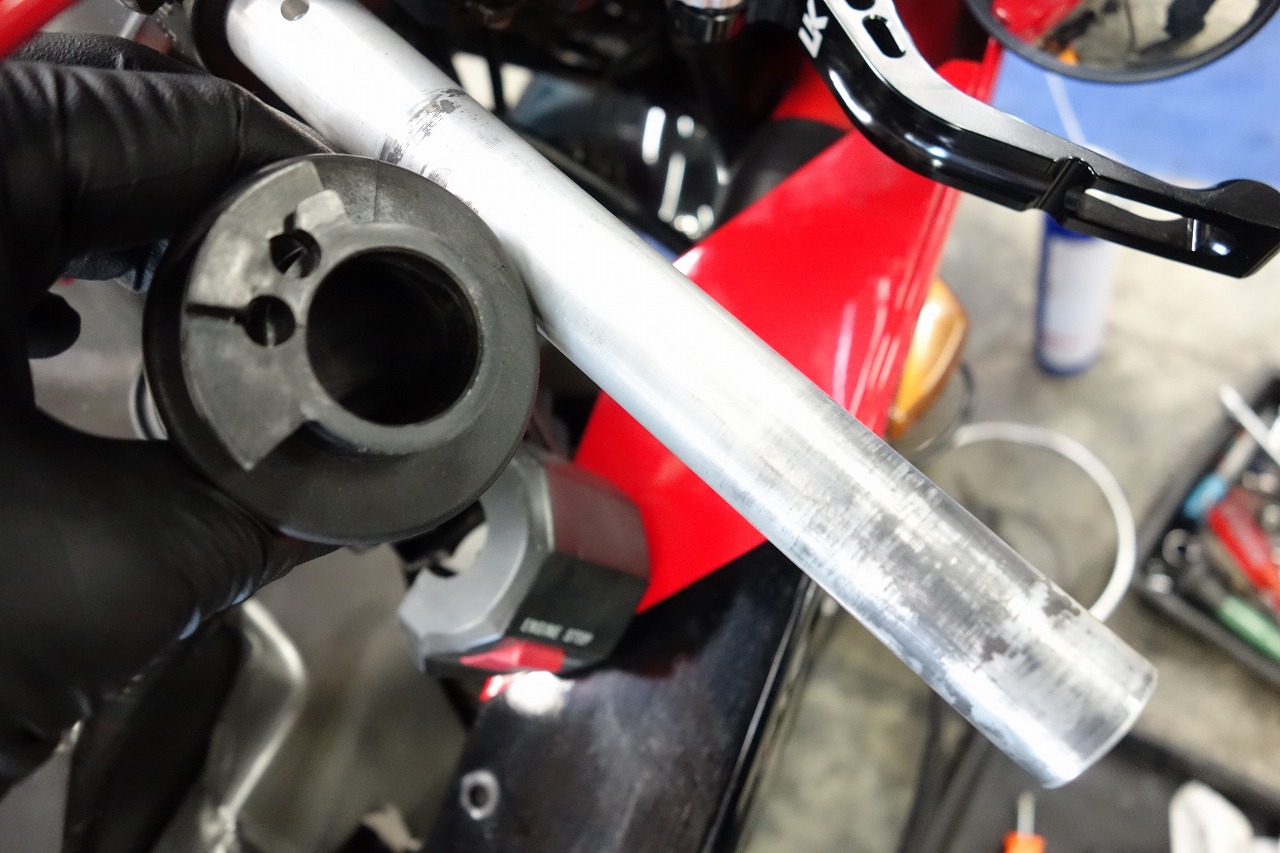
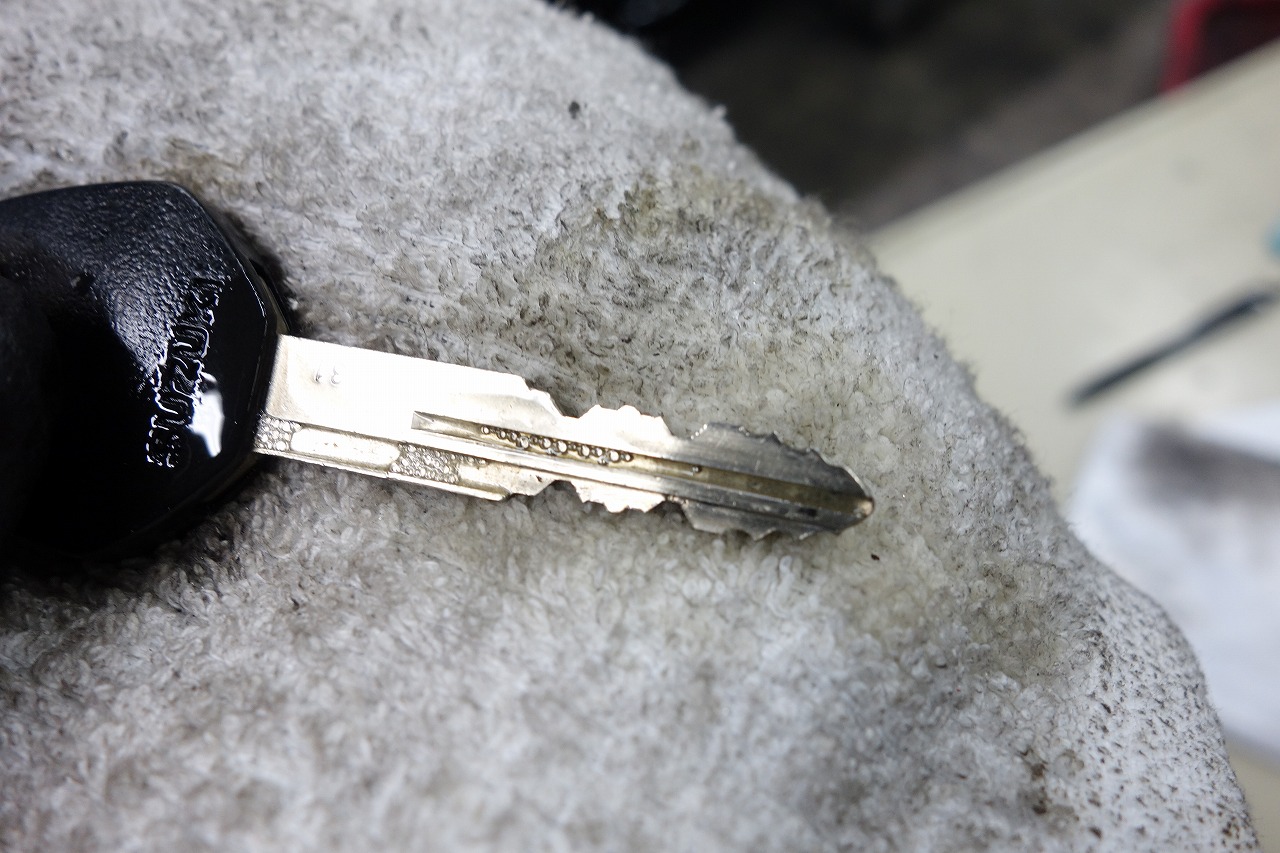
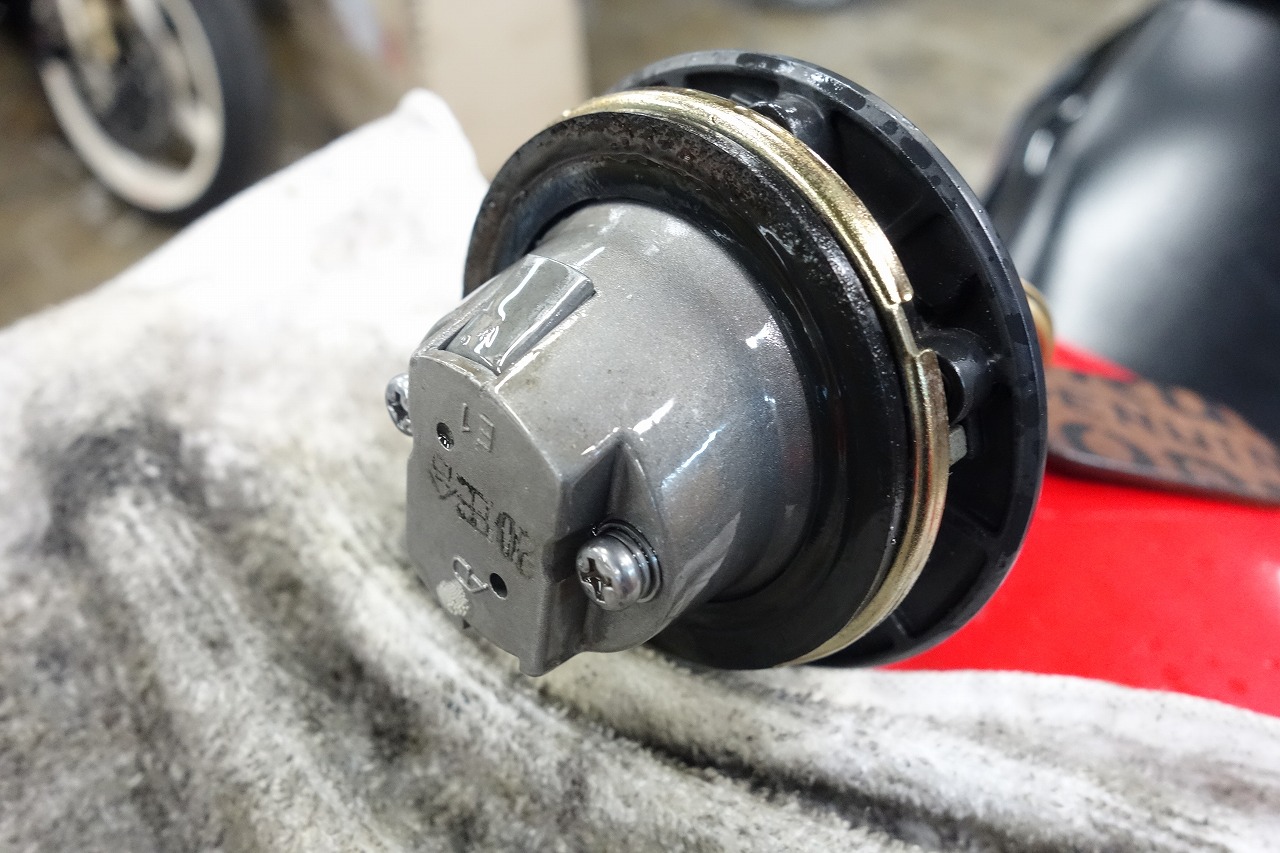
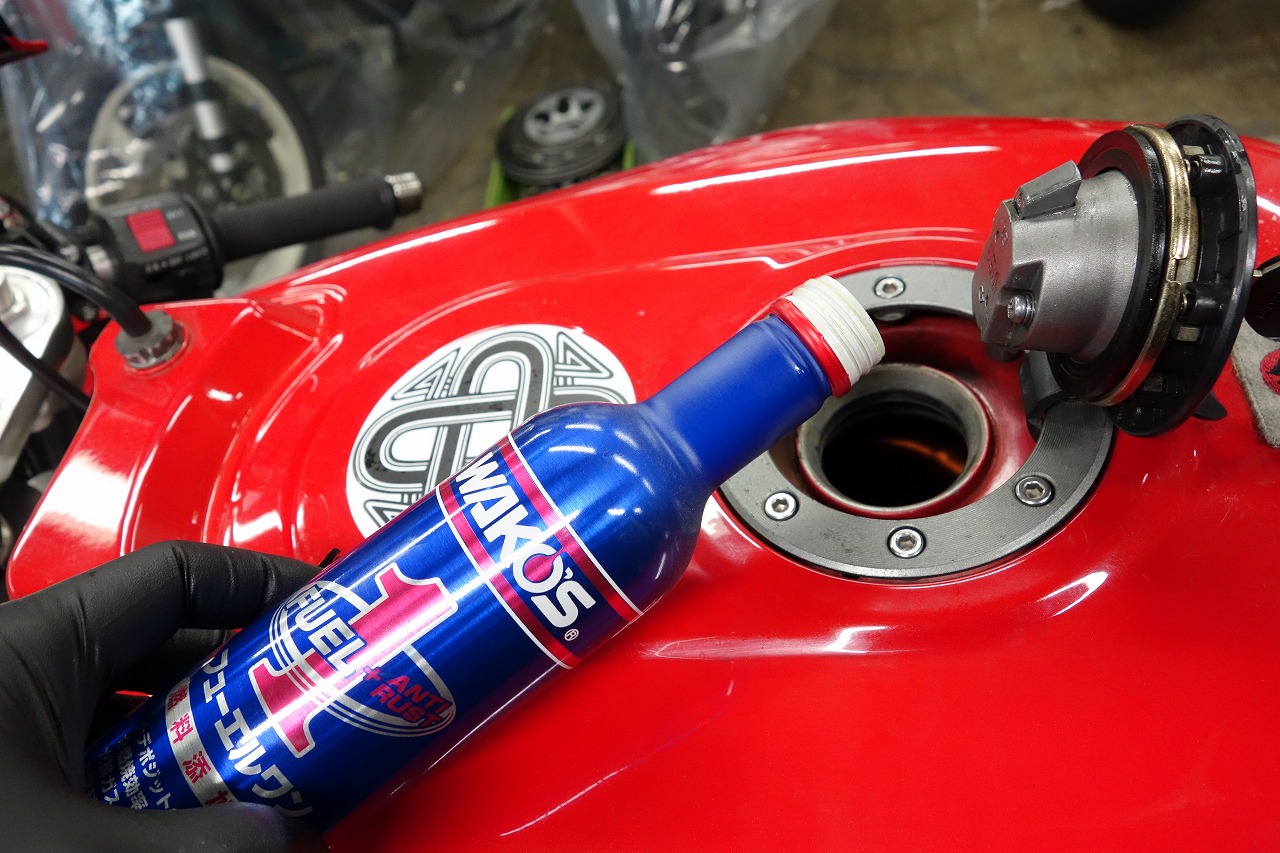
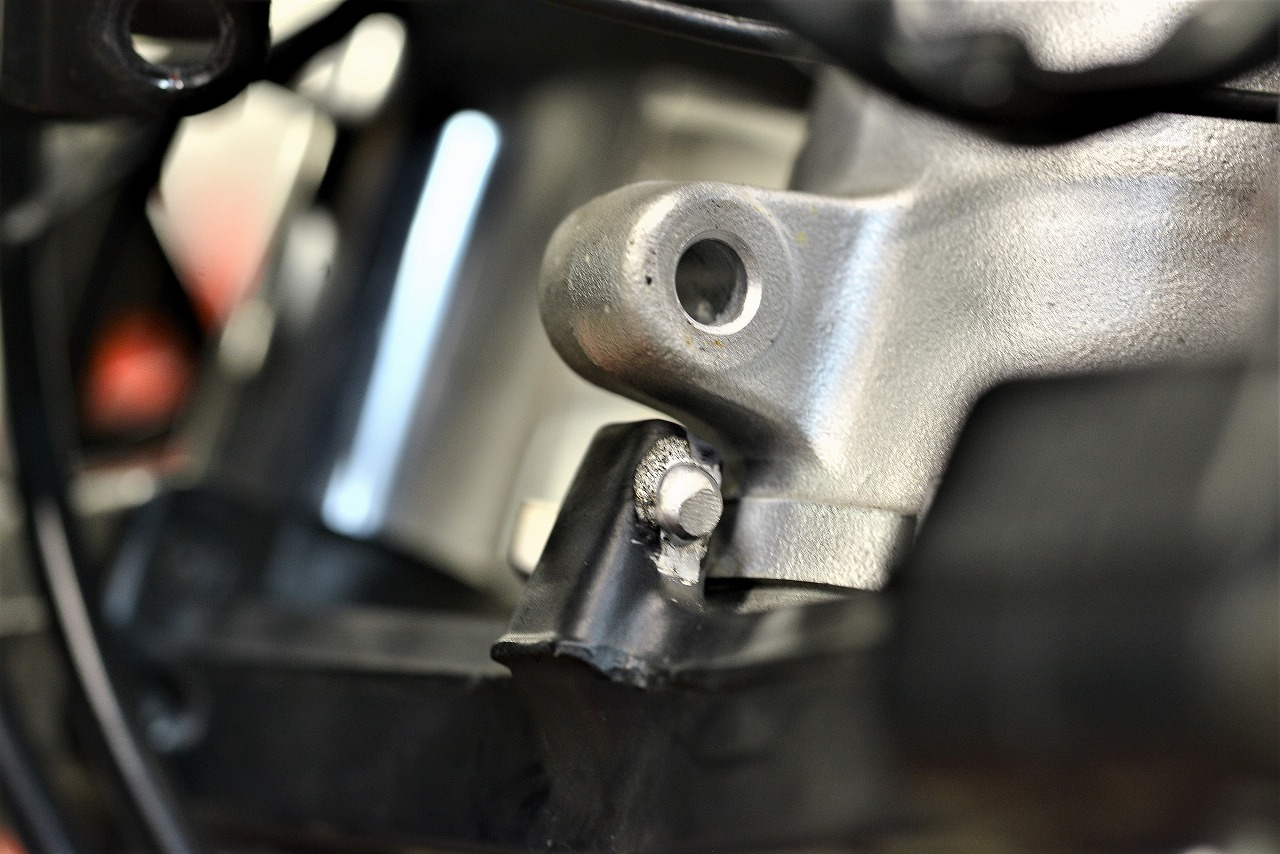
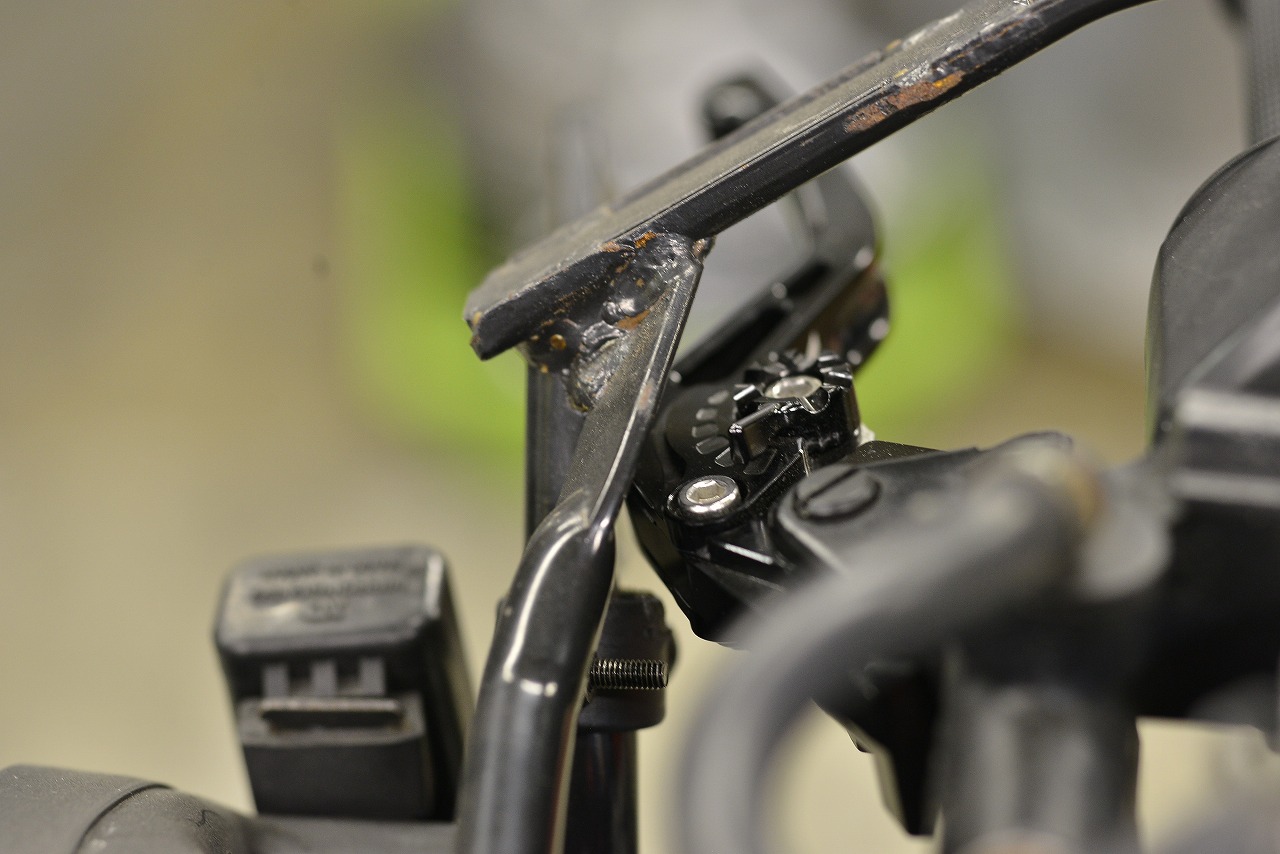
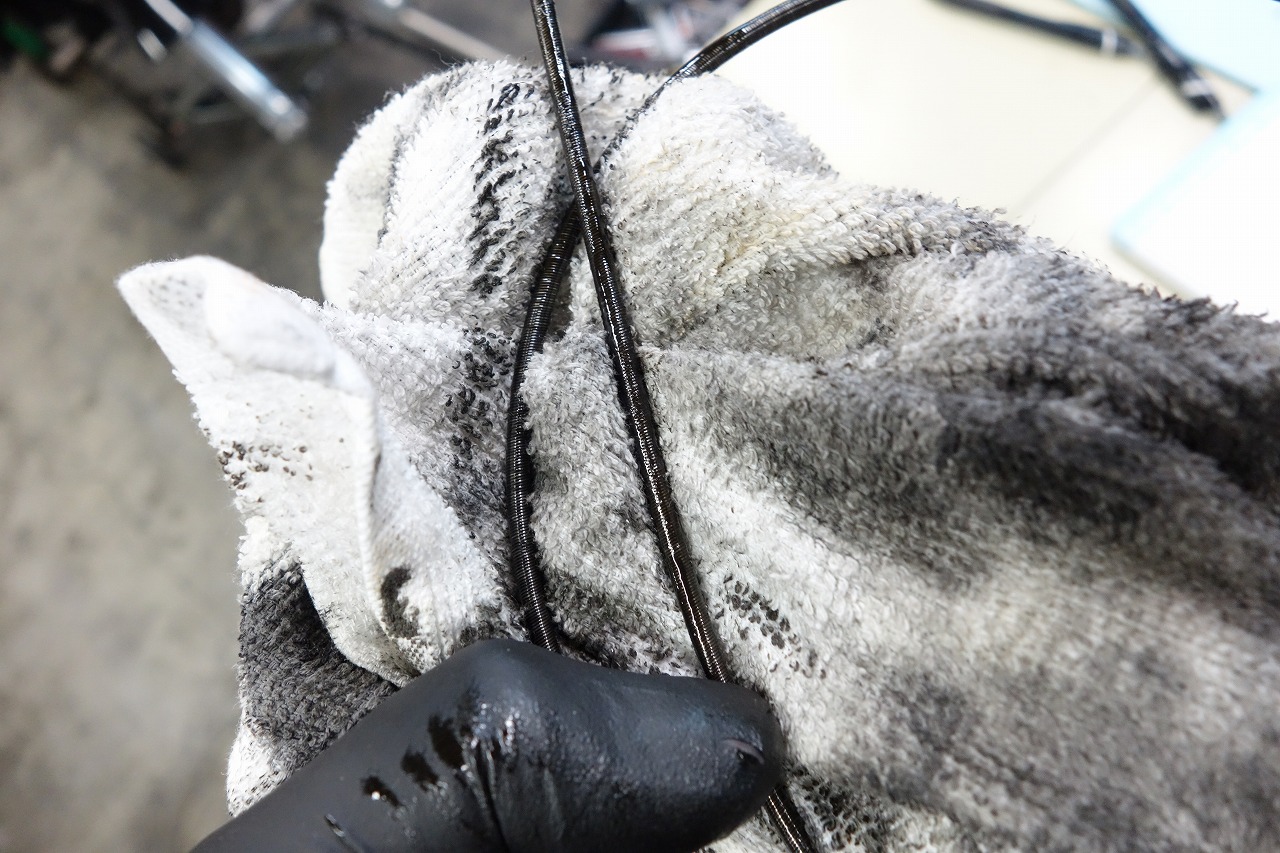
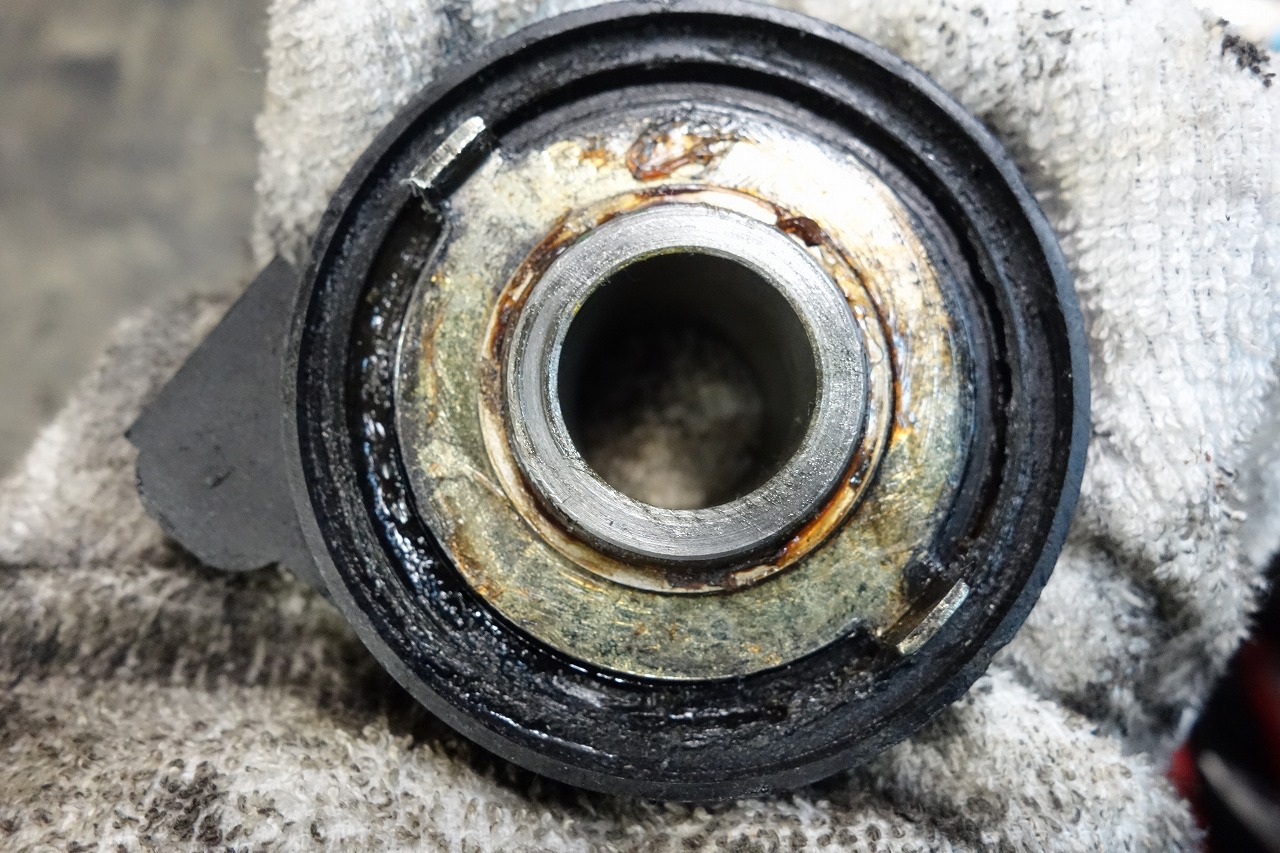
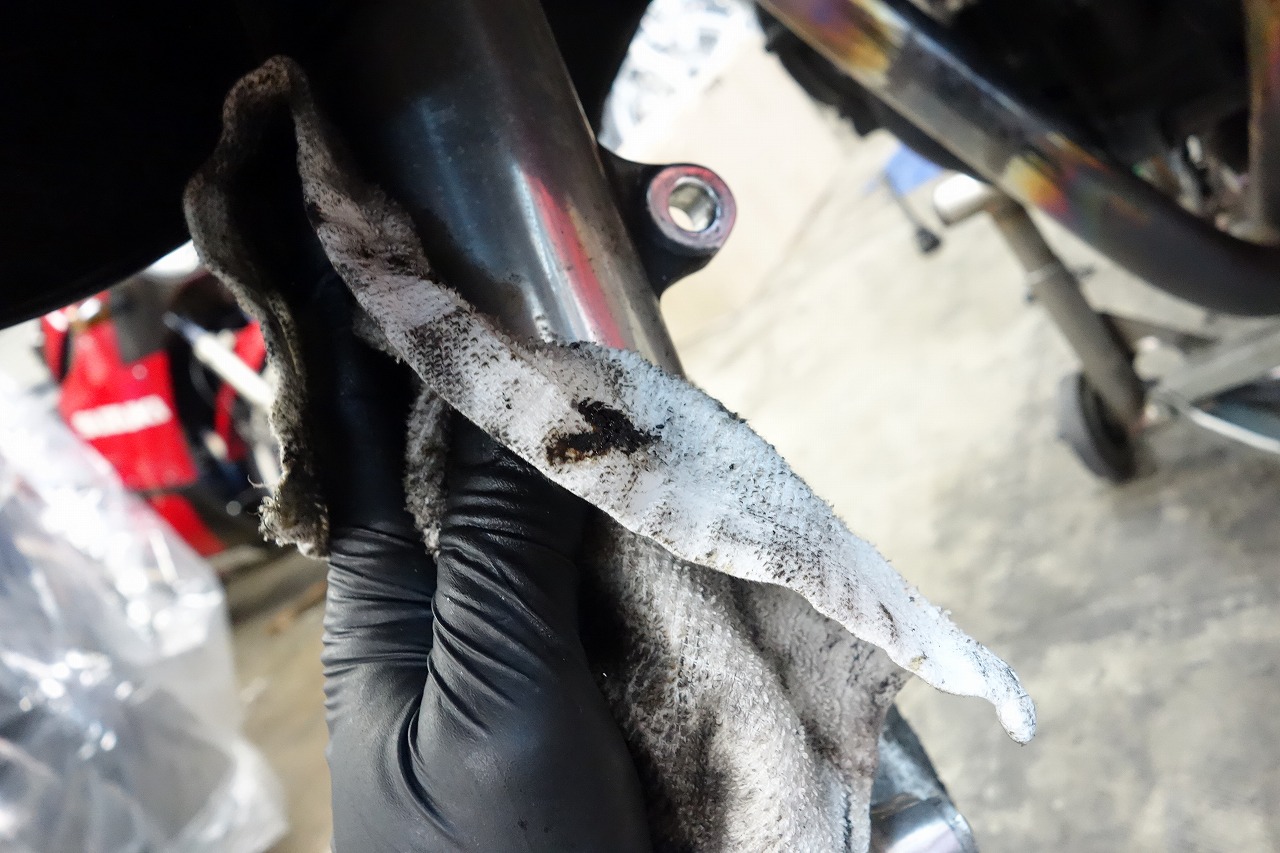
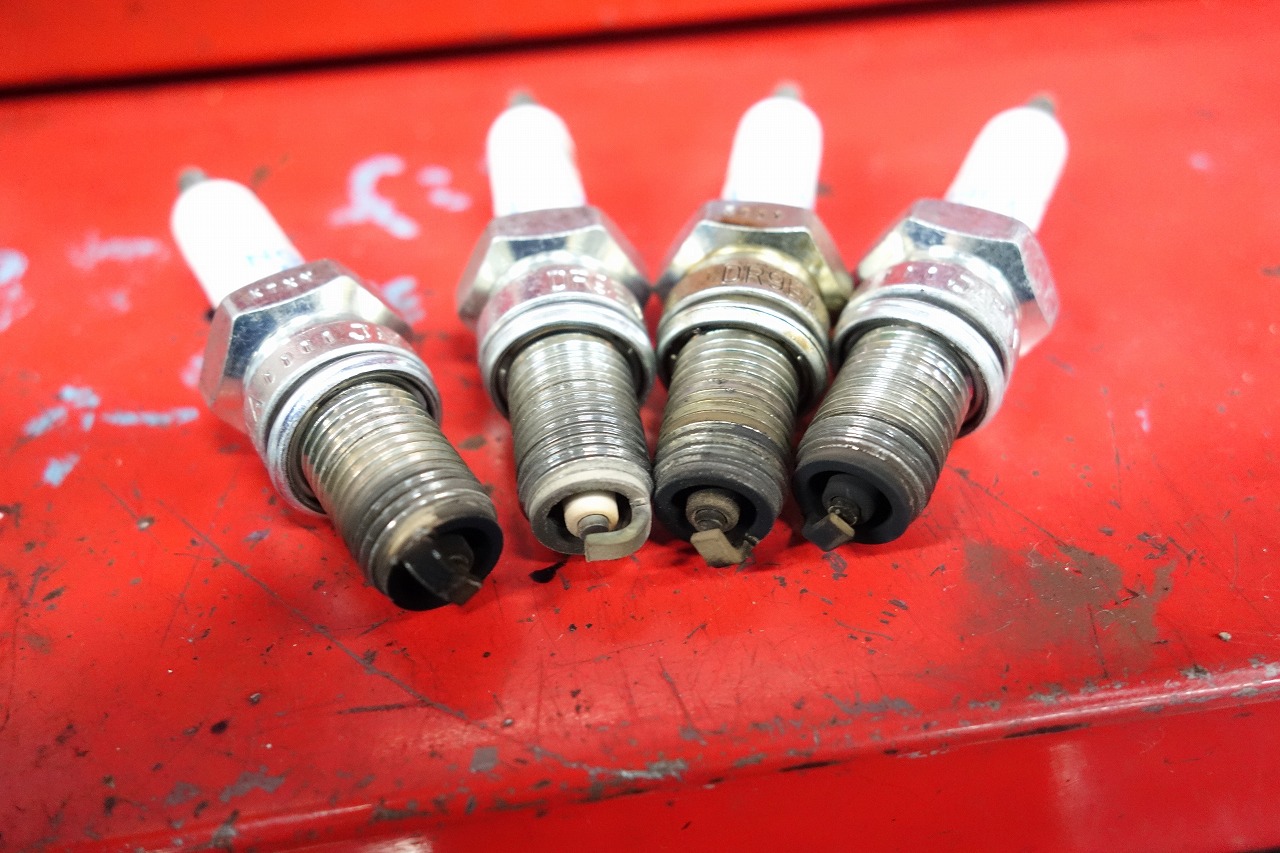
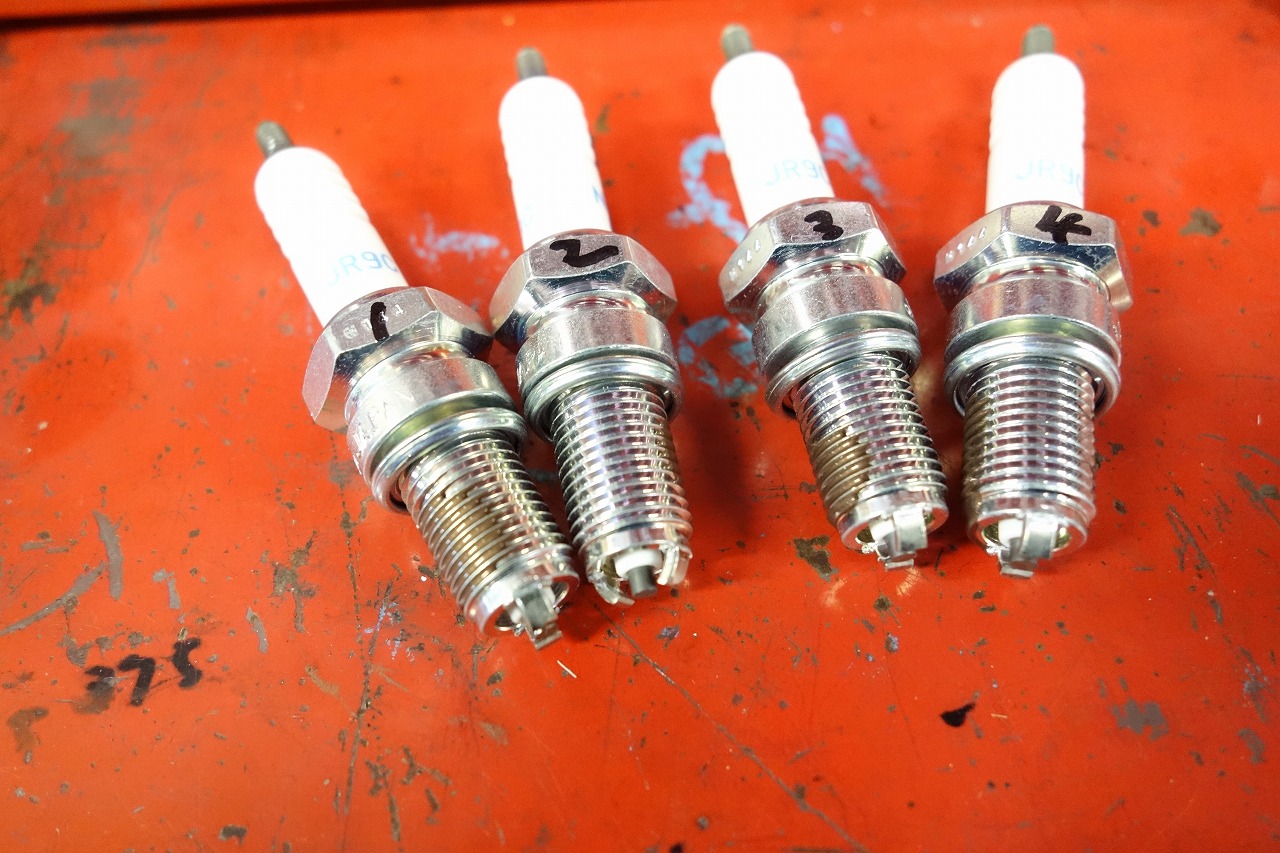
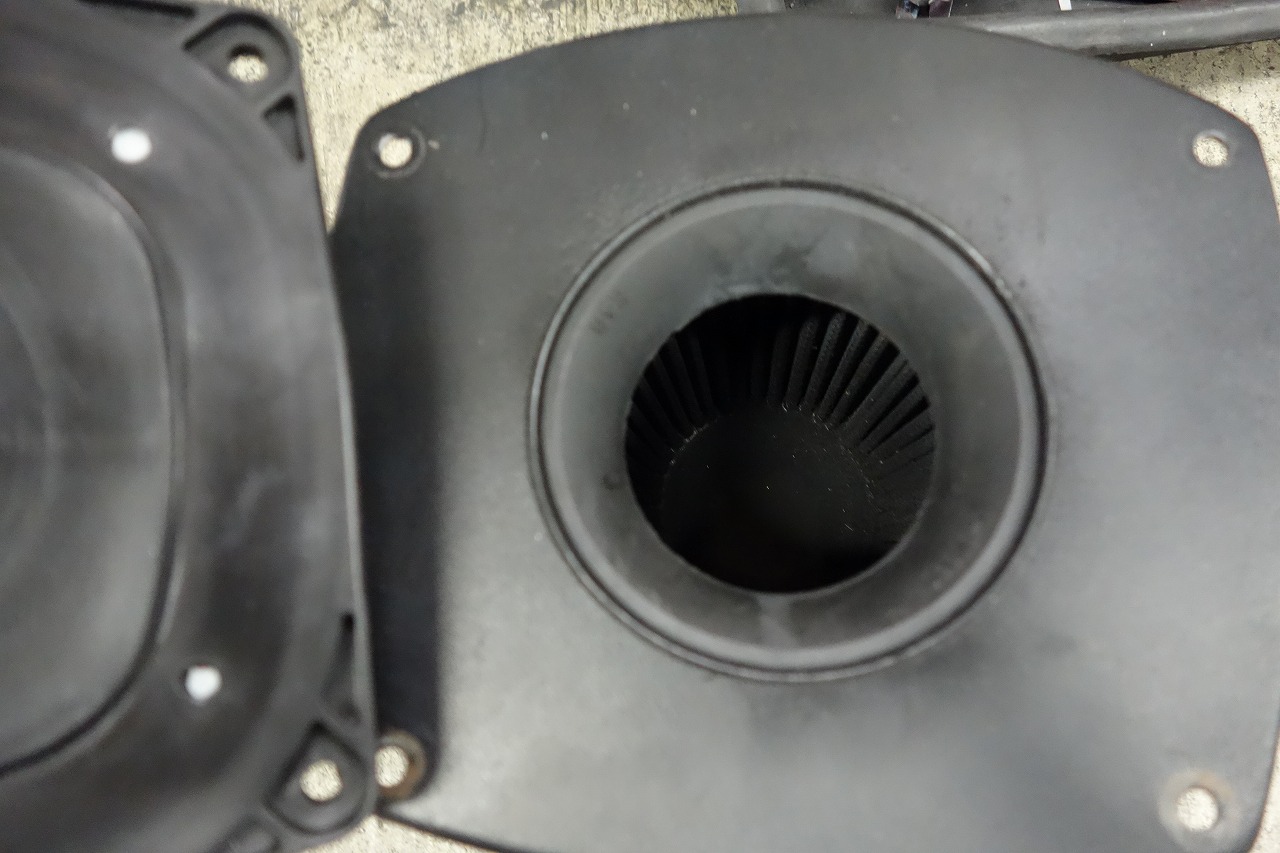
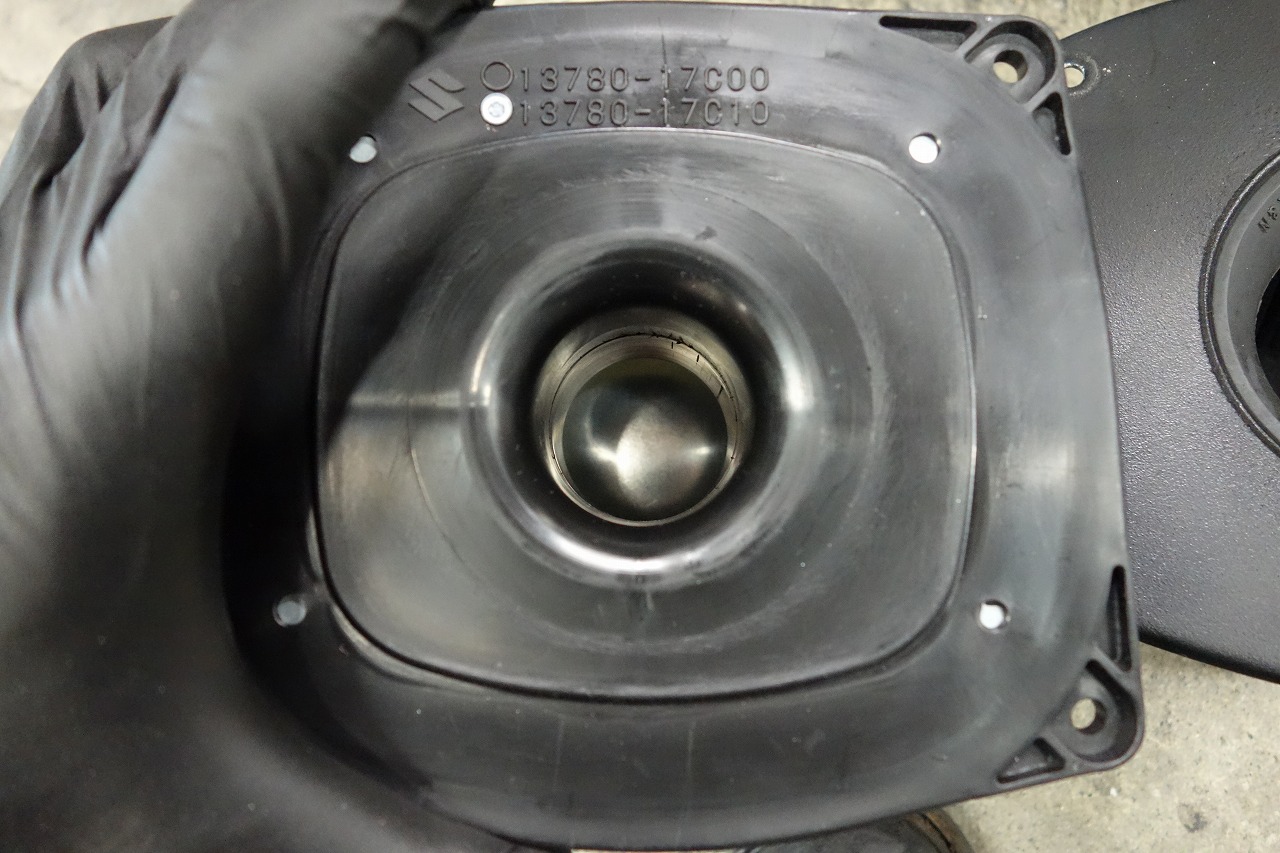
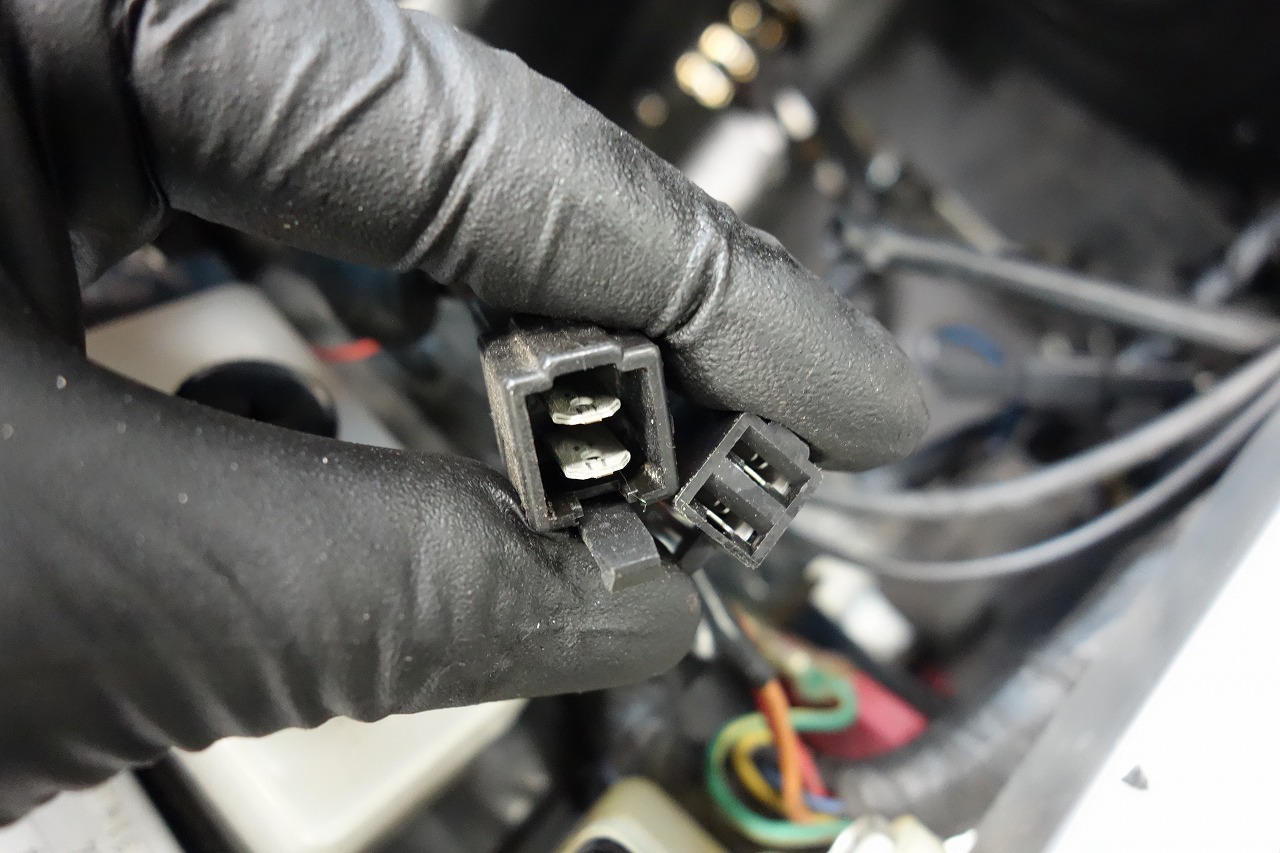
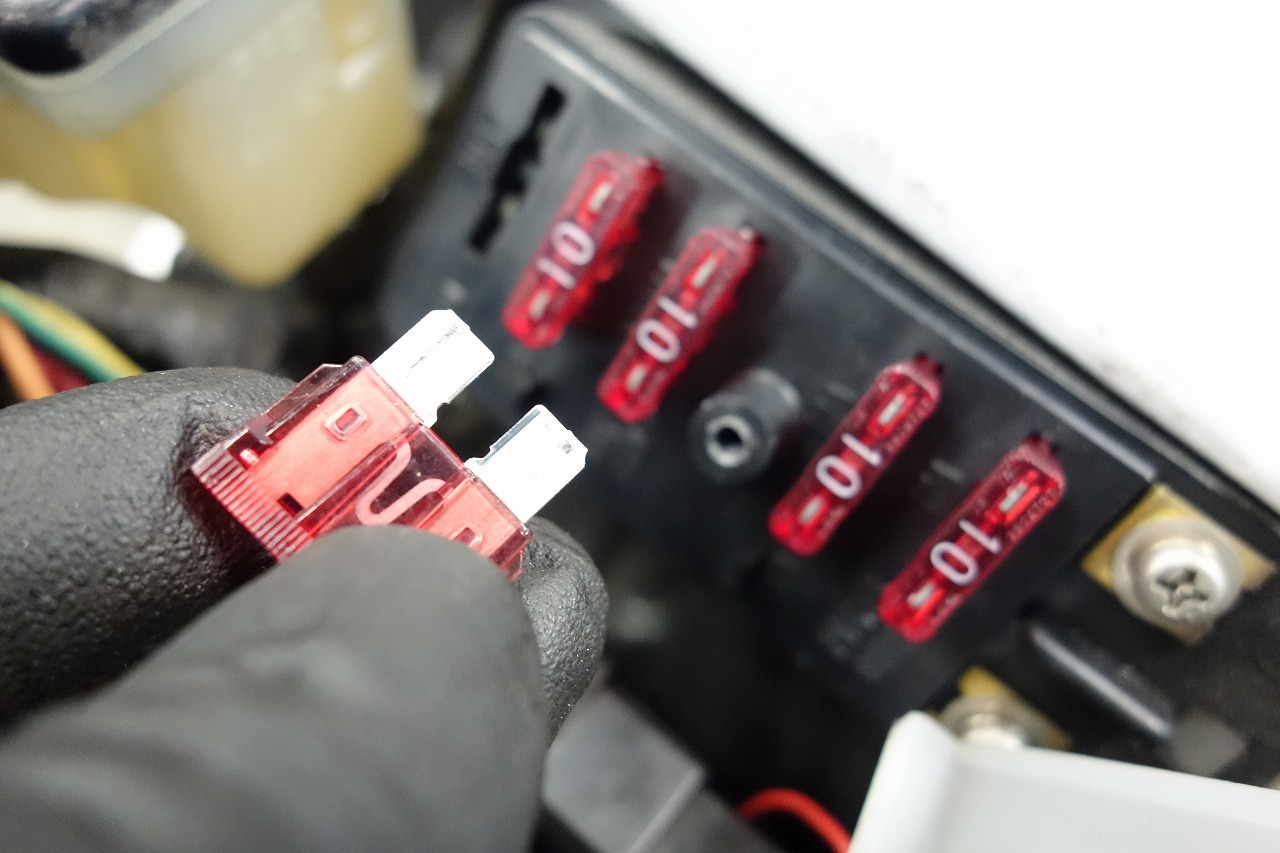
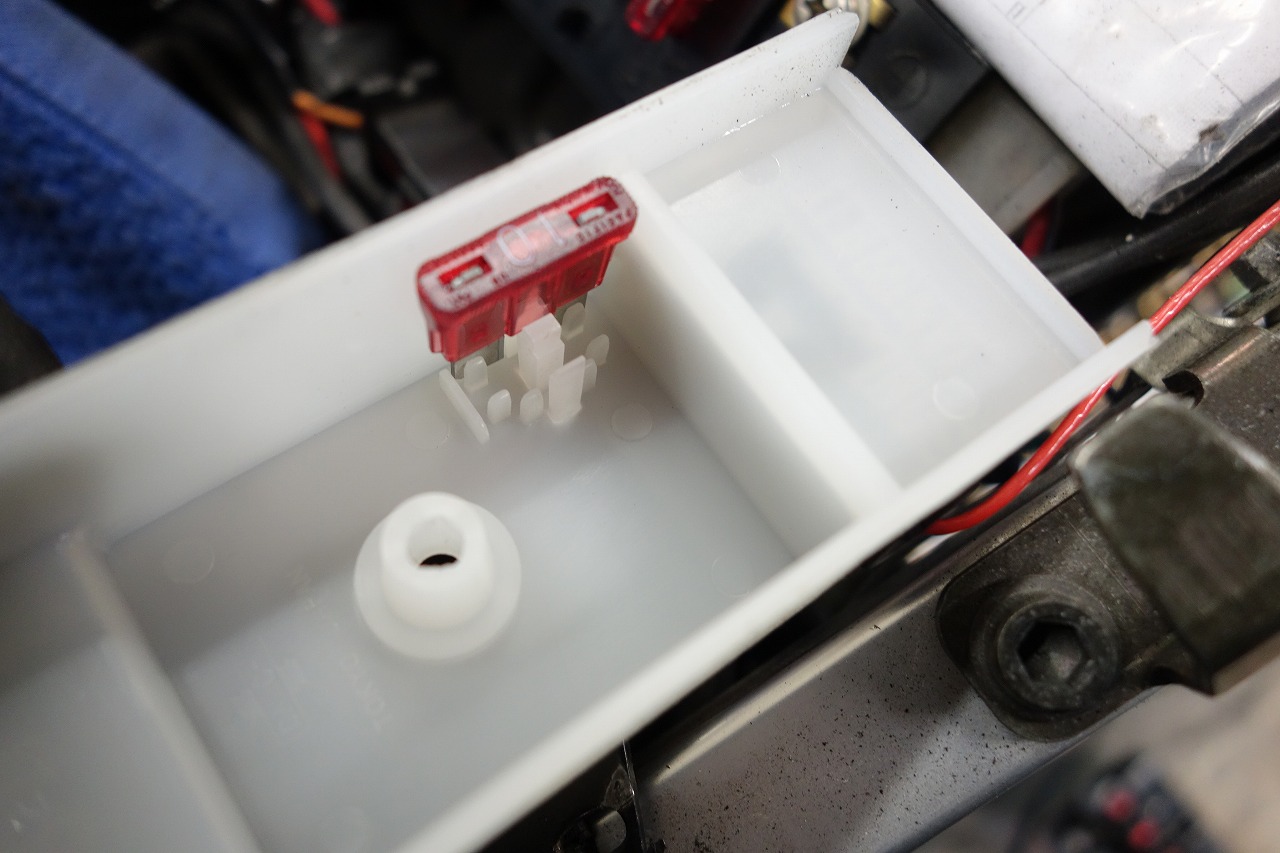
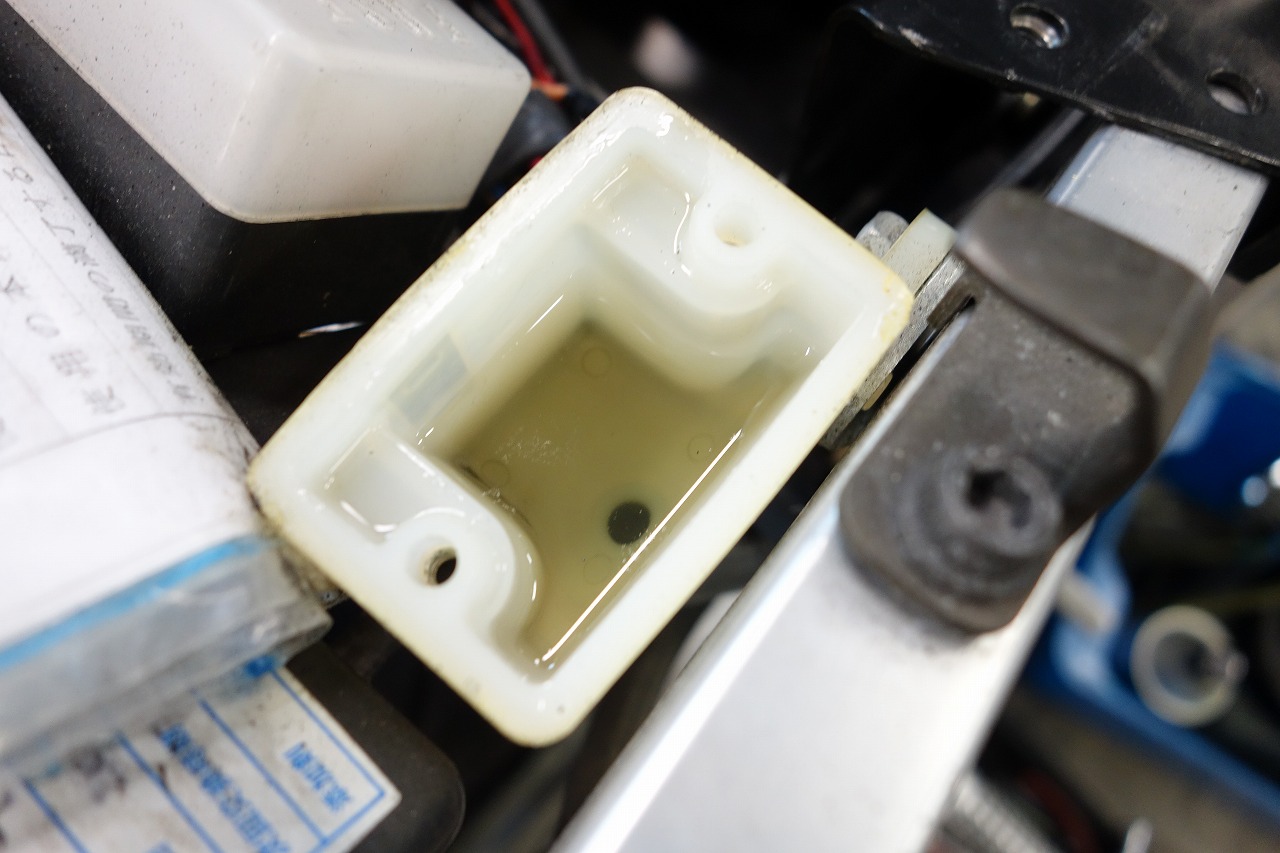
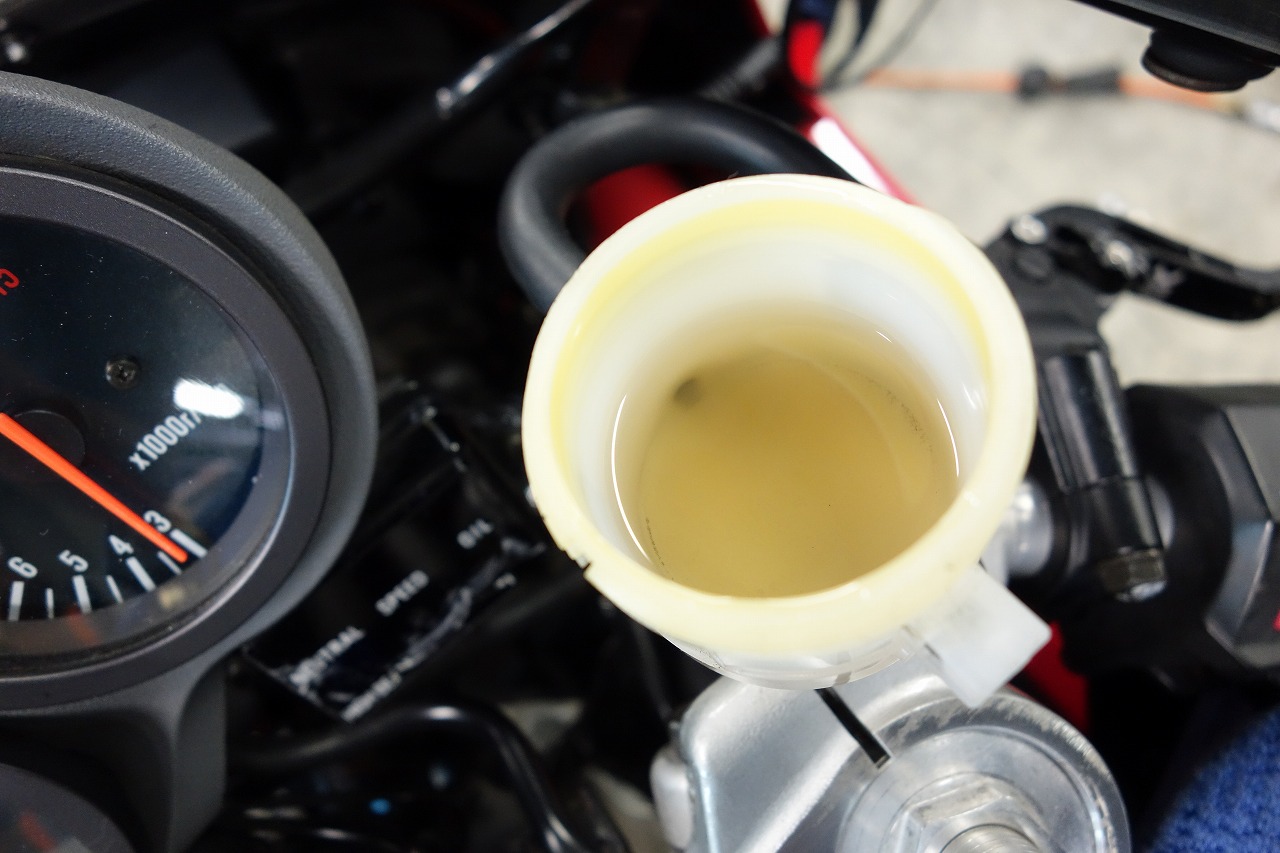
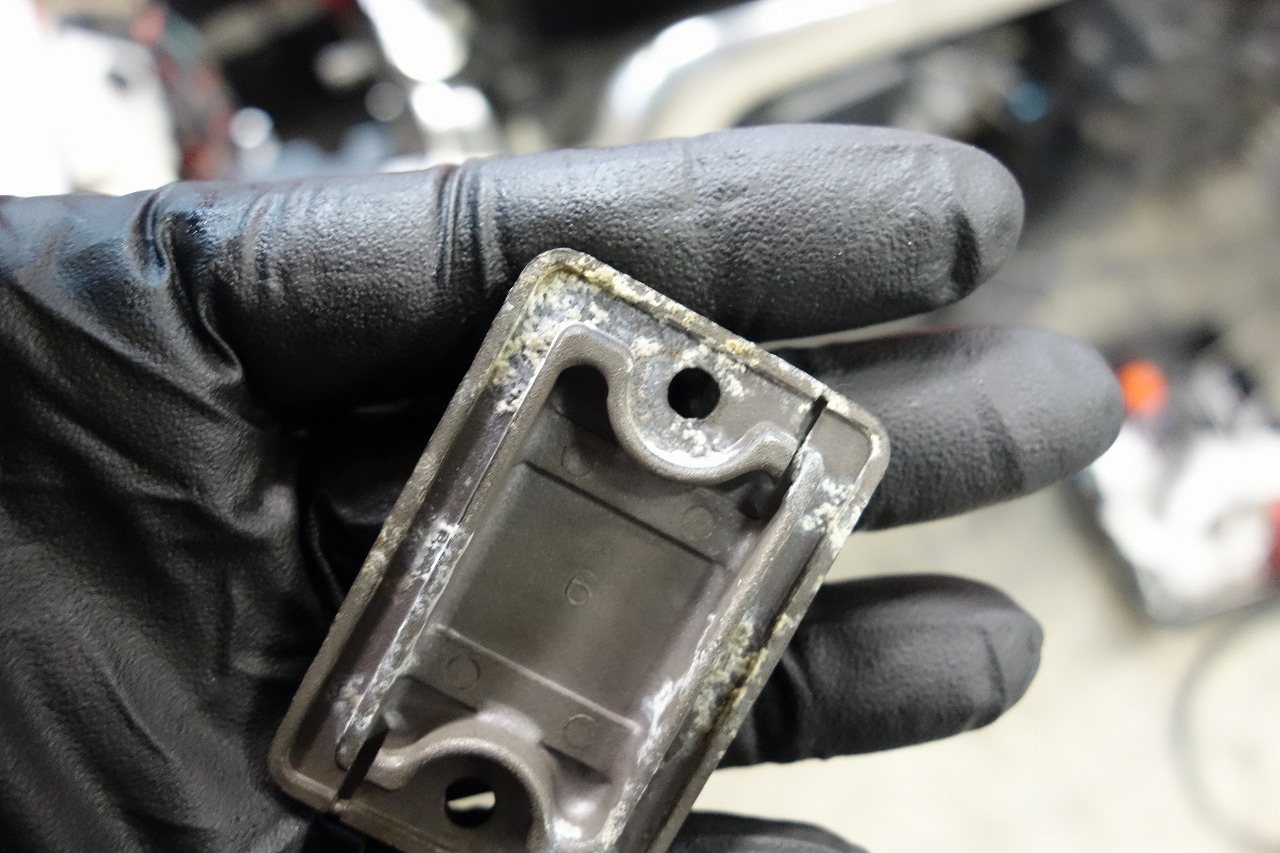
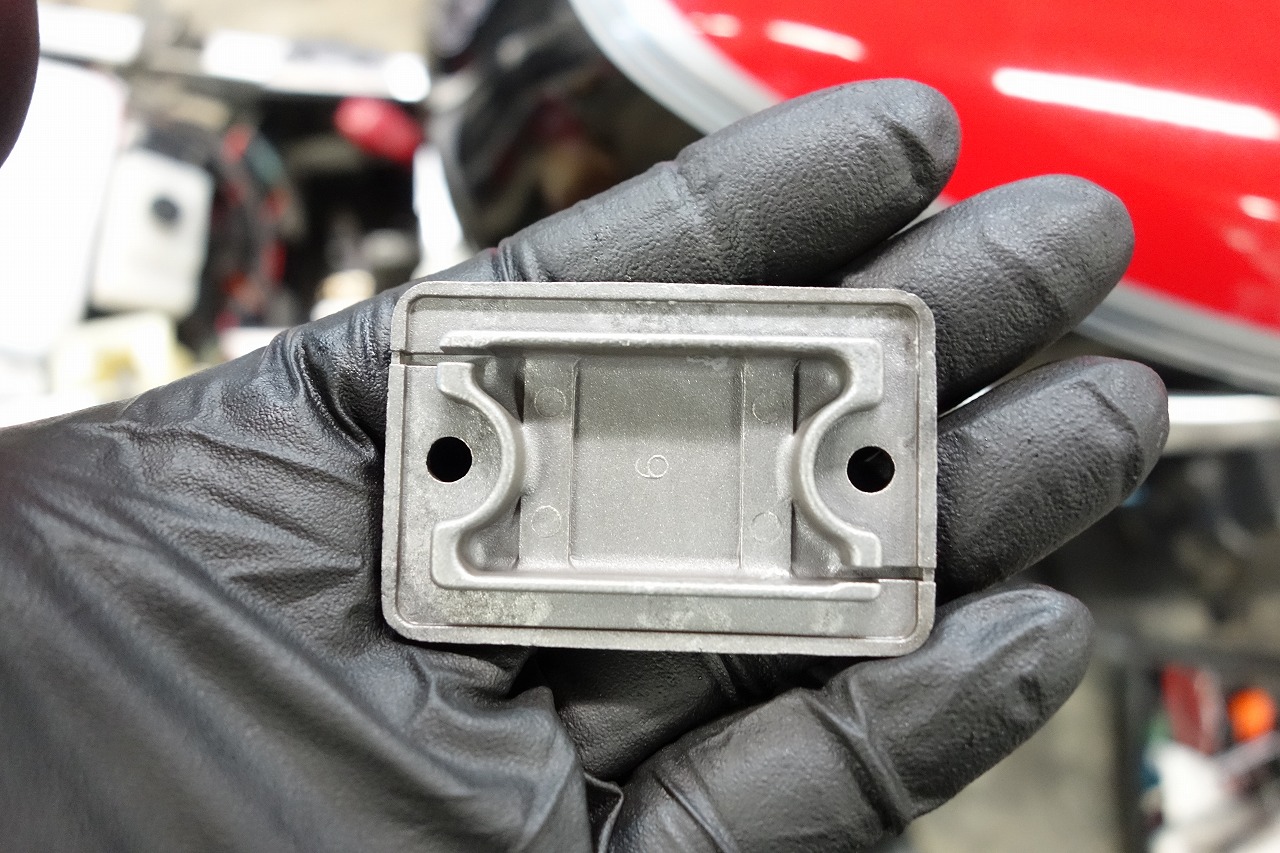
Gloves, masks, goggles, and so on. People used to do this stuff completely unprotected… I think “health lost is health lost forever.” I cleaned and oiled both foot pegs. Applying grease from the outside and oiling internally makes a difference in how long the lubrication lasts. I oiled both levers. I cleaned and oiled the throttle sleeve. Don’t you sometimes feel like cleaning out the grooves in your key? It’s surprisingly satisfying. The fuel cap has some condensation, so I applied rust preventative oil and wiped it down. I’m adding Fuel One, which is almost used up. Since I replaced the lever, when turning the handlebar left, the lever contacts and the brake engages slightly, so I put a light stopper on it. The plan is to shave it down gradually. Now it’s safe. I removed the speedometer cable, cleaned it, and oiled it. Speedometer gear—a common issue. For some reason, lots of grease is applied, but the parts that need it are skipped, which is pointless. I removed the clip, cleaned it, and oiled it. While the owner can’t do it, I clean it as much as possible so future maintenance is easier. The discoloration is quite different… I hope it’s the carburettor. The gasket compression is light. I replaced it with a genuine JR9C. Better late than never… so it’s a J plug, not a C! I need to study the 750 more. Air filter replacement was requested… wait, there’s a K &N on it. The inlet diameter is completely different, but the carburettor setting is STD, so it should be fine. Let me know if there are any issues. While I’m at it, I checked the generator connector. No issues. I occasionally open the fuses, polish them, and reinstall them. One spare was missing, so I added one. I replaced the front and rear fluid with Golden Cruiser DOT4. It’s subtle, but the diaphragm seats properly now, which is reassuring. Finally, I installed the original upper on the GSX-R750J and got excited about it. That wraps up this service.