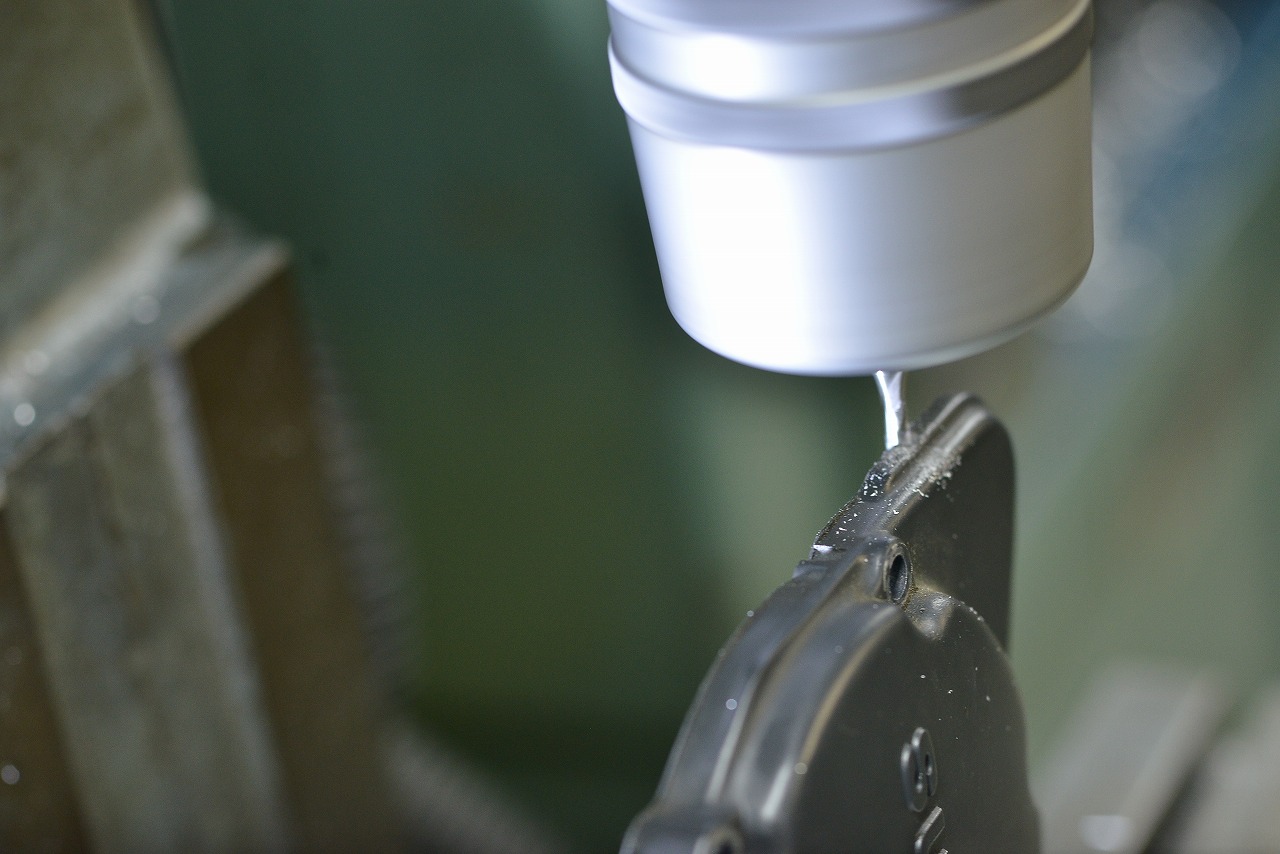
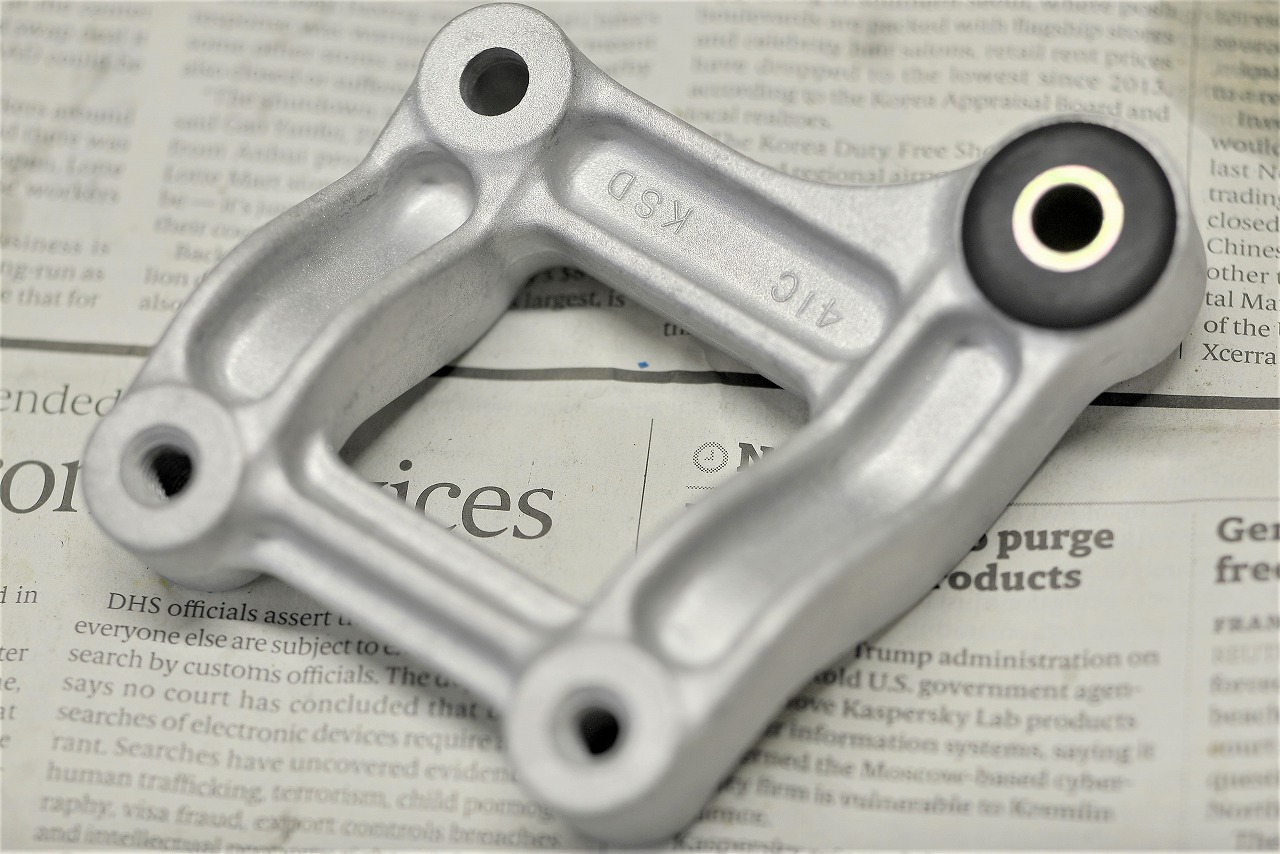
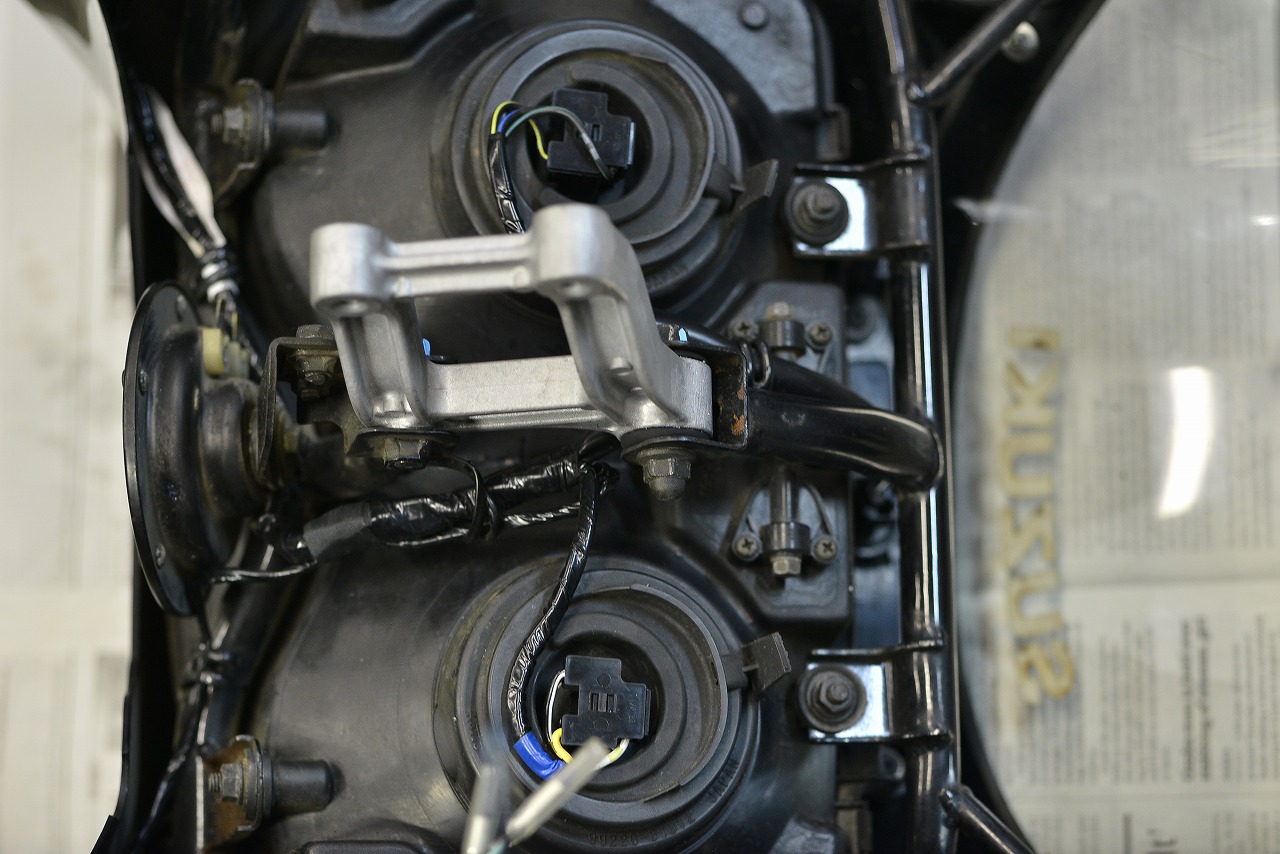
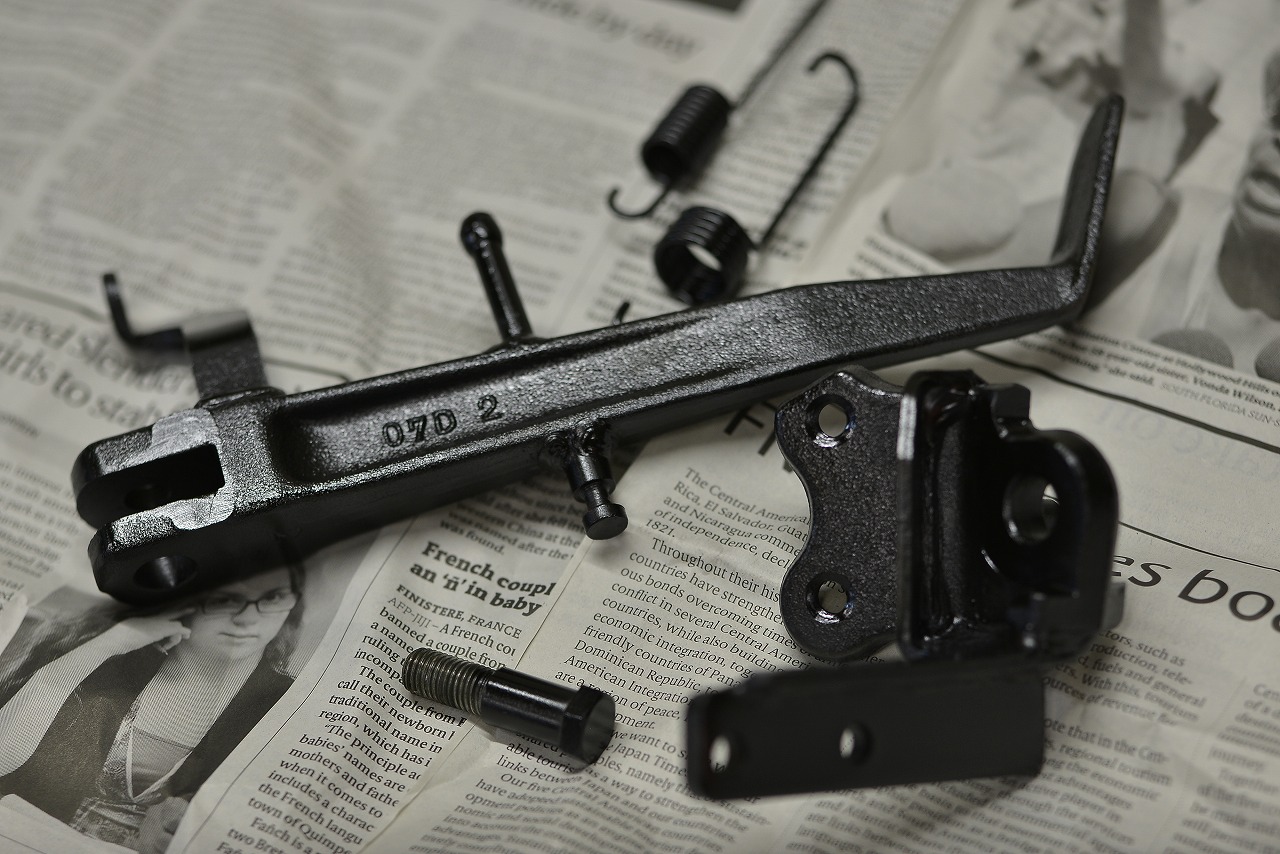
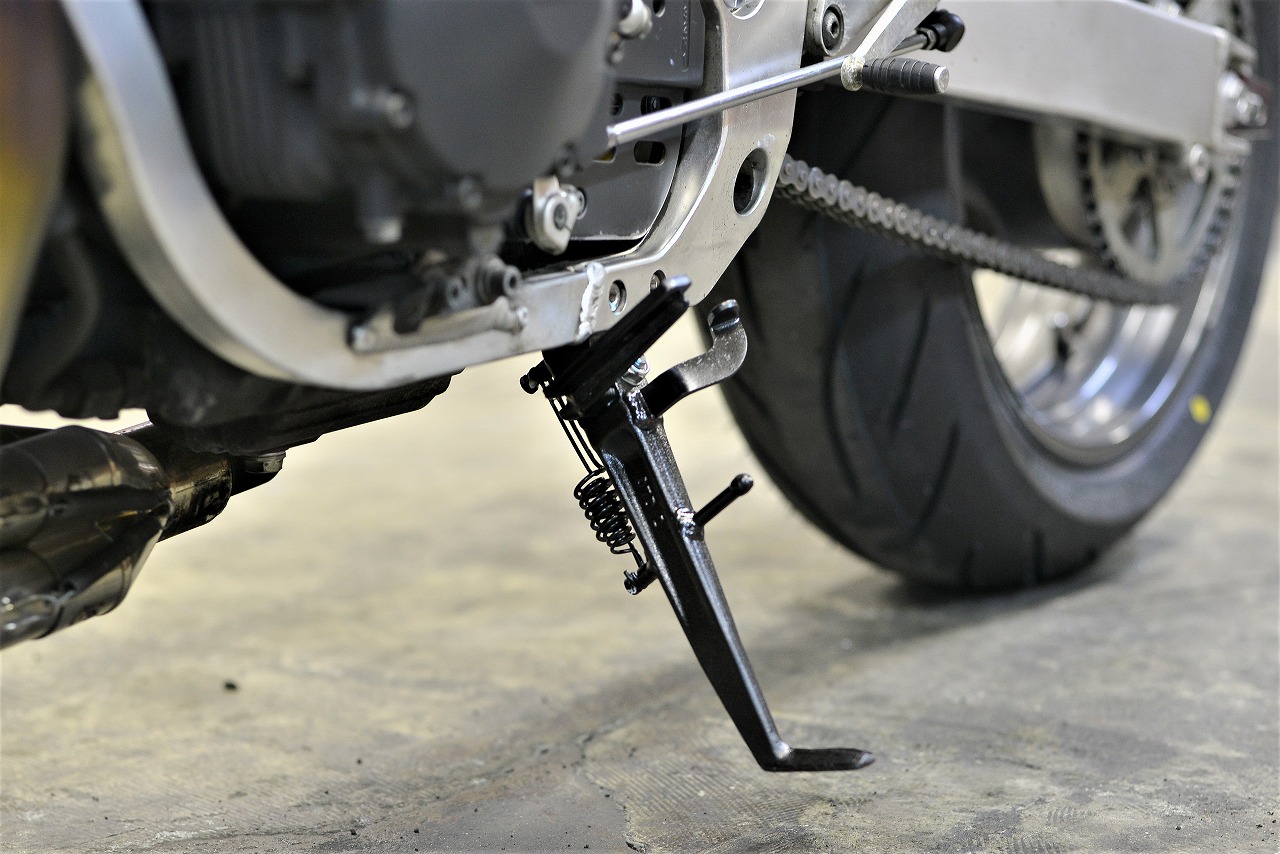
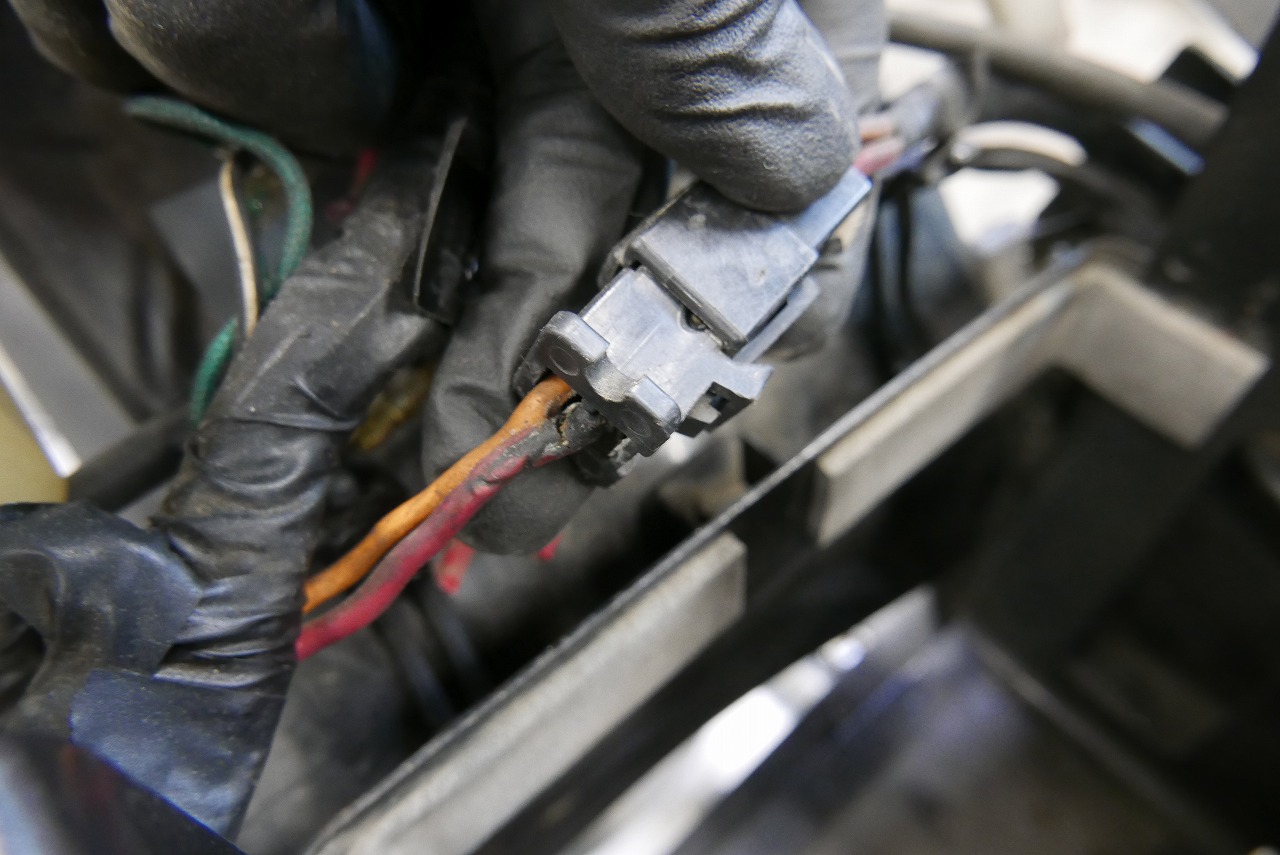
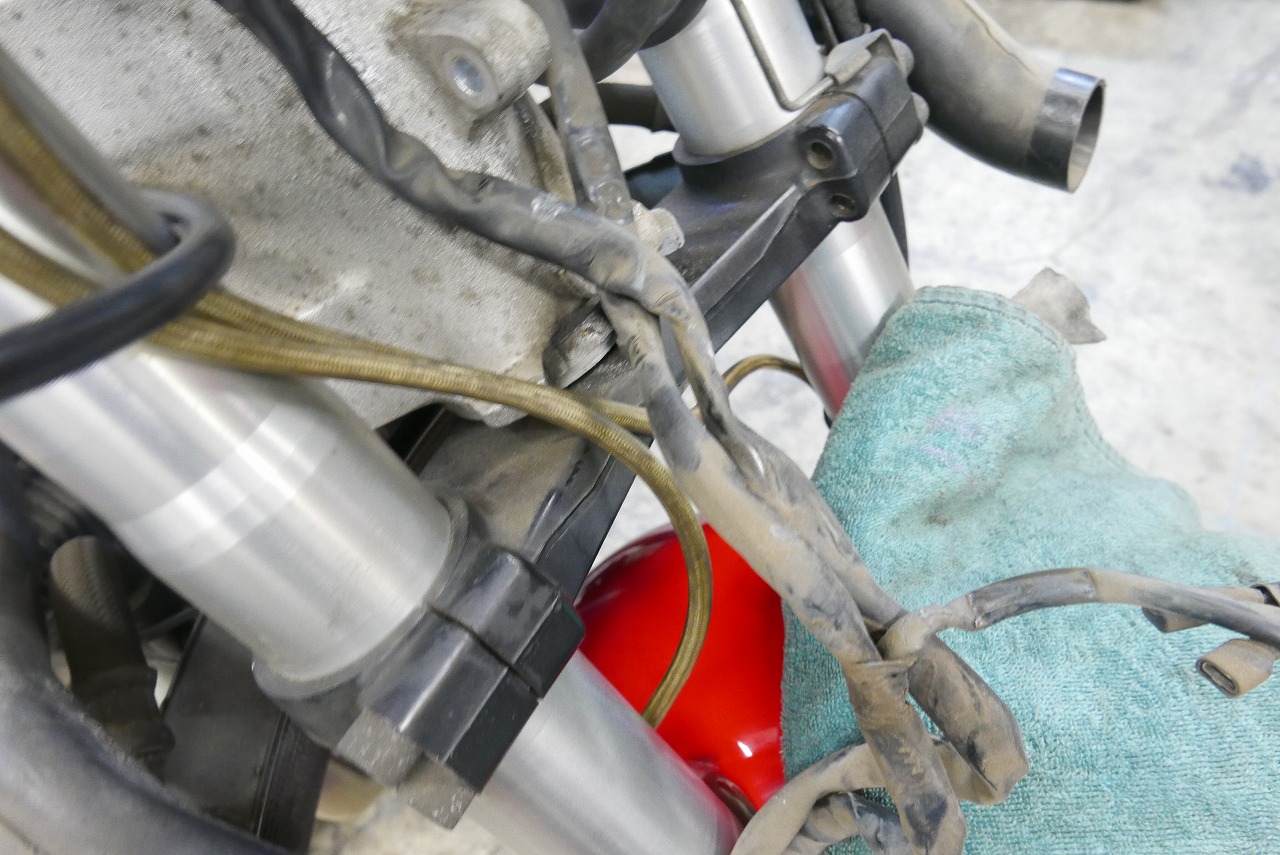
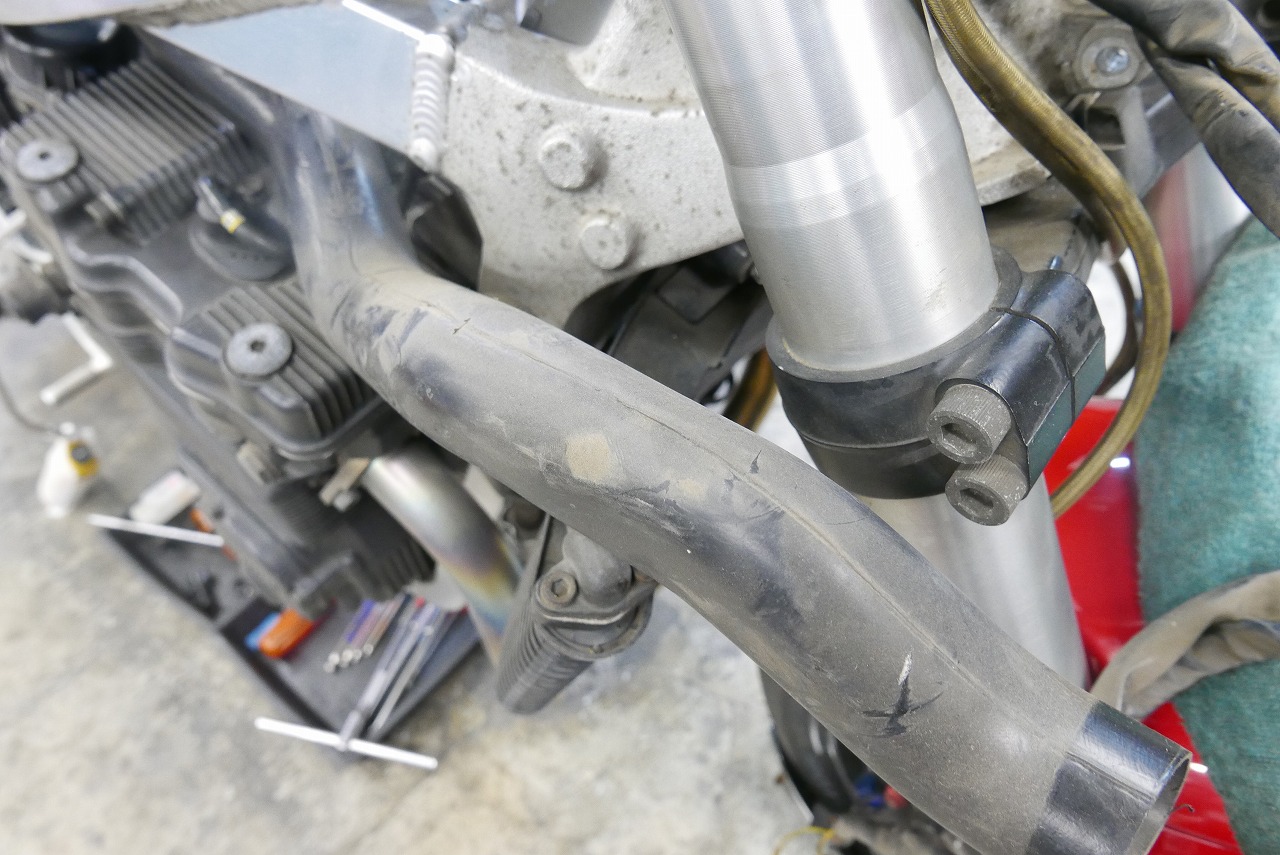
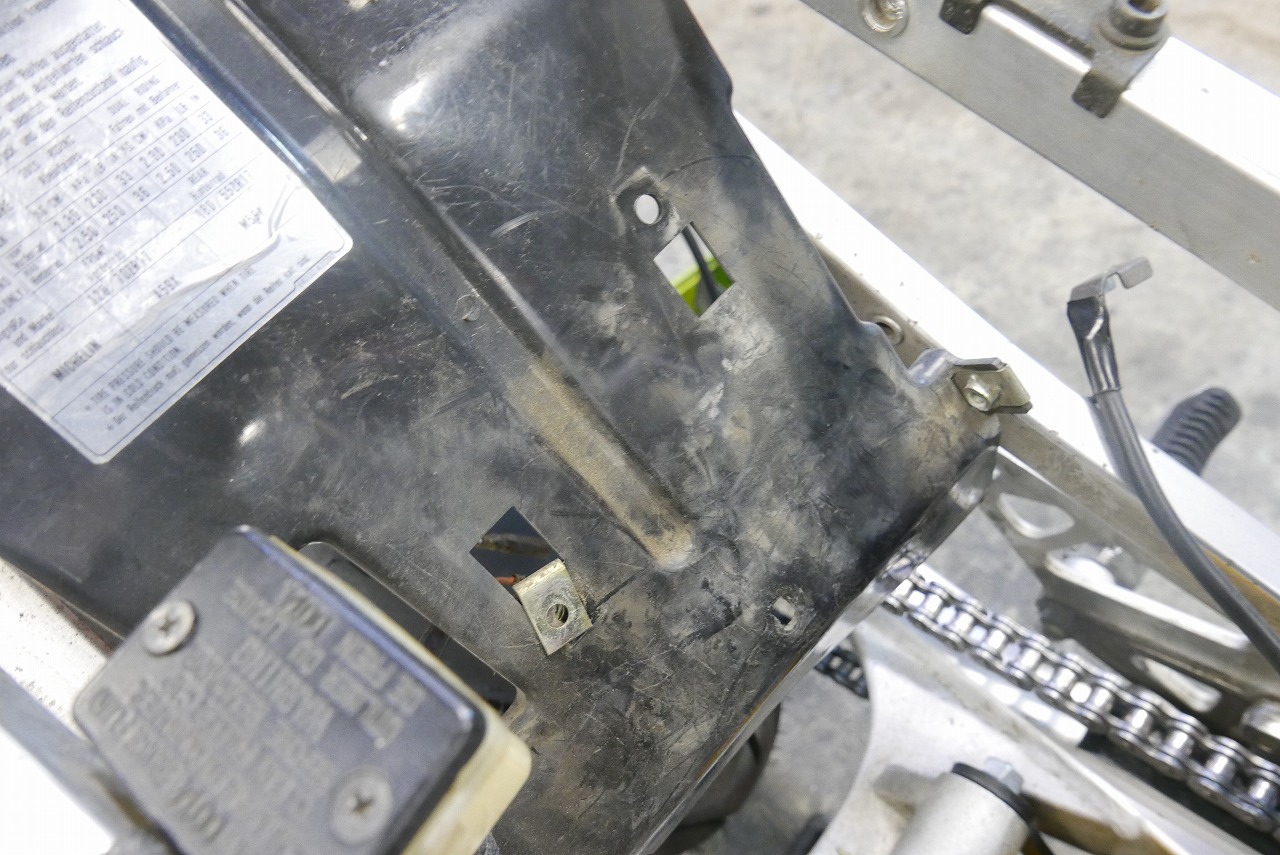
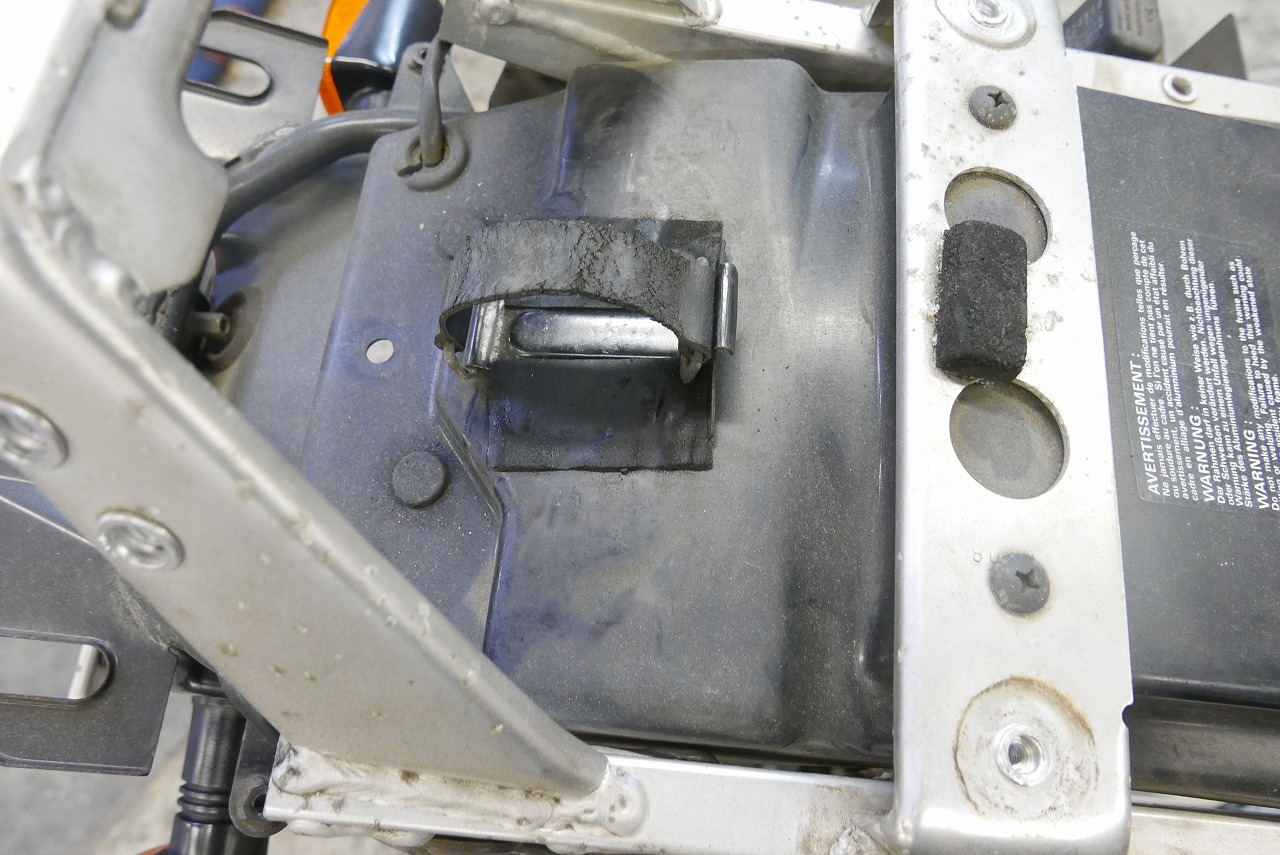
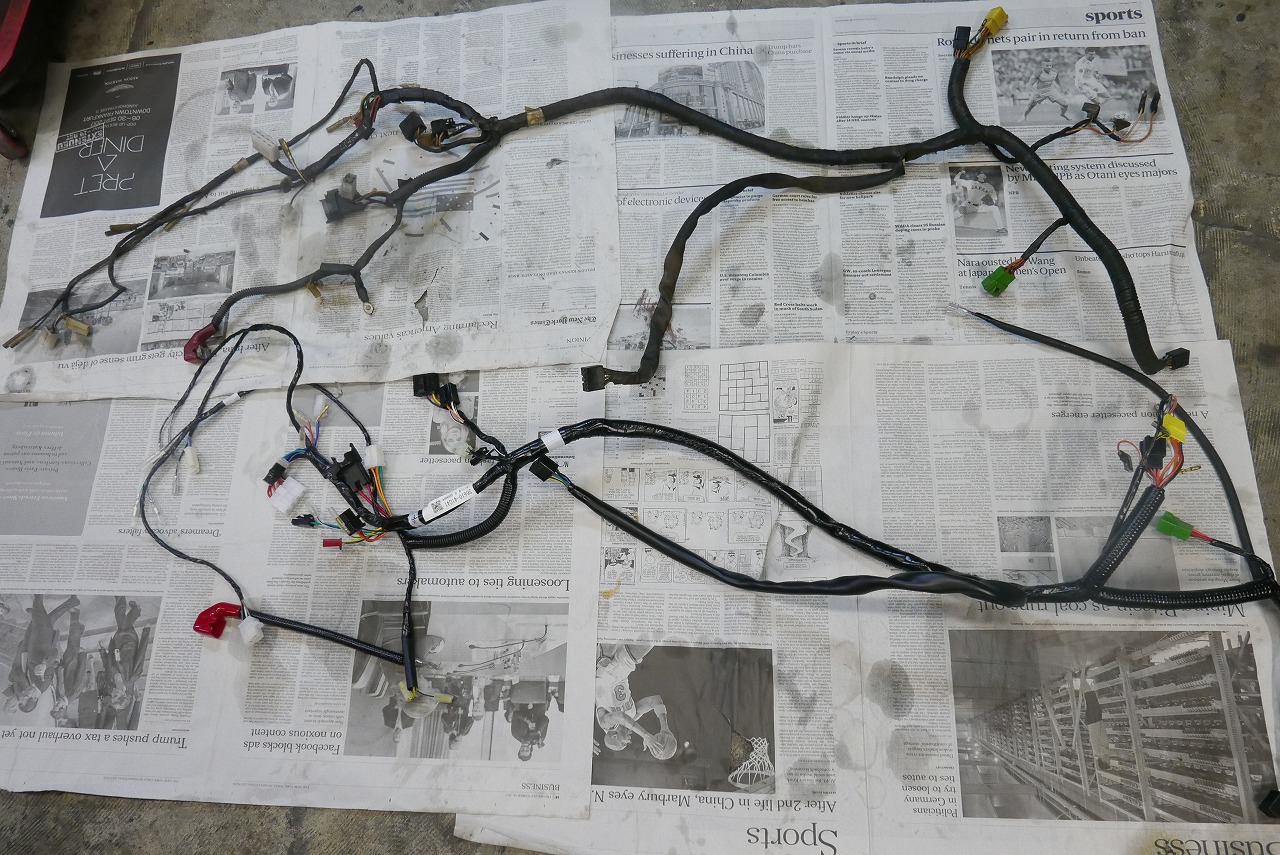
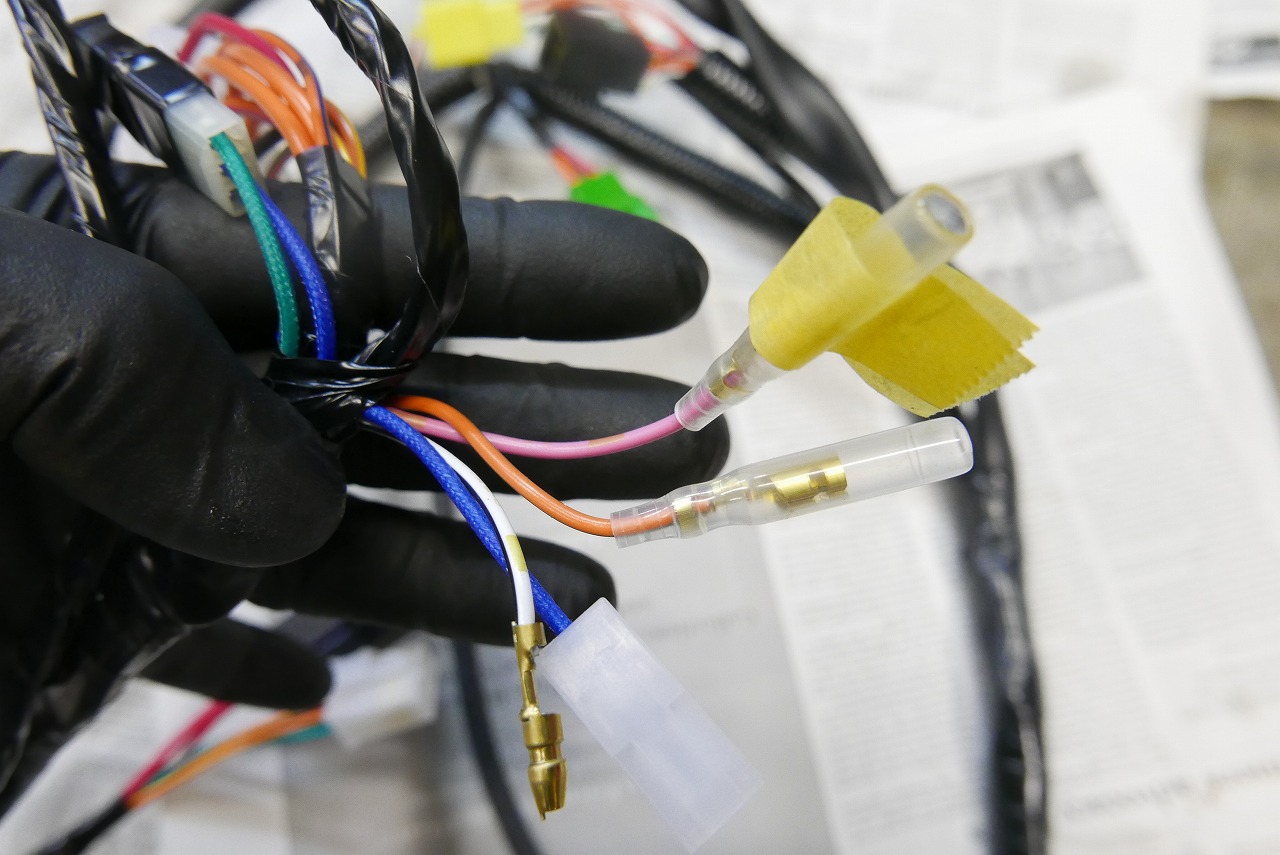
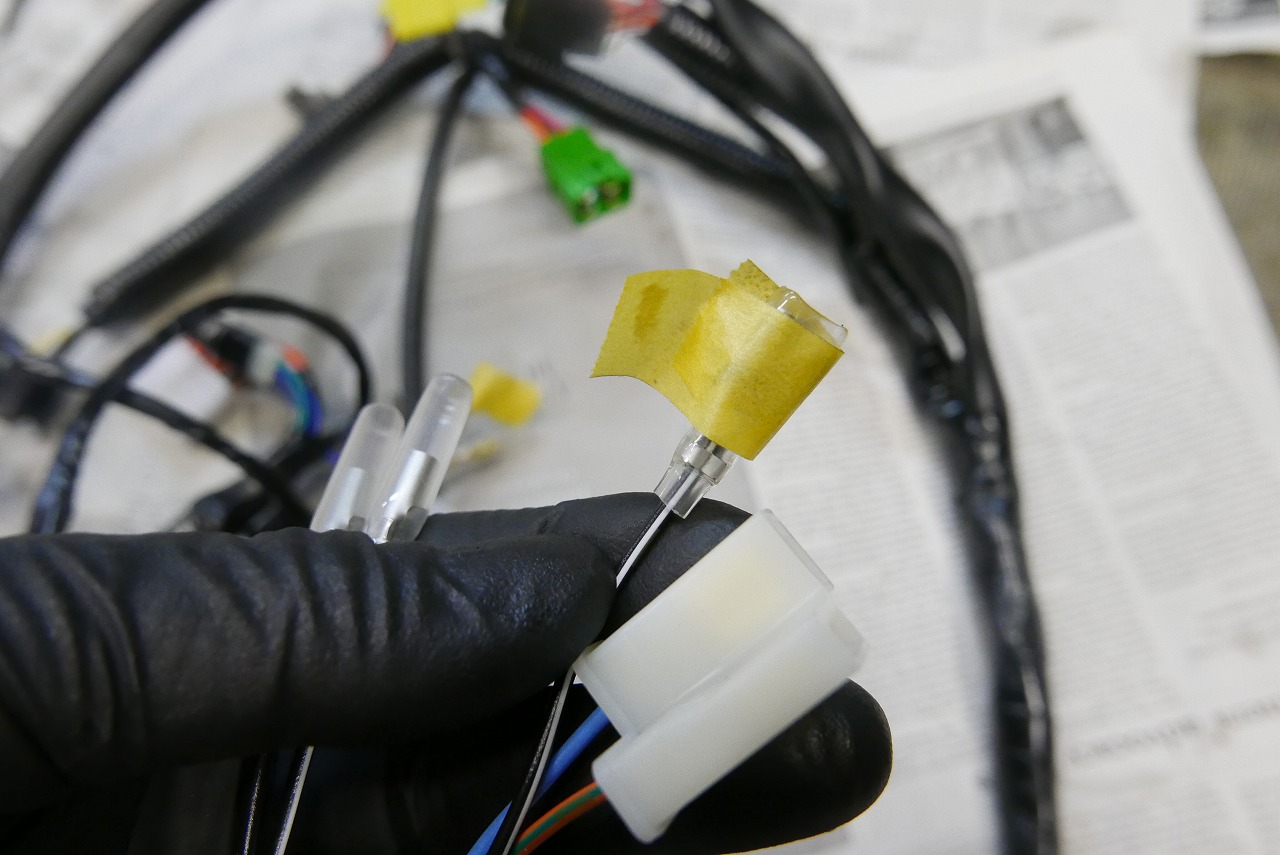
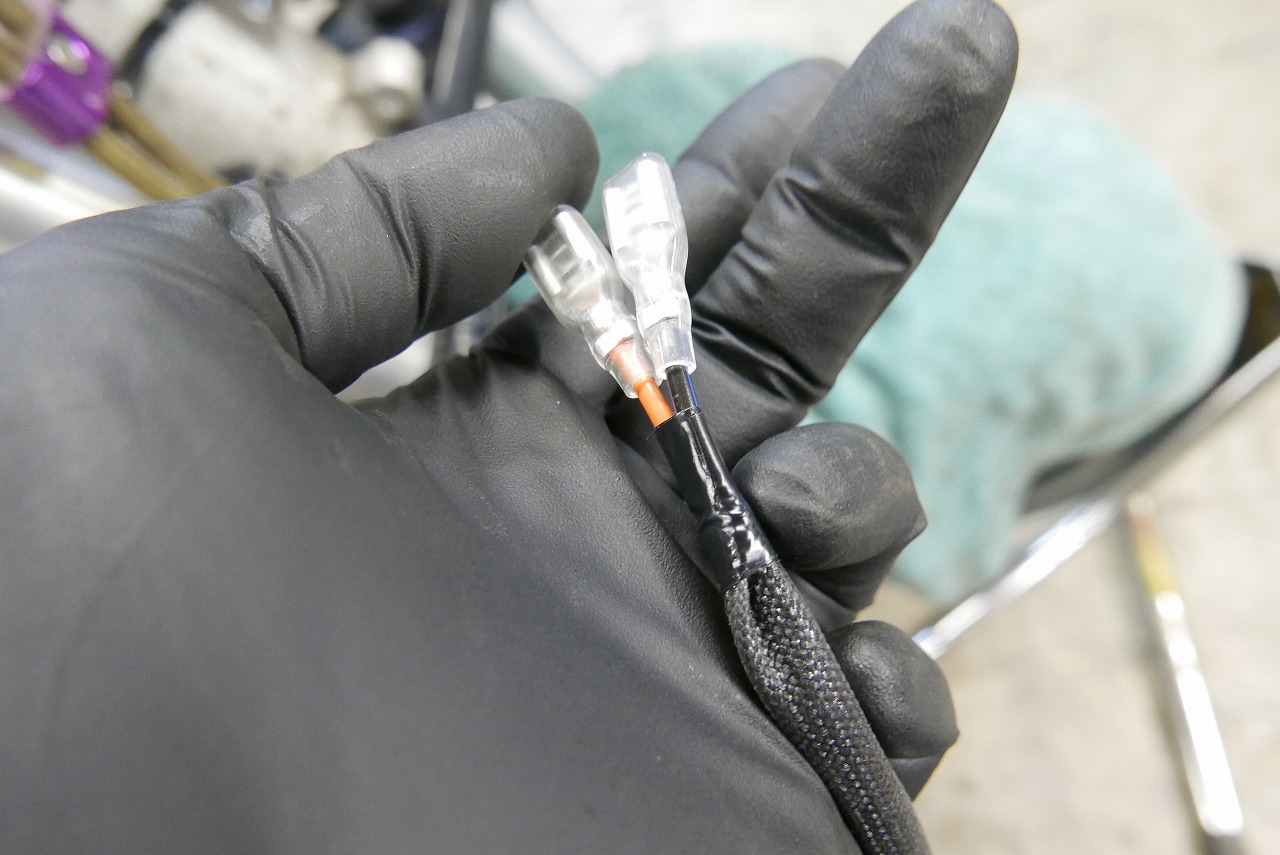
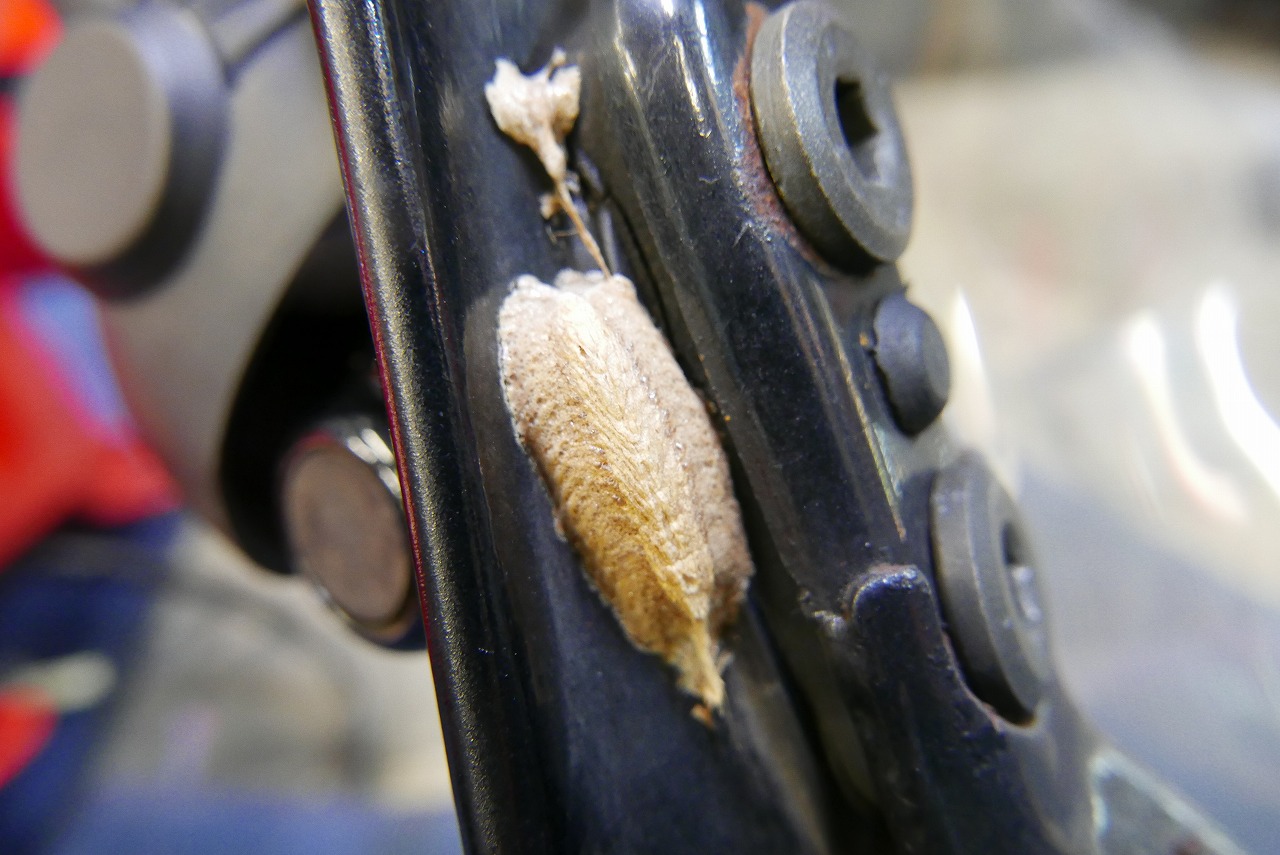
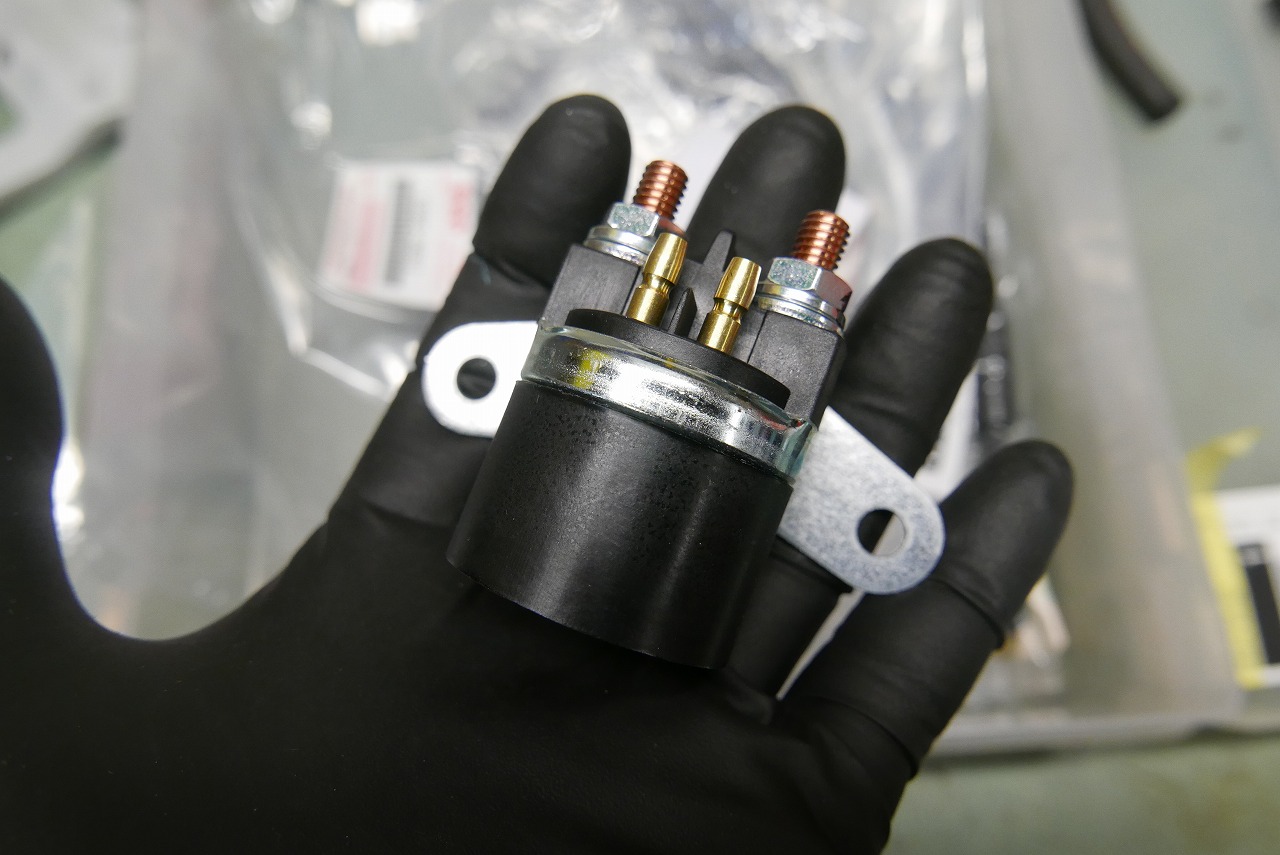
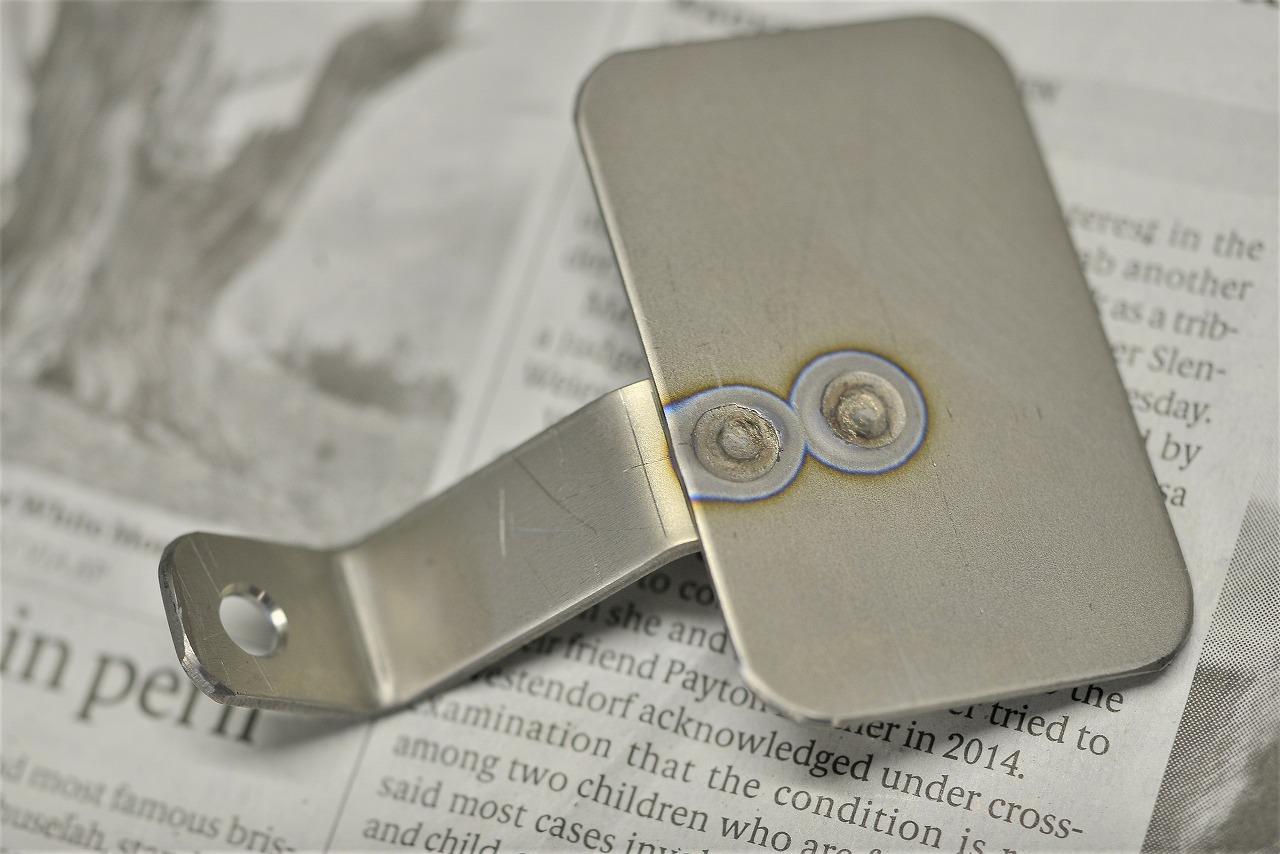
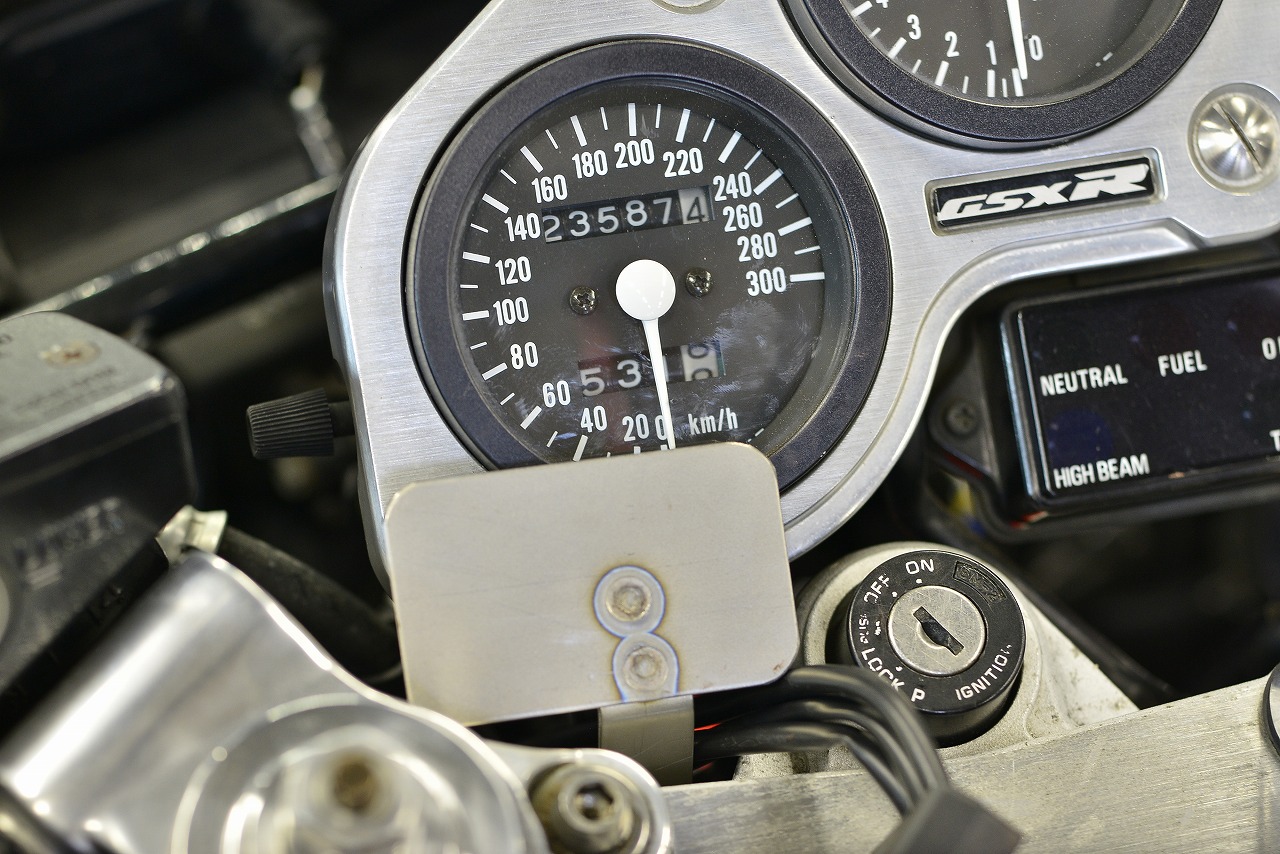
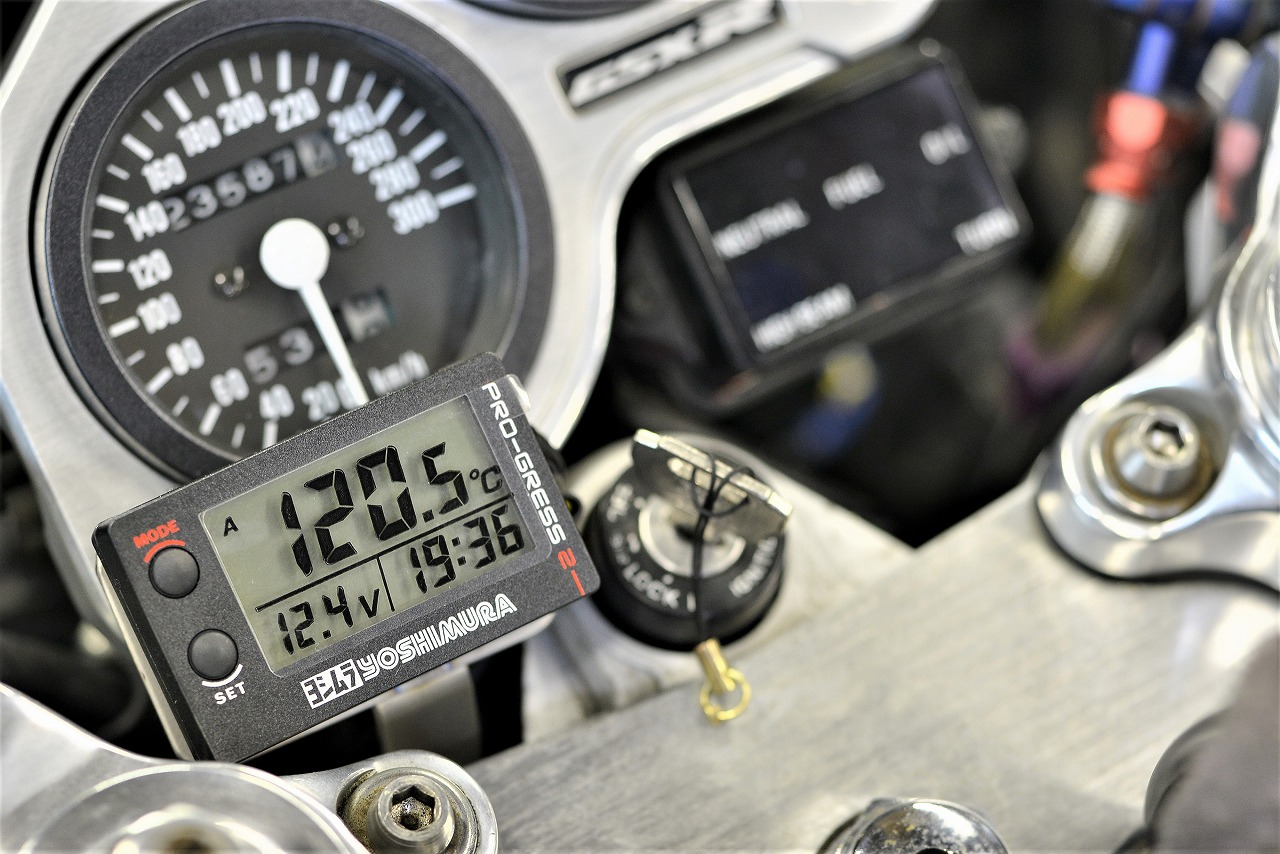
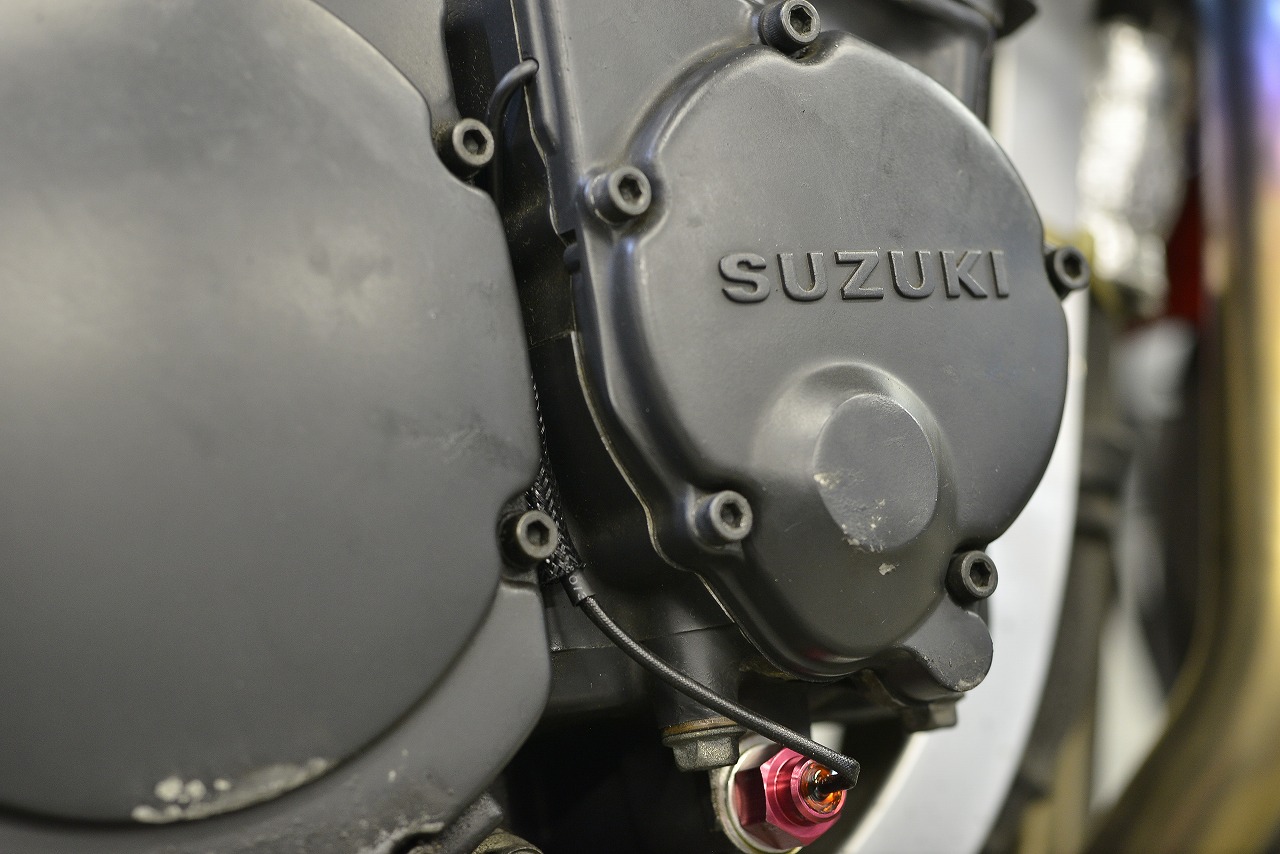
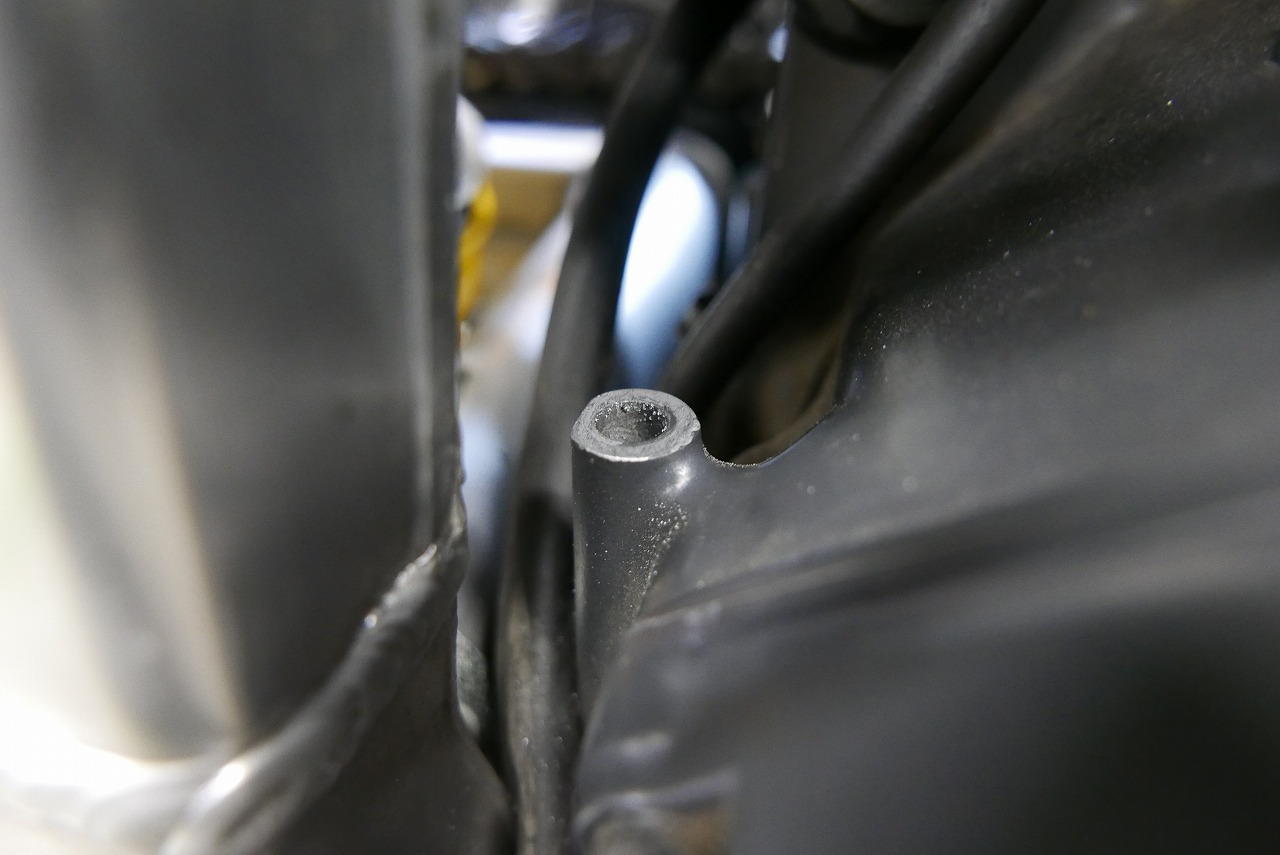
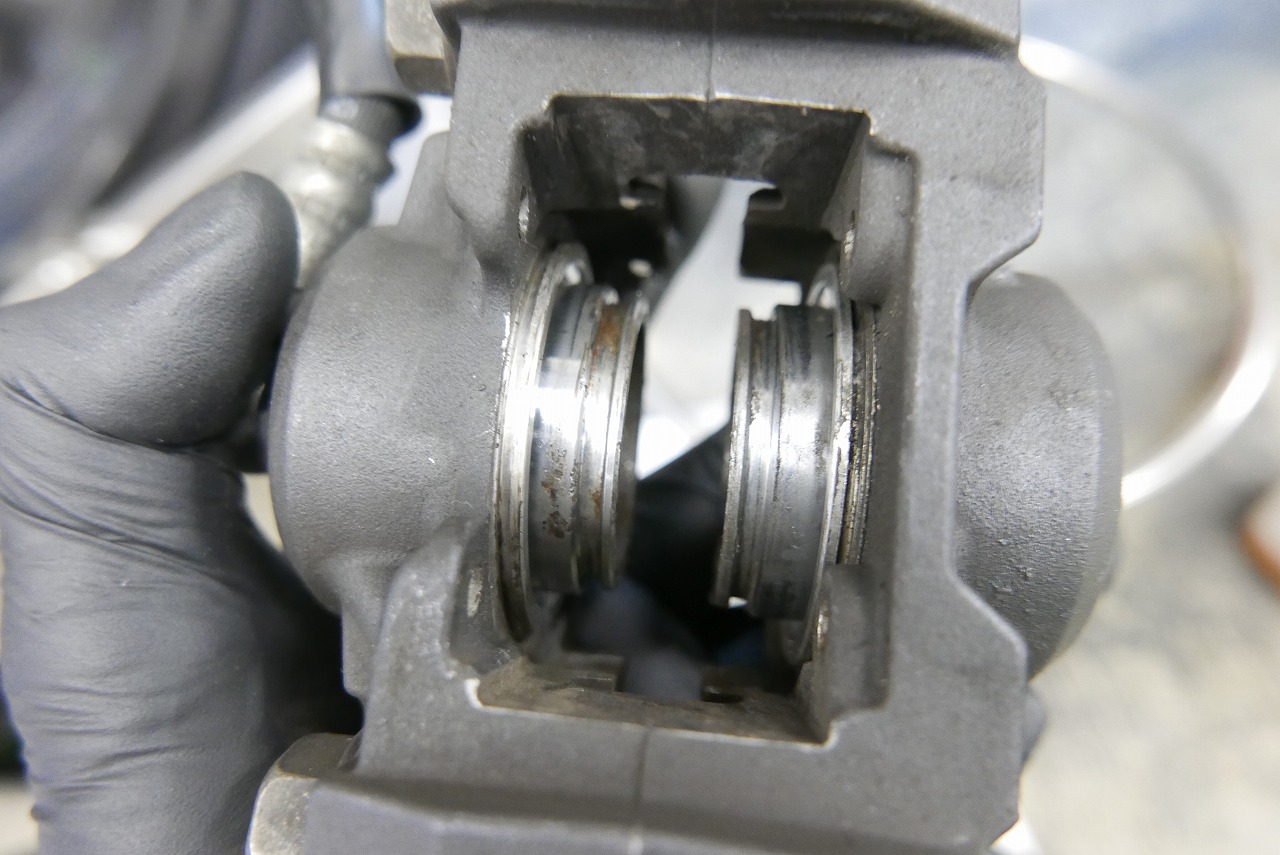
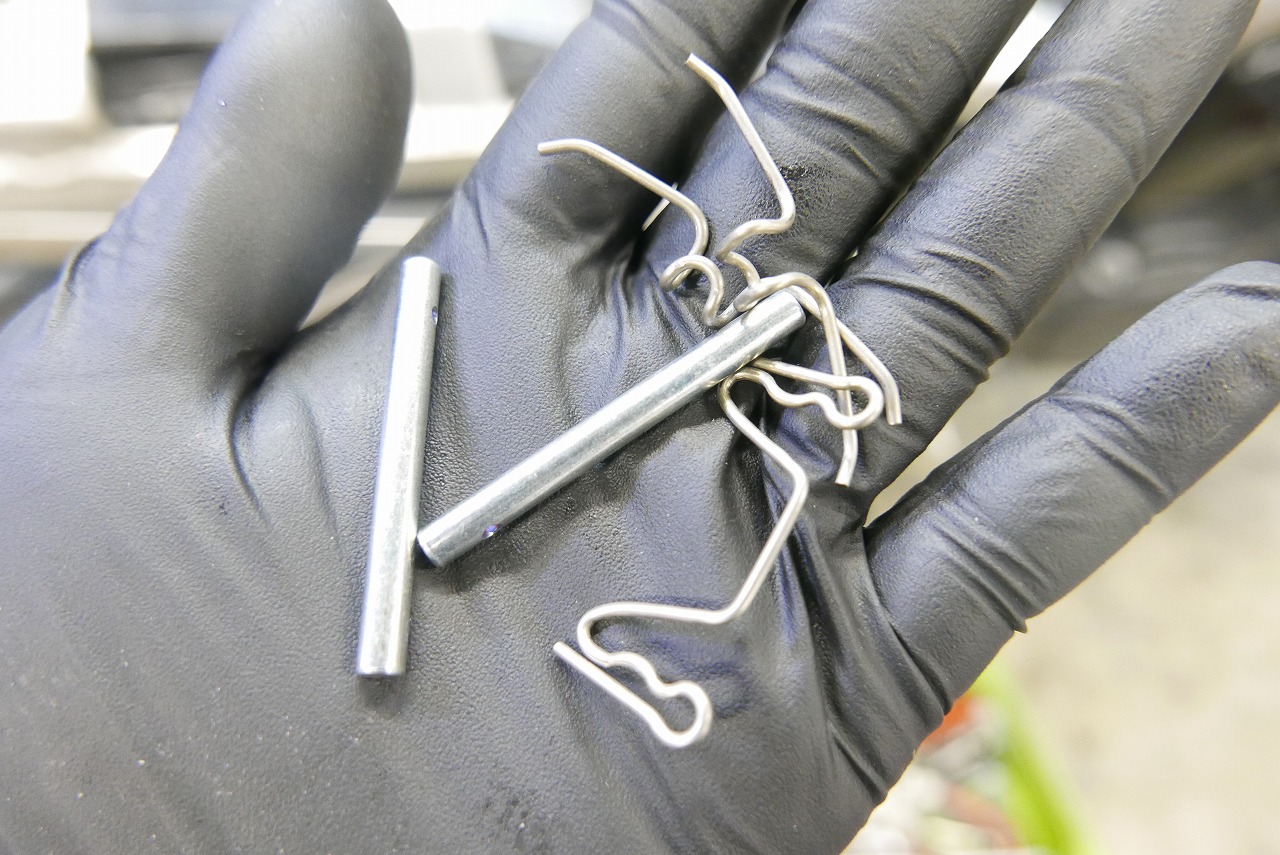
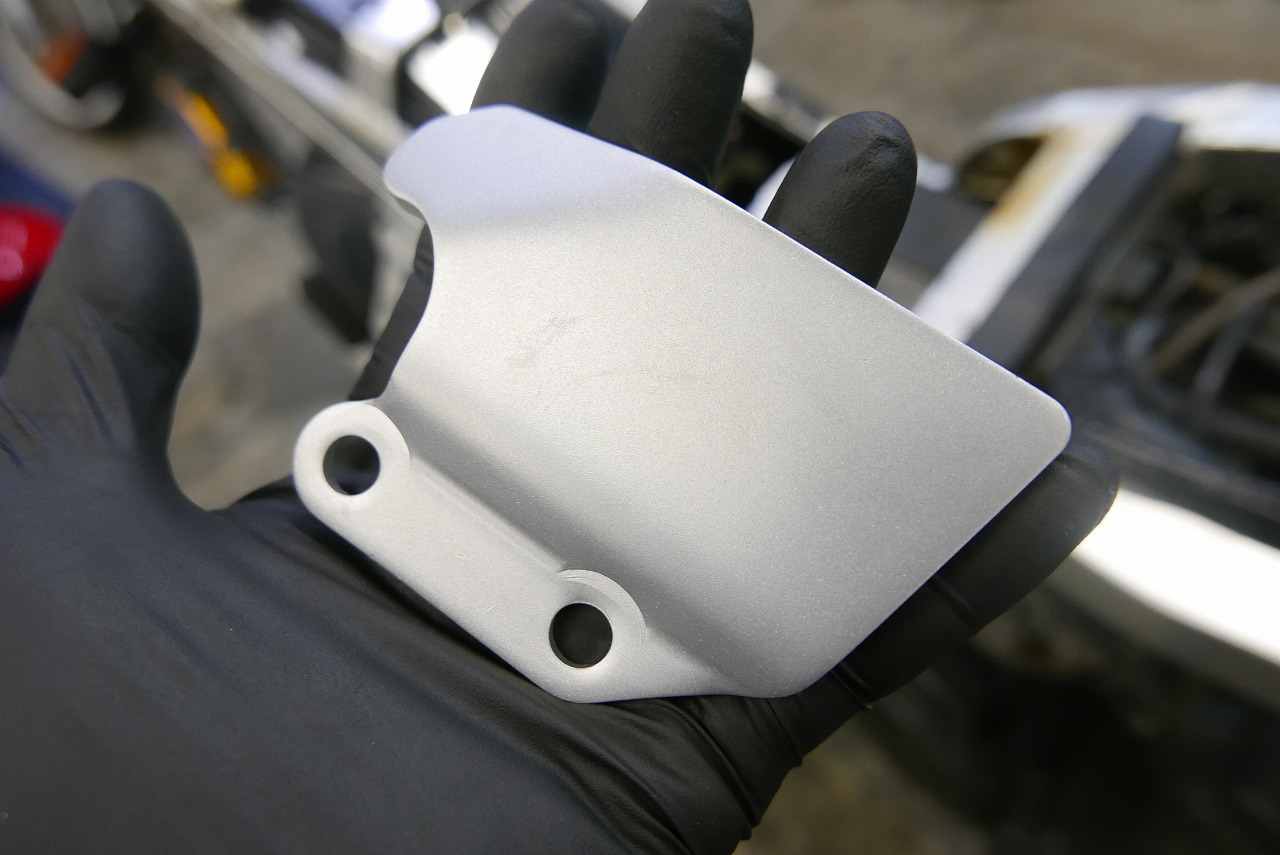
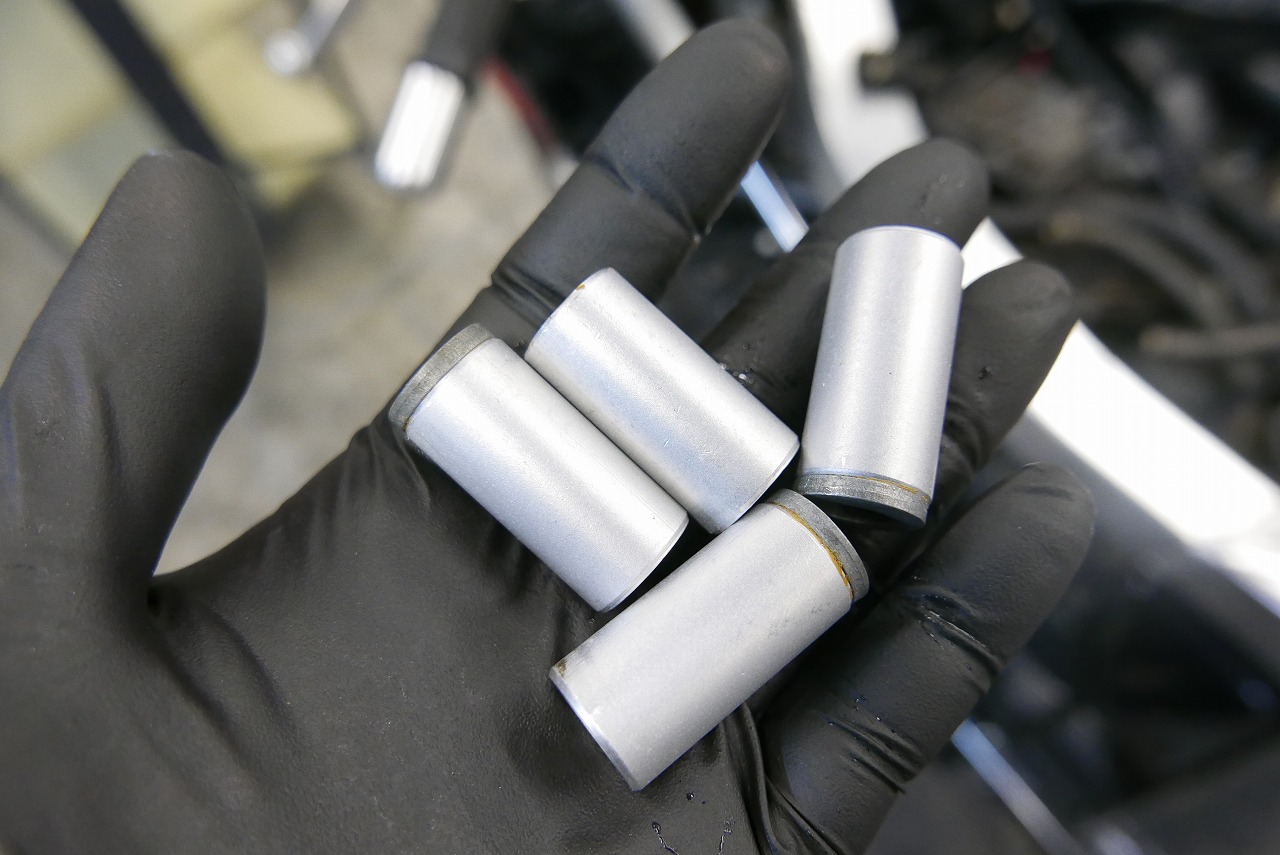
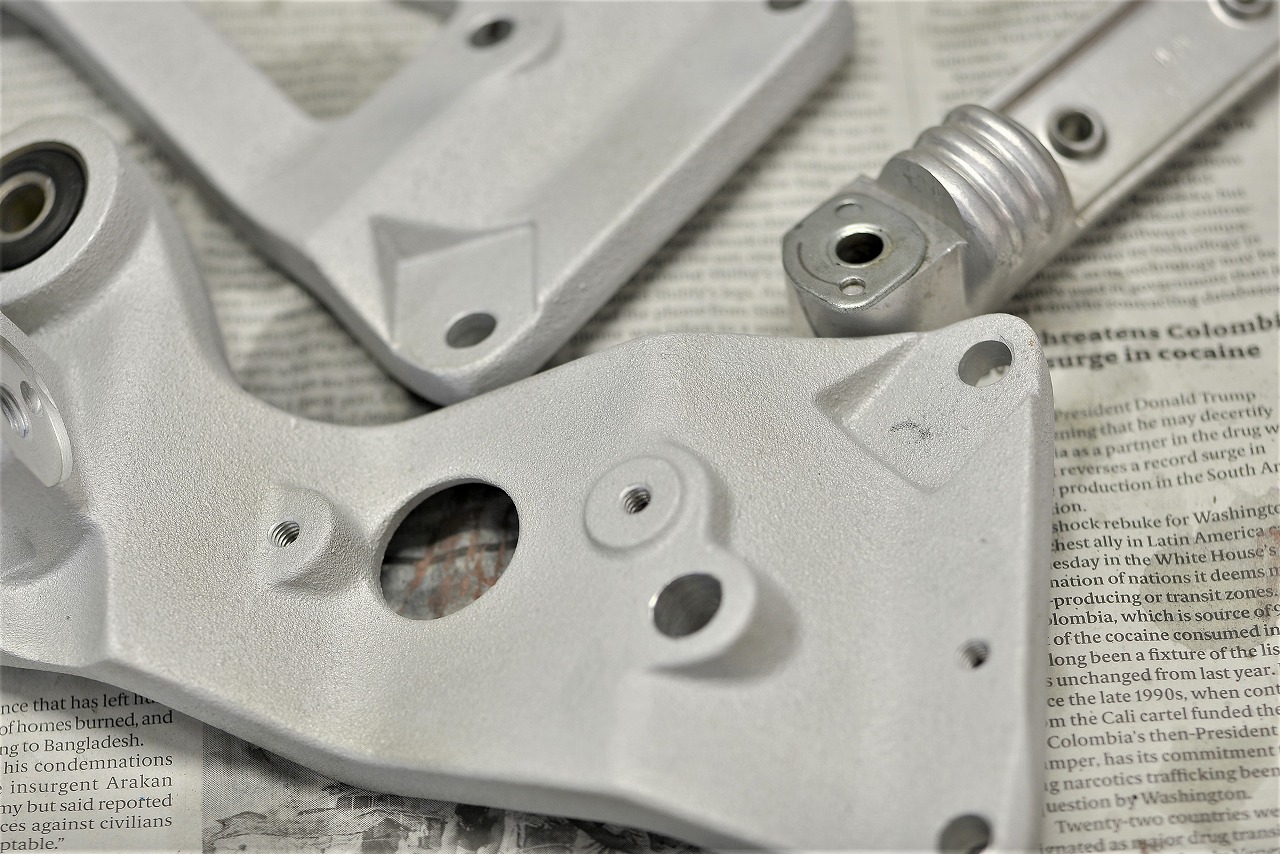
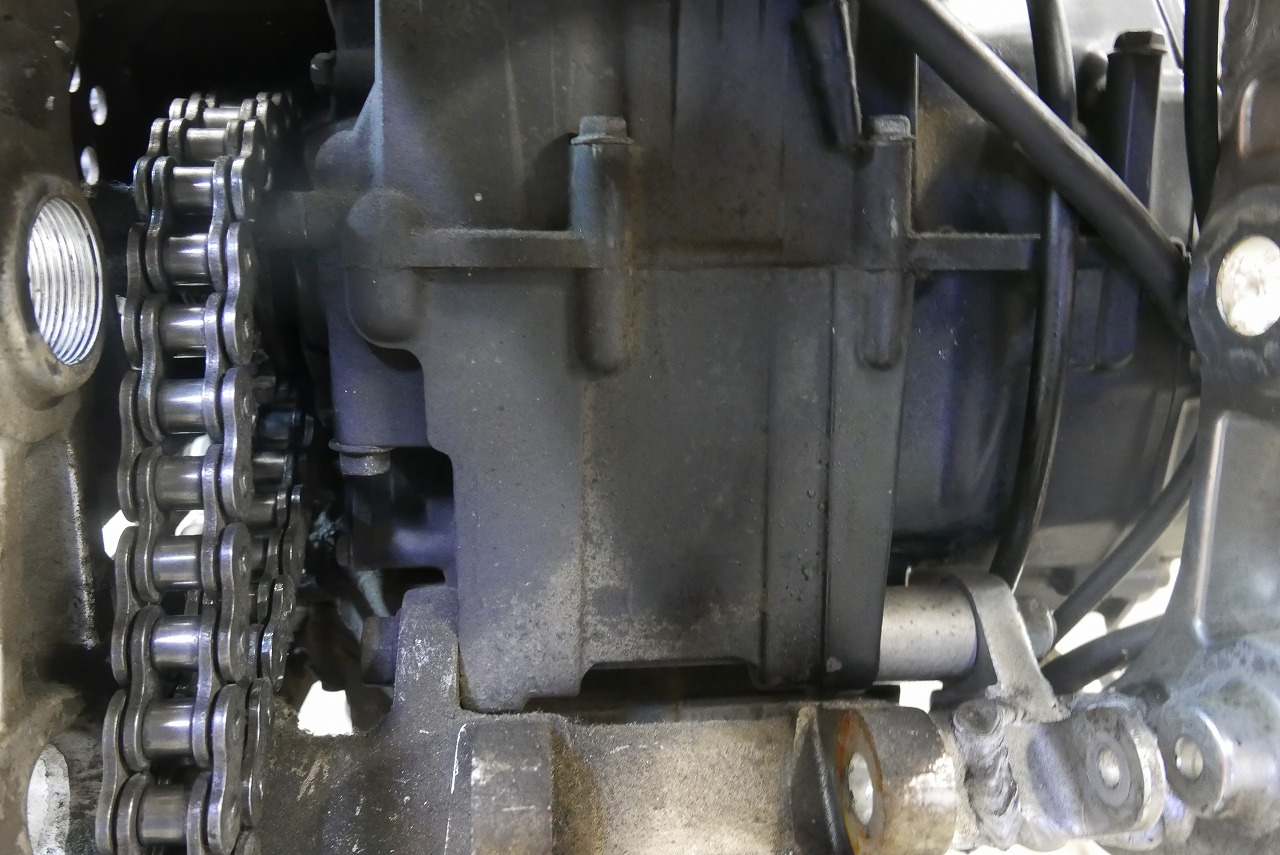
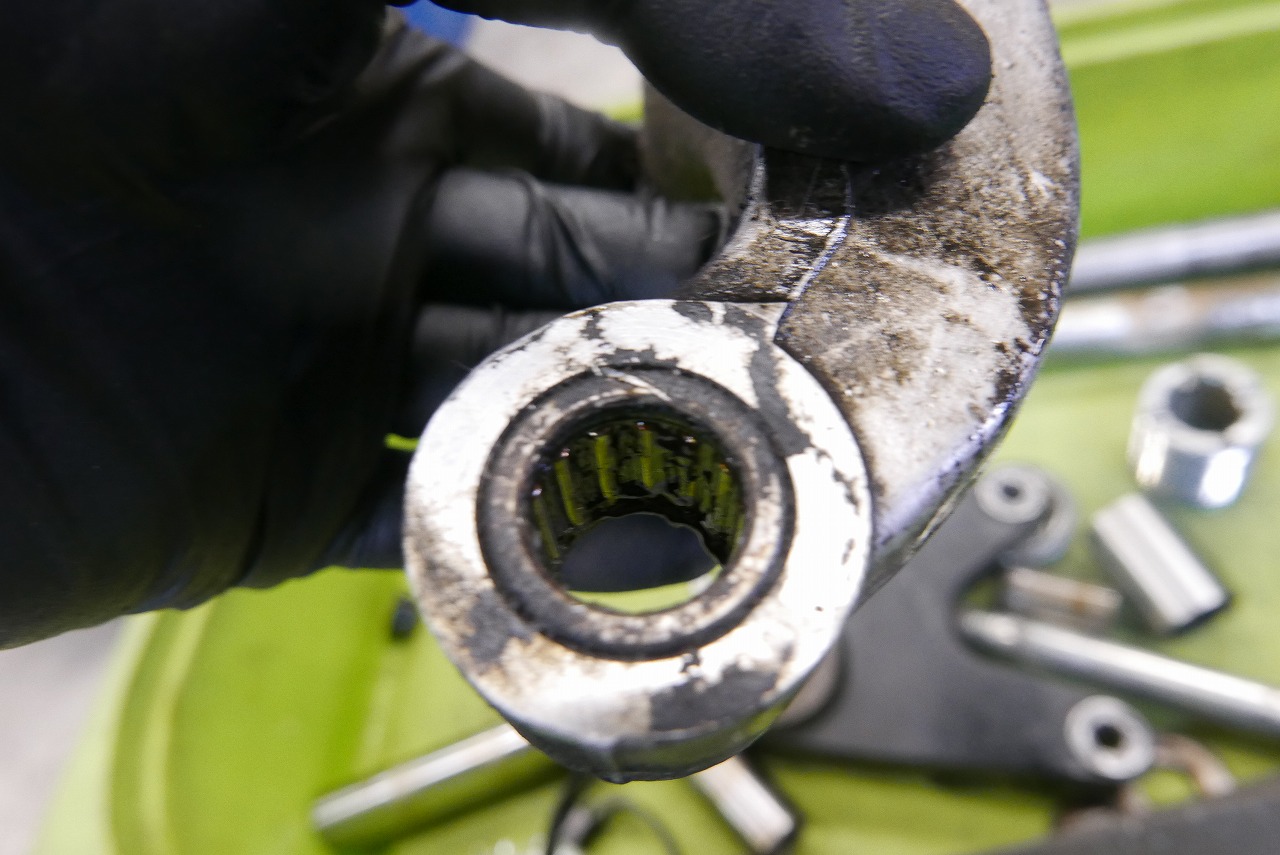
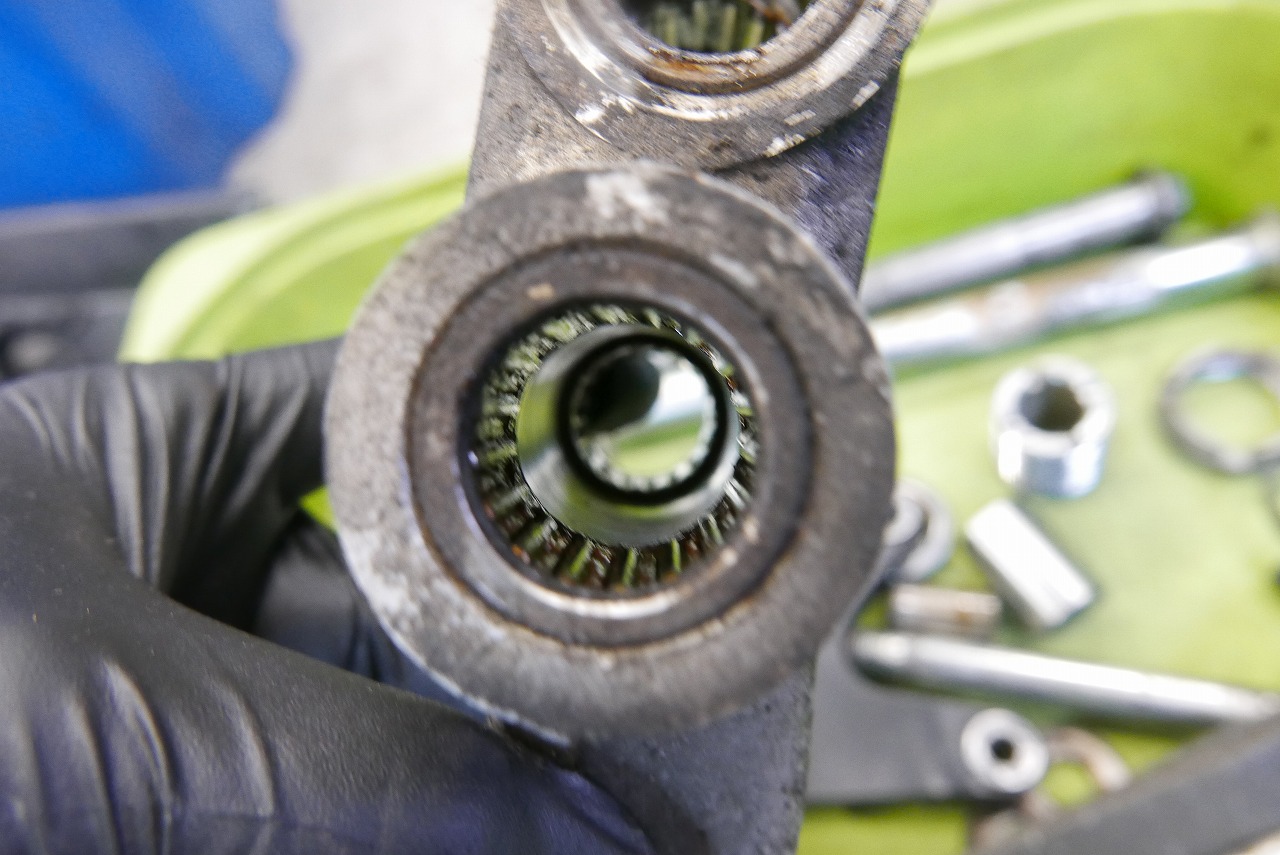
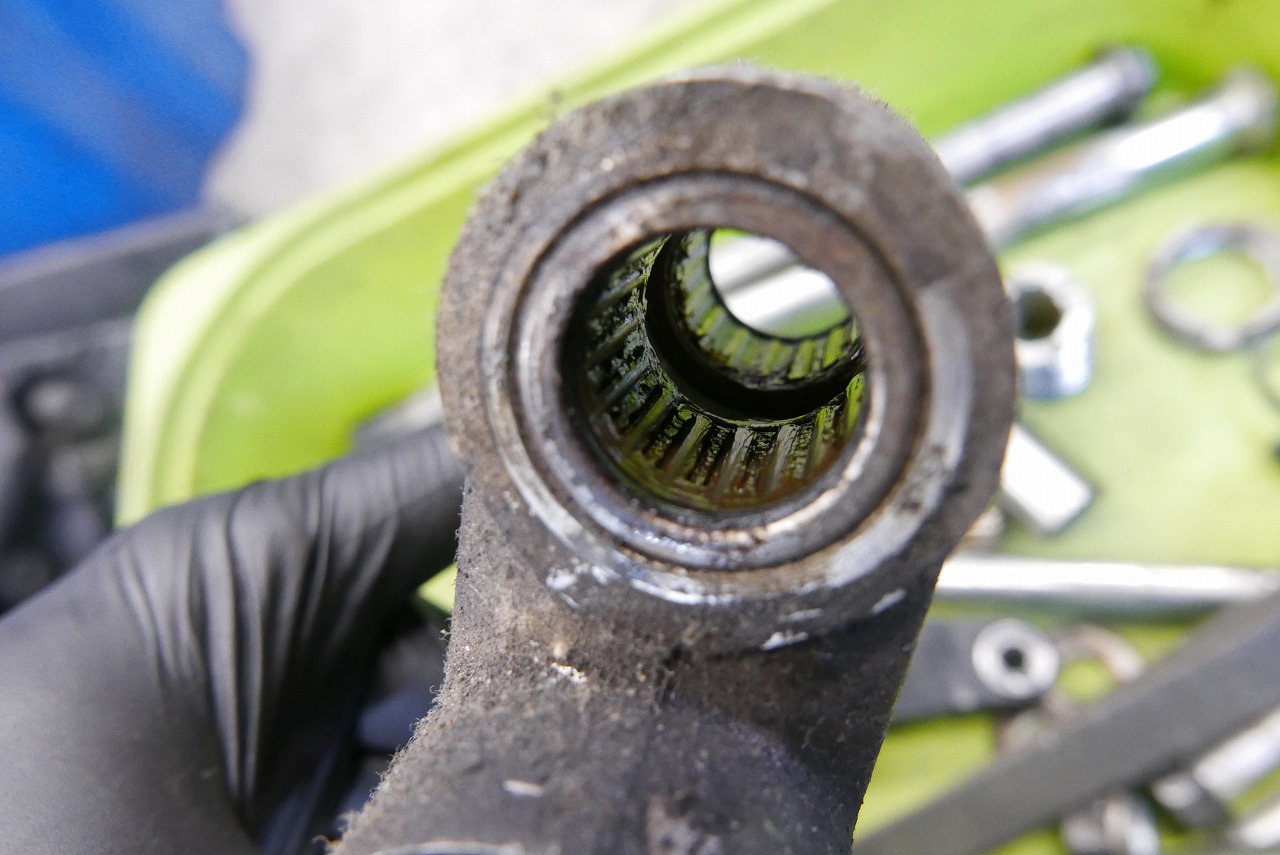
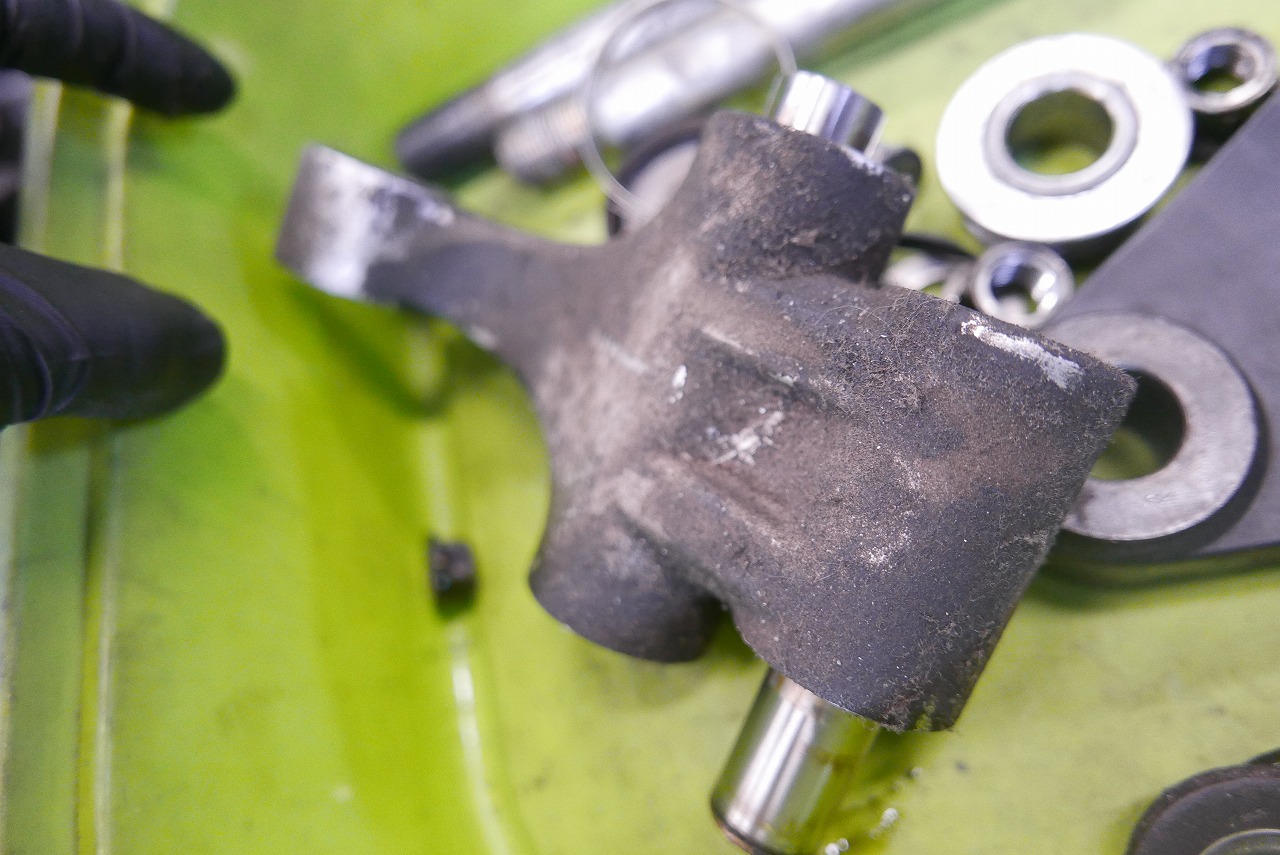
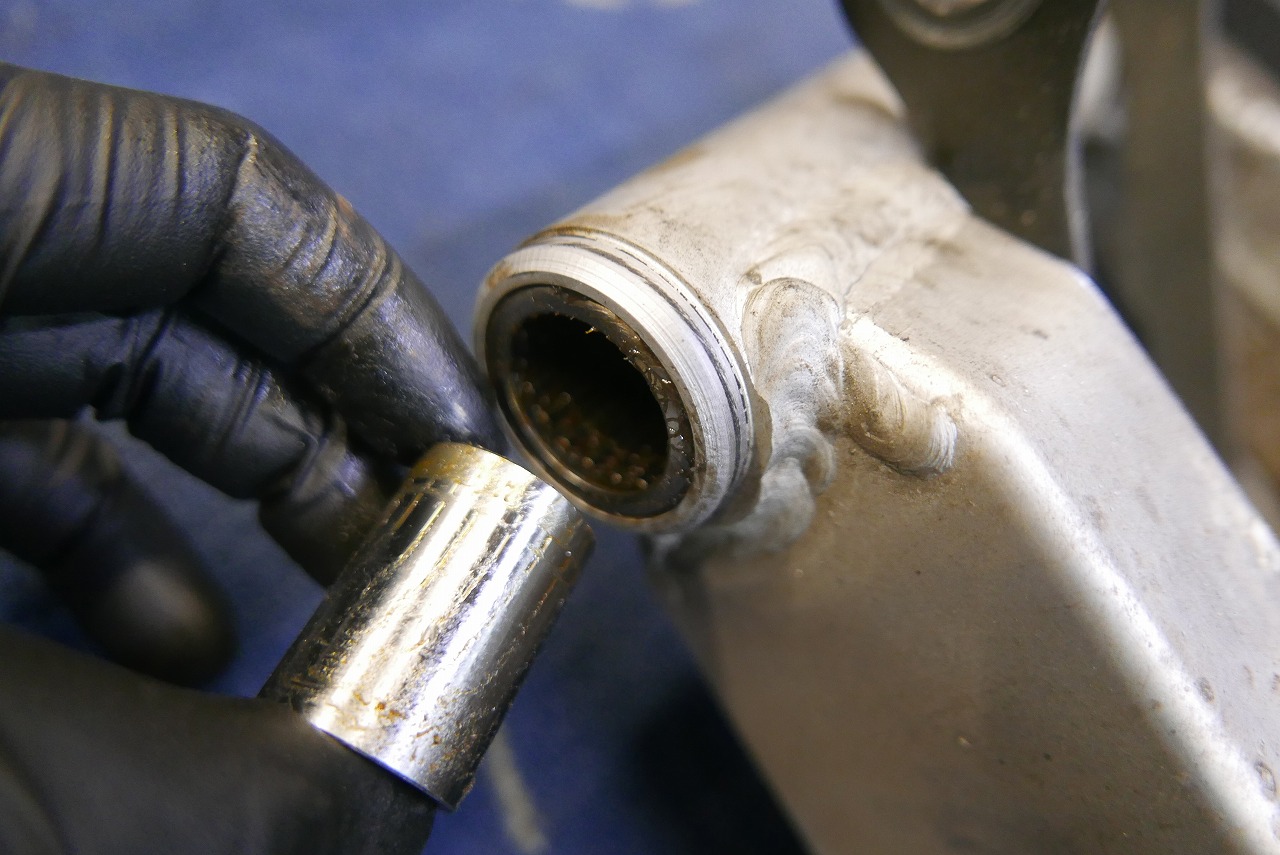
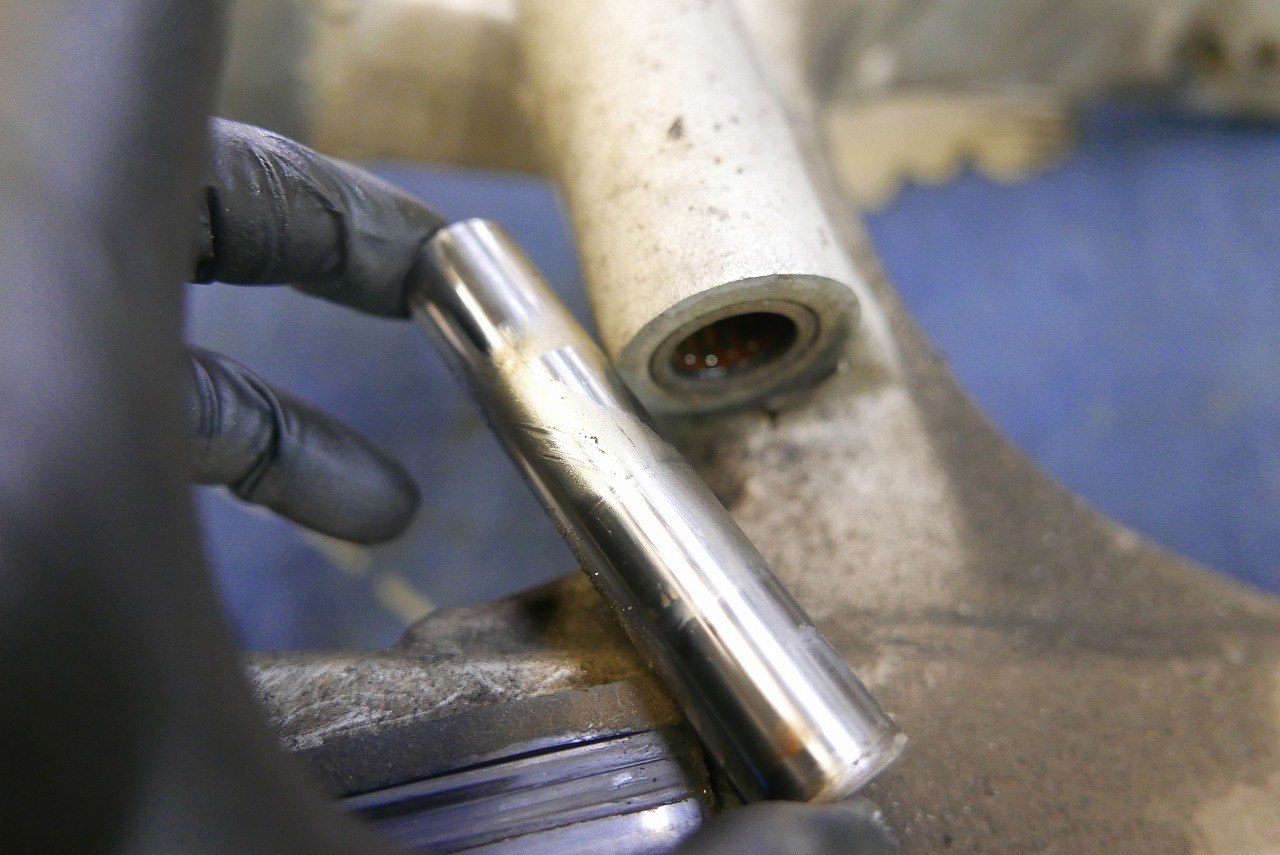
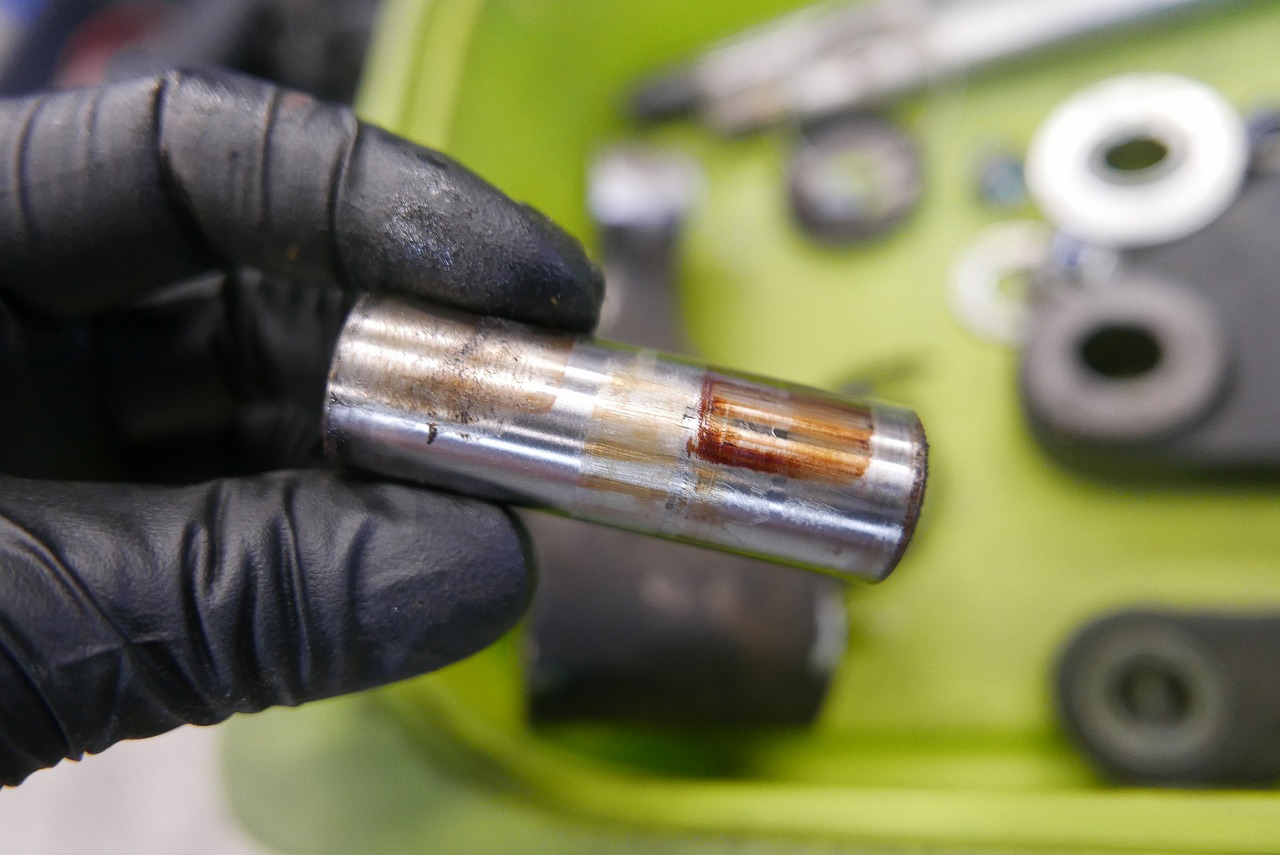
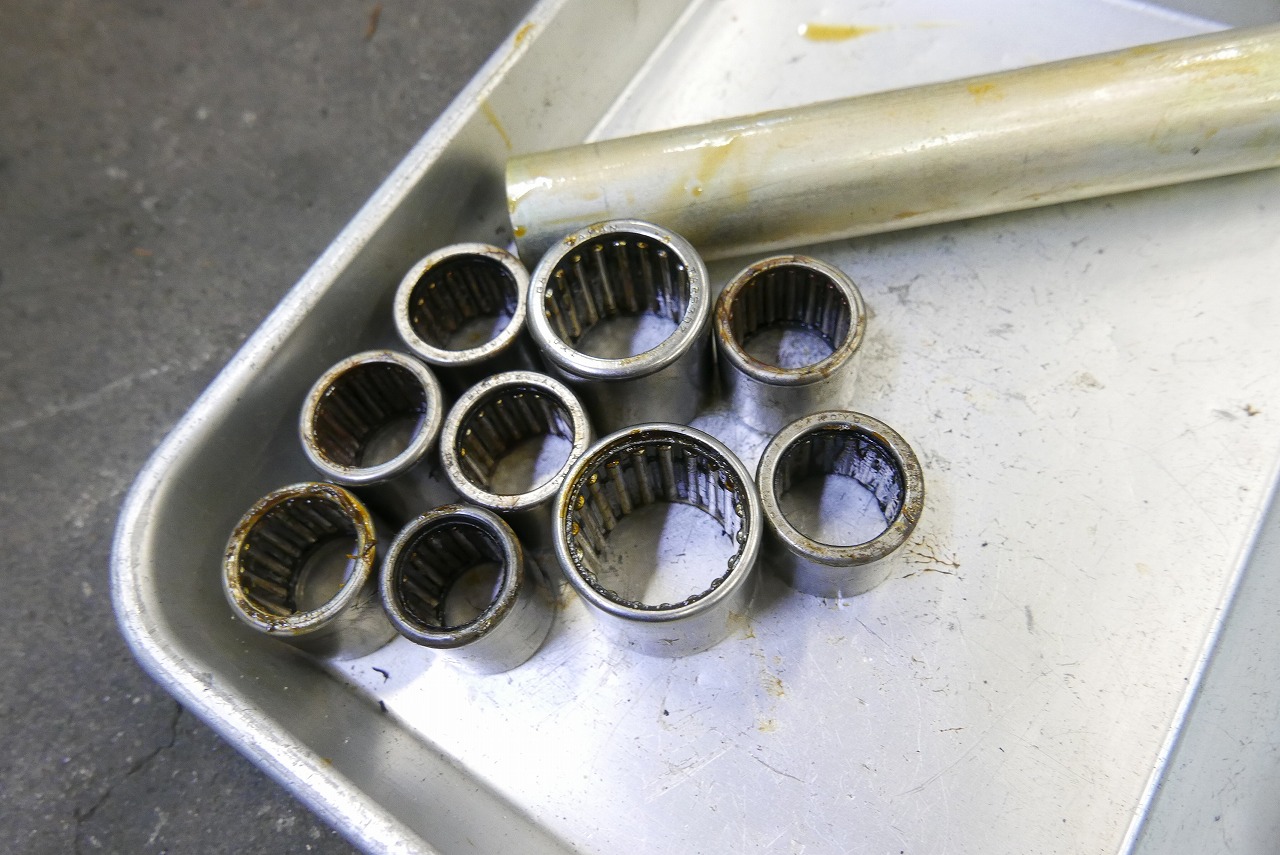
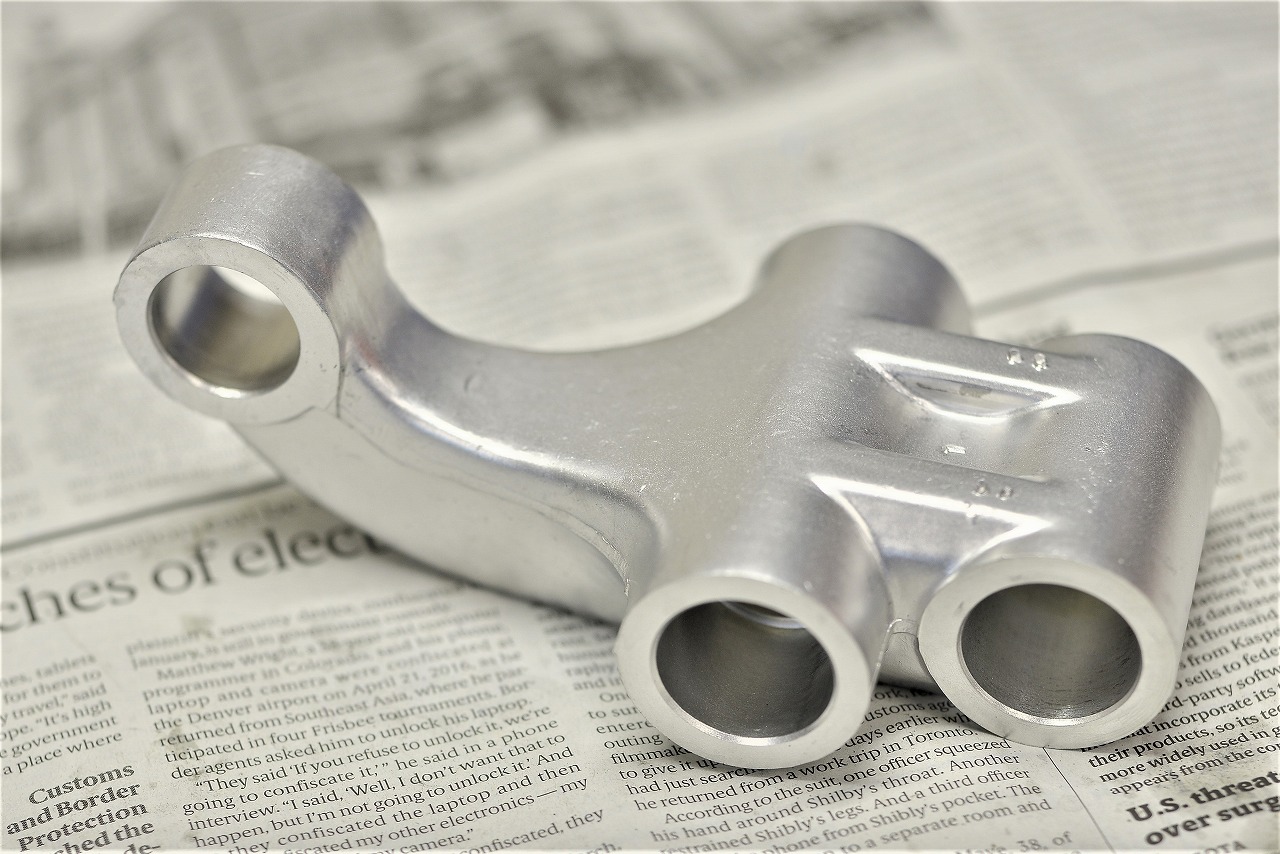
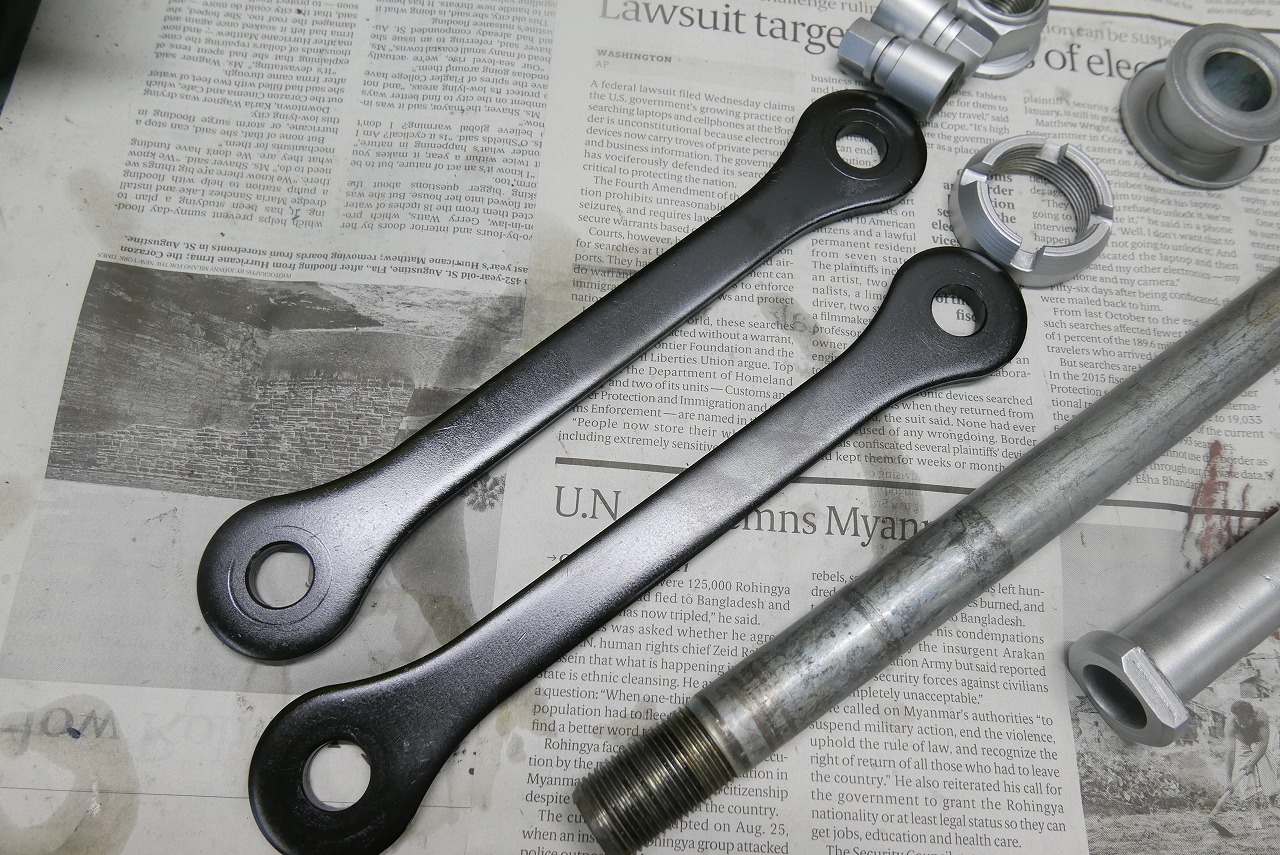
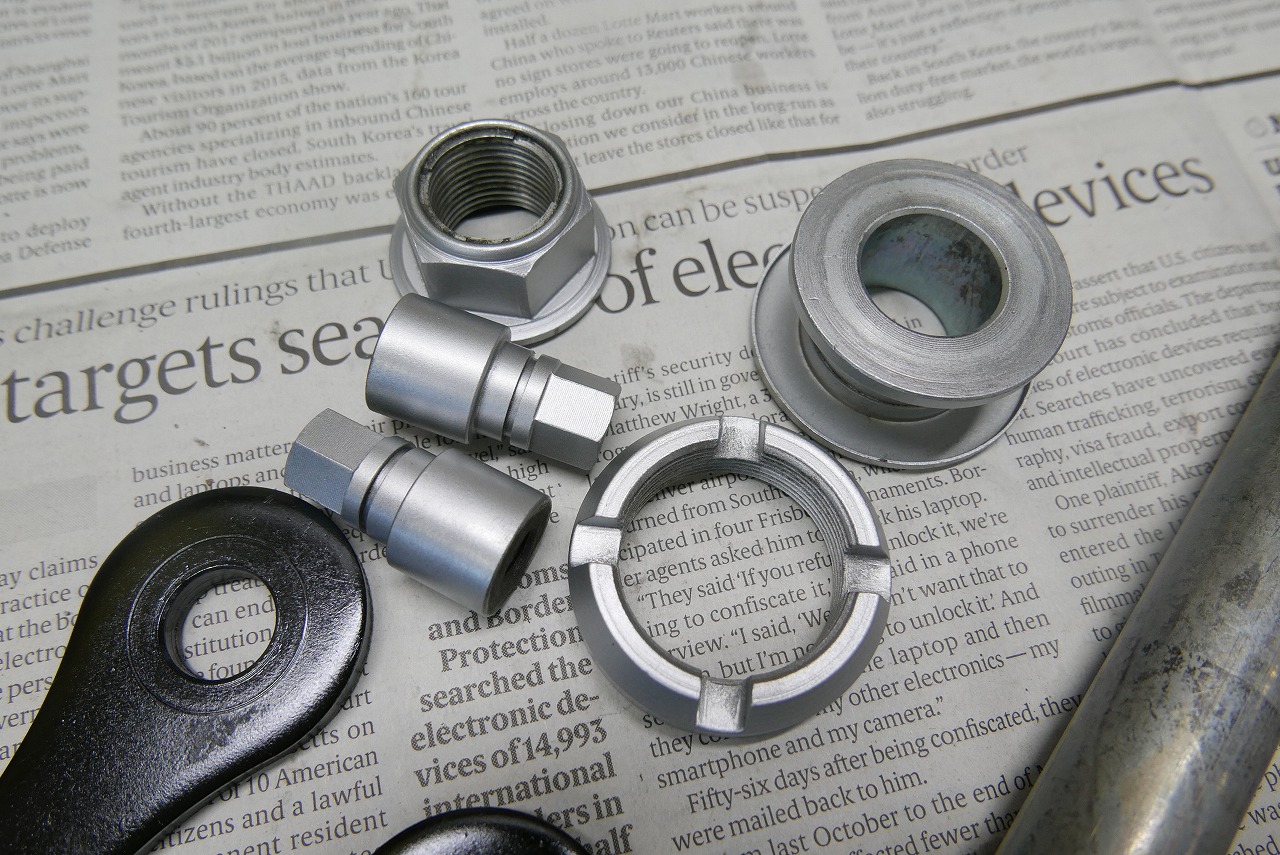
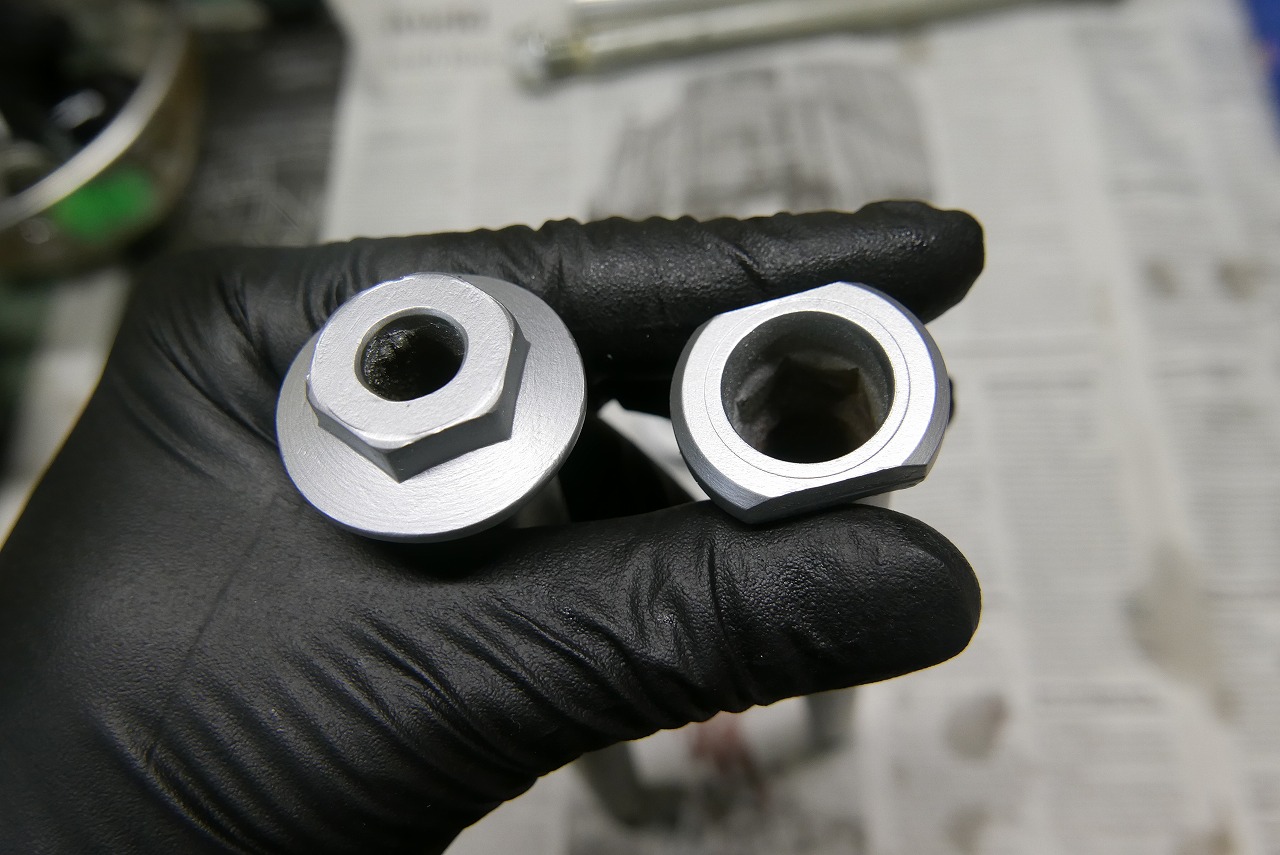
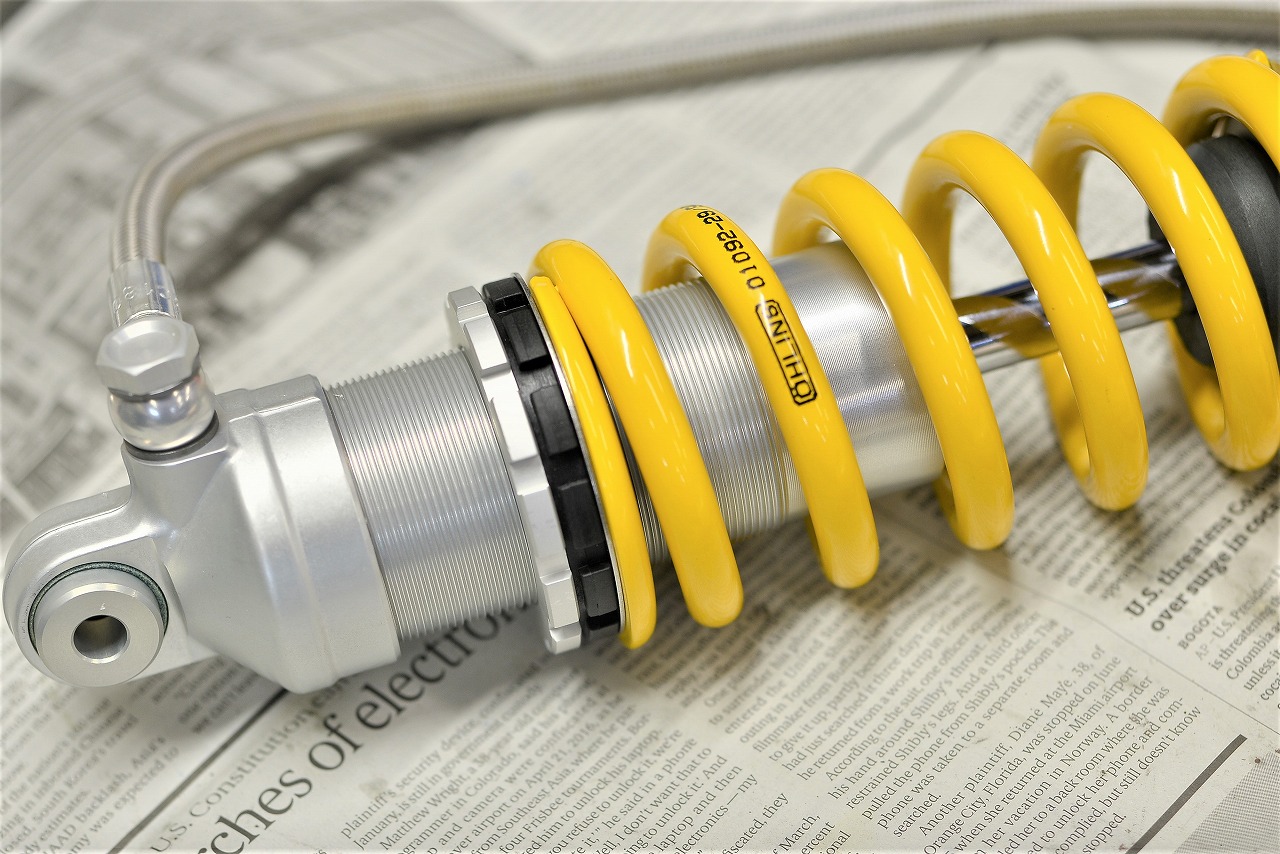
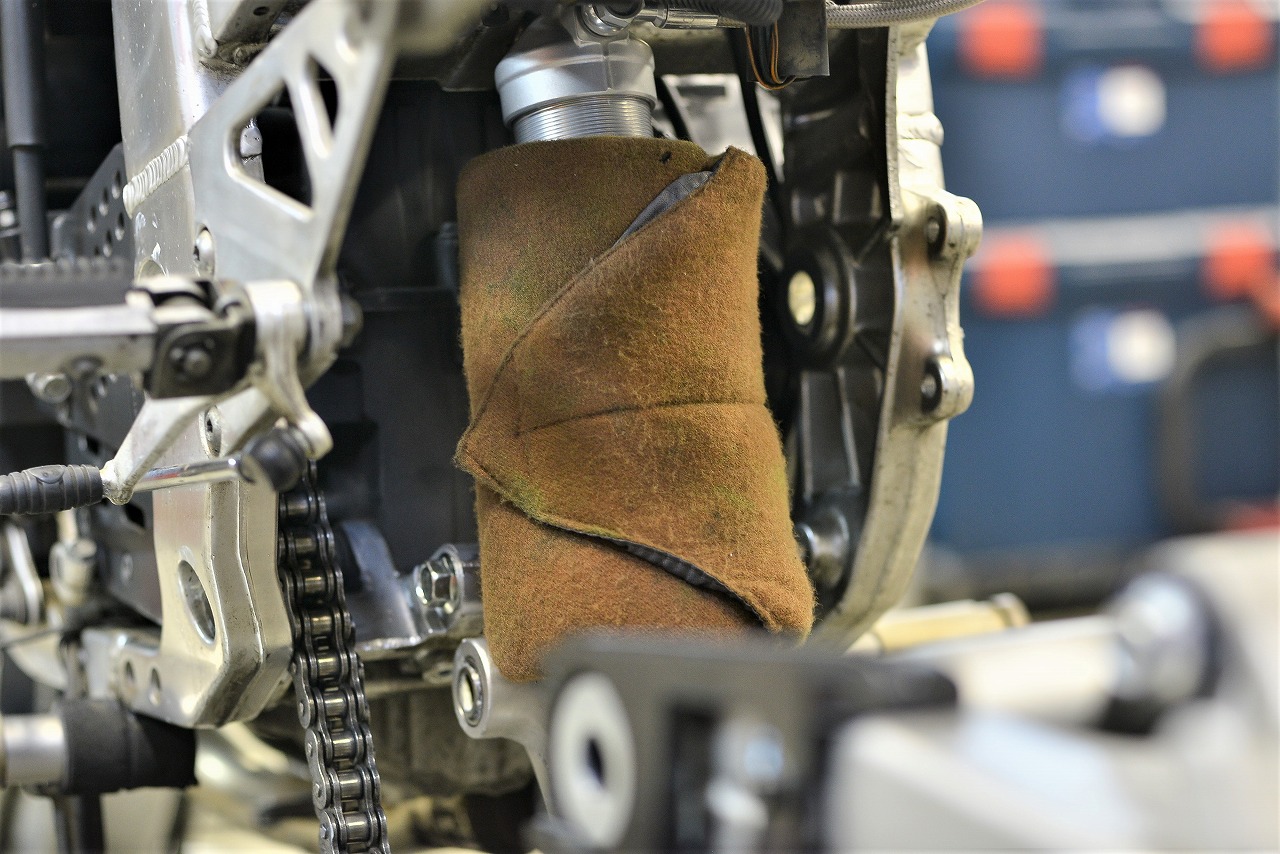
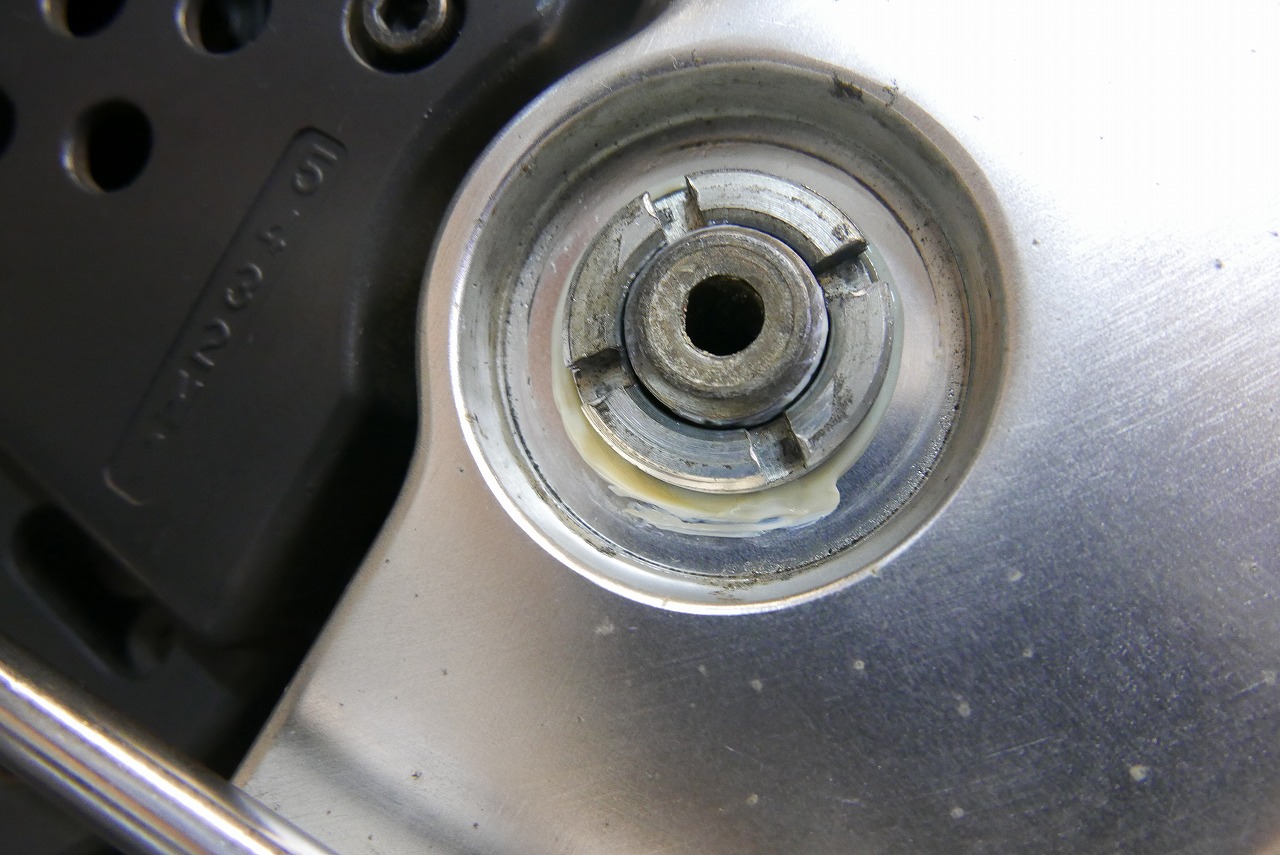
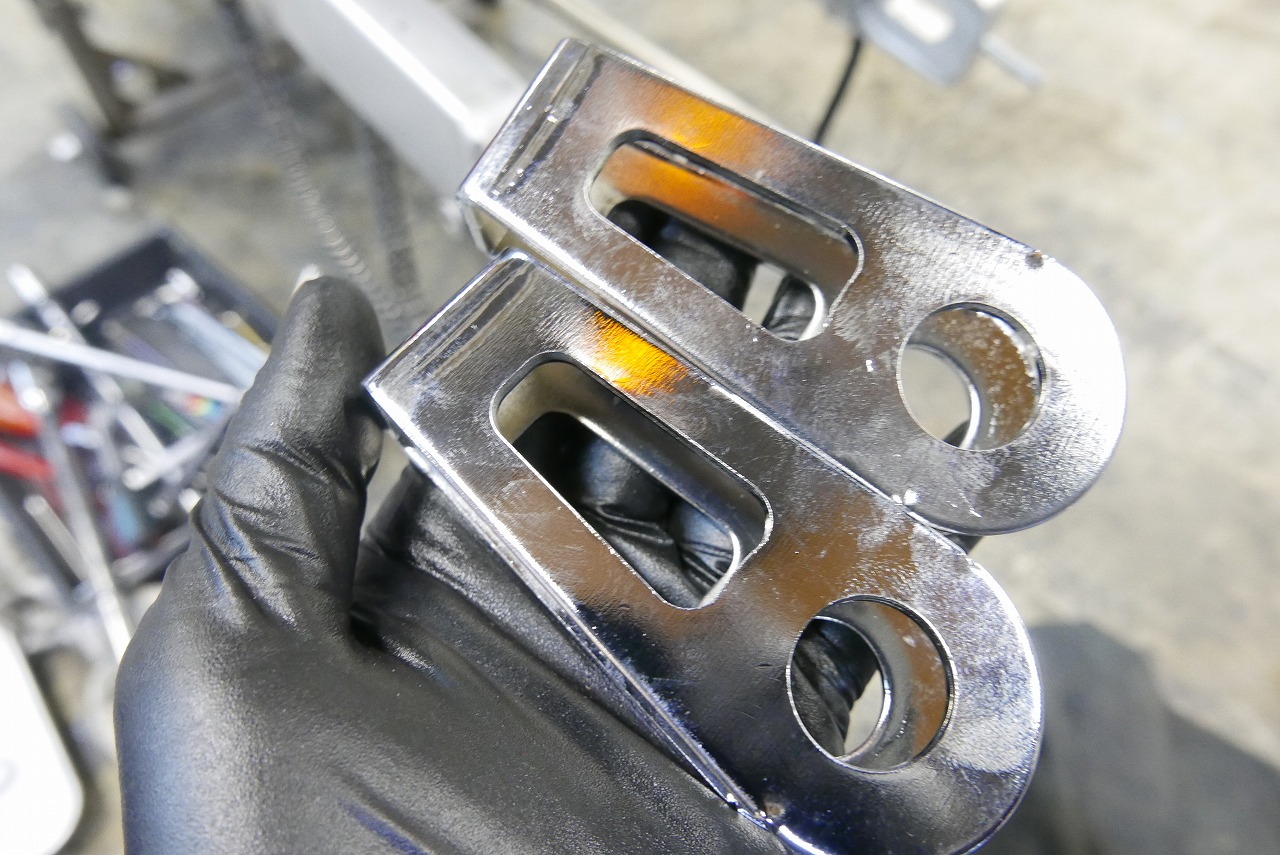
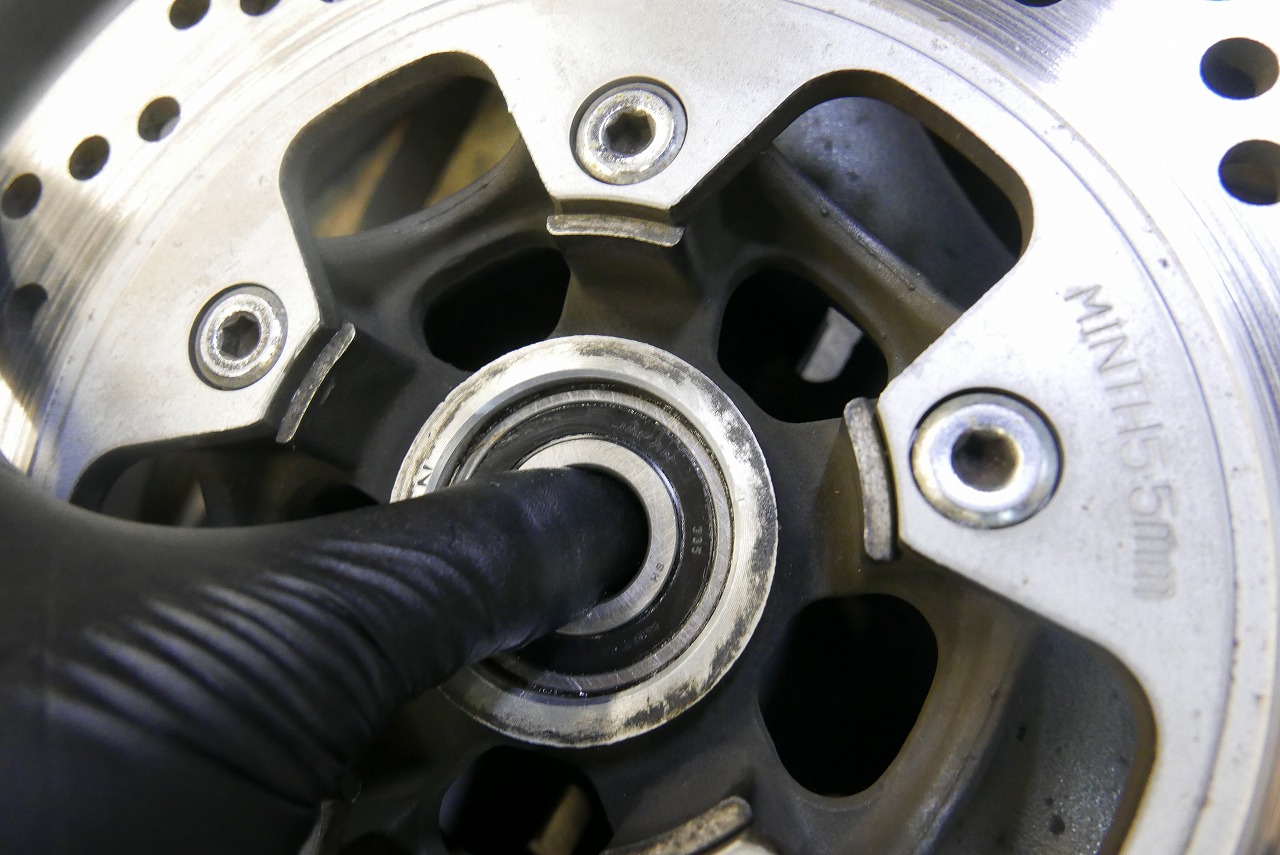
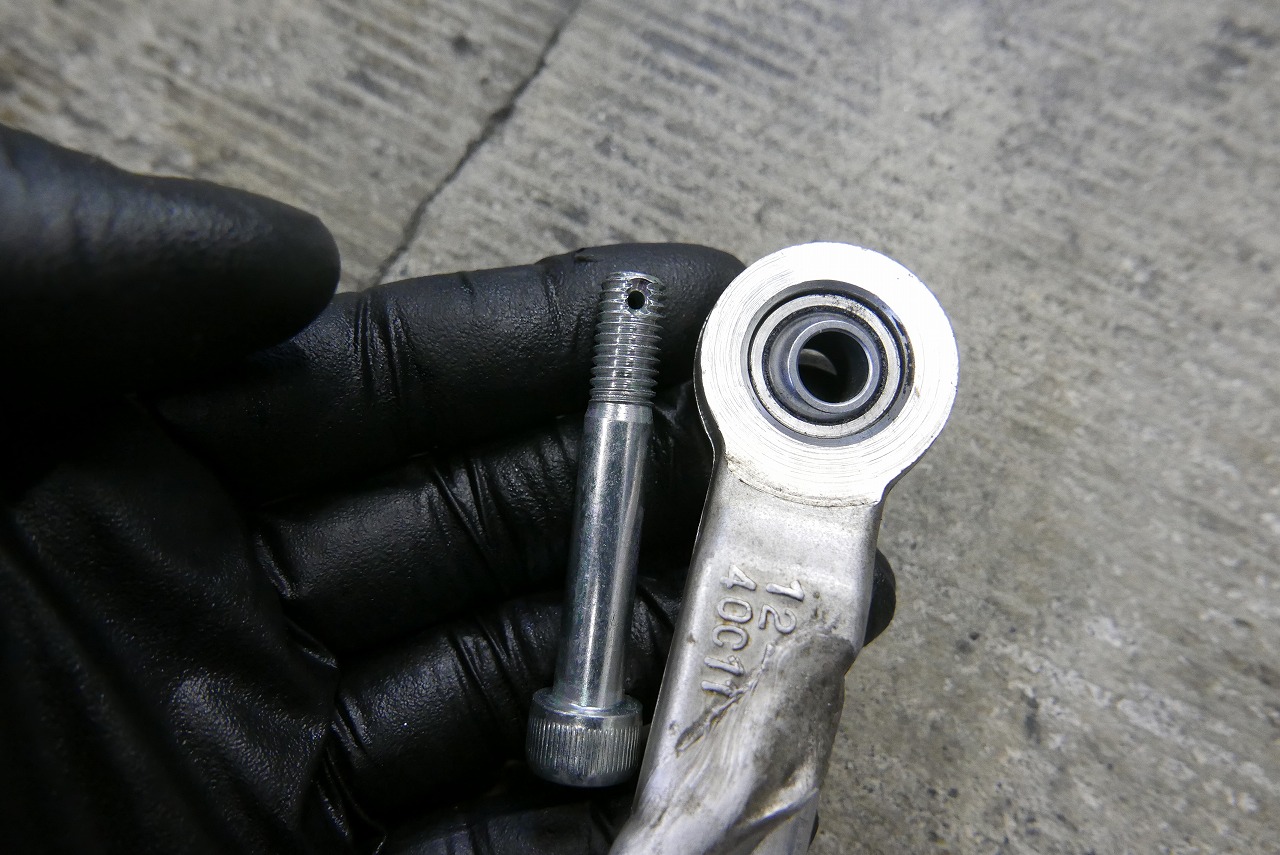
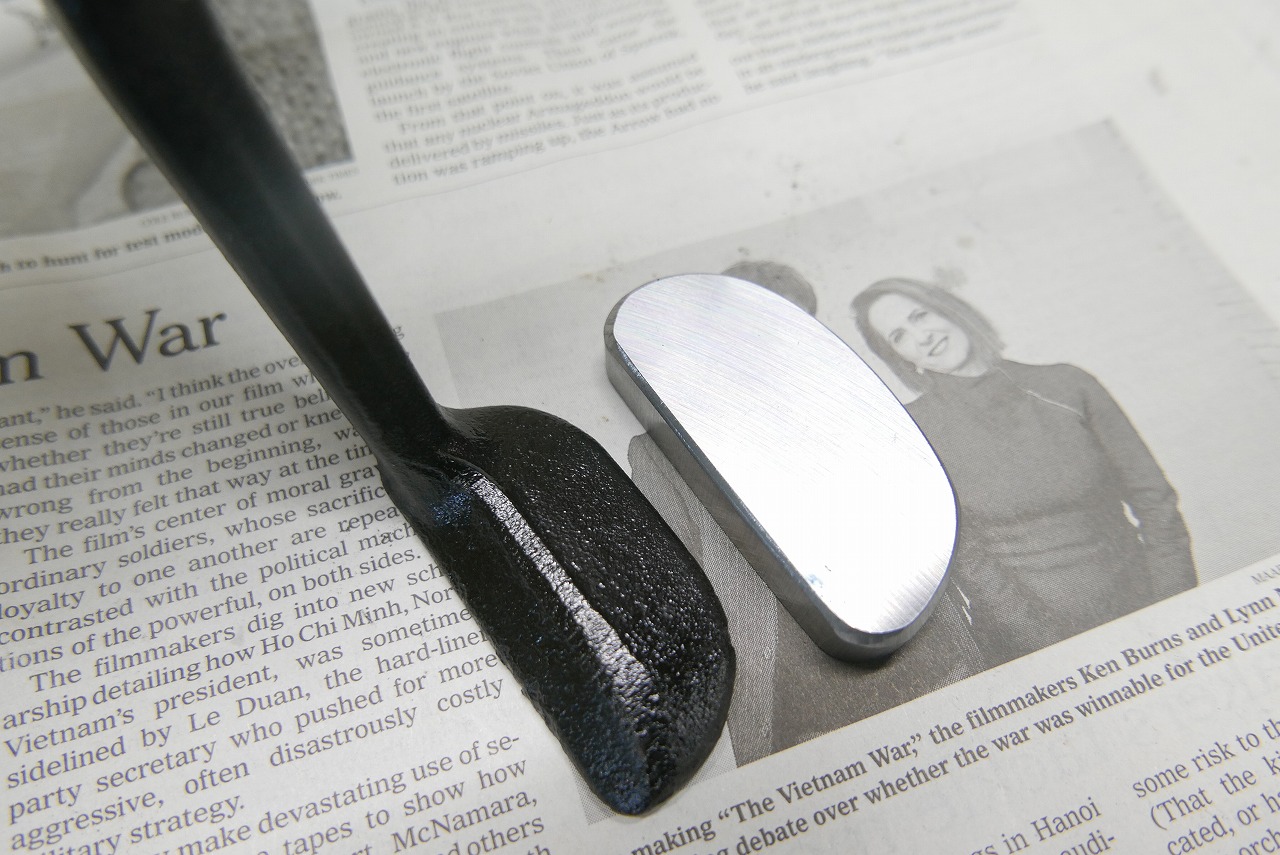
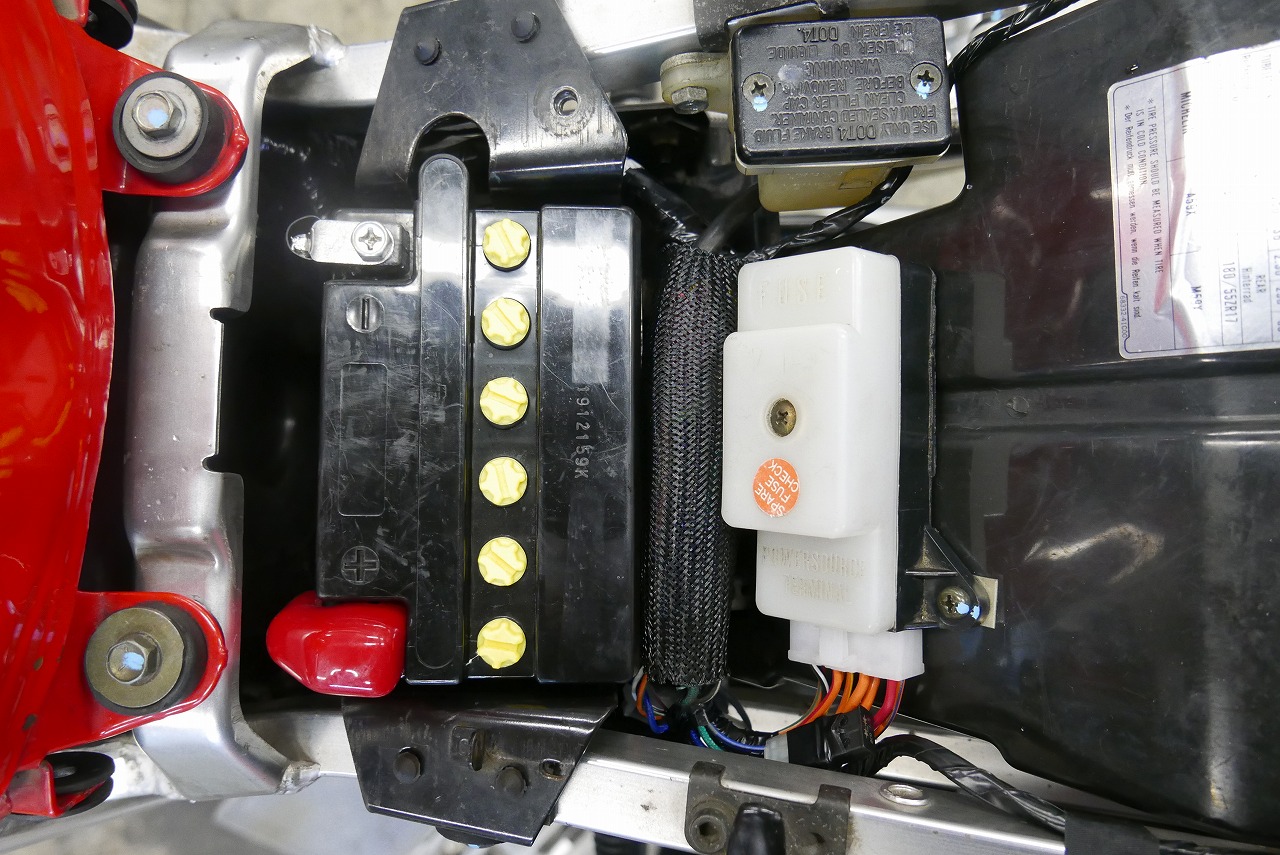
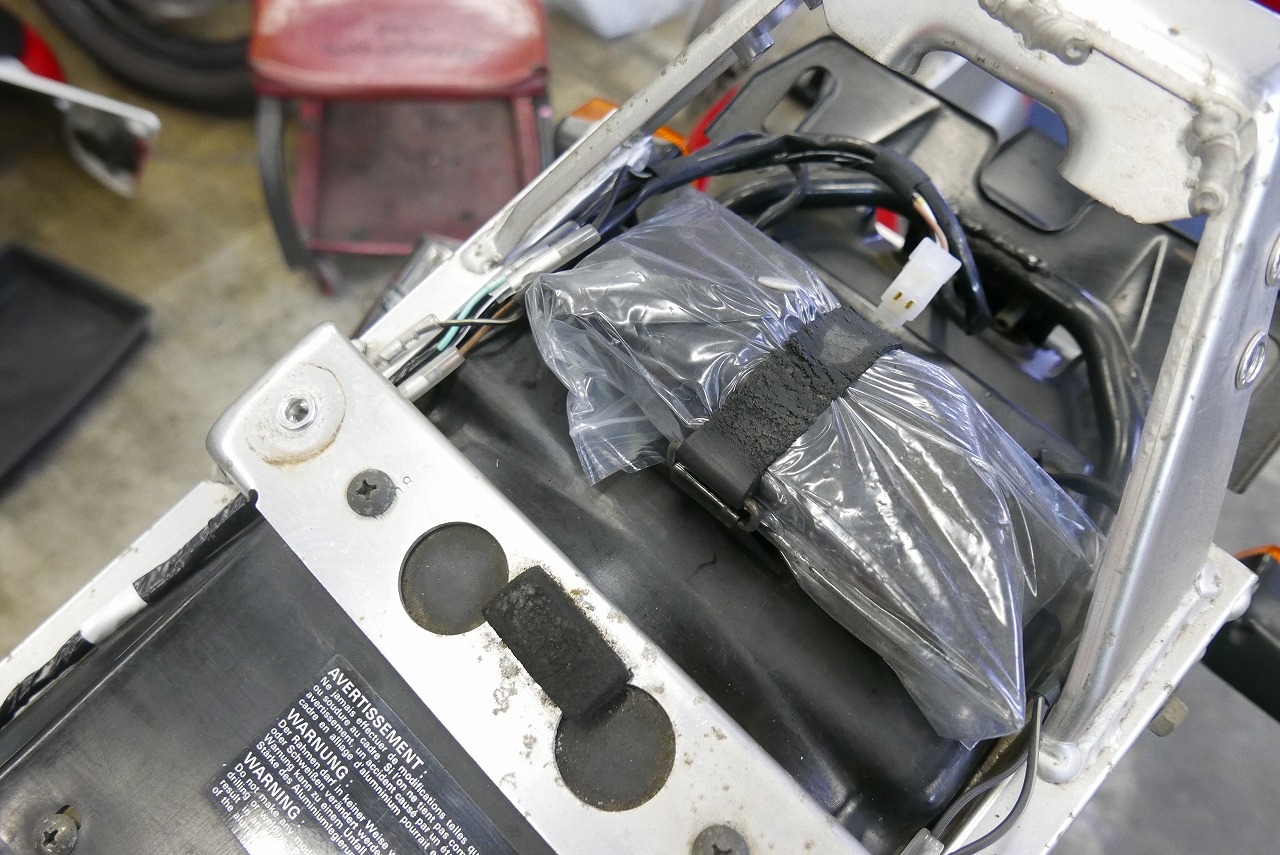
This is work from March, isn’t it… I want to keep uploading, but it takes time = the blog backs up = customers forget about it before it gets posted. That’s how it goes, I guess.I polished the upper cowl stay bracket. Hidden spots and places you can’t reach yourself—that’s our job. We get it done quick and clean.Looking at it this way… the GSX-R1100MN really is well designed. (The upper cowl comes off so easily.) We replaced the light harness. Next.I’m the chairman of the “I hate a dirty sidestand RACING” club. We applied Gun Coat.After replacing the rear suspension, the bike sits lower = we need to add ride height. (*´Д`)If you buy a GSX-R, you should definitely check the generator connector. This one was just barely okay.When you take it off, there’s dust. Just spray it with no-touch cleaner and wipe it down—it shines right up. Efficiency goes up too.As always, we inspect the old and new parts. Let’s save the “going straight in” approach for steakhouses, yeah?That common pink wire—there’s always extra.The turn signal relay ground also has extra. (Might be usable?)The rear brake switch has two circuits, so one becomes unnecessary. Always shield any leftover terminals and connectors. It looks cleaner and makes sense even later on.Things like this egg-shaped object get your heart racing. Is it a praying mantis egg case? When we opened it, it was empty.Lately we also replace the starter relay. We had a bike where the relay suddenly failed and kept spinning even with the main switch off… that’s scary.Jumping ahead a bit. Yoshimura digital temperature gauge installation. This time we made it in titanium. I think it’s better not to stick it on the top bridge if possible—the angle and appearance are much better that way.I thought this could sell… but the clearance between the gauge and top bridge was too tight, so we rejected it.So we installed it like this.We get the oil temperature from the pulser cover side. But I’ve been thinking the wiring layout was awkward for years… then it hit me! We routed the wiring along the cover side with some custom work. This is how it turned out. Not too loose, not too tight.Oh, the undercowl covers it so nobody notices… but like Italian underwear, we improve every millimeter by 1 percent.If you move the ground position forward and chamfer it, you might get about 1 percent more effect. We’re replacing the rear pads, so we’re prepping the rear caliper for cleaning. It was in great condition, which was reassuring.The surrounding parts rust easily, so it’s worth replacing them at regular intervals.We polished the small parts too. For some reason there was an iron washer fixed in there.We also polished around the tandem step. It really looks rejuvenated all at once.We remove the swingarm and get into cleaning. You might think “ugh,” but if you just wipe it down with a rag soaked in solvent, it’s not that much trouble.Bikes from this era really have grease packed in. Even after nearly 30 years, it’s still in this condition. Well, this isn’t a spot that spins constantly, so as long as it’s lubricated, it doesn’t wear much.We pull the bearings out quickly… and preferably heat them first before pulling.We prep everything. The link gets polished smooth and shiny.Parts we reuse get polished and Gun Coated. I hate to mention it, but… pivot shafts are often discontinued. Watch out for that.This time we’re installing OHLINS. We’re grateful they still have settings for this bike.We usually pre-assemble the rear suspension and thread it in. Covering it helps prevent scratches.By this era, they already had adjustable pivot width, which is really convenient.Chain puller under 1000 yen. Plated for that price… Suzuki is amazing.It’s good to check the wheel bearings too for peace of mind.Watch out for the front floating rotor. It has a double safety structure: bolt + lock nut + cotter pin. When working on the link area, it’s clean and safe to replace the bolts and lock nuts.
The rear suspension free length got a bit longer = the bike sits lower on the sidestand = it’s a pain to pick up. We adjusted the ride height.
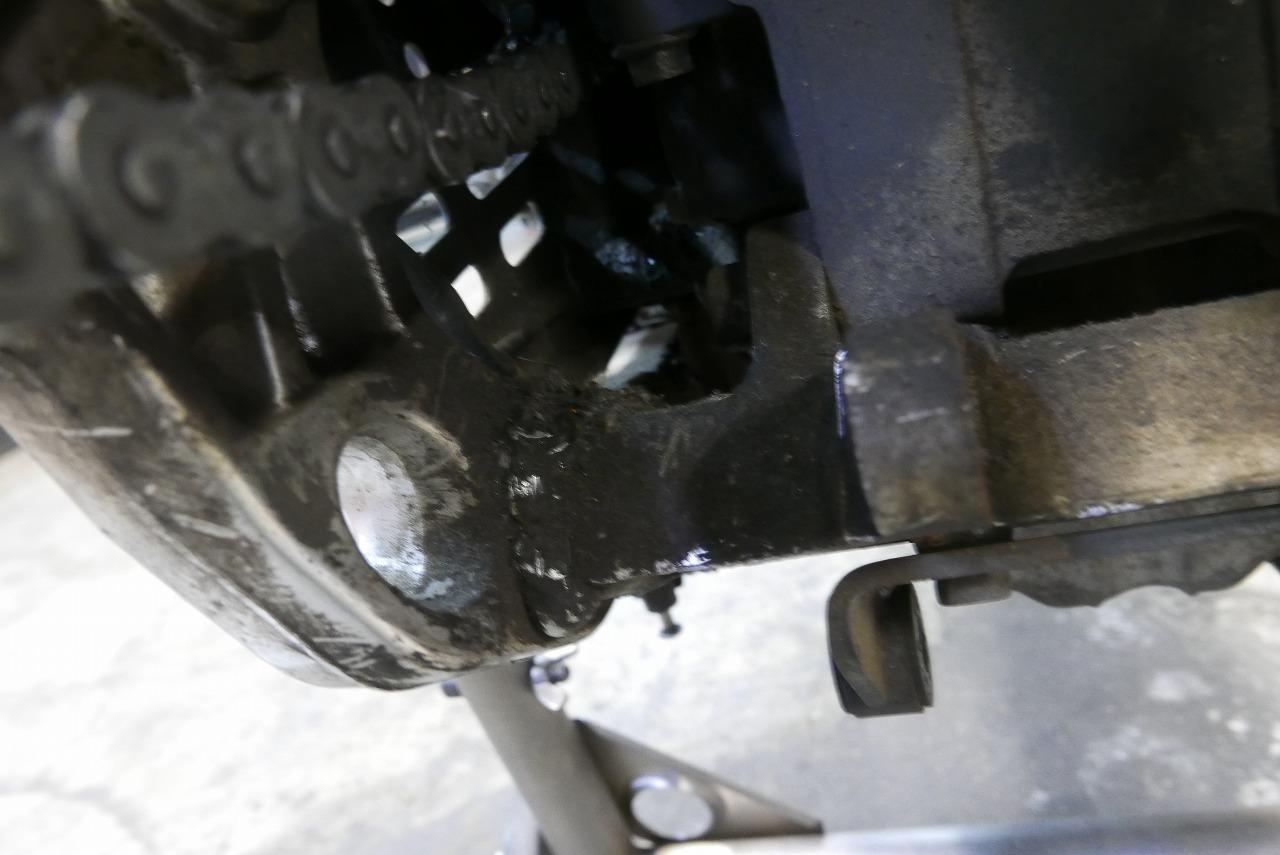
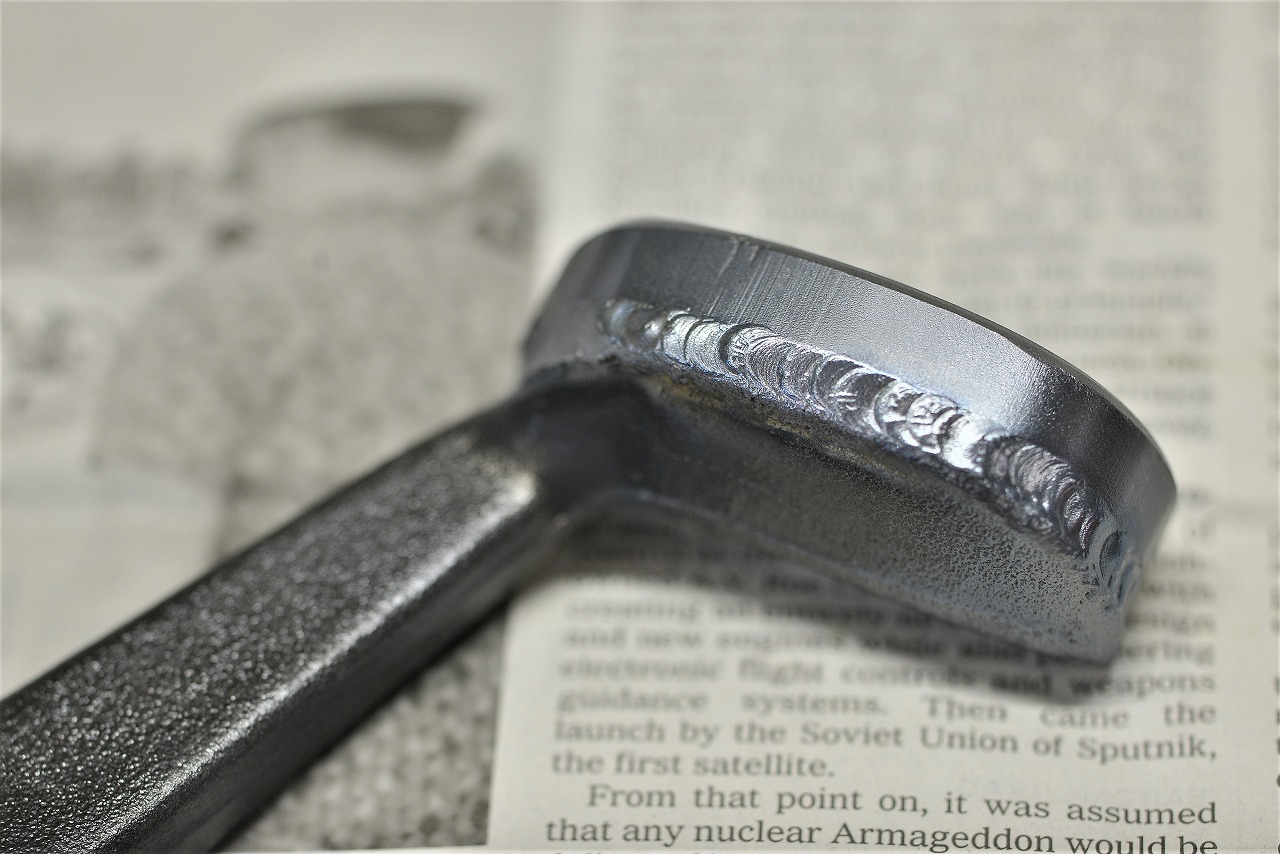
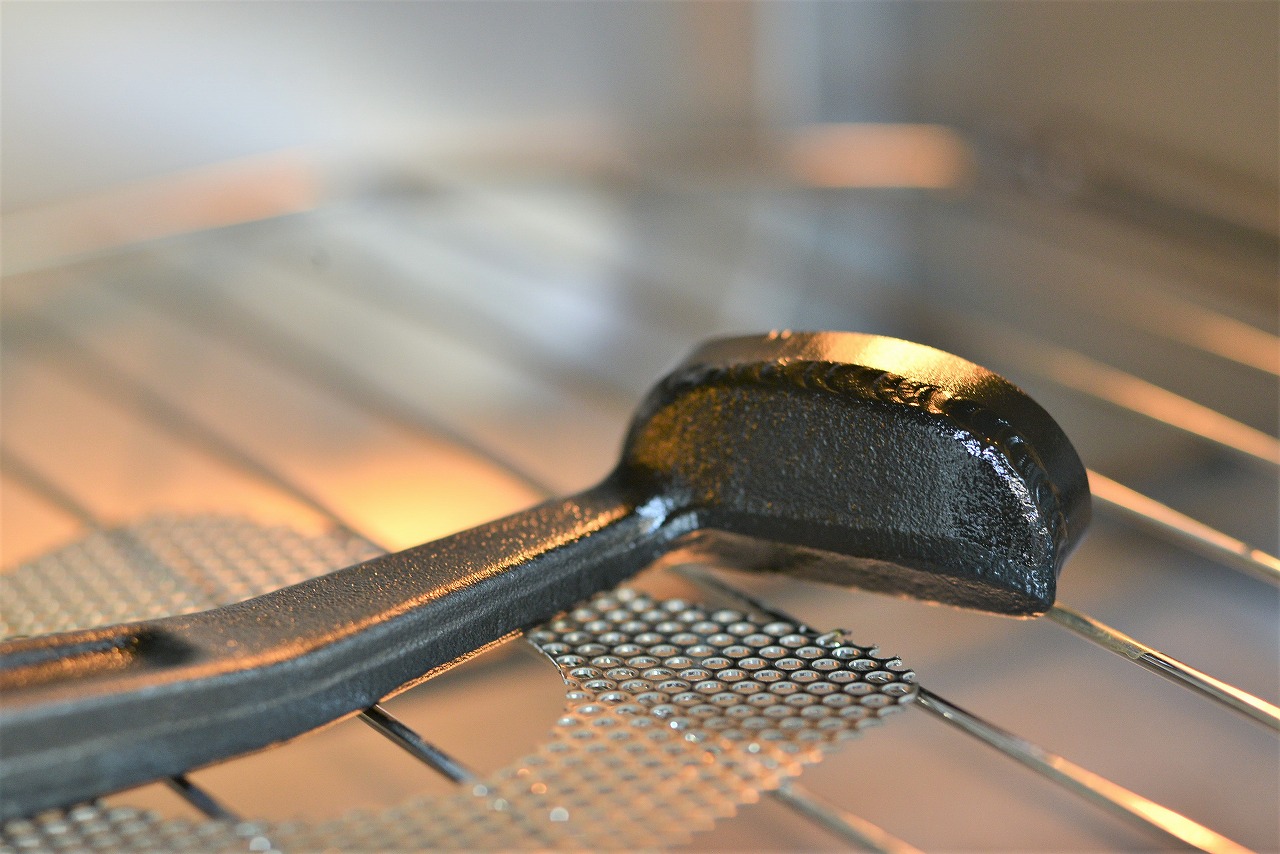
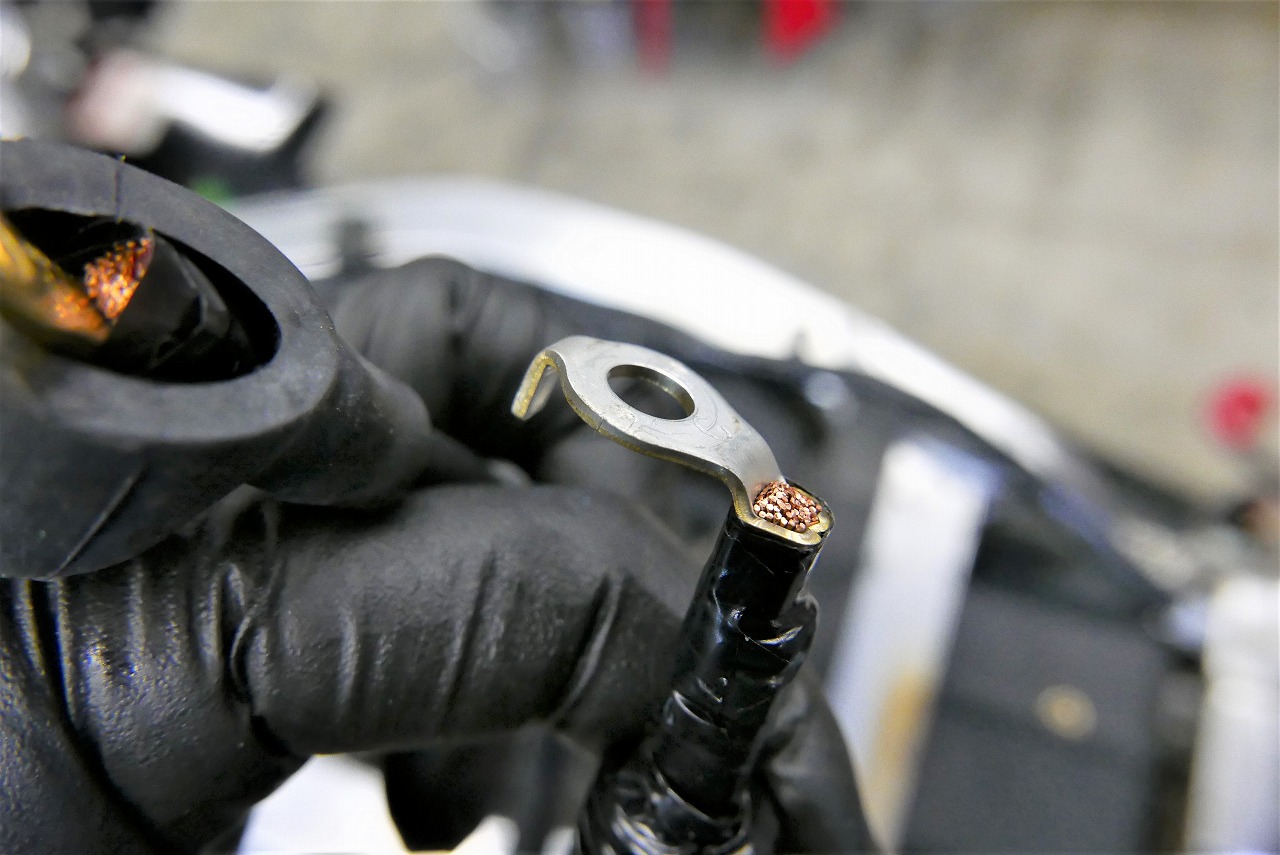
Ugh, I painted it already…We scraped off the minimum paint and welded. Gun Coat is heat-resistant—I was oddly impressed.One more bake and we’re done.Jumping back a bit. The starter lead wire is discontinued now. We do so many harness replacements that we reuse parts.
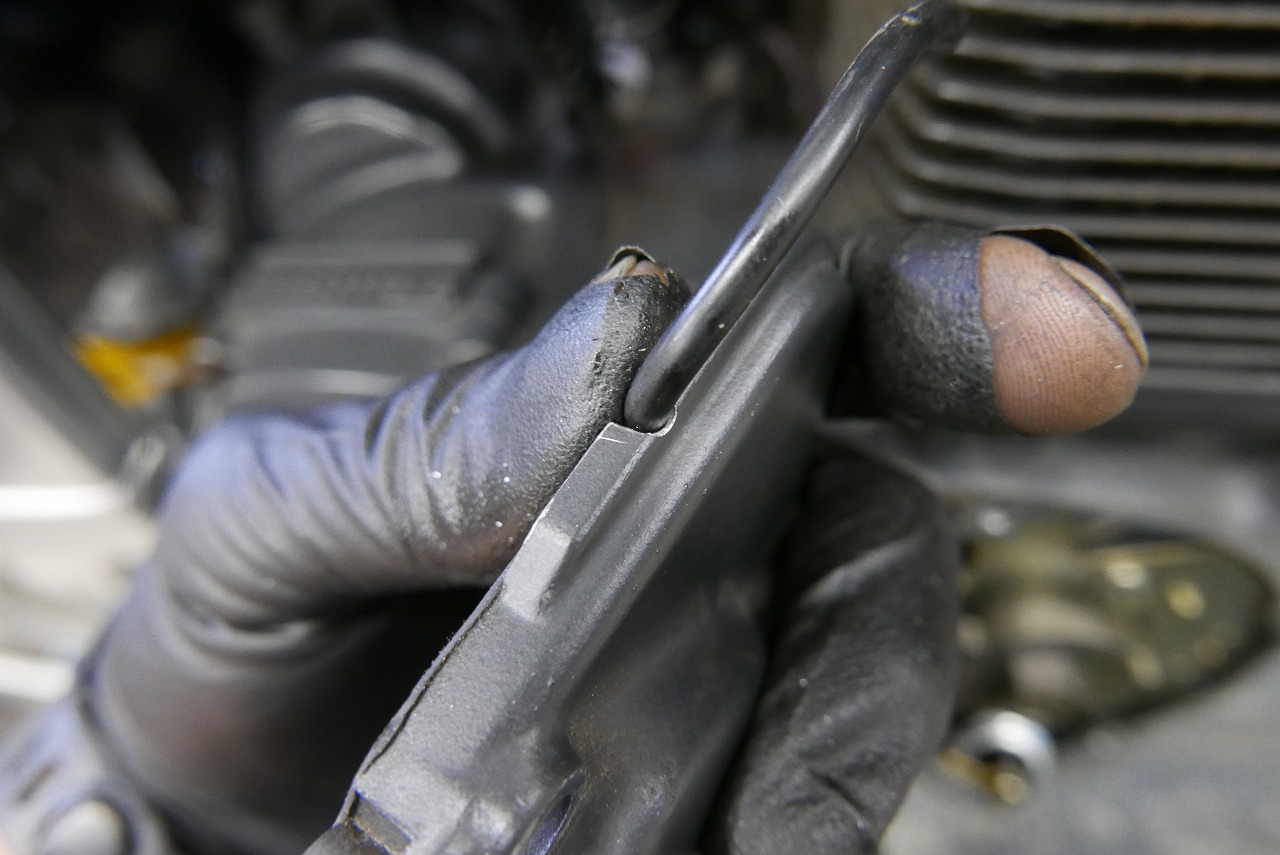
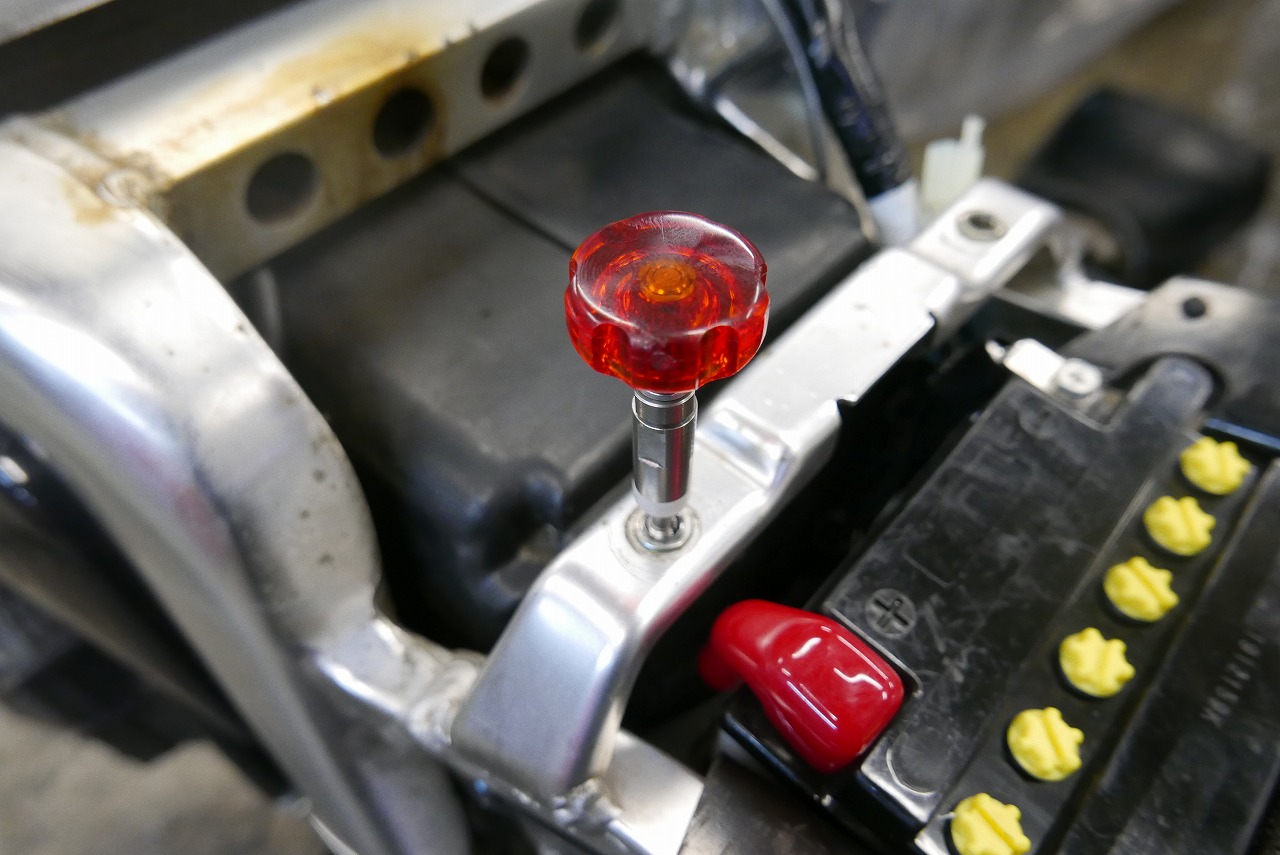
Small details like this anti-rotation feature are super important. Manufacturers are amazing.When we removed the tank, a nut fell off. Hmm… I wonder if people notice but just use a long bolt with a nut instead. It only takes a few minutes, but it saves trouble down the road. Small things add up.We try to keep things neat, but we don’t bundle or tie things too tightly. We don’t route through hard-to-reach spots. I prioritize serviceability first, appearance second.