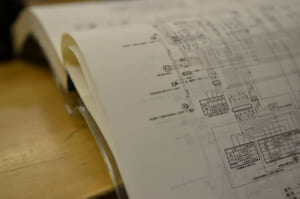
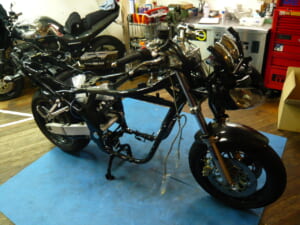
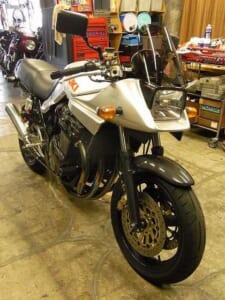
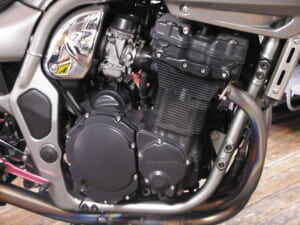
The bike has a charging problem—the battery dies while riding. That’s a bit scary, so let me check it out carefully. I didn’t just swap it out right away. First, I checked the generated voltage at the battery checked the generated voltage at the regulator verified the regulator ground is solid checked the three-phase AC voltage from the generator across A-B, A-C, and B-C checked for battery-side current leakage
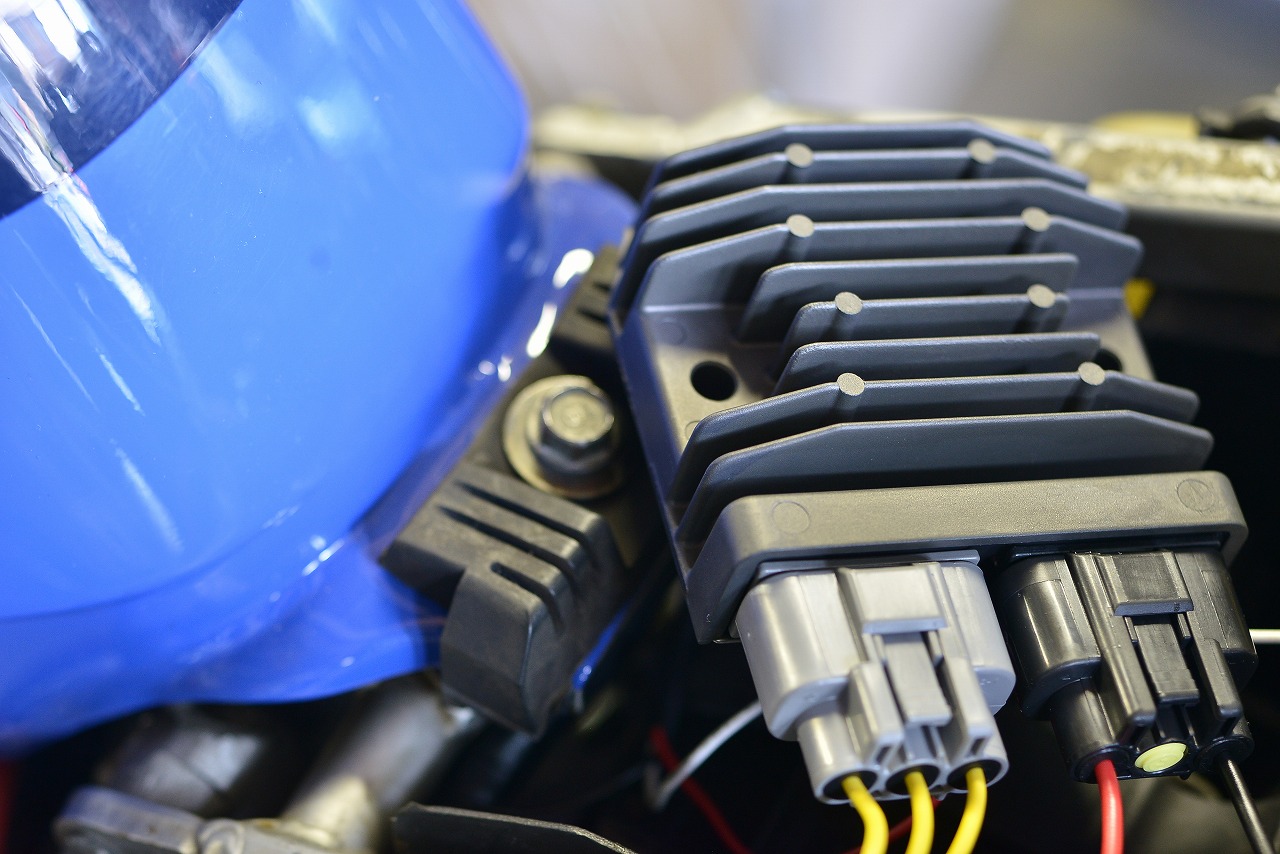
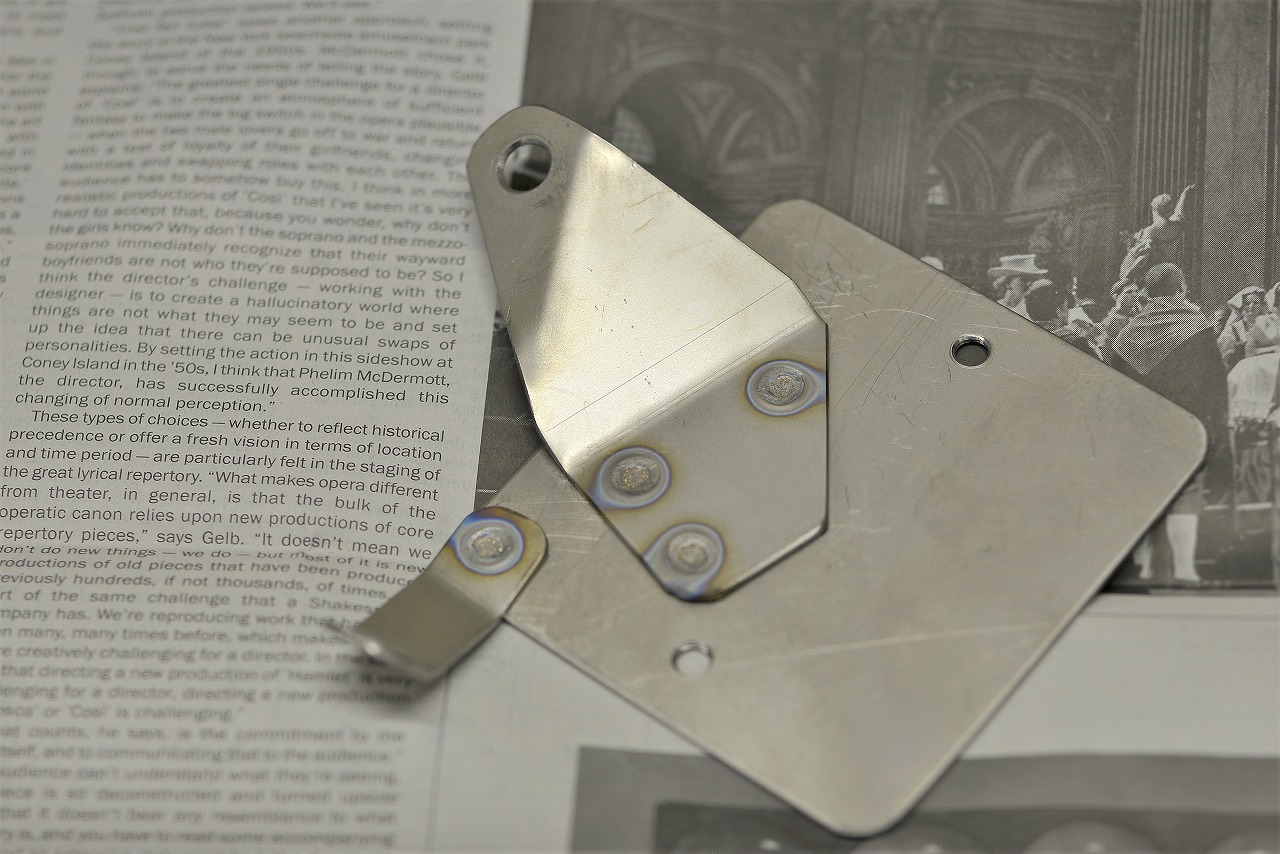
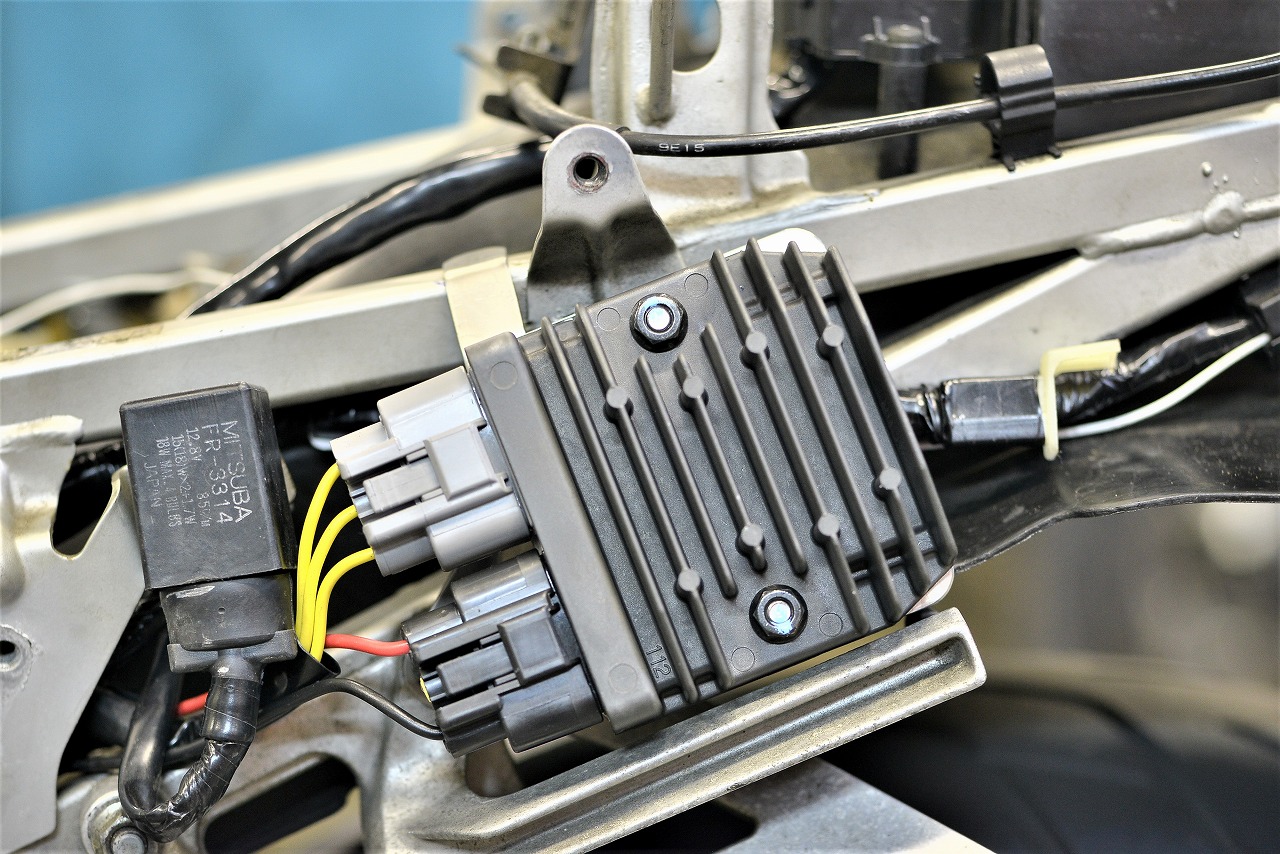
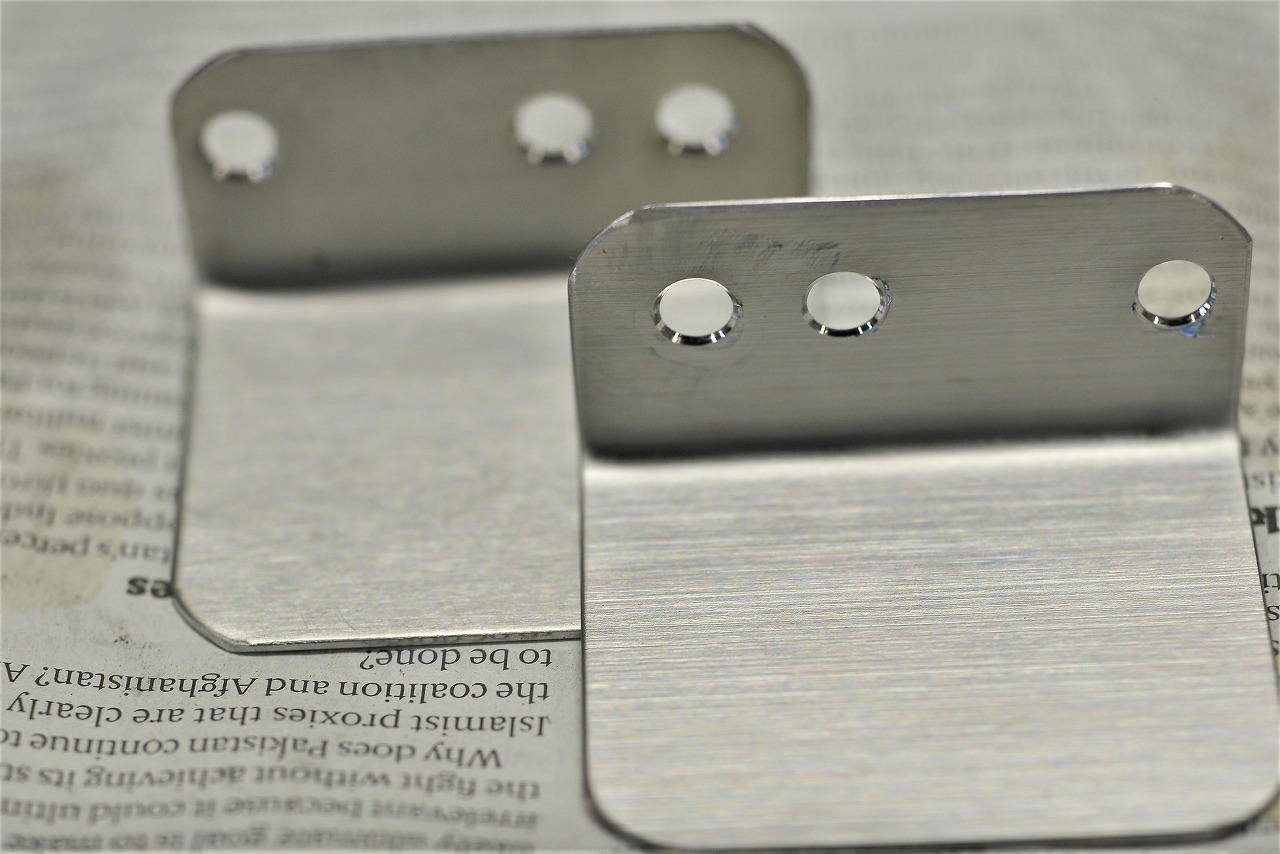
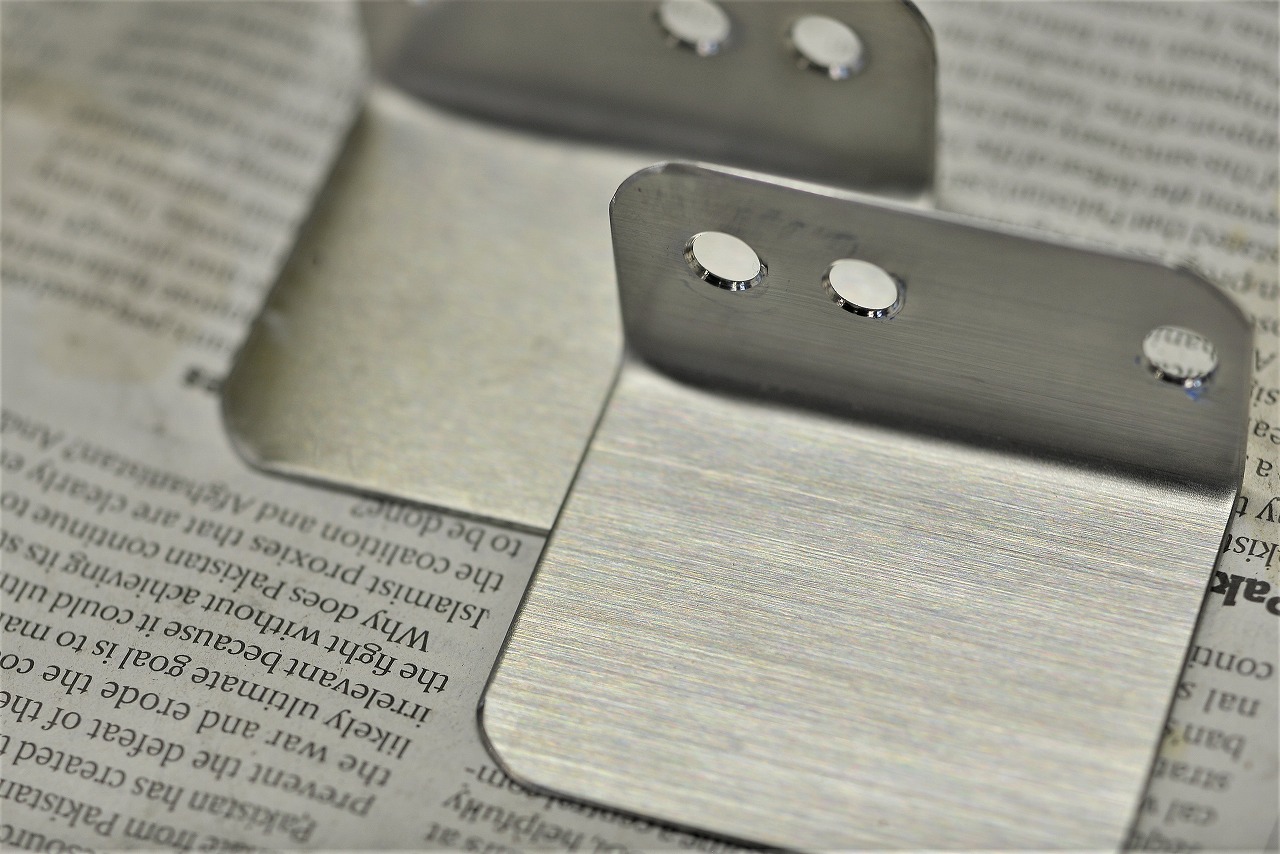
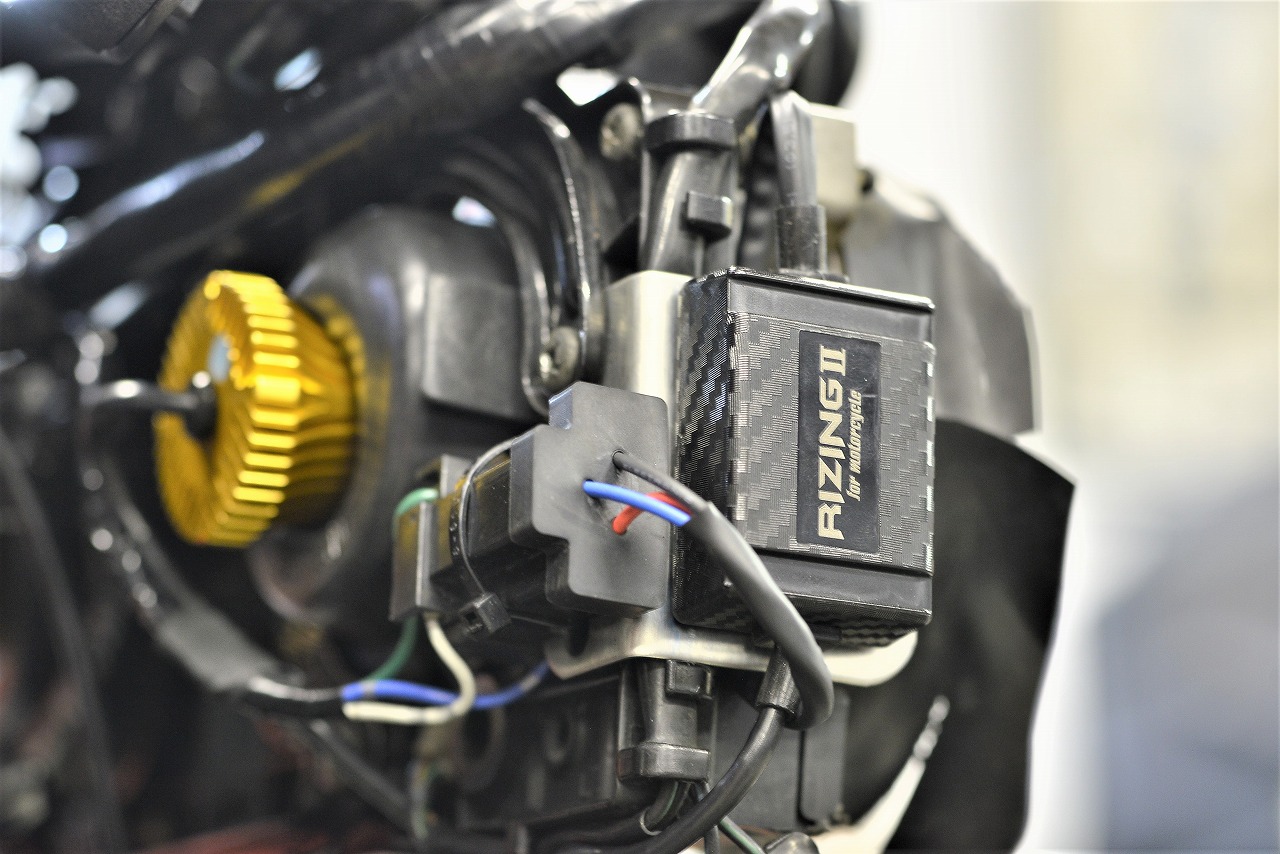
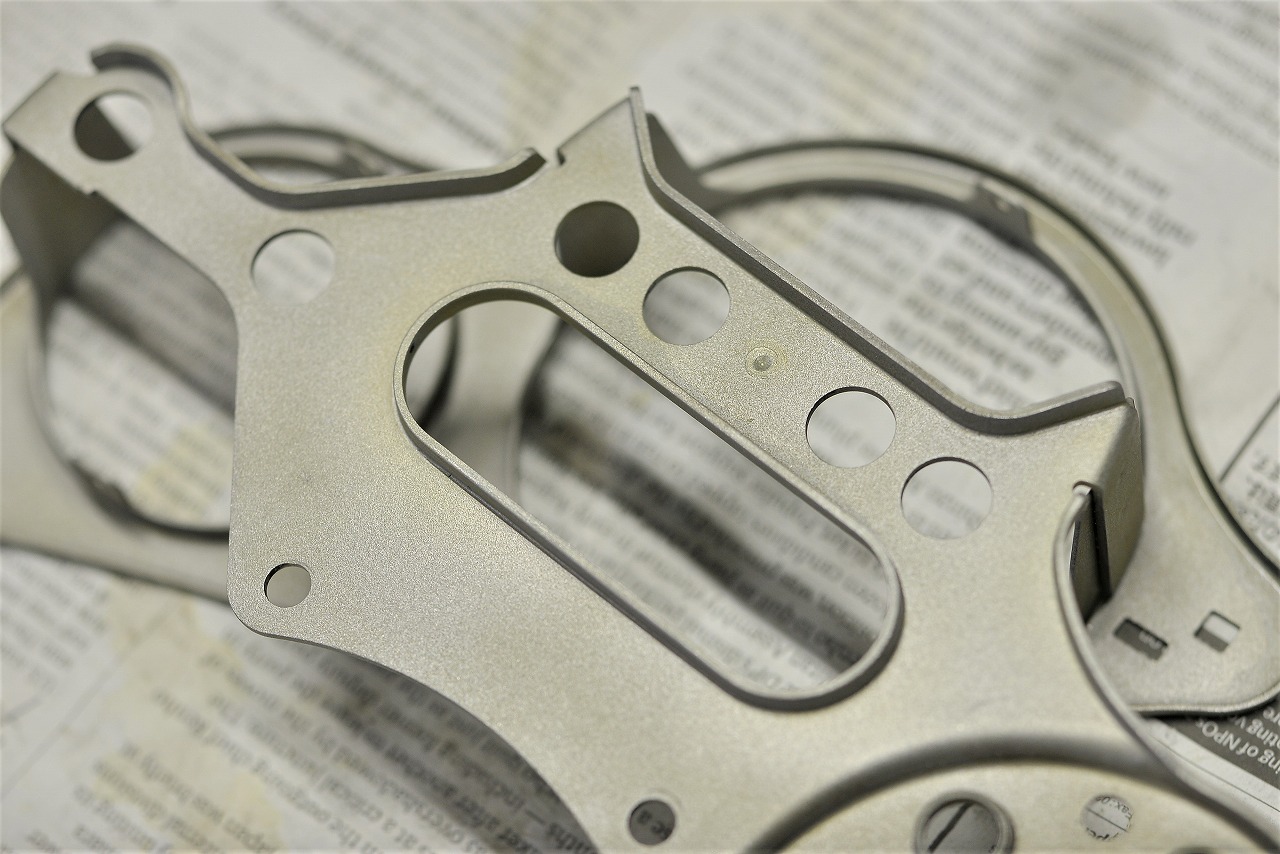
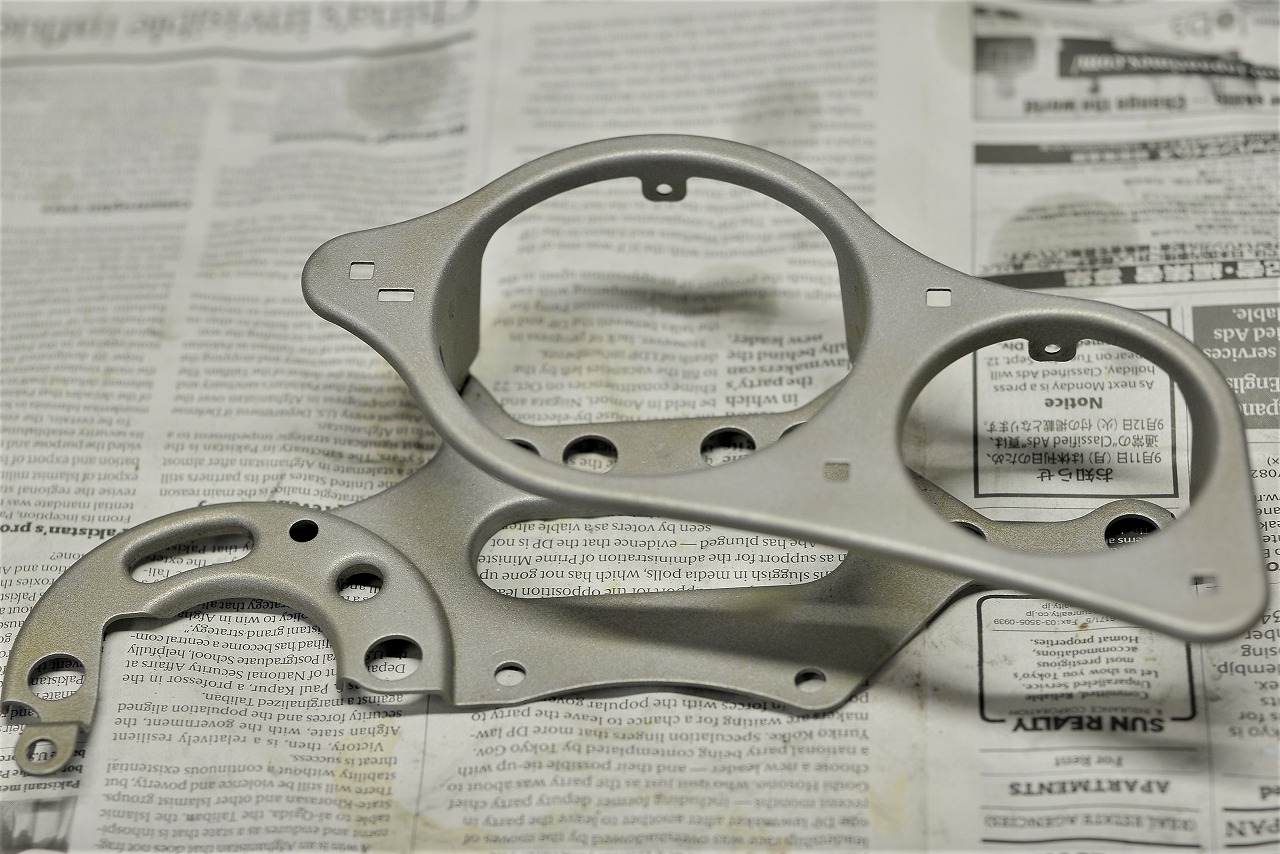
The voltage regulation wasn’t working—it was too low. So I temporarily installed a new regulator to check. It climbed to over 14 volts, so that was it! Problem solved. The shape is a bit tricky. Space is tight on this bike. I really have to say, spot welding is amazing. This time I made it from grade 2 titanium (does it cool faster?).
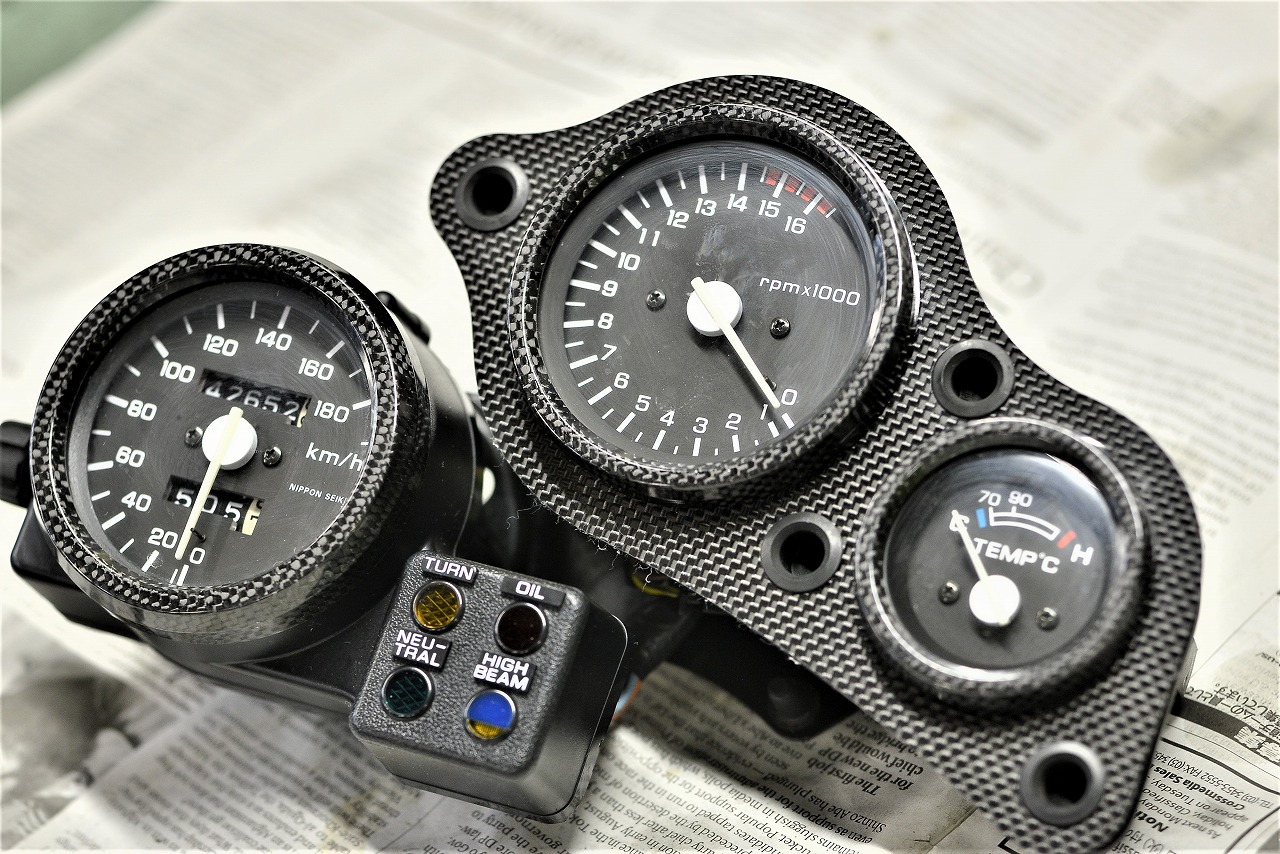
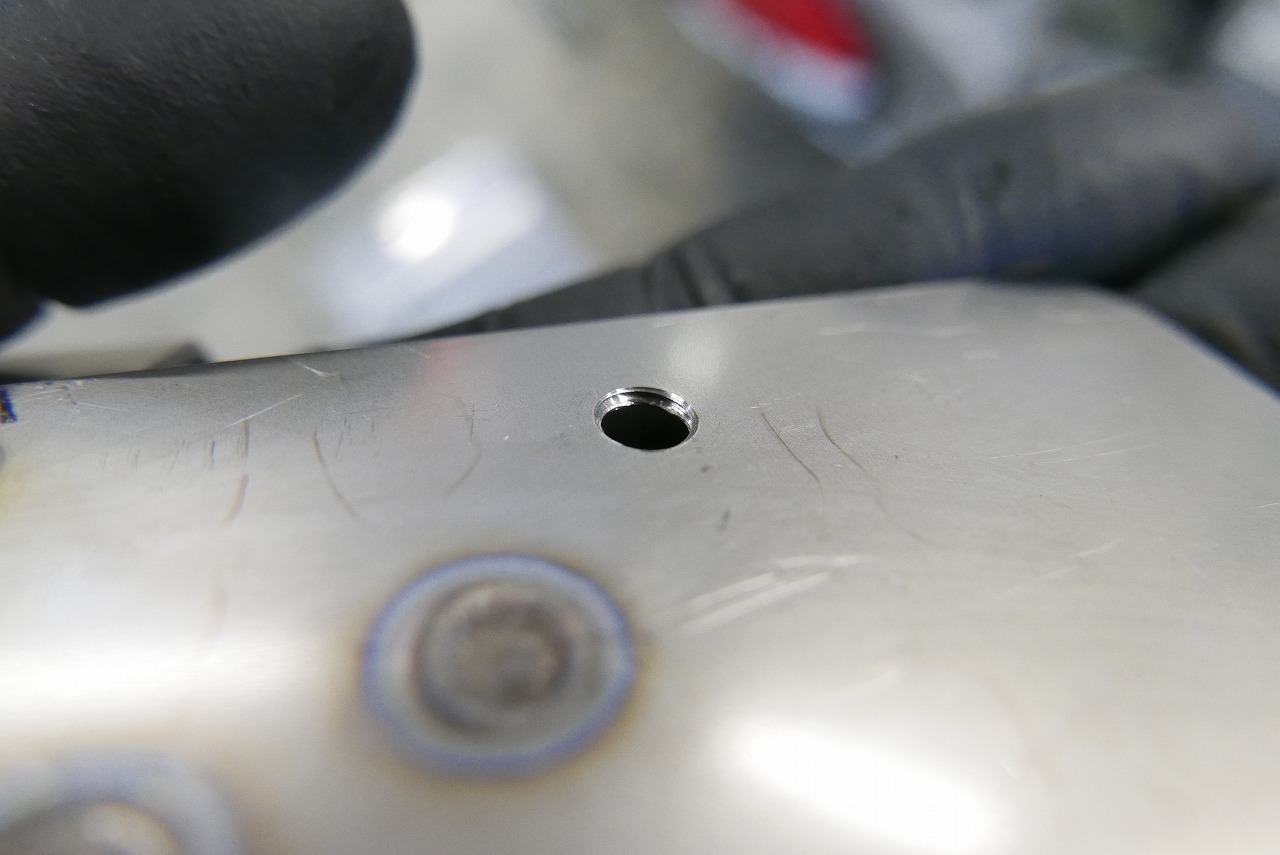
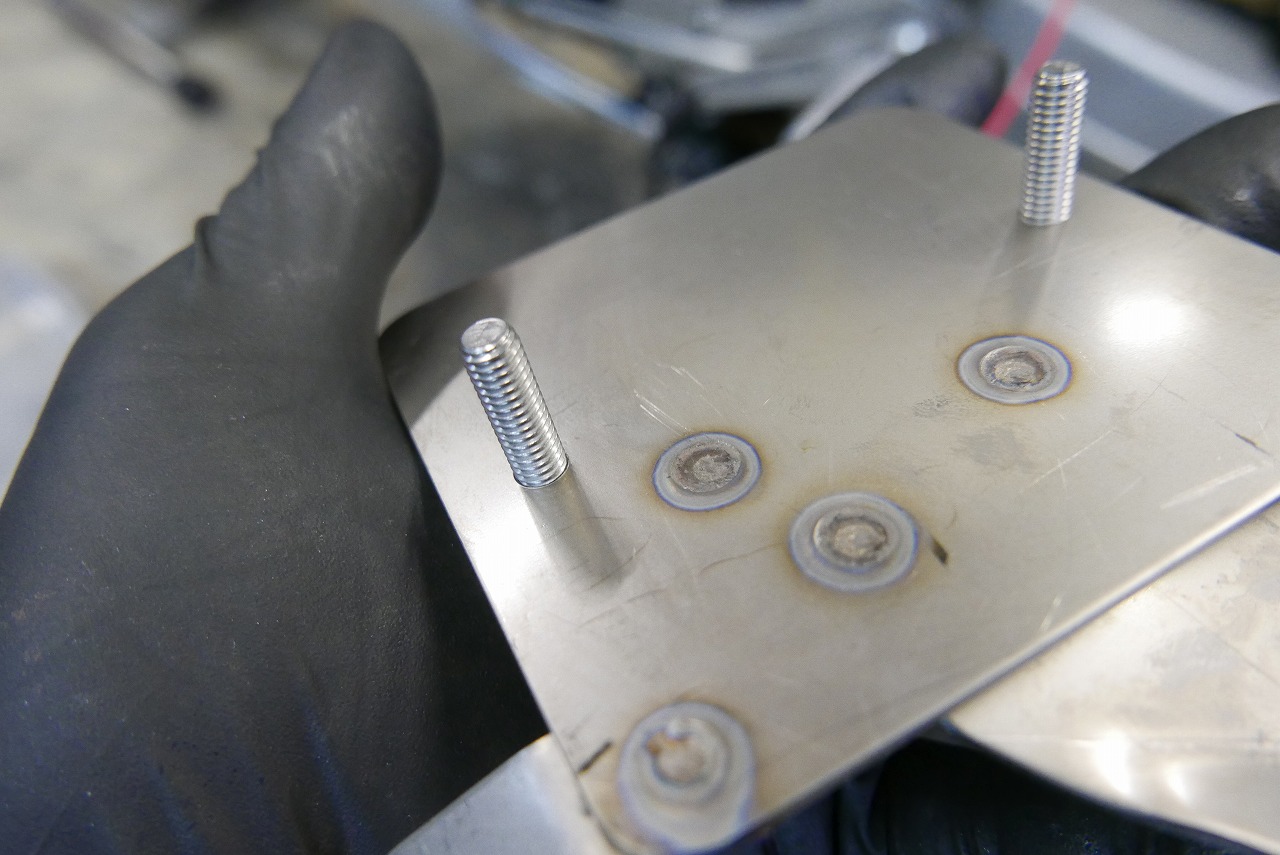
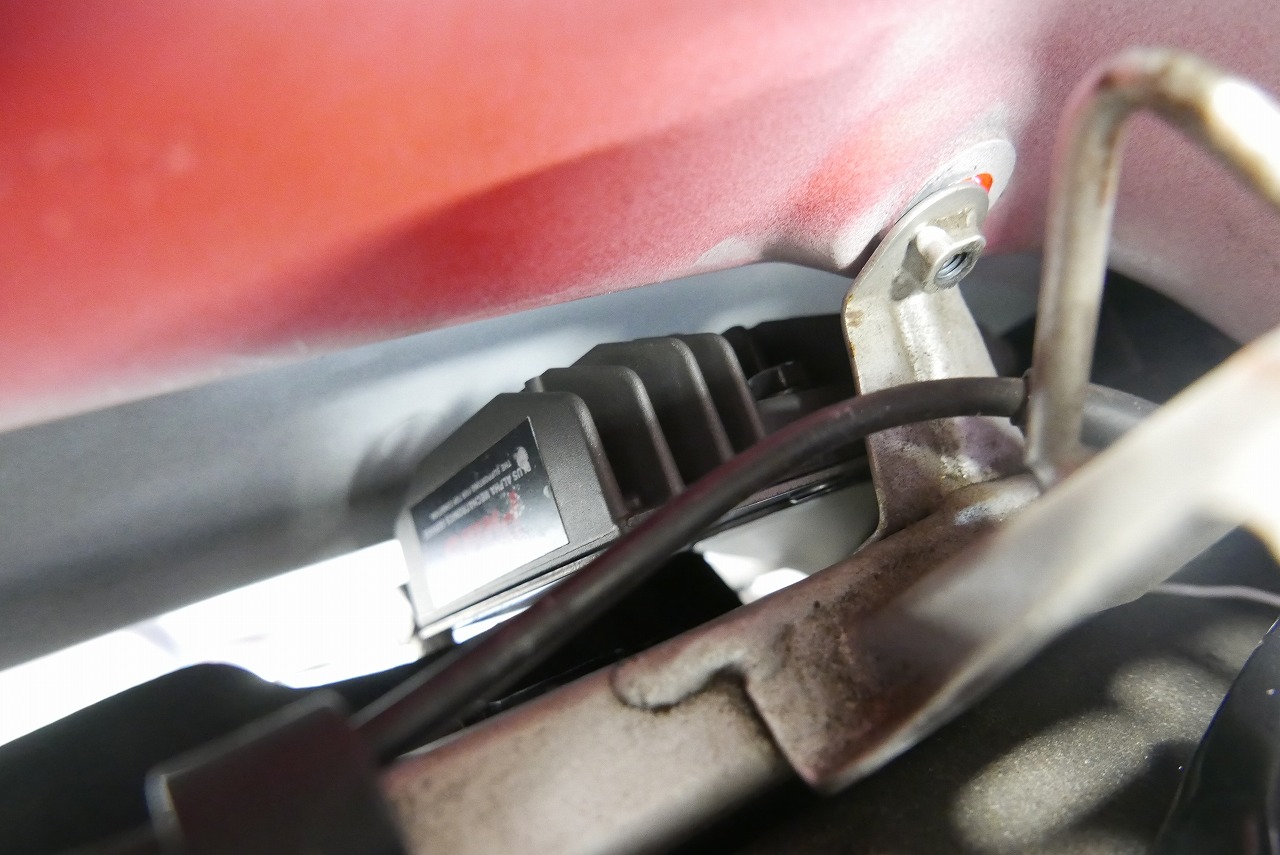
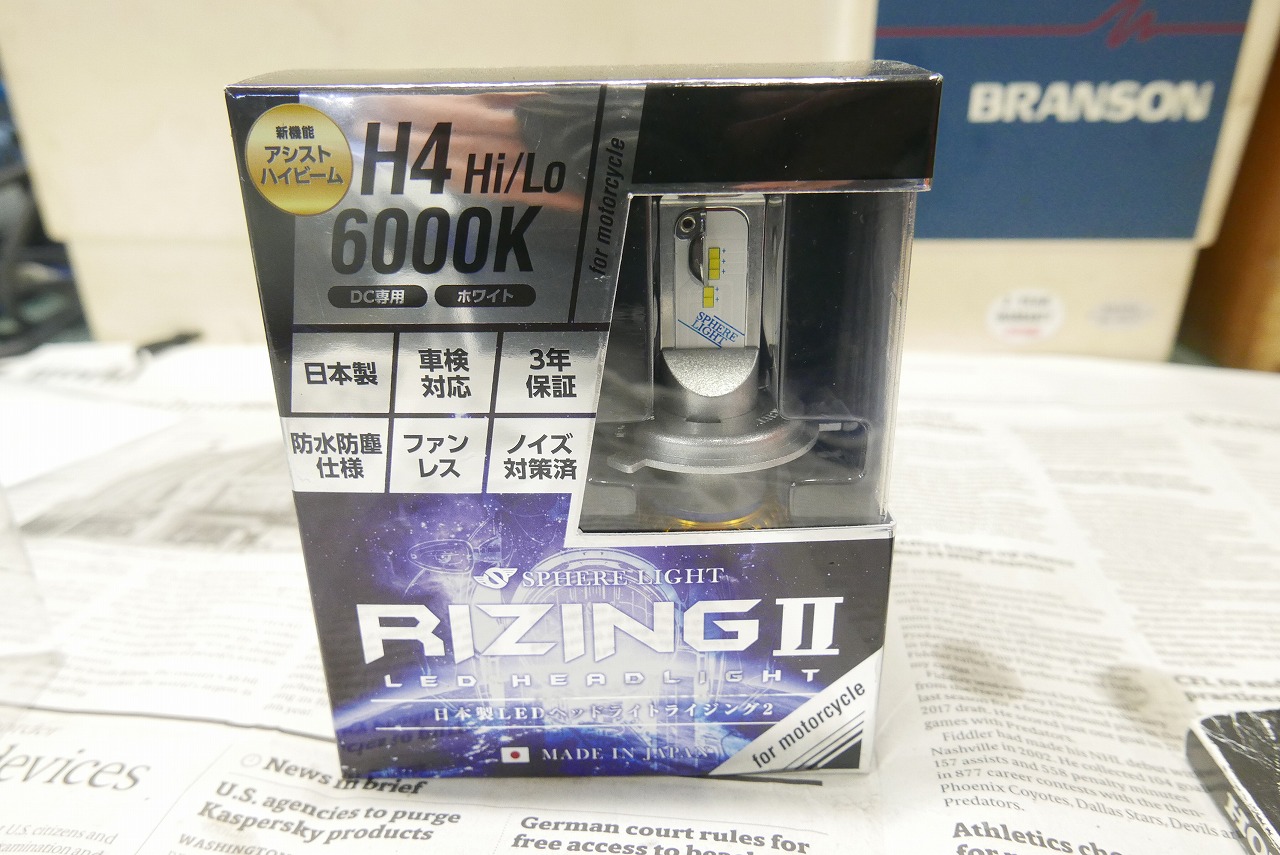
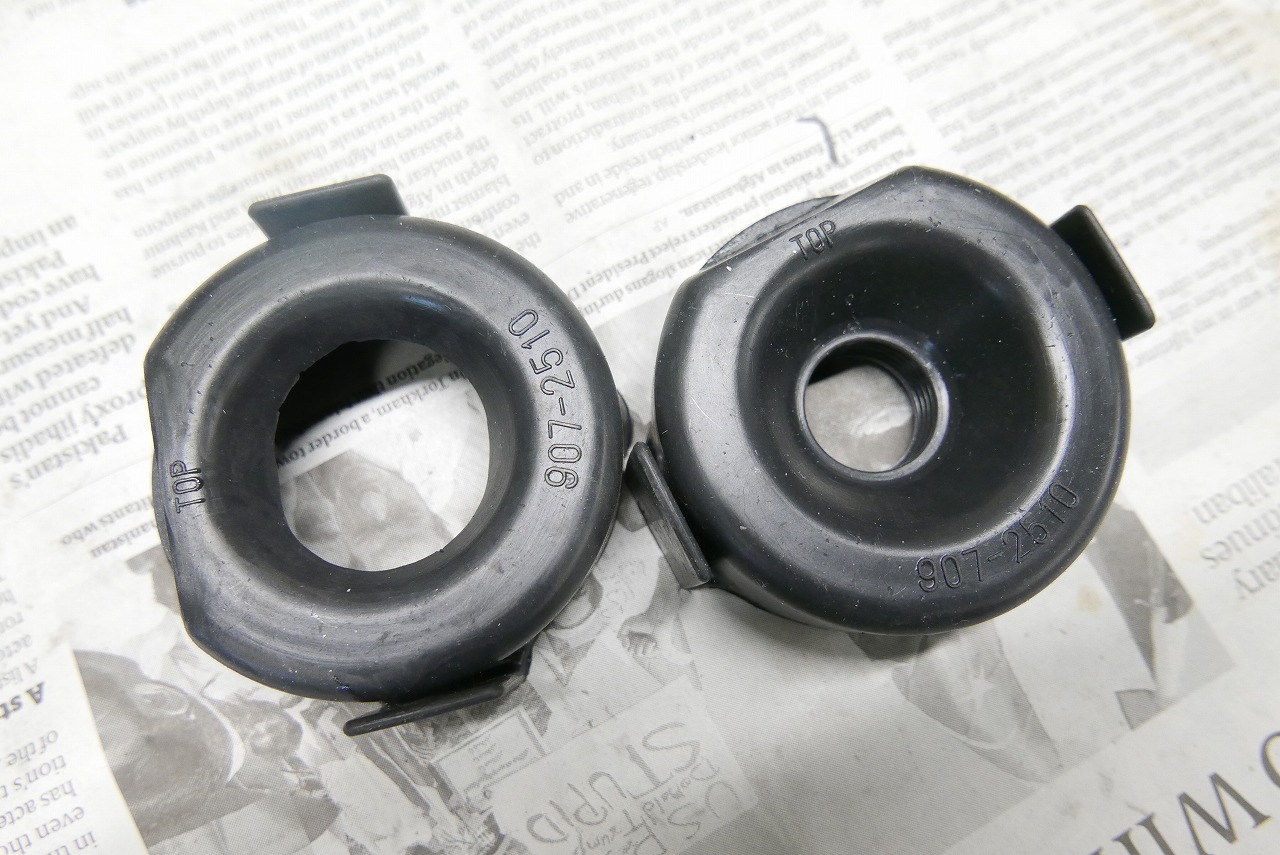
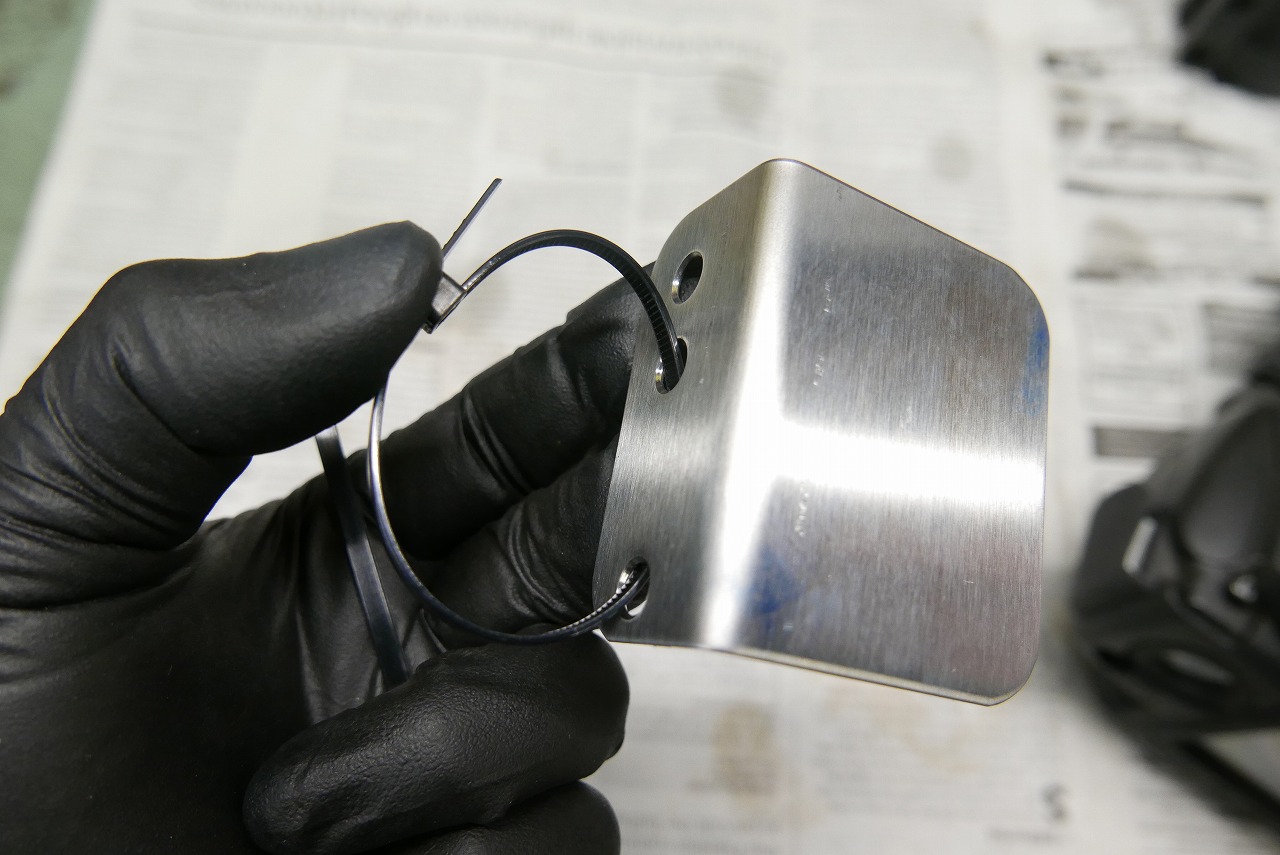
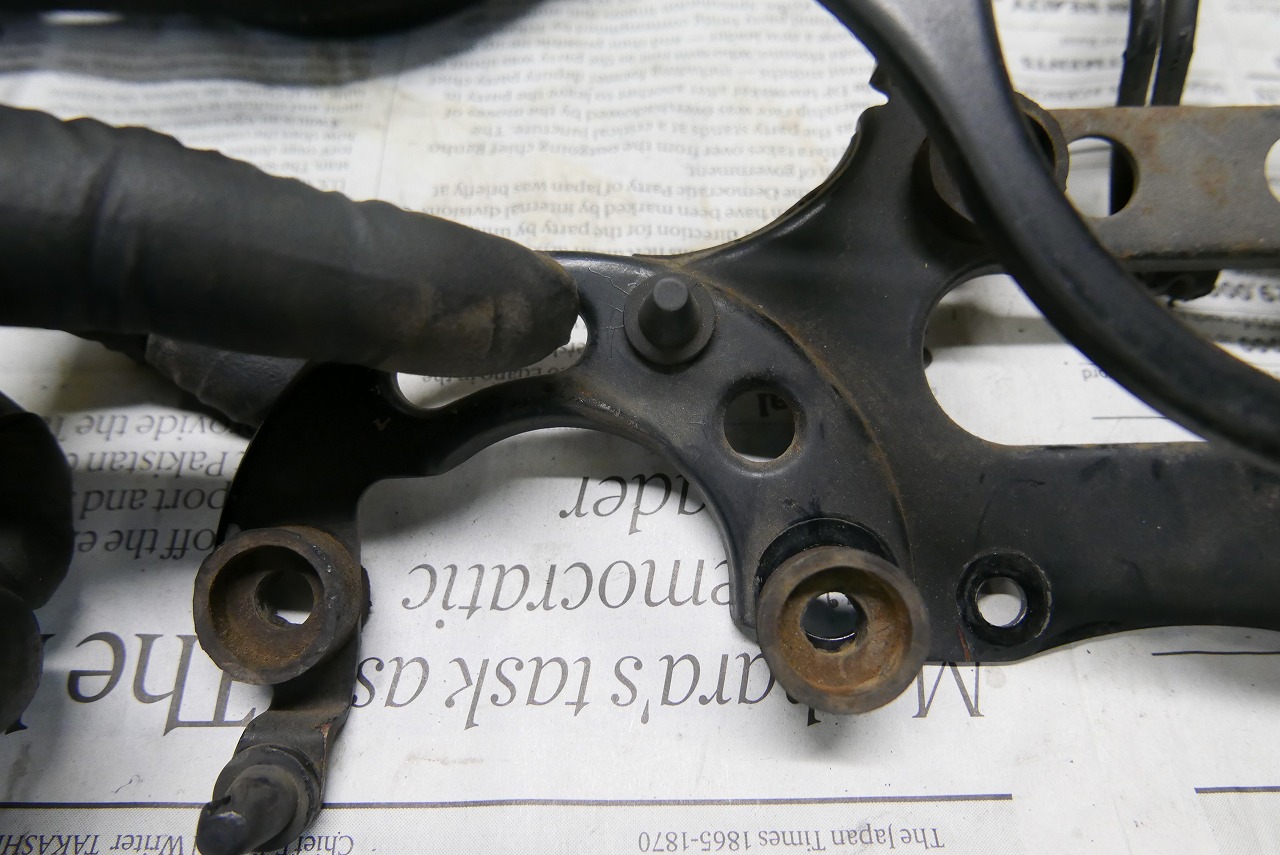
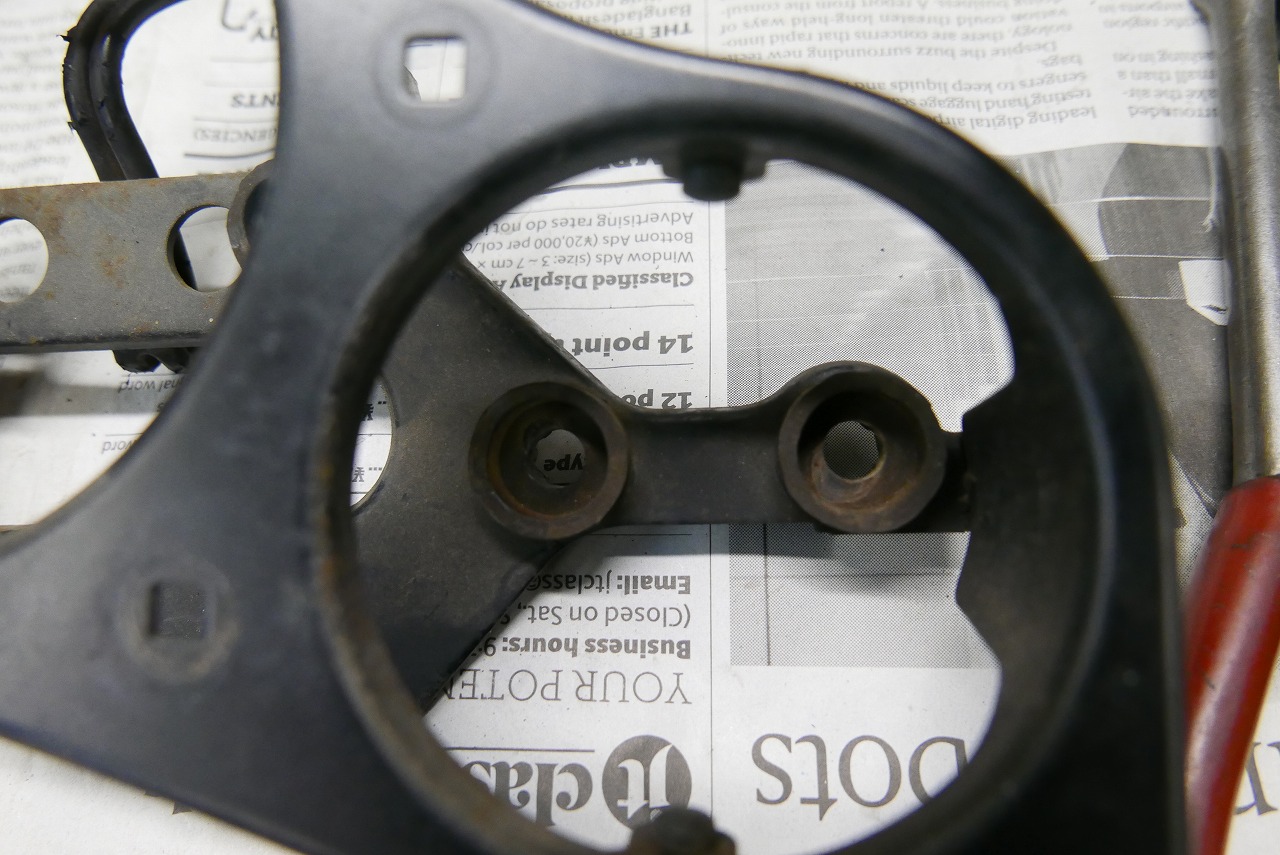
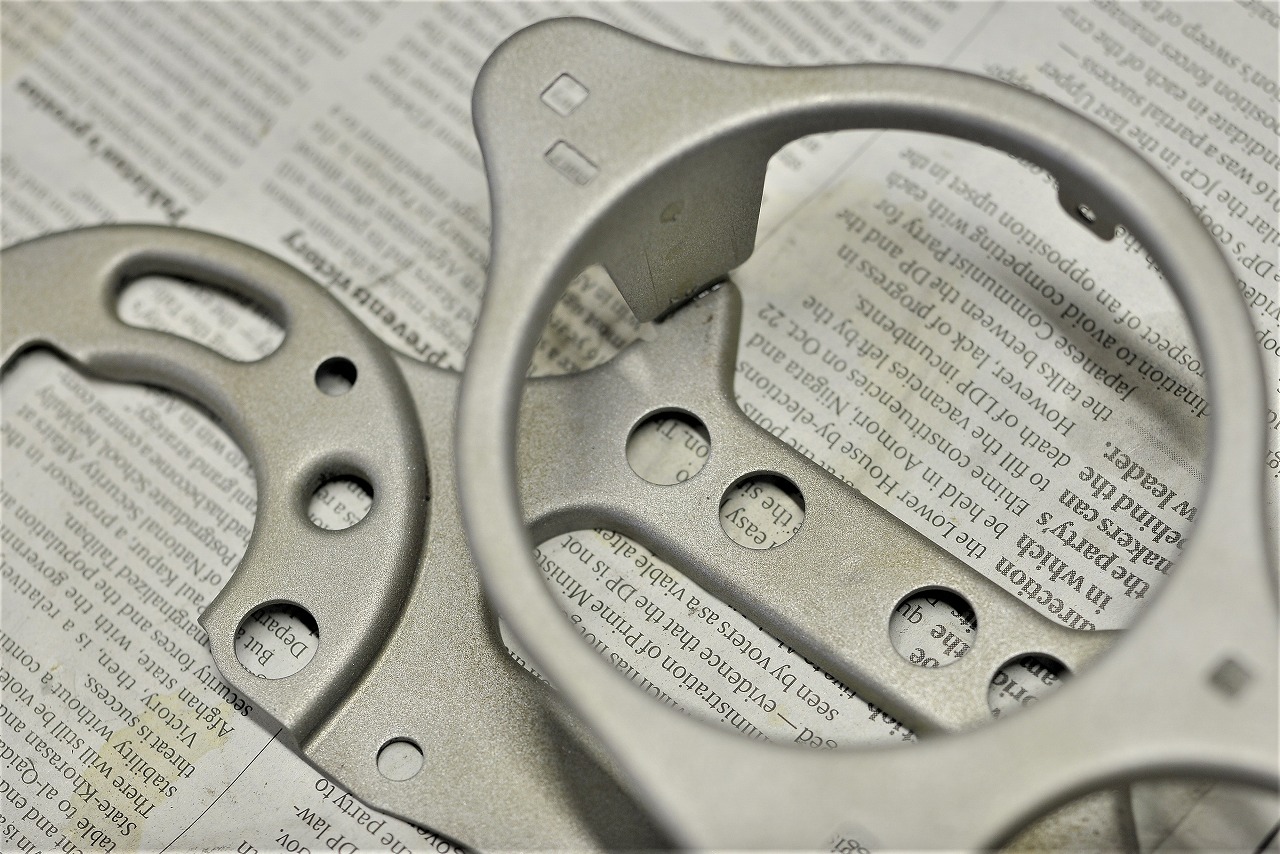
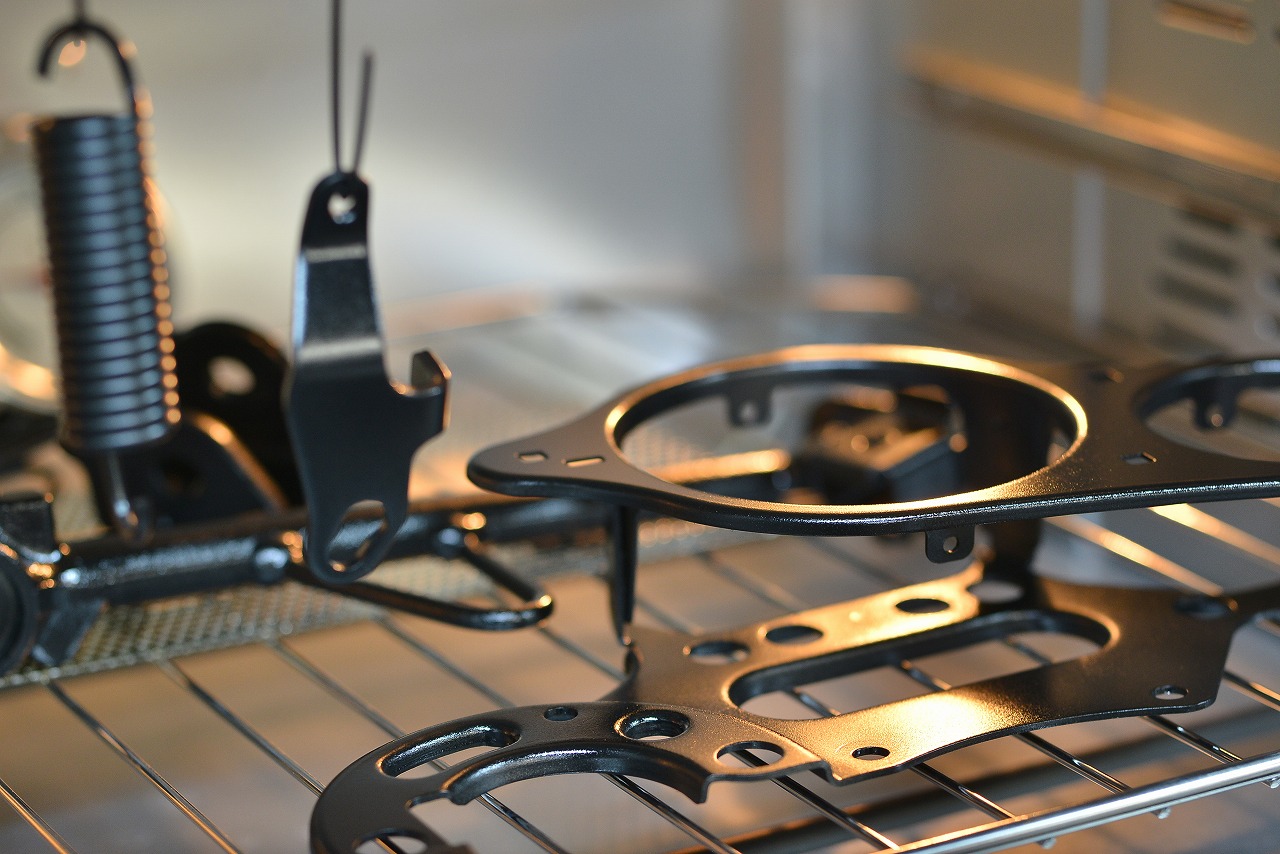
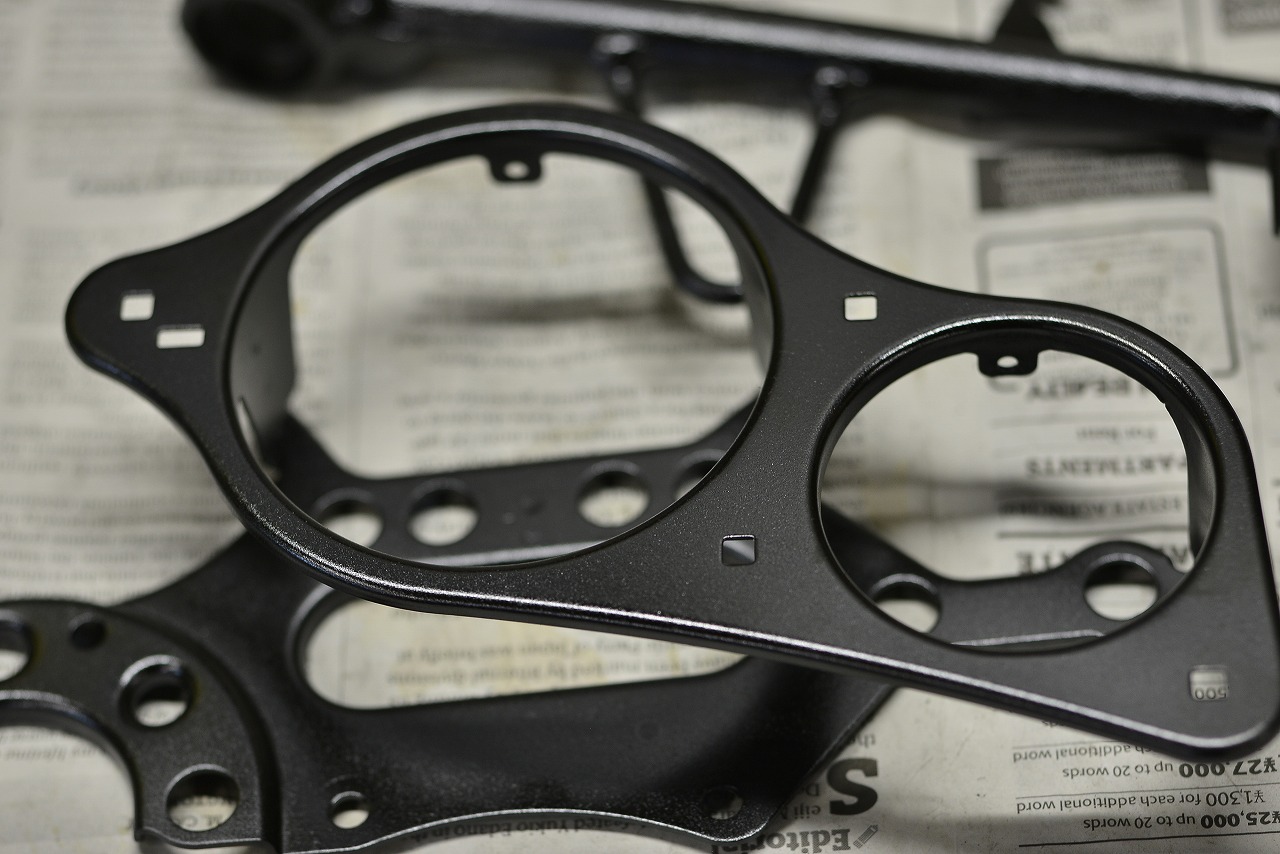
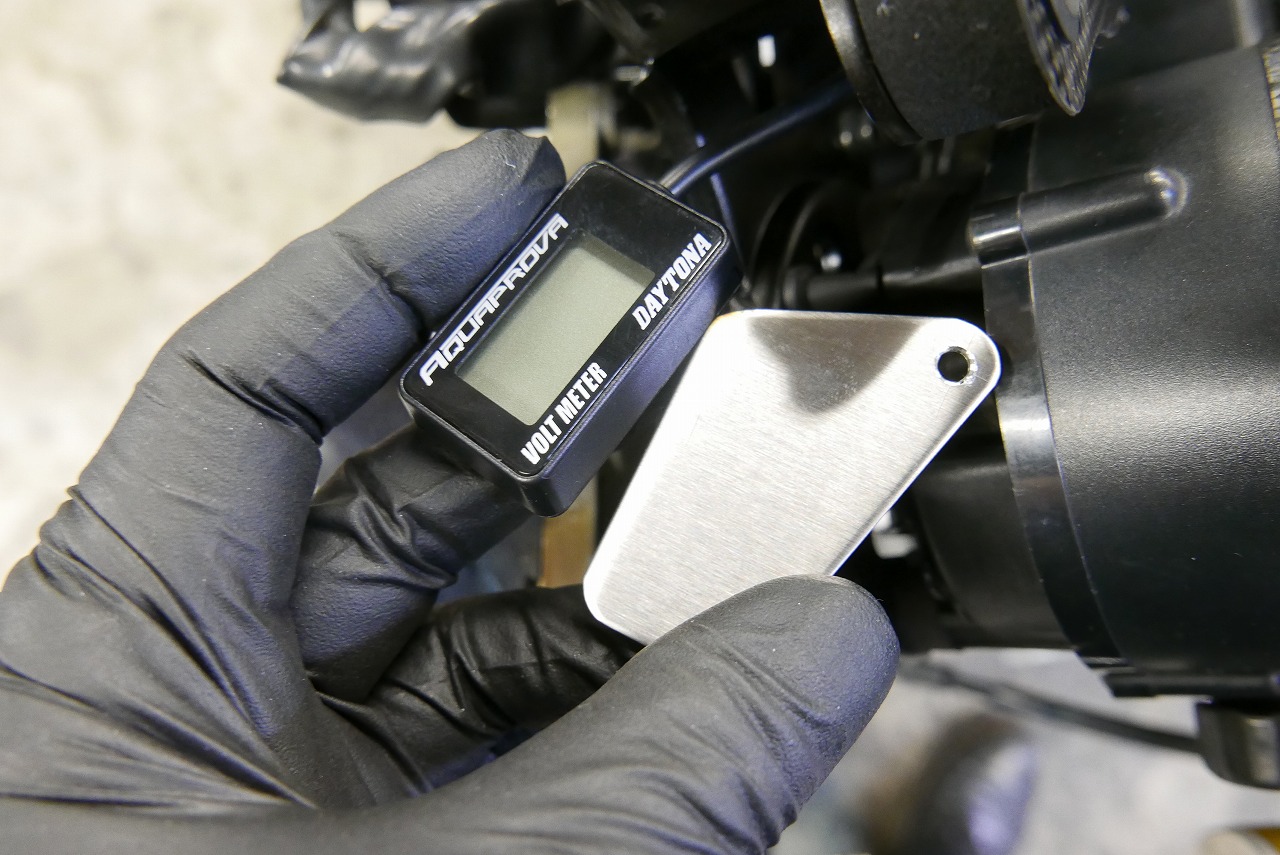
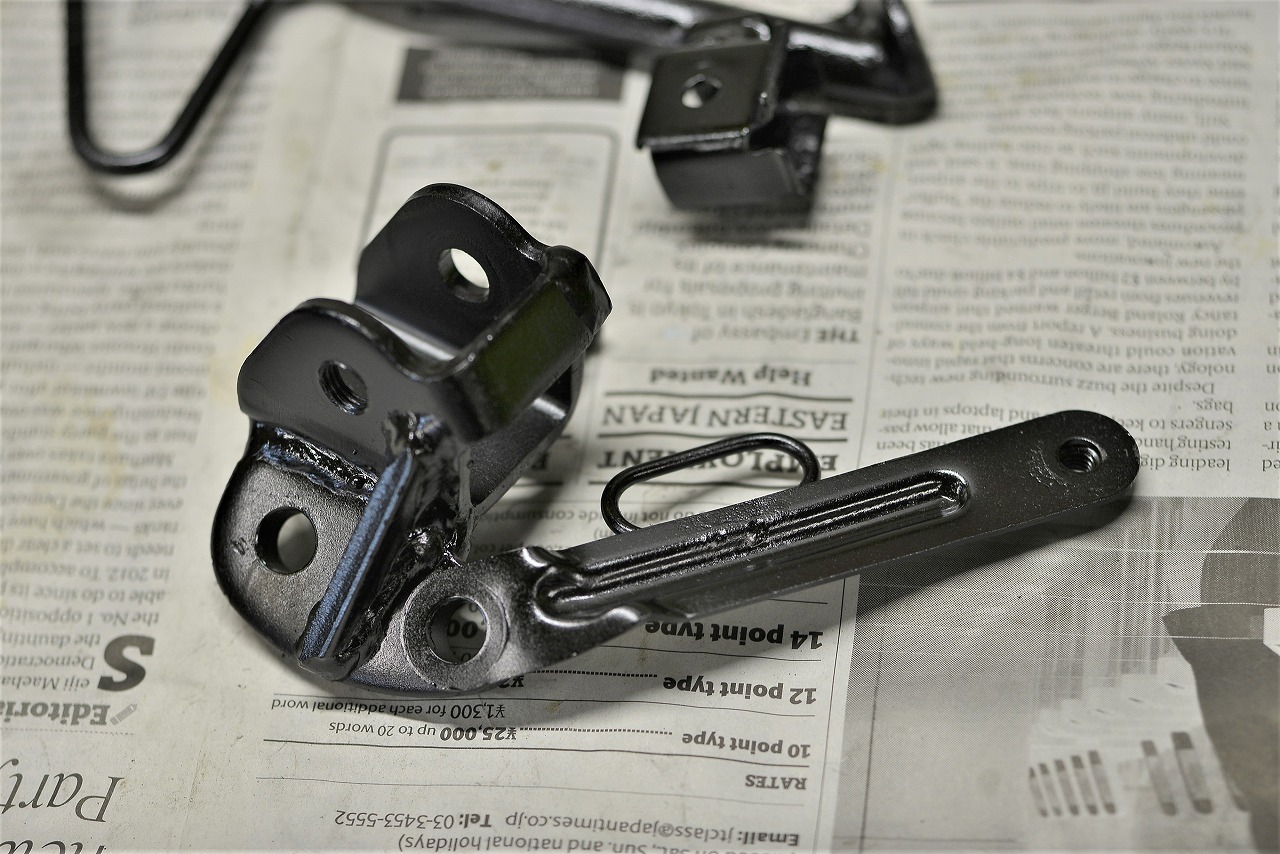
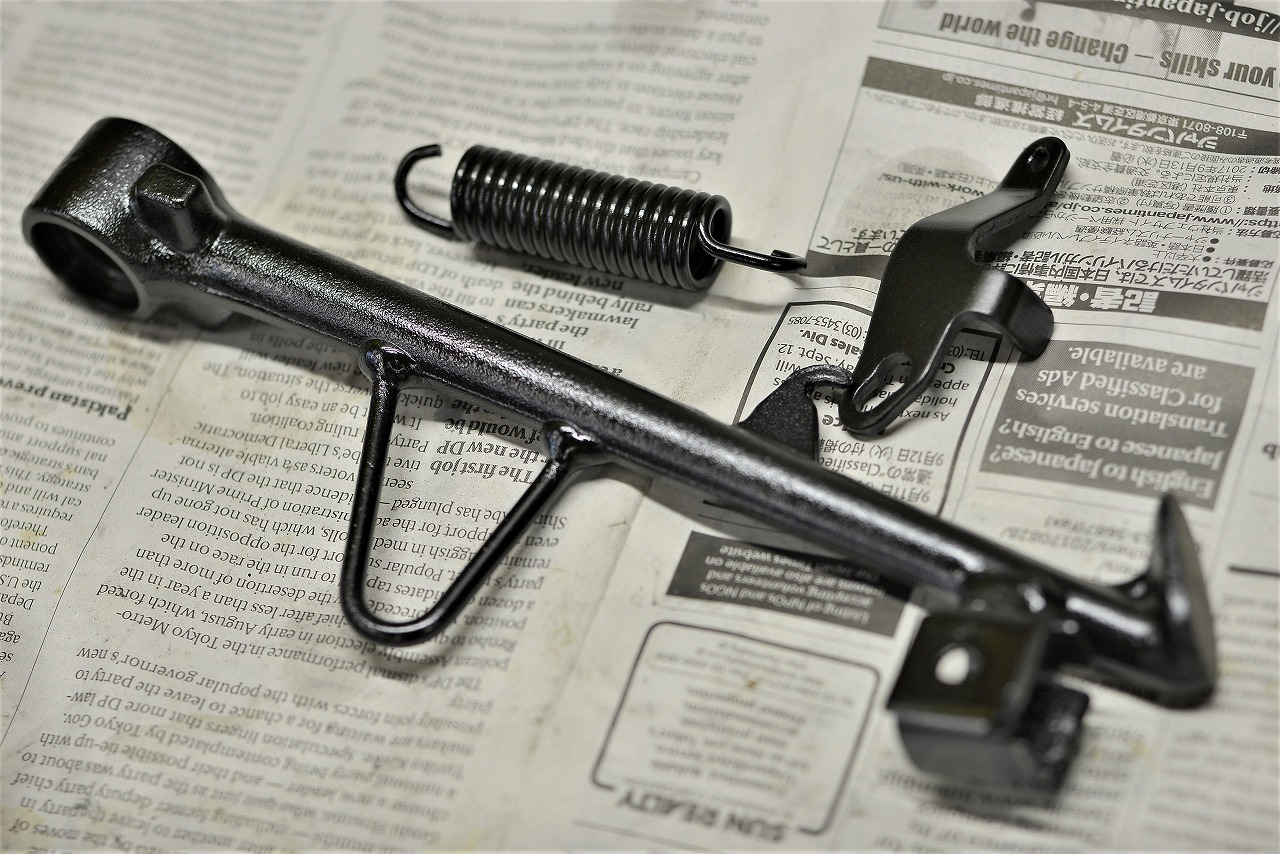
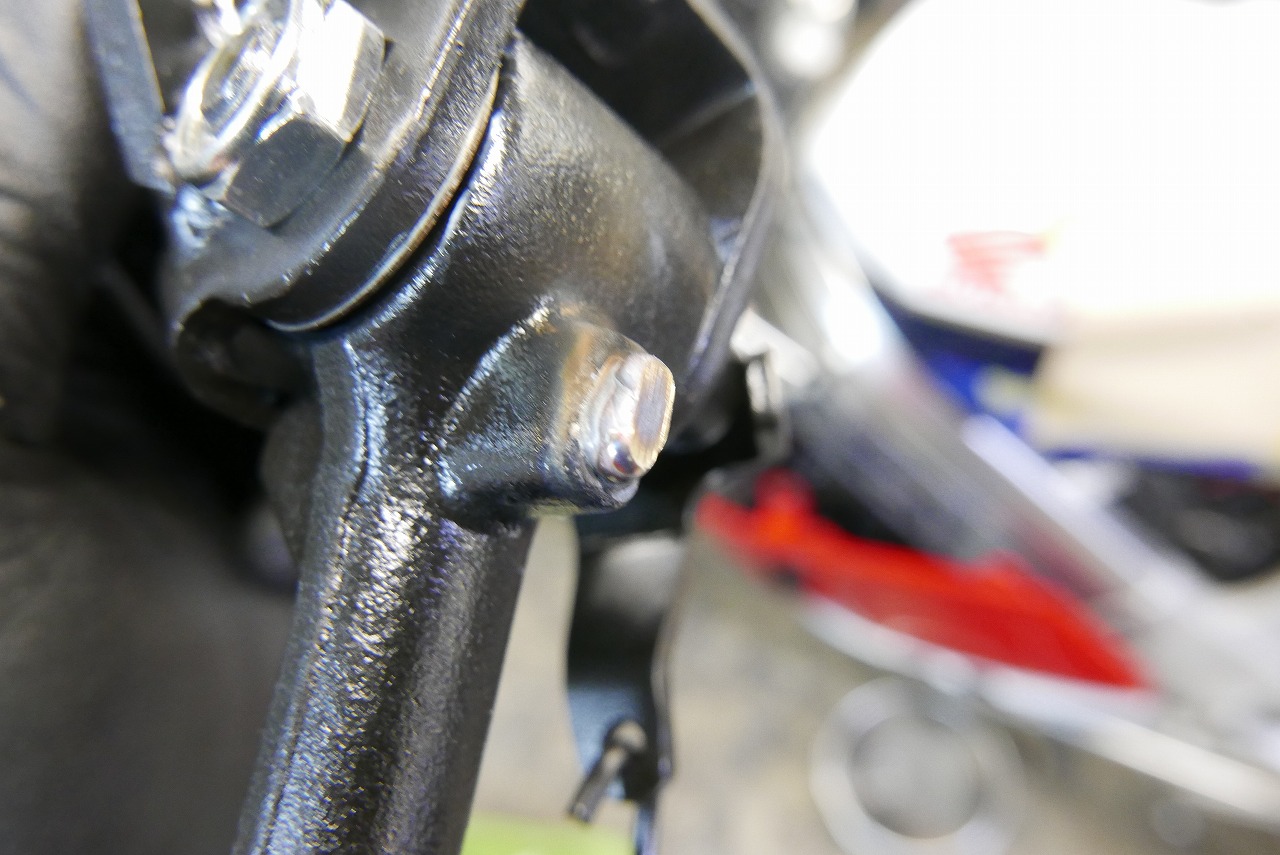
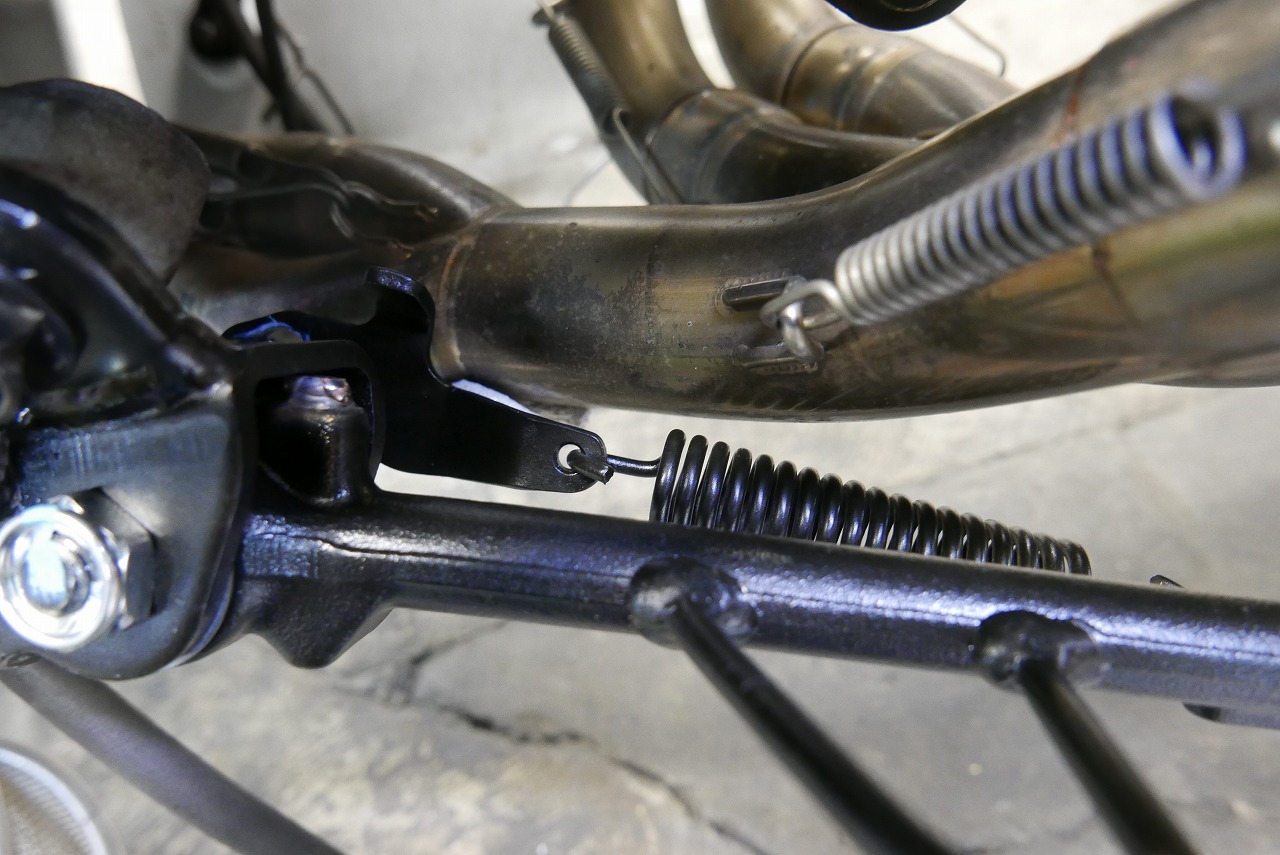
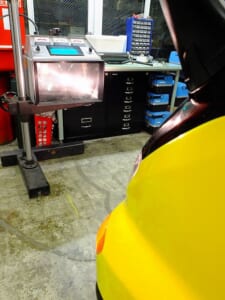
It looks done all of a sudden, but the real work is taking the tail cowl on and off over and over. (That was the headache with the first one.) I threaded the mounting plate beforehand. Let me go with studs—they’re easy to work with. Bolts and nuts won’t work because I can’t hold them from behind. Installation is complete like this. I managed to squeeze it in just barely. Let’s go with LED bulbs for a bit of energy savings—RACING style. The newer ones have a solid high/low beam difference. I thought maybe it’ll pass inspection? (I’ll check it with a tester to be sure.) Parts like this usually don’t fit. I punched out a nice clean circle. (Front and rear shots.) A little extra care when installing aftermarket parts really makes the finish look so much better. Cable ties (zip ties) go like this. If you avoid using double-sided tape and cable ties on the frame as much as possible, you’ll get a really clean result. There was a nice boss to co-mount it to. It’s super clean and easy to remove. I’m repainting the meter, and it’s surprisingly intricate. The damping is incredible. I’m amazed at how well-engineered this era was. I’m saving photos so I don’t get confused. The shape is so complex it’s hard to polish. But wow, what a shape. It looks tedious, and I’m sitting here thinking about it. I painted it with gun coat and it’s baking now. The rust is gone and it’s nice and black. The carbon cover hides it, so you can’t really tell, but inside it’s amazing! I made the voltmeter bracket from stainless steel too. Nice and simple. I gun-coated the side stand, spring, base, and hook too. This side stand is really well-engineered. Even after painting, it seems to touch the muffler slightly—that was original. I stripped it, built it up a bit with welding, installed it, ground it, installed it again, and ground it again.
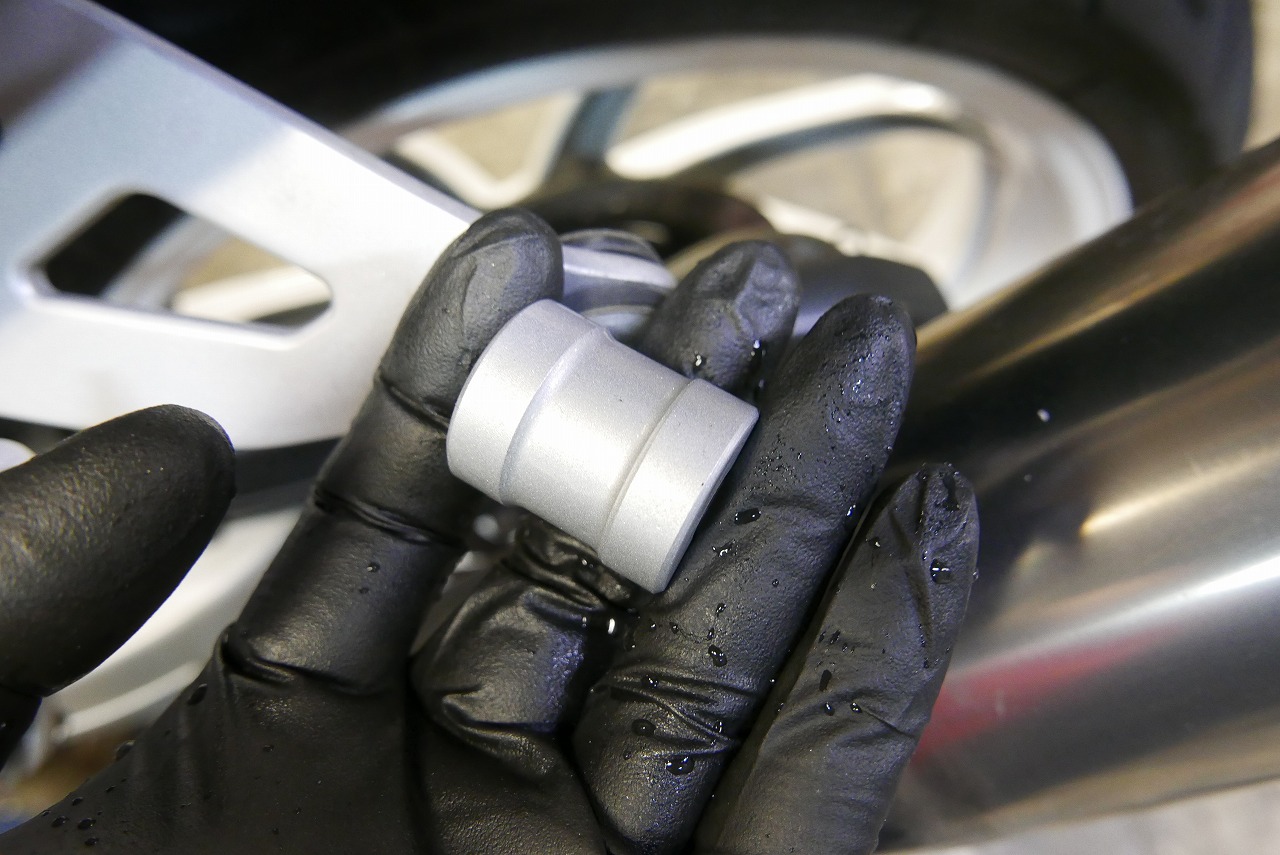
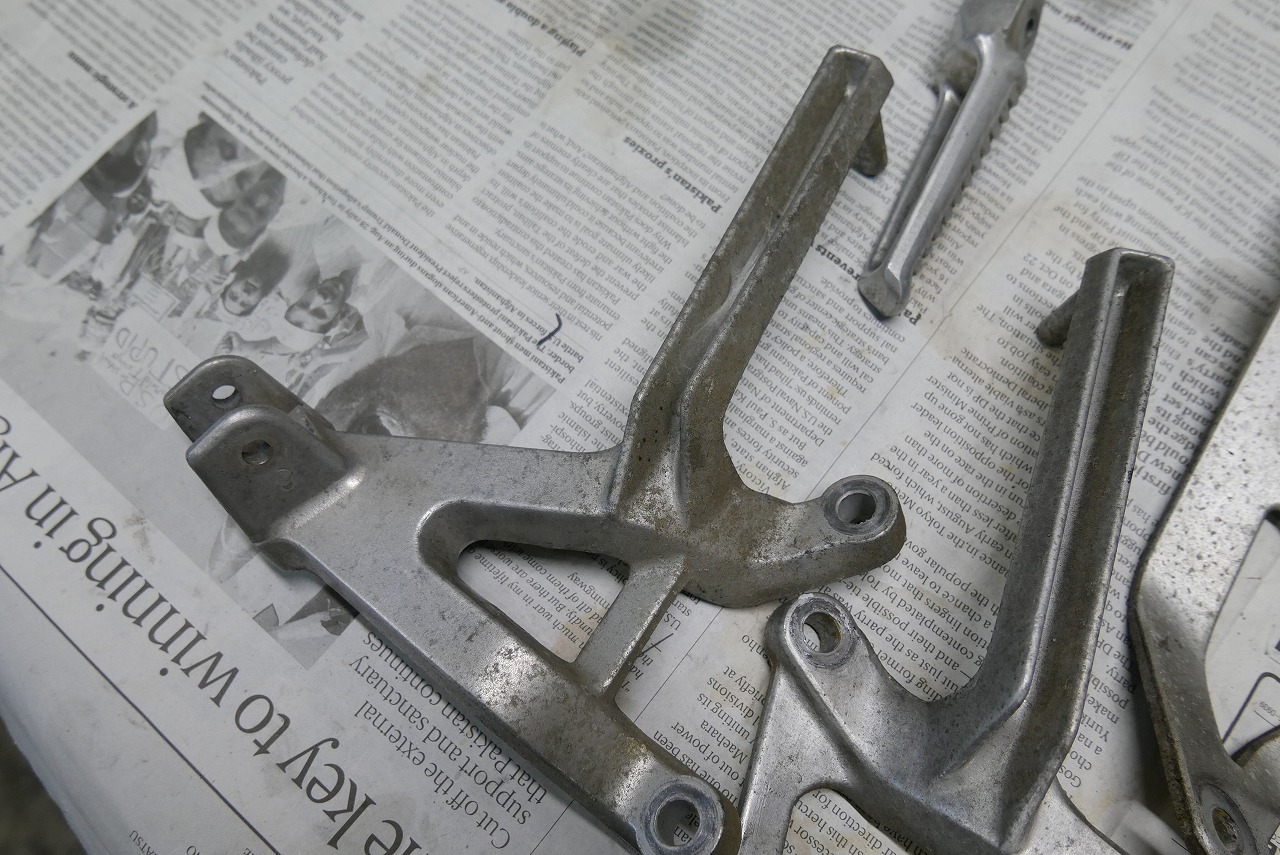
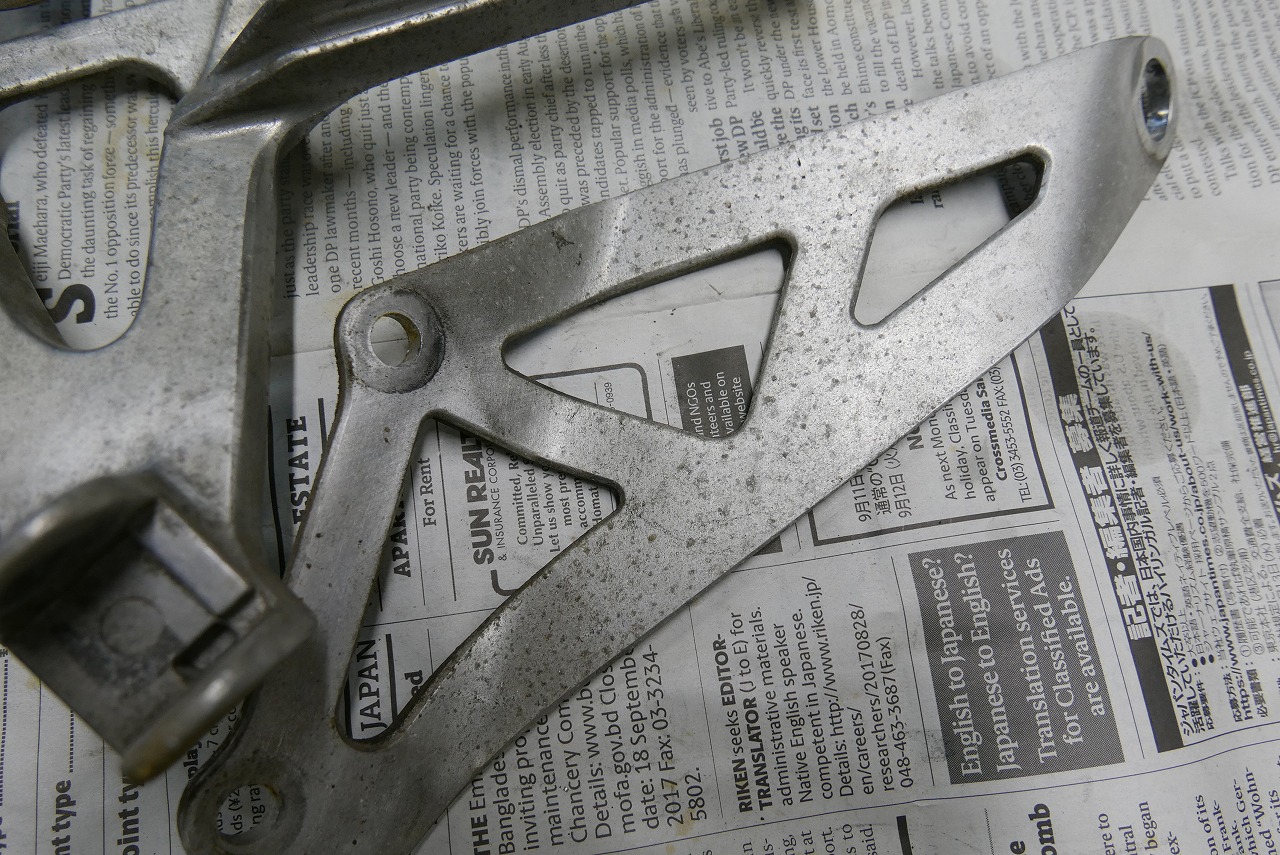
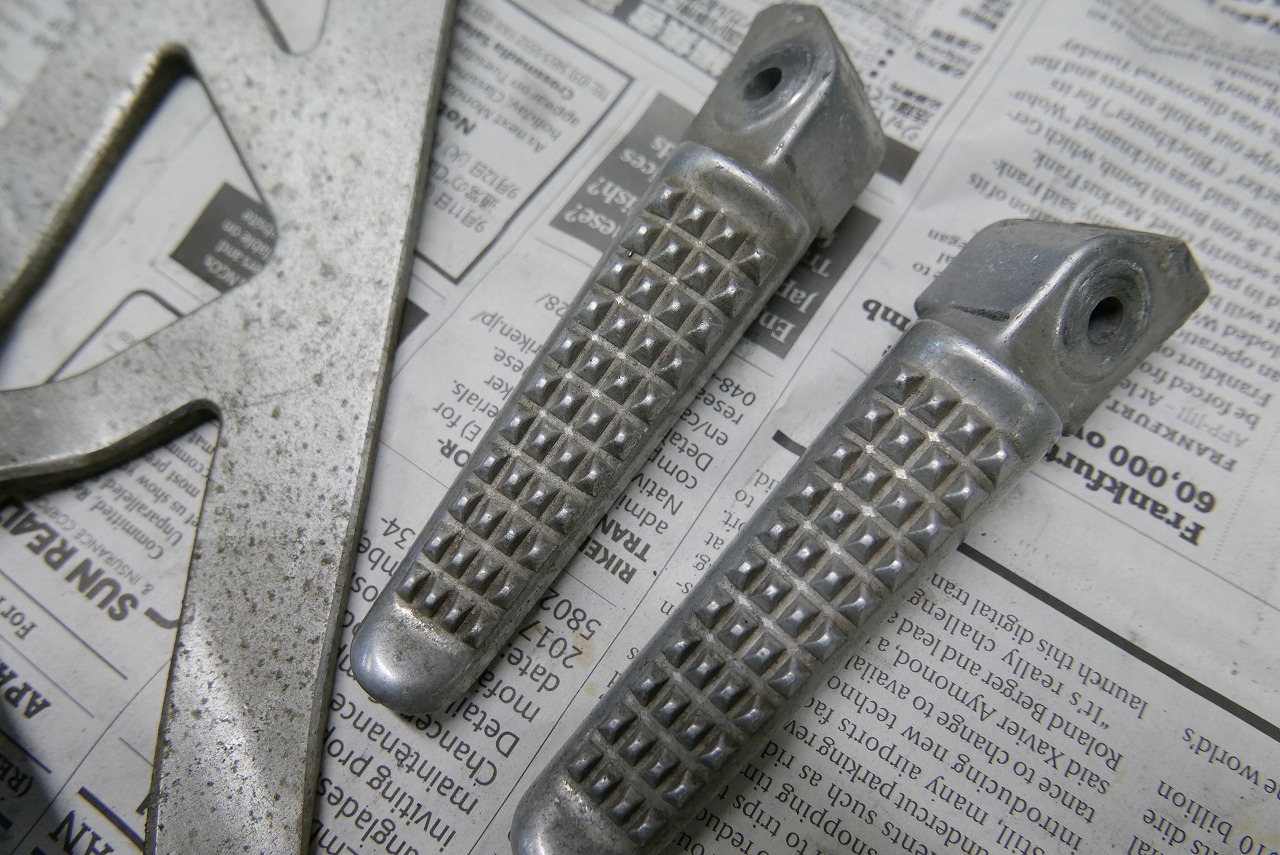
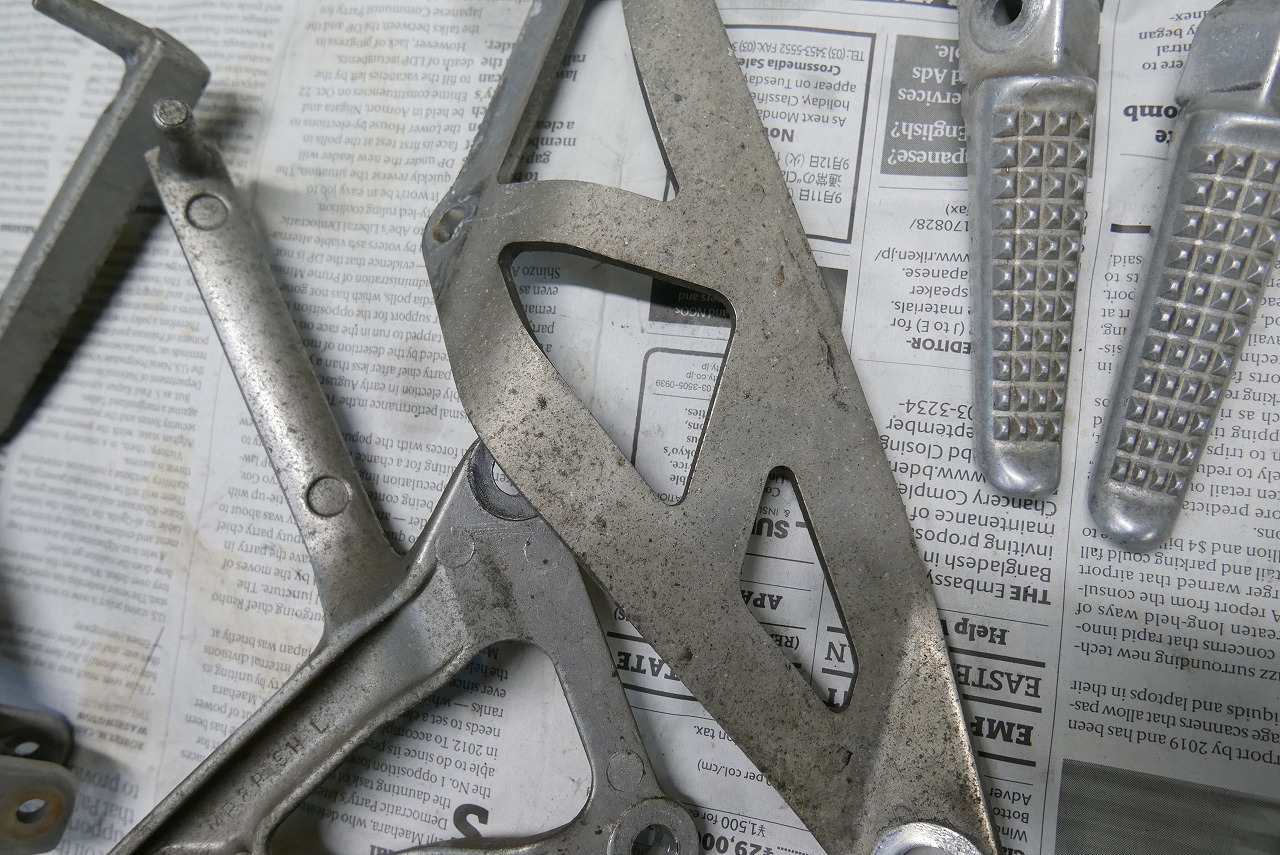
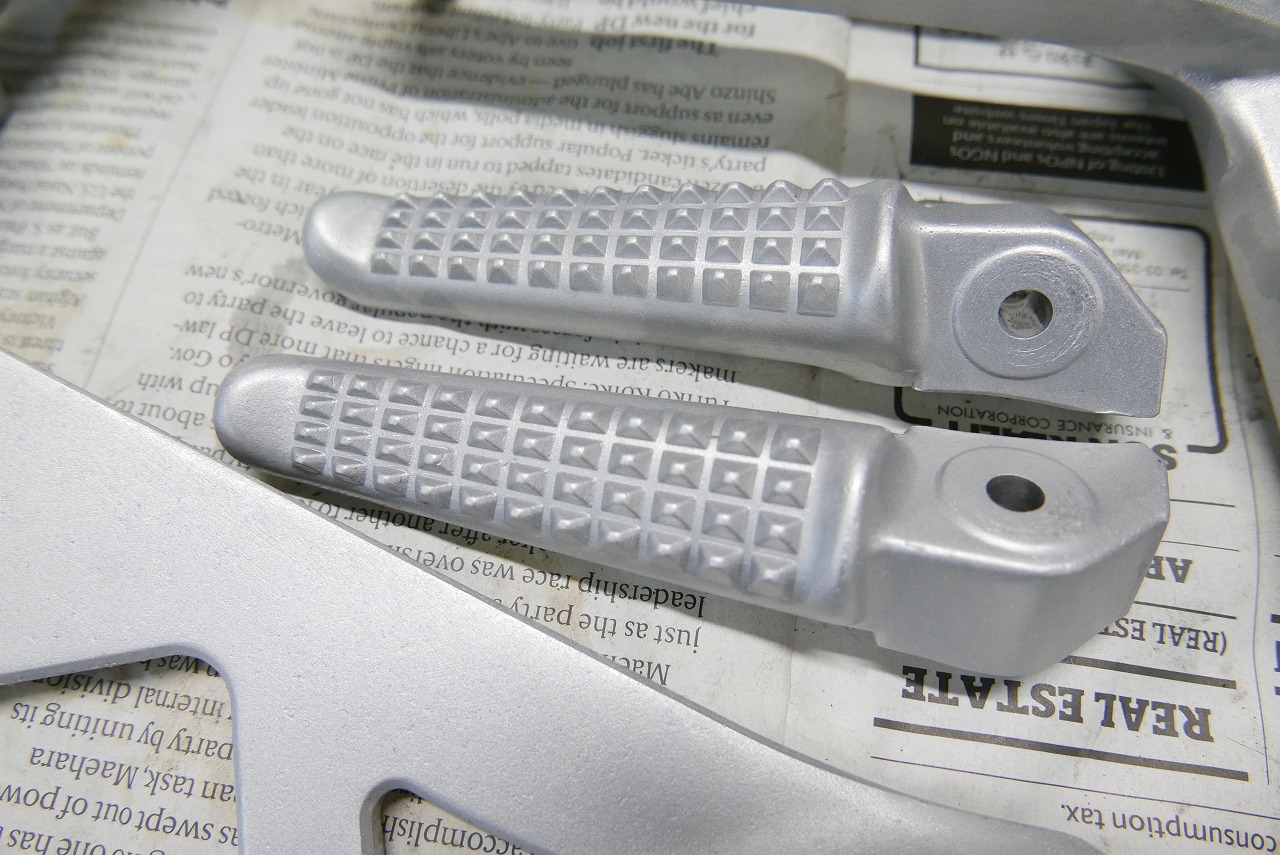
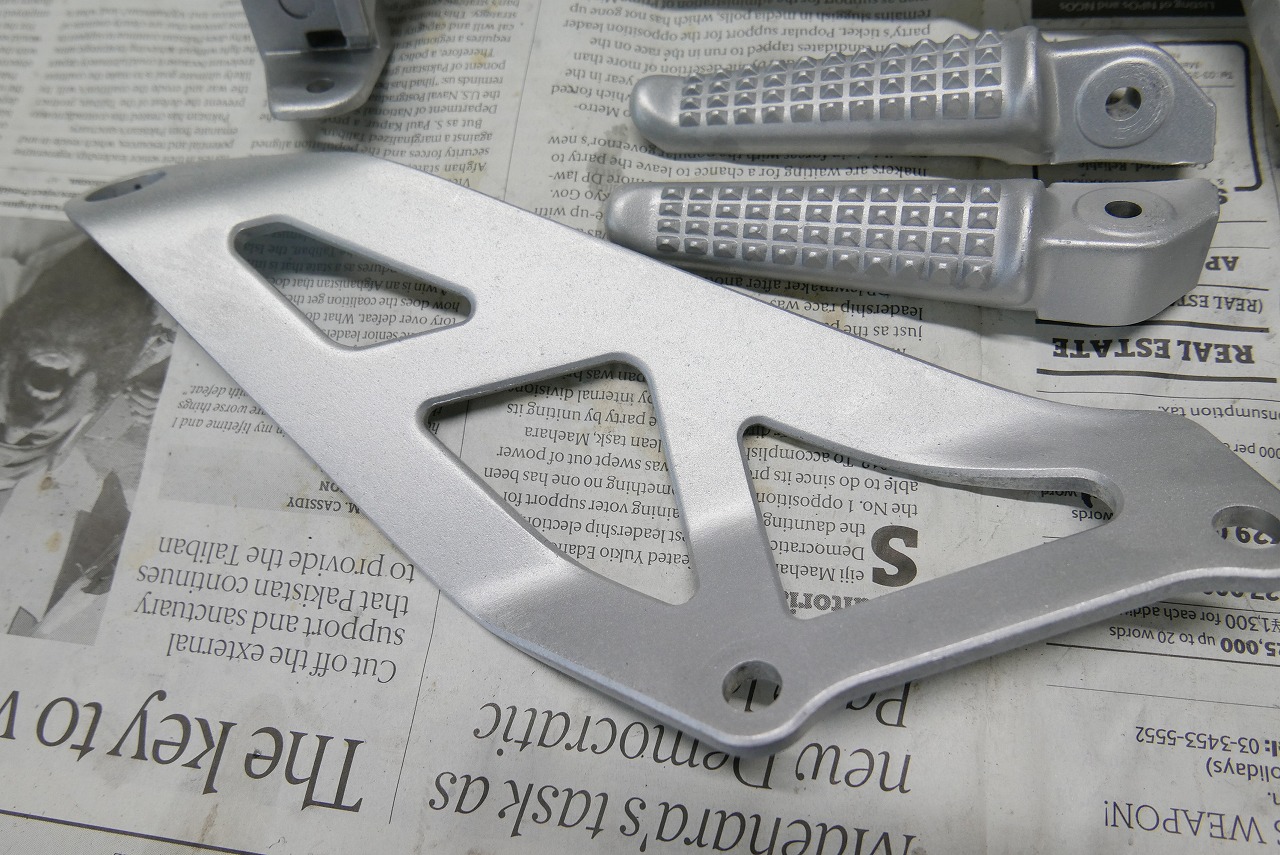
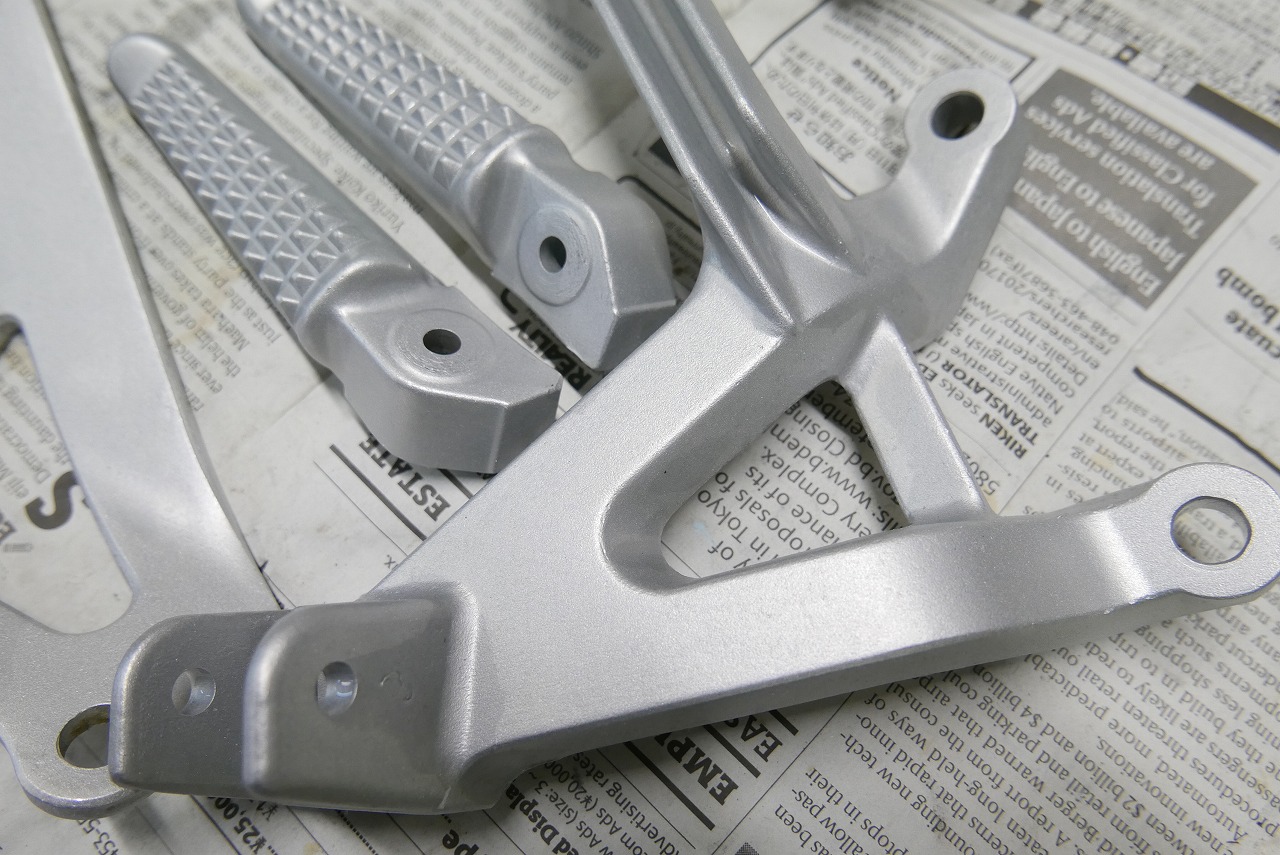
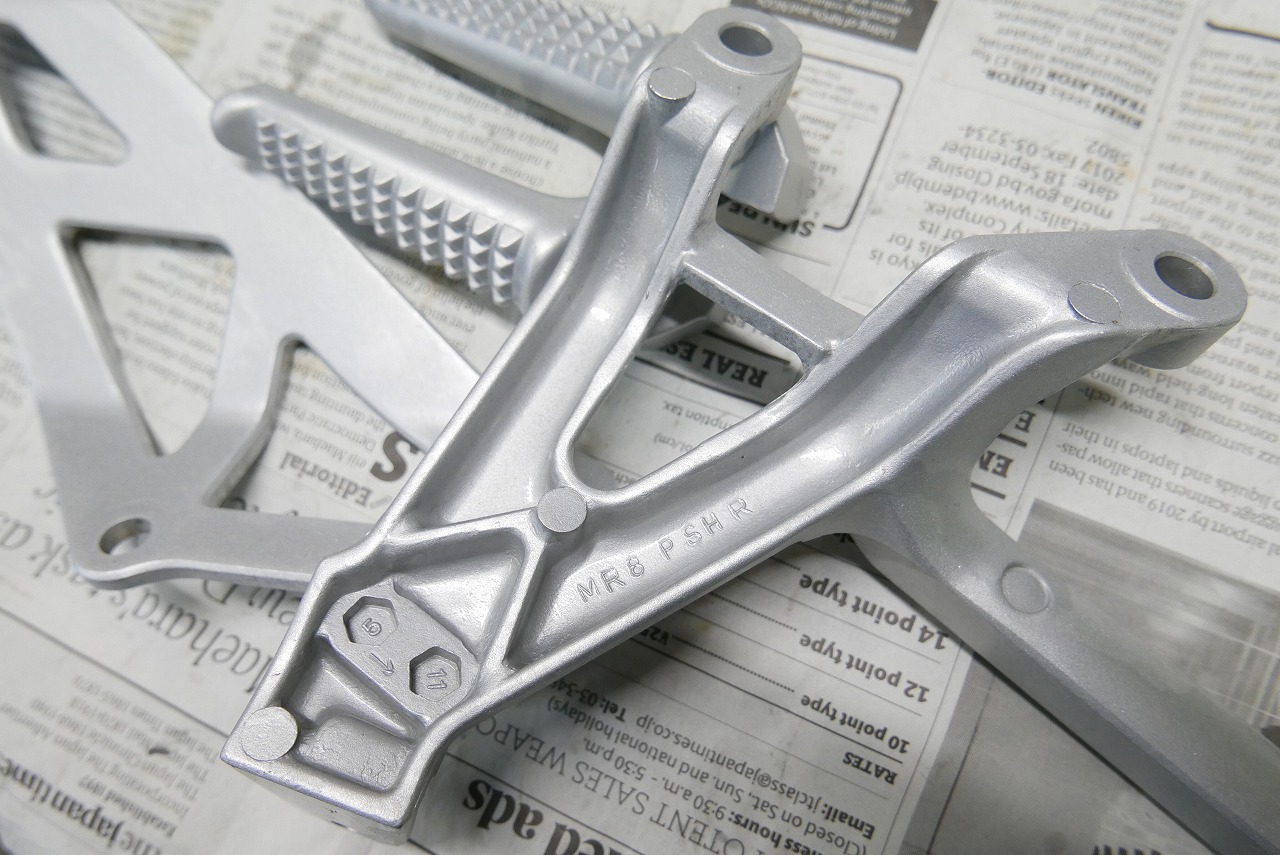
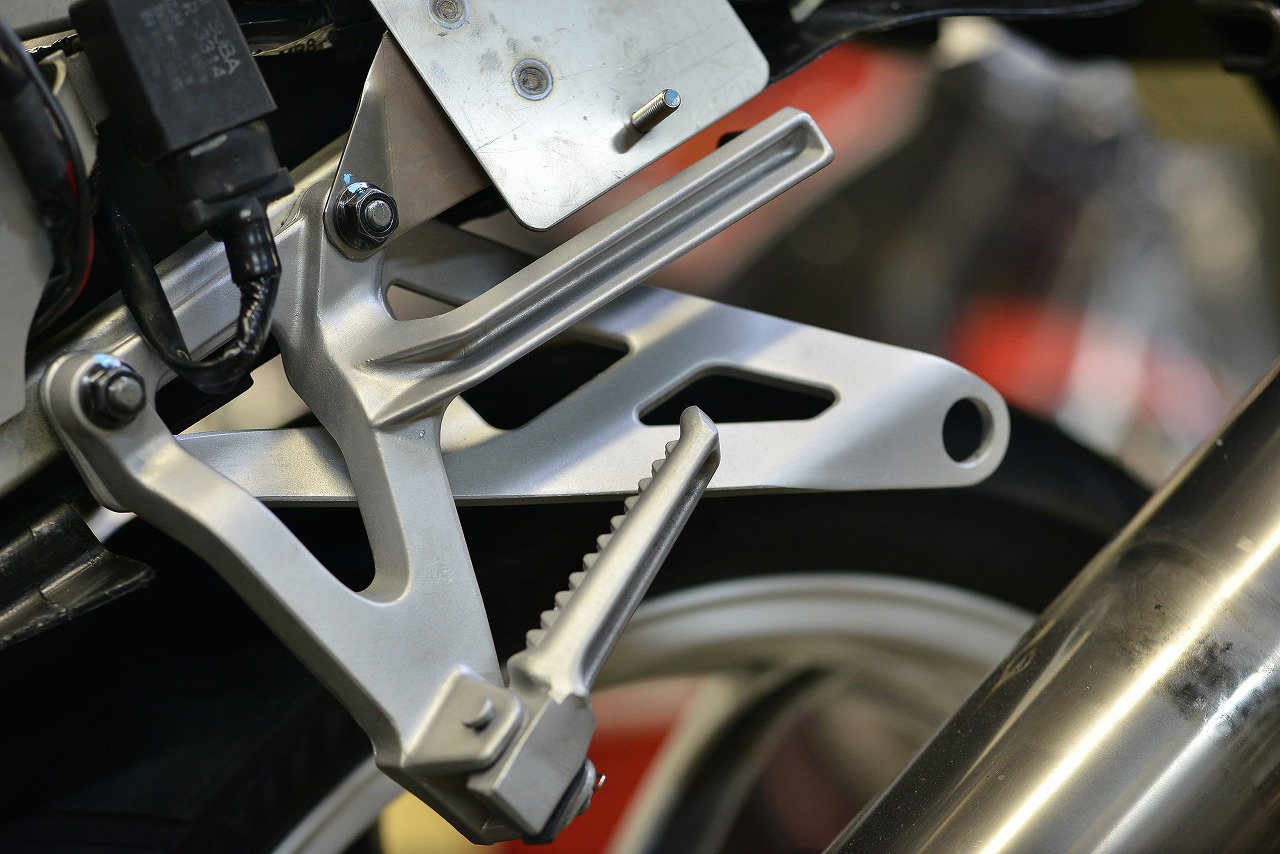
Every day is a series of small tasks. I managed to avoid it. These little details after customization are surprisingly noticeable. Let’s take care of them all. The turn signal gets sooty, so I made a collar to push the silencer out a bit. Aluminum corrosion looks pretty rough. I could tell how much the owner cares, so let’s make it nice and clean. It looks great right away. When it comes out like this, assembly is even more fun! That’s how it turned out. But honestly, even when it’s clean, only the owner and I really notice. Clean spots are a shame—they go unappreciated. I’ve installed other parts too.
Now the owner can ride out with confidence! That wraps up this job.