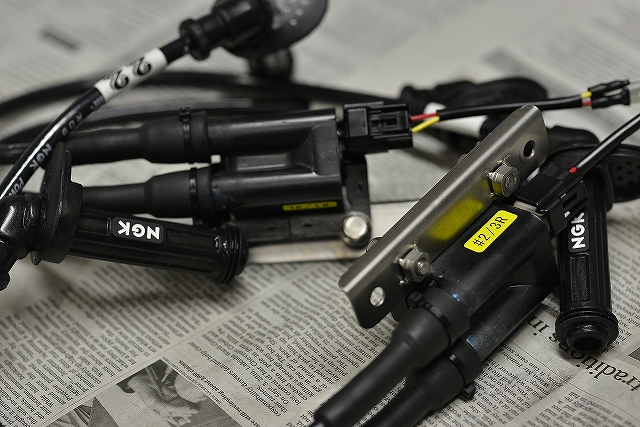
Let’s replace the Watanabe/Okada V+ main harness and so on.
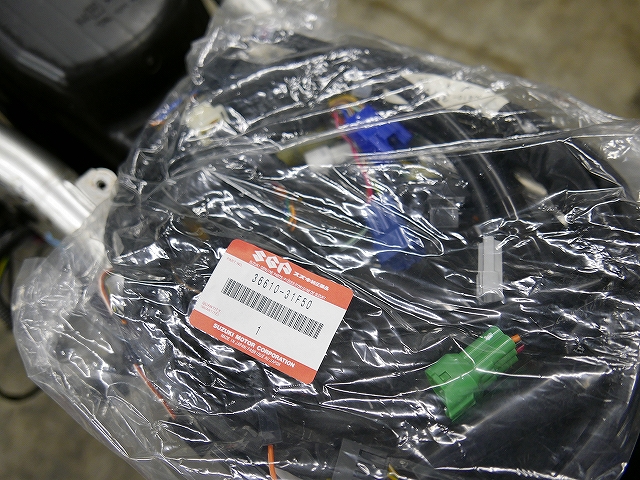
If you plan to keep the bike for a long time, it’s better to do this work while you can still get the harness, or stock it beforehand.
Most used bikes you buy have mysterious DIY wiring done to them. Replacing the harness makes a huge difference in peace of mind.
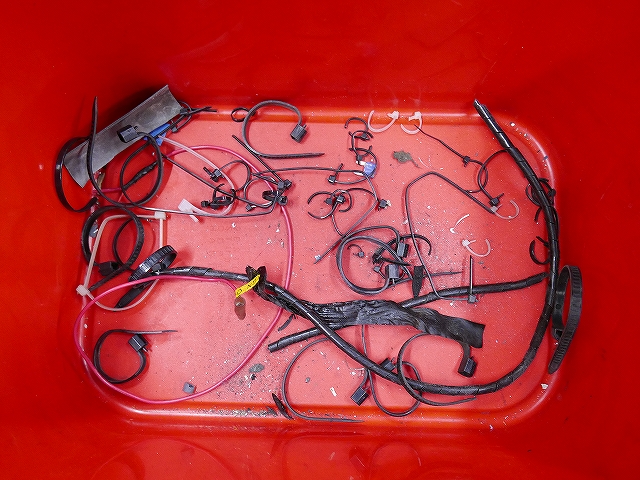
Even original parts often show excessive use of cable ties. They’re convenient, but overusing them is not ideal. When you look at how minimal the wiring is on a stock bike, you realize how much restraint is needed.
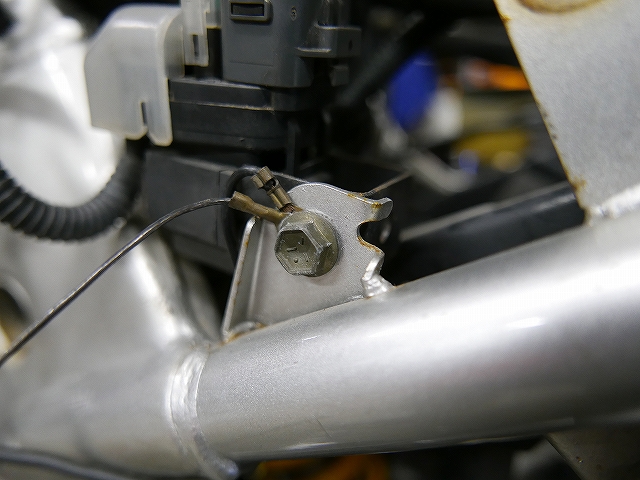
Most electrical components are newly co-grounded, so we use them, but basically you shouldn’t. To properly ground, you need to strip away paint and clean thoroughly. You should also ground from the engine, maintain it properly, and make sure it doesn’t get in the way and is easy to disconnect.
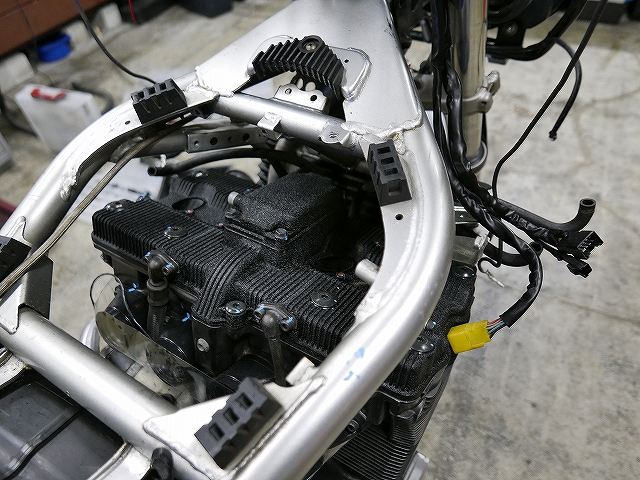
With fewer harnesses, everything looks much cleaner. The replacement didn’t seem like a major hurdle, so that was great.
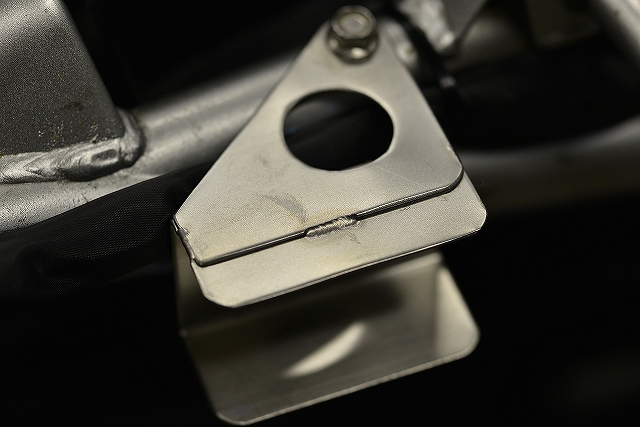
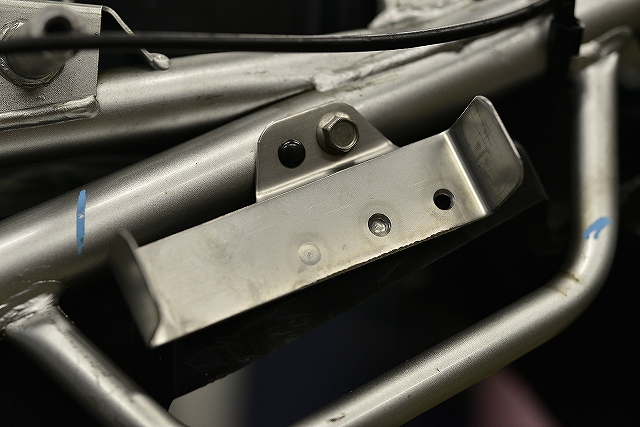
I can’t really recommend fixing electrical components with double-sided tape either. If you’re going to use double-sided tape, you should make a bracket and secure it that way. You won’t disconnect it very often, but being able to bolt it on and off would be even better for future peace of mind.
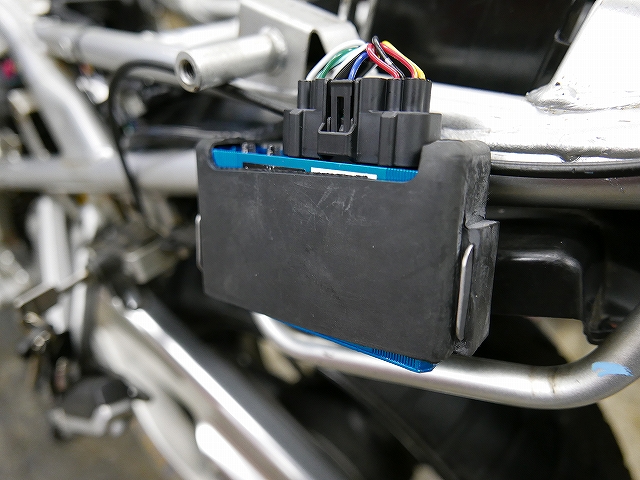
Just push it in and it floats. Disconnecting is easy too.
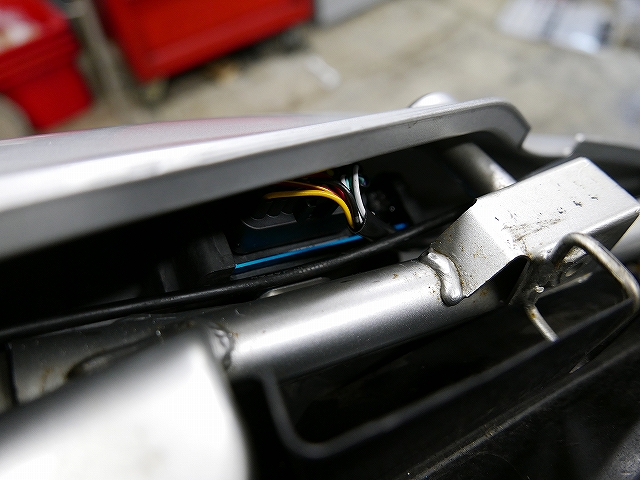
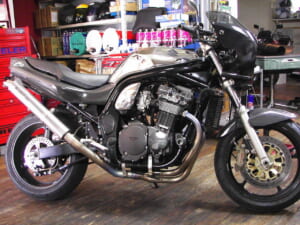
The Bandit 1200 has almost no space, so mounting it according to the original design is better.
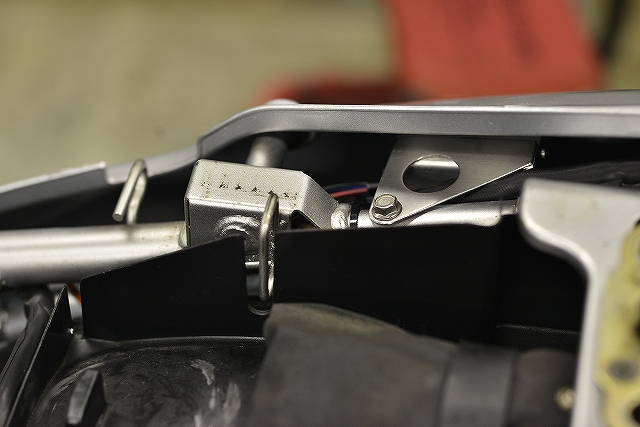
I mounted the Okada V+ on the right side. The voltage adjustment switch is accessible, and the safety connector can be plugged and unplugged without any issues. You can operate it with just the seat removed—no tools needed.
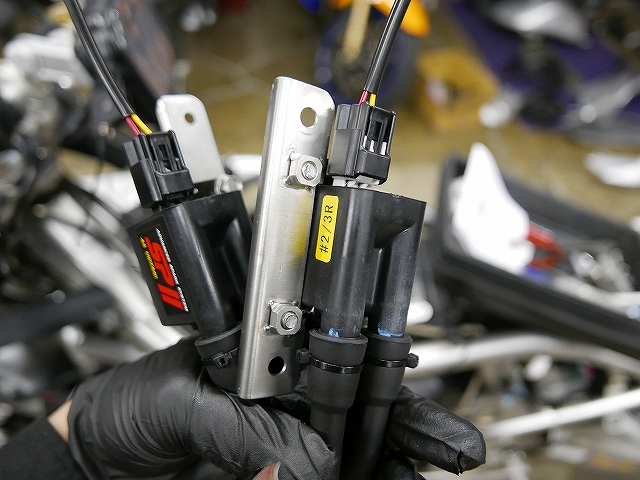
The coil bracket is newly made instead of using the existing one. No crumbling nuts.
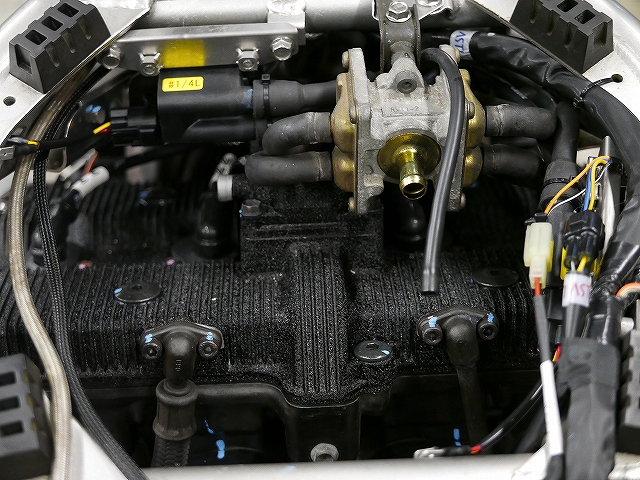
The Watanabe coil is short at P52MM, but the overall length increases when you account for the cord exit and power direction. On tight-space bikes, the layout is a real puzzle.
If you keep things “easy to service” and “clean and simple,” you’ll have fewer problems with things coming loose or issues during maintenance. It’s not just about getting spark—there’s more to it than that.
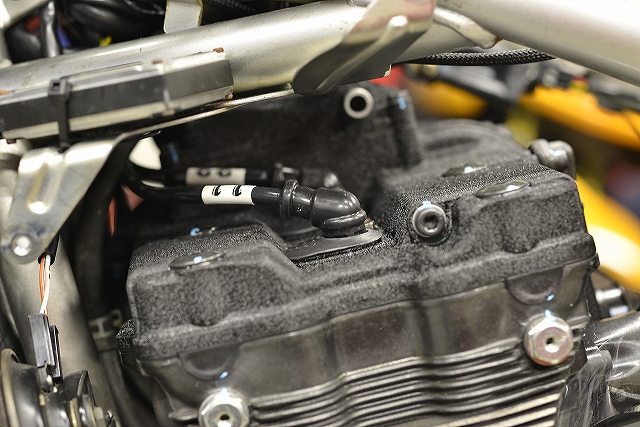
I mounted it at 102 degrees, pointing forward.
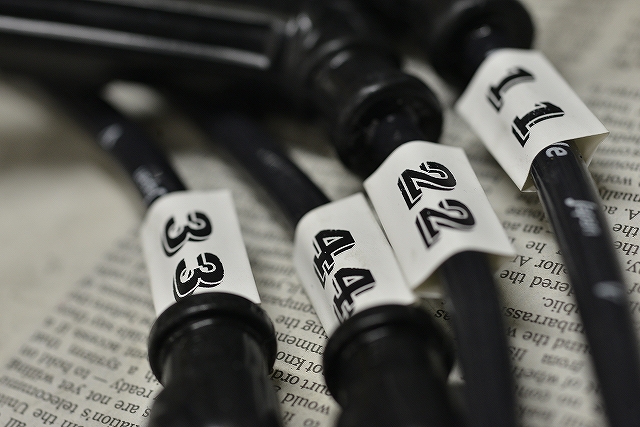
After that, I agonized over the font and size, then made a shrink-wrapped bracket.
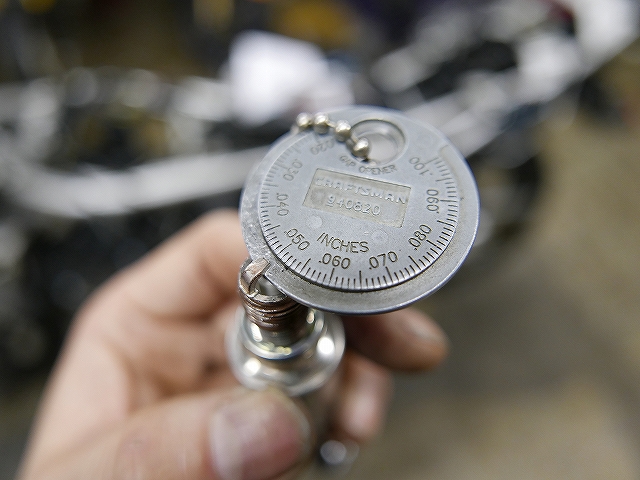
Gap adjustment is necessary too. Be sure to do it.
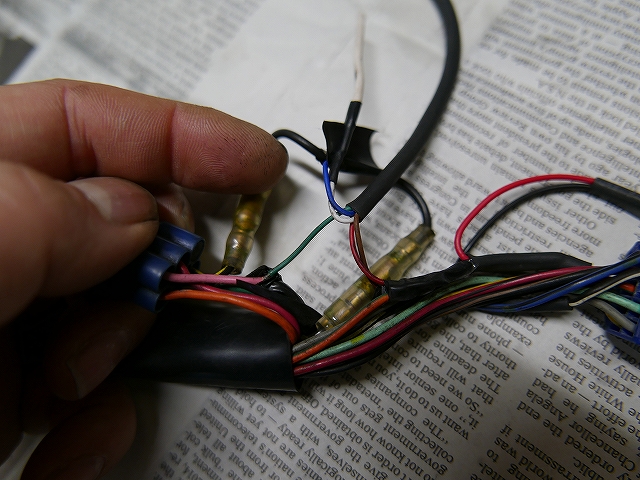
Regarding aftermarket electrical components: it’s better to make sure they can be disconnected without any mistakes.
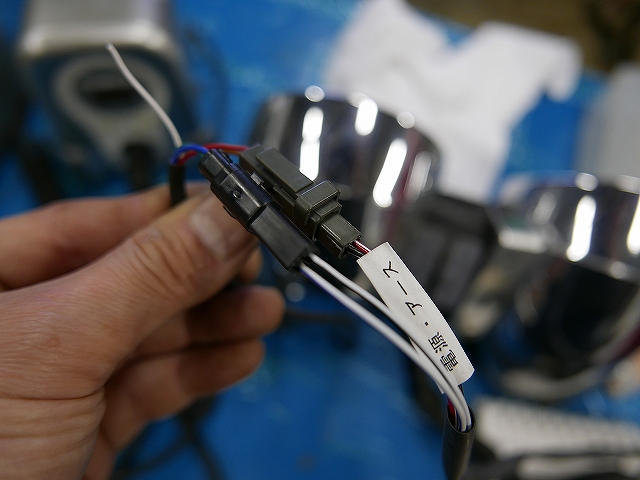
I split the four wires into 2P × 2 connectors and swapped the connector colors and male/female ends so there’s no way to make a mistake. I also labeled the power and ground so they can be reused if the electrical component is no longer needed.
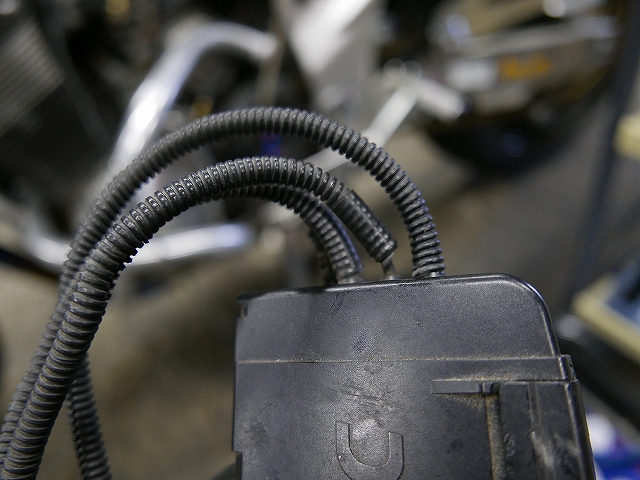
I see this gel tube a lot, but do you really need to cover the entire circumference?
I understand it for areas prone to flexing or rubbing, but I removed it all. It’s not necessary everywhere.
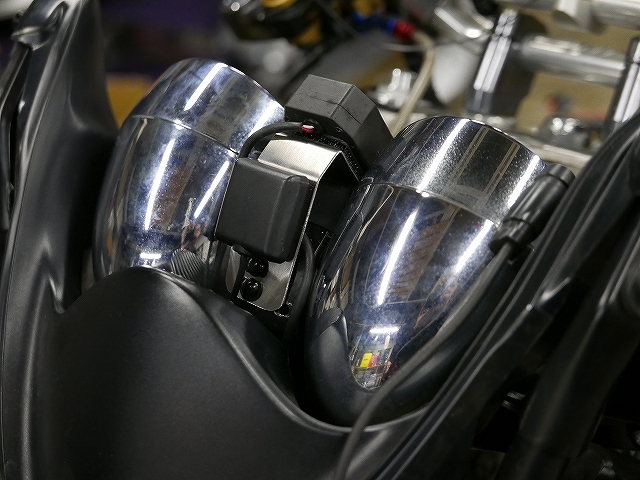
The indicator and ETC antenna mounting was vague, so I just bent some sheet metal, but I made a proper plate and secured it.
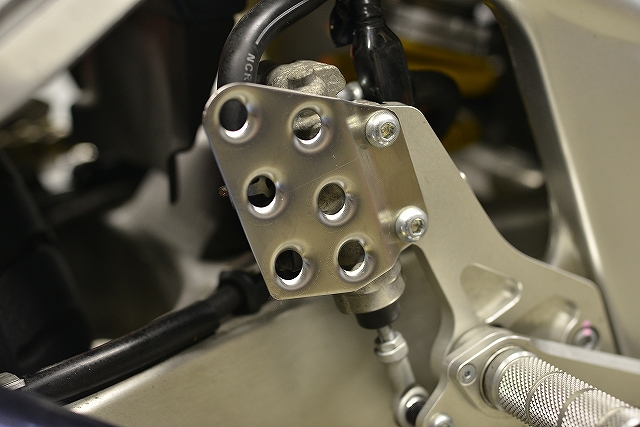
I had some scrap material, so I tested how fast I could make a heel guard, just like last time.
I was in a hurry and got one pitch wrong, but it’s a service item, so please forgive me.
How long did it take? About 15 minutes.