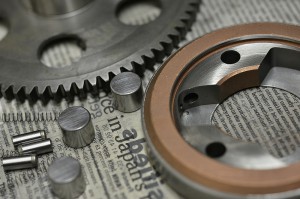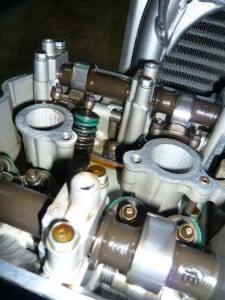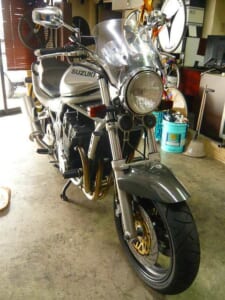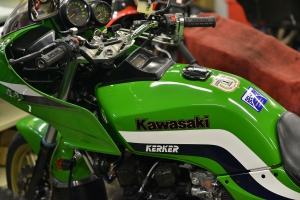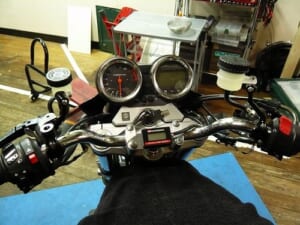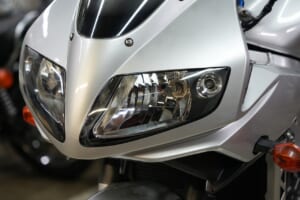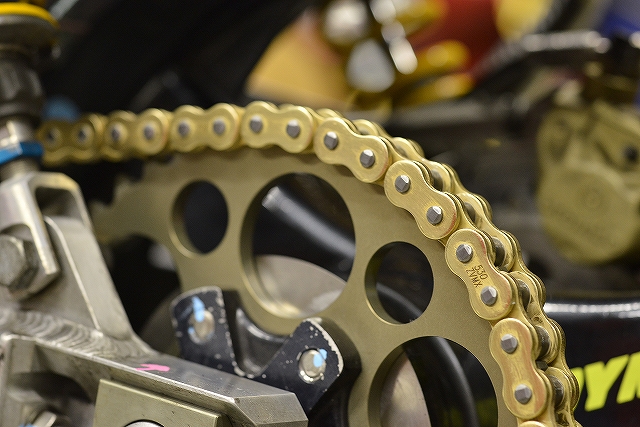
Let’s work on the D.I.D ZVM-X & Sunstar Service Kit Plus.
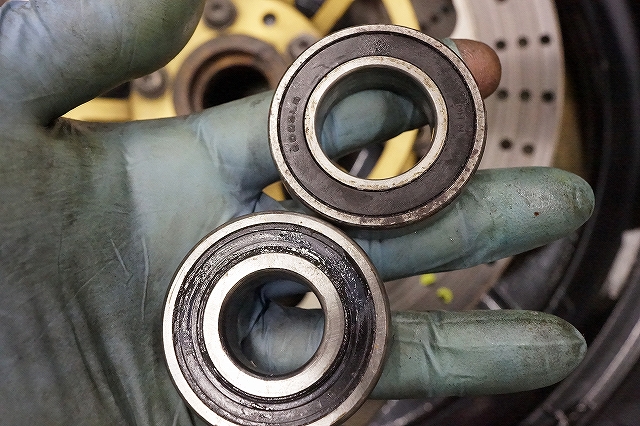
Before that, the rear wheel bearing is on the verge of collapse. Let’s replace the front one as well. The stepped collar has different diameters.
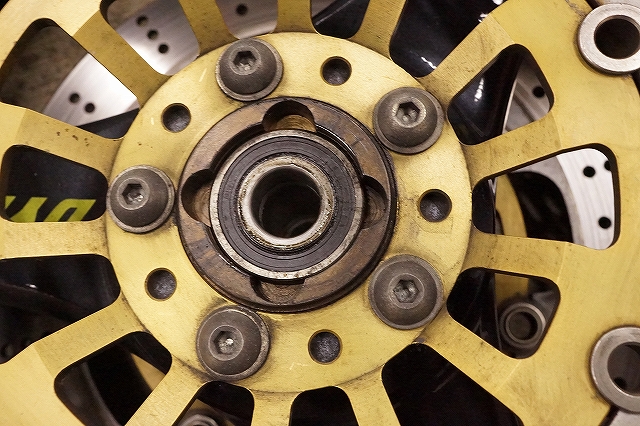
The tricky aftermarket wheel. This isn’t a wheel bearing that’s done once you press it in. The wheel side has a deeper bore than the distance collar so you can adjust the insertion clearance. This means one side or the other becomes the reference.
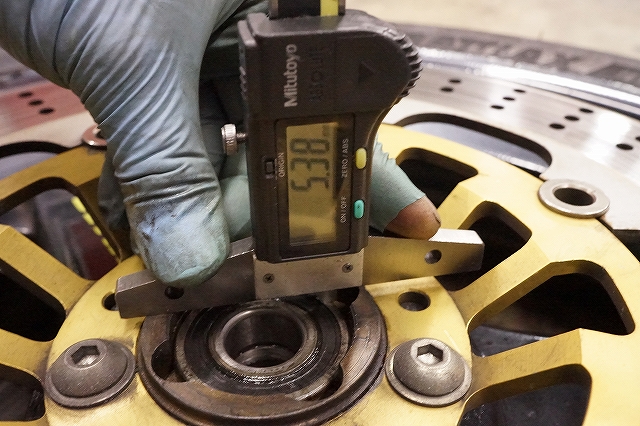
At worst, always understand the original state so you can go back.
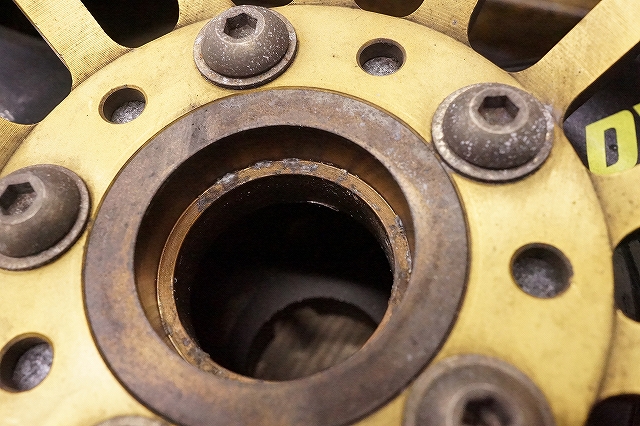
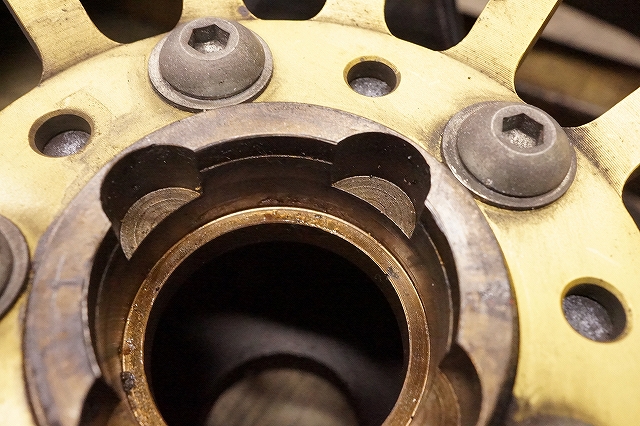
Which one is it? Suzuki typically has the front on the speedometer gear side and the rear on the disc side, so let’s try it that way first.
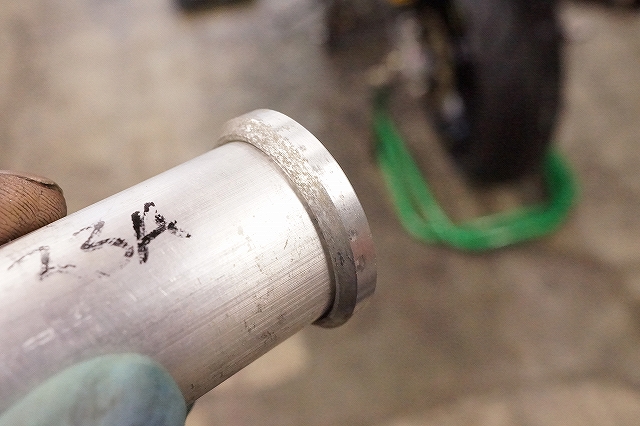
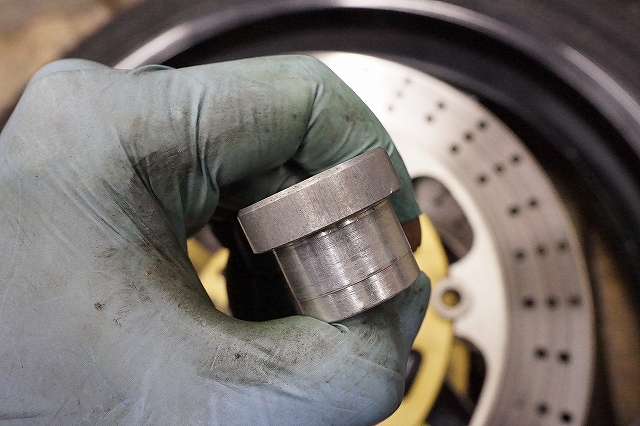
Before replacing, I’ll give it a light salt treatment.
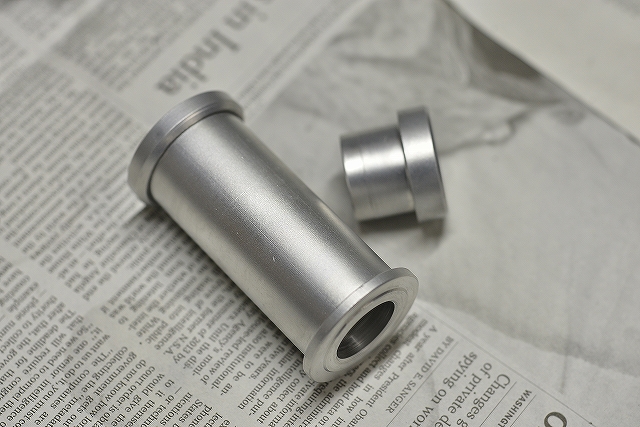
After polishing, it became shiny in no time. A bike is extremely enjoyable if it’s clean, running well, and reliable. After that, if it looks good to your taste, I think you can own it for a long time.
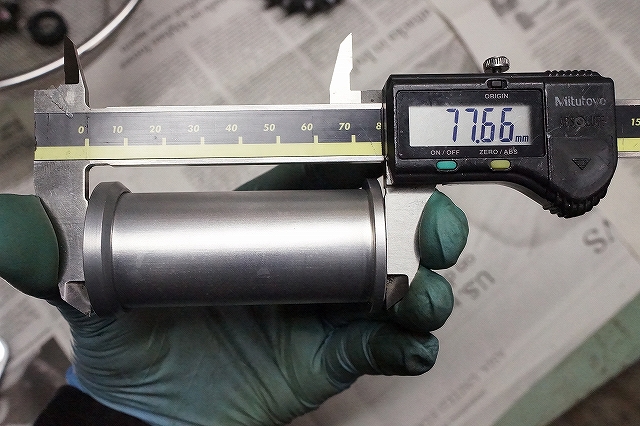
Hmm, it’s a somewhat ambiguous measurement. I’ll note the dimensions and date on the collar.
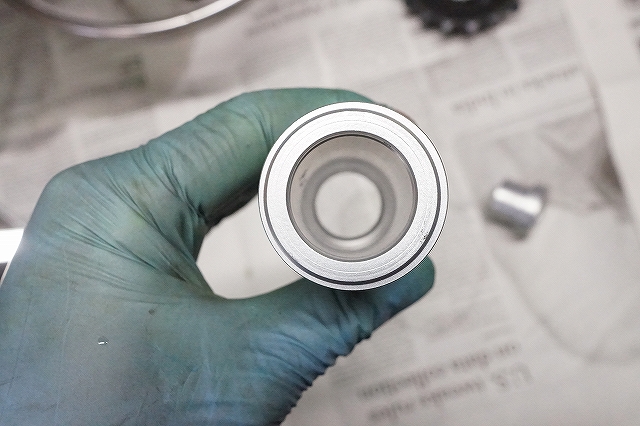
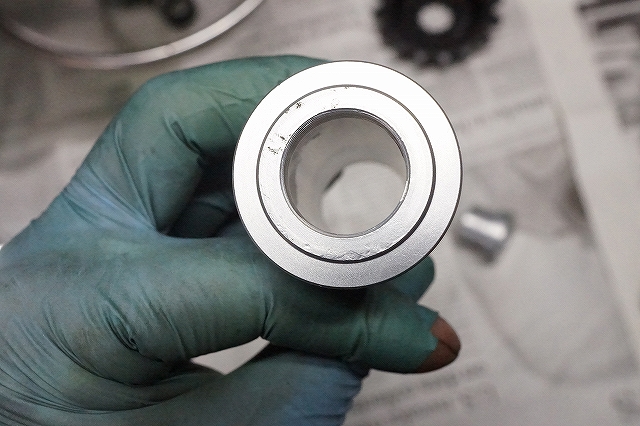
I won’t install it wrong. It’s convenient, but I really dislike this design. It’s hard to adjust after pressing in the bearing, and it’s difficult to judge the bearing condition.
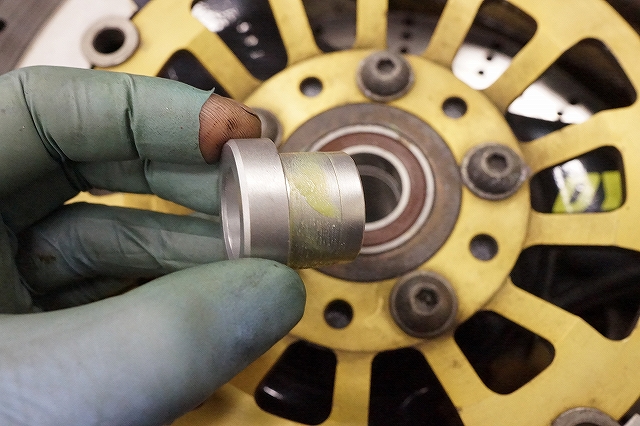
I’ll also lubricate it so it comes out easily later.
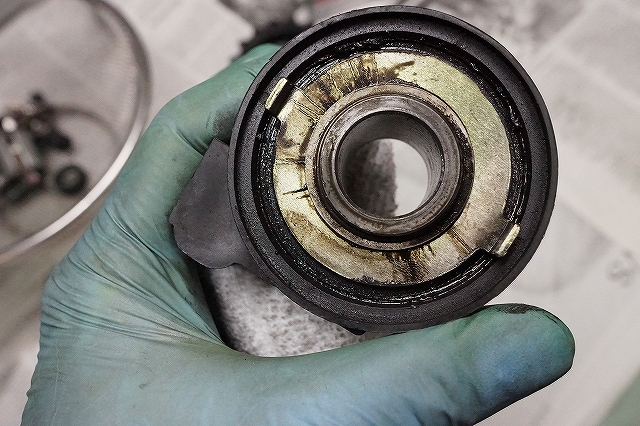
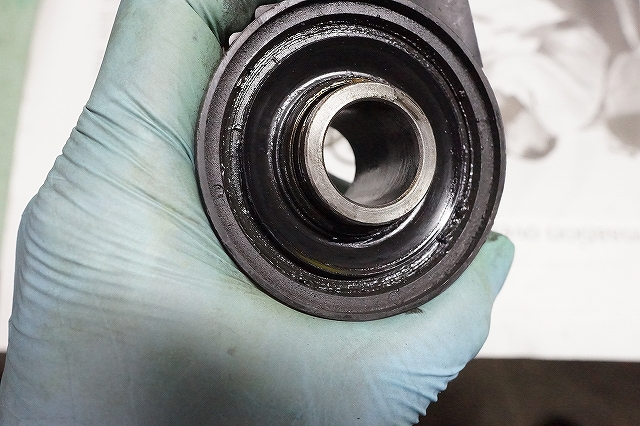
The speedometer gear was also in good condition. I’ll apply just a little lubrication.
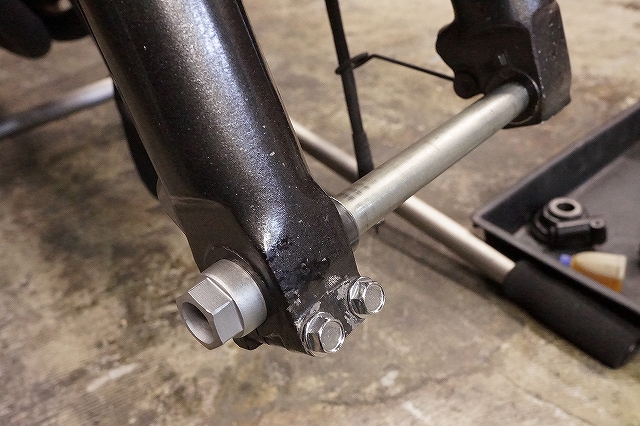
The axle shaft fit isn’t great. Let’s create some clearance.
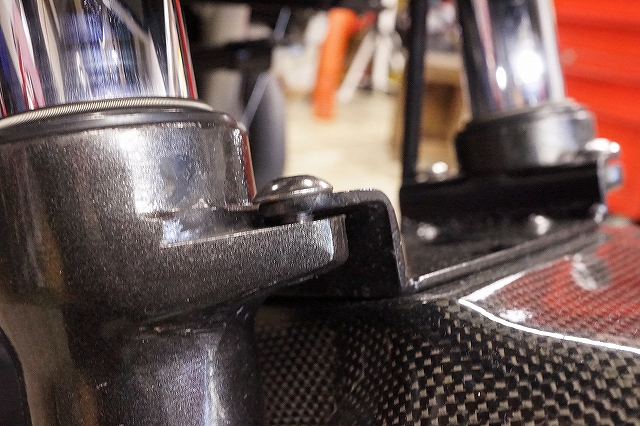
The stabilizer has quite a bit of effect. Create some play so the axle goes in easily, then secure the axle, the pinch bolt, and the stabilizer in order.
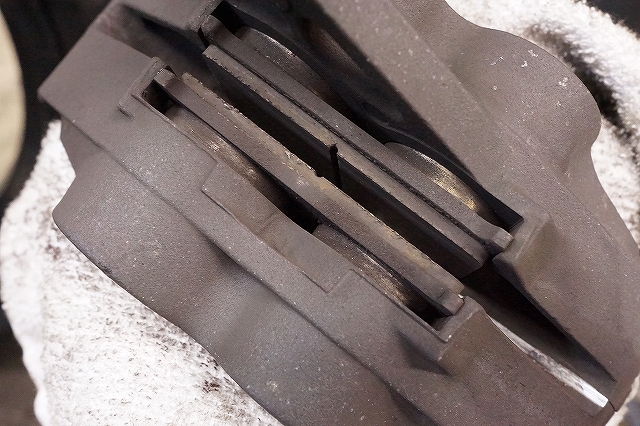
Please replace the pads a little later.
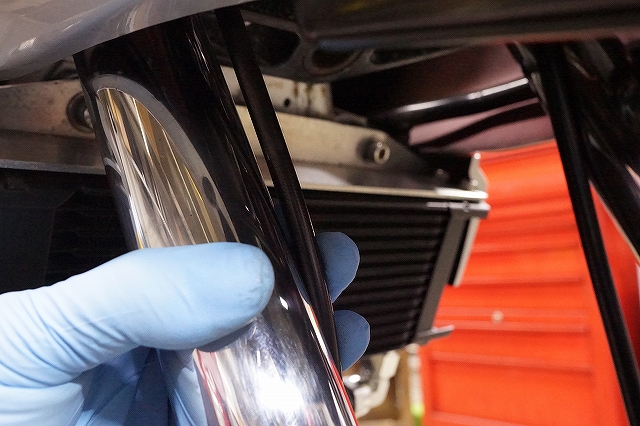
By the way, the brake hose needs replacement. When the fork is fully extended, there must be a little clearance, or there’s a problem. Full acceleration extends it, the crimp pulls out, fluid leaks, and your brakes fail.