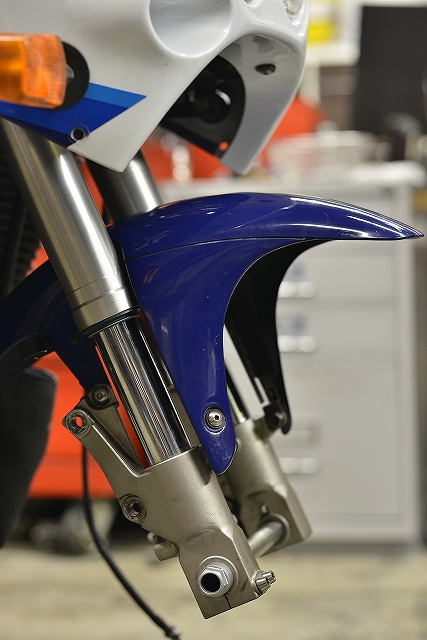
Let’s continue with the work.
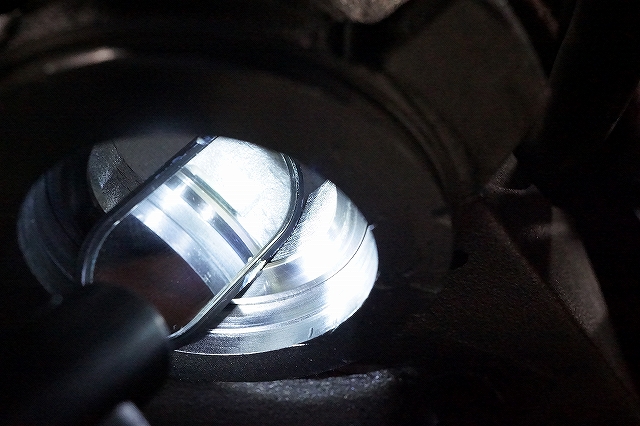
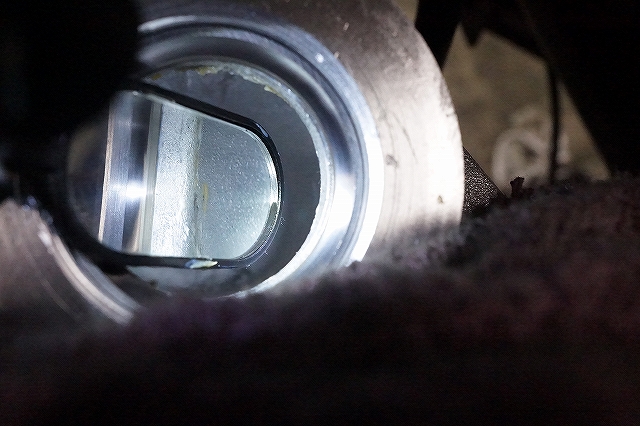
We visually confirm that everything is properly seated. We shouldn’t harbor doubts like whether the coaxial alignment is correct. We have no choice but to disassemble, inspect, and reassemble.
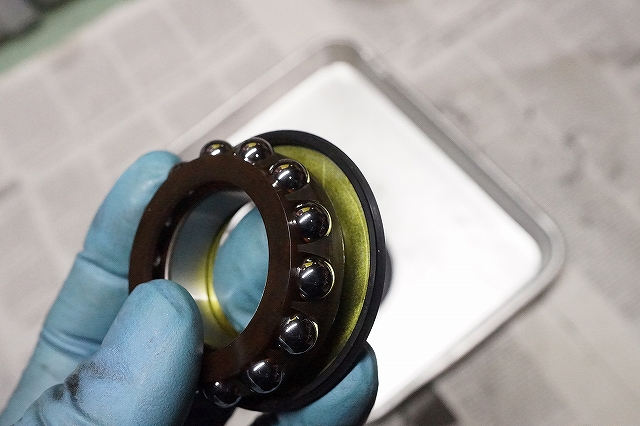
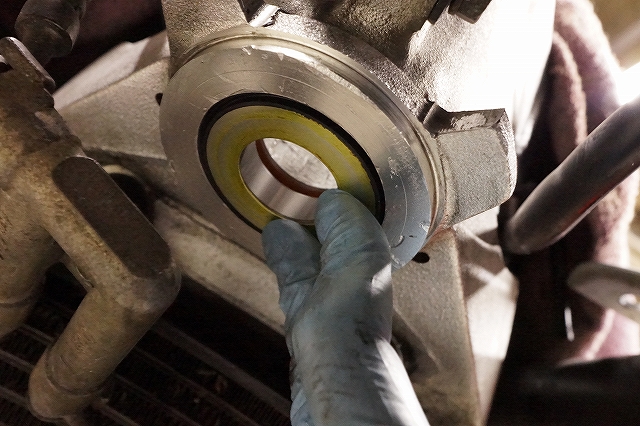
With the races installed, we check how well the lower seal is functioning. Suzuki doesn’t require this, but on bikes we haven’t worked on before, some can have very tight contact. We reduce ambiguous concerns that might arise after assembly.
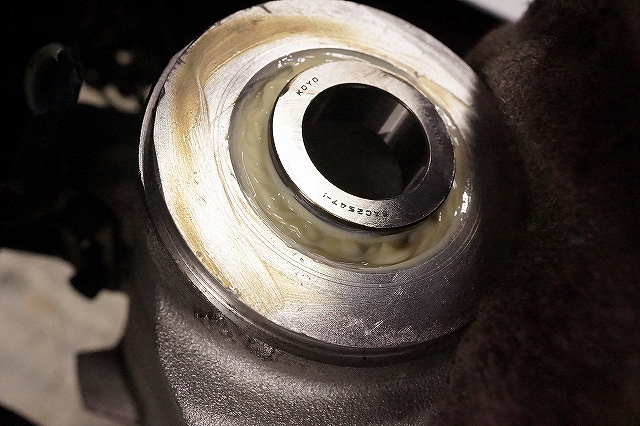
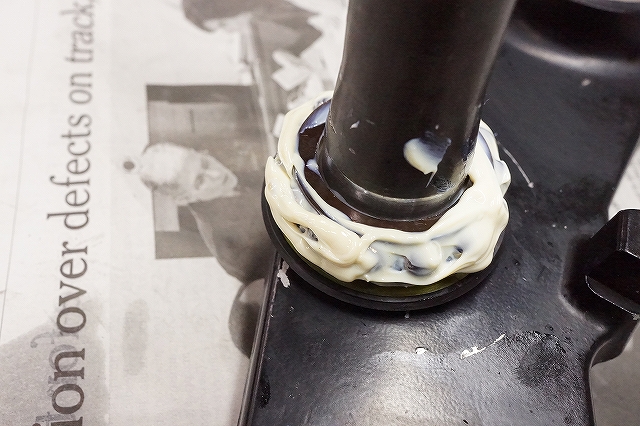
We pack in Newtech NC100 grease. It holds up extremely well and remains stable.
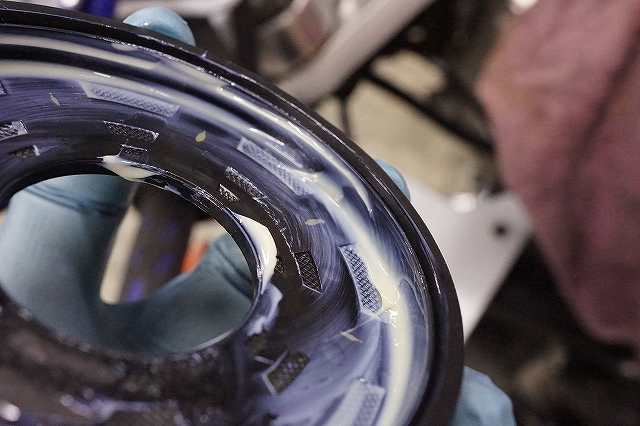
If we check the upper seal operation and lubricate it, we might gain about 1% in performance.
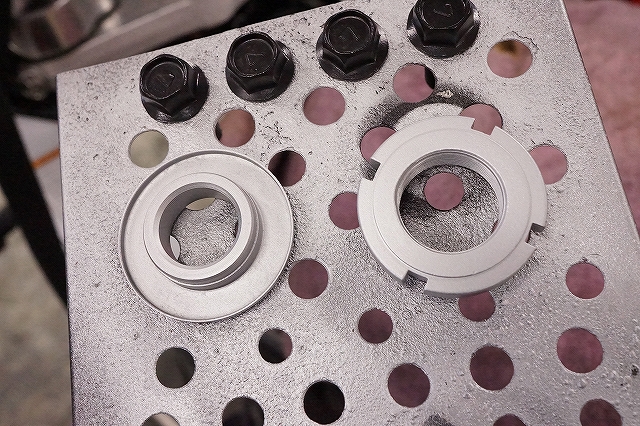
Dirty parts look completely different with a little cleanup. It also provides rust protection.
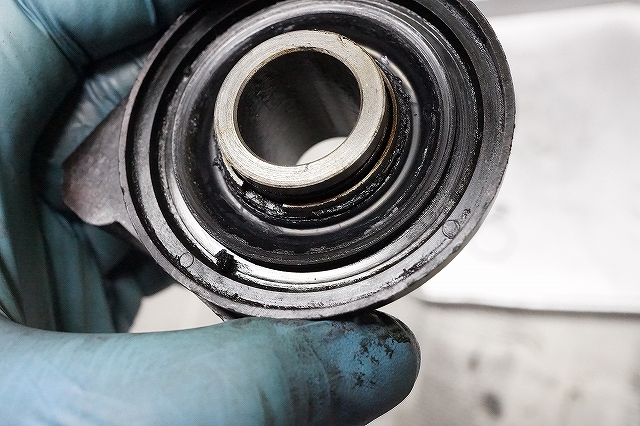
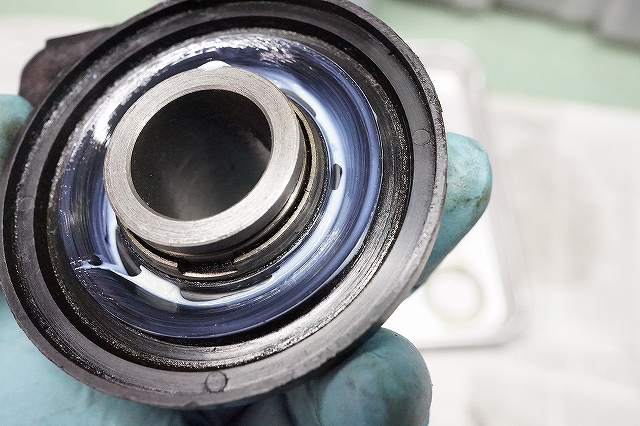
We clean and lubricate the seal area of the speedometer gear. The effect is on the inside, you know.
The manual shows a lubrication mark on the outside, but please apply it sparingly.
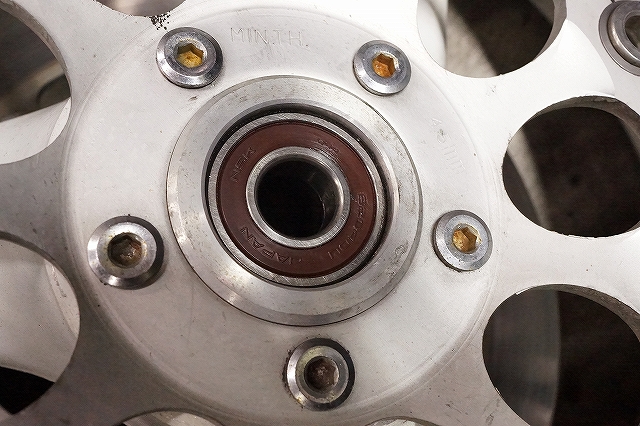
We also adjusted the wheel bearings. They seemed to have been installed with the right side as the reference, but…
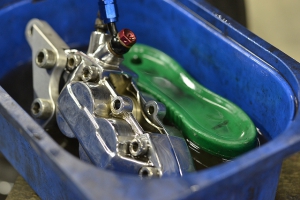
We want to pay attention to brake caliper mounting as well. Caliper mounting holes are usually machined at +0.2mm tolerance. With that play in the mounting holes, the caliper can be tightened at any height. If the pads and disc are new, we position it as far outward as possible. When everything is used, returning it to where the wear marks already exist tends to roll the smoothest.
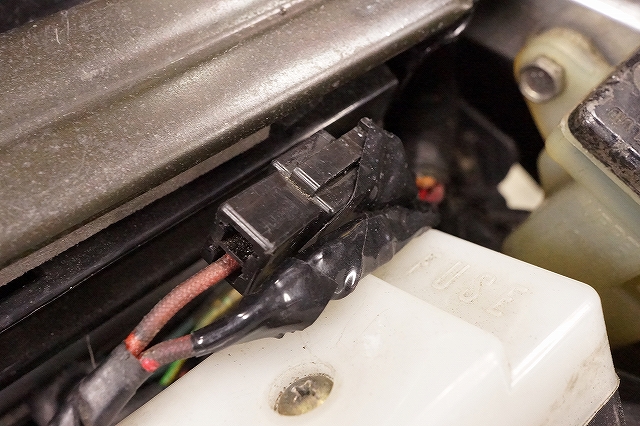
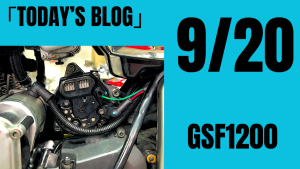
It looks like some repairs were done, but this wiring is pretty risky. The red wire has 12V even when OFF, so there’s a fire hazard. 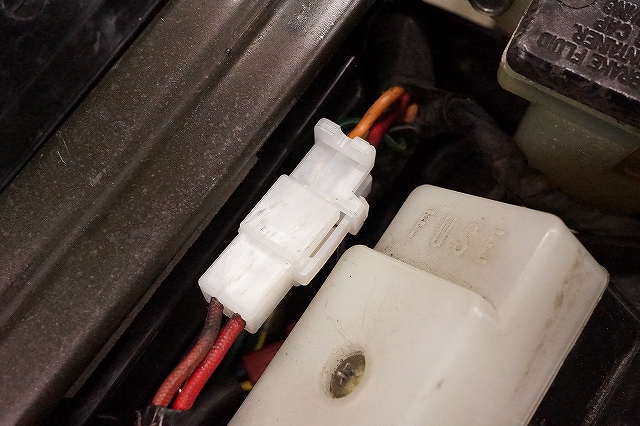
Connectors and terminals should ideally be the same type.
A bit early, but after a test ride to check all components, we’ll be done.