Let’s get it finished before the rainy season starts.
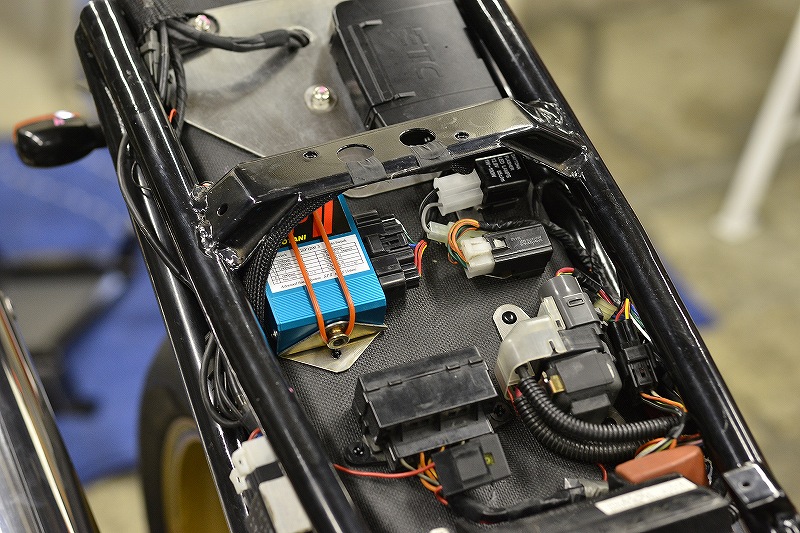
The wiring layout is complete. We’ve secured the plate mostly with plastic push rivets and such, so it looks black even from the back.
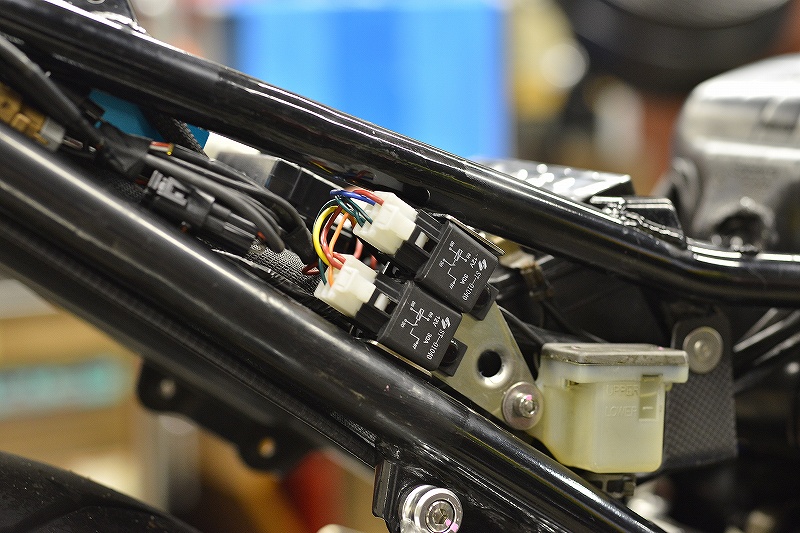
The headlight relay is positioned where the fairing hides it, and we didn’t put the H4-to-H4 connector in the light case since the bulky connector wouldn’t fit.
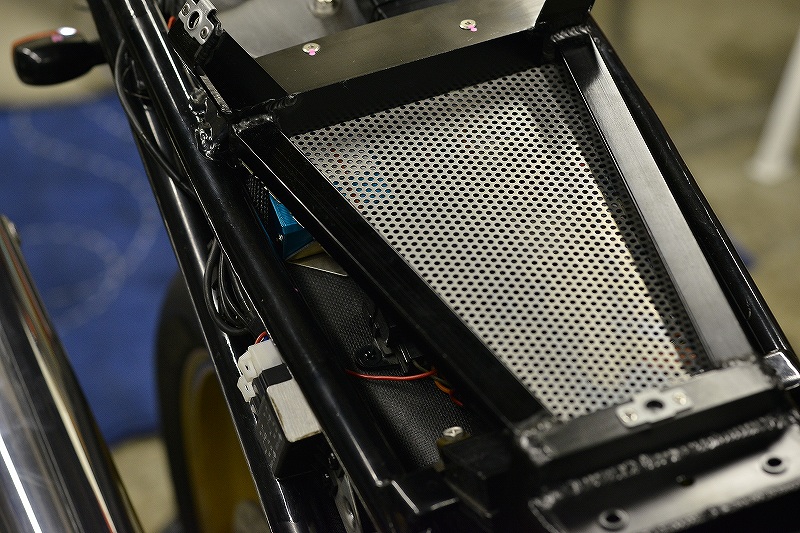
Once we install the seat rail base, it won’t be visible, but we still want to keep the wiring clean in places you can’t see.
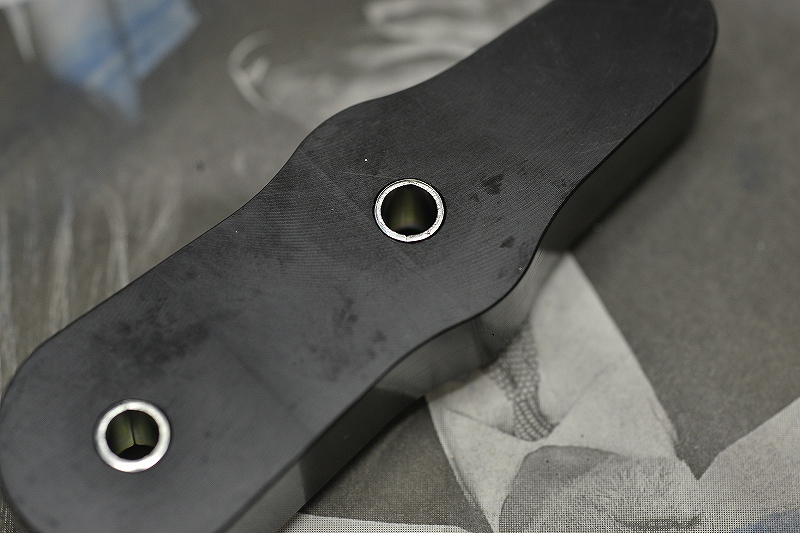
With sleeves in the plastic, we can tighten everything securely, which gives us great peace of mind.
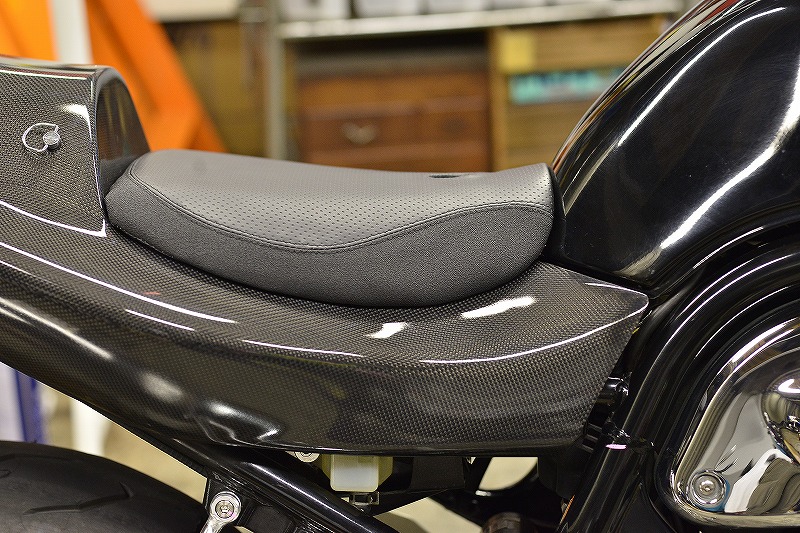
The seat is finished, so we can finally take it for a test ride.
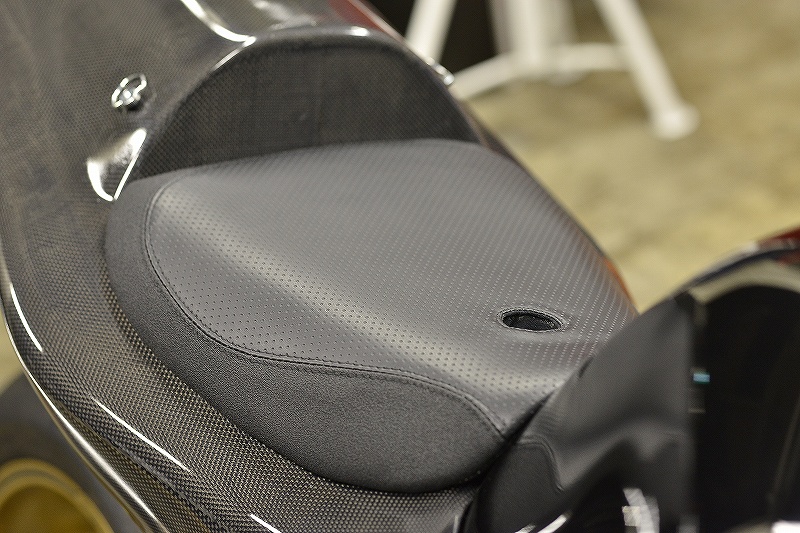
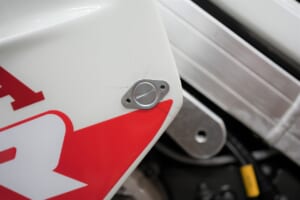
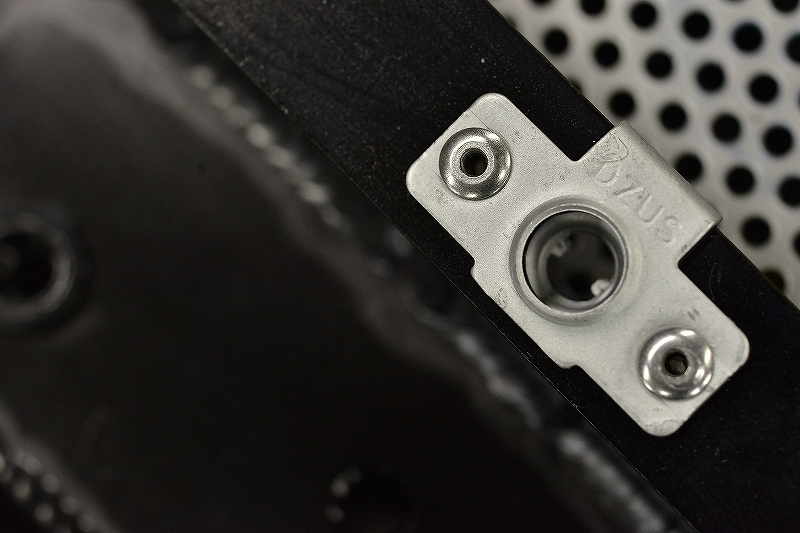
The mystery hole is for the fastener release. Normally, you’d secure the seat body with Dual Lock or similar, then remove the screws underneath and the fastener in back before you can take the seat off.
You’d need tools to remove the seat, or you’d have to dig into the seat base from underneath to release the fastener.
With this, three clicks and it pops right off in one go!
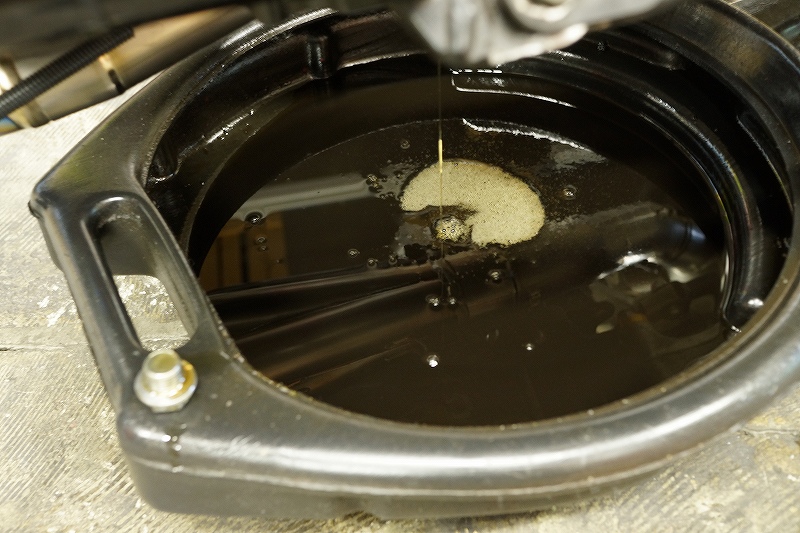
Oil change before the test ride
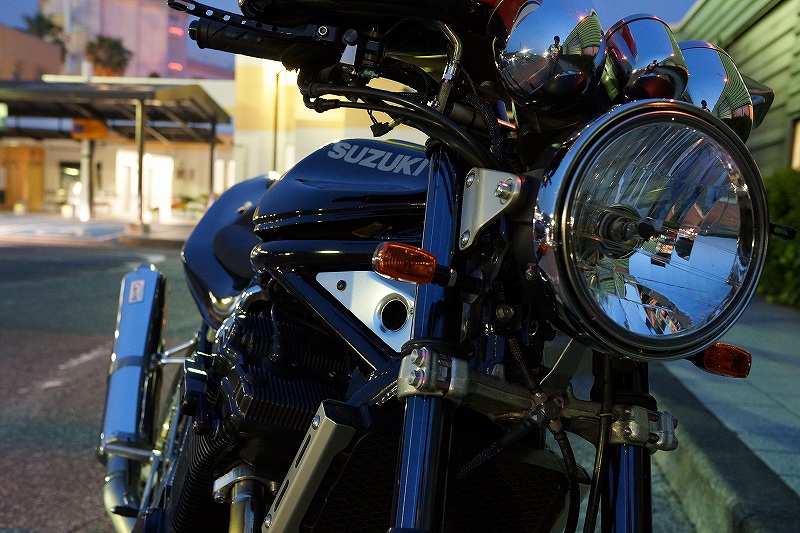
After that, we’ll fine-tune the details and we’re done.