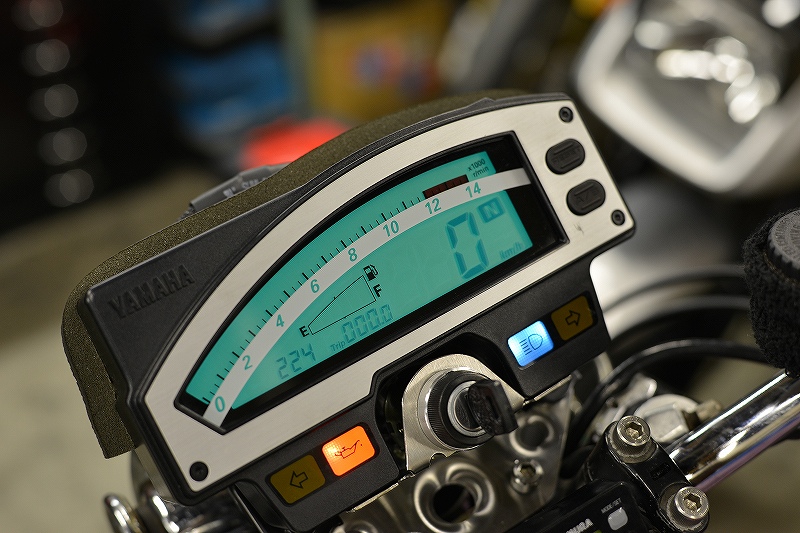
Wiring modifications are tricky because we have to balance risk, future work efficiency, and keeping the layout simple.
Risk = During installation, there’s a lot of connecting and disconnecting, which increases the chance of scratching the unit. A wiring mistake could damage the unit. Even with careful work, electrical problems can happen out on the road. (The unit itself can have issues too.)
Future efficiency = If something breaks or needs replacing, we have to remove it. When selling the bike, we remove it and restore it to stock. We also have to consider the possibility that someone other than the person who did the work might need to service it.
Simple layout = Y-shaped or X-shaped layouts where you can’t tell upstream from downstream and the unit just happens to work make troubleshooting and recovery difficult. A layout where you can quickly kill the end points is the fastest path to recovery.
Because we always keep all these things in mind while doing the work, it takes a lot of time, effort, and labor.
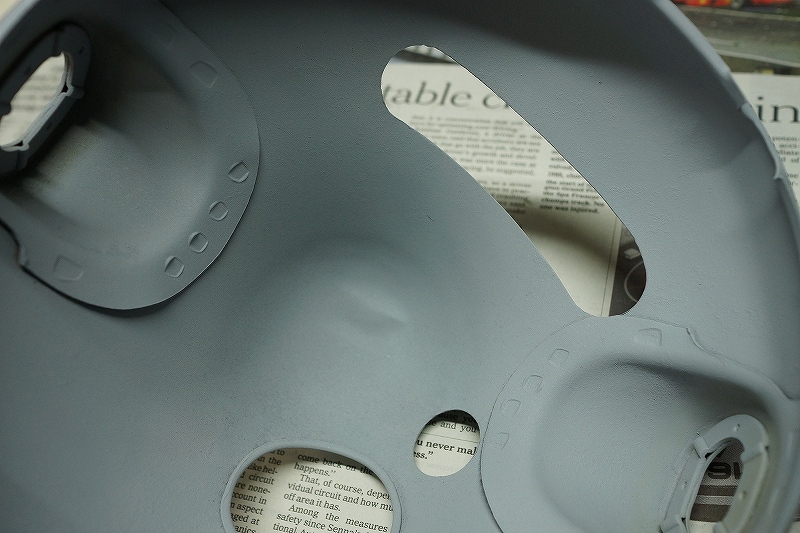
To avoid putting strain on the wiring, it’s best to modify the light case.
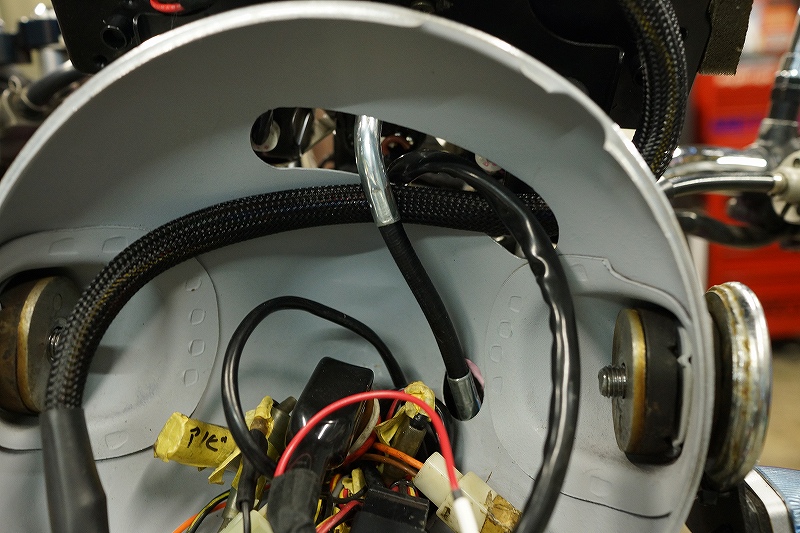
There’s another issue: even though it’s a digital meter, it uses analog detection. And because it centers the signal, there’s just no way to route it through.
There are kits available that angle the signal, but if you can route it inside, you probably don’t need one.
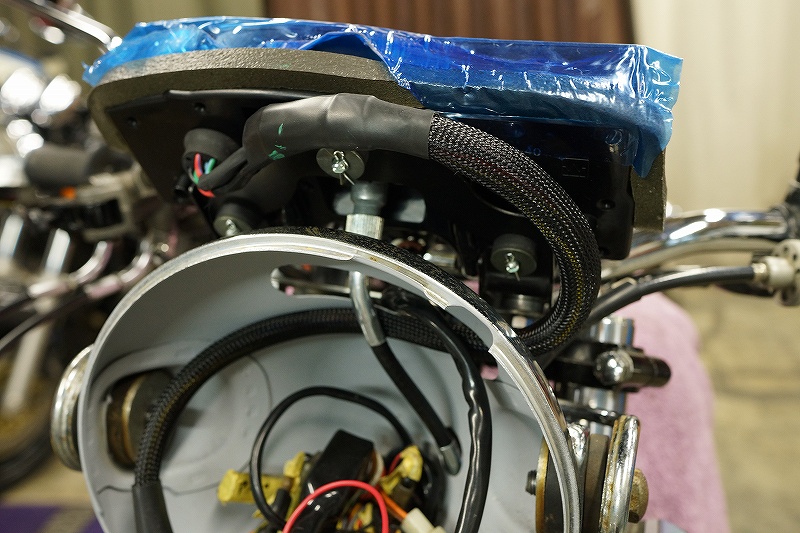
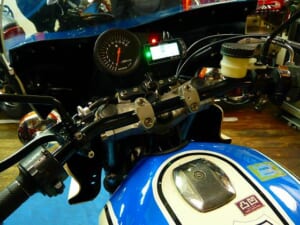
Still a temporary layout… The appearance improves a lot if you can bundle and secure things without relying too heavily on cable ties.
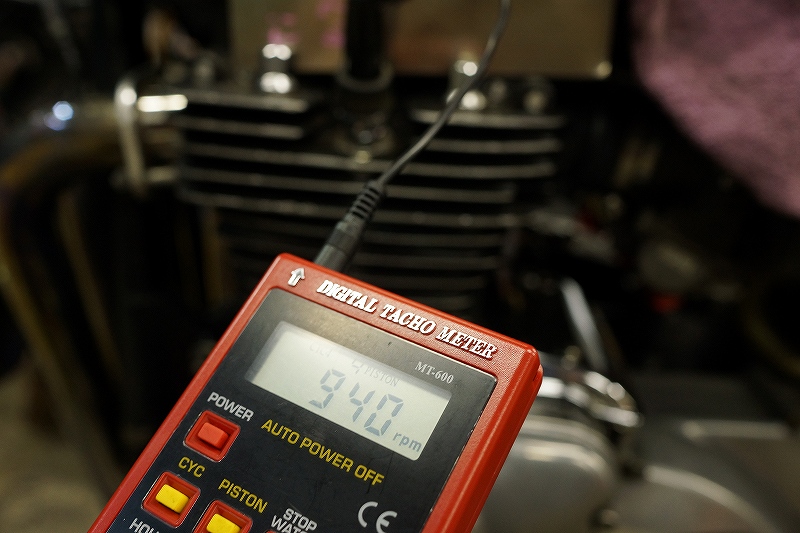
Once we replace the tachometer, we need to check for any error and report the difference.
This digital tach isn’t super reliable either, but it’s something that needs to be done.