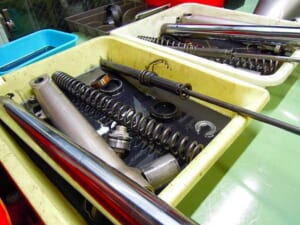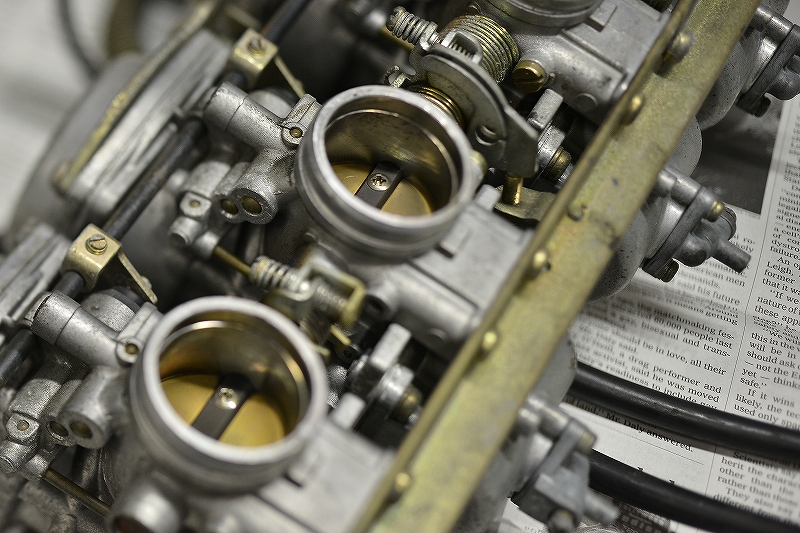
We removed the carburetor to replace the harness, so we gave it a light cleaning. While we’re at it, we’ll replace the throttle cable too.
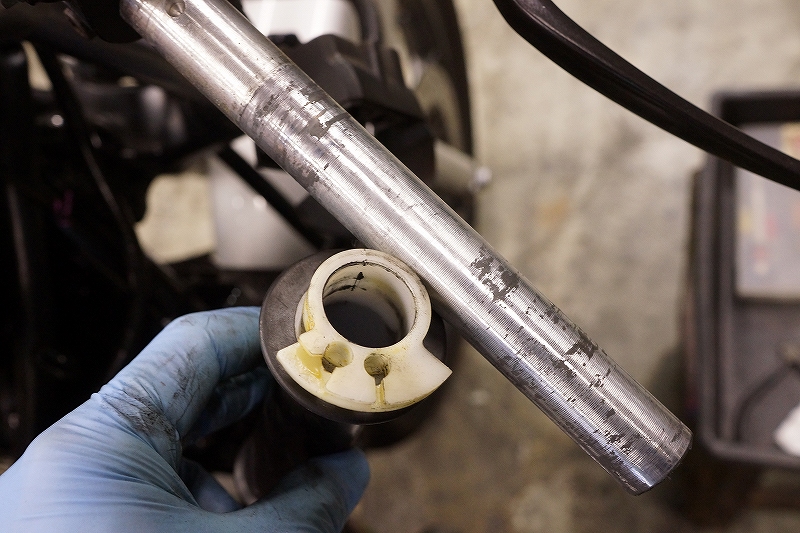
Cleaning and lubricating the control systems. The grease that once served as lubricant has hardened and turned into grime.
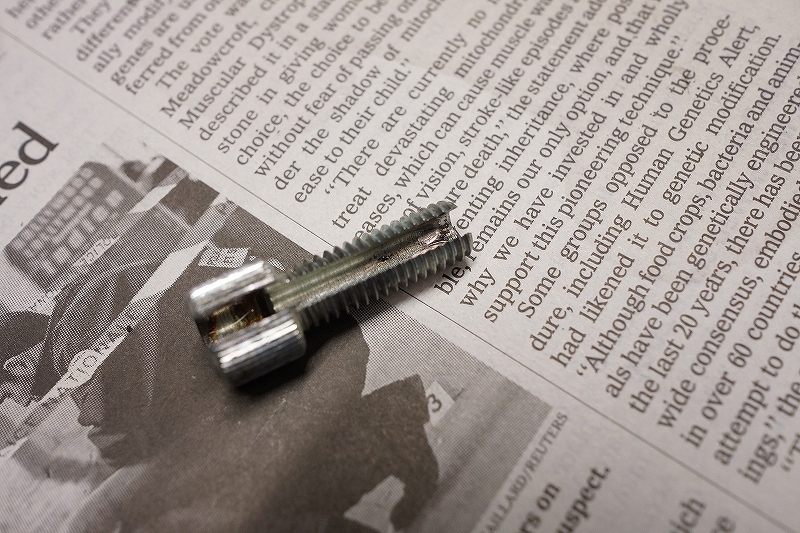
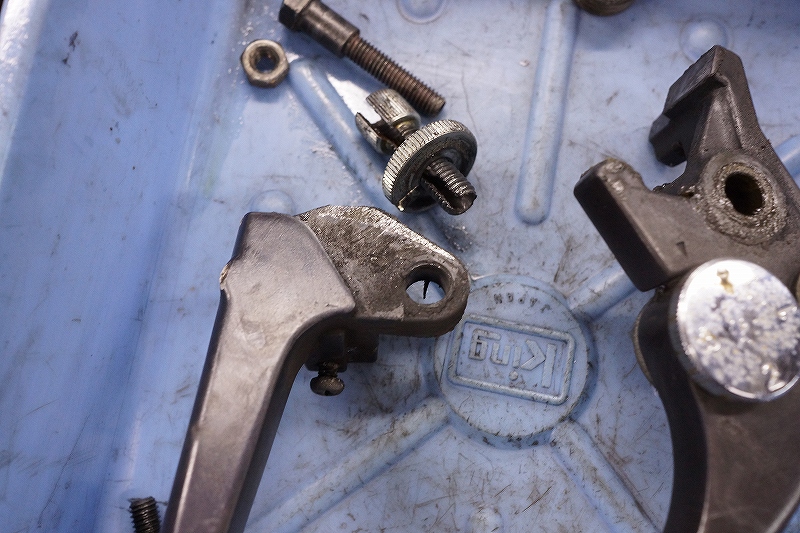
Now let’s check out the various wire-operated levers. Wires typically break where the bends are tight and friction is greatest. We can see that the adjustment bolts are making contact there.
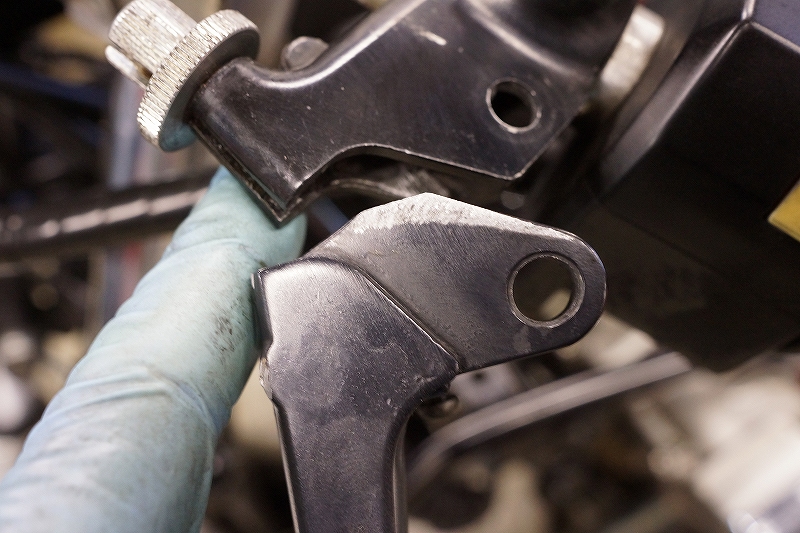
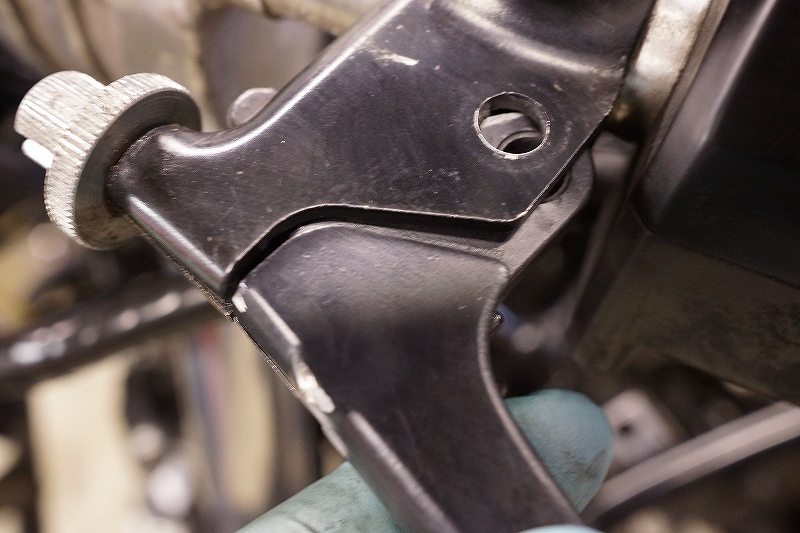
The lever itself is rubbing and rattling. The grip force gets lost. Some play is necessary, but this is too much.
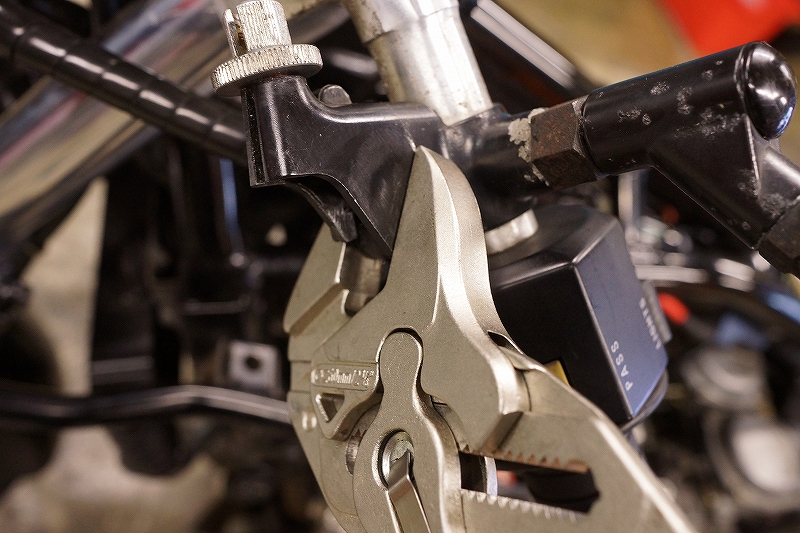
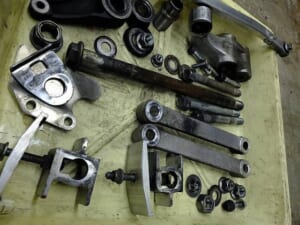
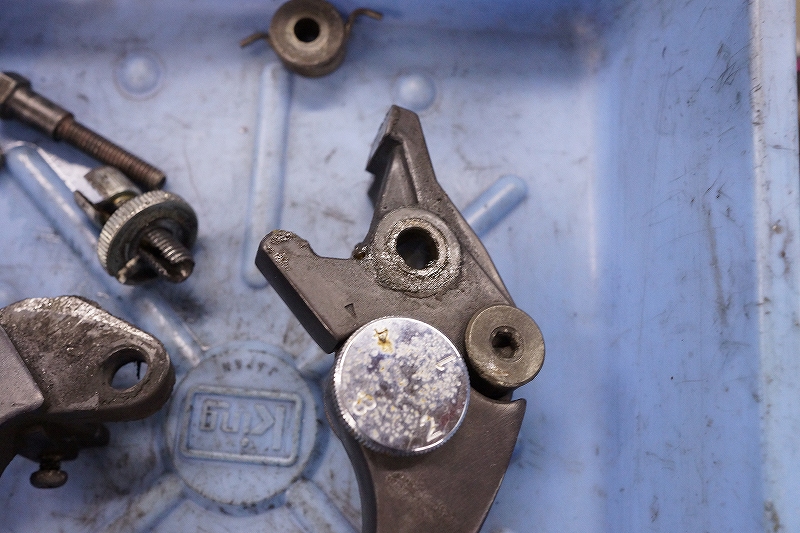
The lever and holder are worn, so we can’t restore perfect alignment anymore, but by crushing it this way we can still use the holder.
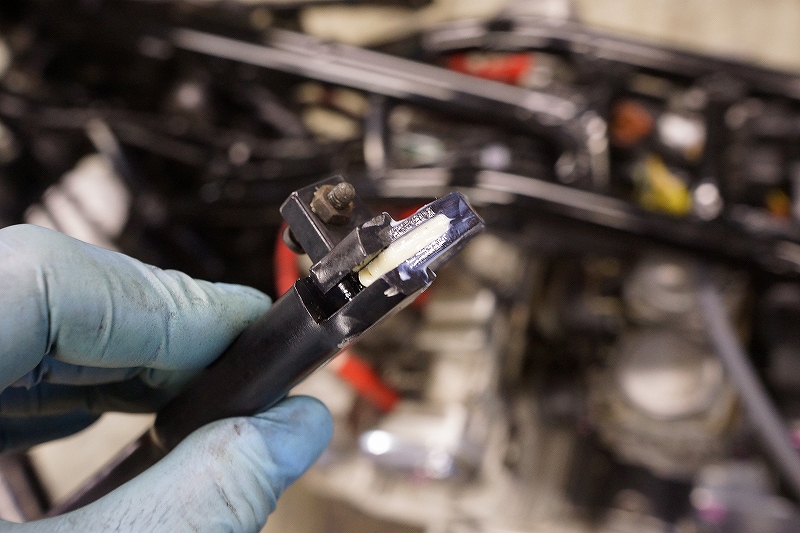
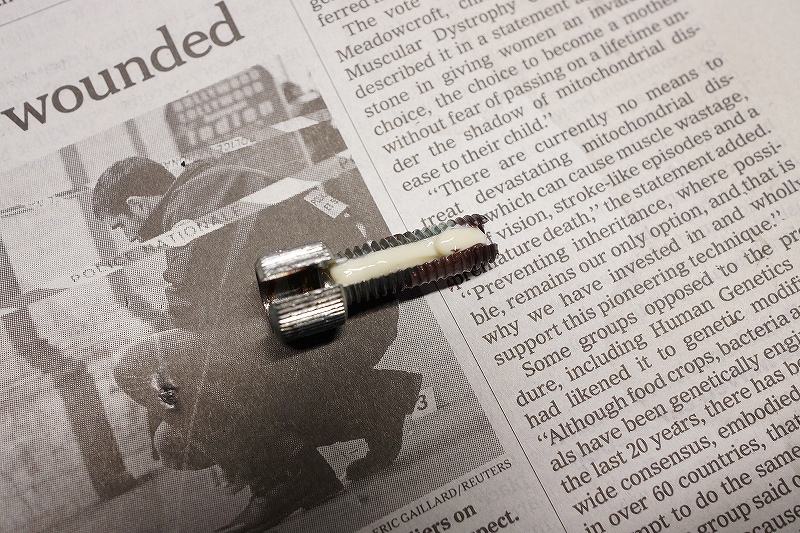
Depending on where we’re lubricating, we apply and then wipe away the excess.
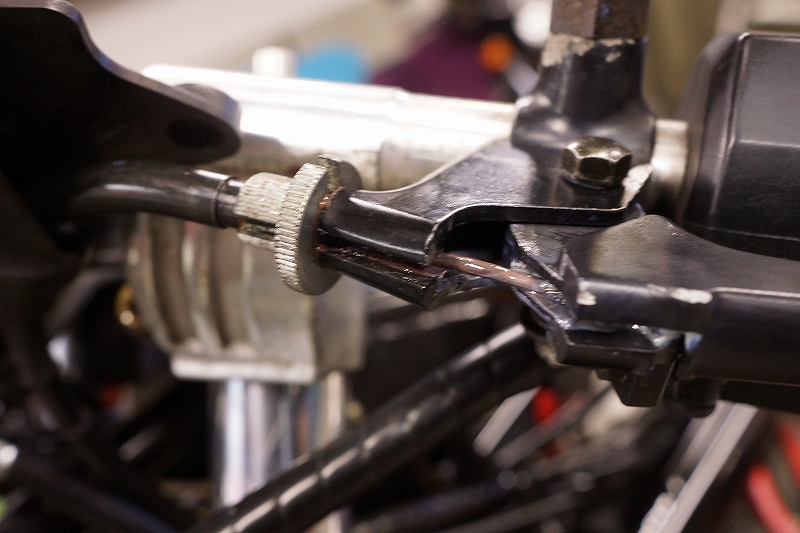
The lever bolts are stepped and basically floating, but some can get stiff. We tighten while watching the movement, and positioning the adjustment screw where the wire doesn’t rub should give it a longer life.
We’ll wipe away any excess oil afterward.
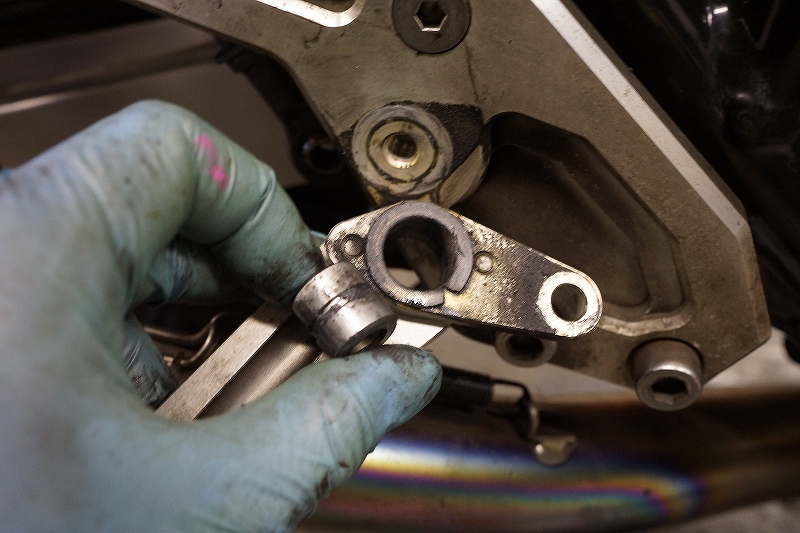
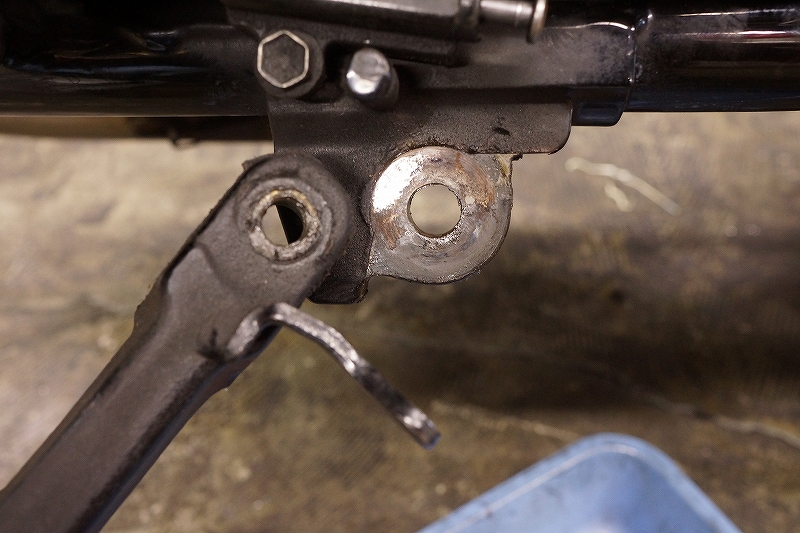
The left and right pedals and side stand pivot points move smoothly and return with a satisfying feel.
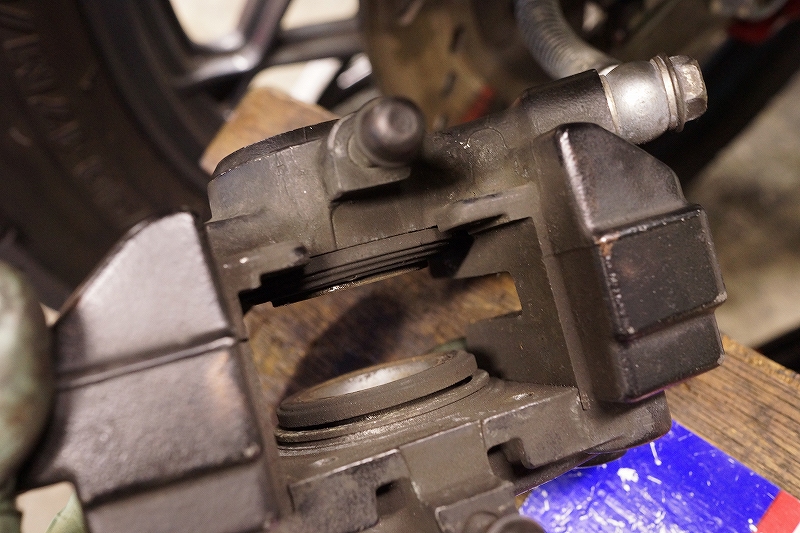
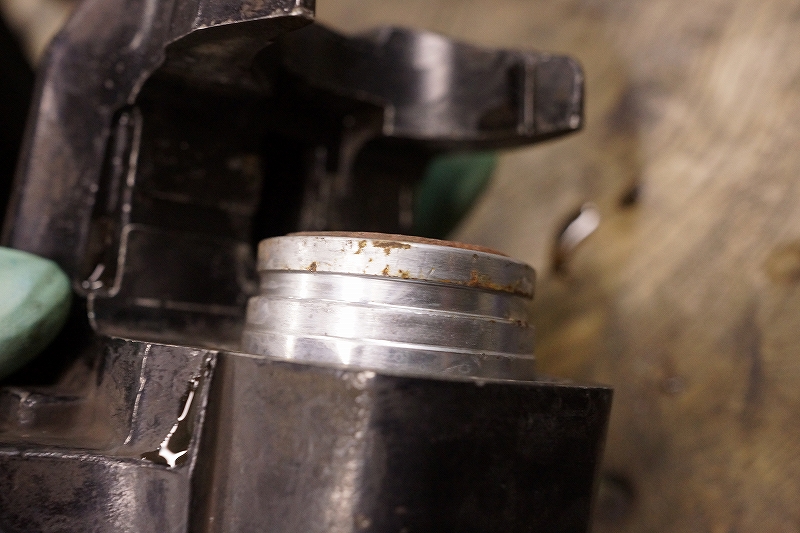
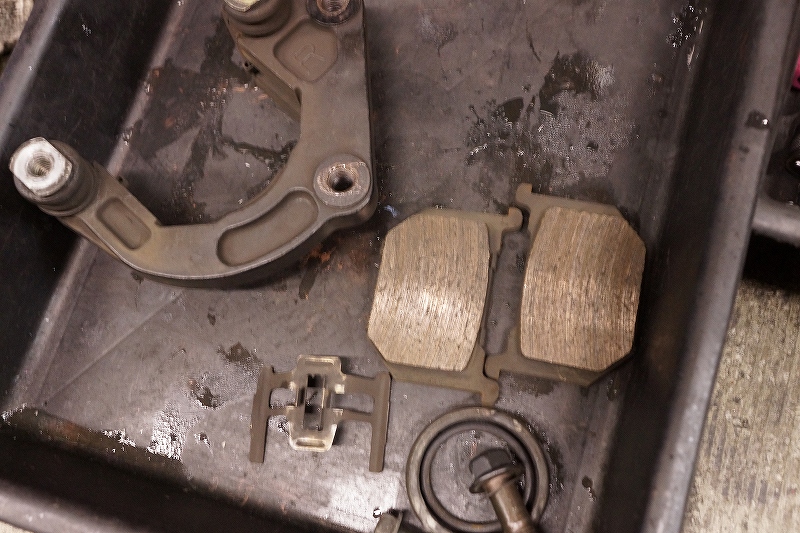
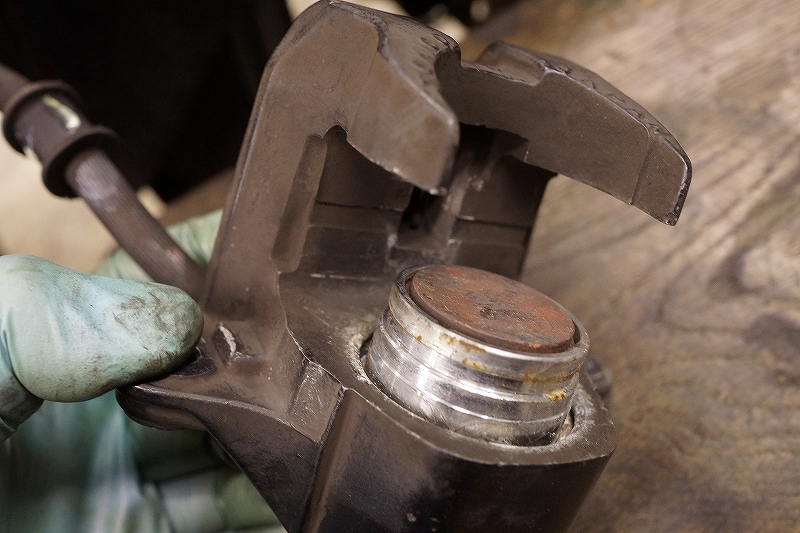
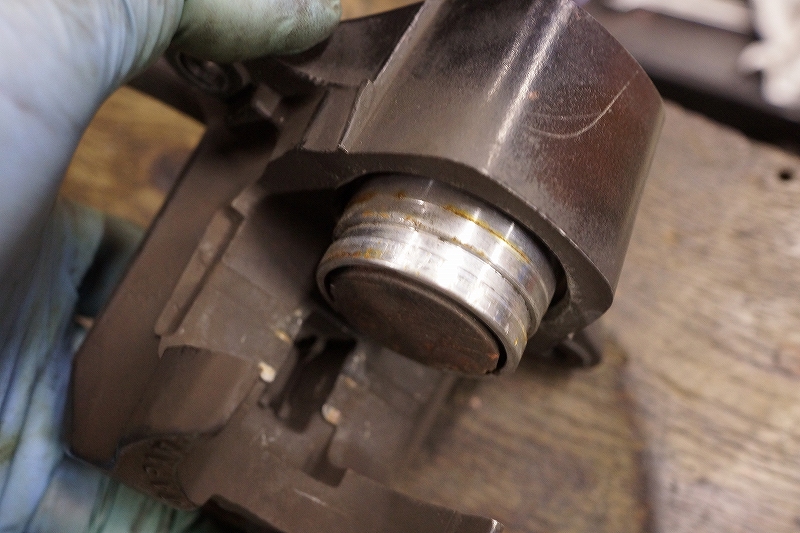
There are marks from caliper piston contact, but the operation and condition are pretty good.
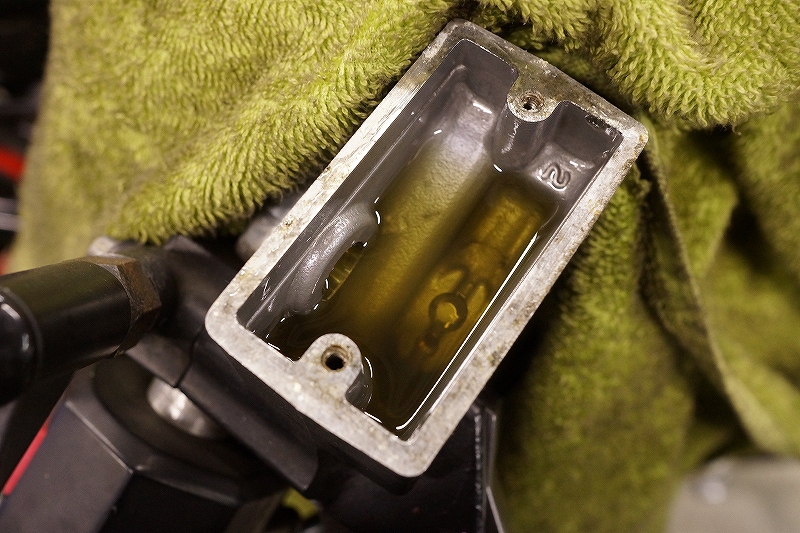
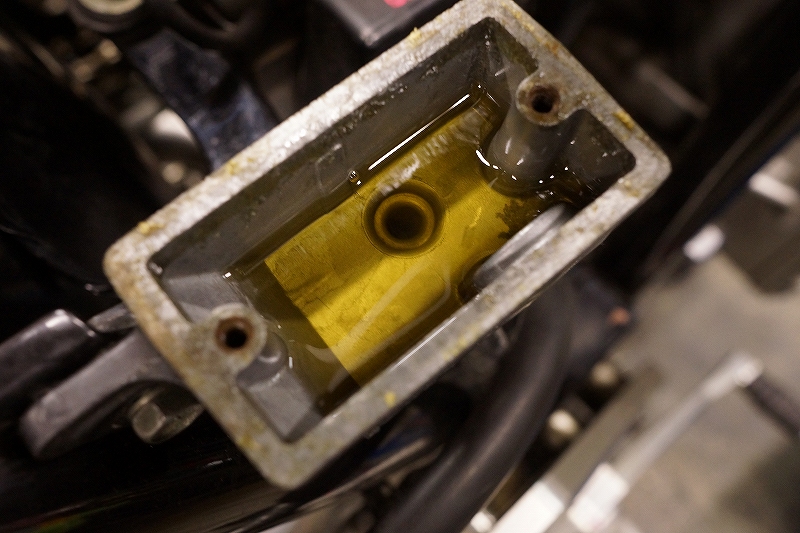
The fluid looks pretty good too.
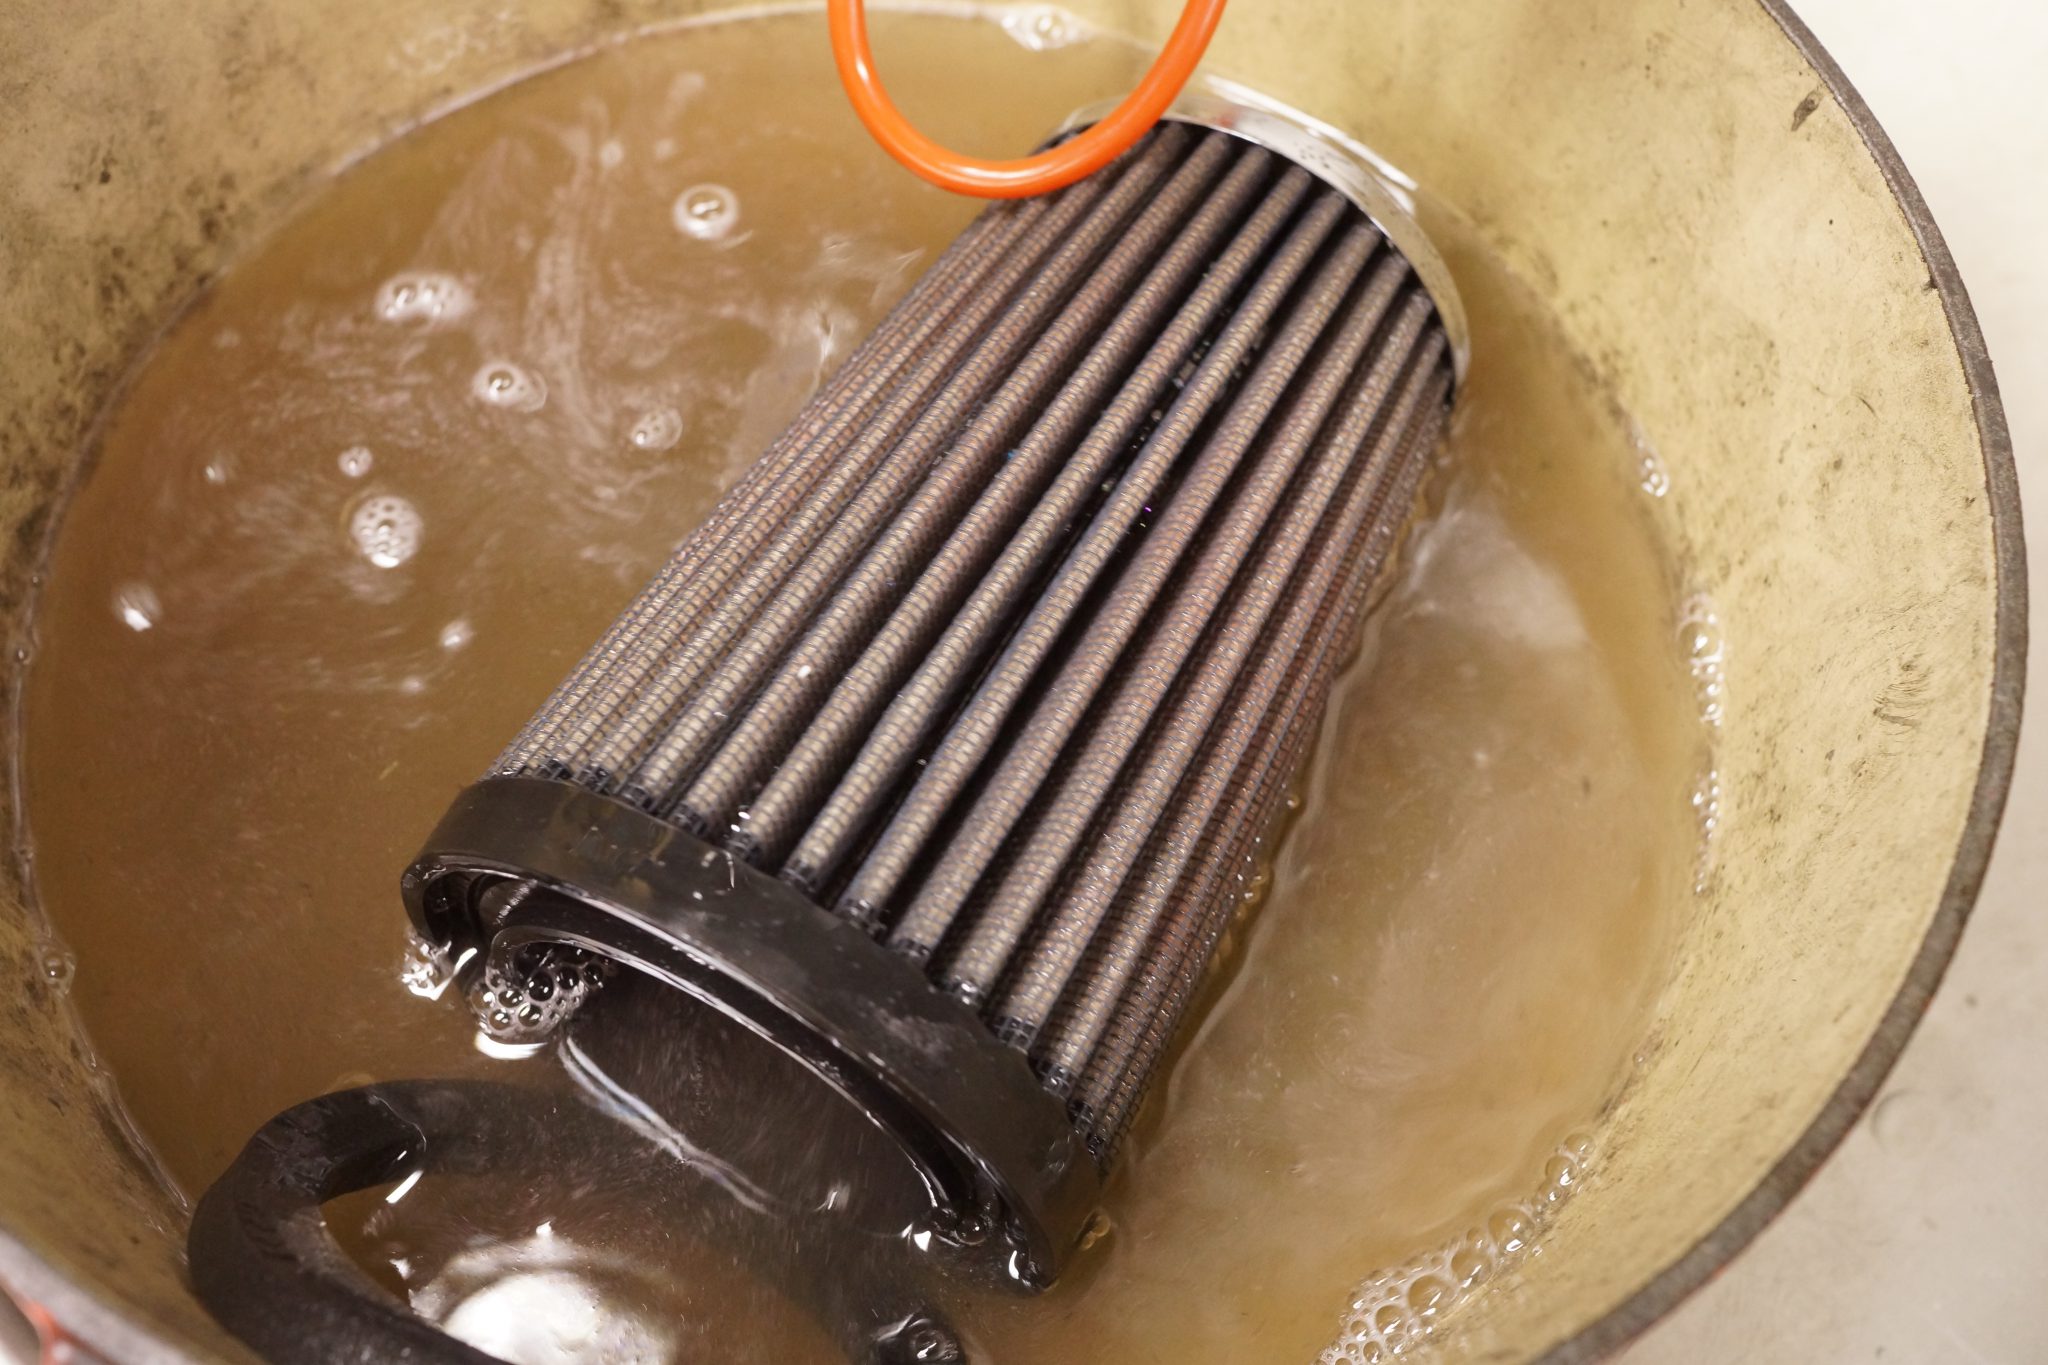
The air filter is K&N type, which is washable, so that’s a relief.