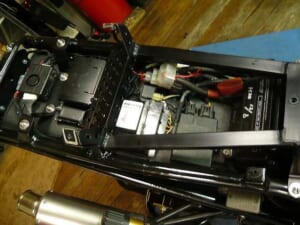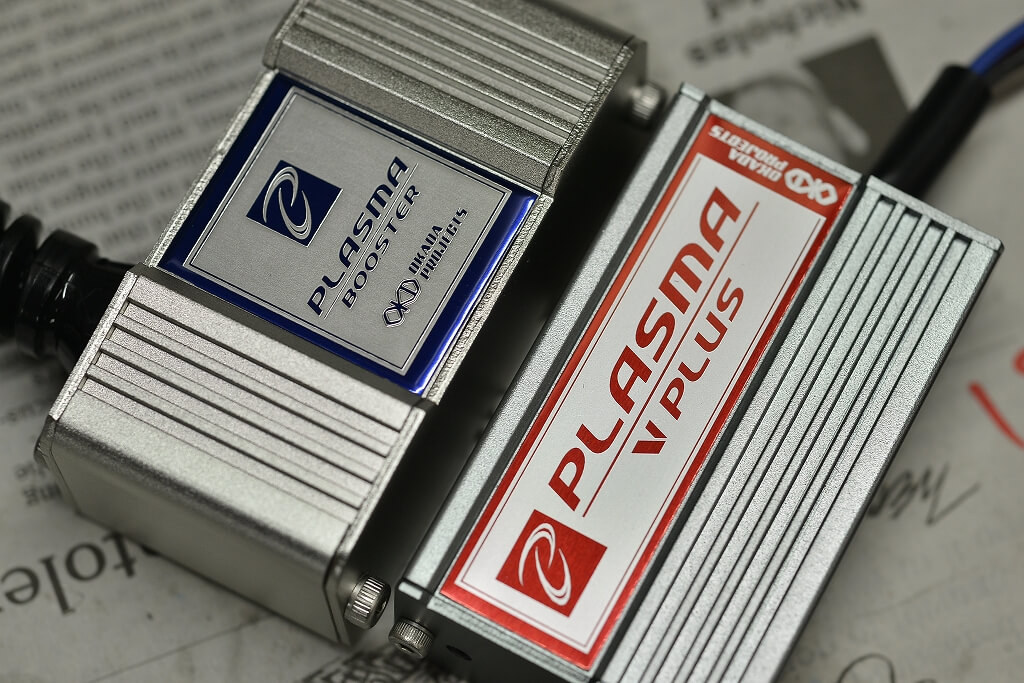
Delivery came faster than expected. We’re really grateful for that. The inspection is already done, so let’s get to work.
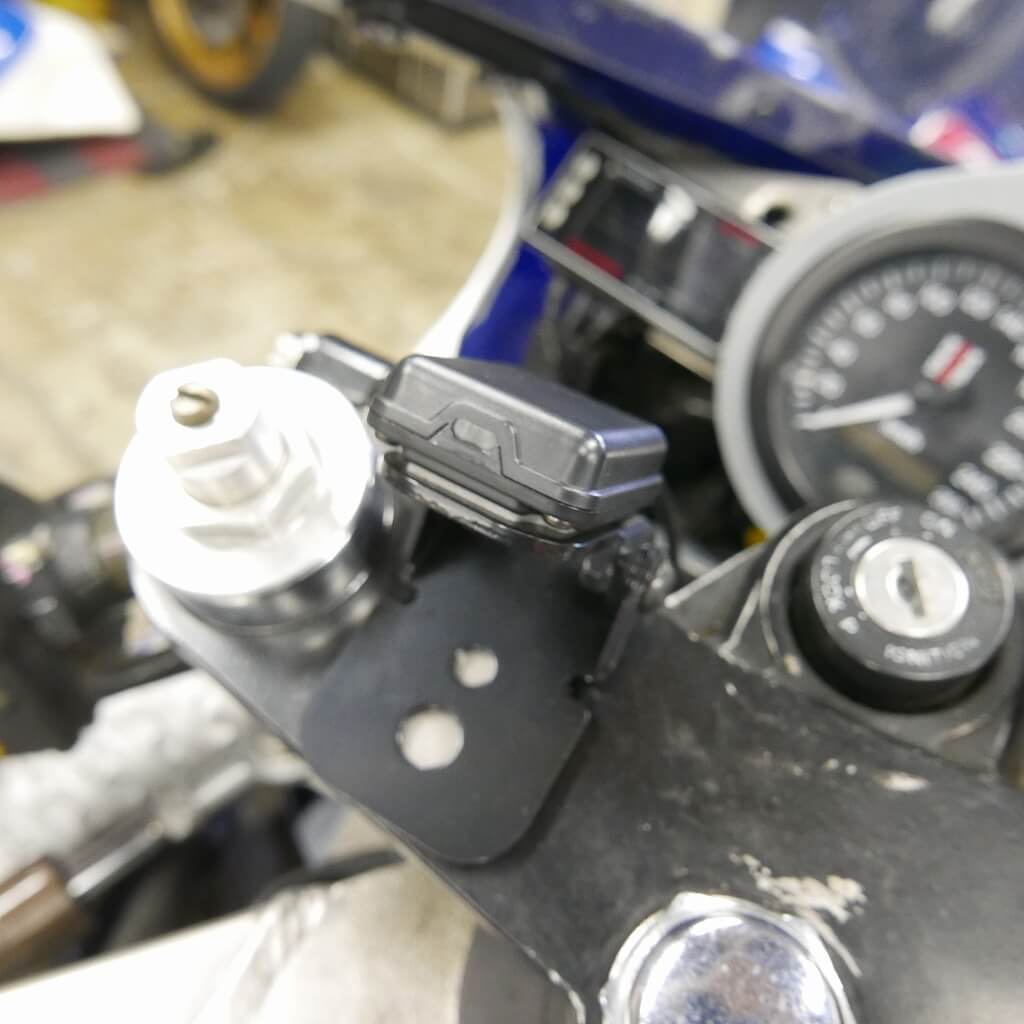
It’s a real “THE ETC!” kind of installation. You’ll get very stable reception with this setup.
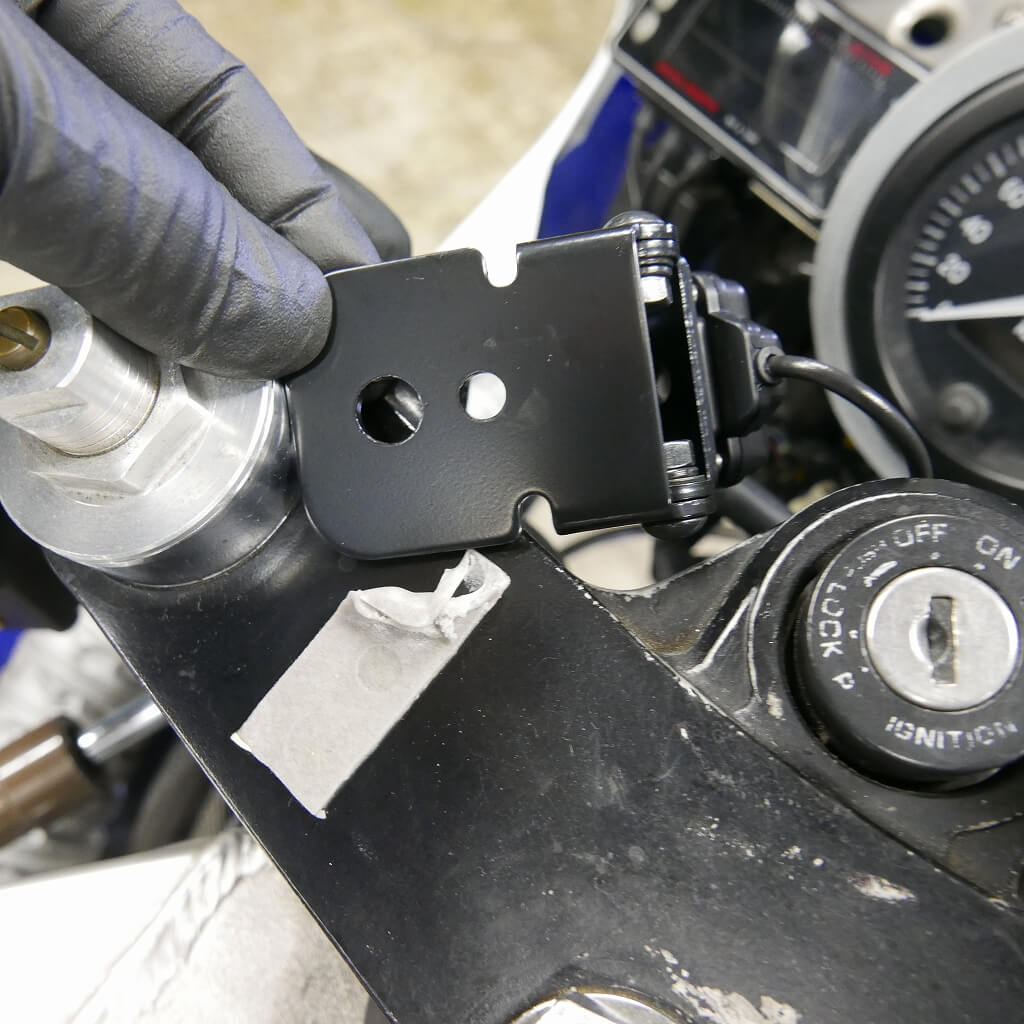
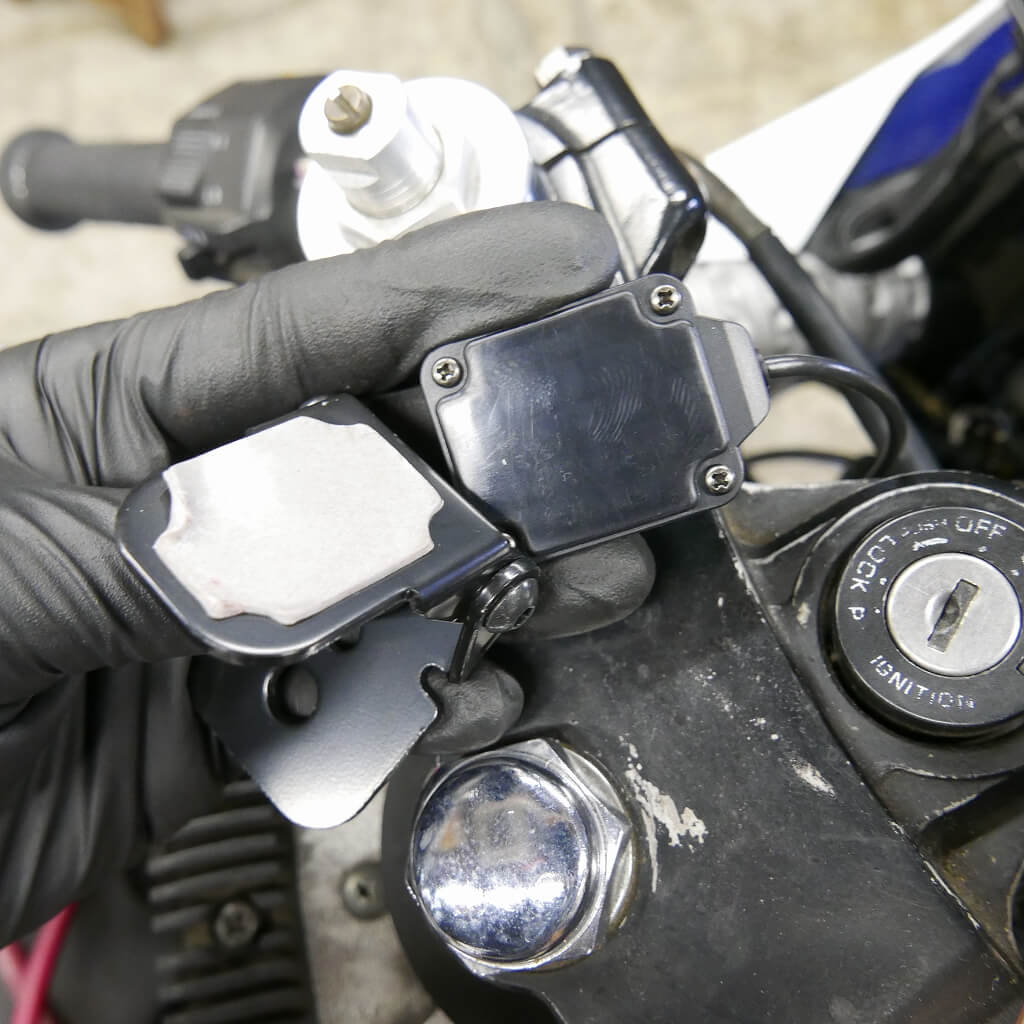
With a little magic tool, it peels right off easily.
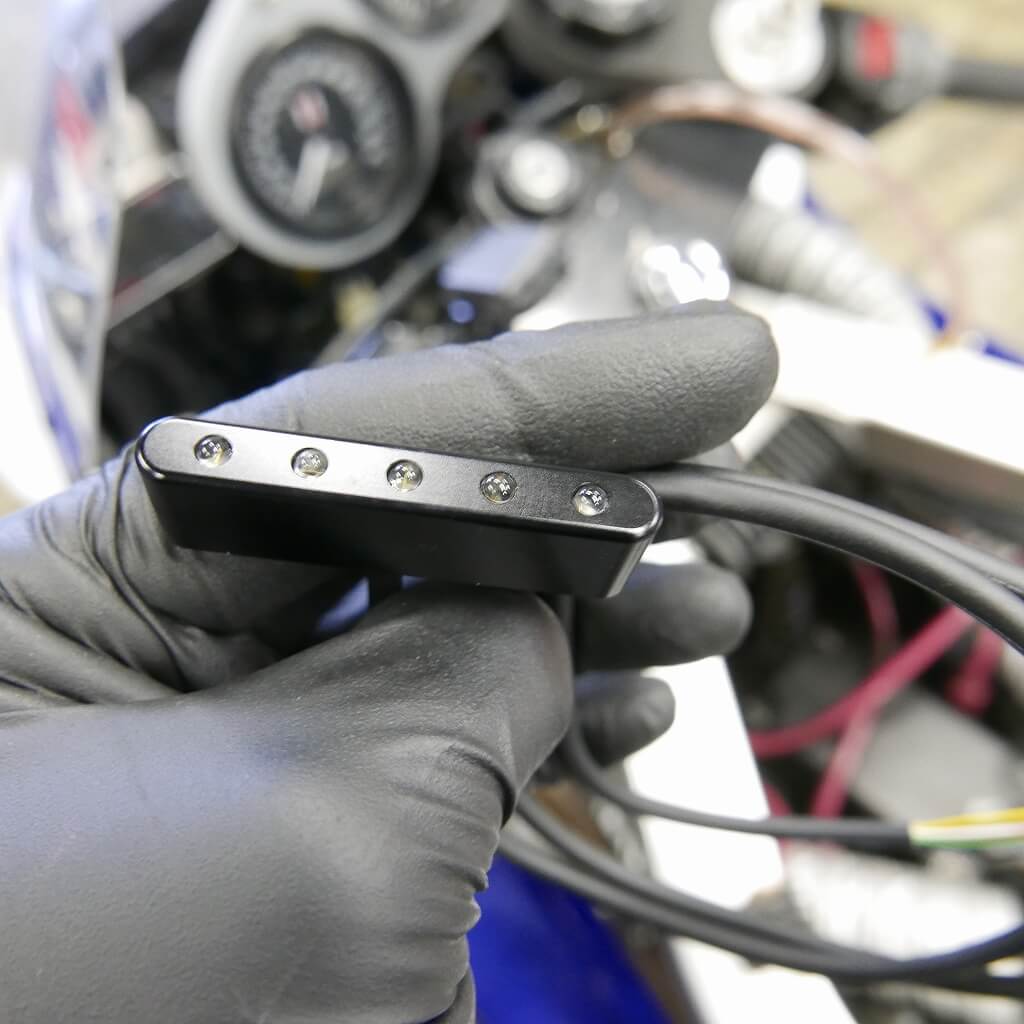
It comes at a decent price point. It’s really compact and nice. If you’ve got the budget, go for it.
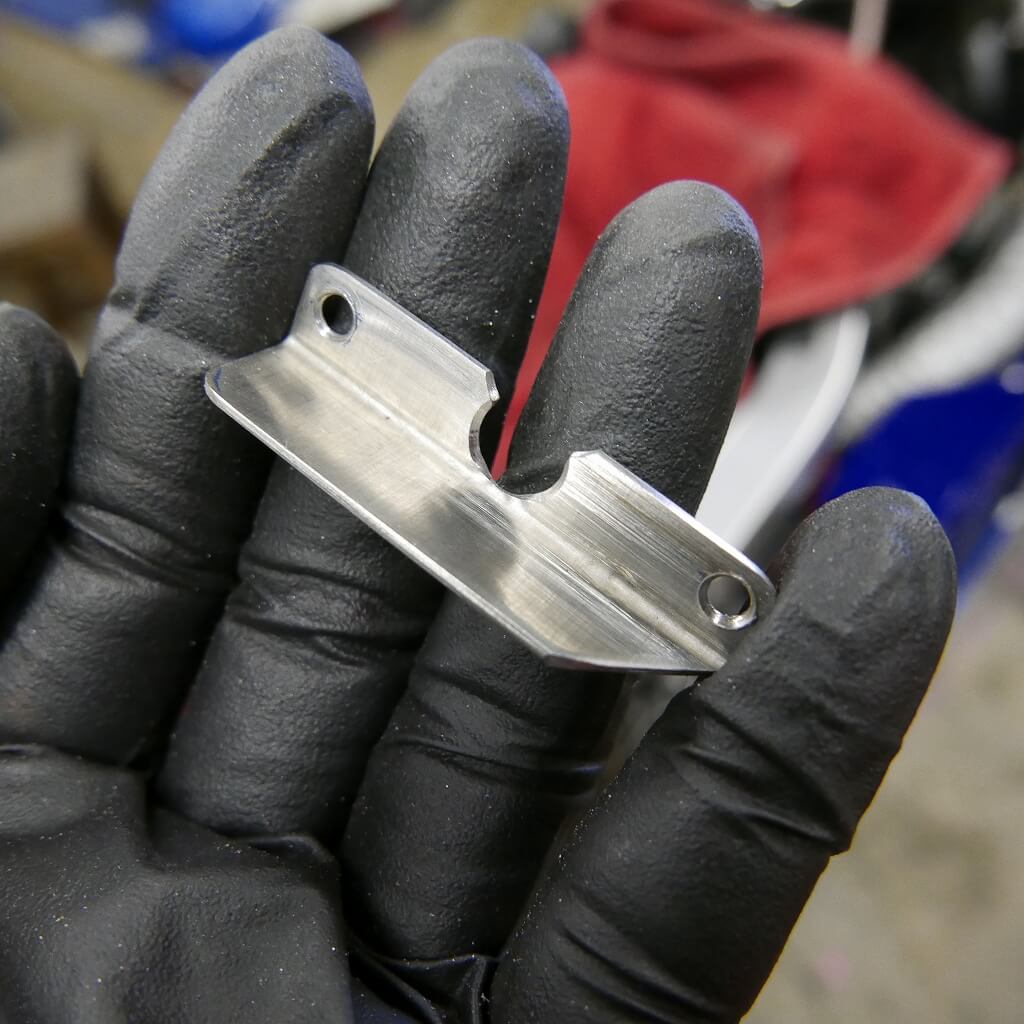
I’m not a fan of the typical double-sided tape and cable tie mounting method. I’ll fabricate a small stainless steel bracket instead.
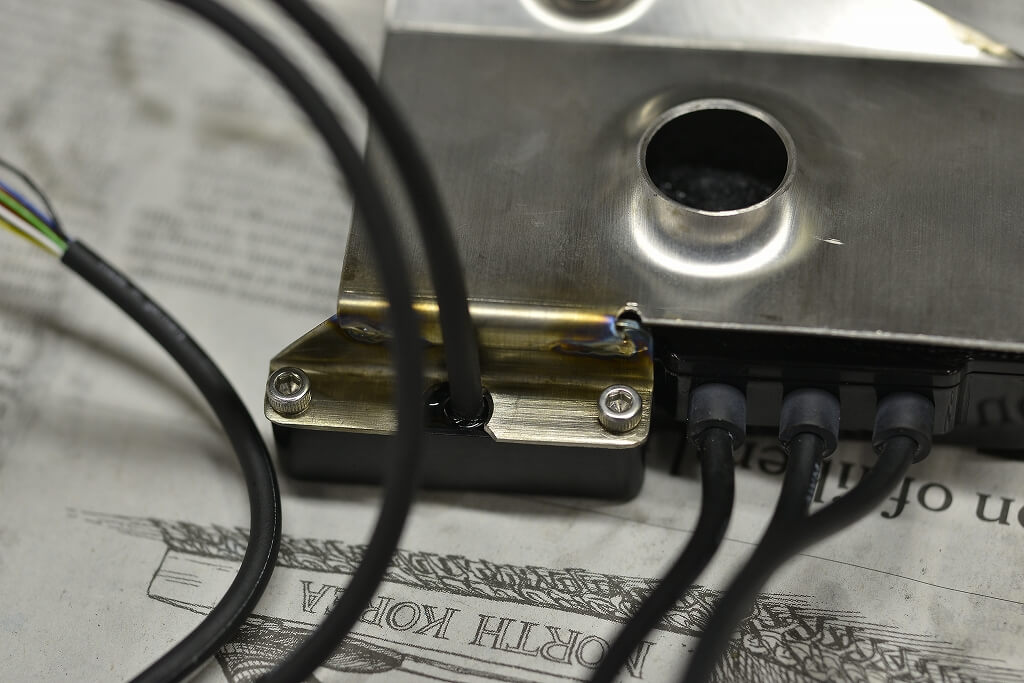
I’ll weld it to a bracket I made before and join them together.
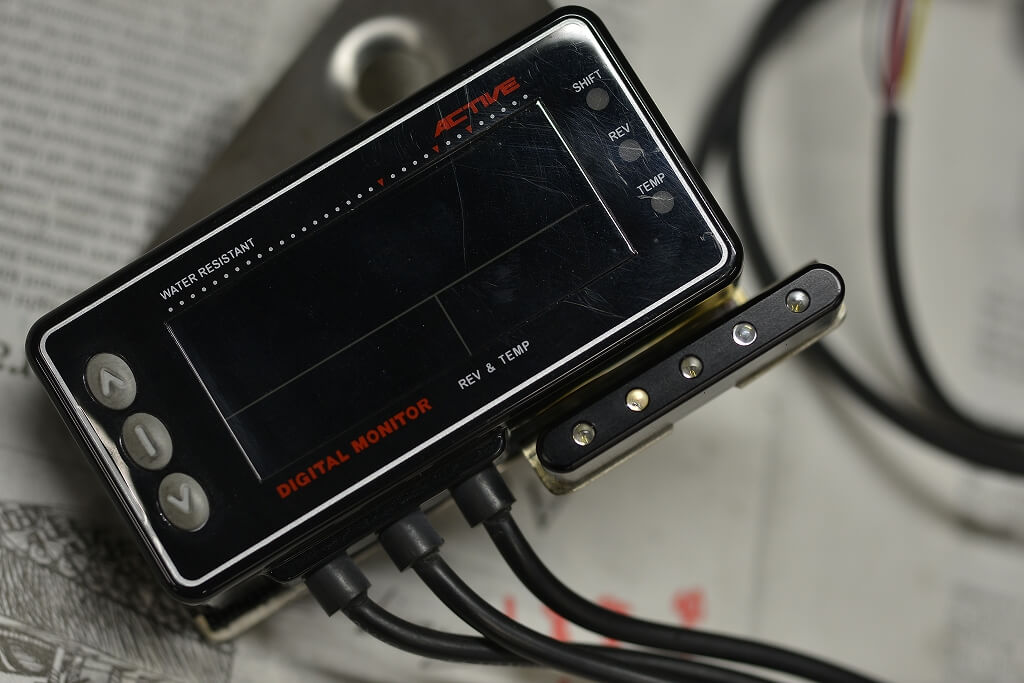
It sits almost flush and looks like one integrated piece.
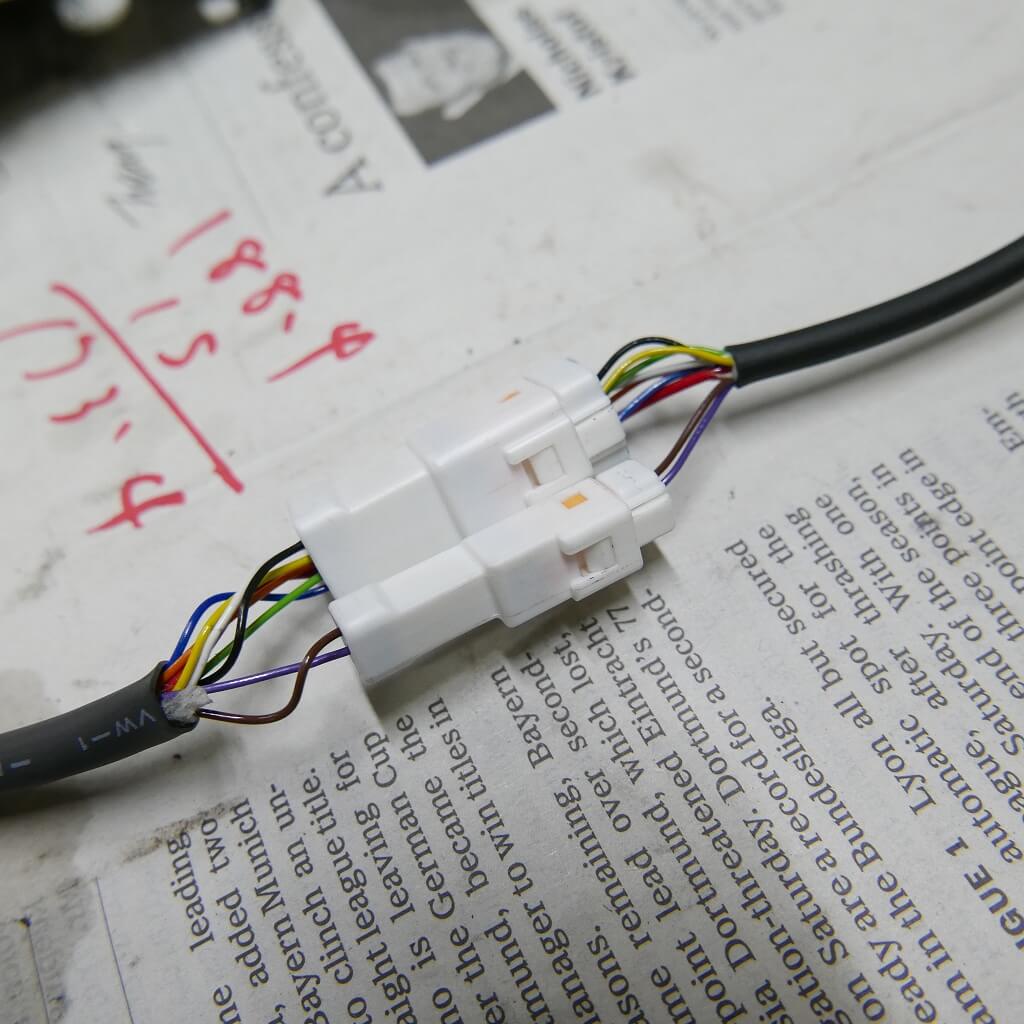
I ended up running them parallel, but… wiring these days is pretty thin anyway. This connector that handles thin wires can handle up to 3 amps, so there’s no problem.
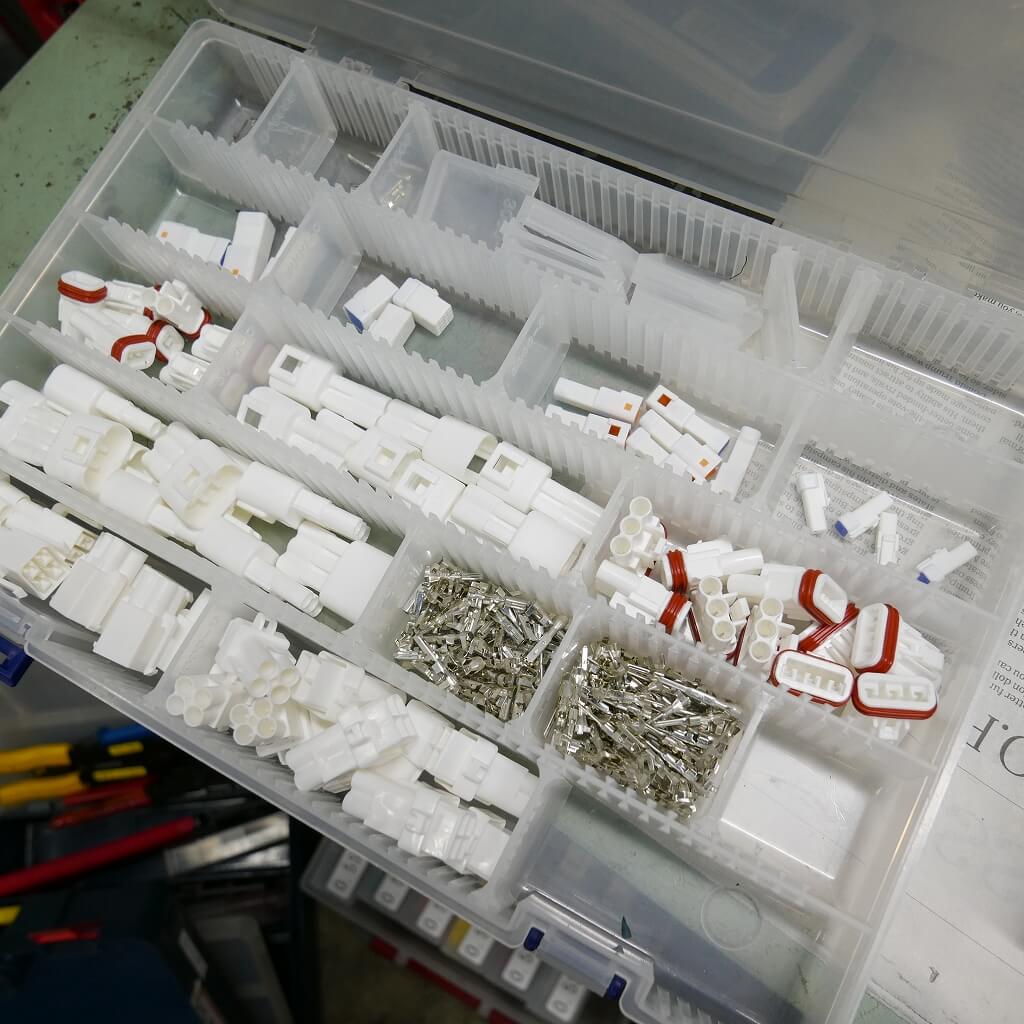
Well, it’s what you’d call a toilet connector. They’re pretty common in circulation, so the price and availability are easy to work with.
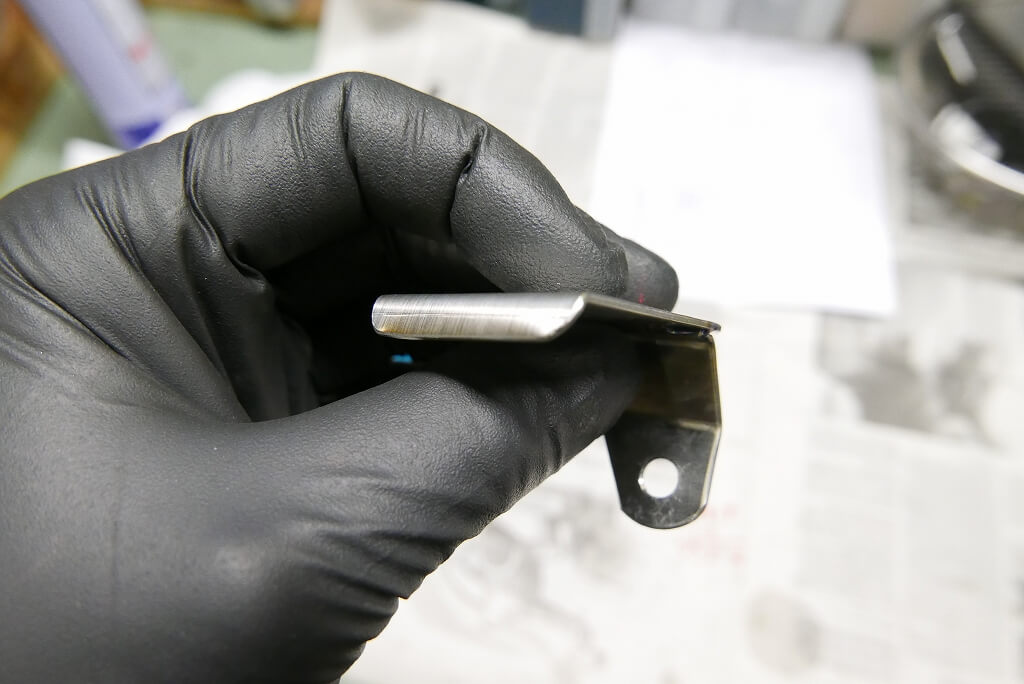
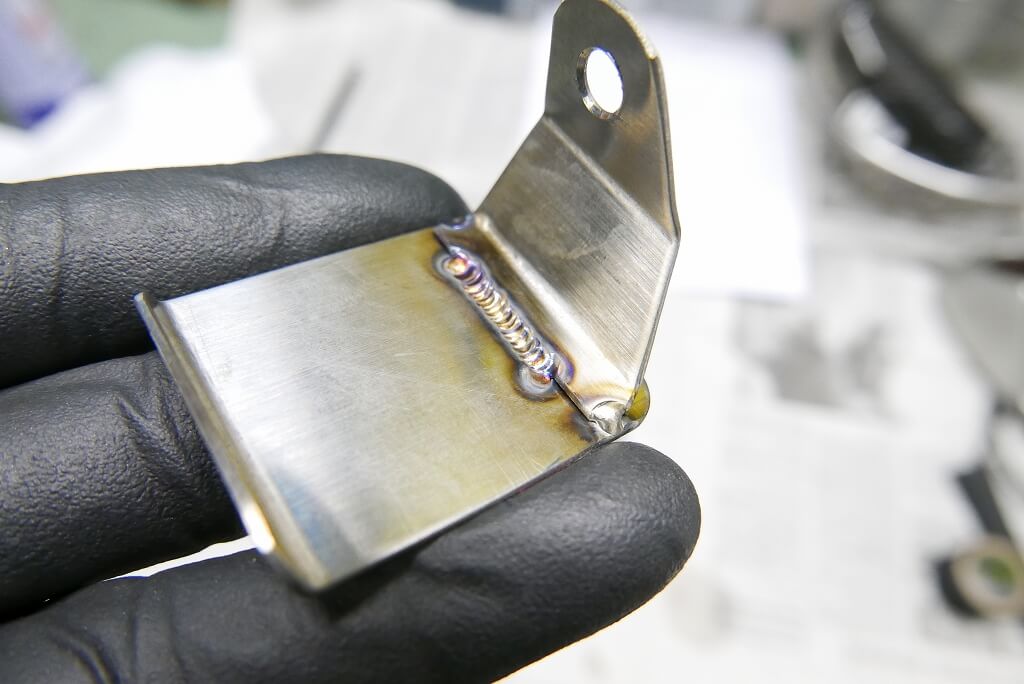
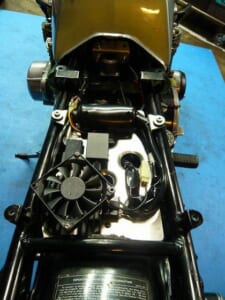
Since we’re relocating the ETC antenna, I fabricated a bracket for it.
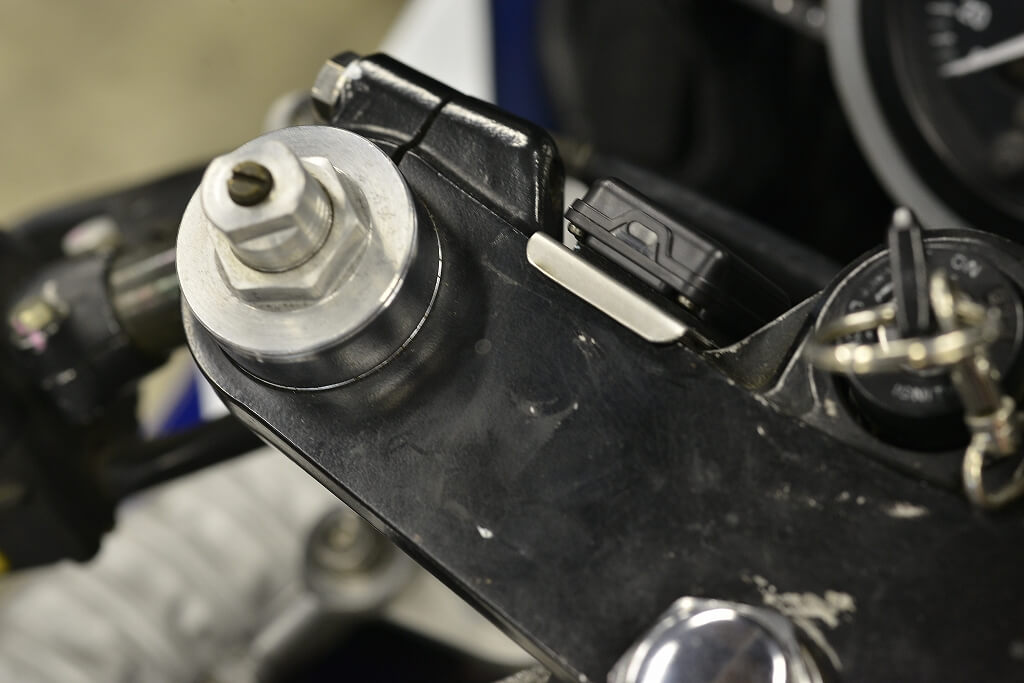
The angle looks about right? I’ve shaped the bracket with a lip on top to prevent rotation and bending.
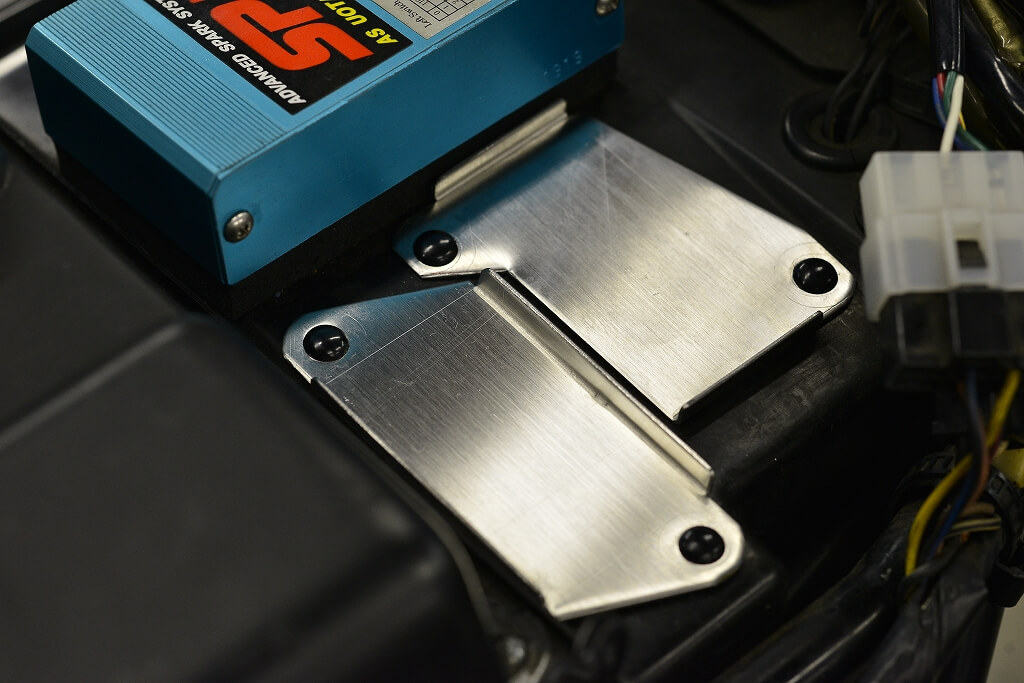
I don’t like directly sticking aftermarket parts onto the bike body.
When you need to remove them for repairs, maintenance, or repainting and part replacement, isn’t it a hassle?
If you do everything yourself, then as long as it’s installed and working, that’s fine. But that’s not how we operate here.
If you’re going to stick something on, using an intermediate plate makes more sense for the future.
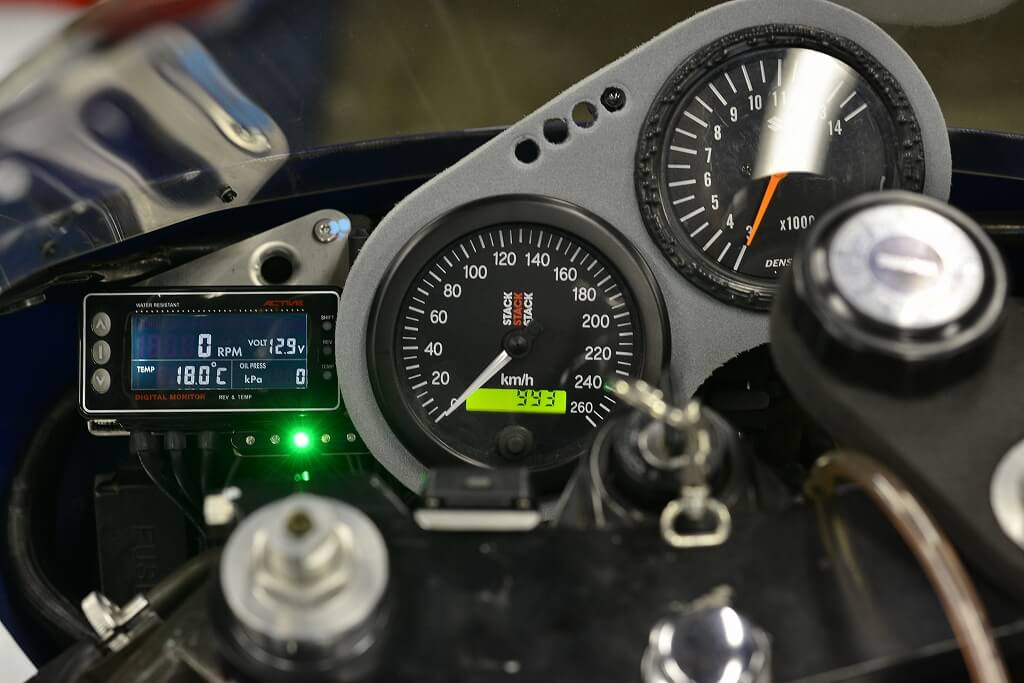
The foam needs to be remade.
I was about to wire everything together, but I think it’s better to make a sub-harness, so I’ll stop here for today.
This stack meter is nice and lightweight.