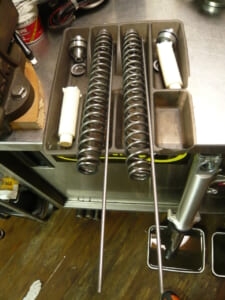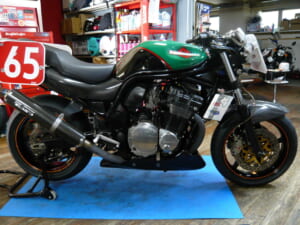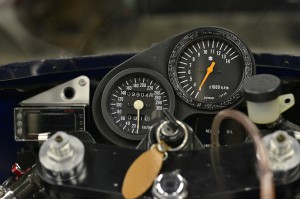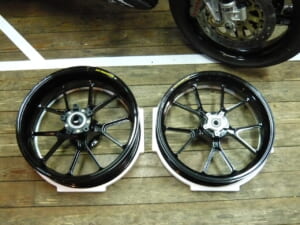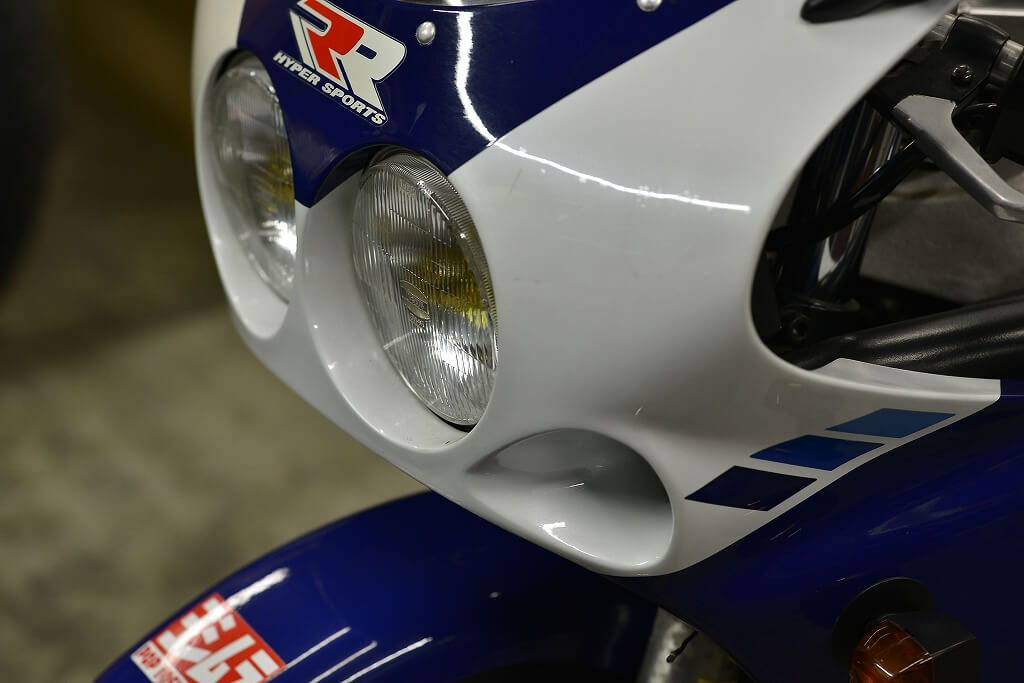
It looks like it’s been sitting for quite a while. Let’s bring it back to life with a bang!
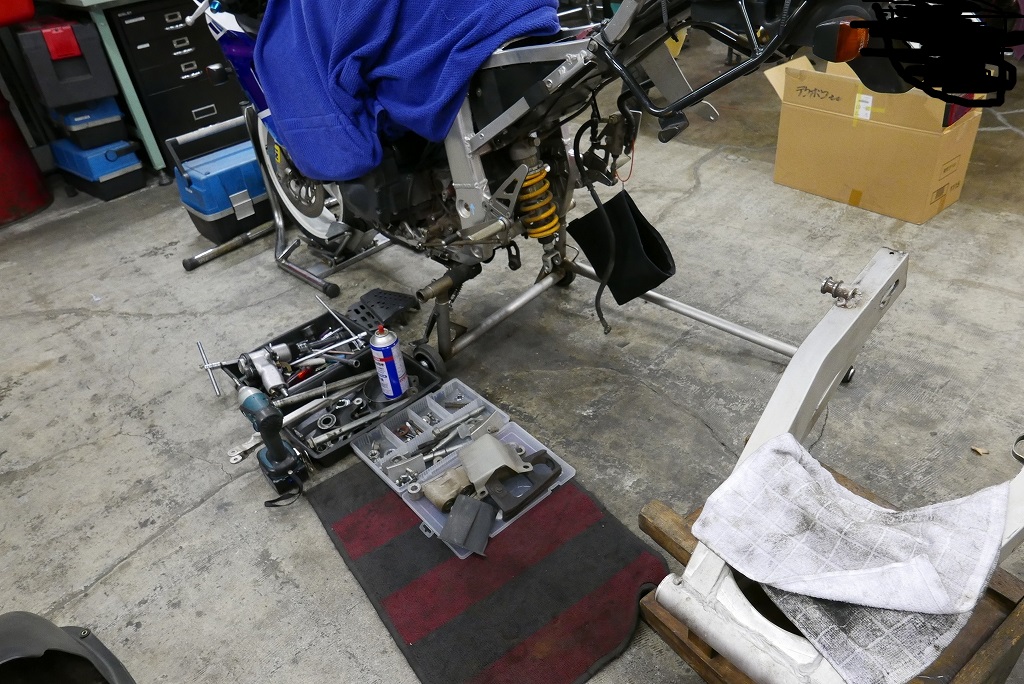
I’d like to start by working on the rear area.
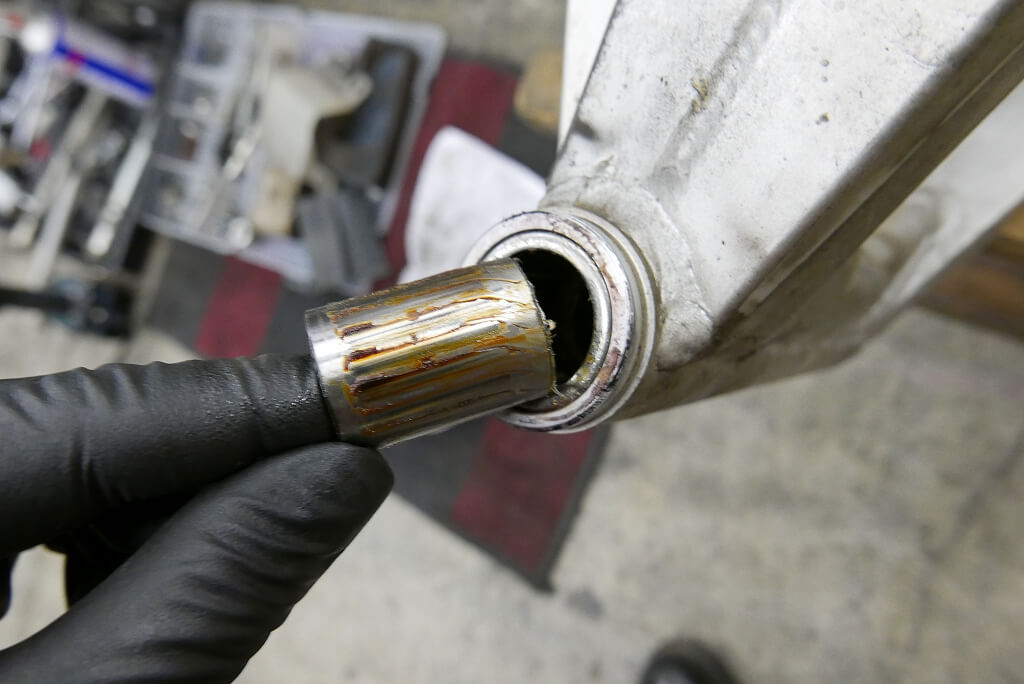
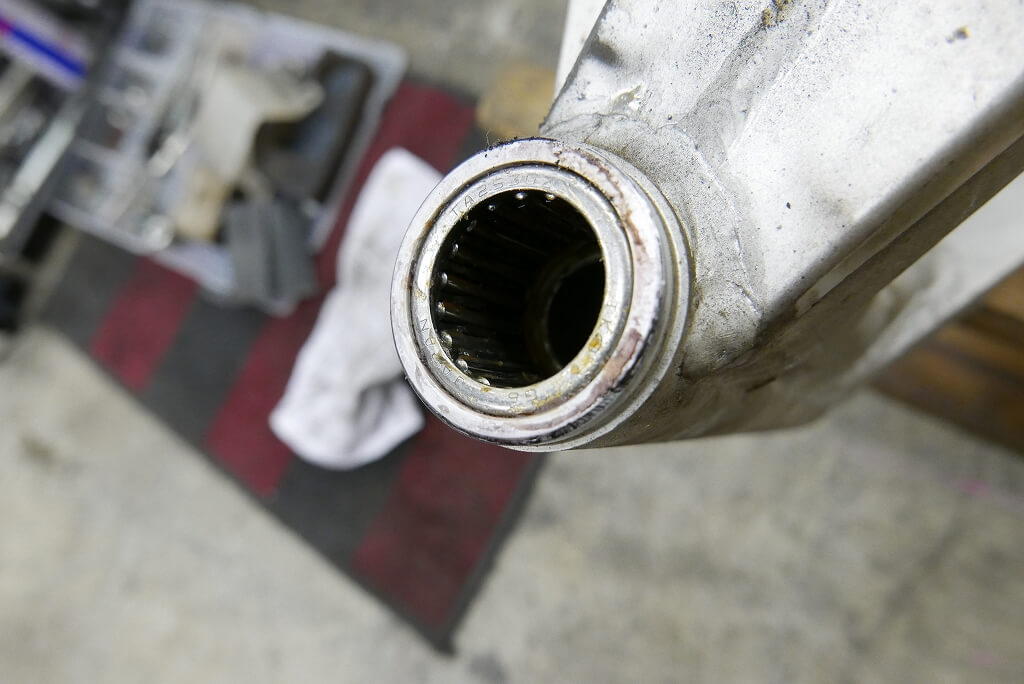
The grease is a bit sticky, but the condition isn’t bad.
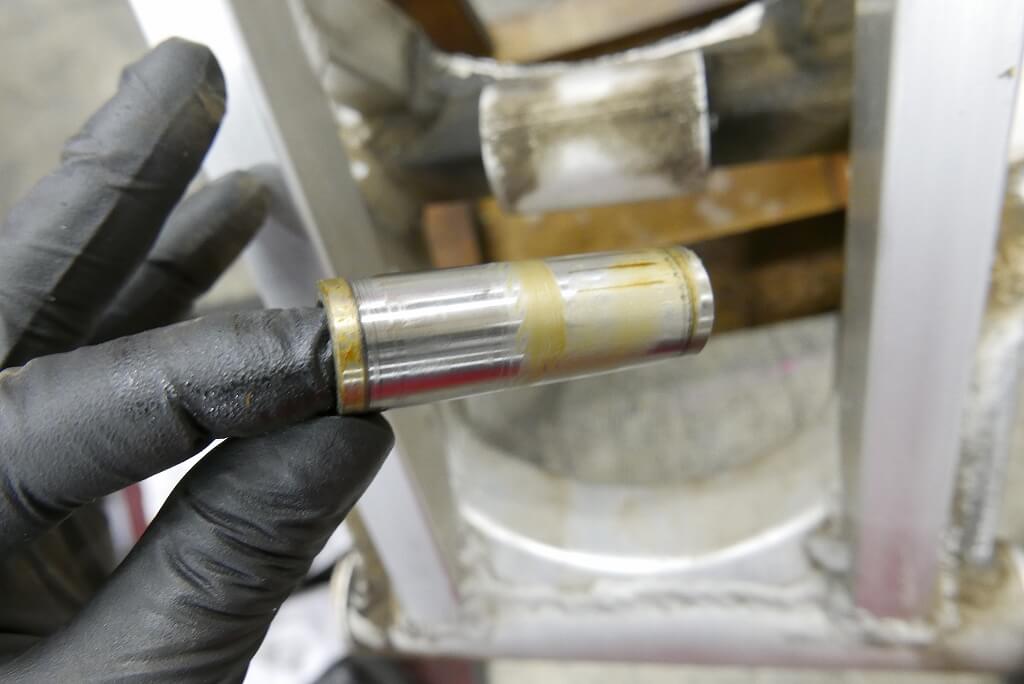
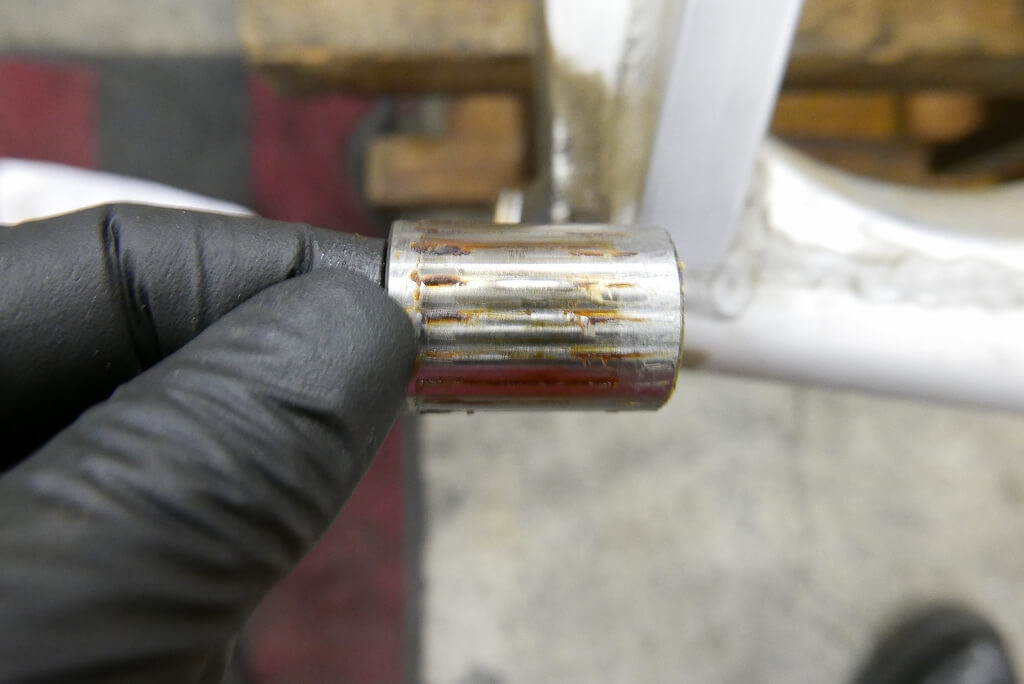
There’s minimal rust, so it must have been stored in good condition.
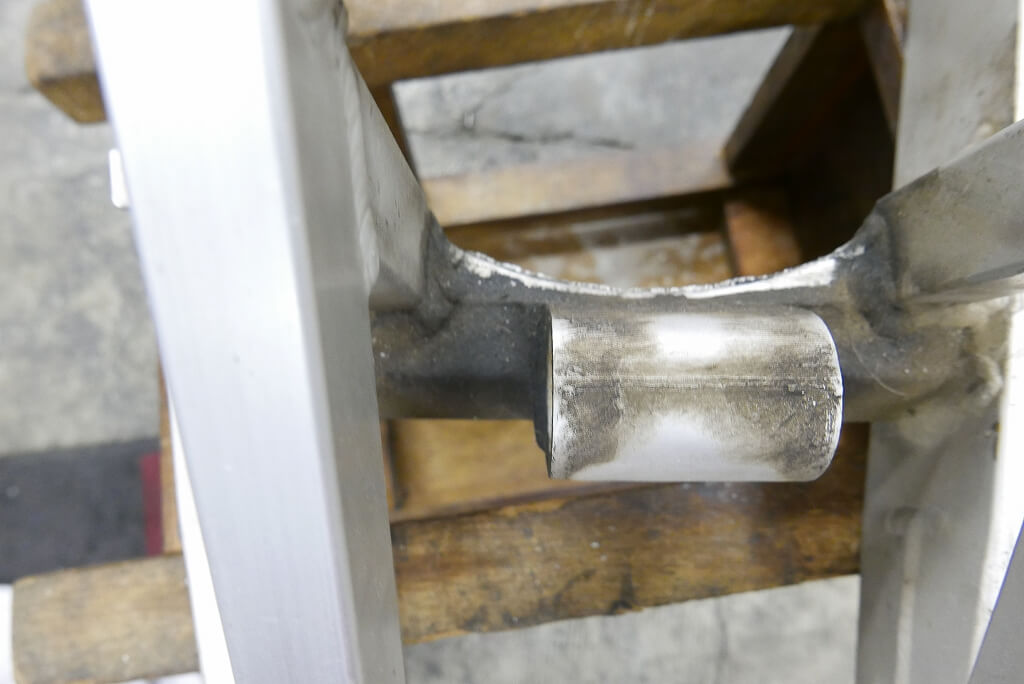
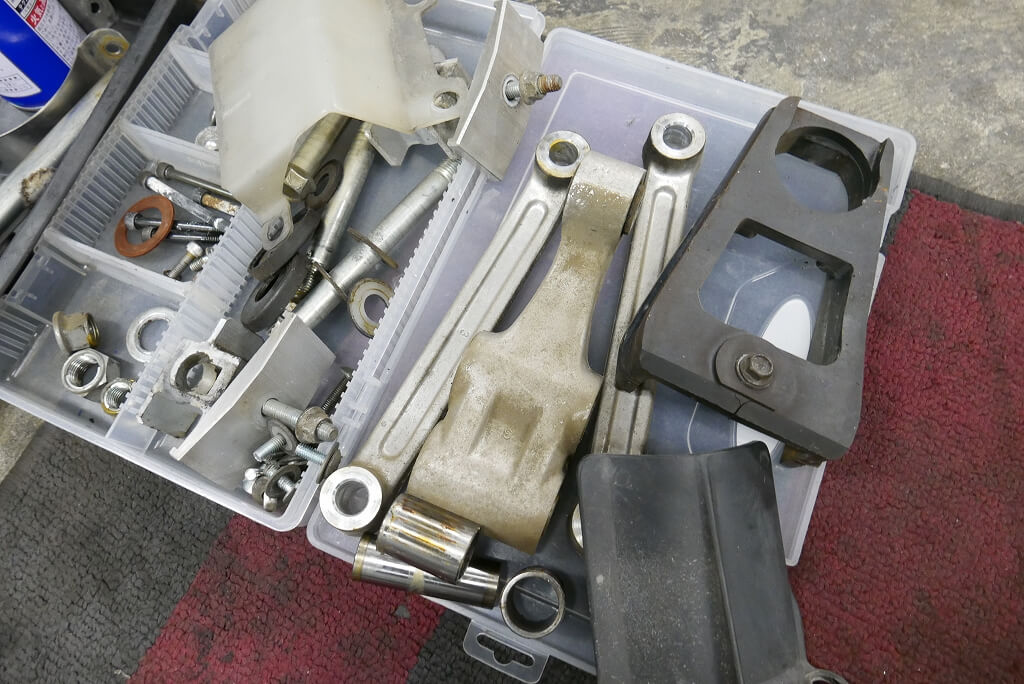
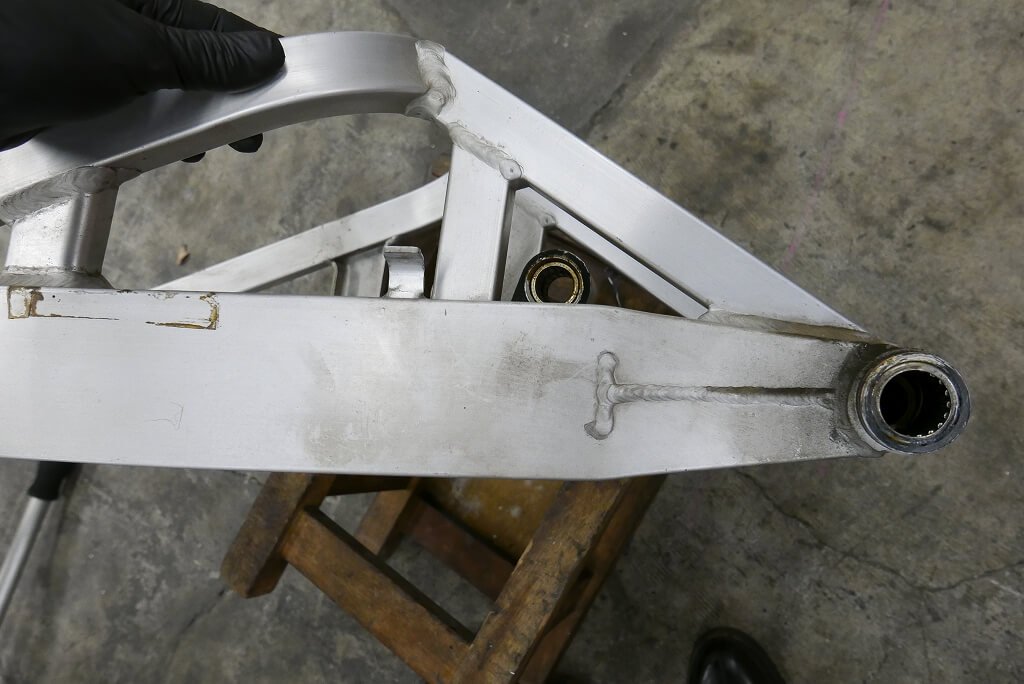
Let’s clean up all the parts.
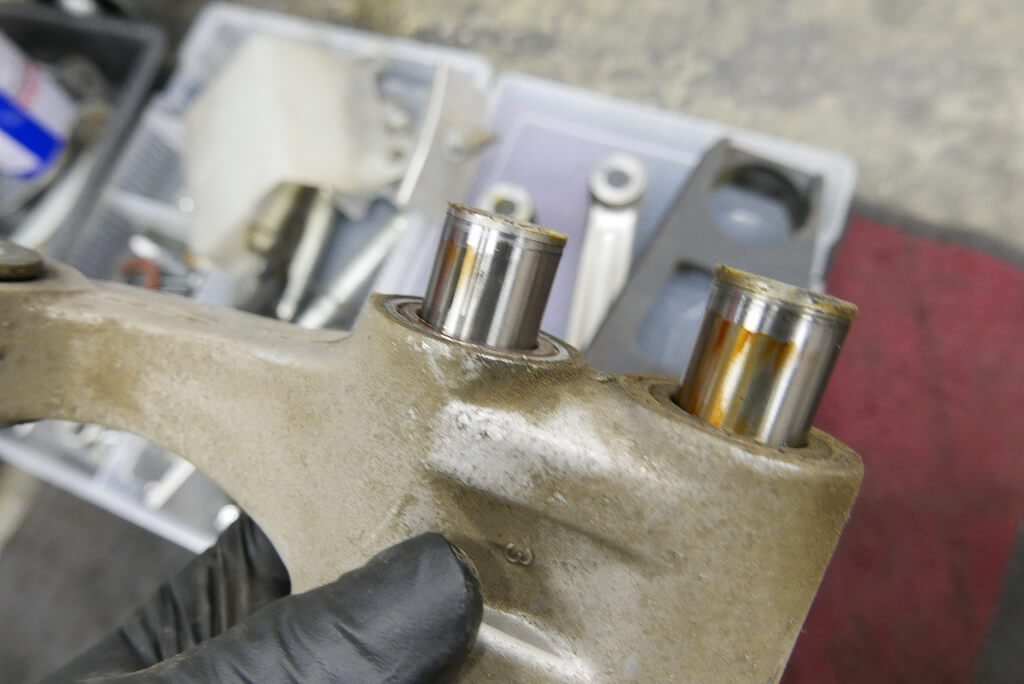
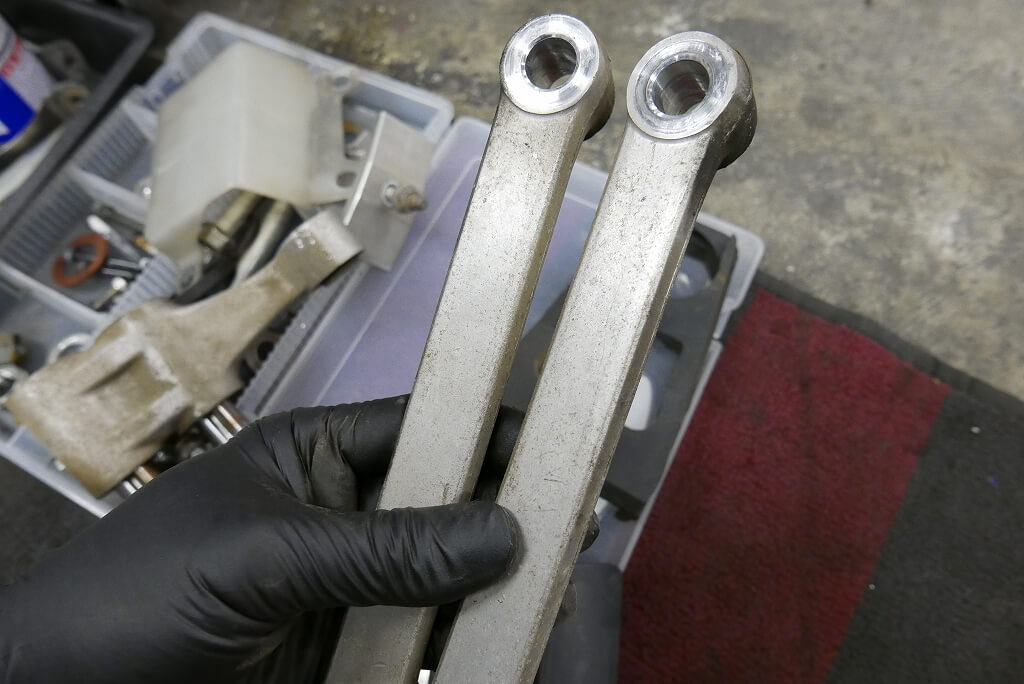
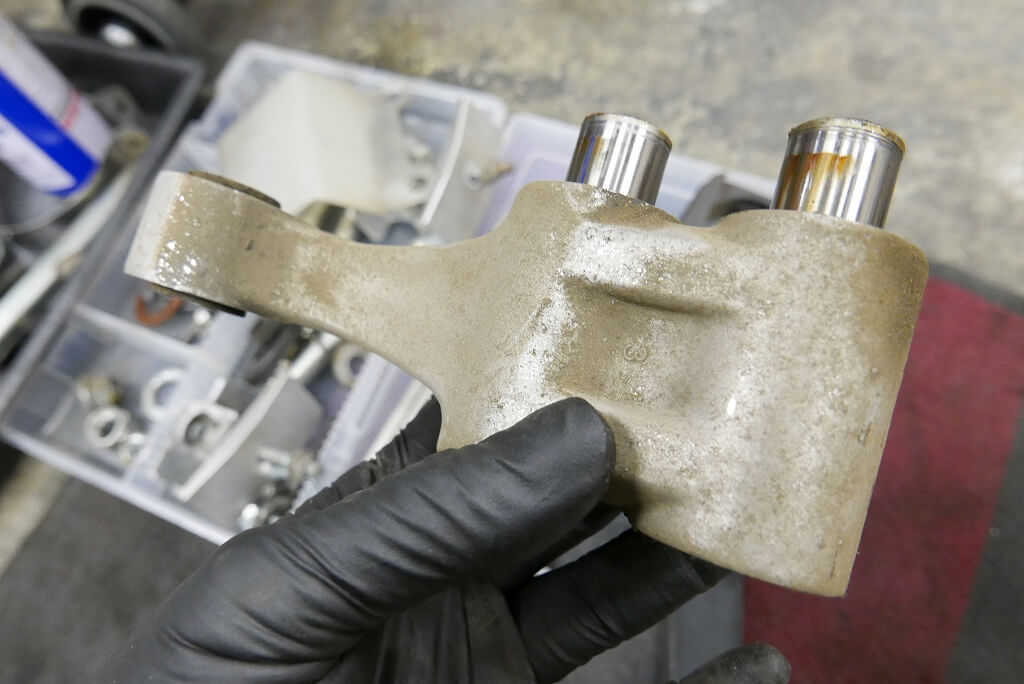
This is a spot where my hand can’t reach. It’s hard to clean thoroughly. This is exactly when I want to make it shine.
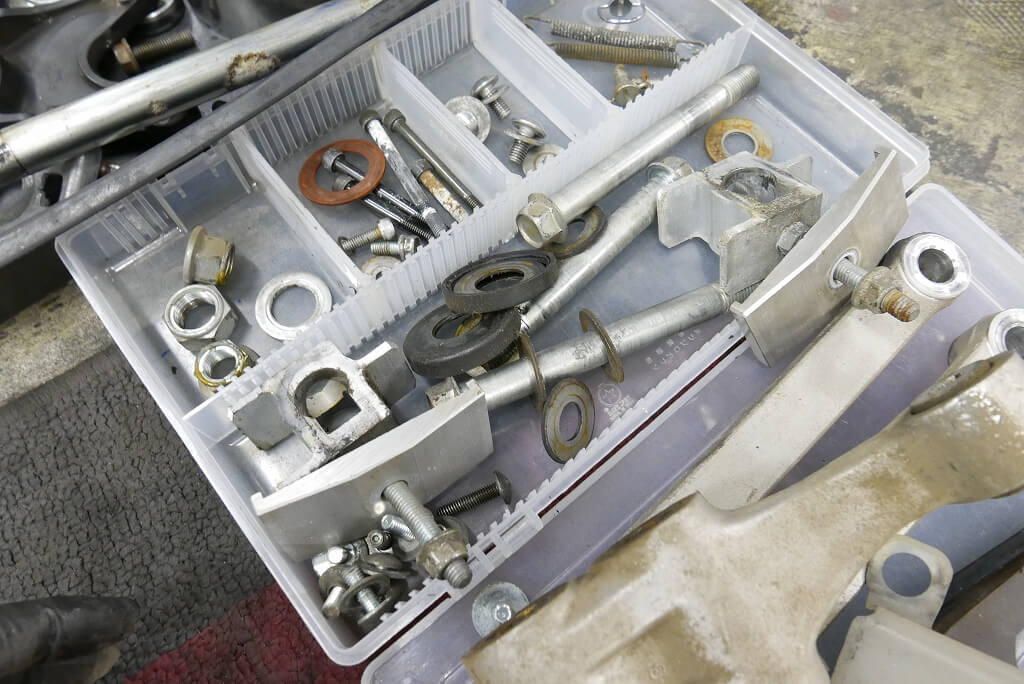
I roughly separate large and small parts during disassembly and sort them again later.
If I just throw everything together, sorting becomes a hassle, so separating them by area as I remove them saves time.
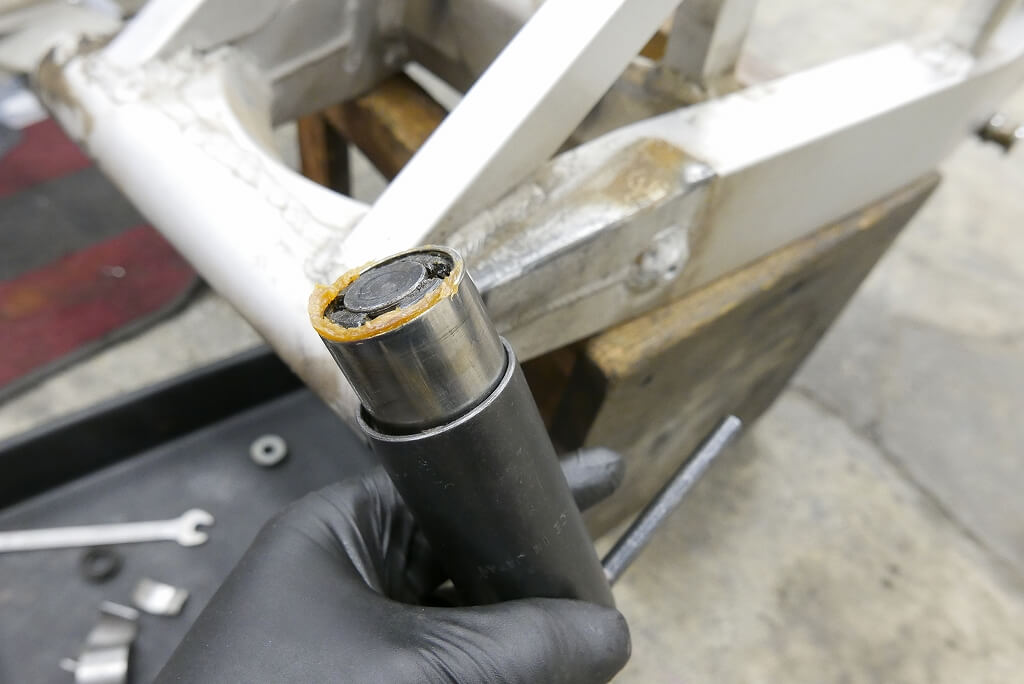
The needle roller bearing comes right off with a puller. Tools really make all the difference.
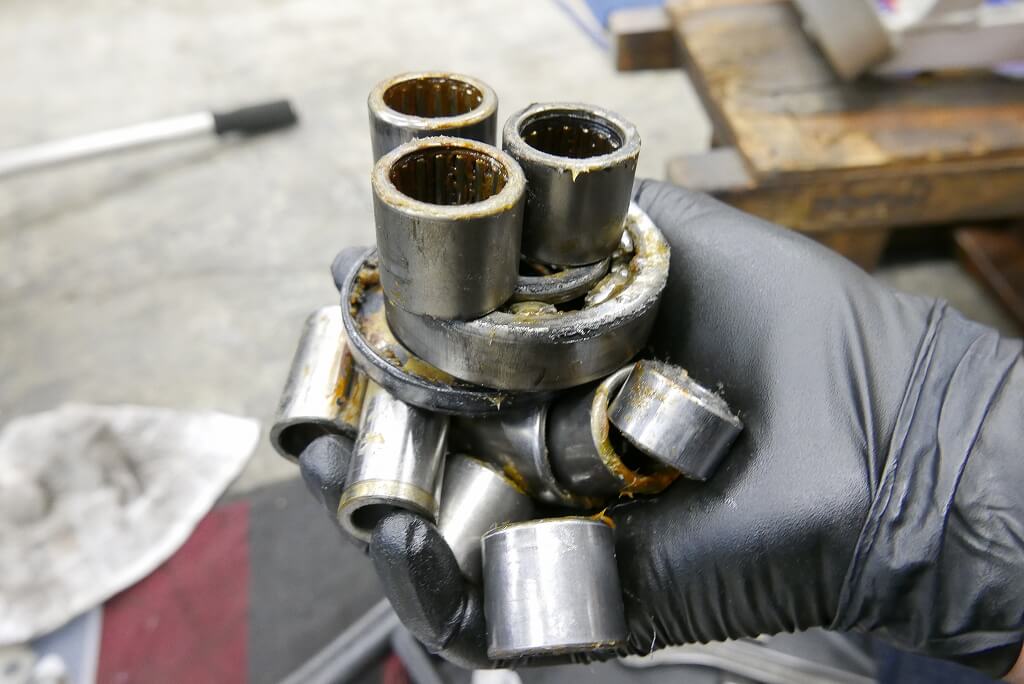
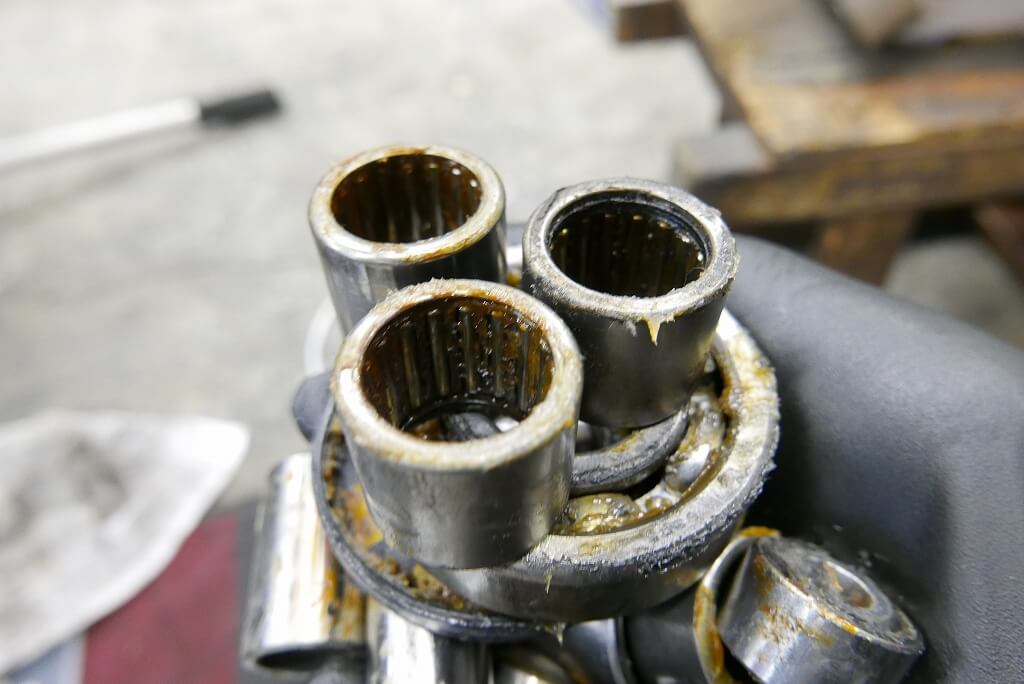
Here are the bearings I removed. This removal work takes time, but with proper planning, I can get them out in about 30 minutes.
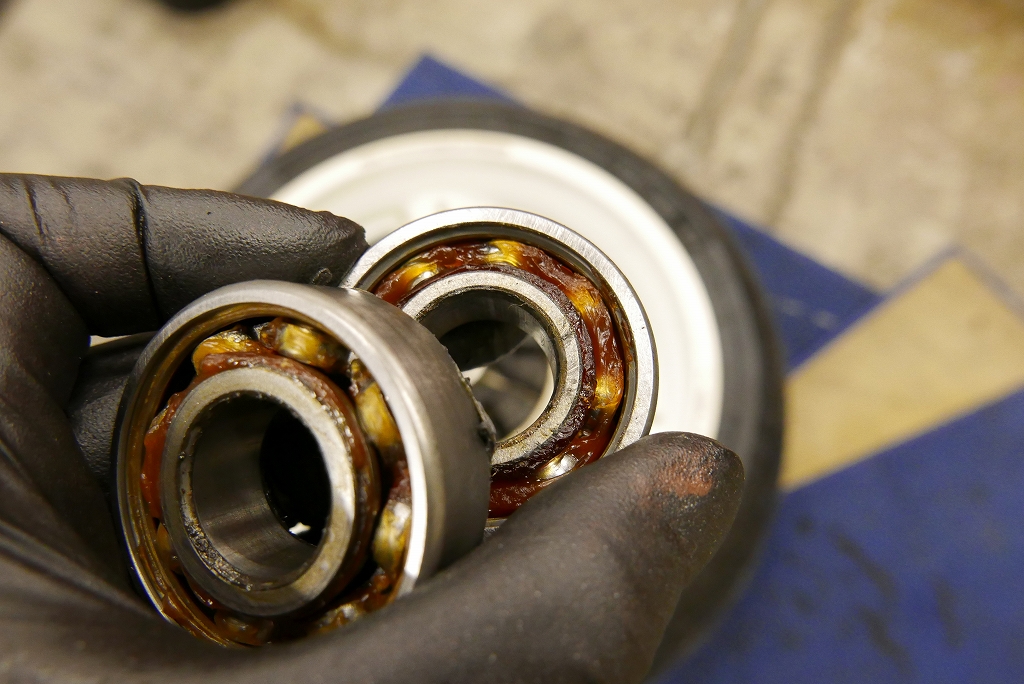
I’ll replace the wheel bearings too.
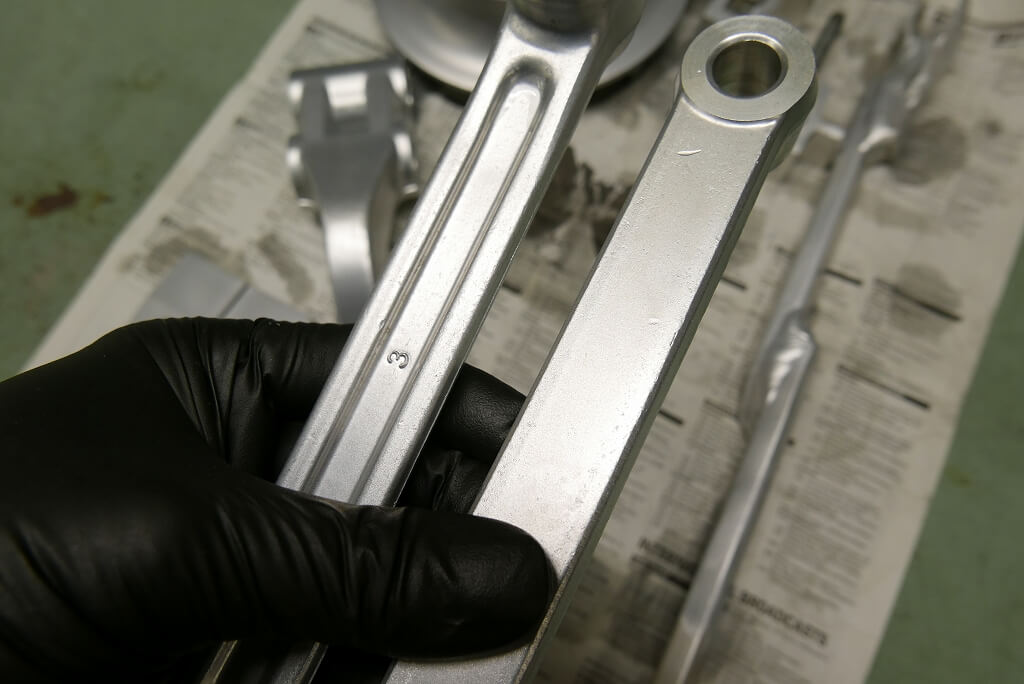
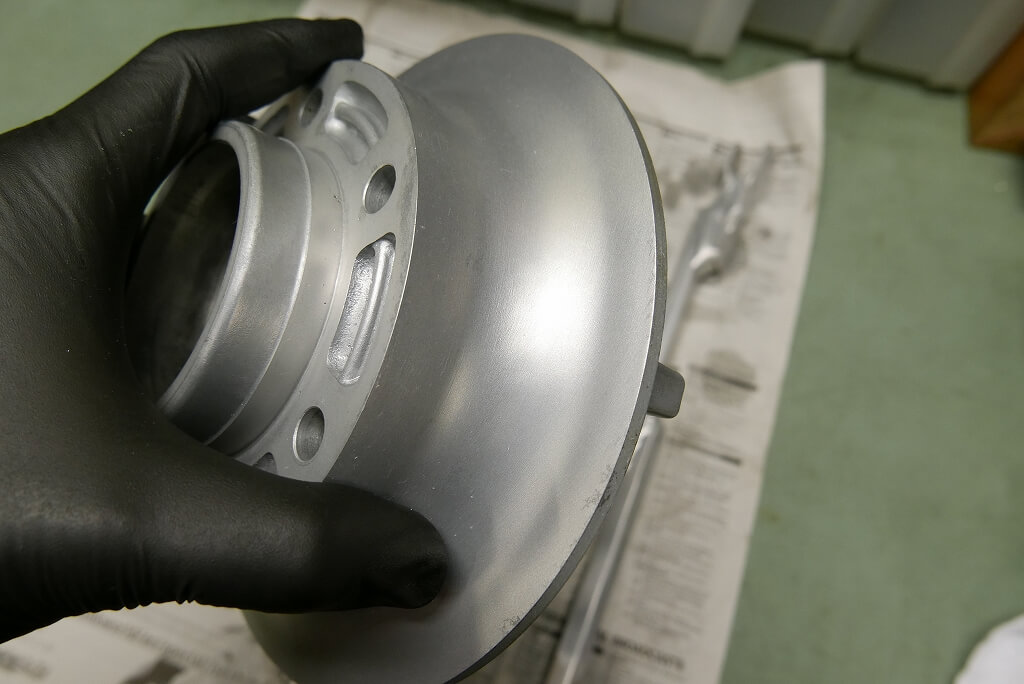
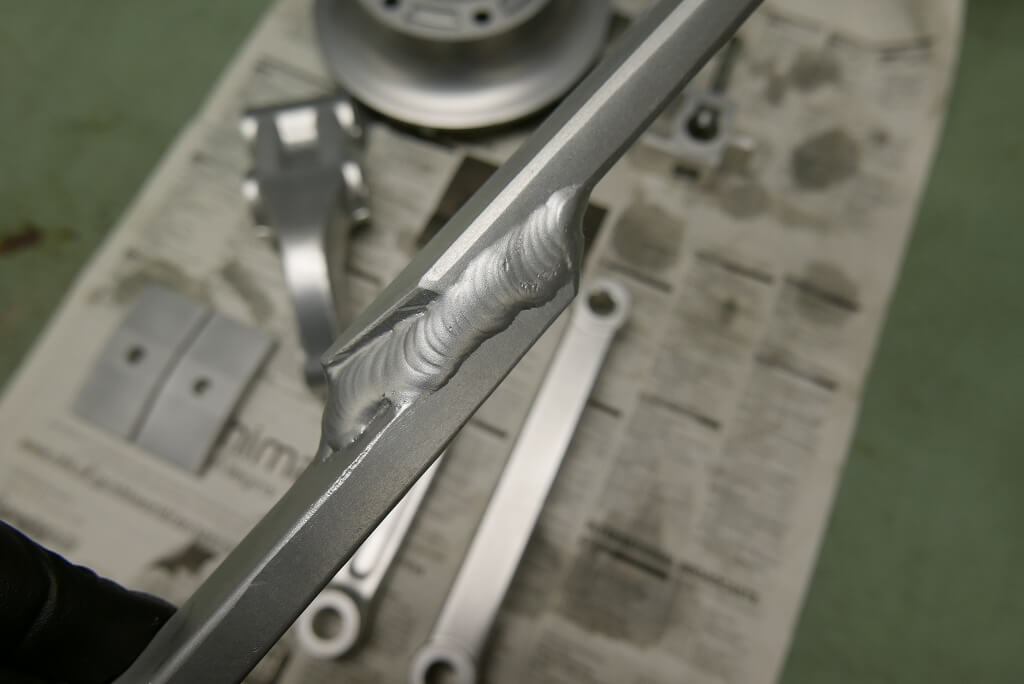
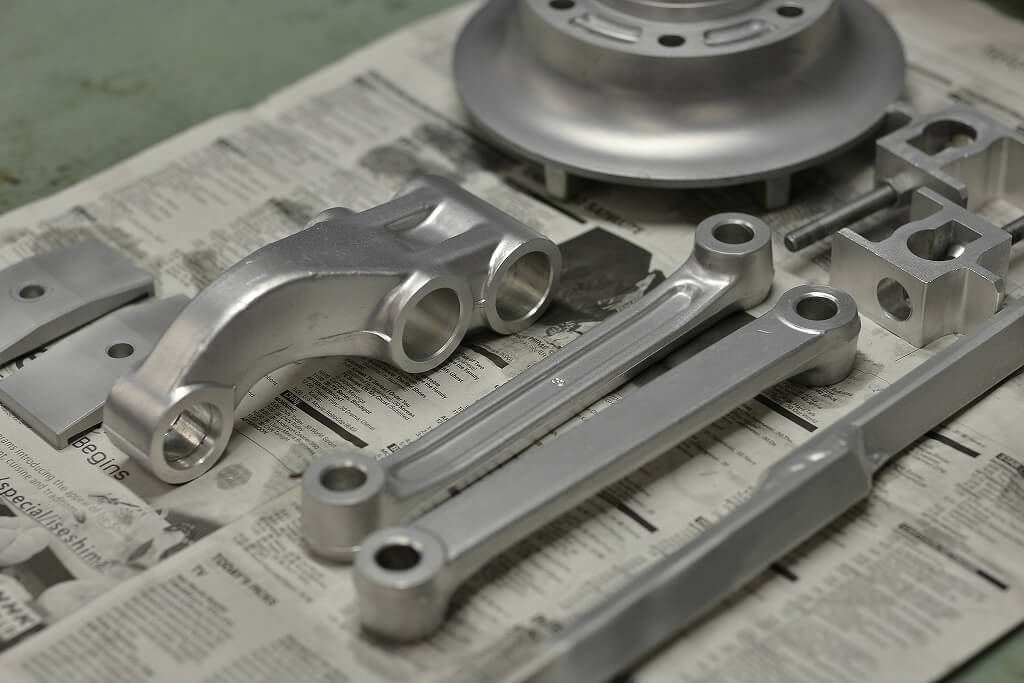
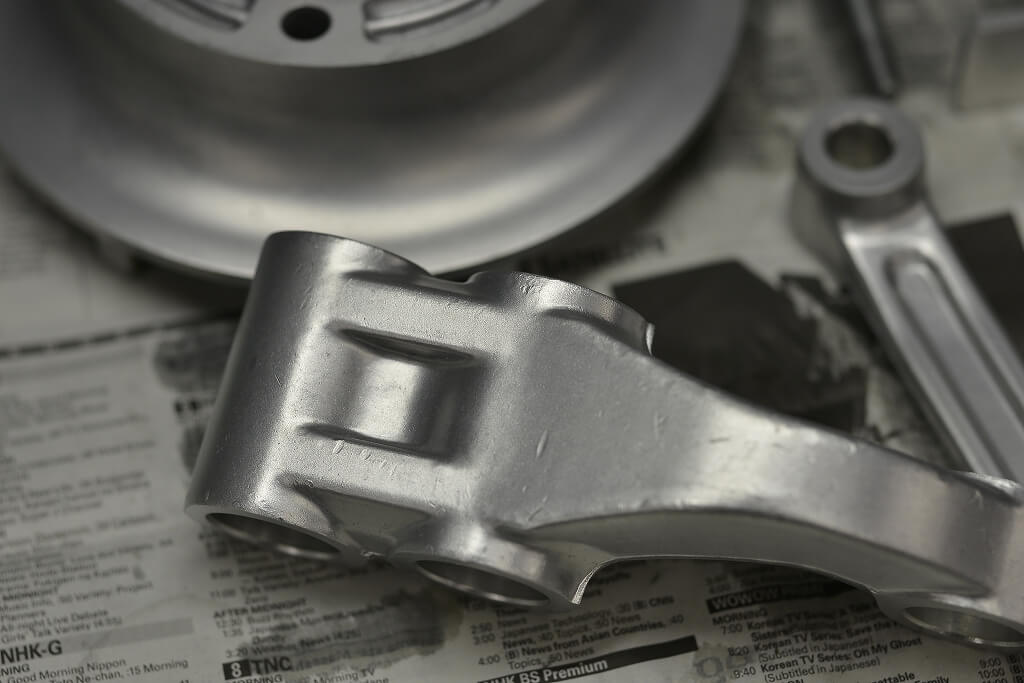
I polish various parts before reassembling them. It feels great when they come out clean.
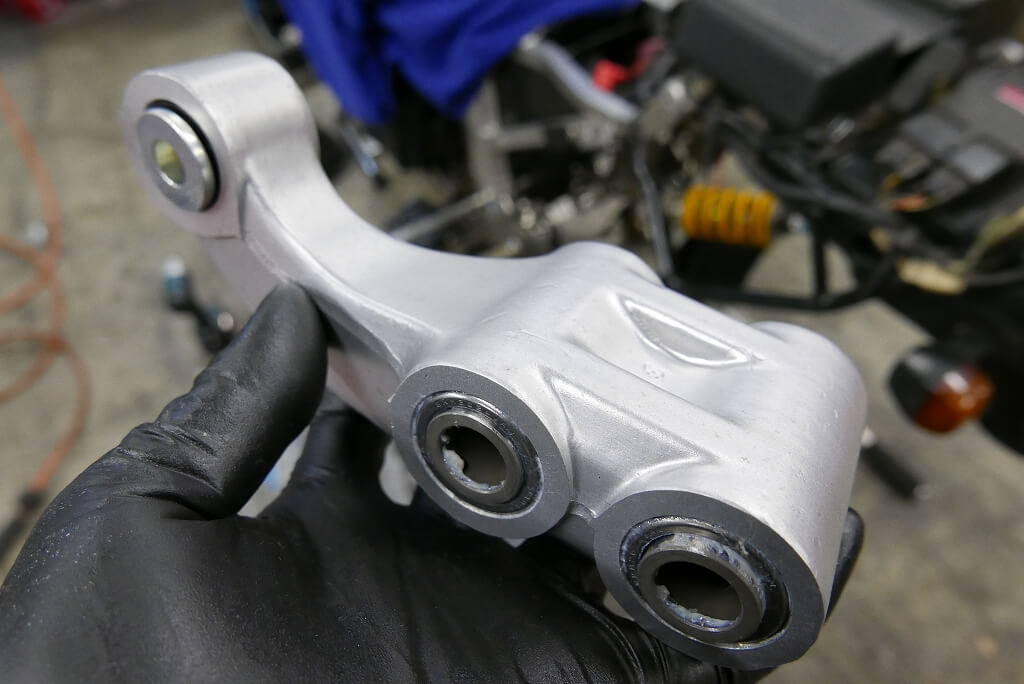
The bearings are replaced and ready to go.
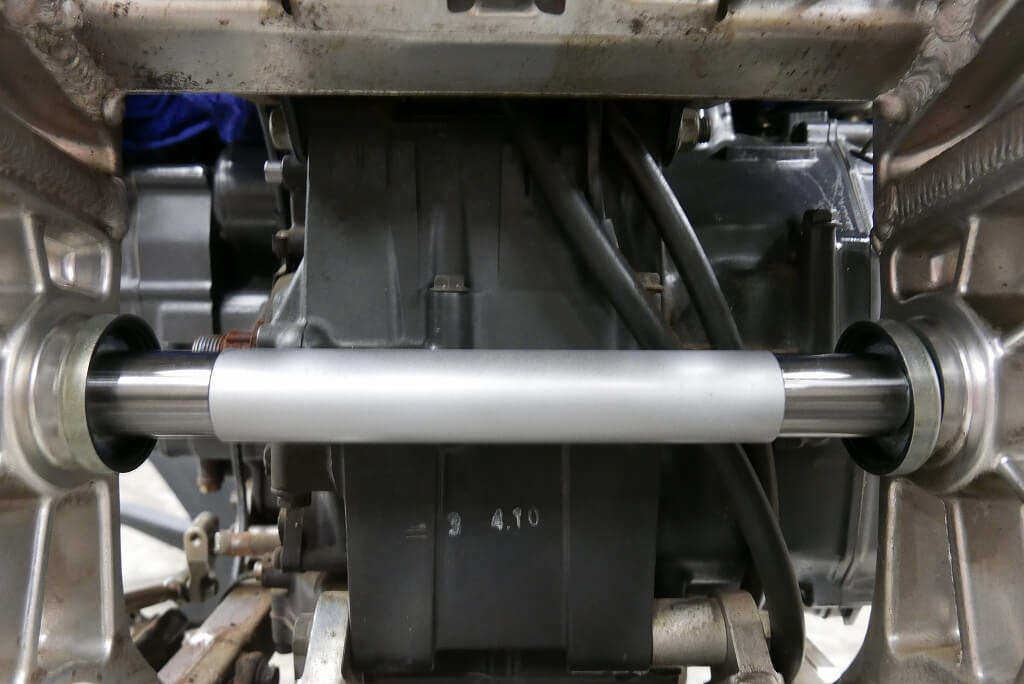
Let me check the pivot width beforehand.
If there’s play, I’d have to move the frame inward by that gap, and it’s also difficult to adjust with shaft torque.
That would result in excessive play on both sides of the pivot, which doesn’t seem like a good condition.
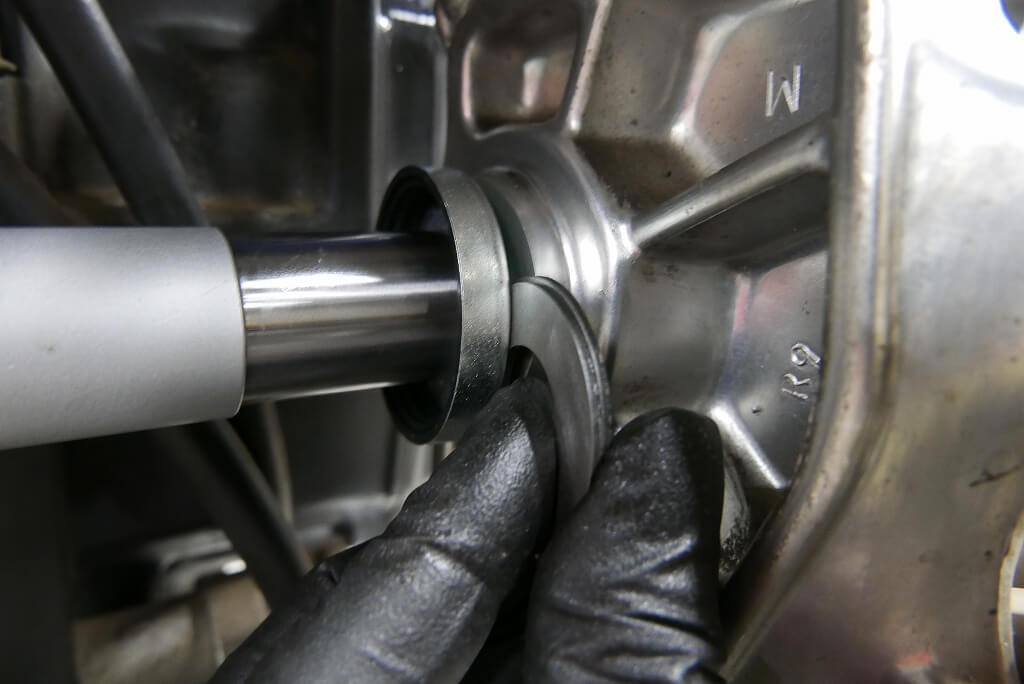
I decide based on how many shims fit. Modern bikes have adjustable pivots, so this kind of hassle isn’t necessary anymore.
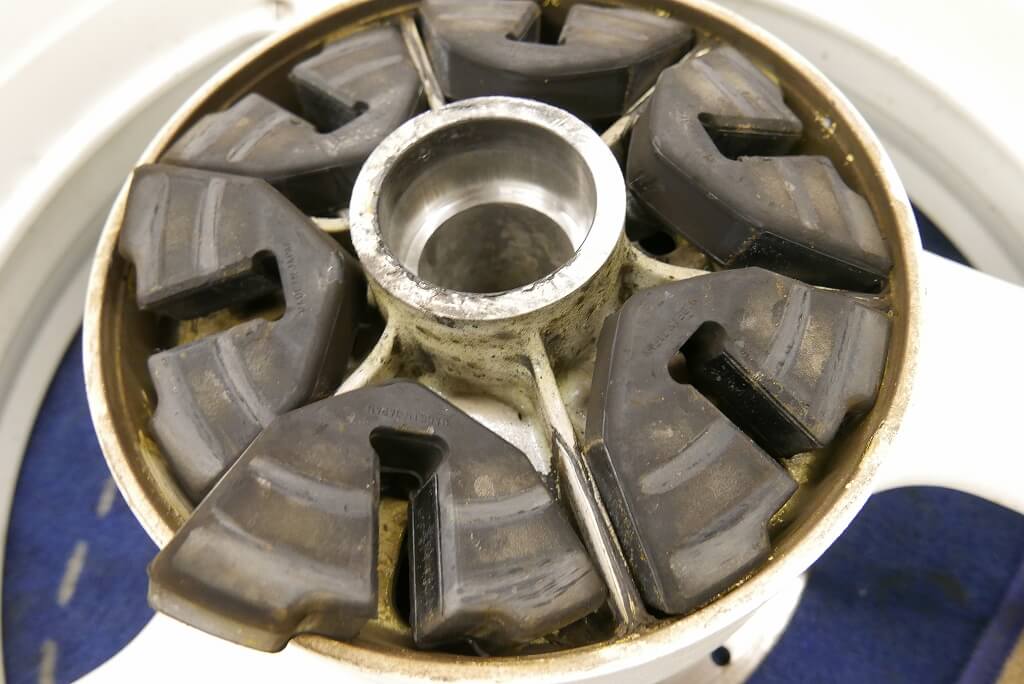
Let’s replace the hub damper too.