Reading back through the blog… writing… why does it take so long?…
The choices you make when you leave it up to us end up being surprisingly spot-on.
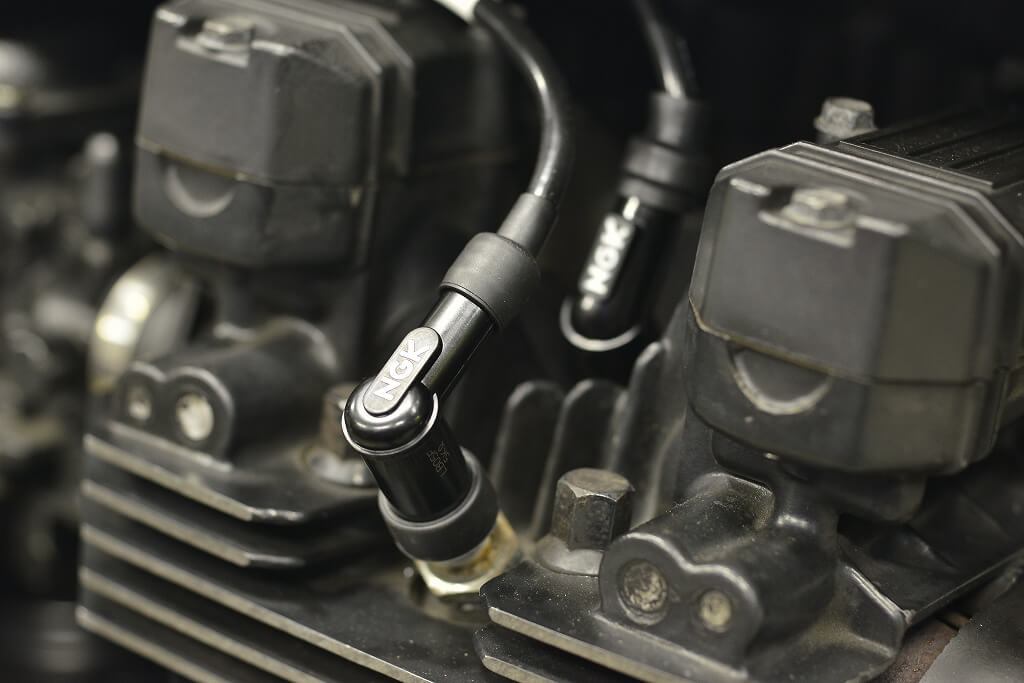
Make the cord and cap black. What diameter cord does Kawasaki use? Where do you even find black silicone cord? And the cap angle comes in all sorts of variations…
We have 90 degrees and 45 degrees on hand.
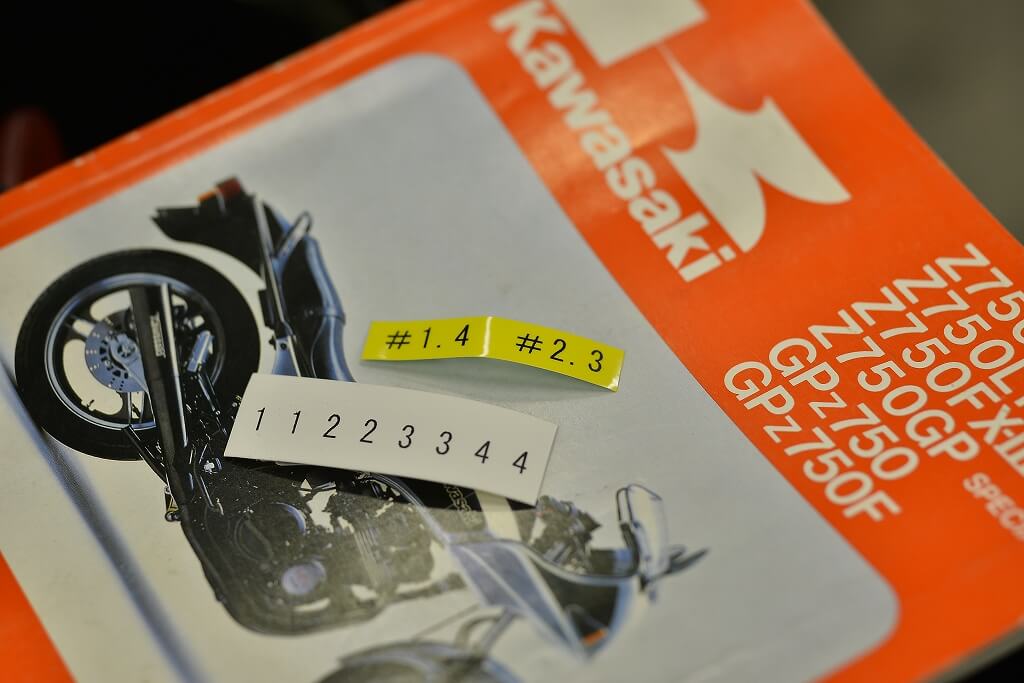
Coil markings, coating markings…
When you get old, you start loving your label maker!
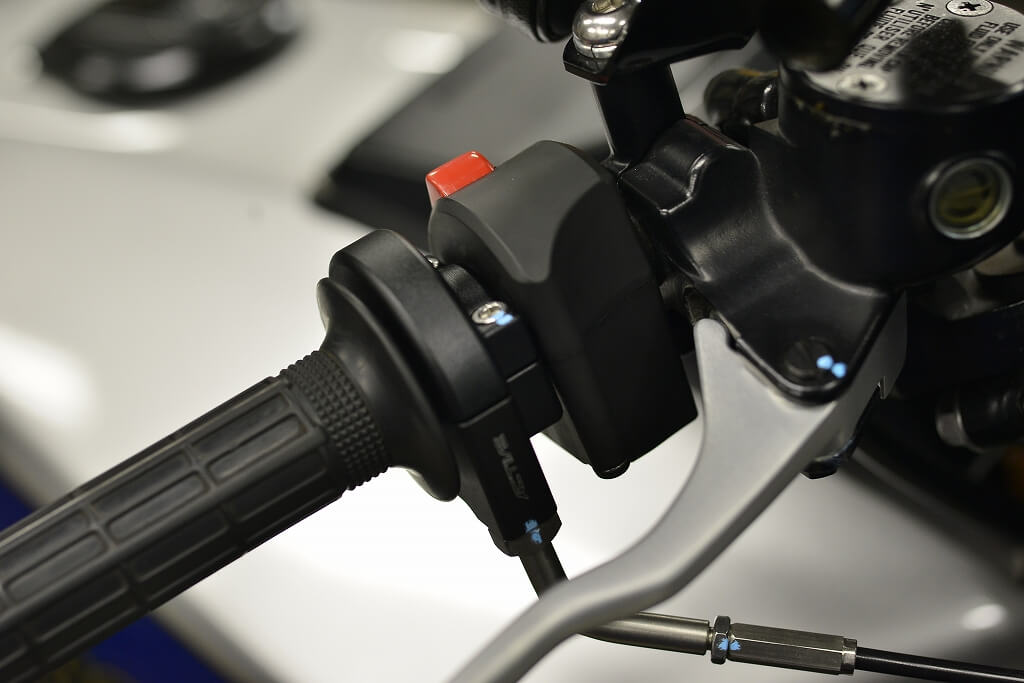
When I replaced the switch, the throttle holder was missing… The simplest split top-and-bottom design is best. The side panel style with all those Phillips screws is a lot of work.
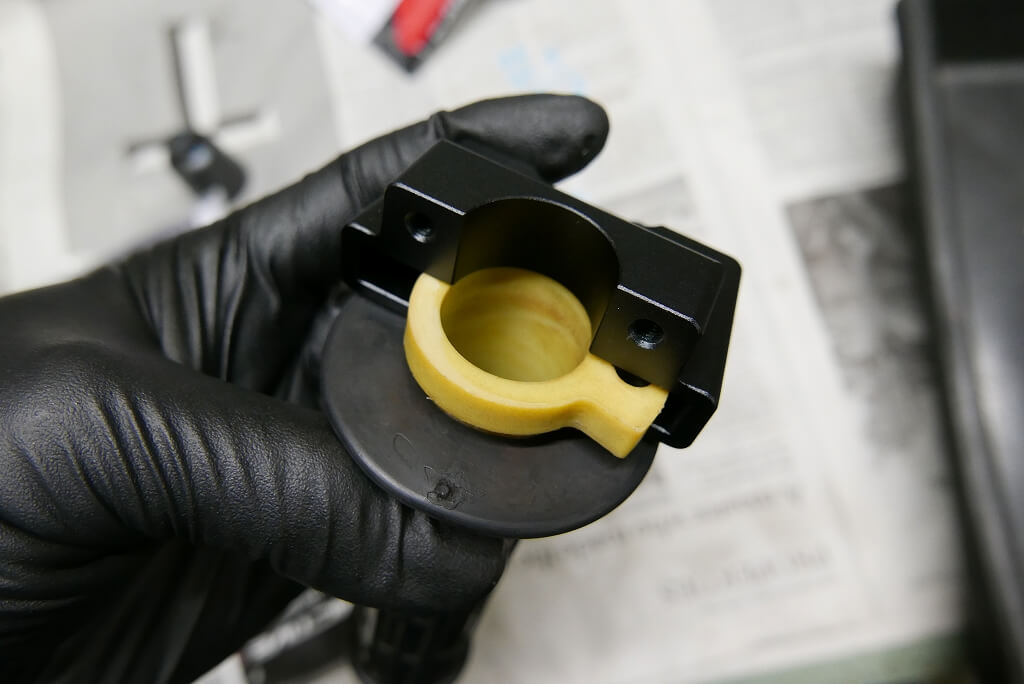
Being cheap, I figured the holder might fit anyway… and it did. All good.
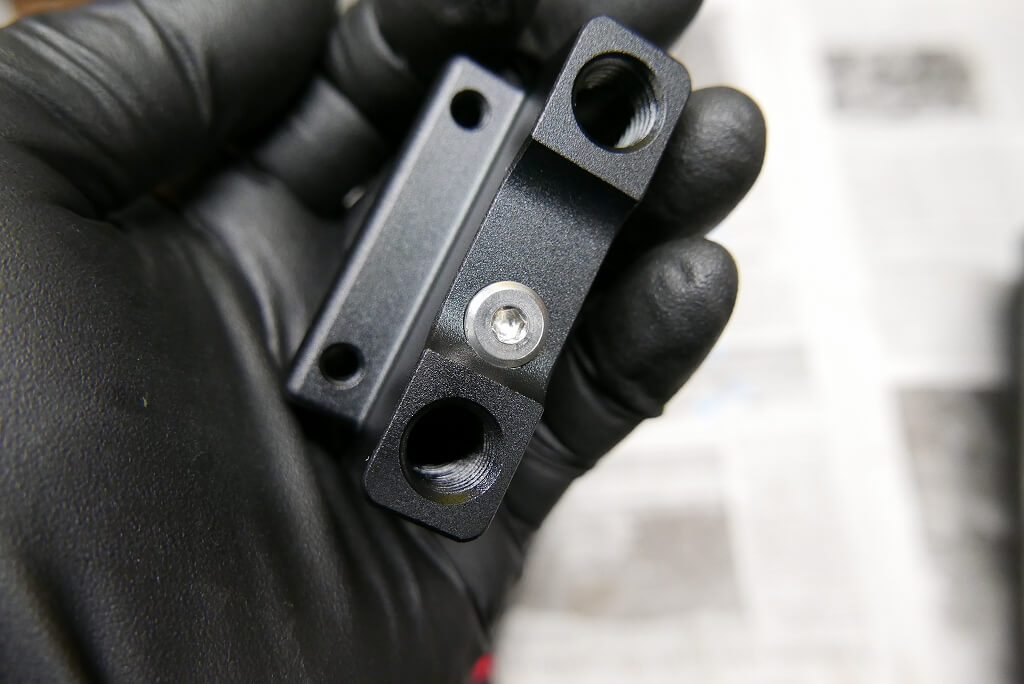
The stopper is flush-face spec.
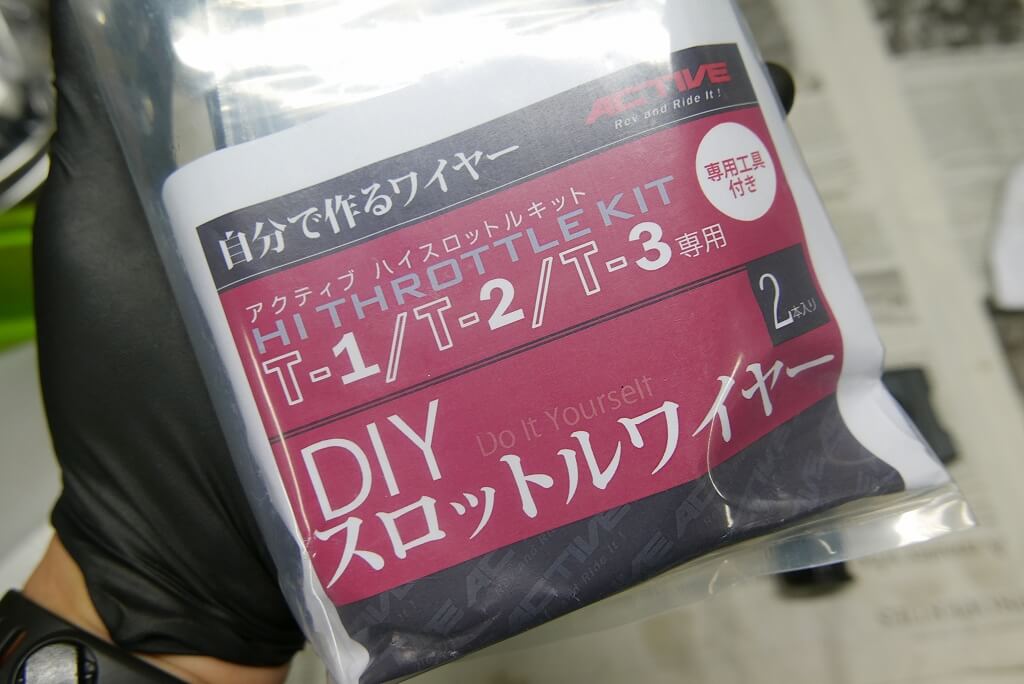
A completely custom DIY throttle kit tailored to each bike. Once you use one, you can’t use anything else.
Mid-span connectors (where you can adjust play near the middle of the cable) are best avoided.
• There’s an unbendable metal bracket under the tank, which makes contact and routing difficult.
• Adjustable play means the total length changes. Reduce the play and the outer cable gets longer, making clean routing harder.
• You have to choose from a limited range of total lengths.
That’s about it.
Of course, it’s not all good. DIY throttles crimp the carburettor-side bracket so it won’t return freely. Even with a forced-open carb it’s still a bit tricky, but with stock carbs the installation can be a little difficult (hard to tighten once mounted).
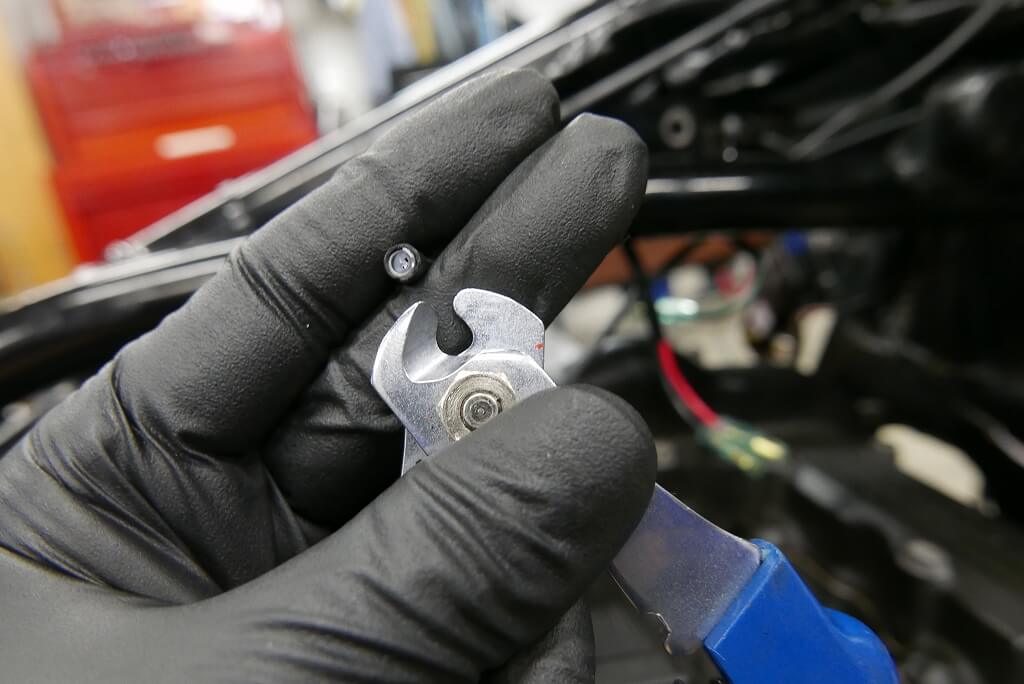
Bicycle-style work means making cables is routine. They cut clean.
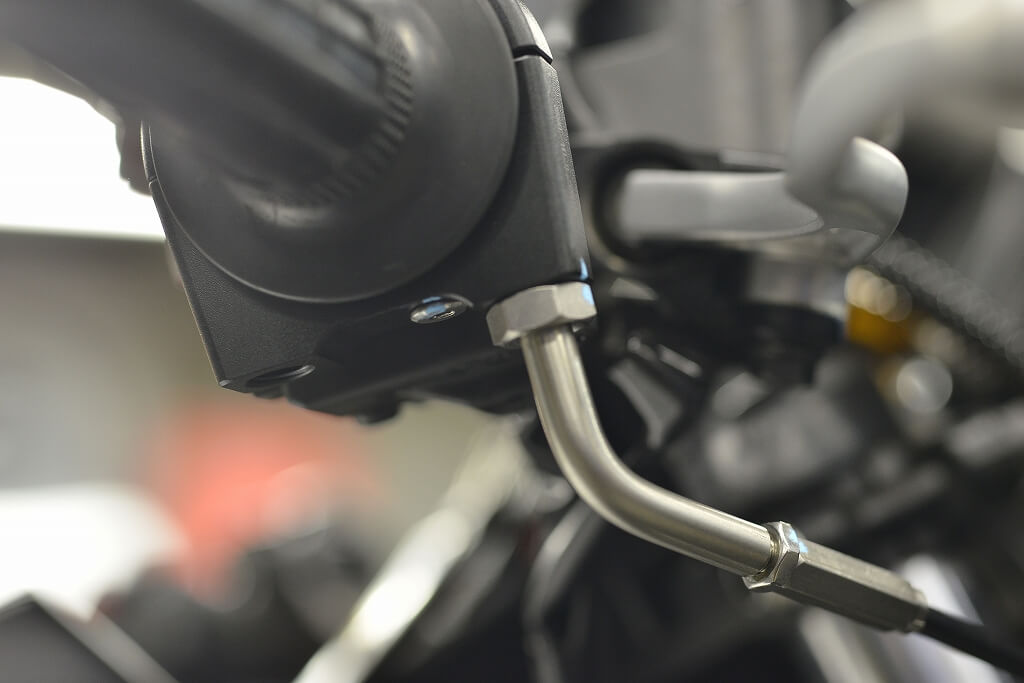
Single-pull setup, so it looks like this. I’ll leave the return side blank.
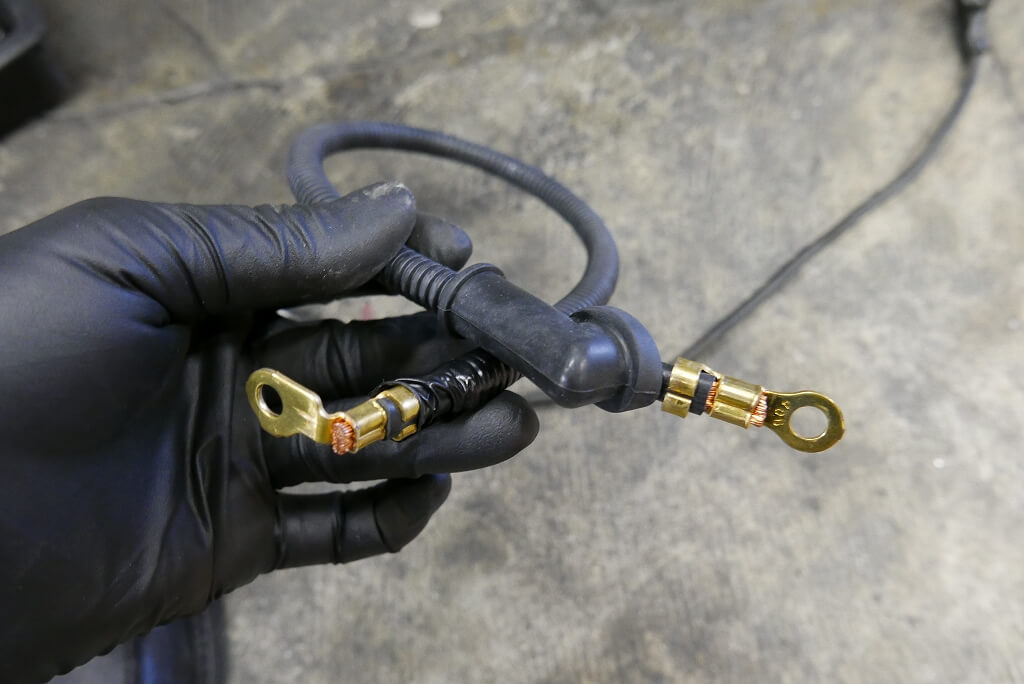
Starter cables are almost never available anymore. This one is for Suzuki.
People say just make one, but these angled terminals are hard to find.
The distance to the hole position is just right. Reusing one is better.
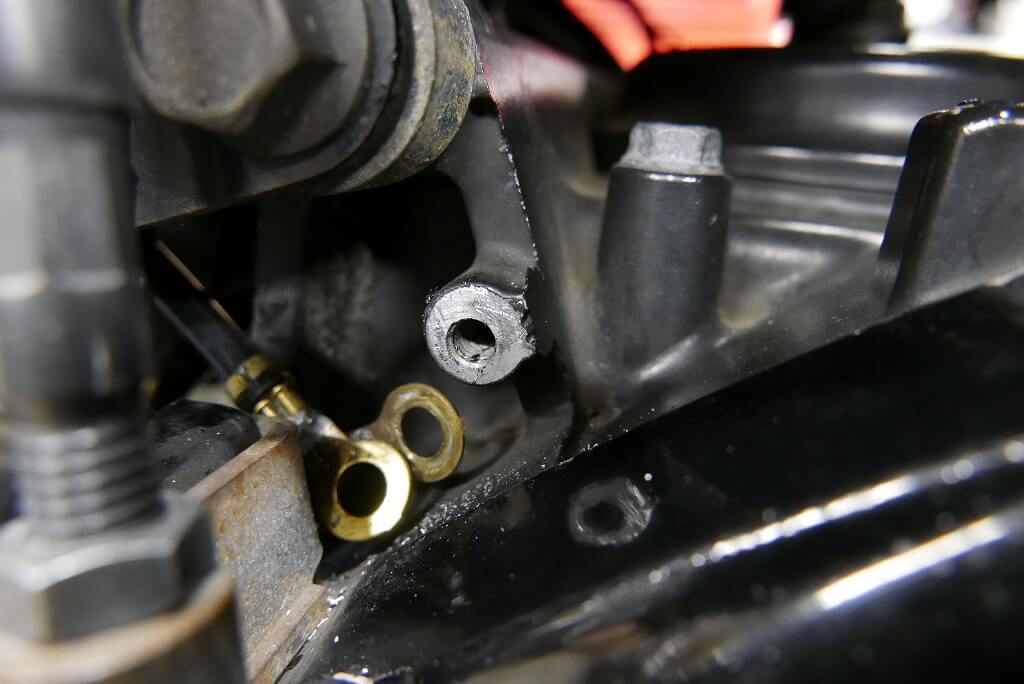
I also faced off the main ground before installation.
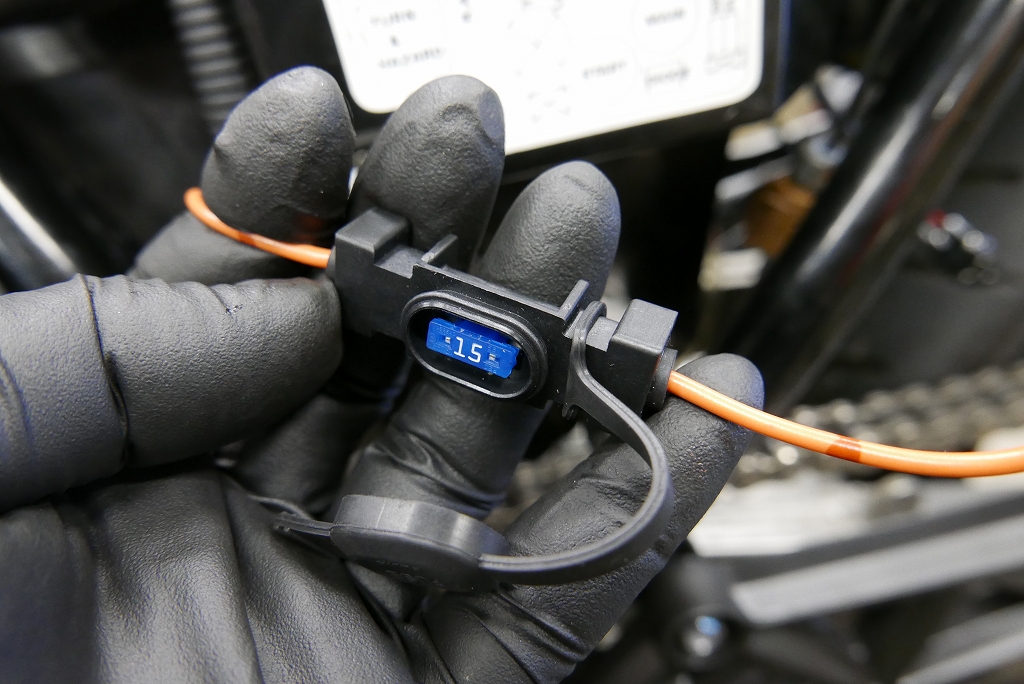
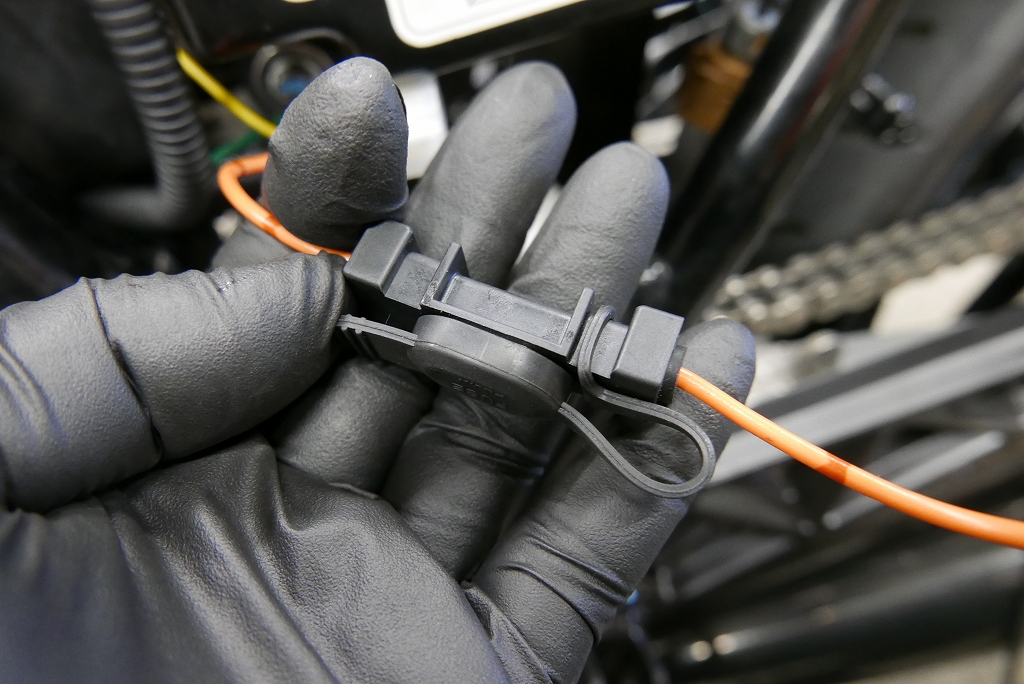
When replacing the main harness, the principle is not to modify the main side. We use this waterproof low-profile fuse holder. A pointless 30-amp waterproof fuse holder is too thick and bulky, and looks bad.

The early waterproof USB doesn’t work, and someone said theirs died, so we’re going with the next-generation version. I just drilled, cut, and bent it, but I made a panel-mount bracket.
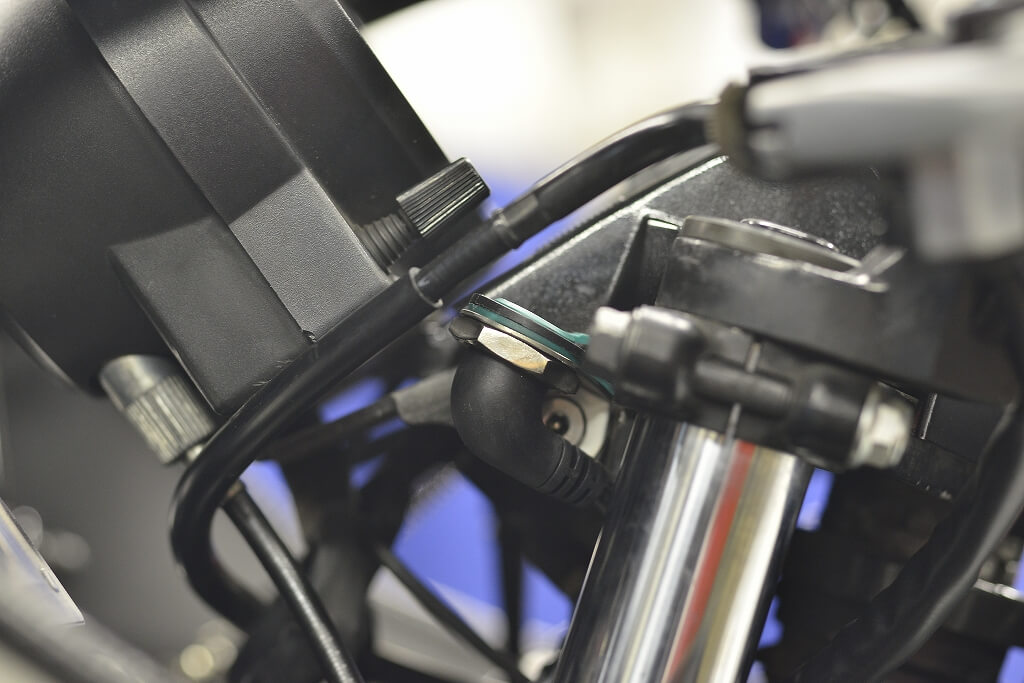
For spots like this, an angle bracket is the way to go. Clean and simple.
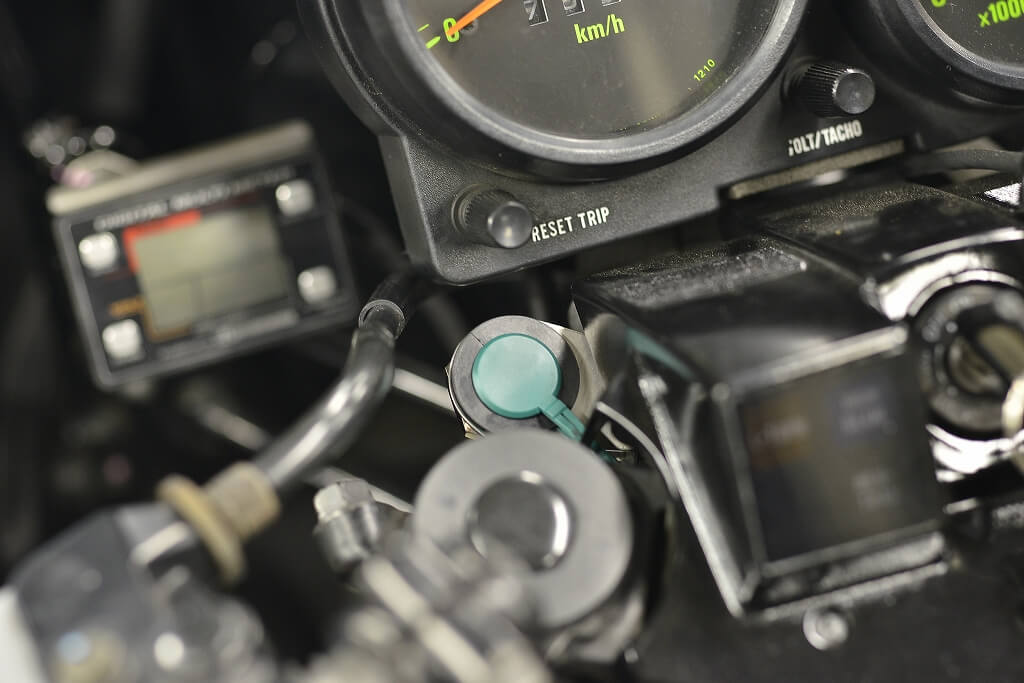
Somewhat waterproof.
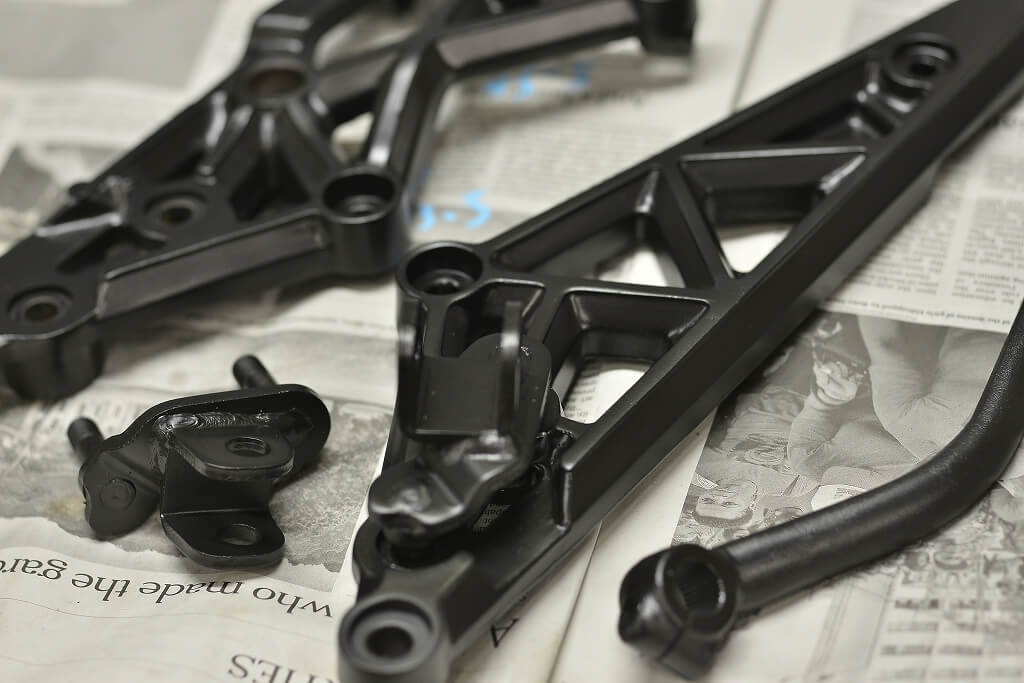
Then the ceramic coat came back, so I got to work quickly.
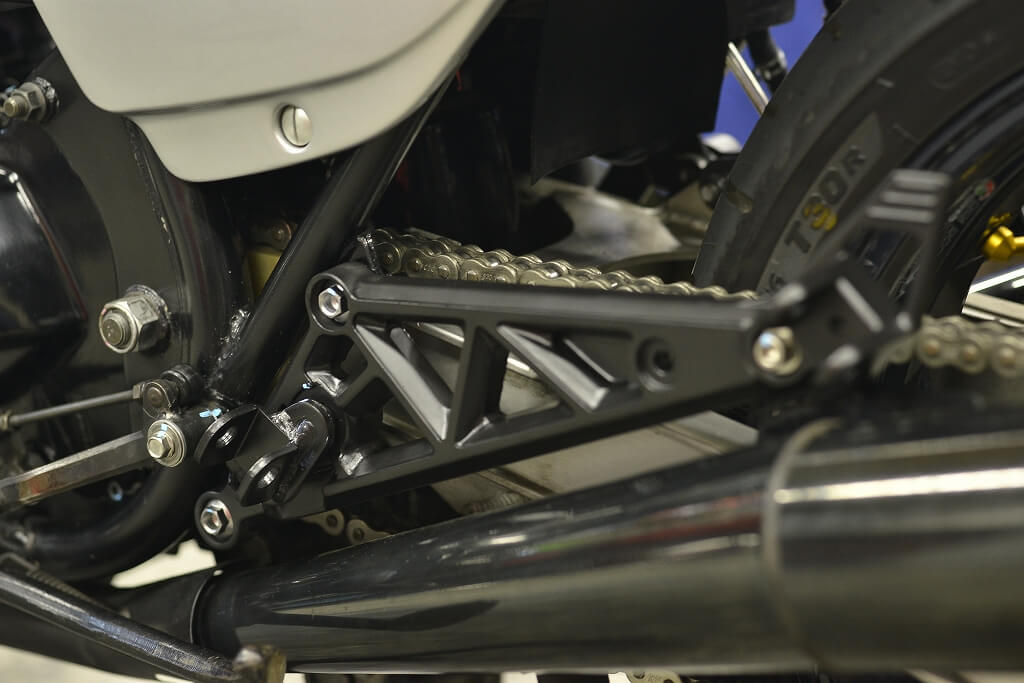
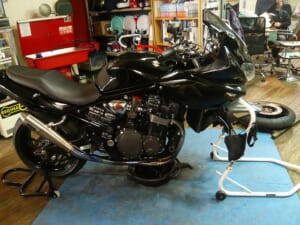
I assembled it. Next up is the step area parts, oil change, and maintenance.
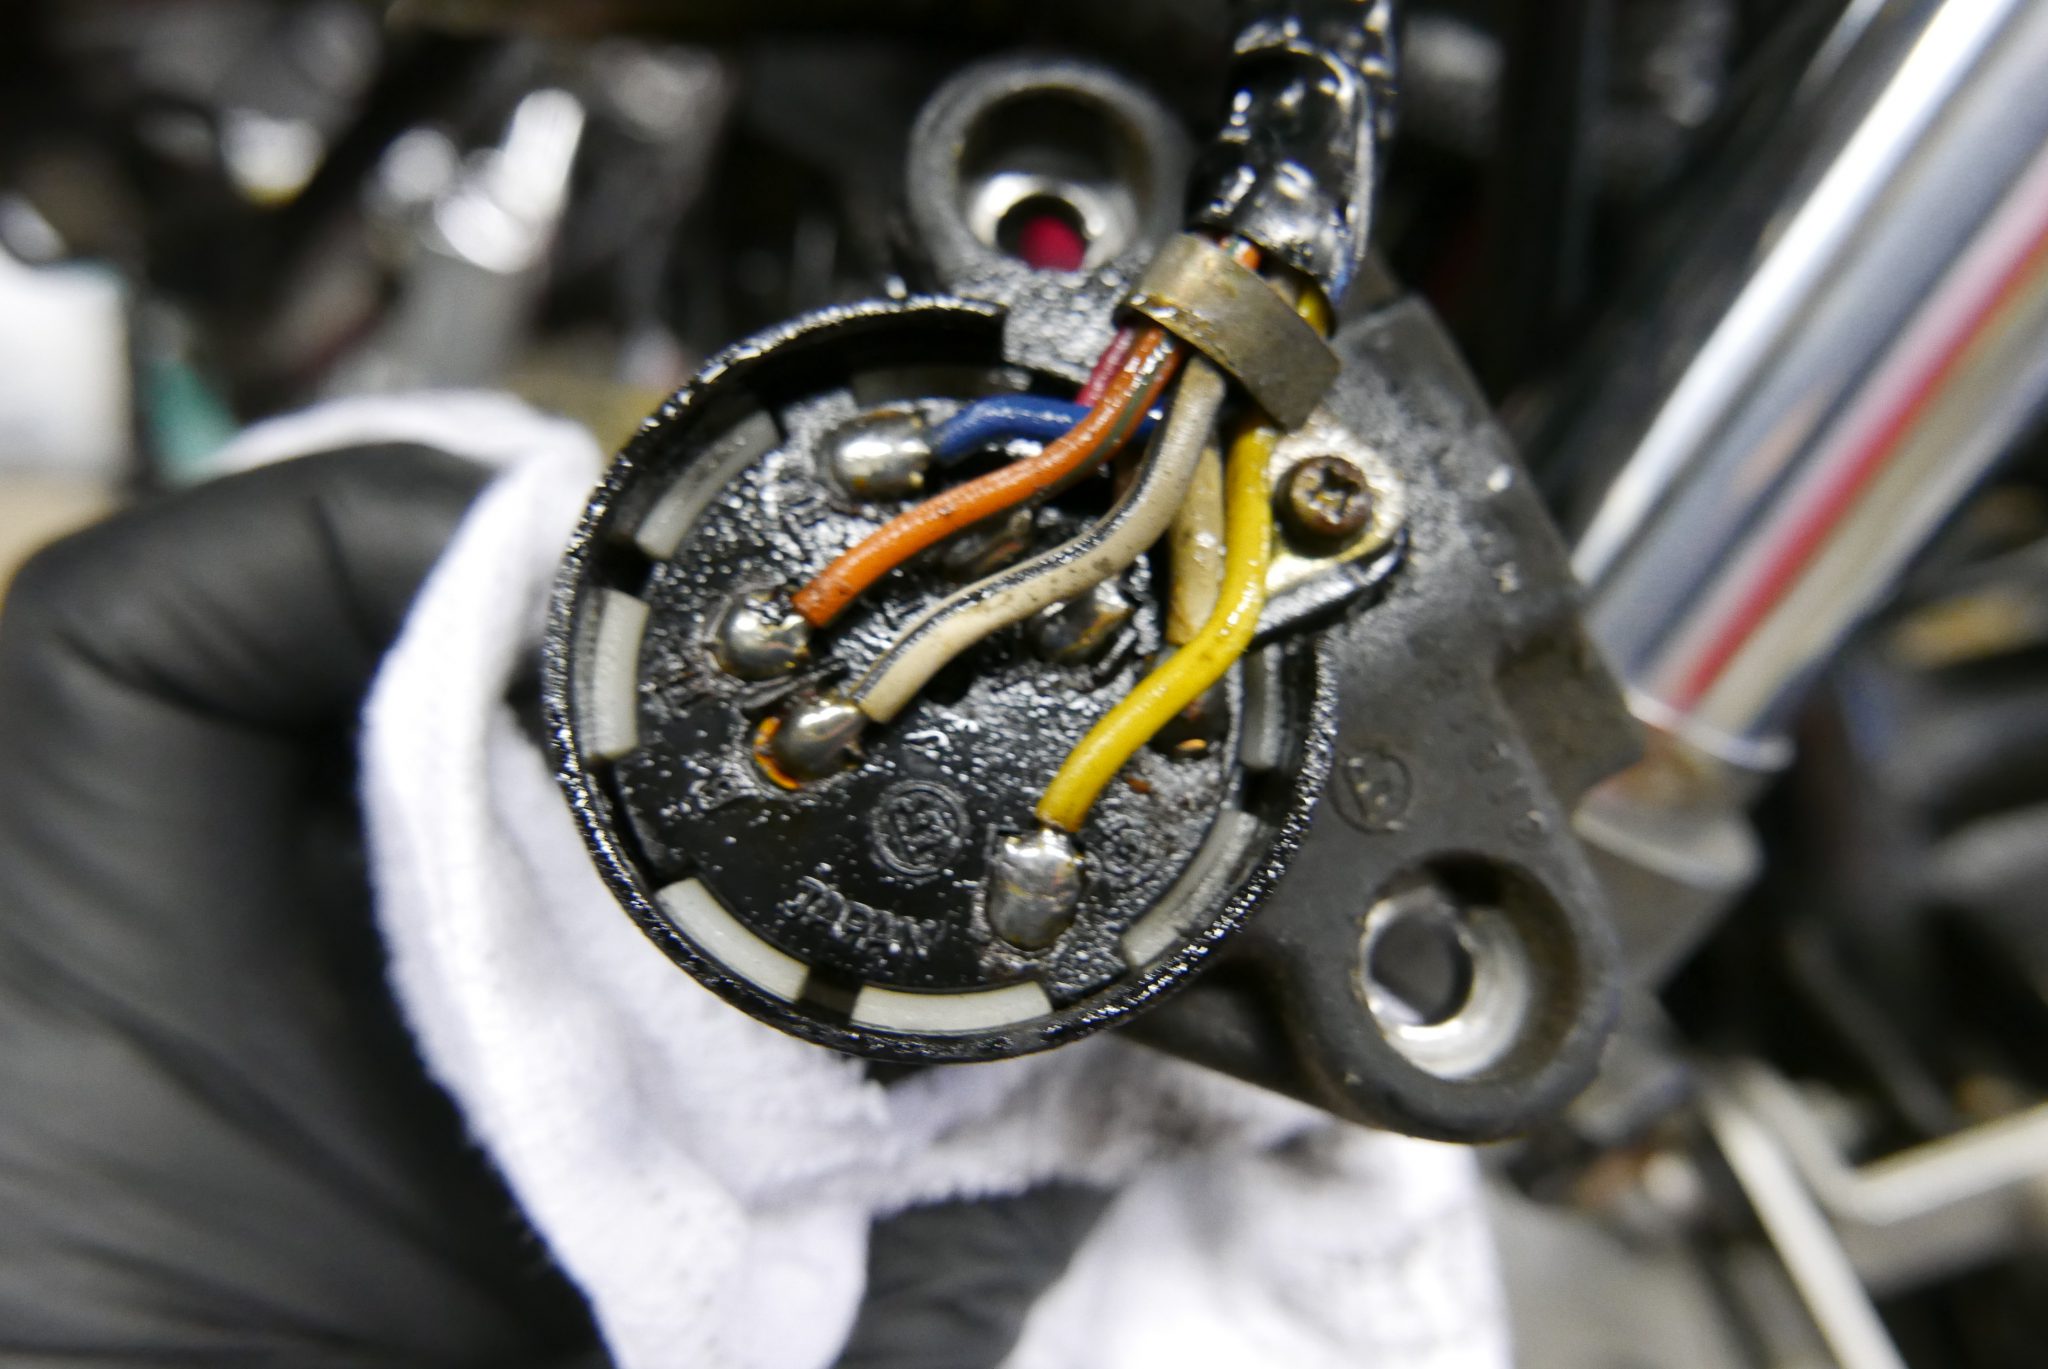
After that… even though I replaced the harness, the turn signals would light up and then not… and eventually they stopped working altogether… Good thing we caught it before delivery.
Repro harness? Replaced switch? Junk box that wasn’t replaced? Relay? I traced through everything… and it turned out to be the main switch, probably.
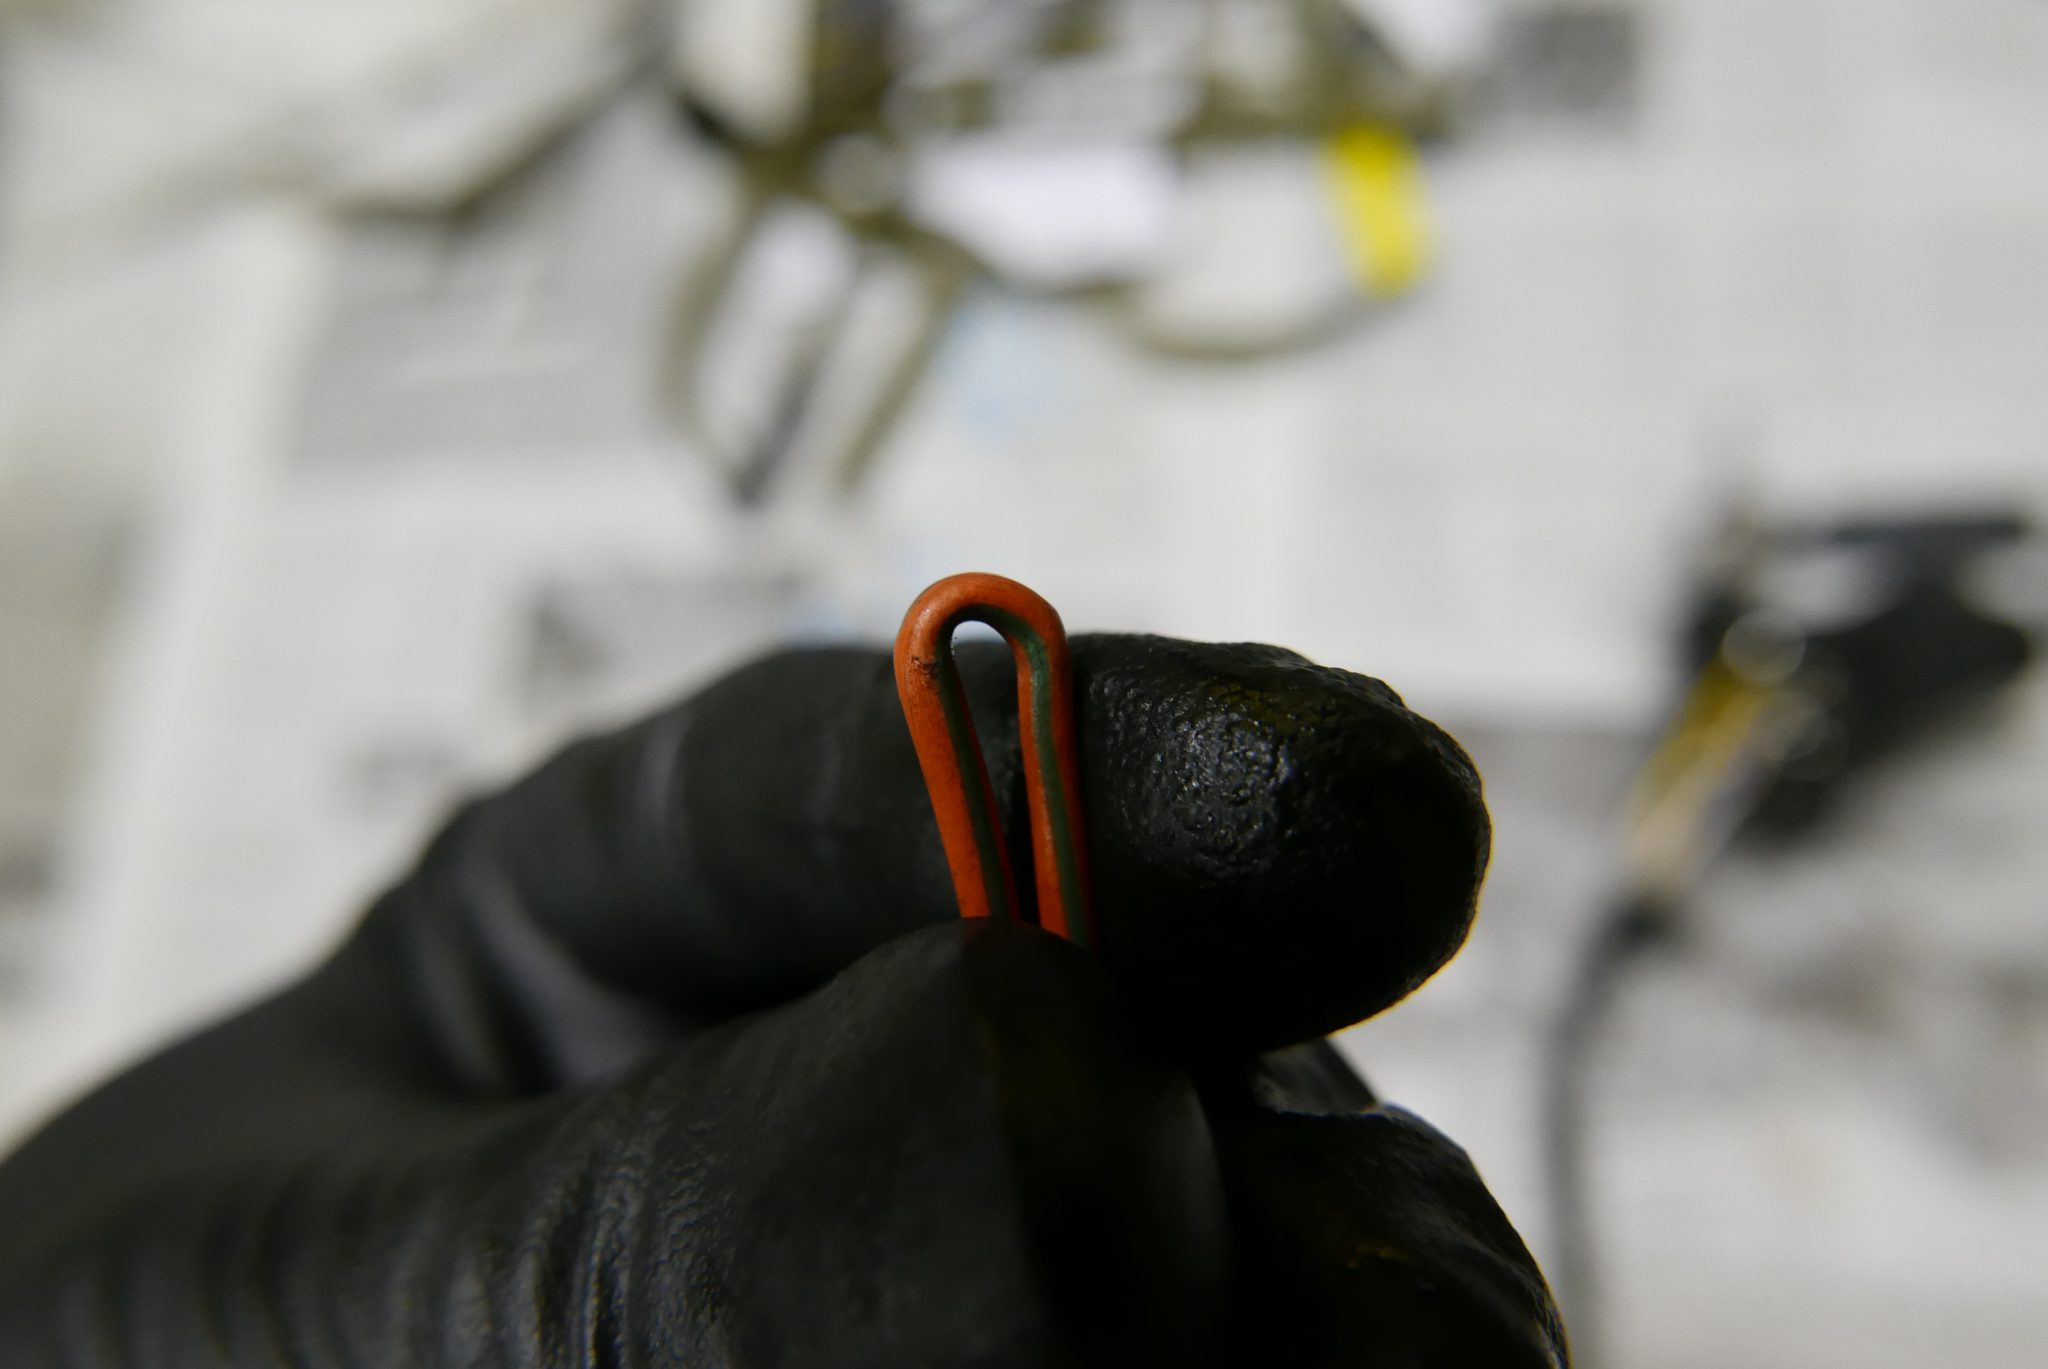
The orange wire that should conduct when ON had a broken center…
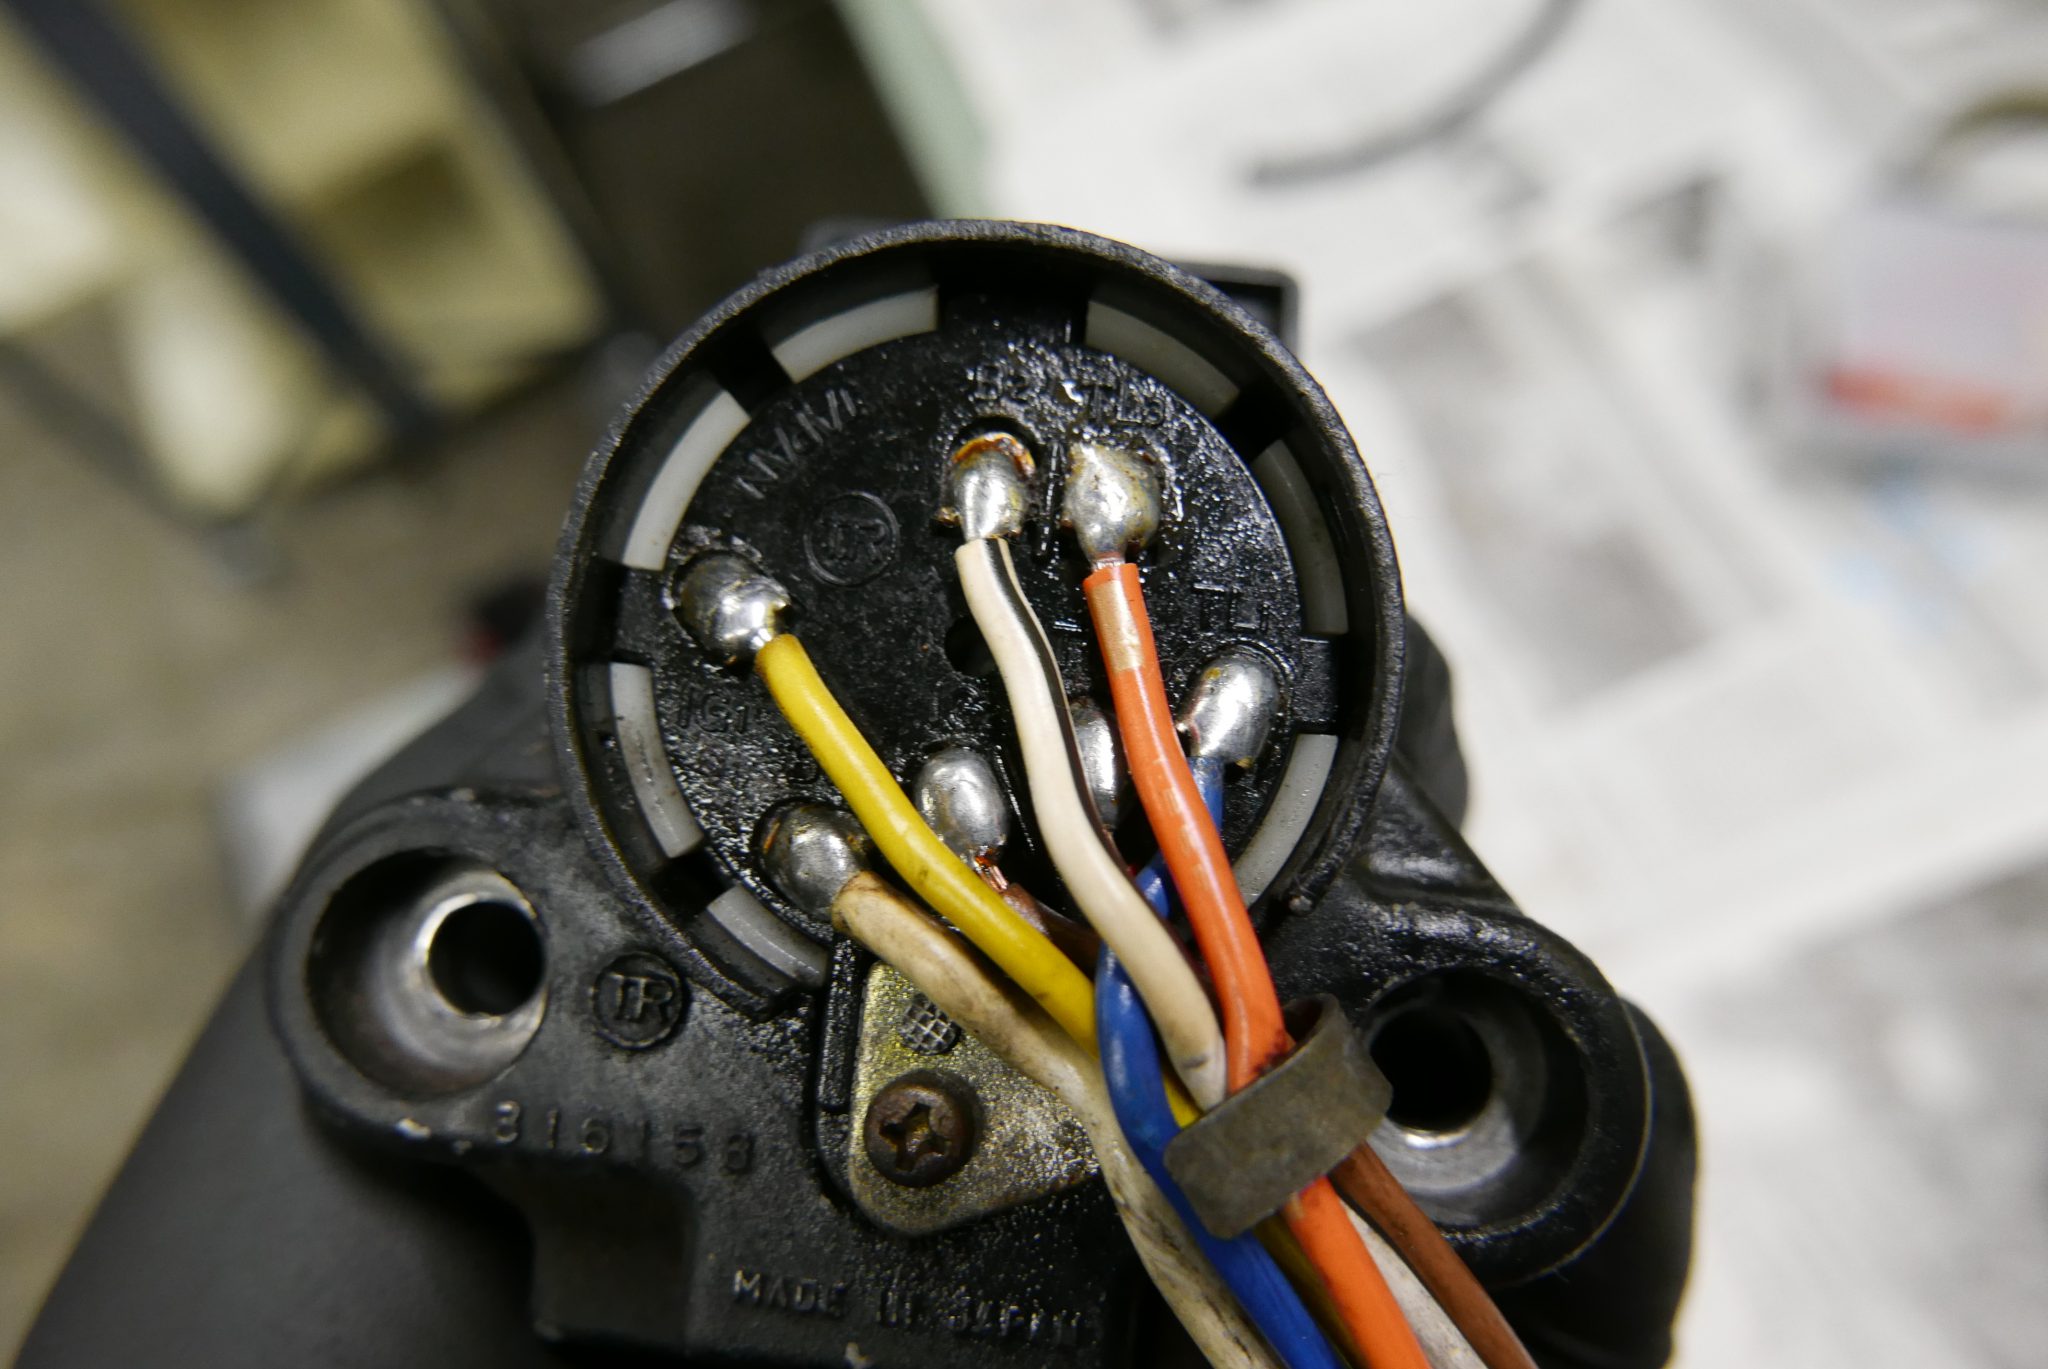
I desoldered it and rewired it fresh. Checked everything else too, just to be safe. Looks good.
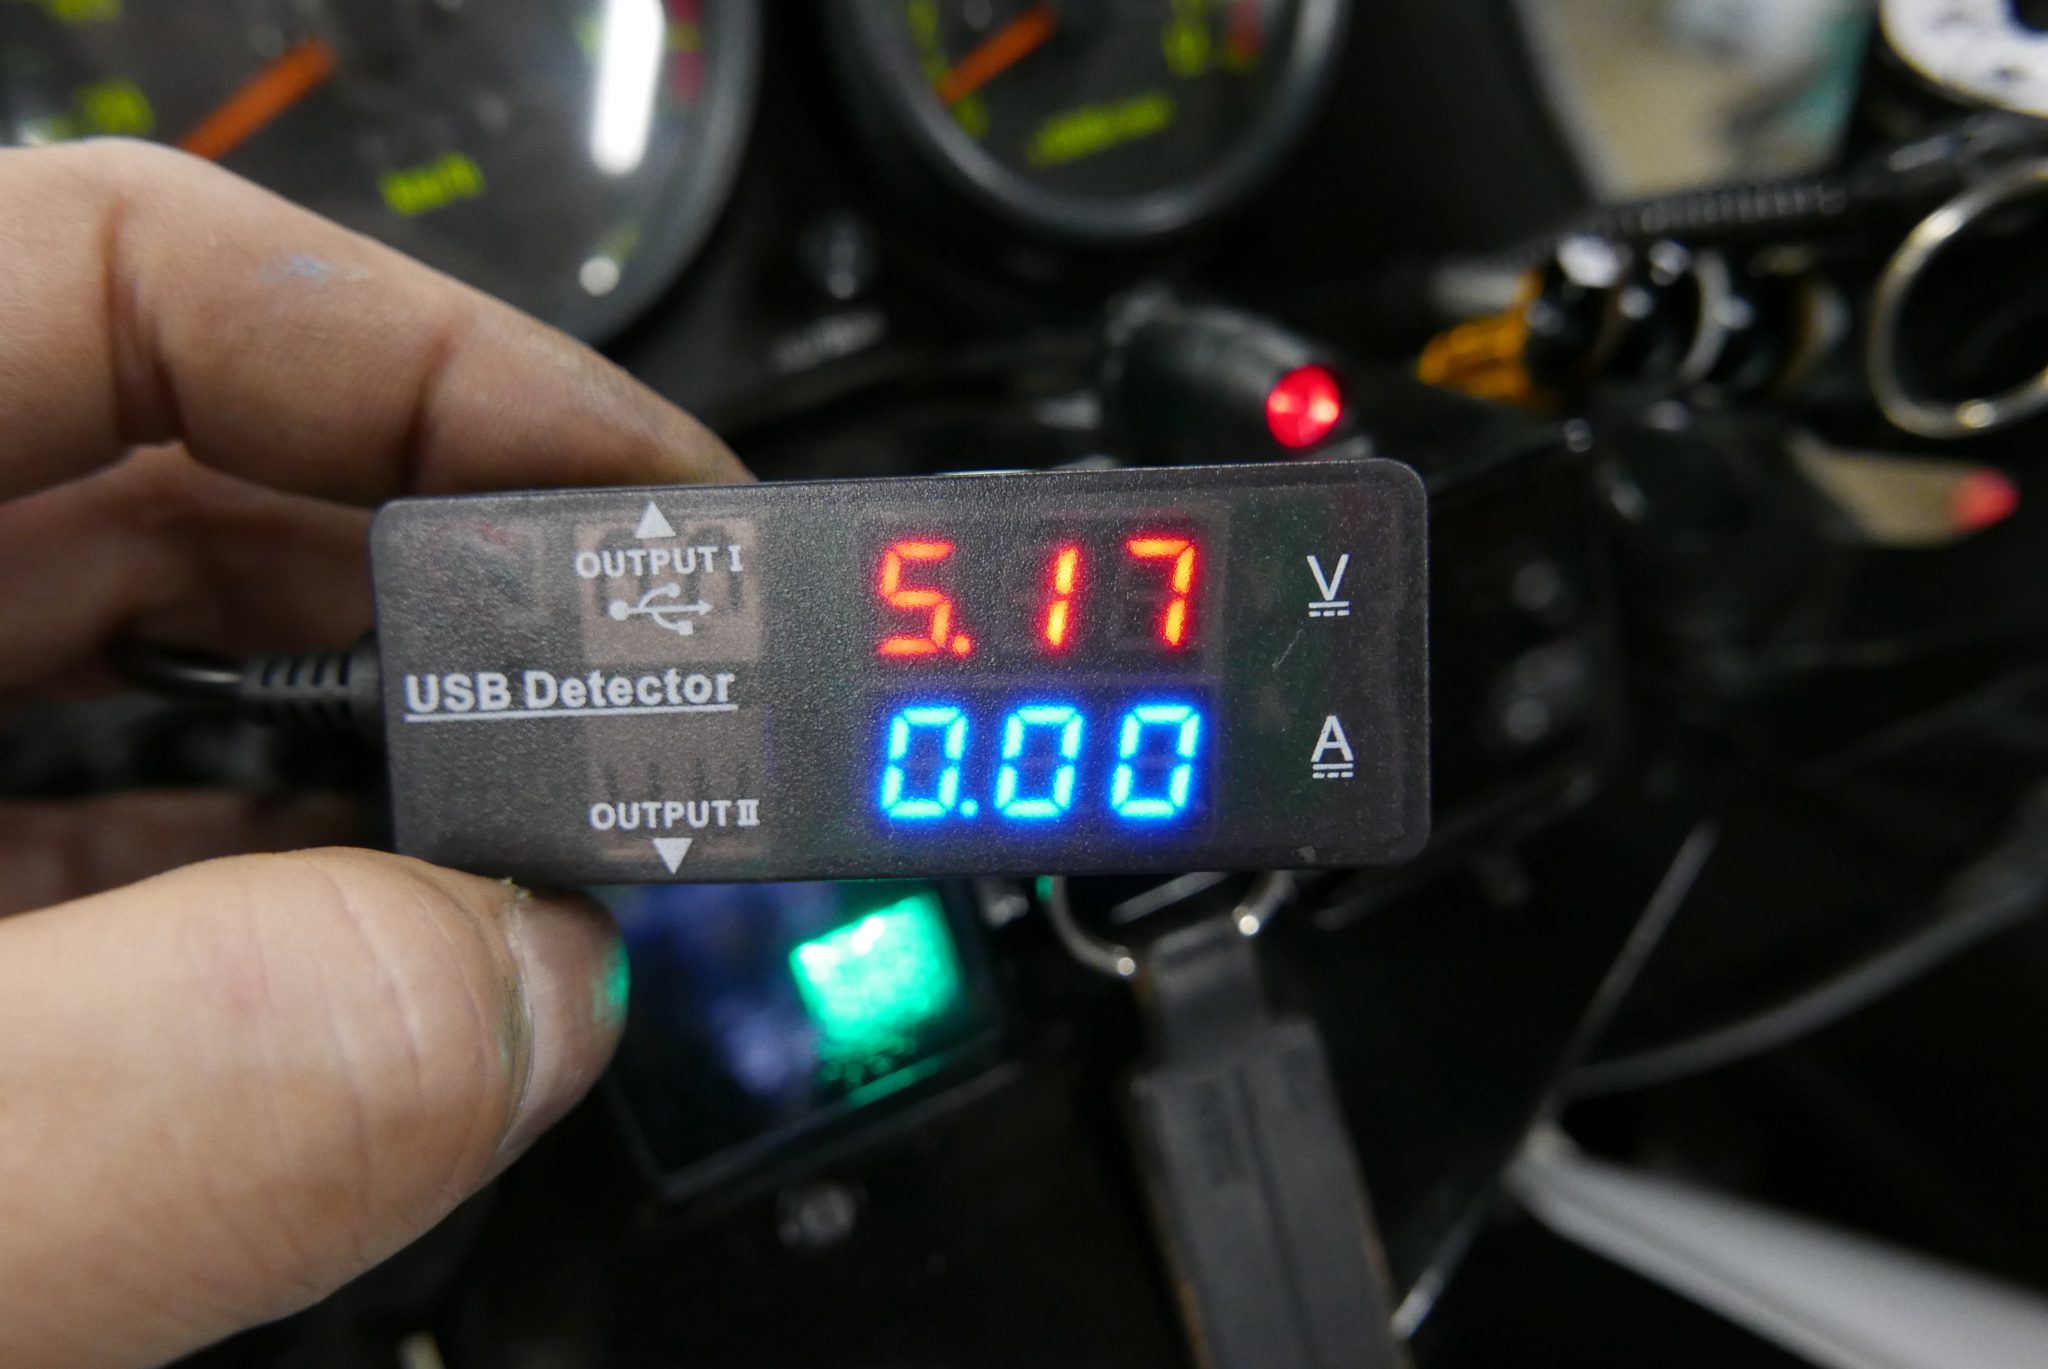
The charging USB is fine too.
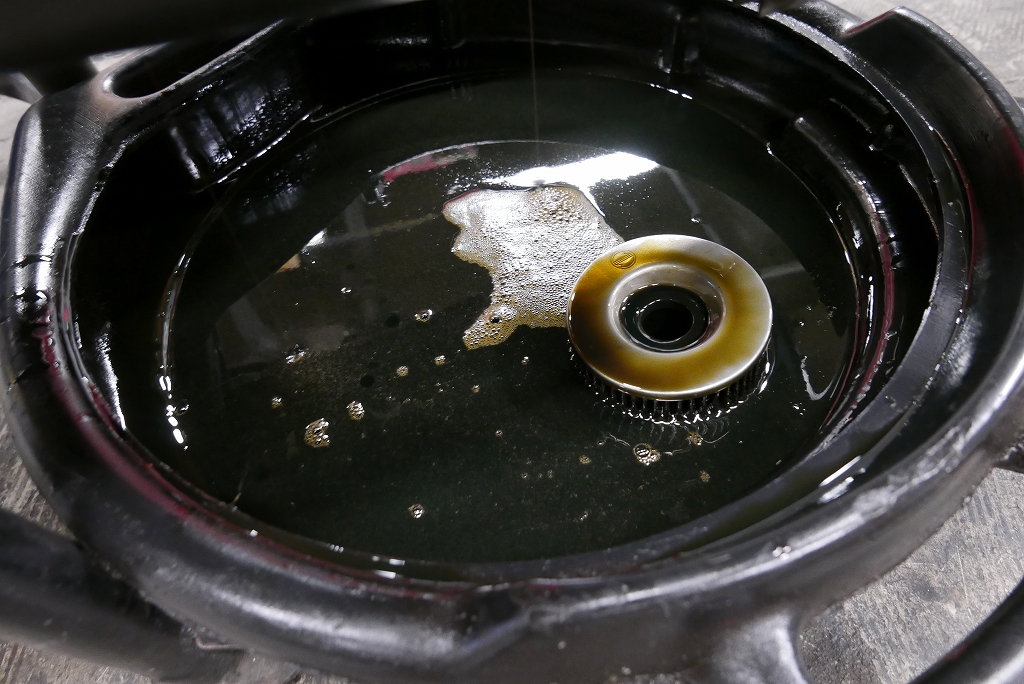
Changed the oil.
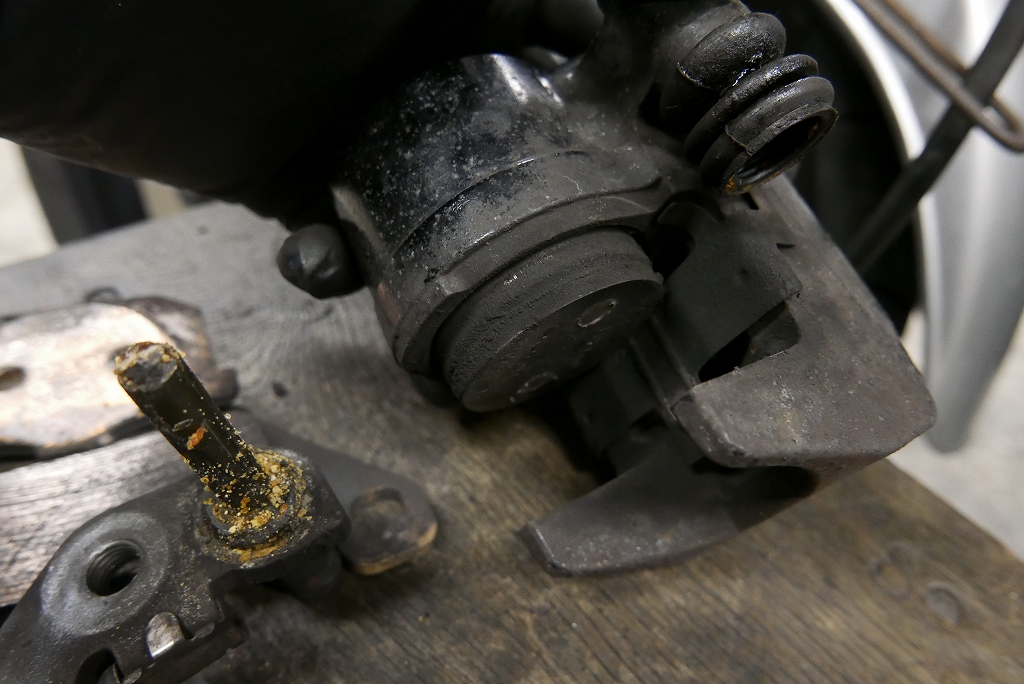
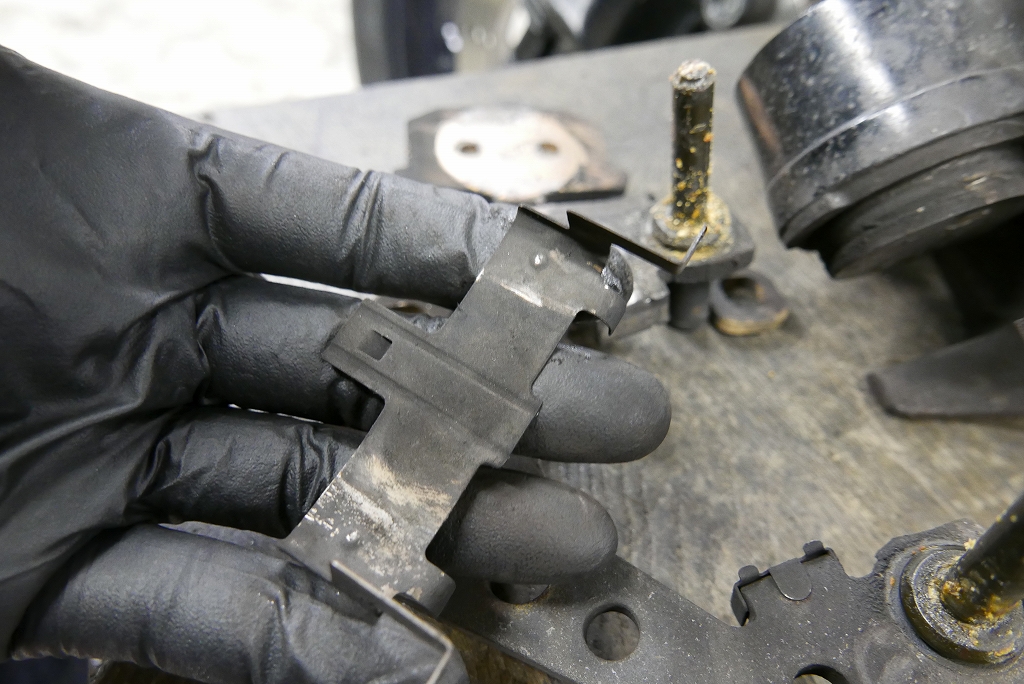
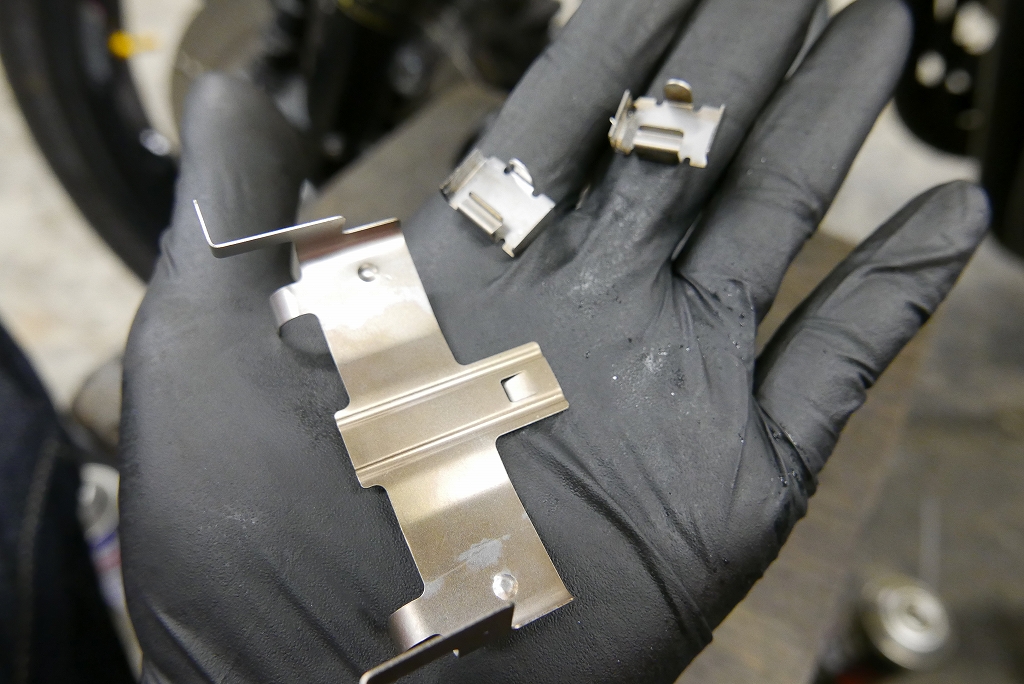
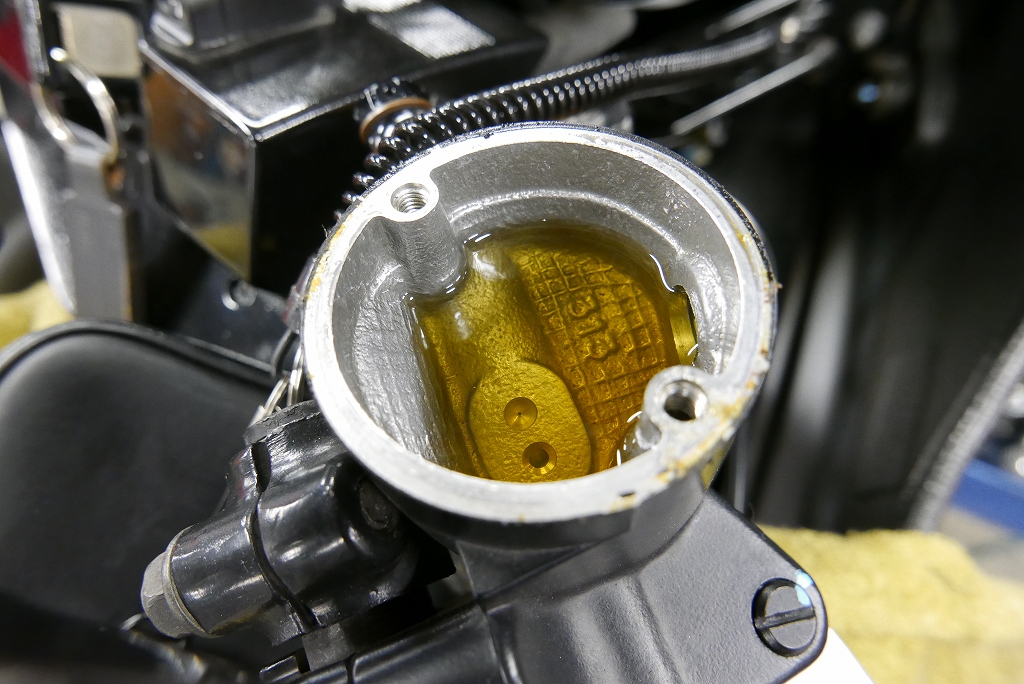
This time I only serviced the brake area.
Done.