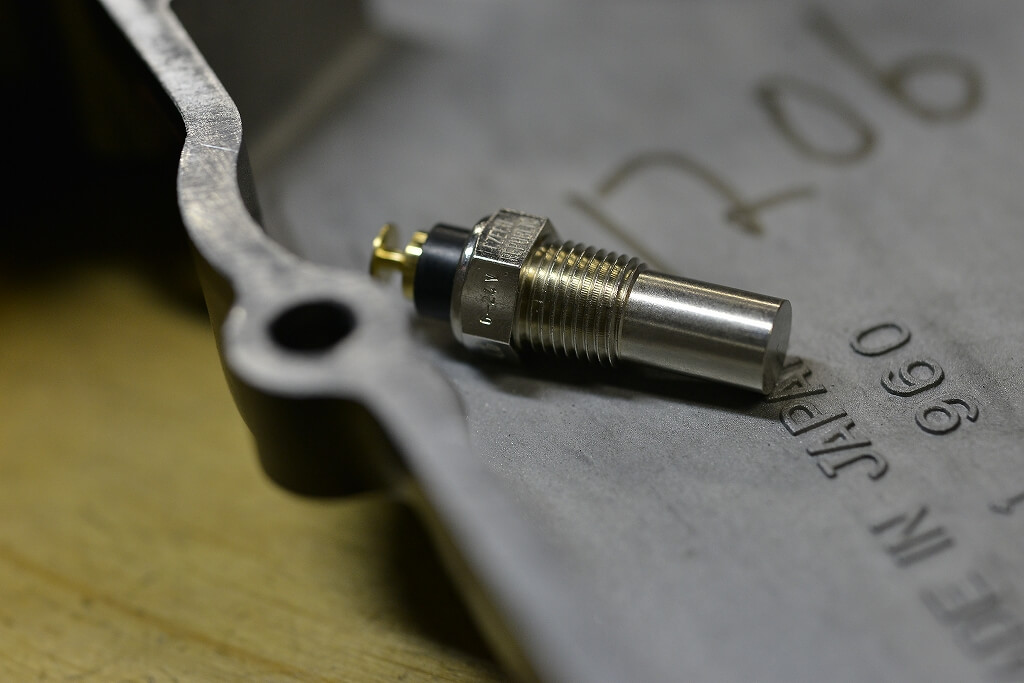
Motogadget offers various sensor sizes to choose from, which is really helpful.
But having choices means more deliberation, right?
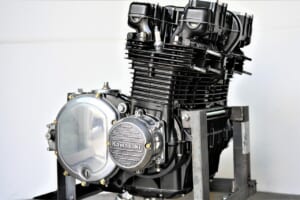
Typically, for Kawasaki Z-series bikes, the standard pickup is M14×P1.5 from the right oil gallery. Honestly, I don’t like how it sticks out and the wiring is visible and doesn’t look clean.
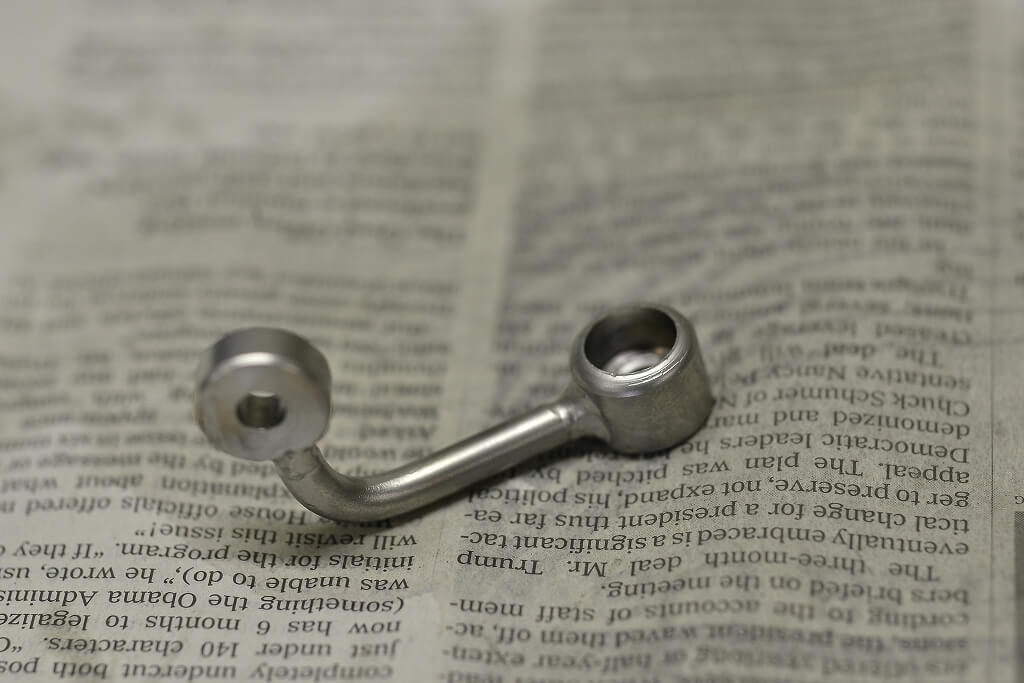
So this time I decided to mount it on the oil pan instead—using M10×P1.0 size. It’s actually a pitch commonly used in bicycles, so I had a tap on hand.
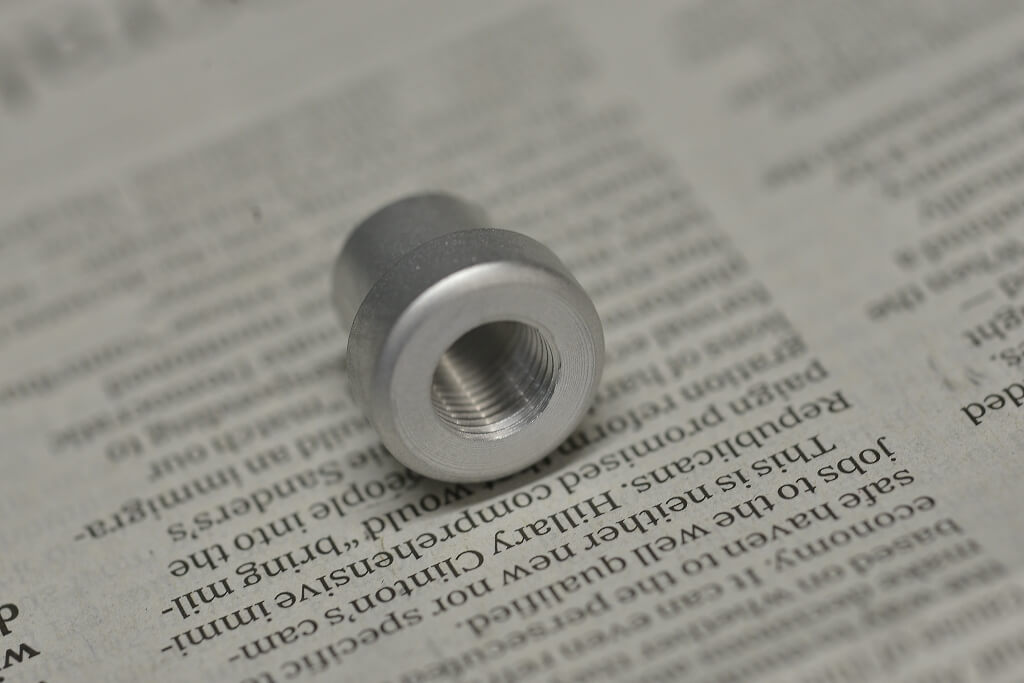
I debated whether to finish-tap it later, but figured it would be fine.
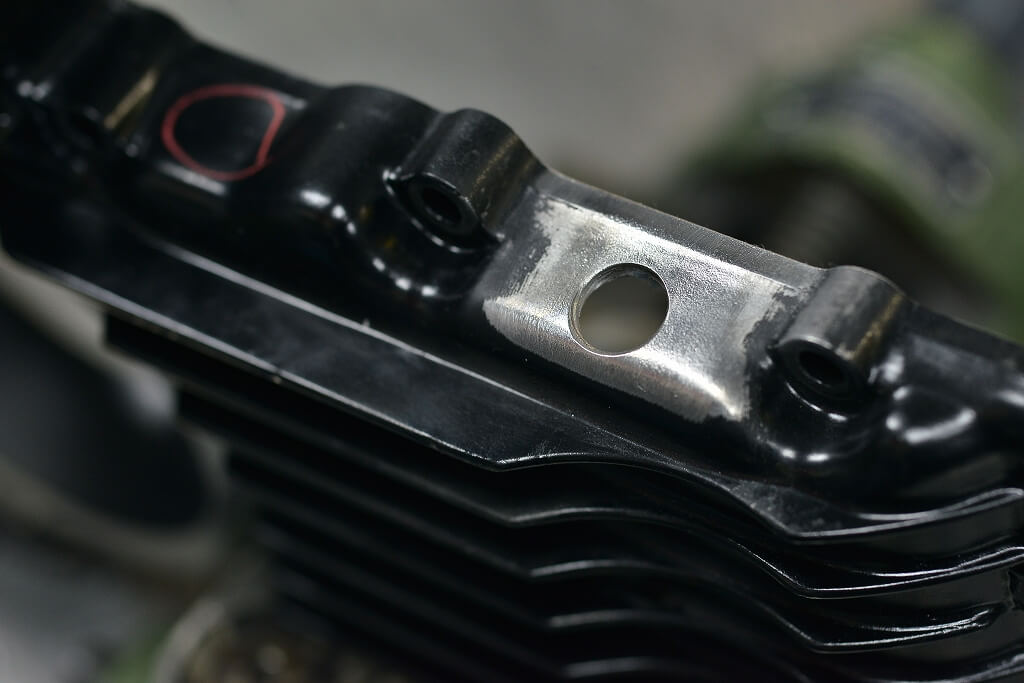
To avoid getting too close to the edge, I drilled the hole lower down.
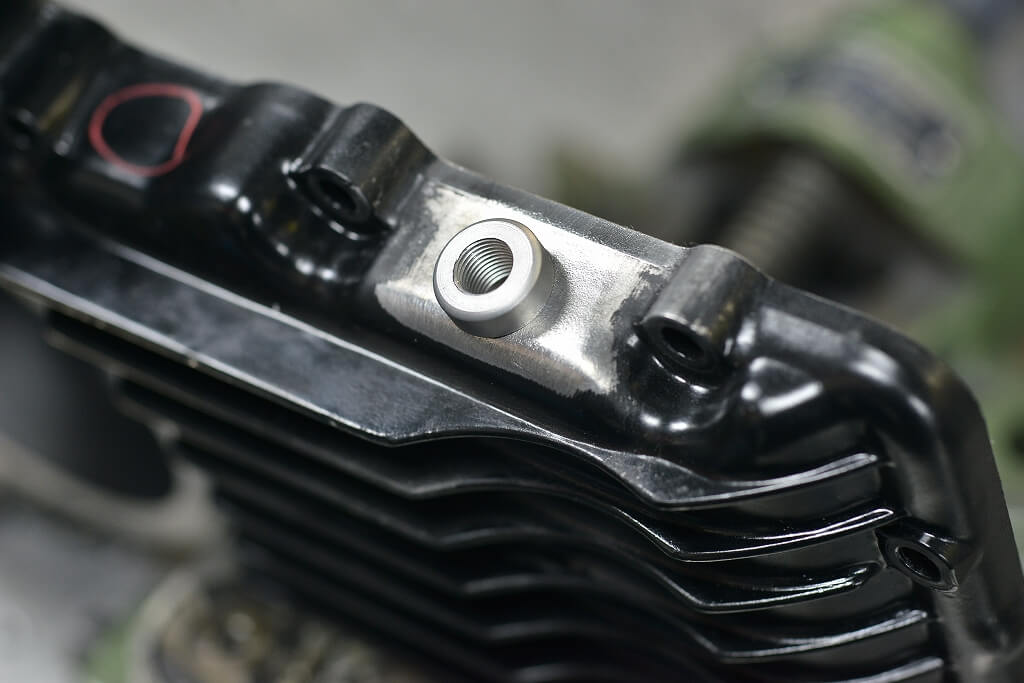
I set it up for a light press fit. I originally planned to aluminum braze it, but the oil pan is so large it won’t heat up evenly, and prolonged heating makes it brittle, so I scrapped that idea.
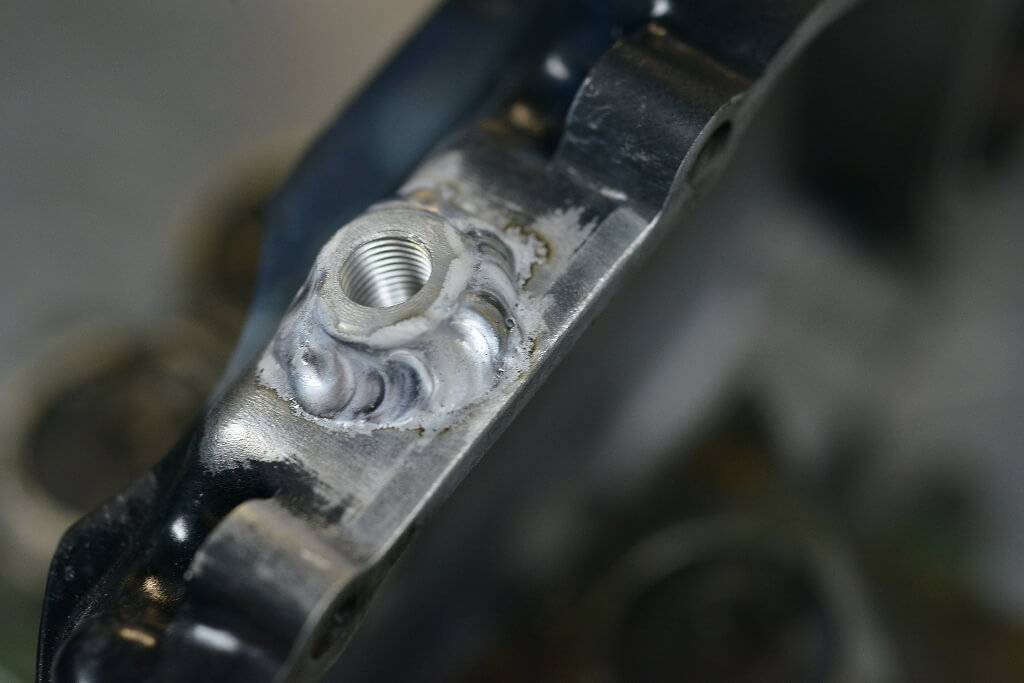
So I welded all the way around.
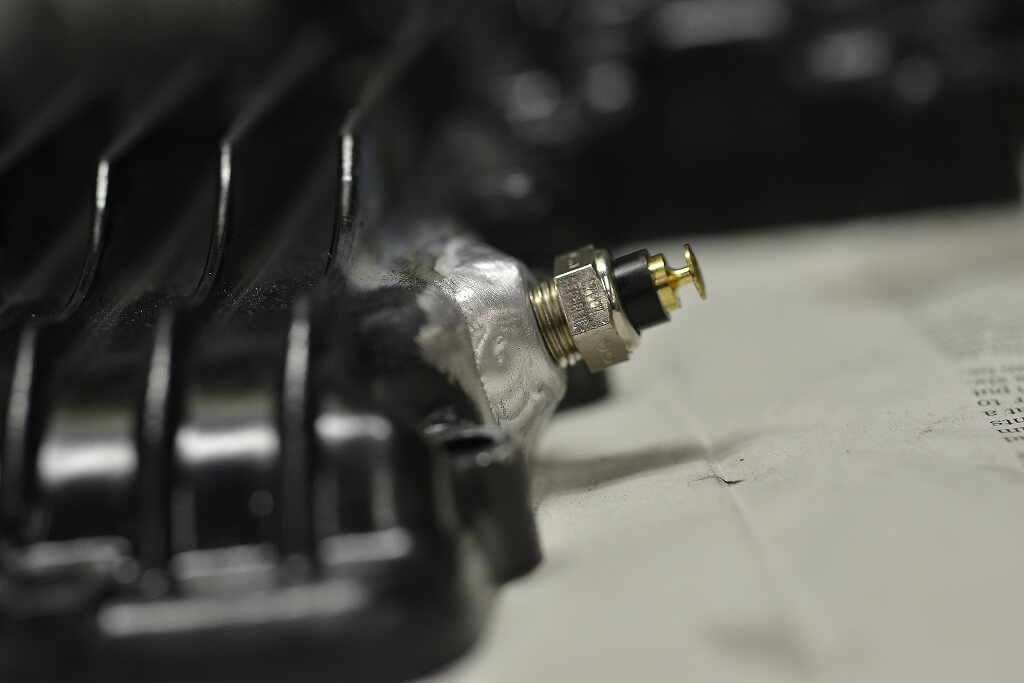
It looked a bit rough, so I did a second pass and ended up with a blob.
It’s not a tapered thread, but the outer diameter is slightly larger toward the back. Kind of nice?
The angle of the bow is proof of my laziness.
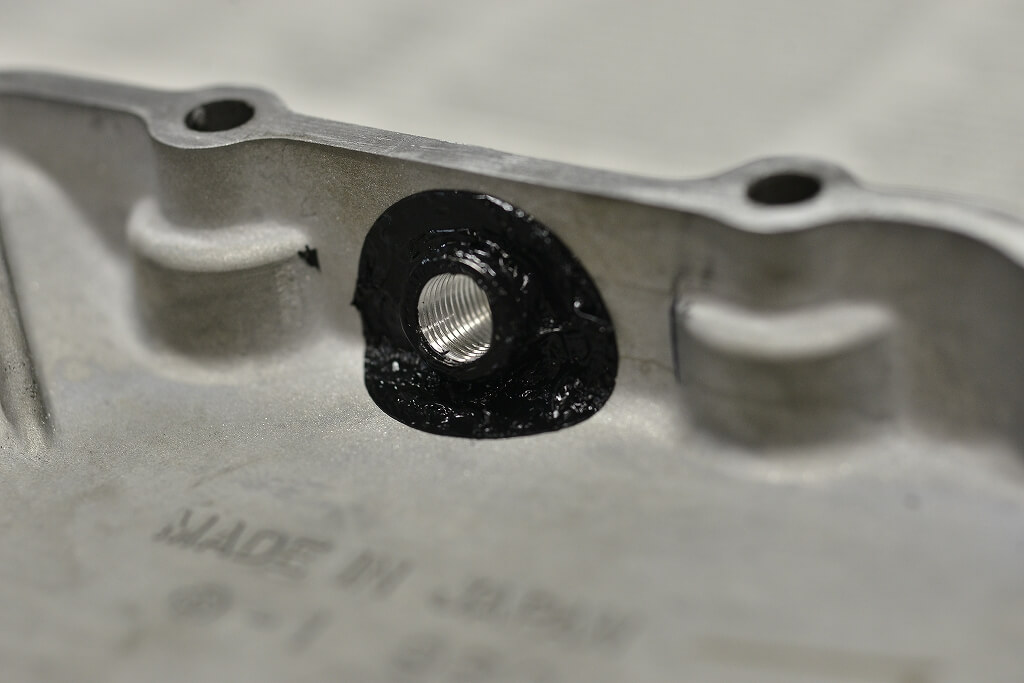
I masked it and sealed it from the inside, and we’re done.
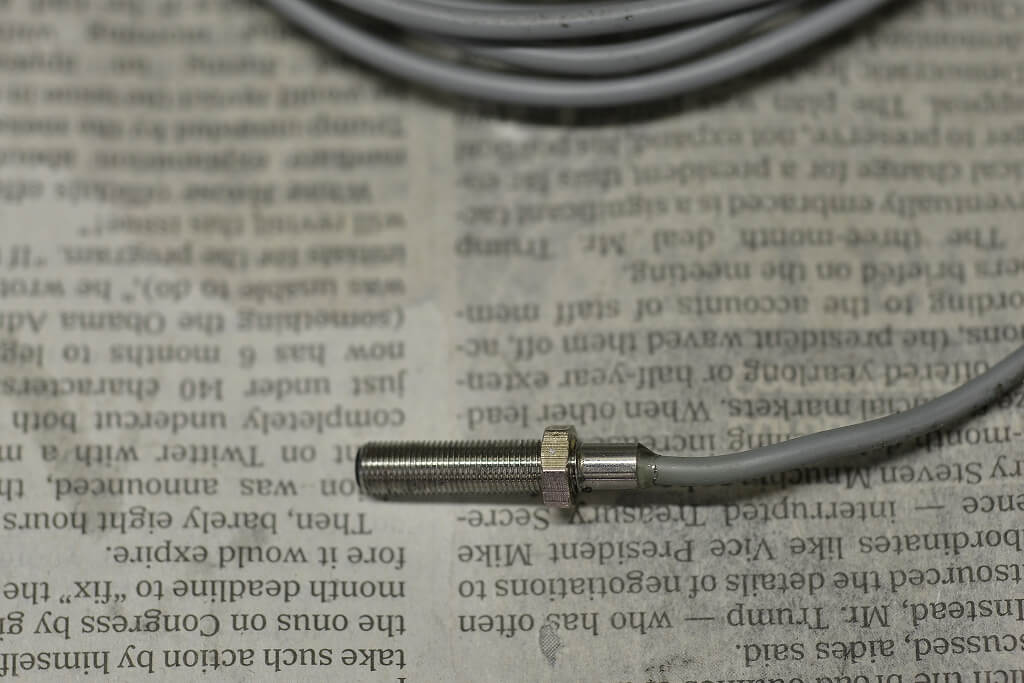
Next: the wheel speed sensor. The included one is a magnetic sensor. The usual type.
You install a magnet at the rotating point and pick up the signal.
What I don’t like about it is that you have to install a magnet, the pulse count is low, and the sensor ends up visible.
If you can’t choose a sensor type, magnetic is your only option, but if you can choose, I think an inductive proximity sensor (negative signal compatible, iron-reactive type) is more interesting.
My GS1000S (STACK 8130) also picks up from the front sprocket teeth. I can’t recommend it to people who are bad at chain oil maintenance.
With the GS1000S, I went with an easy method that’s visible from outside, but for this Z project I want to keep things as clean and neat as possible, so I’m going minimal and simple.
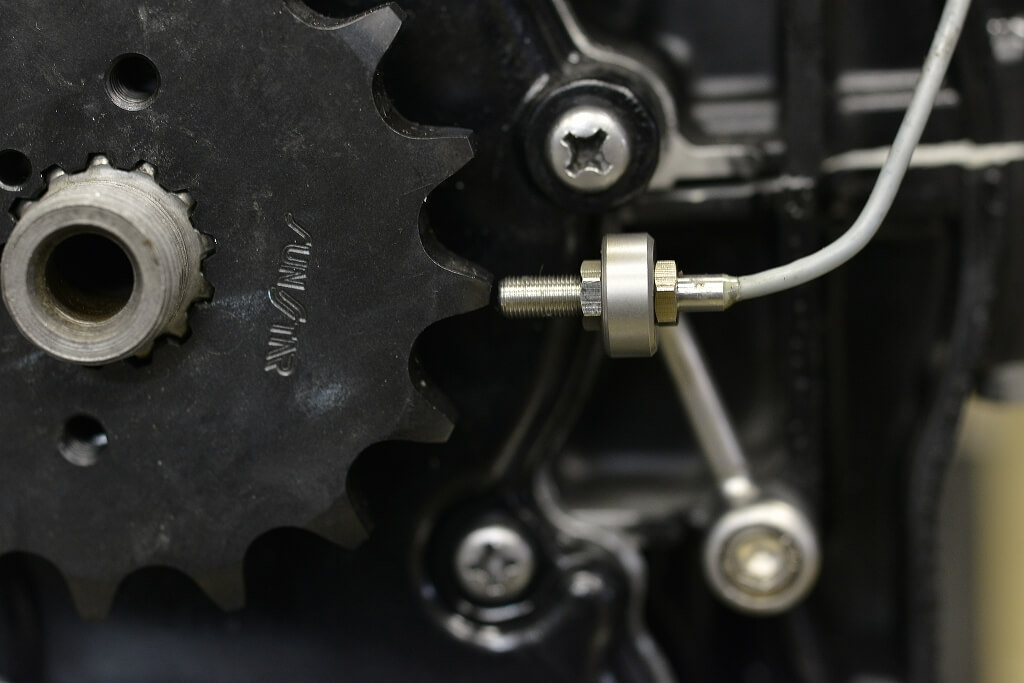
Since it’s a Z1000ST case, there’s a weird boss in an odd spot—I’m picking up from there.
I made this bracket with a sneaky design: loosen the mounting bolts and it has play front-to-back. If the angle doesn’t line up, you can twist it a bit to make it work.
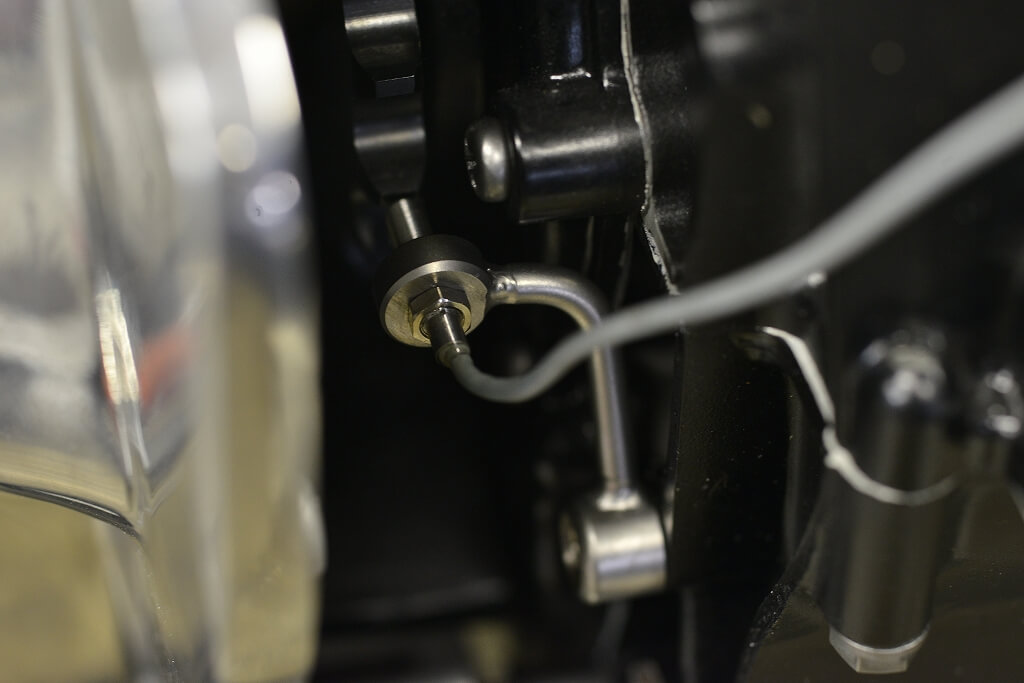
After that, I’ll clamp the wiring to the bracket and it should look clean.
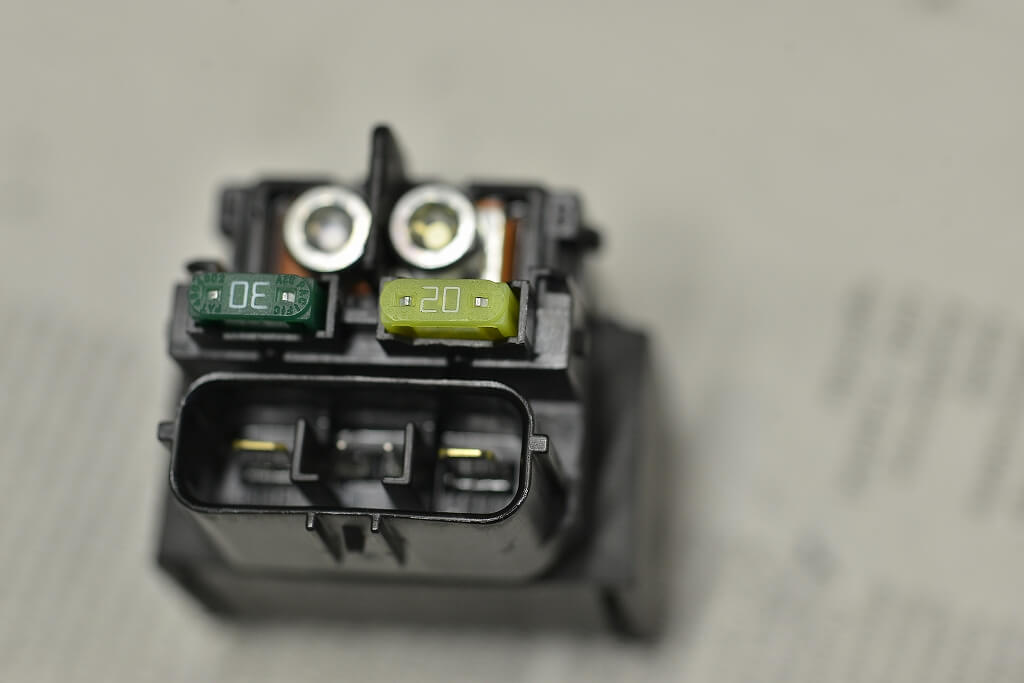
Next: the starter relay. CB1100 SC65, ZX10RR, and so on.
Customers probably aren’t very familiar with this part. It’s such an inconspicuous component that there’s barely anything to worry about.
But if you want to install wiring cleanly, it can be quite important.
The electricity generated by the regulator doesn’t go directly to the battery positive terminal; it goes through this starter relay and a 30A fuse. Even if the battery goes pop, everything after the starter relay is safe. (The battery-to-starter relay section is basically unprotected on most bikes.)
Plus, if you want to add another direct battery connection, thanks to the micro fuse, you can. I’m grateful for that.
To put it simply:
If the starter relay has a built-in fuse, you don’t need to put one on the harness side, so the setup is simpler. Old vehicles mostly have no fuse, meaning long unprotected sections.
The latest models have plug-in floating connectors, so installation is easy and safe.
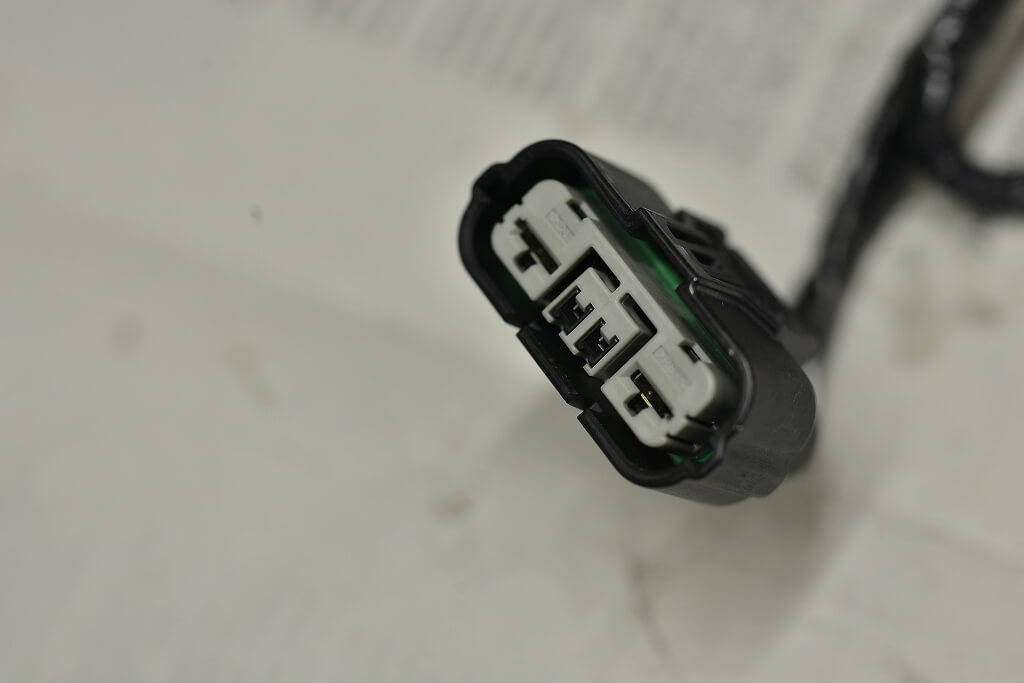
One blind spot:
The connector is so incredibly obscure that it’s not sold anywhere. I didn’t realize this until the relay arrived. This is bad.
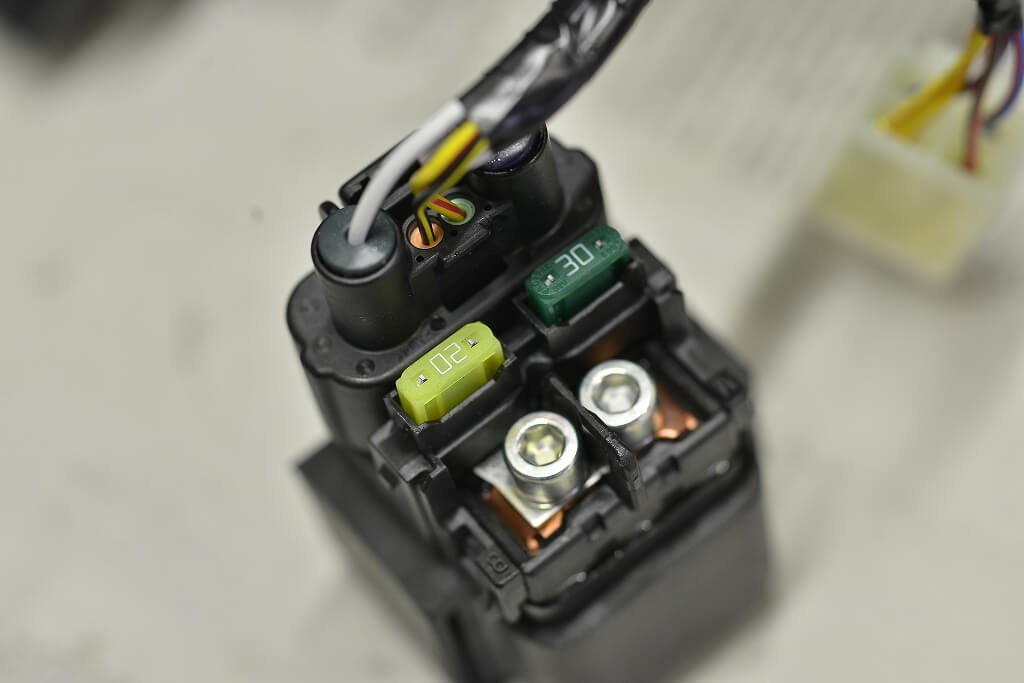
After searching everywhere, I ended up having to source a used harness from a new ZX10RR.
If it were a customer’s bike, I would have given up, but since it’s mine, budget is no object! The bike already has minimal wiring, so this will make it even cleaner.
That’s all! See you on the next lucky day!