Work has been all over the place lately—this job, then that one—so I haven’t even been able to keep up with storing images properly.
Let’s take it easy and move forward without rushing or making a fuss.
Finally got it done!
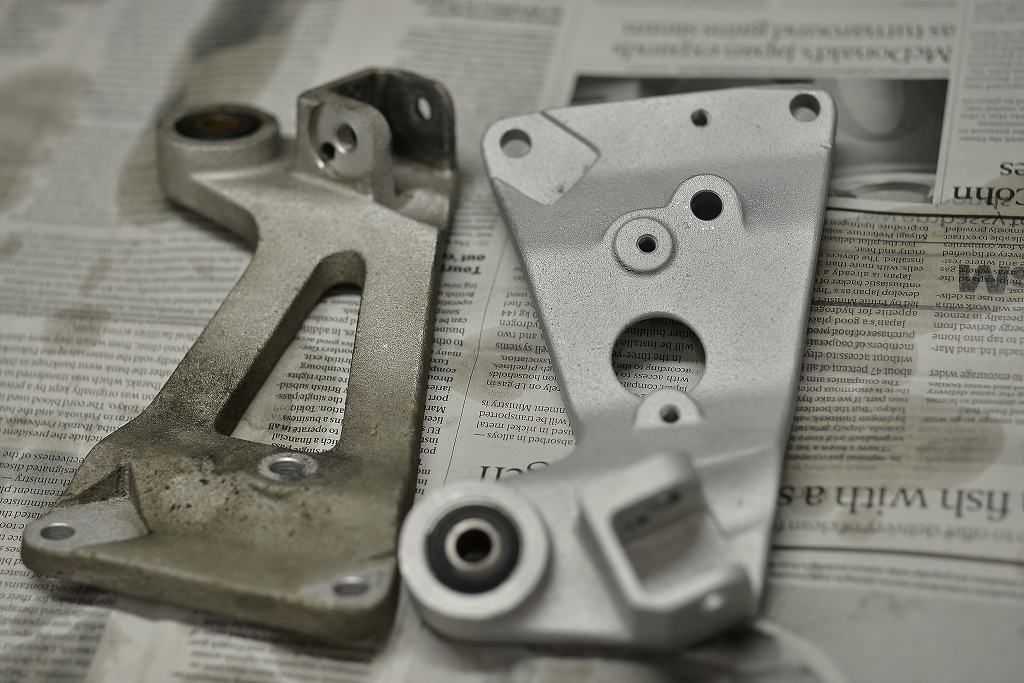
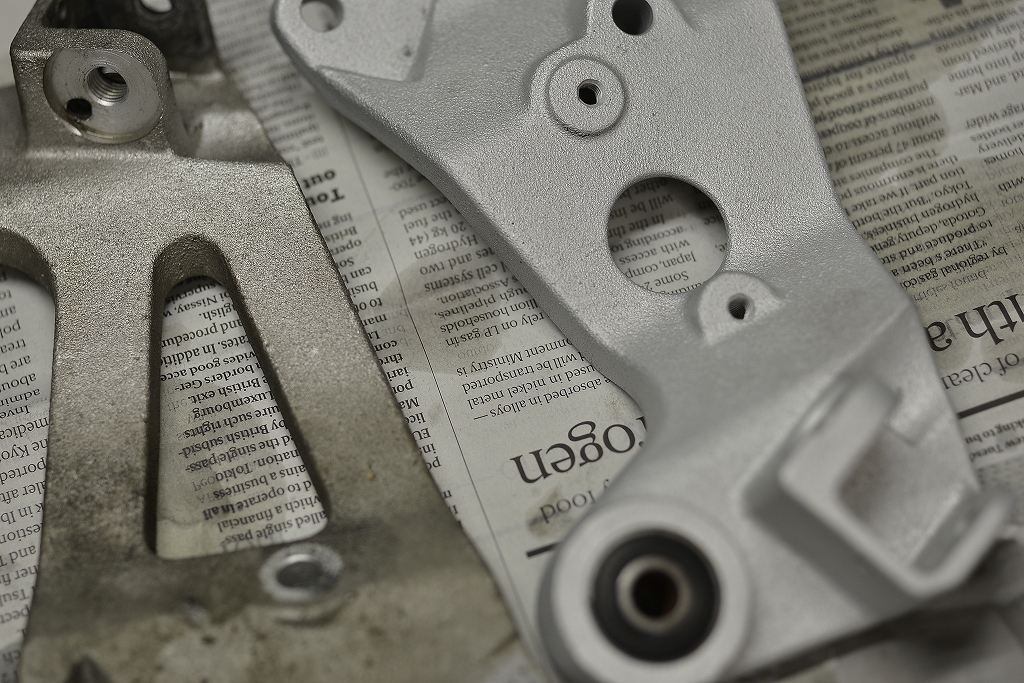
Nothing major, but I cleaned things up nicely. (Both of them, that is.)
When I hear someone say “I’m going to ride this bike forever!” it makes sense to do this work now so the condition stays good.
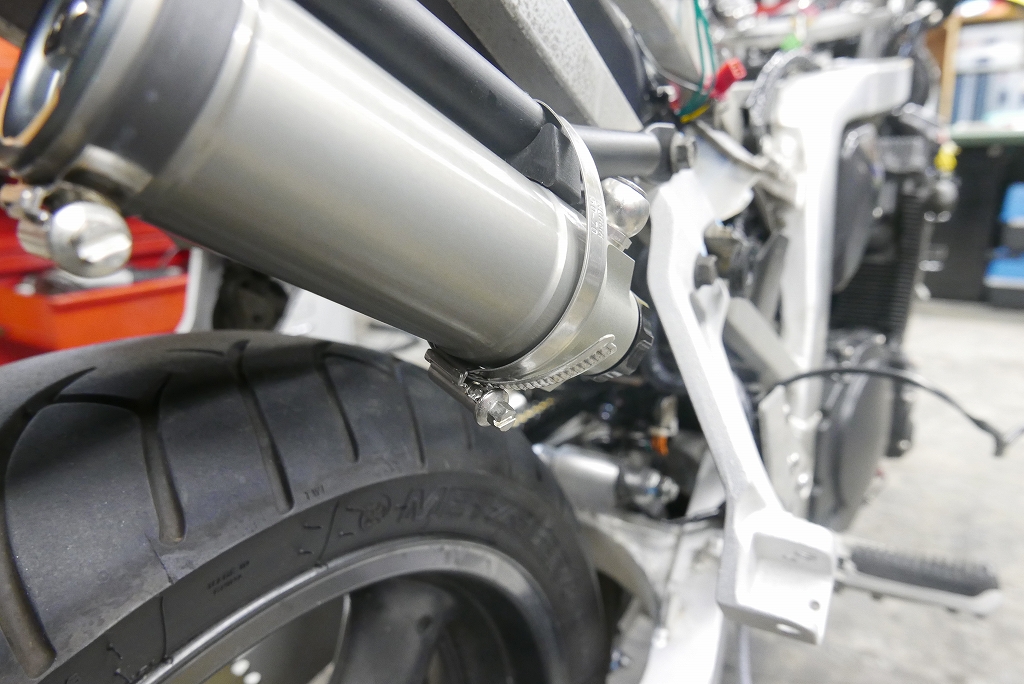
The rear suspension band. It was unnecessarily long—like an old guy’s belt? I cut it and wrapped it with the band. (No photo.)
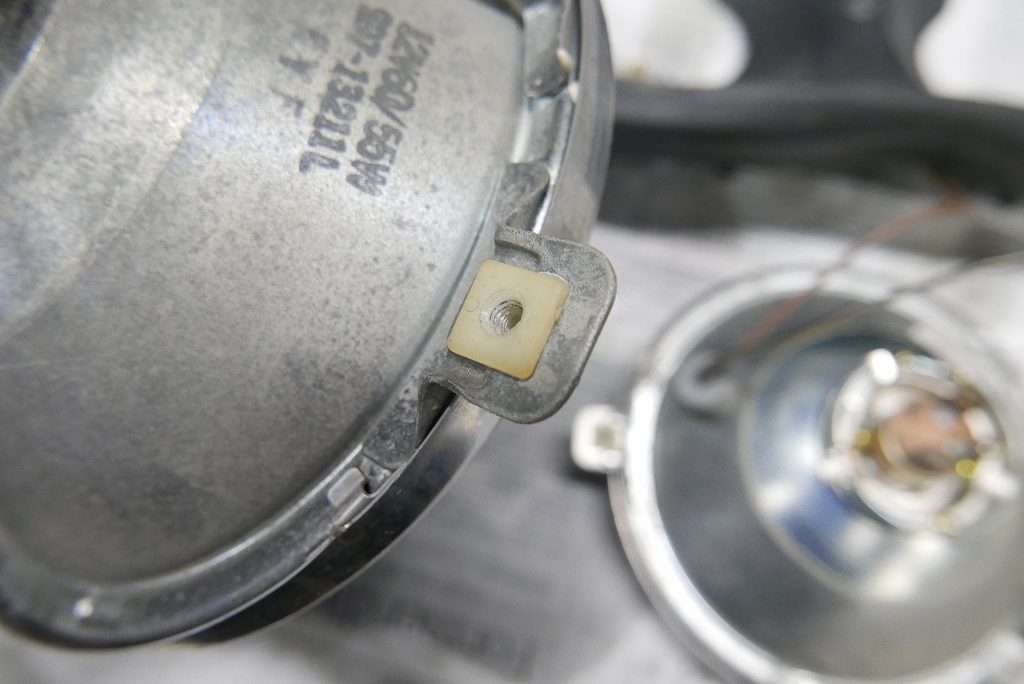
Since inspection service is basically our main business, I want to nail the headlight beam axis adjustment perfectly.
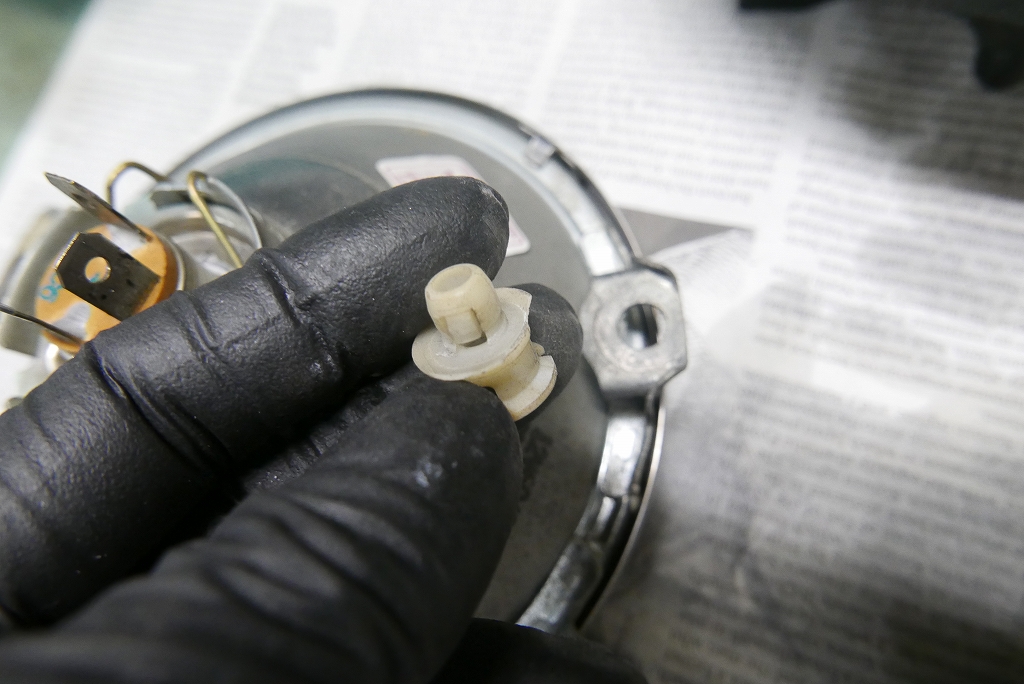
Quite often these plastic parts break and get all loose and wobbly. When that happens, I just swap them out without asking.
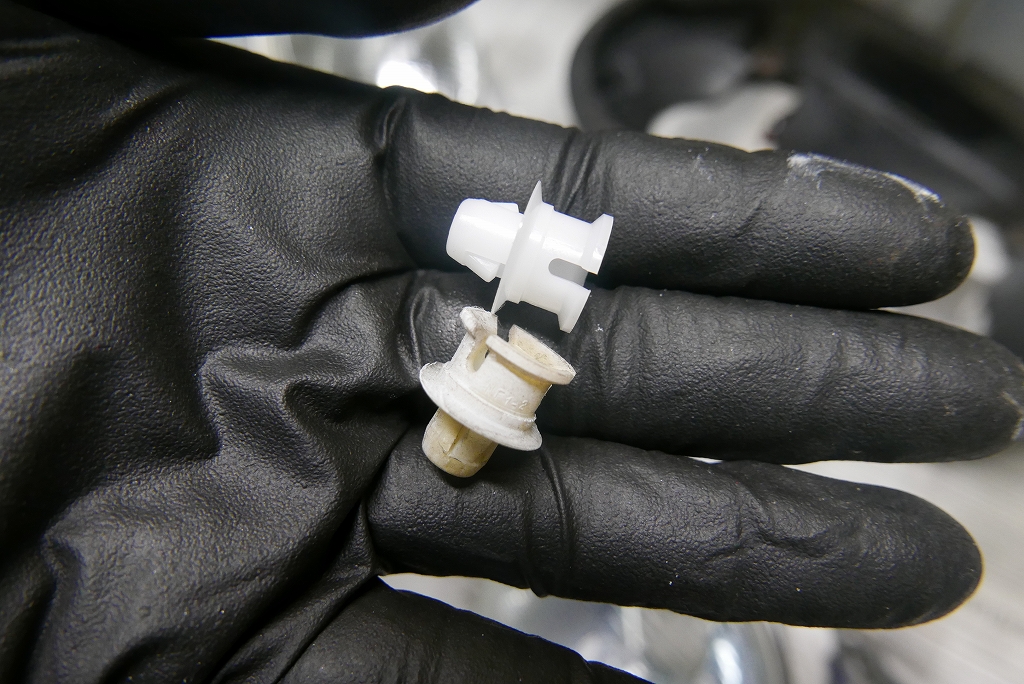
This is the pivot that lets you adjust up and down, left and right, but it breaks off when it gets old. With this done, you should be good for a while.
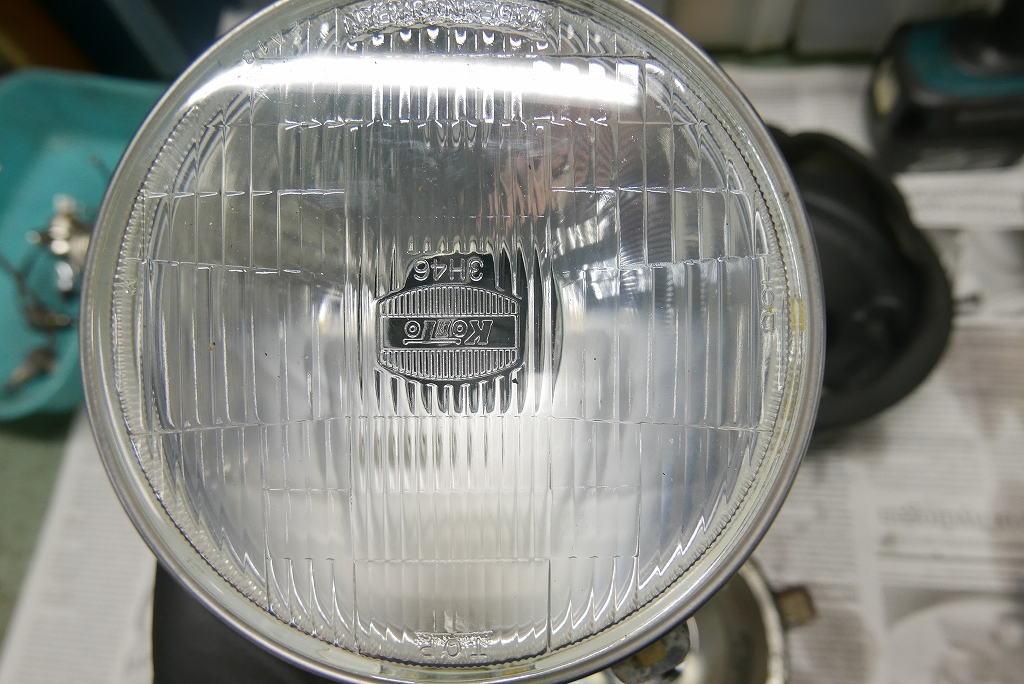
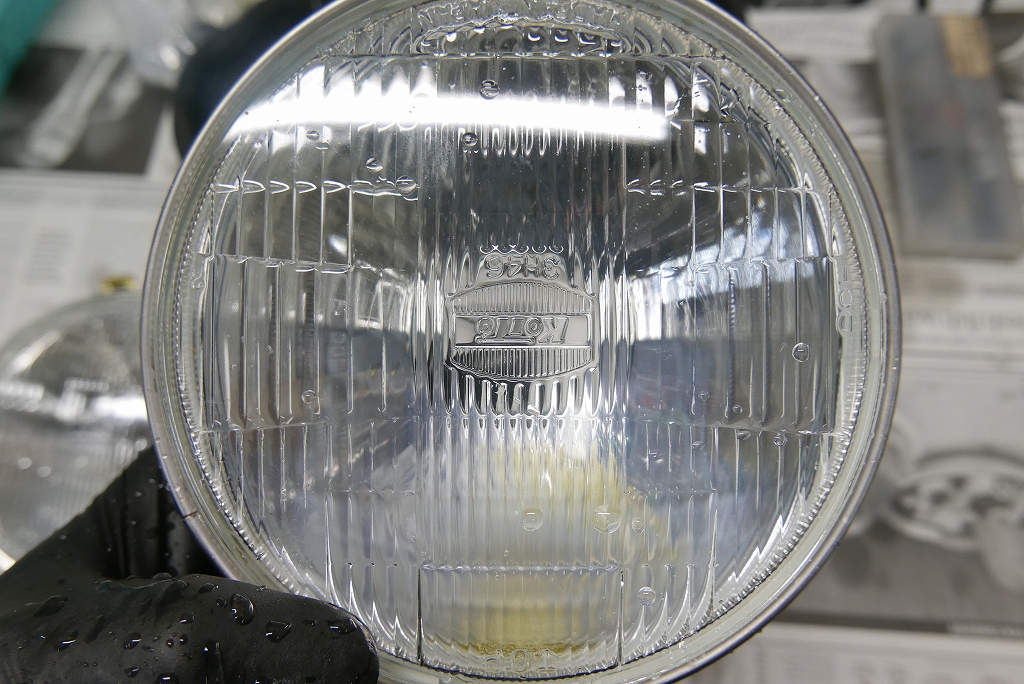
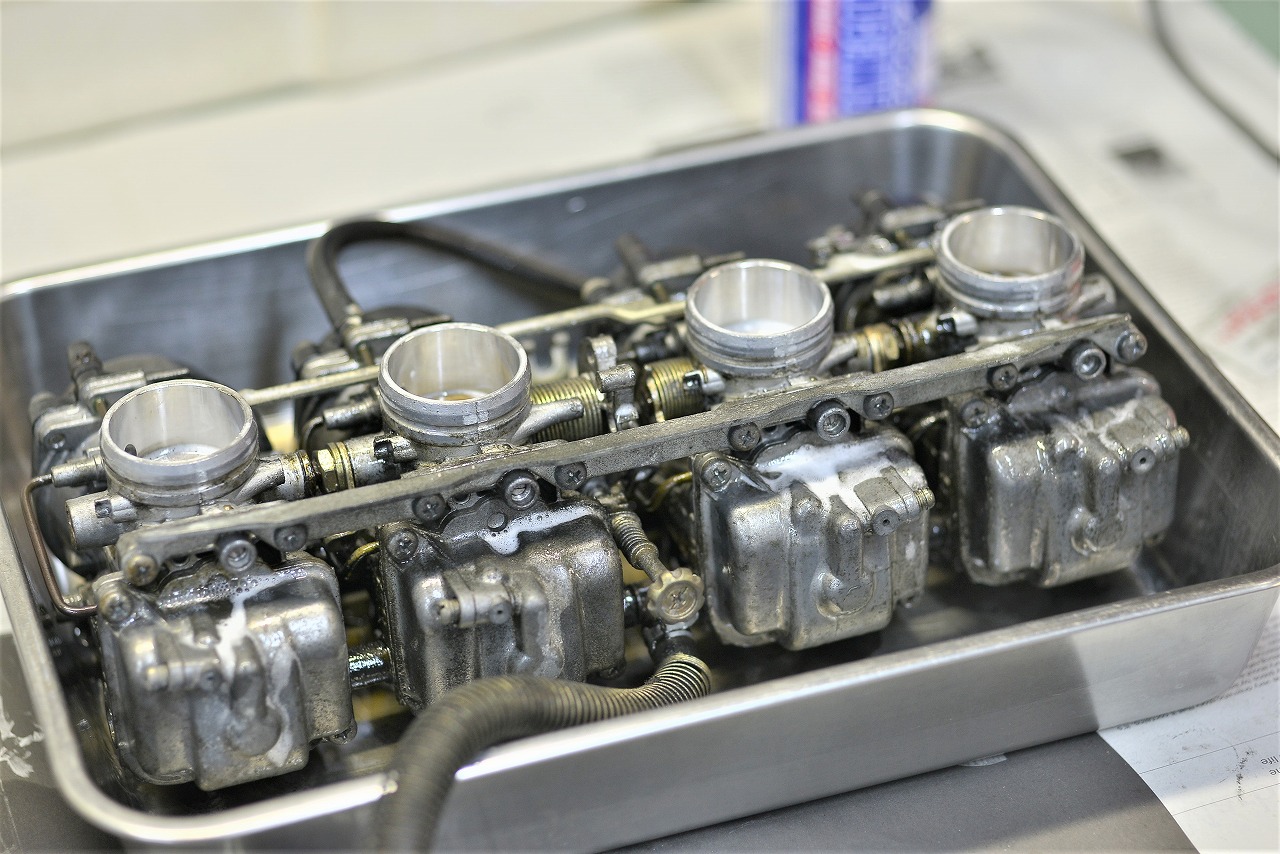
Dump in some neutral detergent and spray it down with a shower—it cleans up a bit.
I thought it didn’t change much at the time, but looking back now, it’s definitely cleaner.
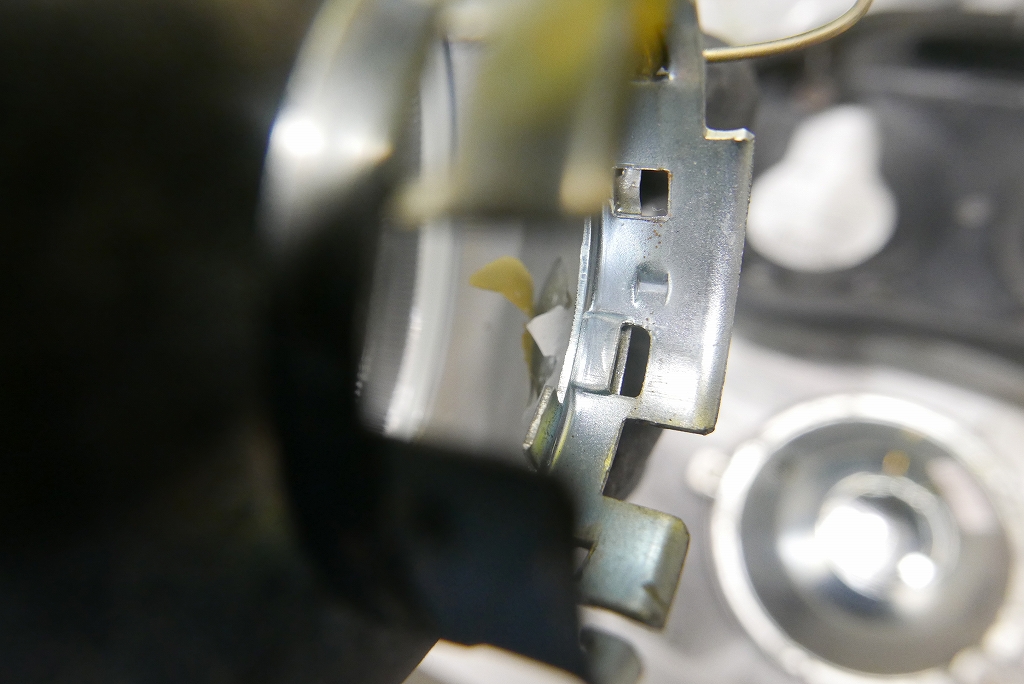
This is the view from the bulb side. The plating inside is peeling off and the plating is pretty cloudy too, so replacing the lens might be a good idea.
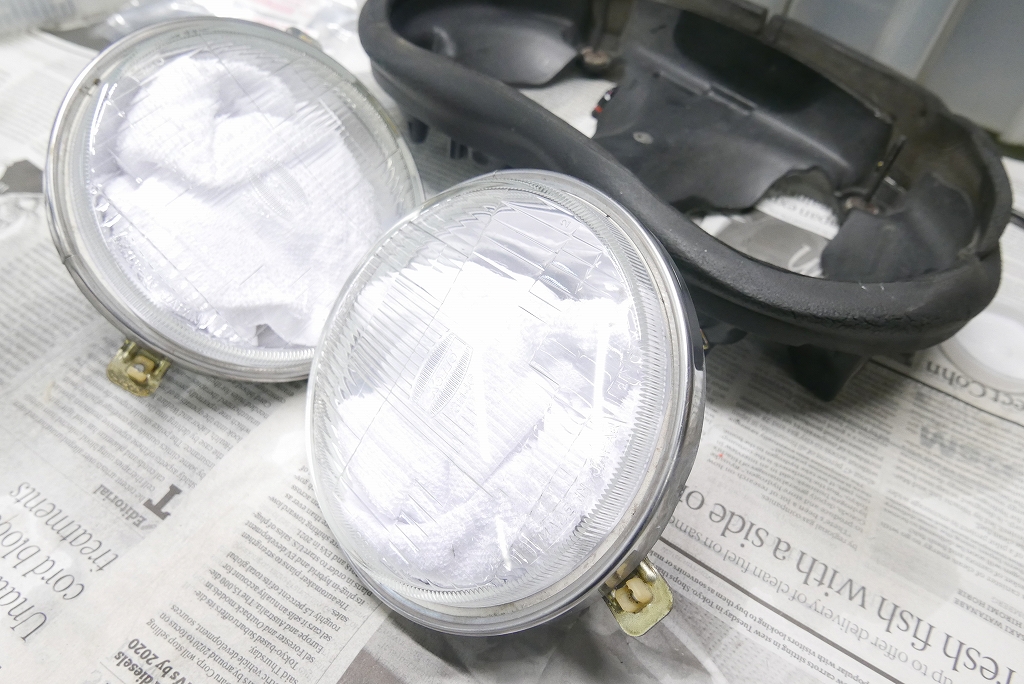
Put a dry cloth in there and leave it overnight—that should do it.
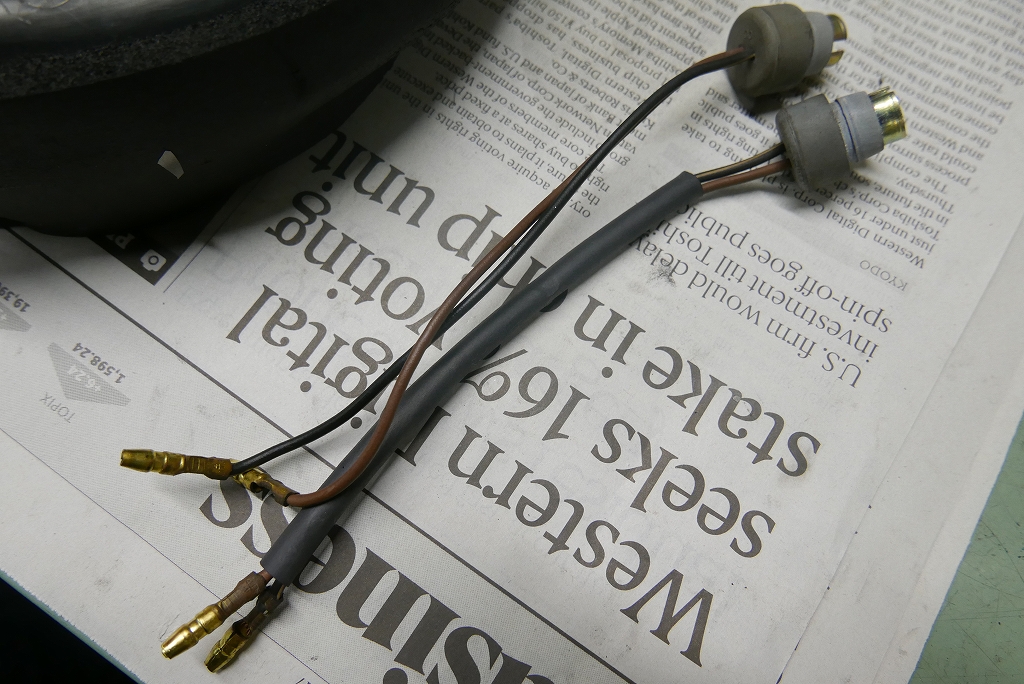
I bundle things up where they need bundling.
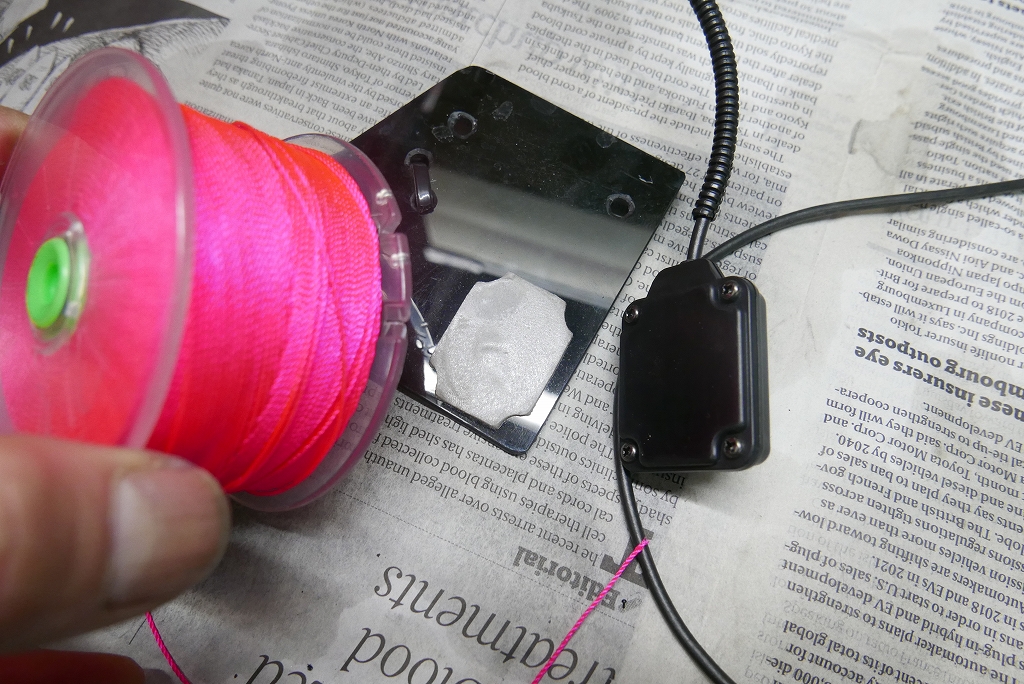 Double-sided tape can be pretty annoying. When you’re peeling it off, fishing line is surprisingly handy.
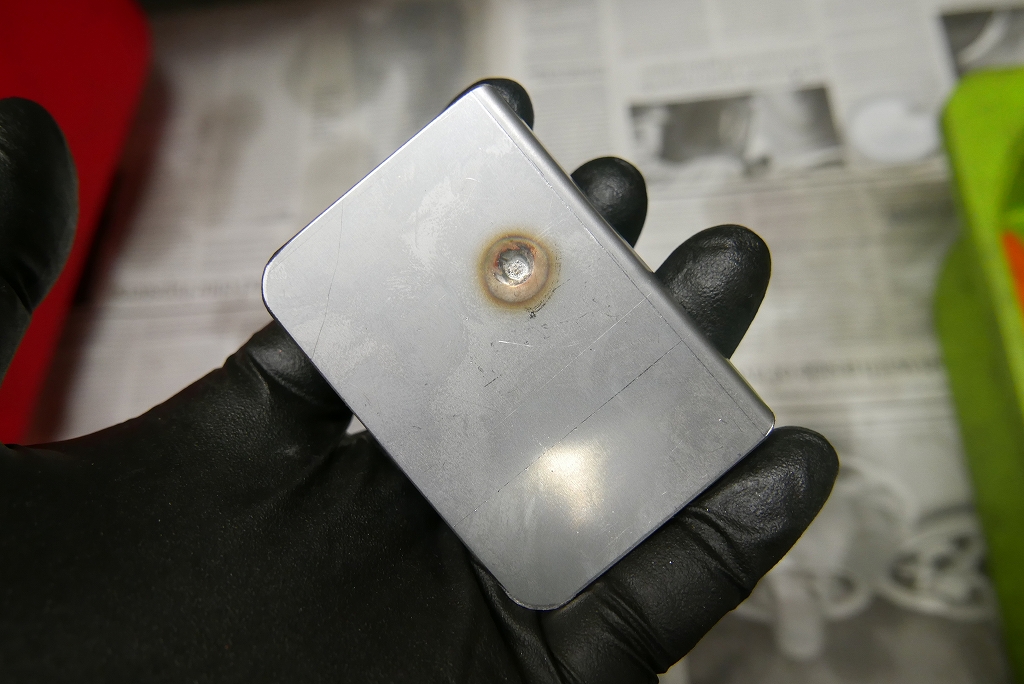
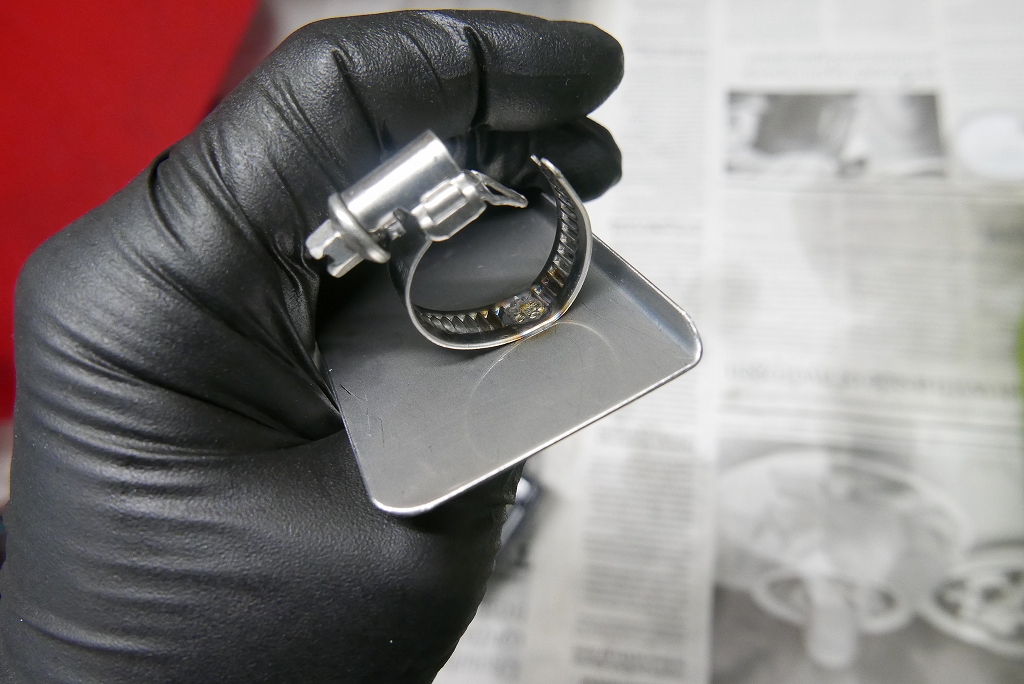
When you have equipment lying around half-finished, the work gets sloppier and sloppier.
The goal is to work as fast and cleanly as possible. Depending on the situation, otherwise I can’t do it as a service.
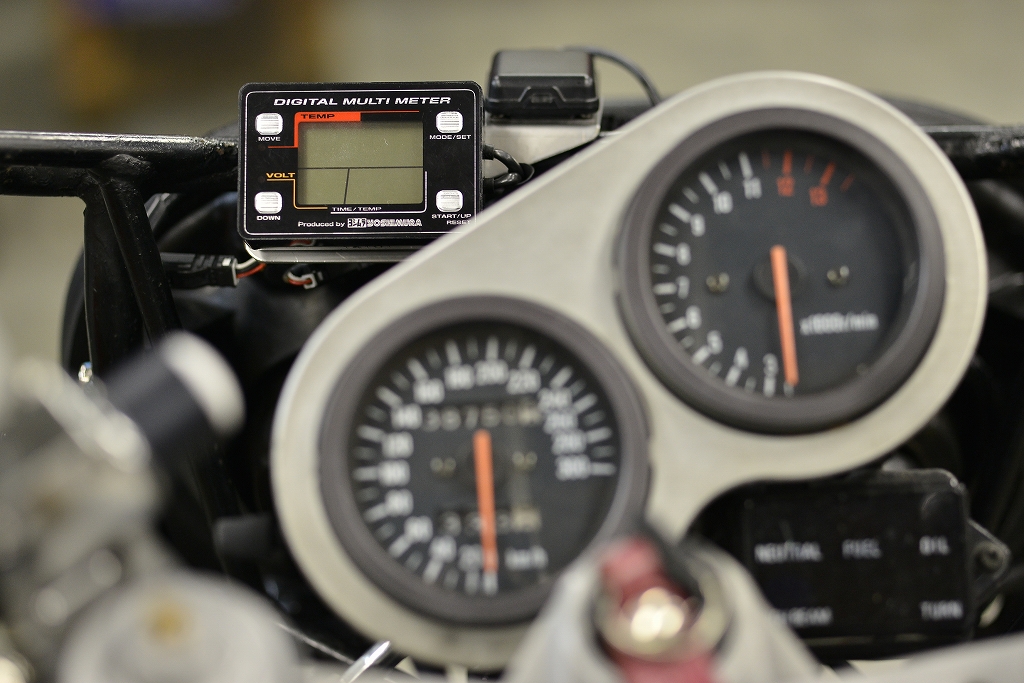
After making the digital tachometer bracket, I also added an ETC antenna. It’s easy to see, simple, and easy to remove or adjust the angle.
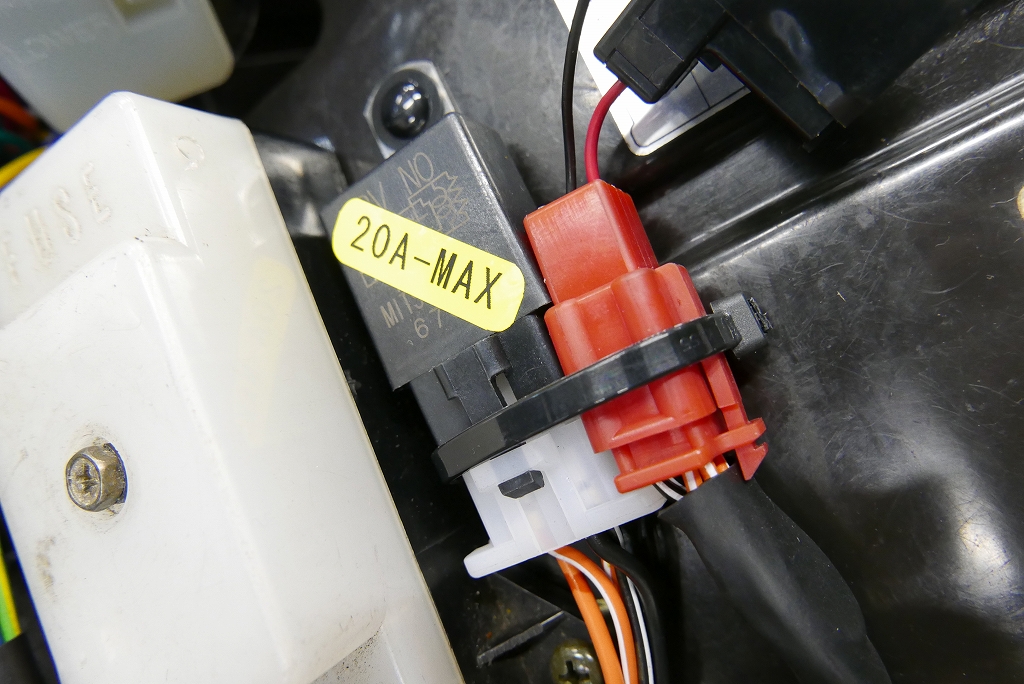
Since it’s a stock harness replacement, there’s nothing special about it and not much to photograph…
When running optional power, I now use a relay. That’s because I don’t want to modify the new harness itself. I think a domestic relay is safer.
It’s a Mitsuba, by the way.
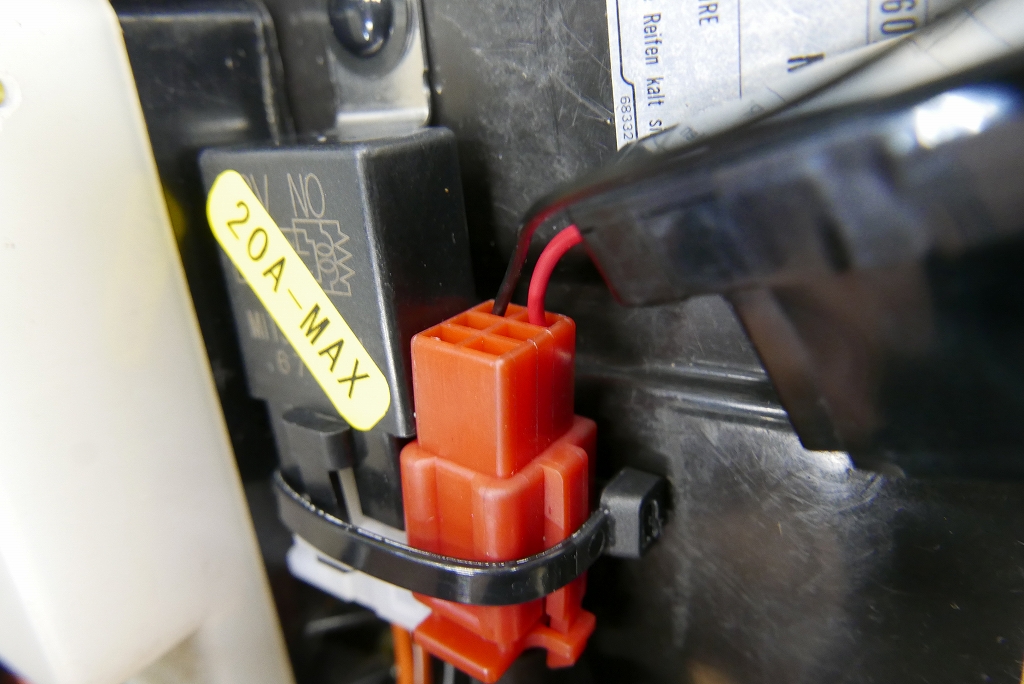
I want to run power and ground in parallel, so I made a three-pin connector.
The other two are yours to use as you like.
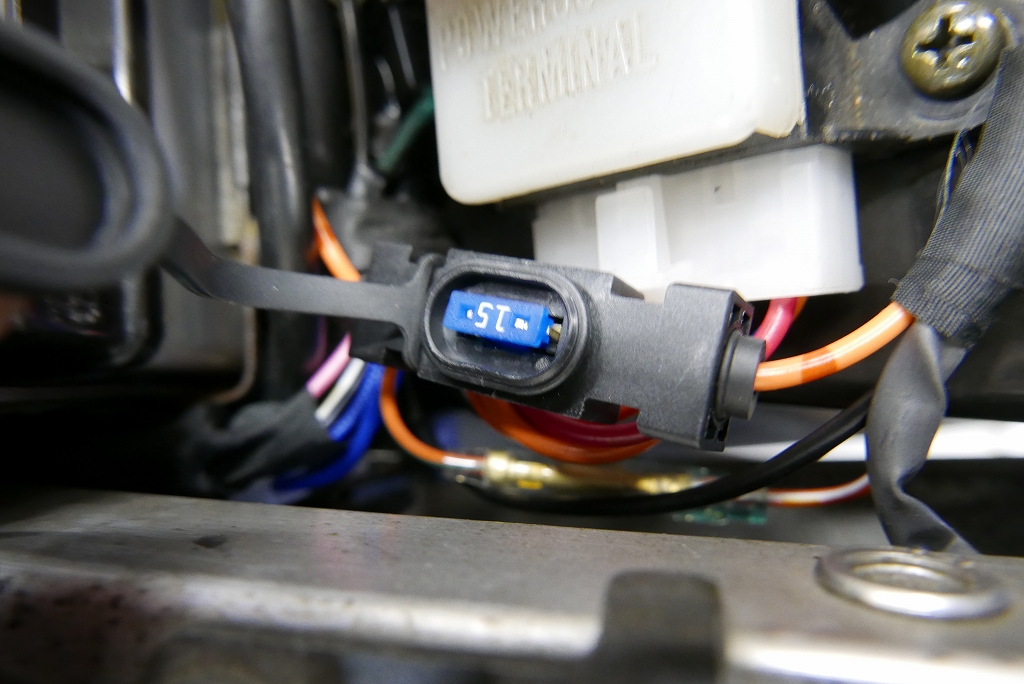
To be safe, I went with a 15A fuse. It’s a low-profile micro with waterproofing.
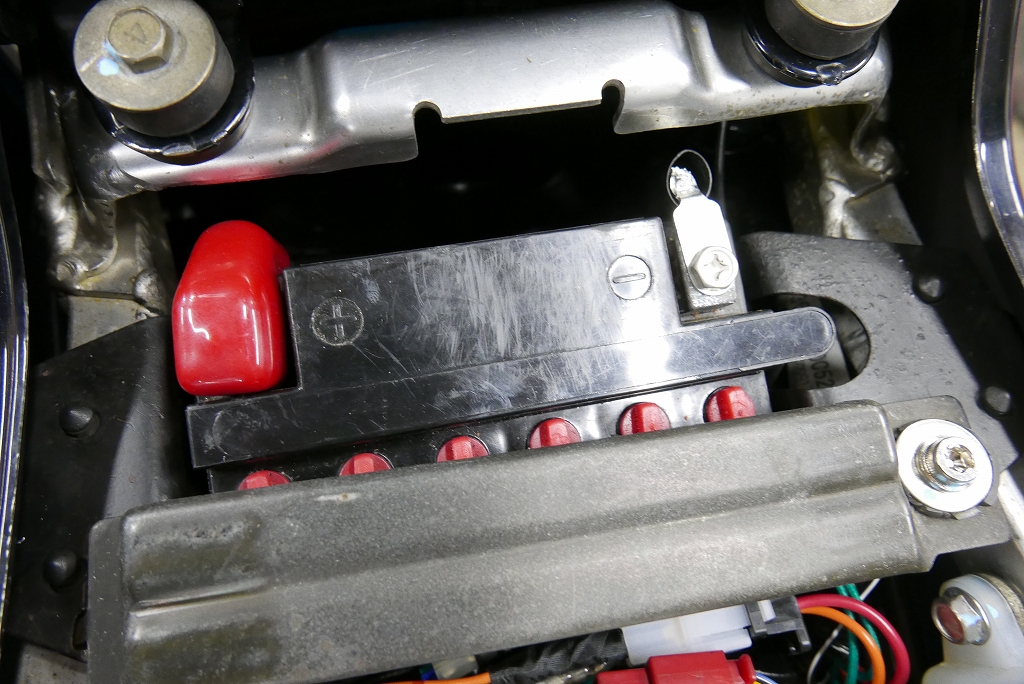
Please try not to share-crimp anything to the battery terminals if you can help it.
A charger is unavoidable, though.
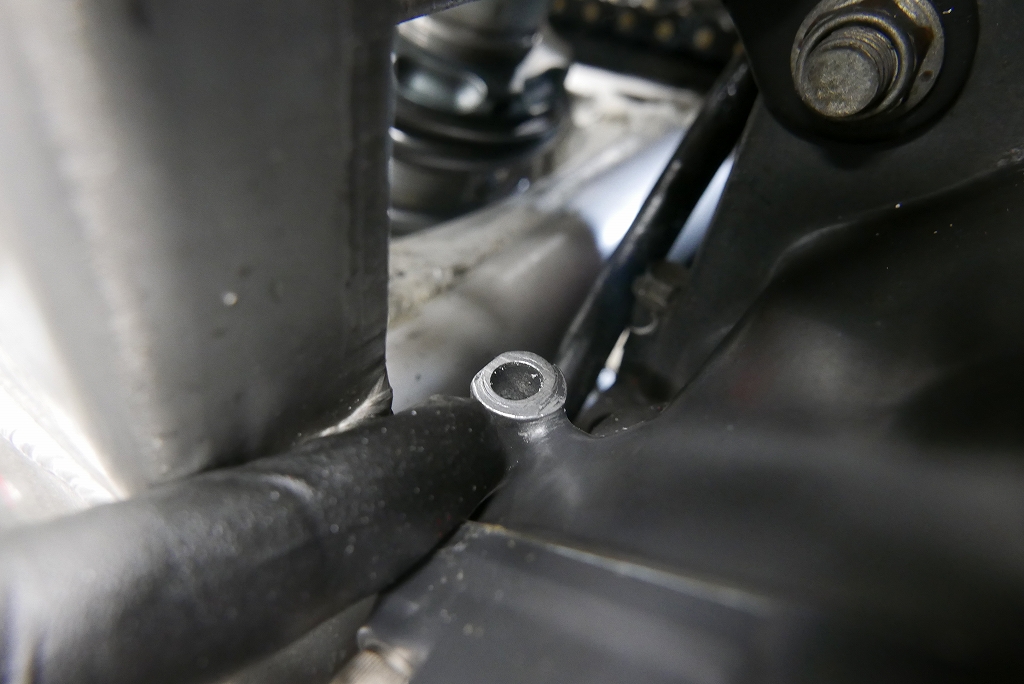
The topic jumps here. I don’t think the main ground needs to be at the stock location at all.
As long as it’s somewhere easy to manage and won’t cause problems, it’s fine. Scraping off the paint before mounting might help a little.
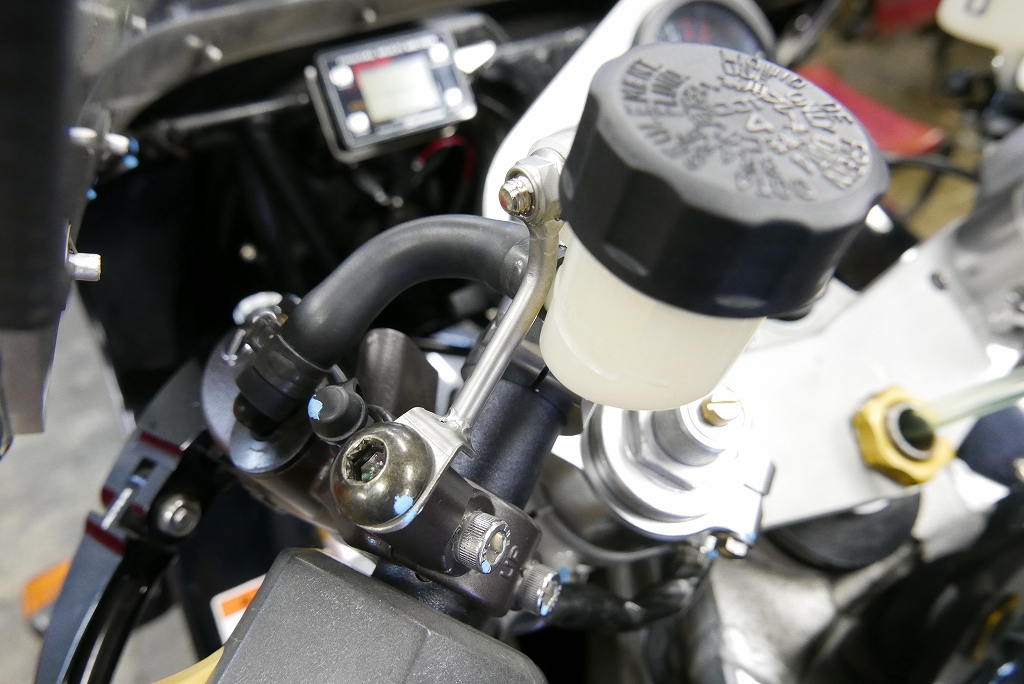
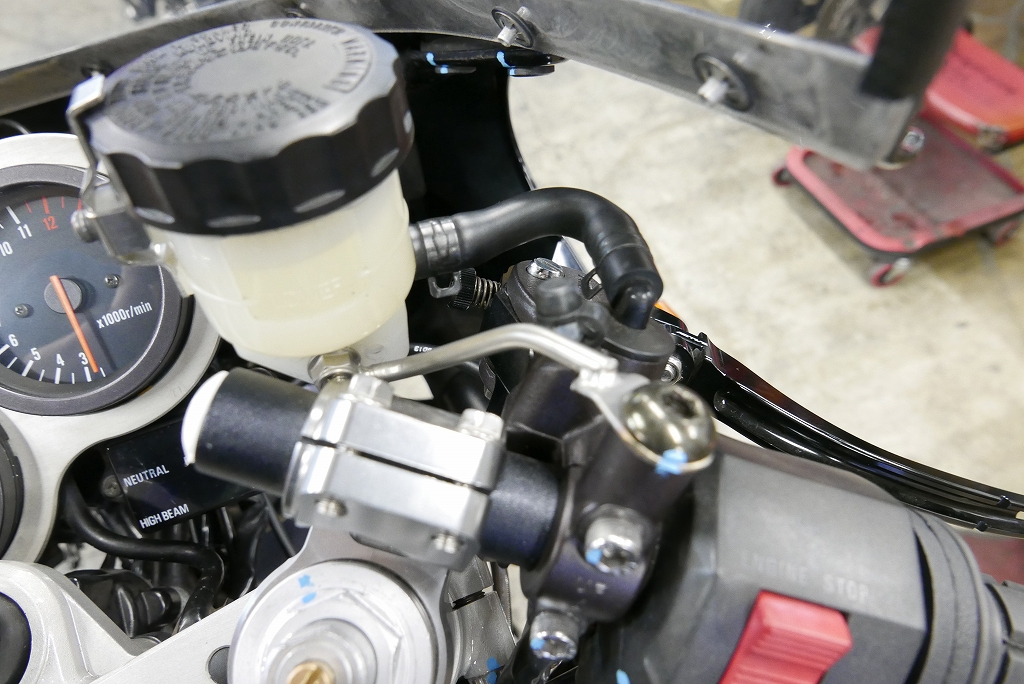
After that, I made the master bracket as a service item, changed the engine oil and filter, and we’re done!
Sorry for the wait.