Let’s continue with the main harness and some minor modifications.
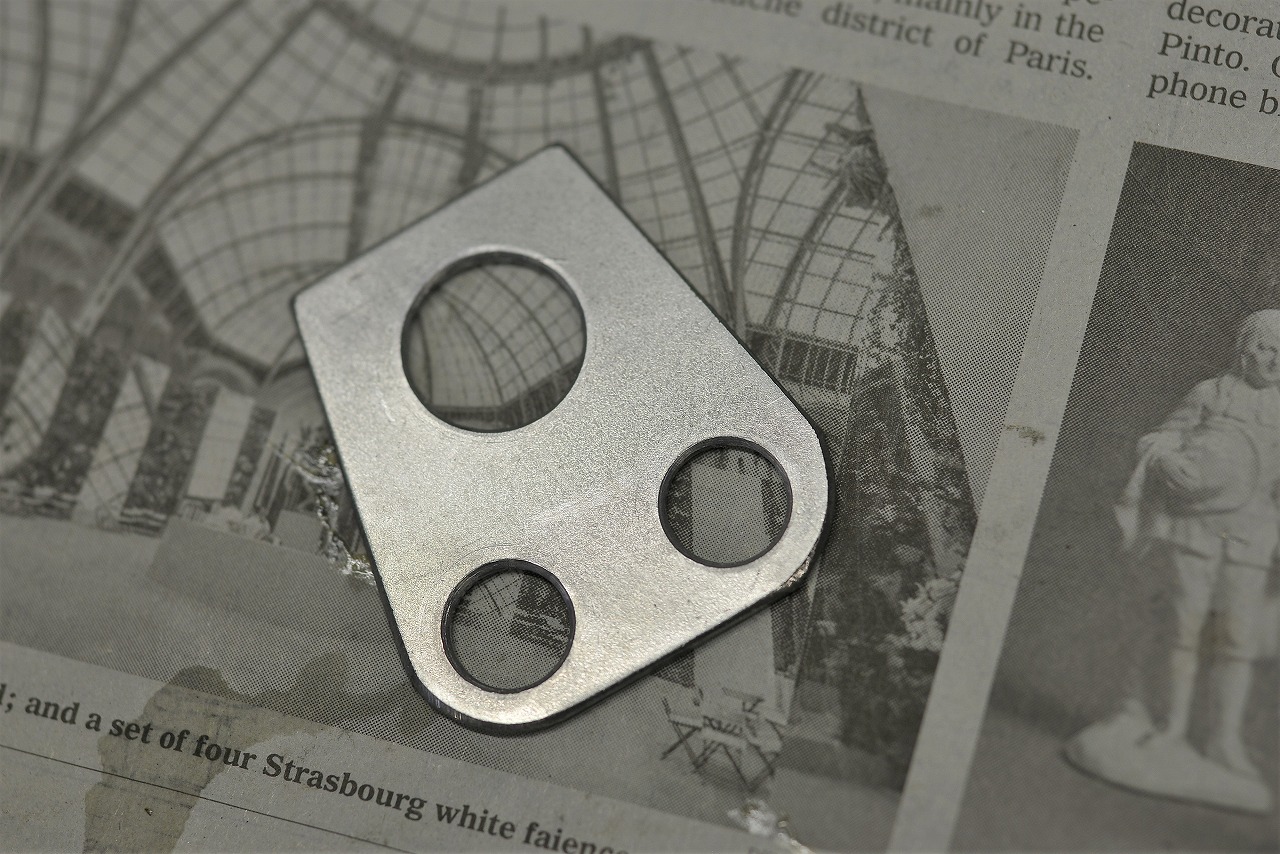
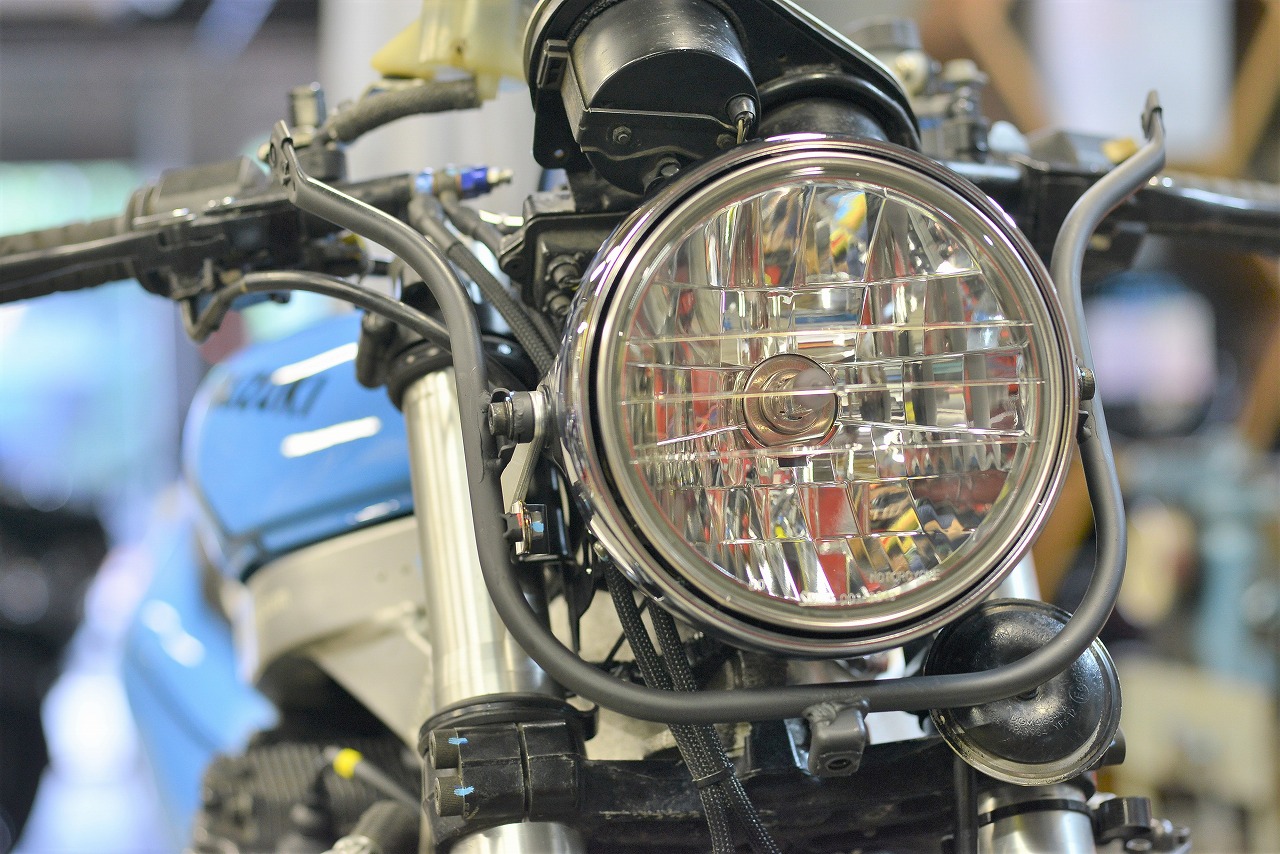
The horn doesn’t have a place to go, so we’re relocating it. We’ll proceed in the least complicated direction possible. Plan A+B. First, we’ll cut out B.
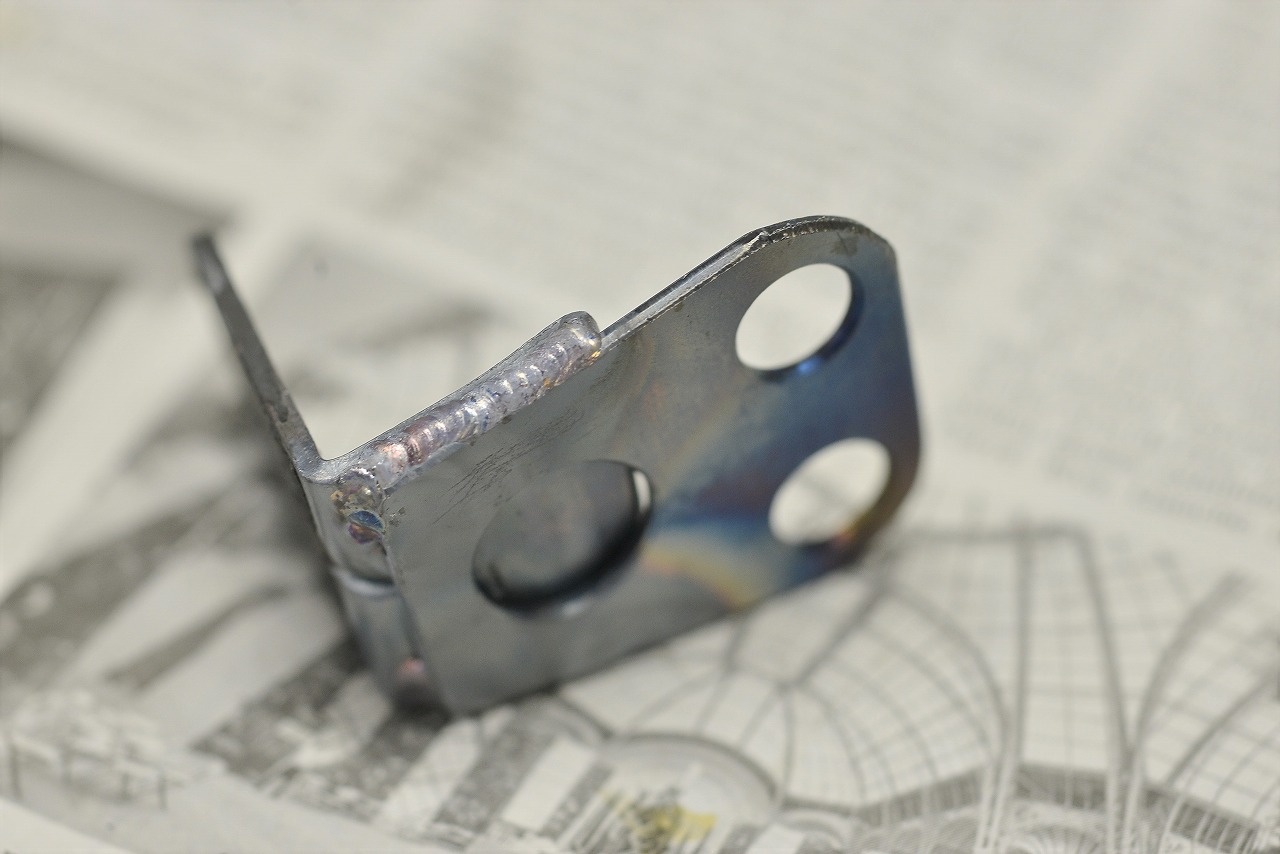
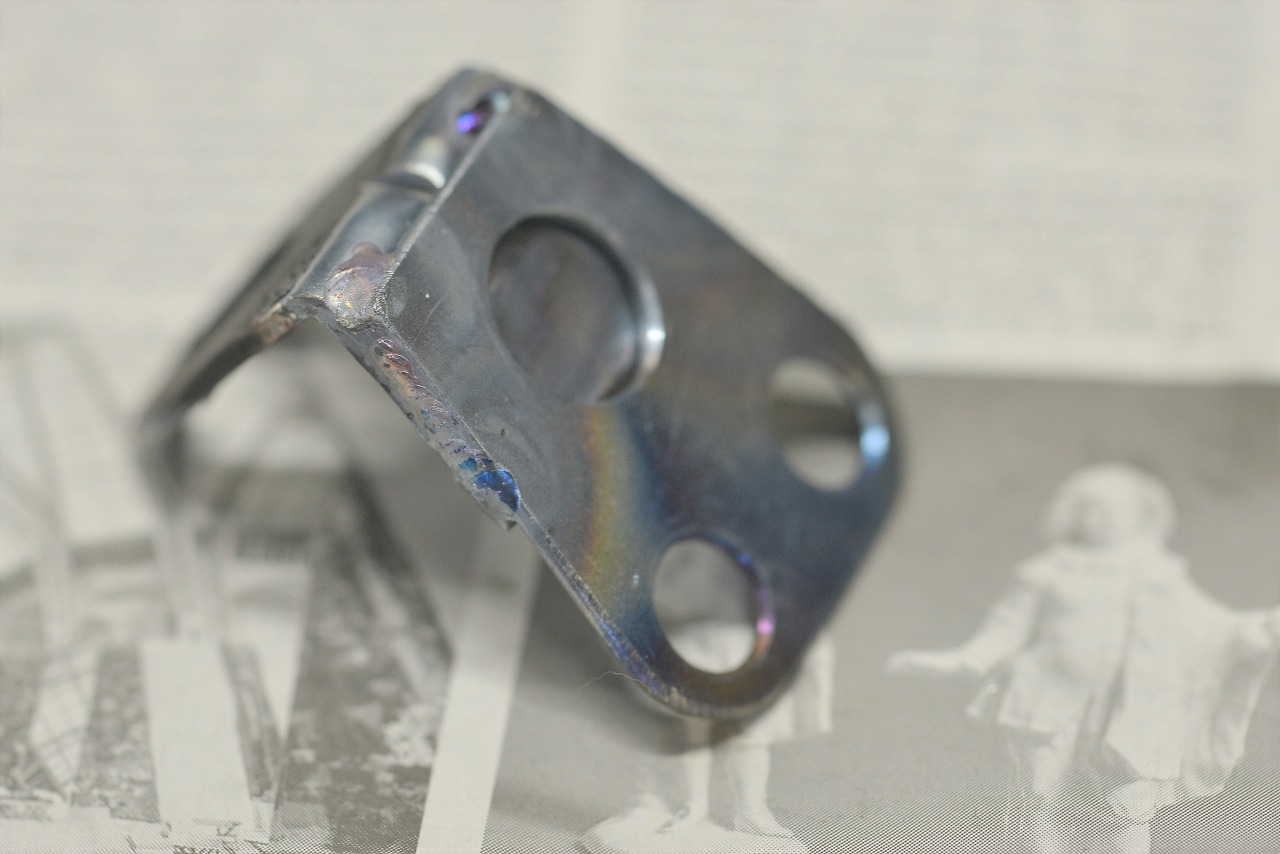
Now we combine it with A. A is the original horn bracket. It’s a bit hard to see, but the horn bracket is bent 90 degrees and ribbed, so it’s reassuringly strong.
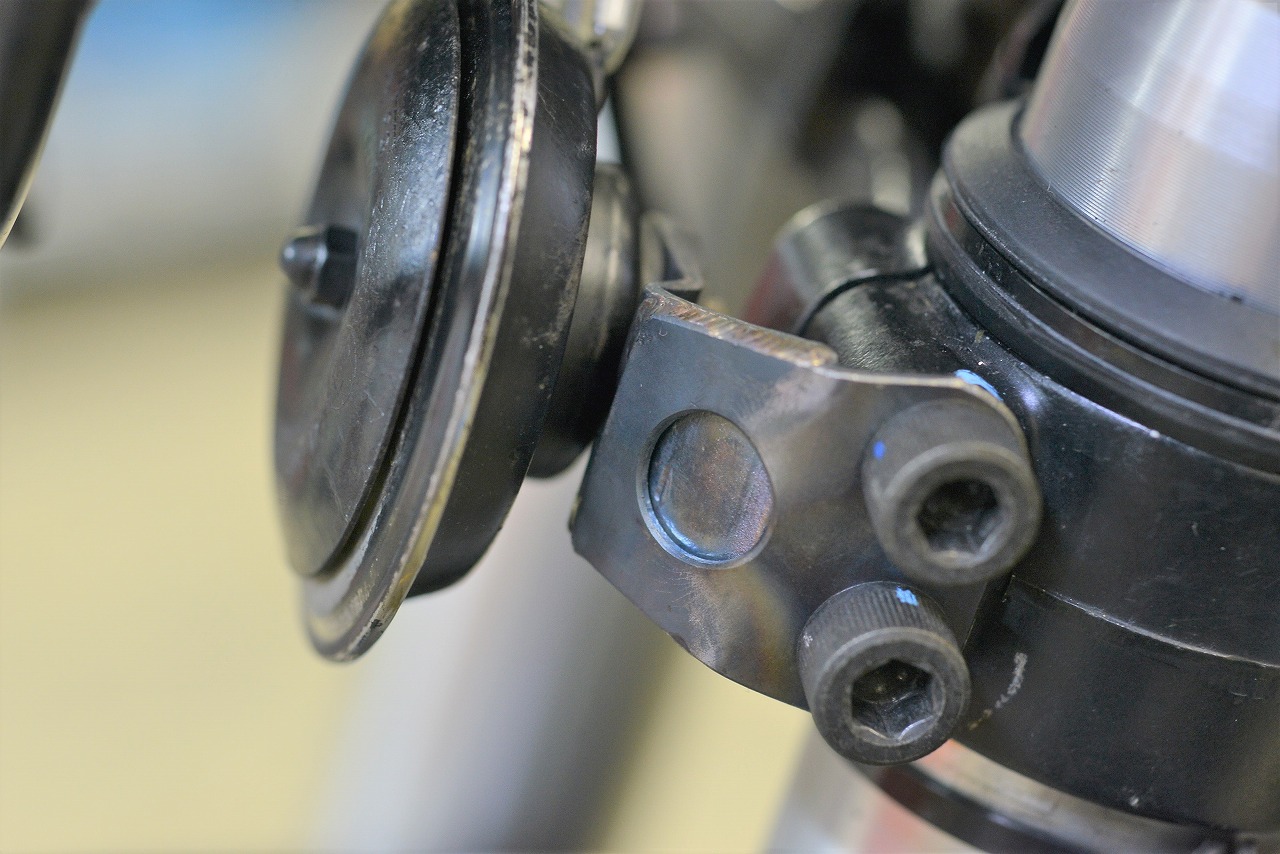
There we have it. The cover hole looks kind of stylish, doesn’t it?
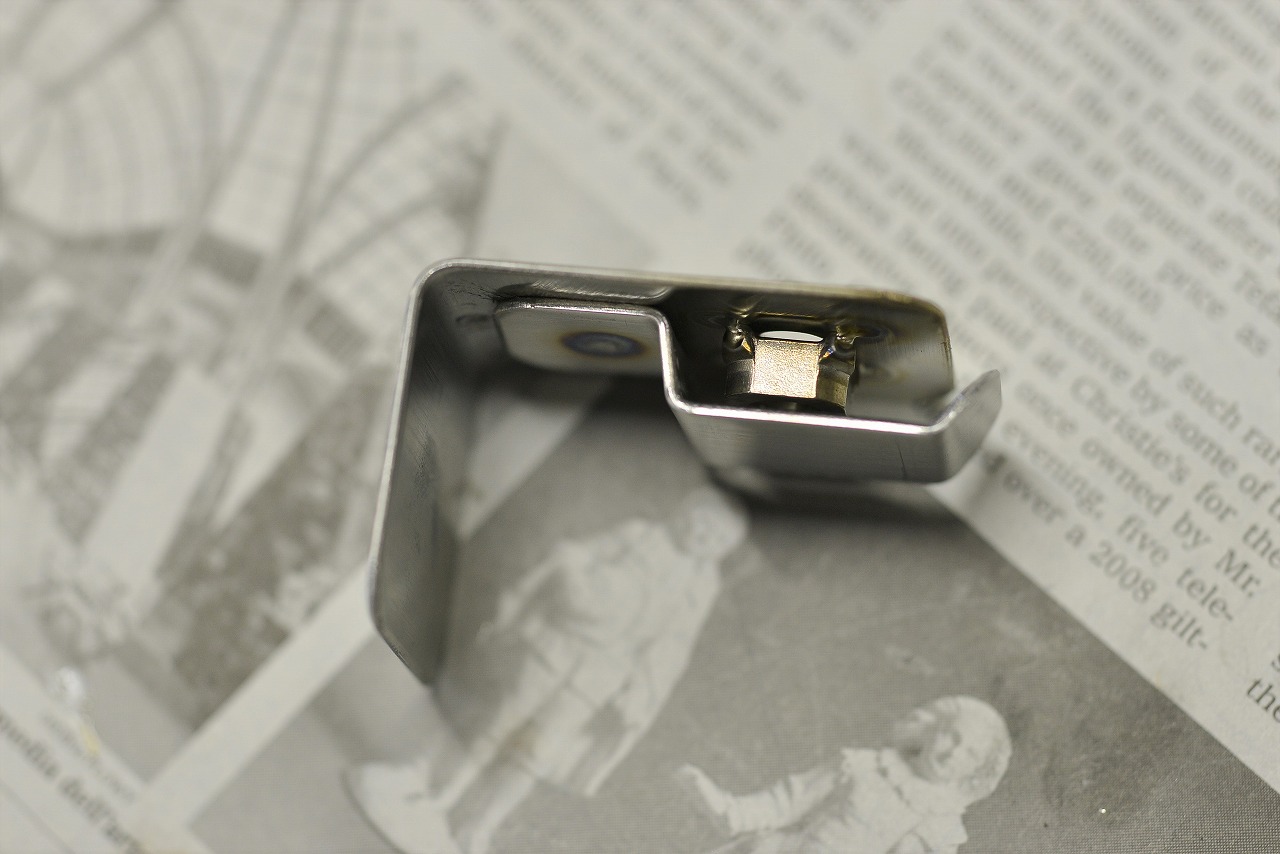
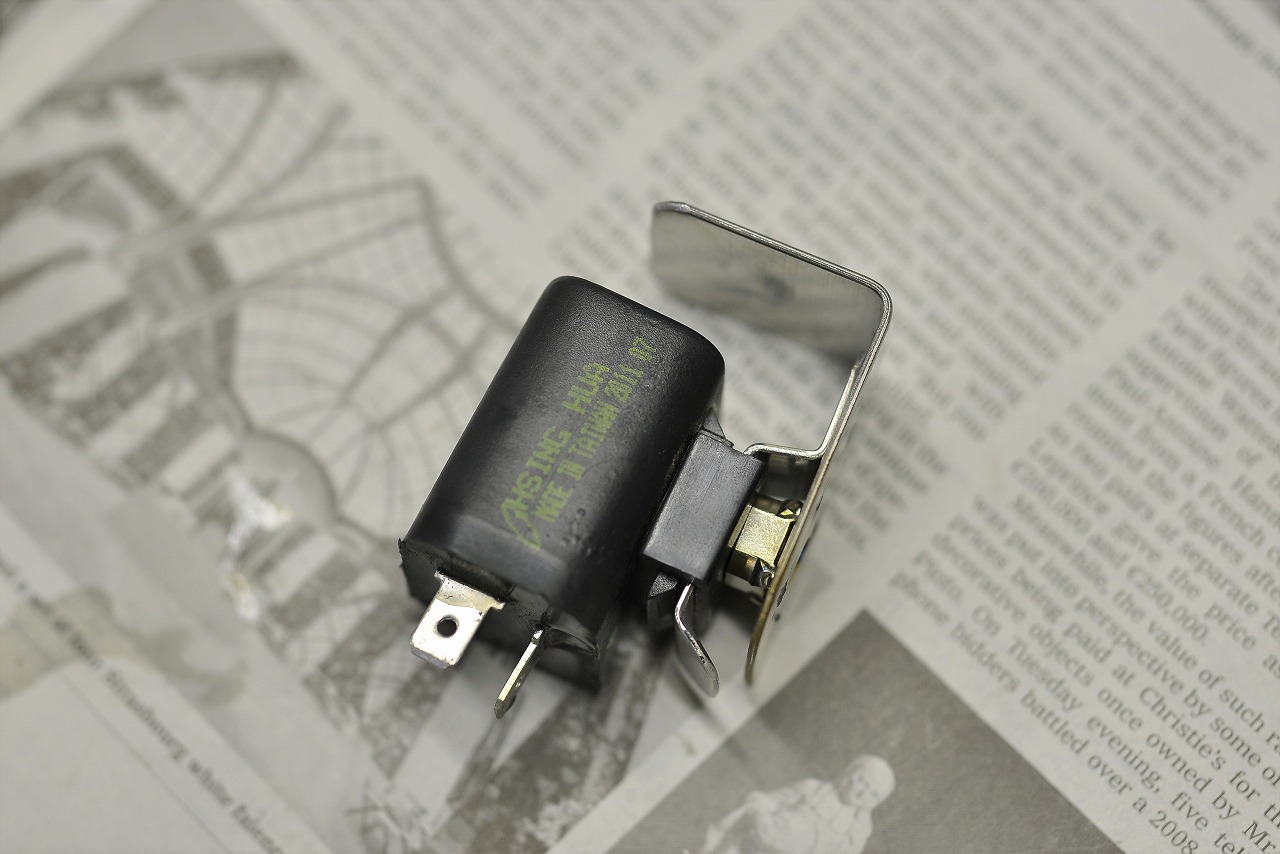
We’re using a GSX-R1100K/L harness this time, so the electrical components are around the cowl area. It’s now naked, which creates a placement problem—cable tie fixing is disappointing.
We went with a mixed strategy using the ETC antenna and turn signal relay bracket.
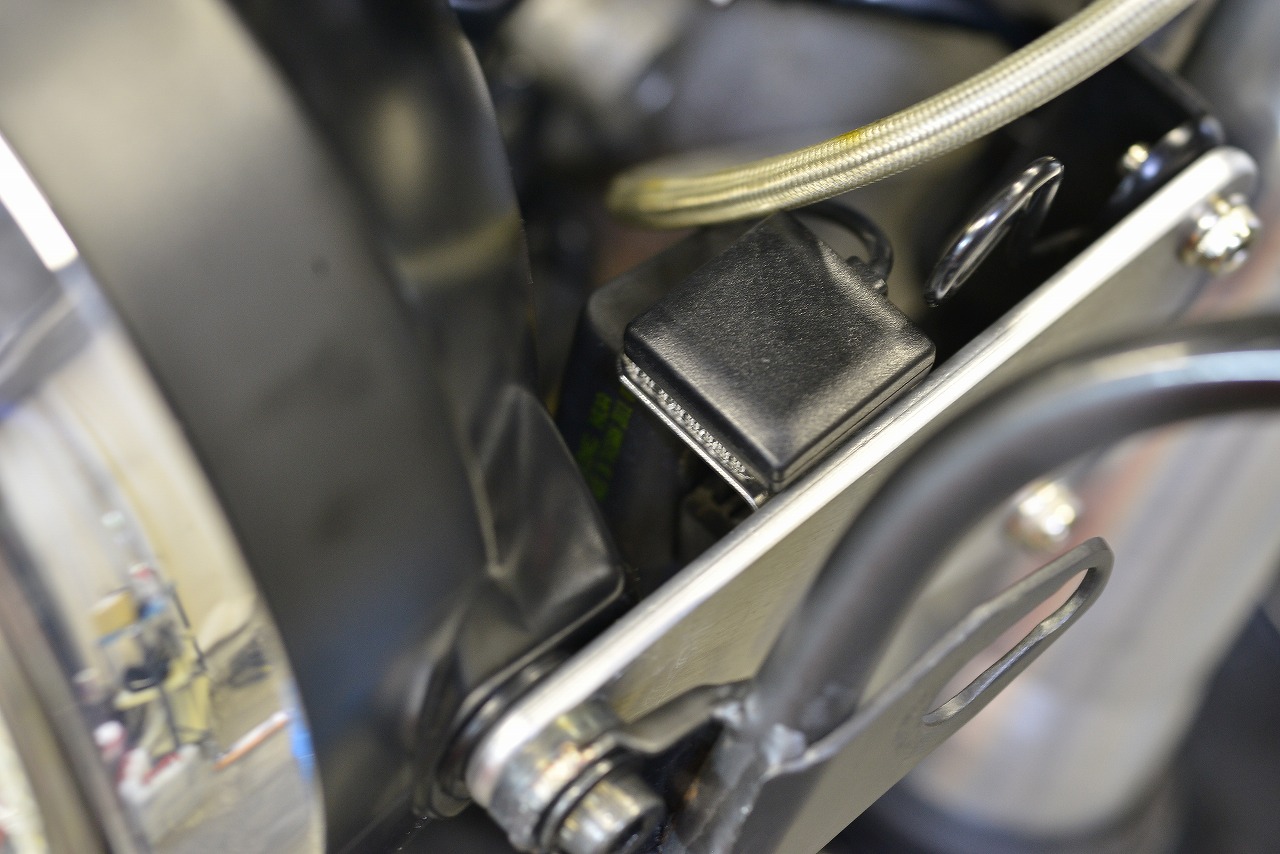
And that’s how it turned out.
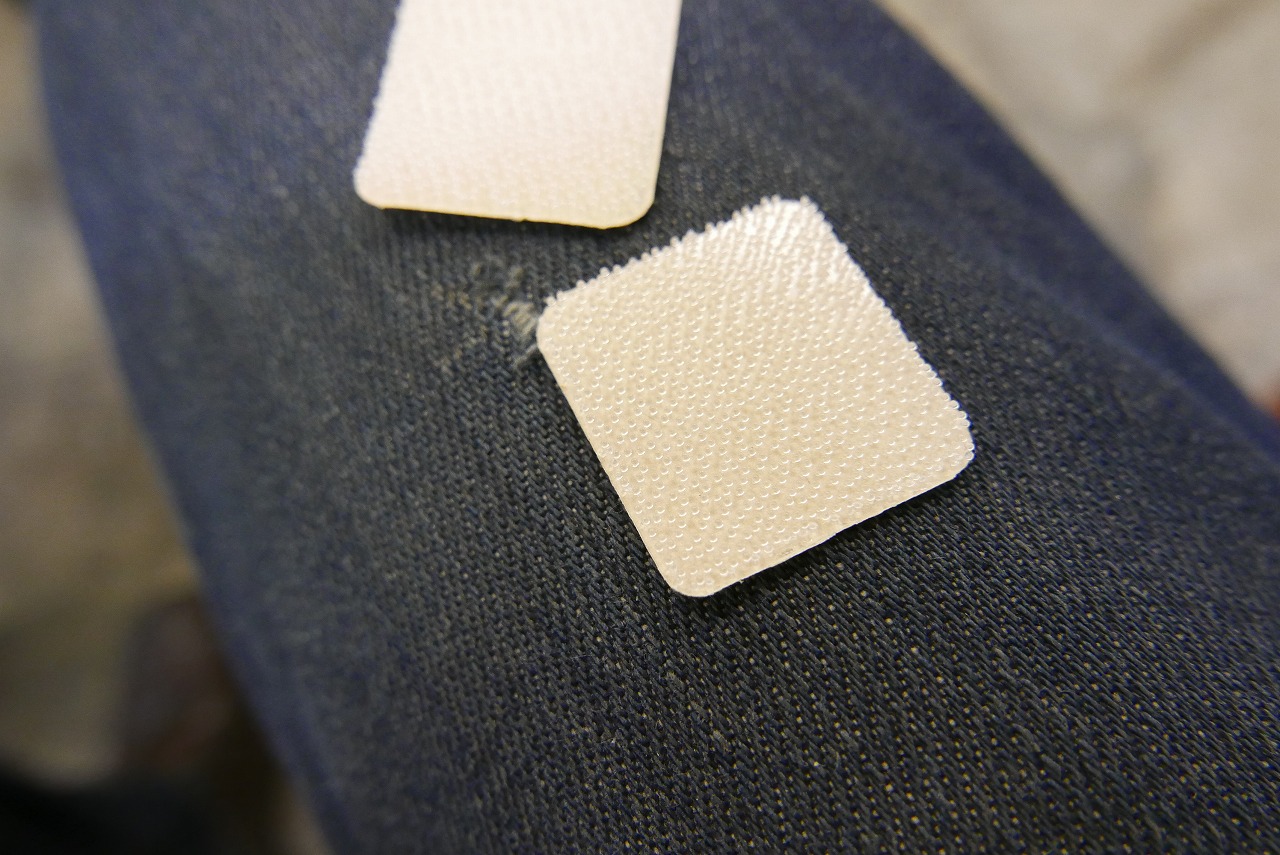
A handy gadget we’ve been recommending lately: SJ4570.
• The adhesion is just right—not too strong
• Works for both male and female sides
• Mating thickness is an amazing 2 mm
• Clear design makes removal easy
The standard Dual Lock is being discontinued—stock is limited.
If you round the corners on everything you’re going to stick down, it’s less likely to peel off and looks better too.
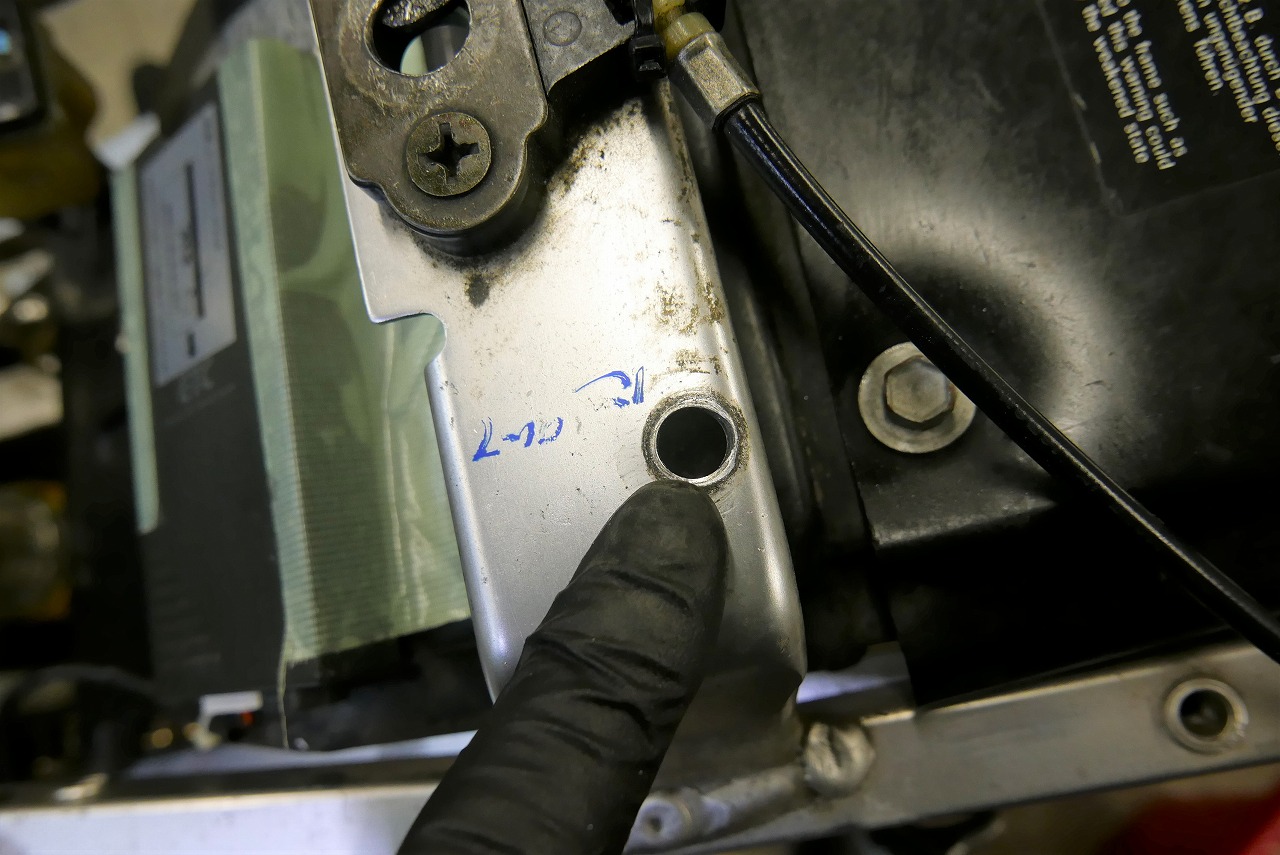
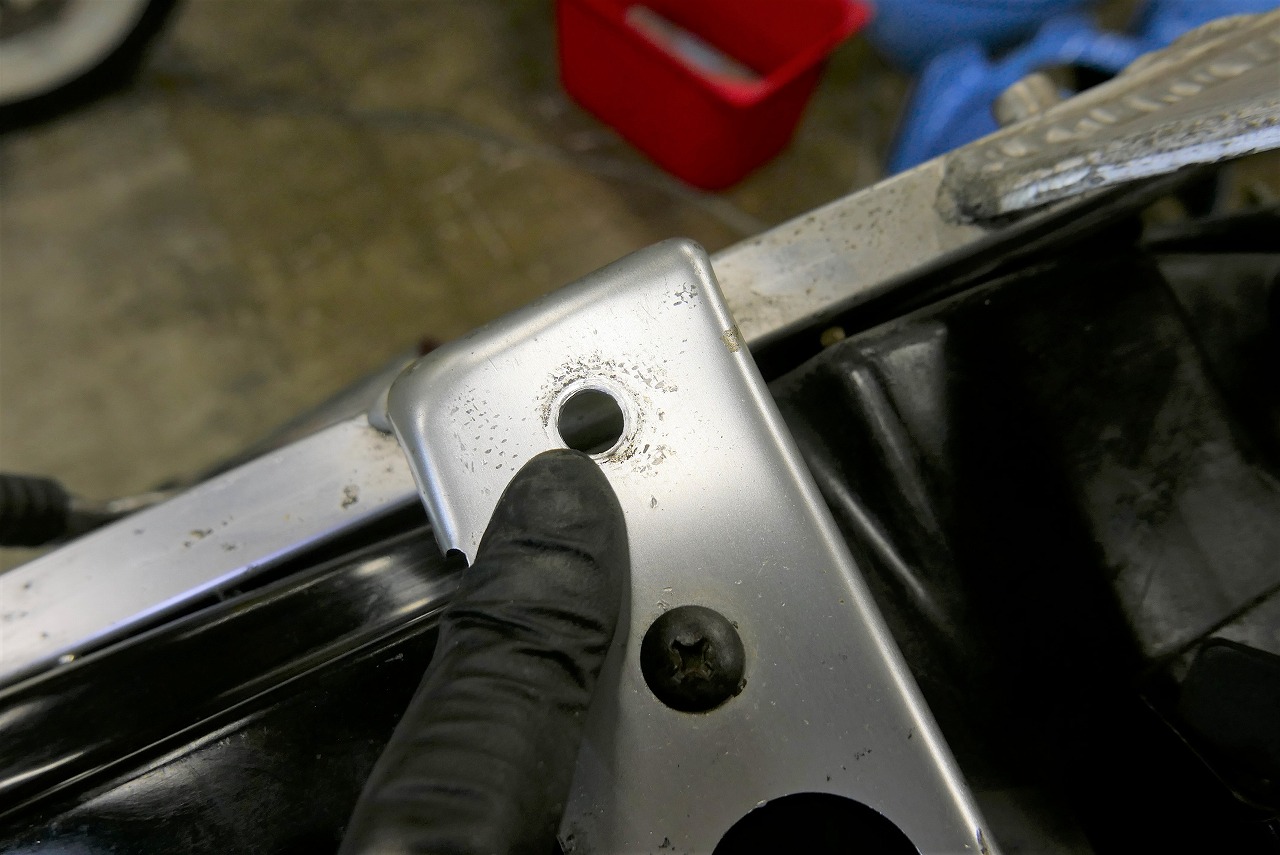
We replaced all the bad pop rivets.