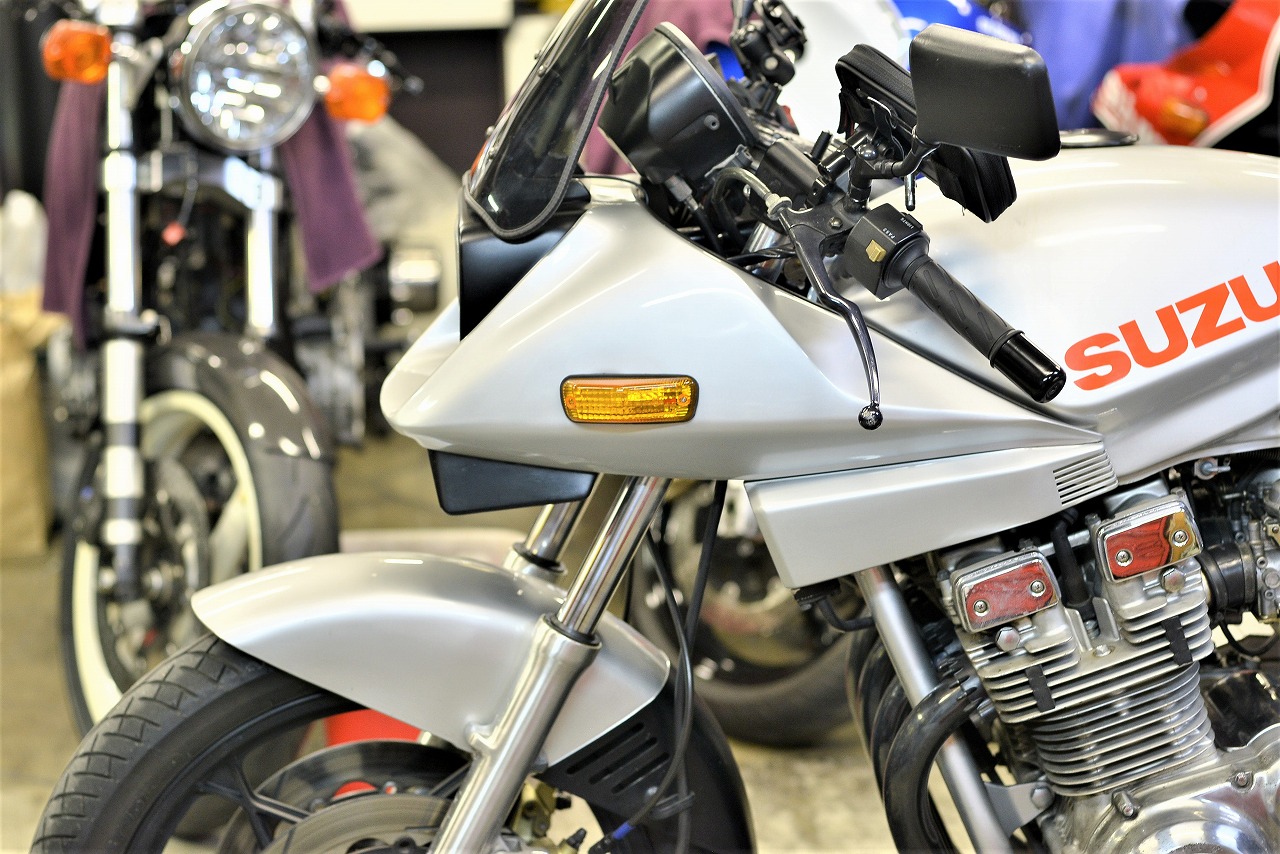
The GSX1100SR domestic release was decided, and the Anniversary model prices plummeted.
Interestingly, there’s a strange sense of security when a bike is sold as new.
People are fascinating, aren’t they? Deco-mainte to the rescue.
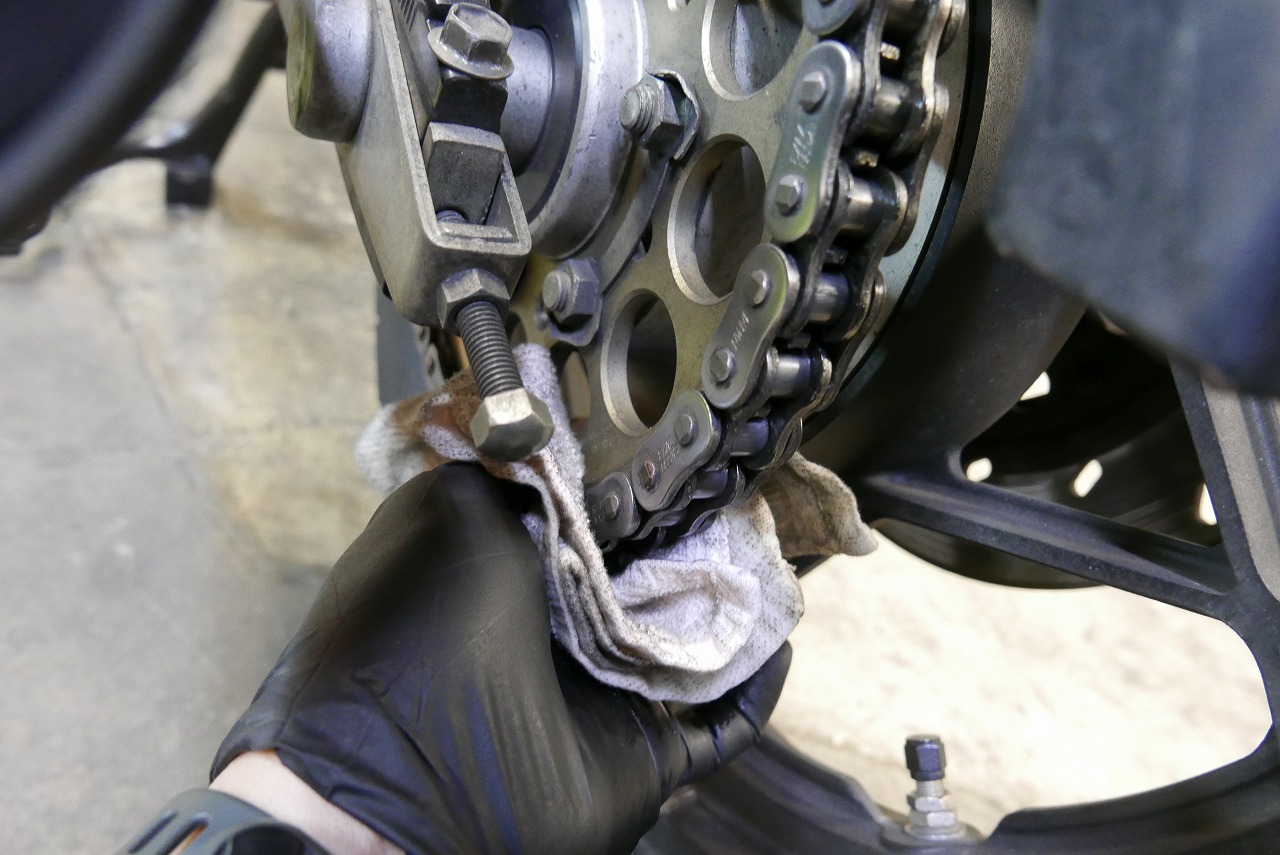
We start by cleaning and lubricating the chain.
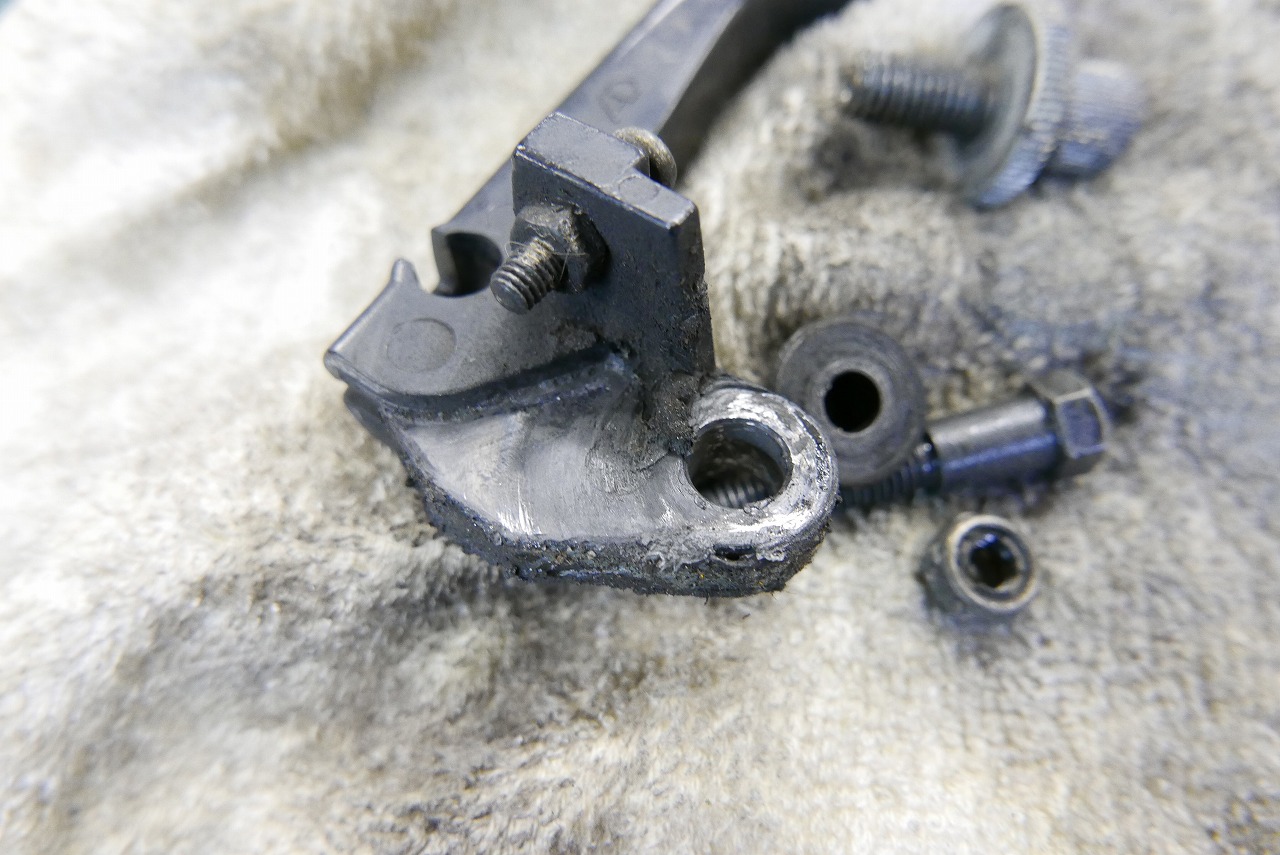
Clutch lever cleaning and lubrication. Over time, the grease gets stiff. Clean it and replace it for a pleasant feel when operating.
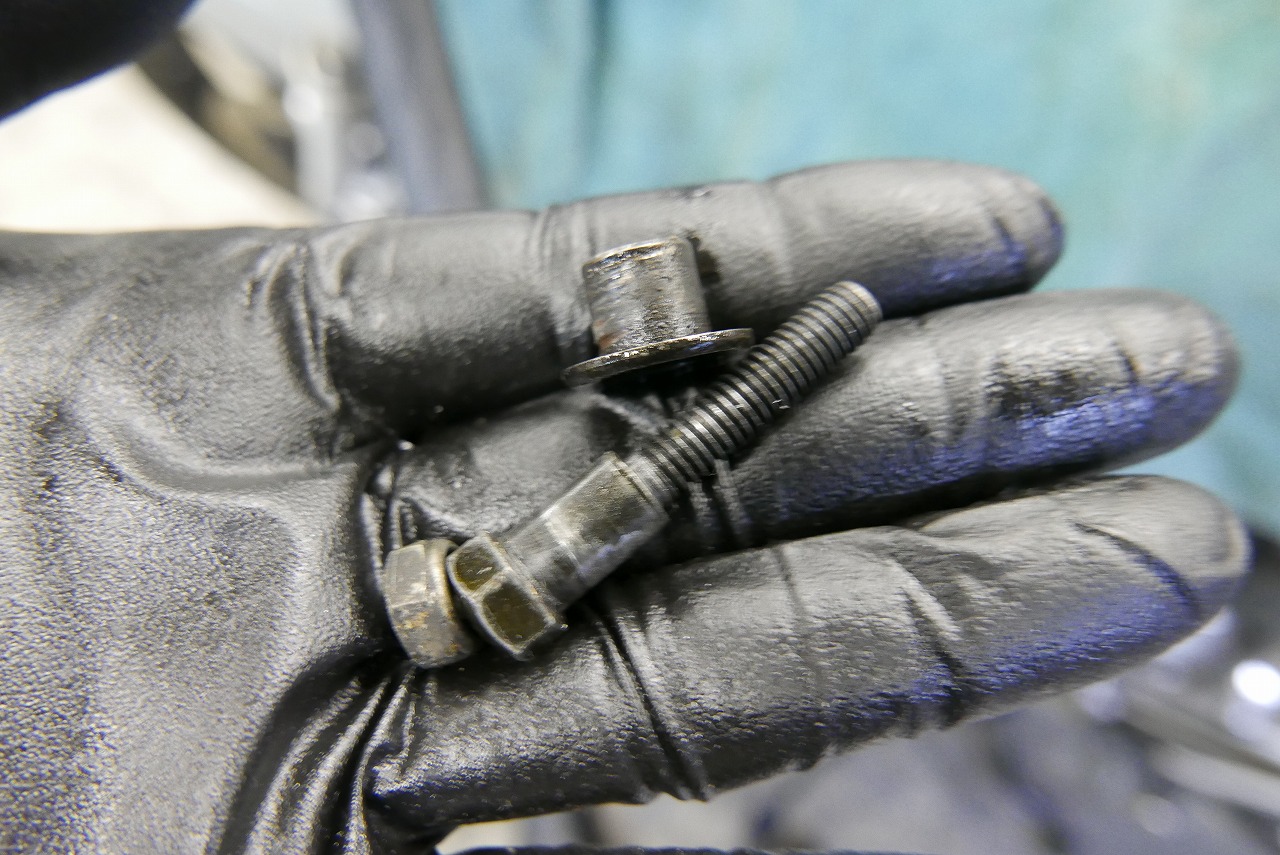
The return spring appears to be removed, but the retainer collar and long bolt seem wasteful. We removed the collar and cut the bolt with a press. Maybe we saved a few grams and reduced component count for a slight efficiency boost.
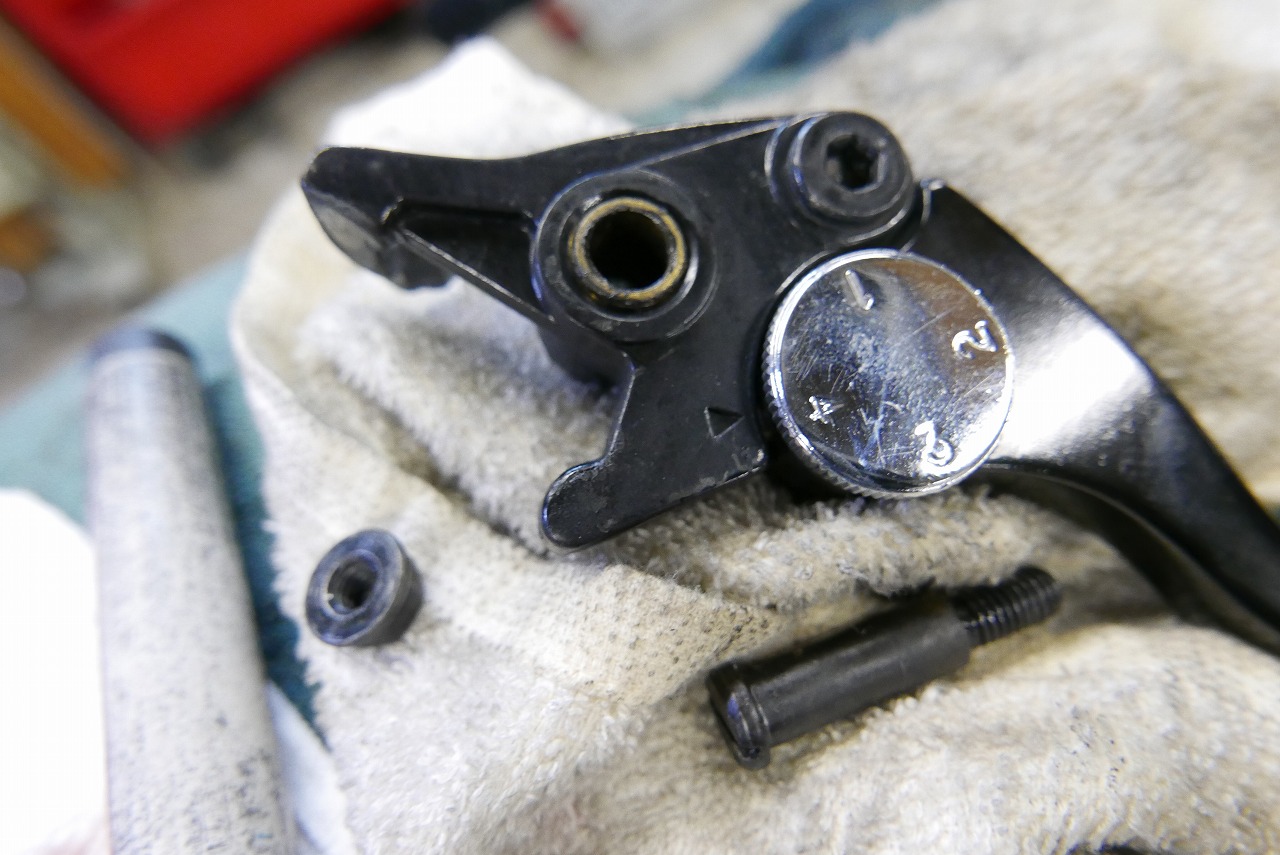
The brake lever side was clean.
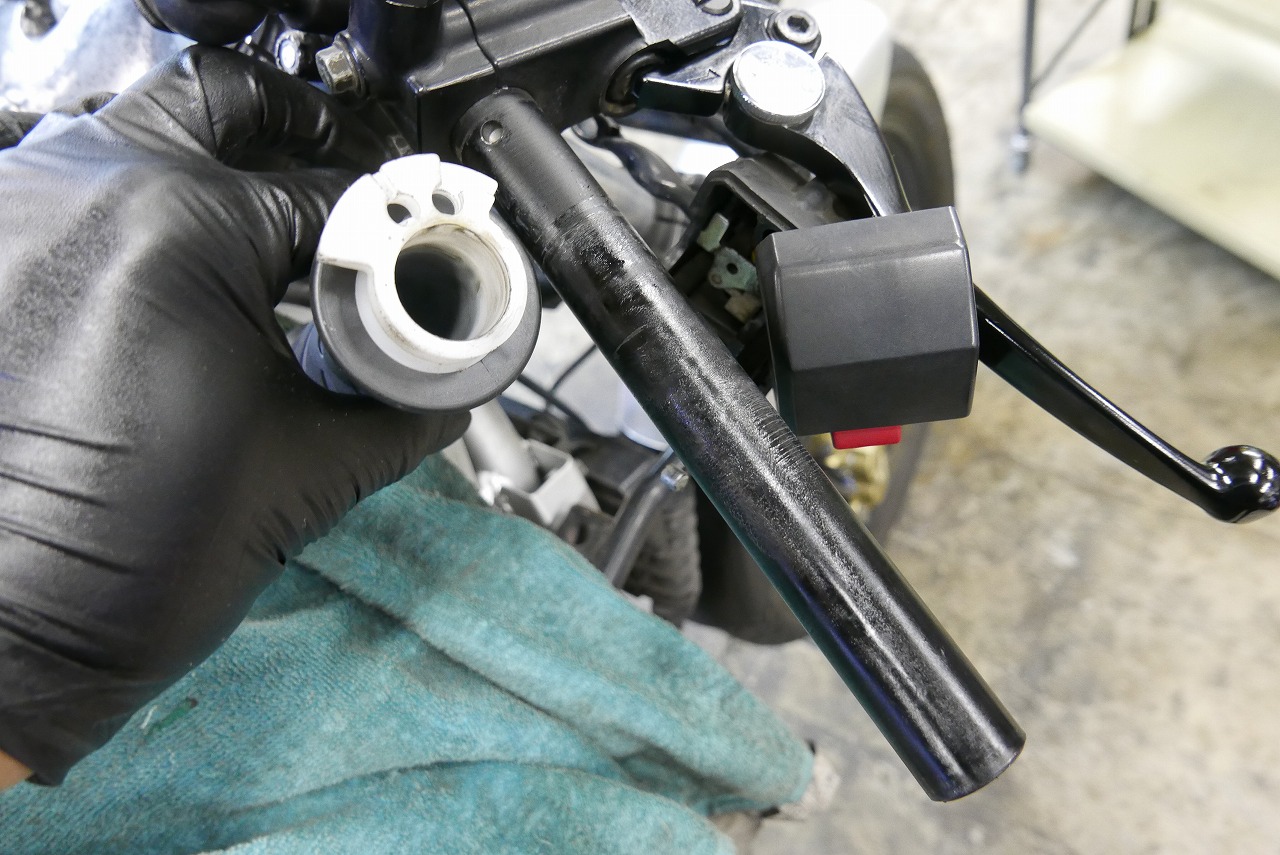
The throttle is clean too, so that’s reassuring.
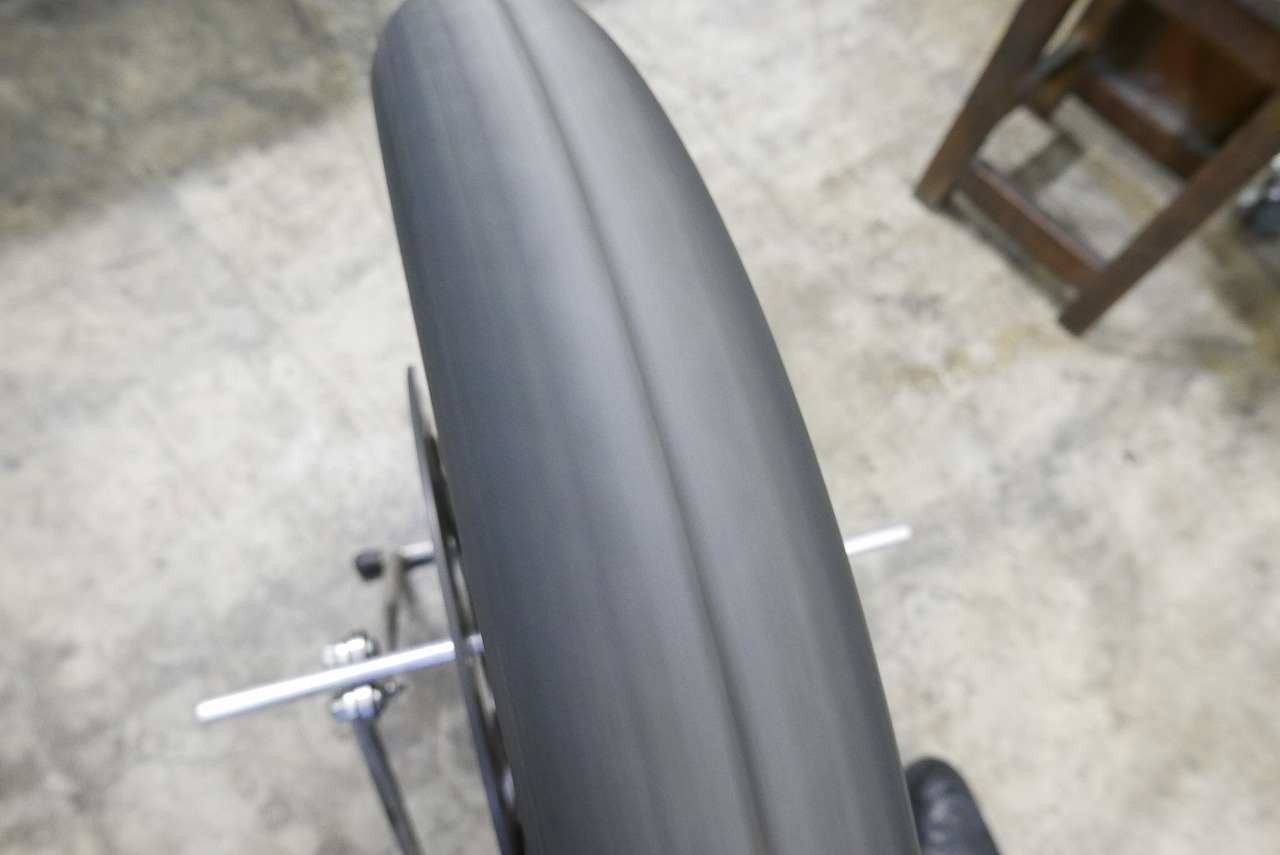
The front tire has quite a bit of runout. We trimmed the rim and refilled the air to address it.
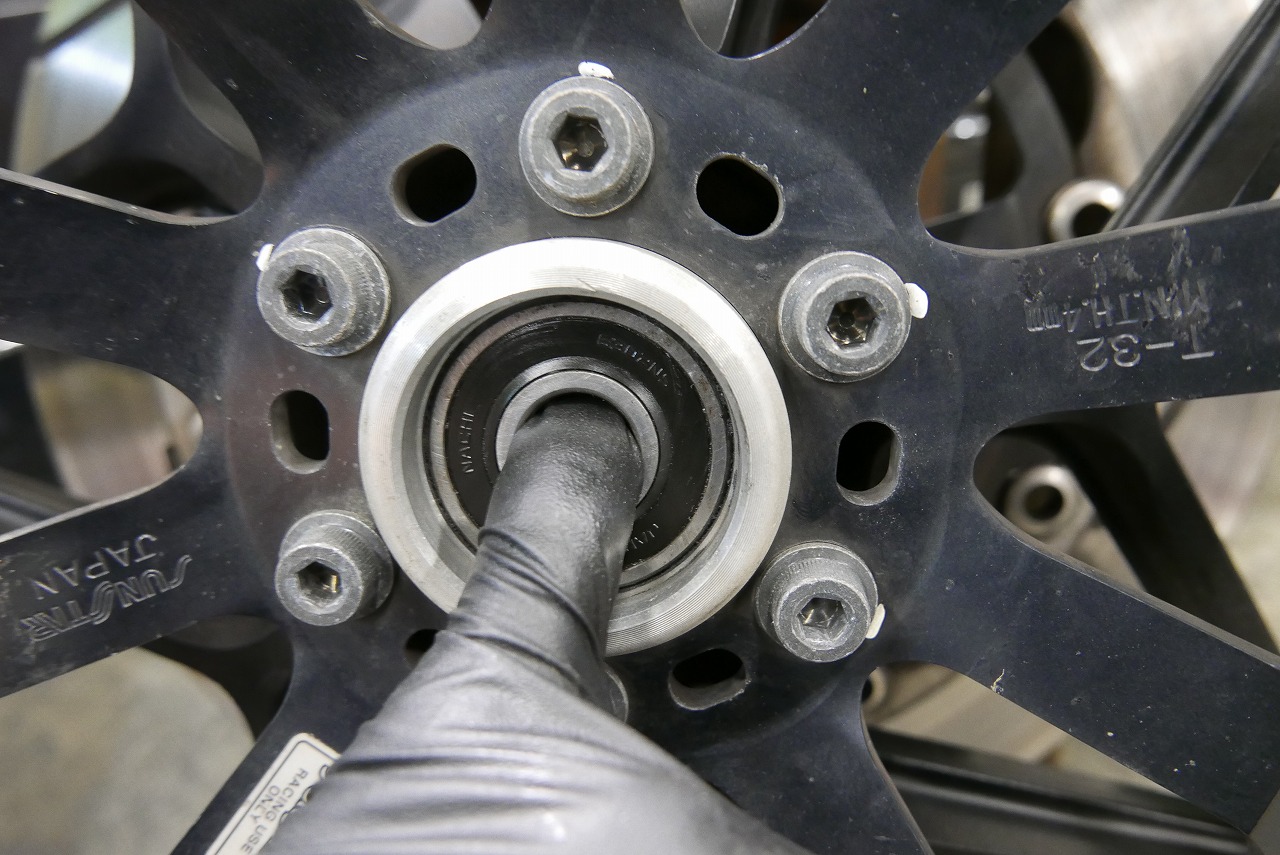
The wheel bearings should be fine.
They’re a critical part worth replacing around 20,000 to 30,000 kilometers.
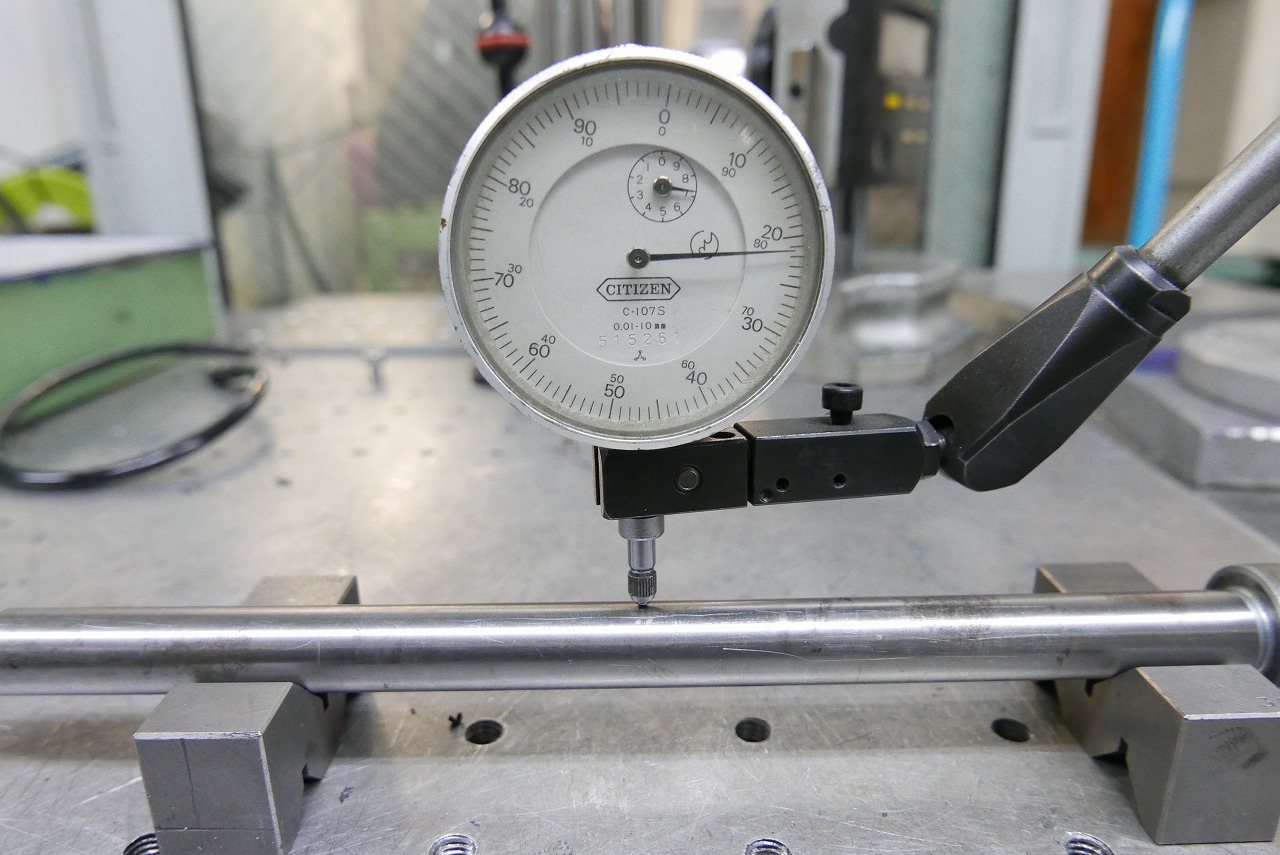
The axle shaft is also in good condition.
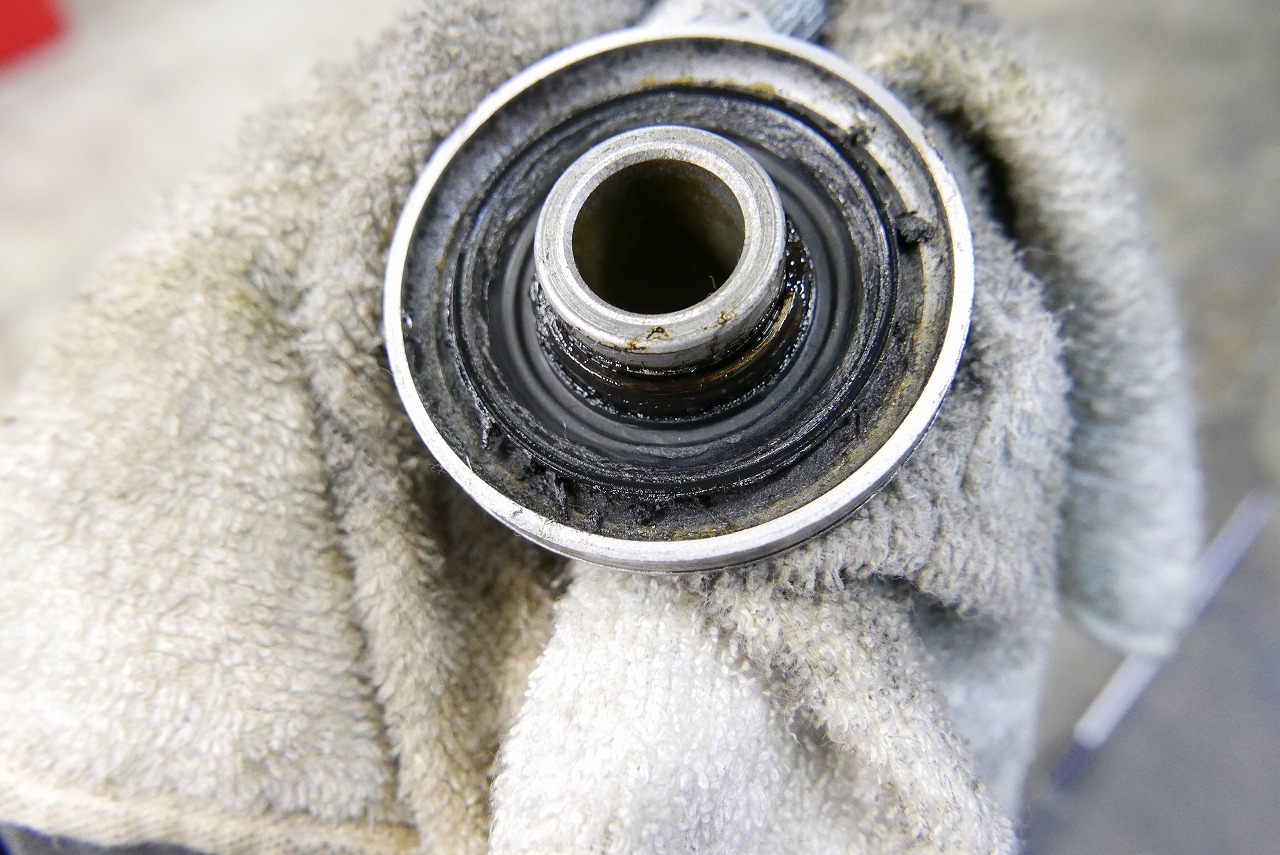
We disassembled the speedometer gear as far as it goes, then cleaned and lubricated it (light lubricant is fine).
Maybe the soul lives in the places you can’t see.
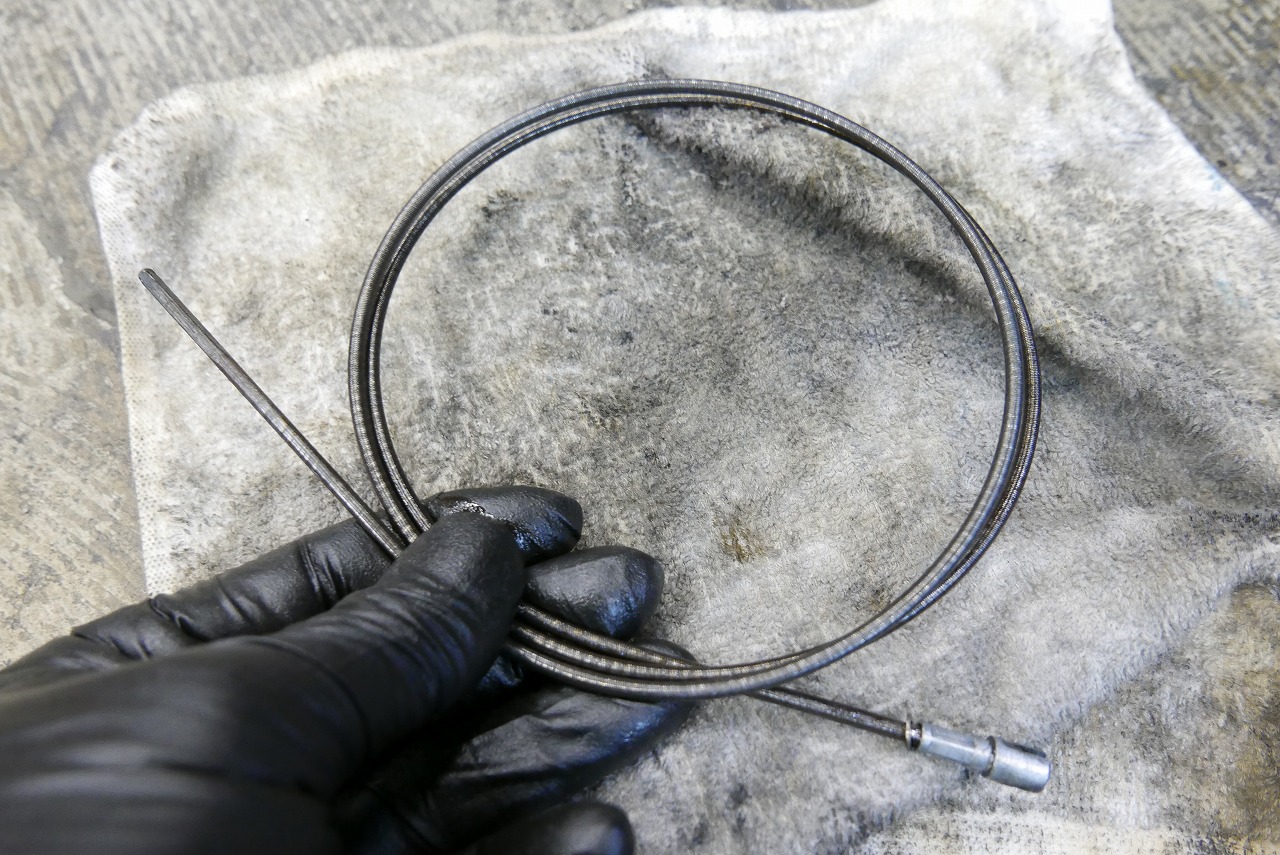
We also removed and lubricated the wire cables. It’s better if they don’t break, and if they work, you want to keep using them forever, right?
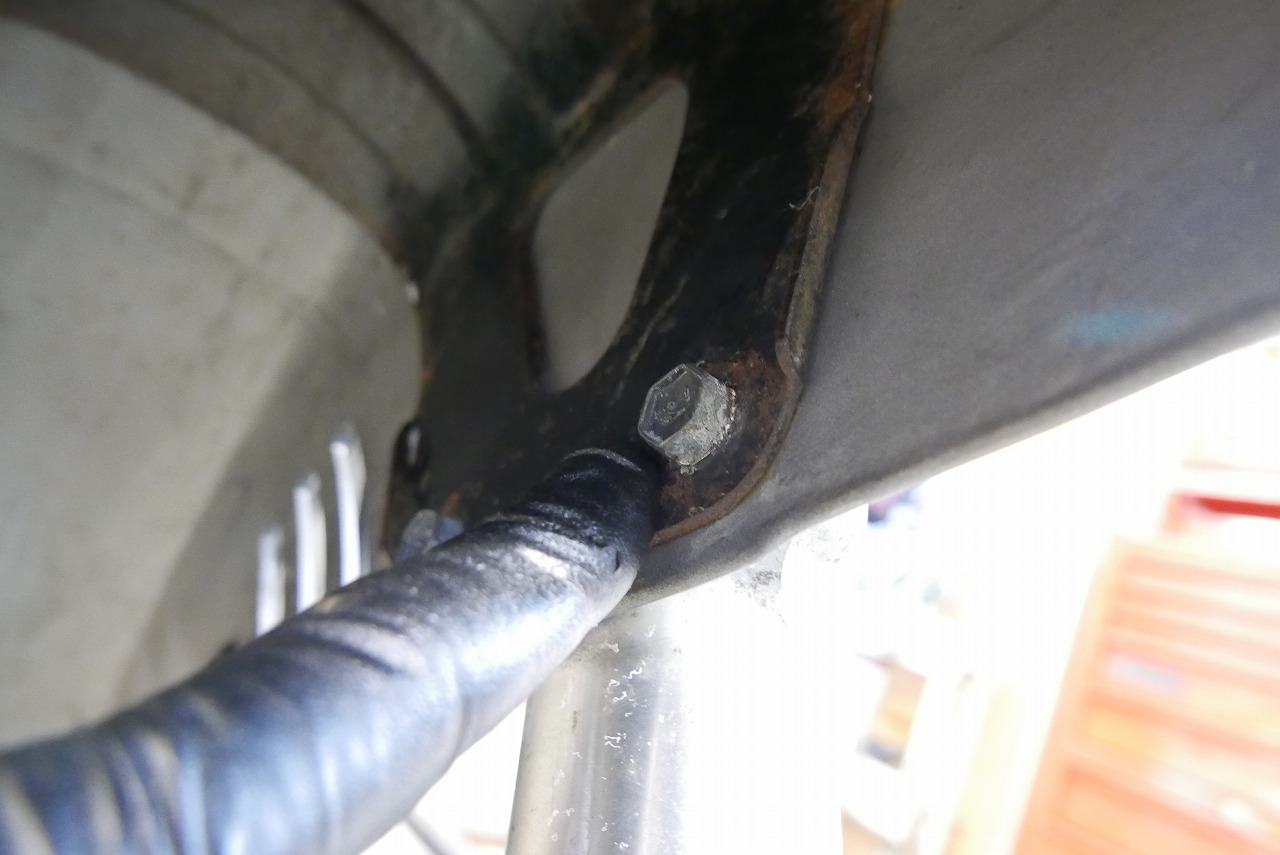
On bikes with thin axles and forks, it’s better to loosen the fender and tighten it after the seat settles properly.
Thin equals easy to twist, which can interfere with fork operation.
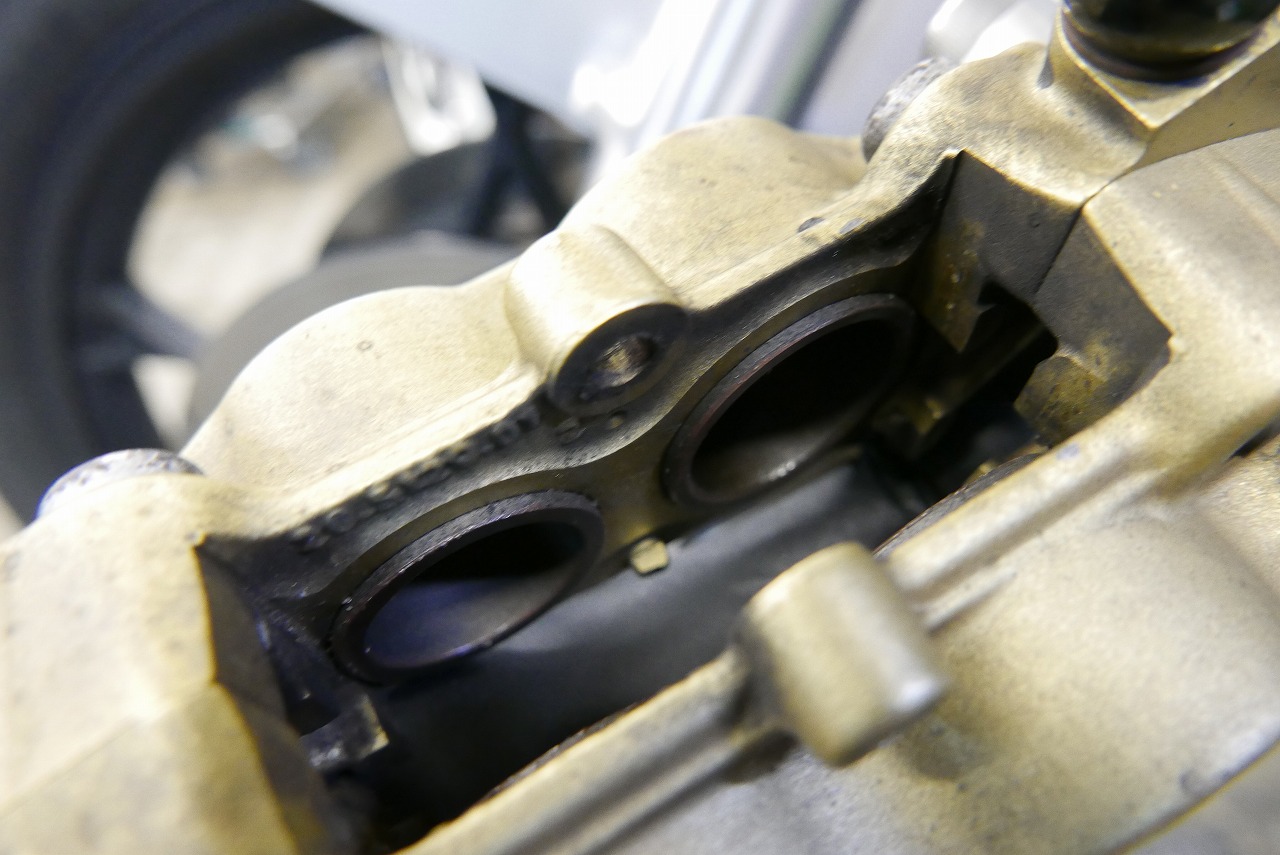
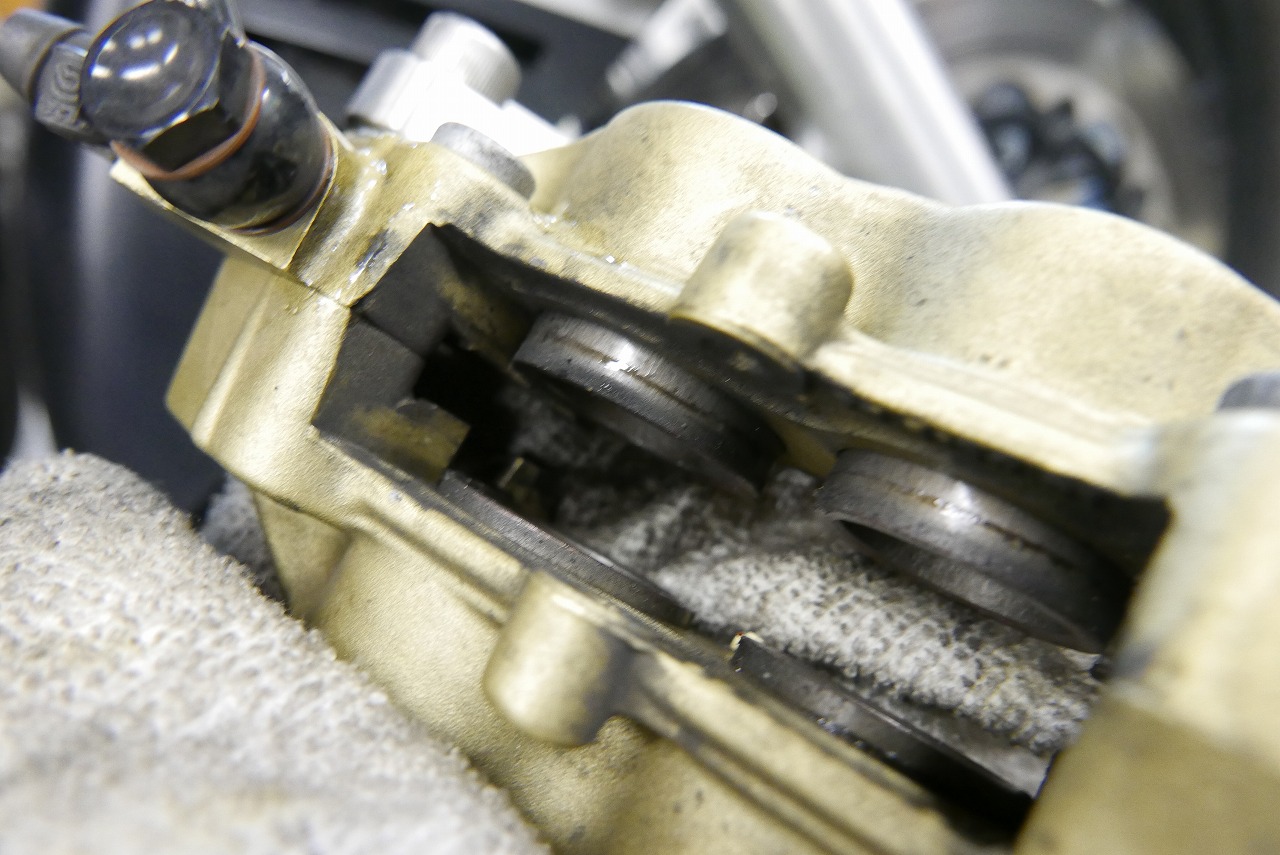
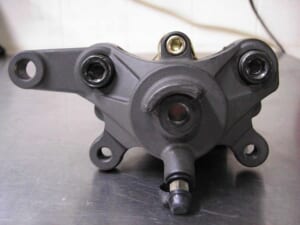
The calipers were clean. The pad grease seemed a bit excessive.
If applying pad grease improves the feel or stops noise, that’s good.
If it’s just a vague feeling, it might be better not to apply it. Pad grease adheres all around the piston. It’s hard to remove with cleaner and you can only wipe it off. Of course, it also adheres to unreachable body gaps, so be careful.
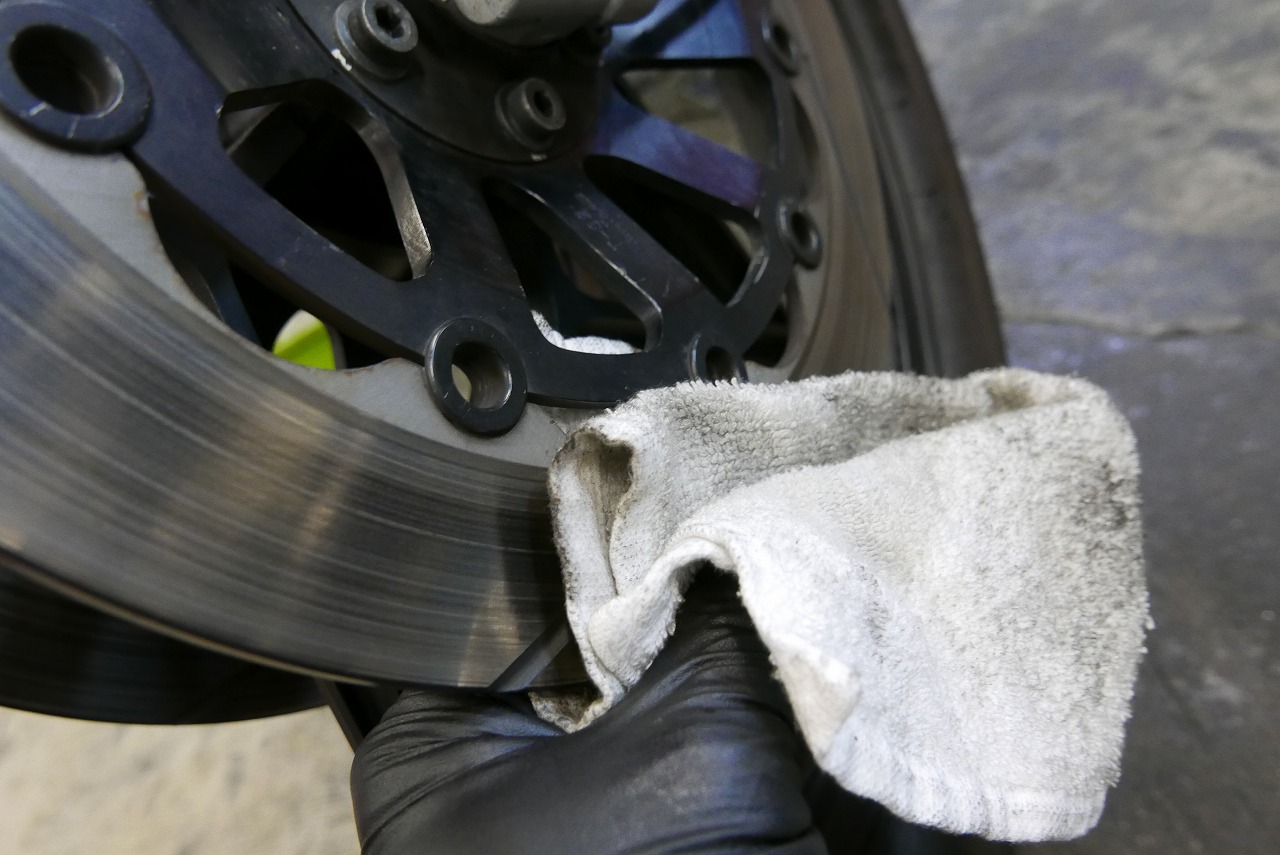
There are no holes, so it feels a bit sad. Let’s degrease it.
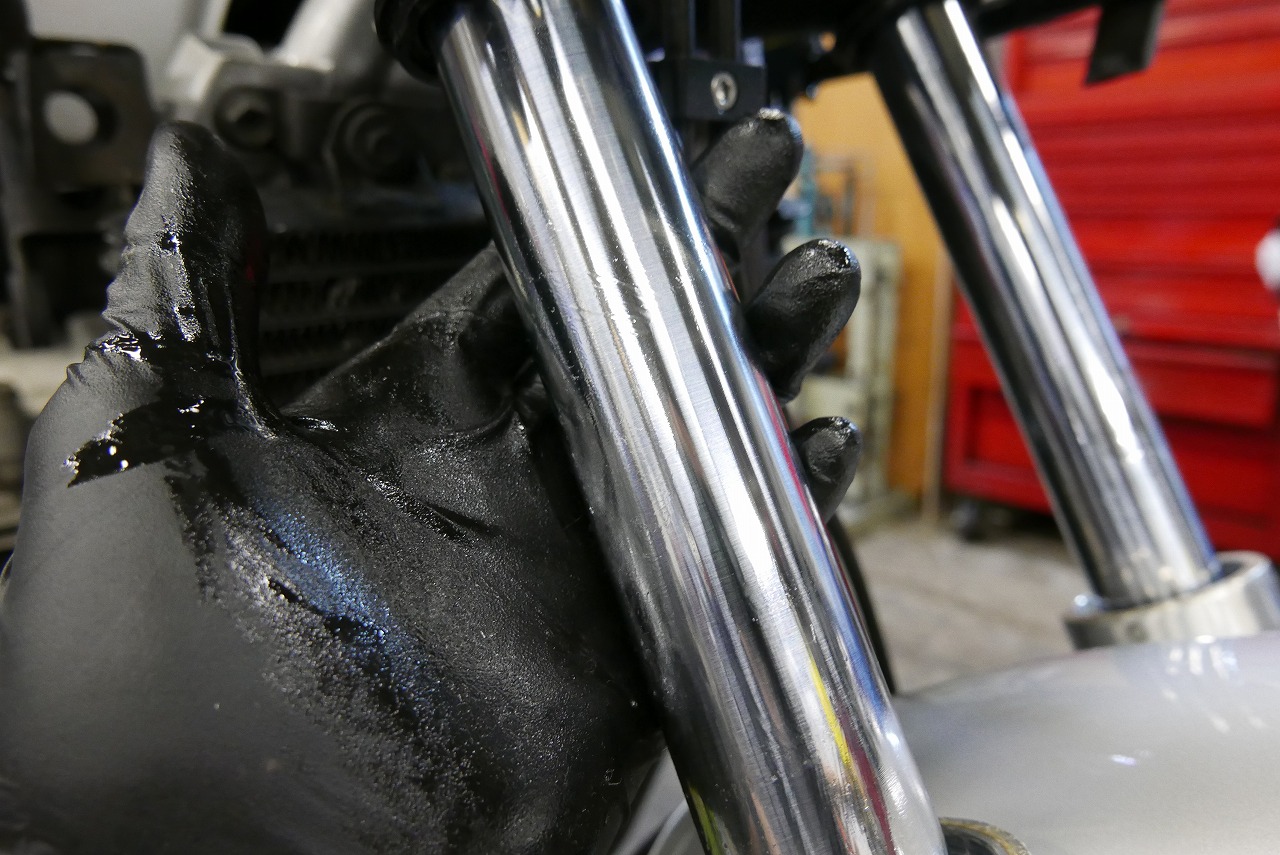
The stroke section gets cleaned, lubricated, and rust-proofed. Scraping out debris and keeping the inner tube smooth might be the secret to longevity.
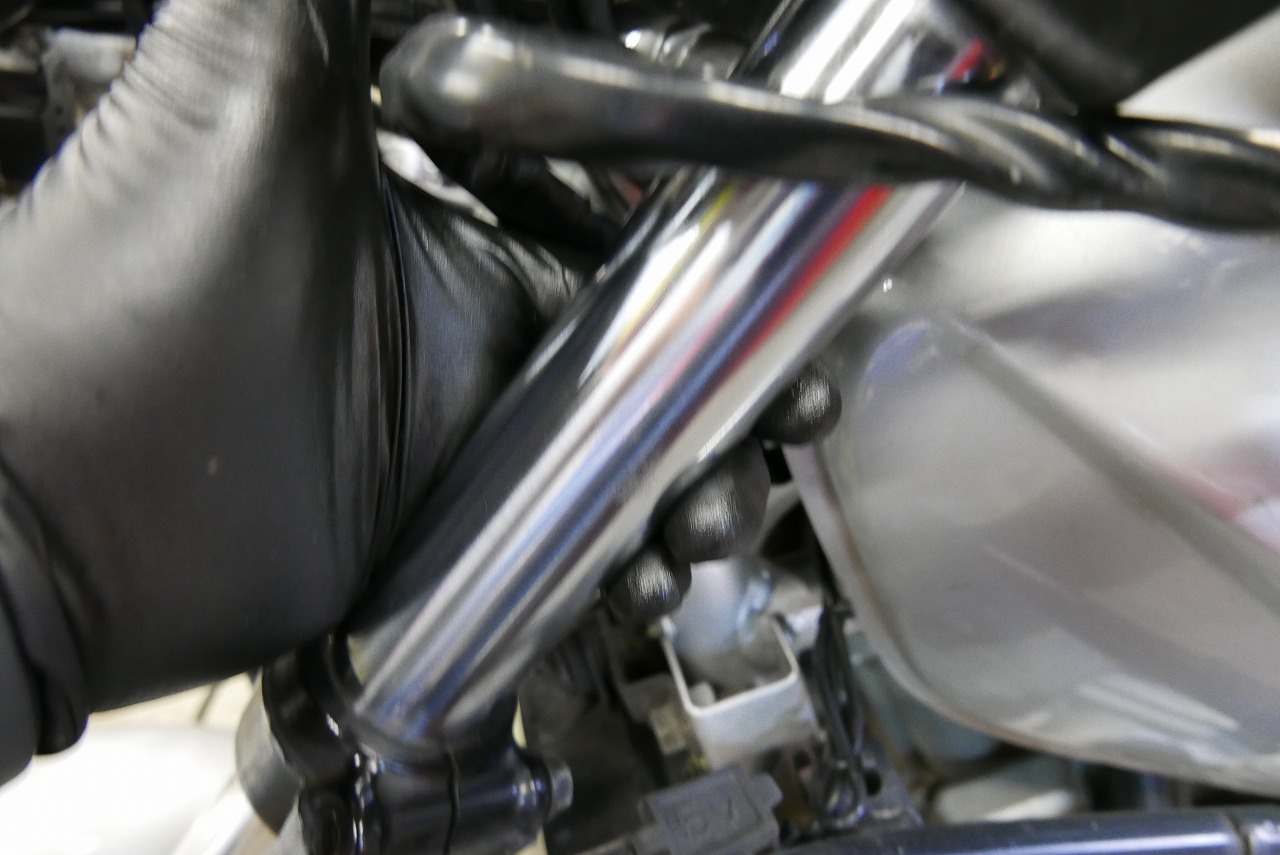
The stem area gets cleaned and rust-proofed. It rusts easily here.
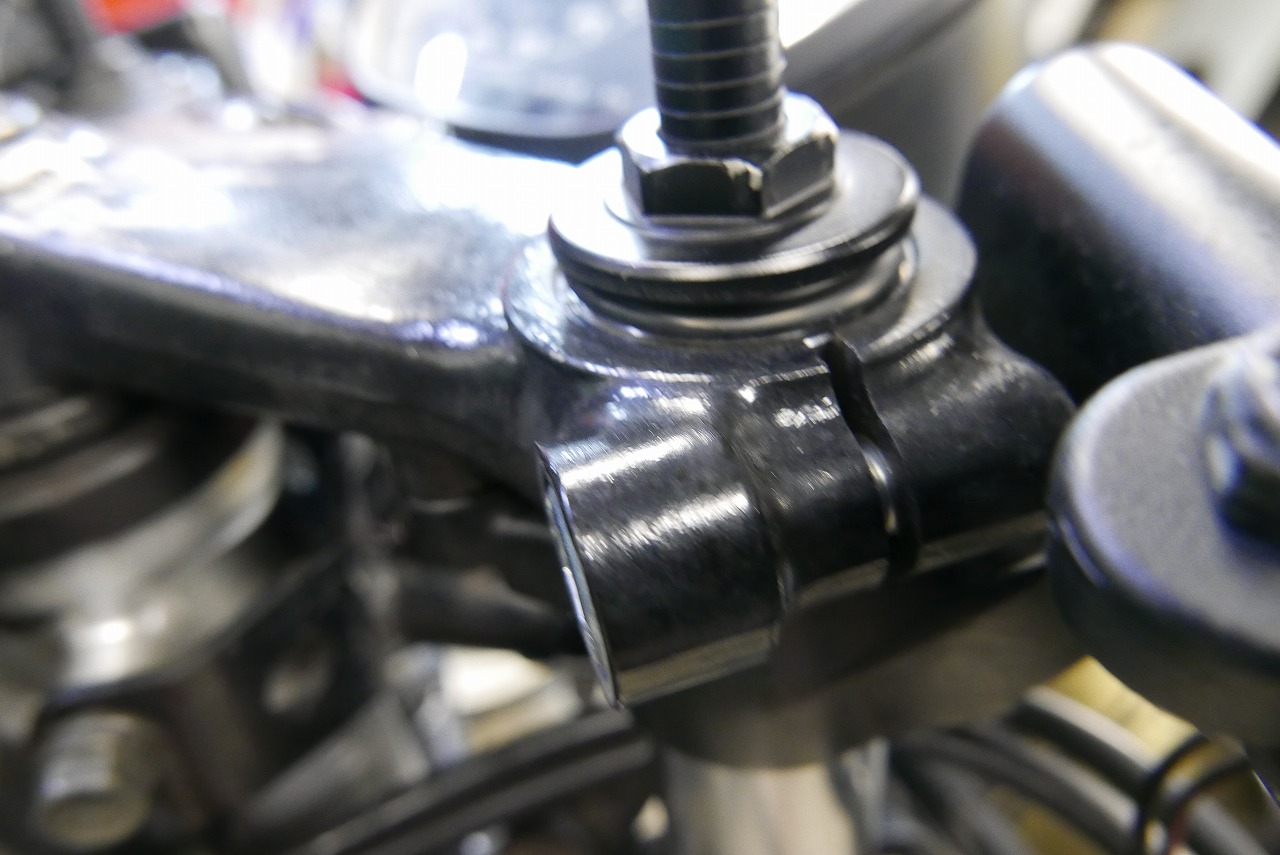
Open the cap and let it equalize to atmospheric pressure.
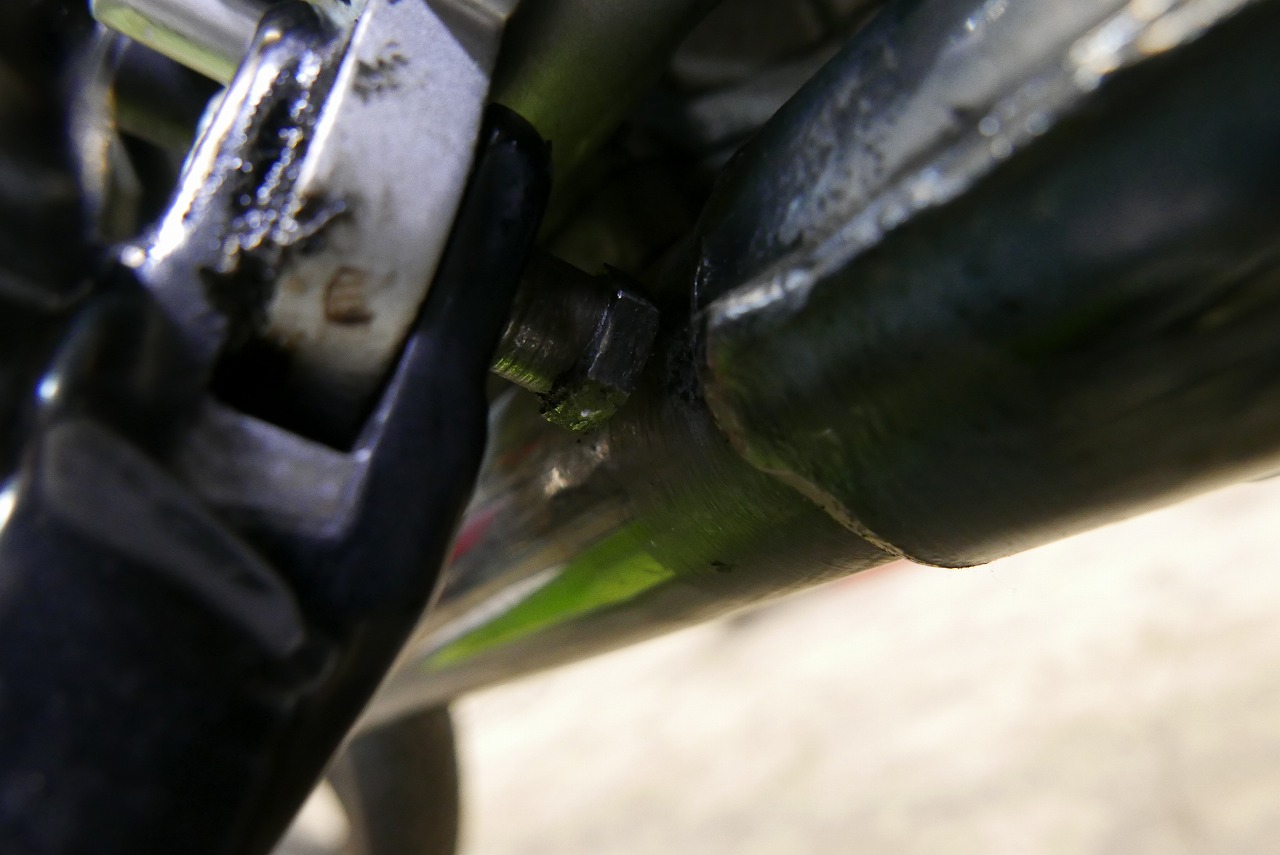
The sidestand can’t be removed without taking off the muffler, so we injected grease from the outside.
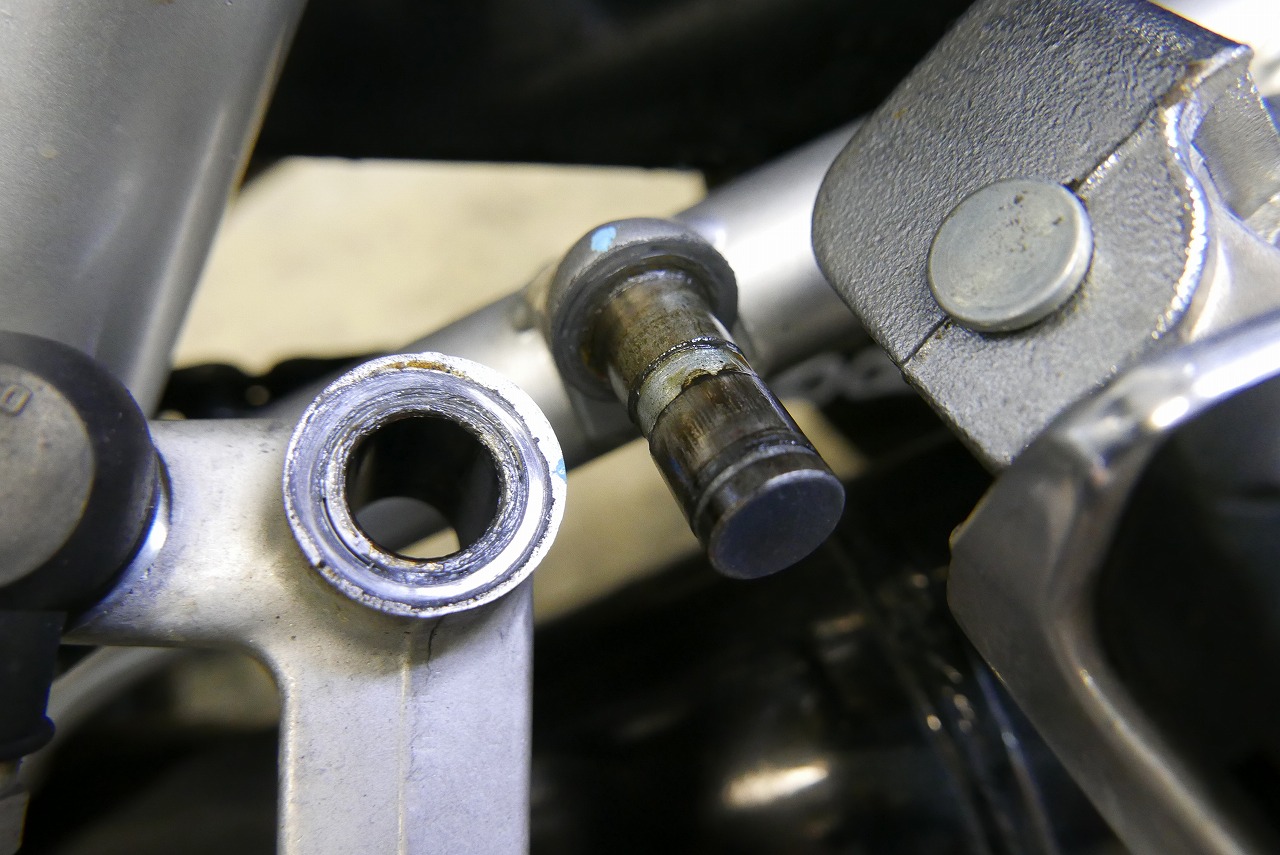
The shift pedal was clean.
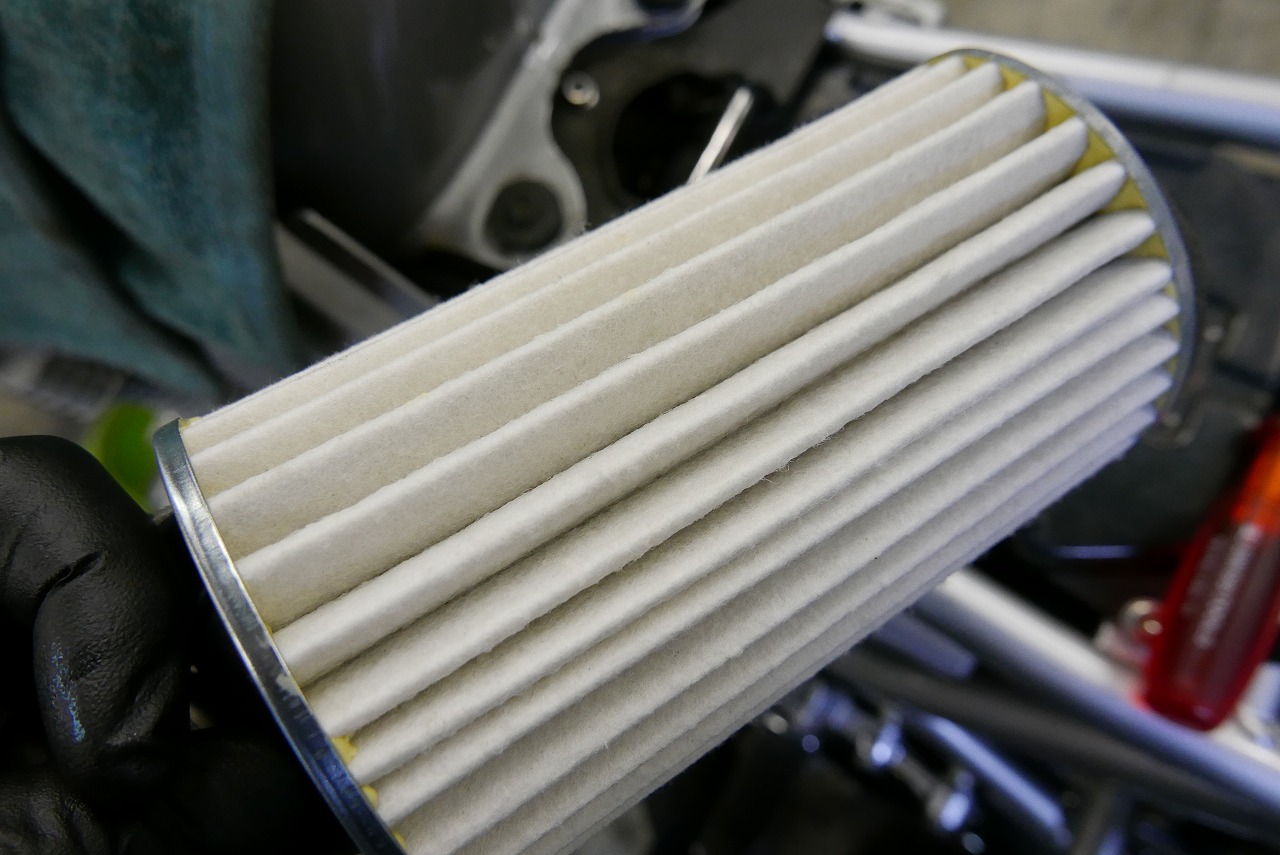
The air filter was clean.
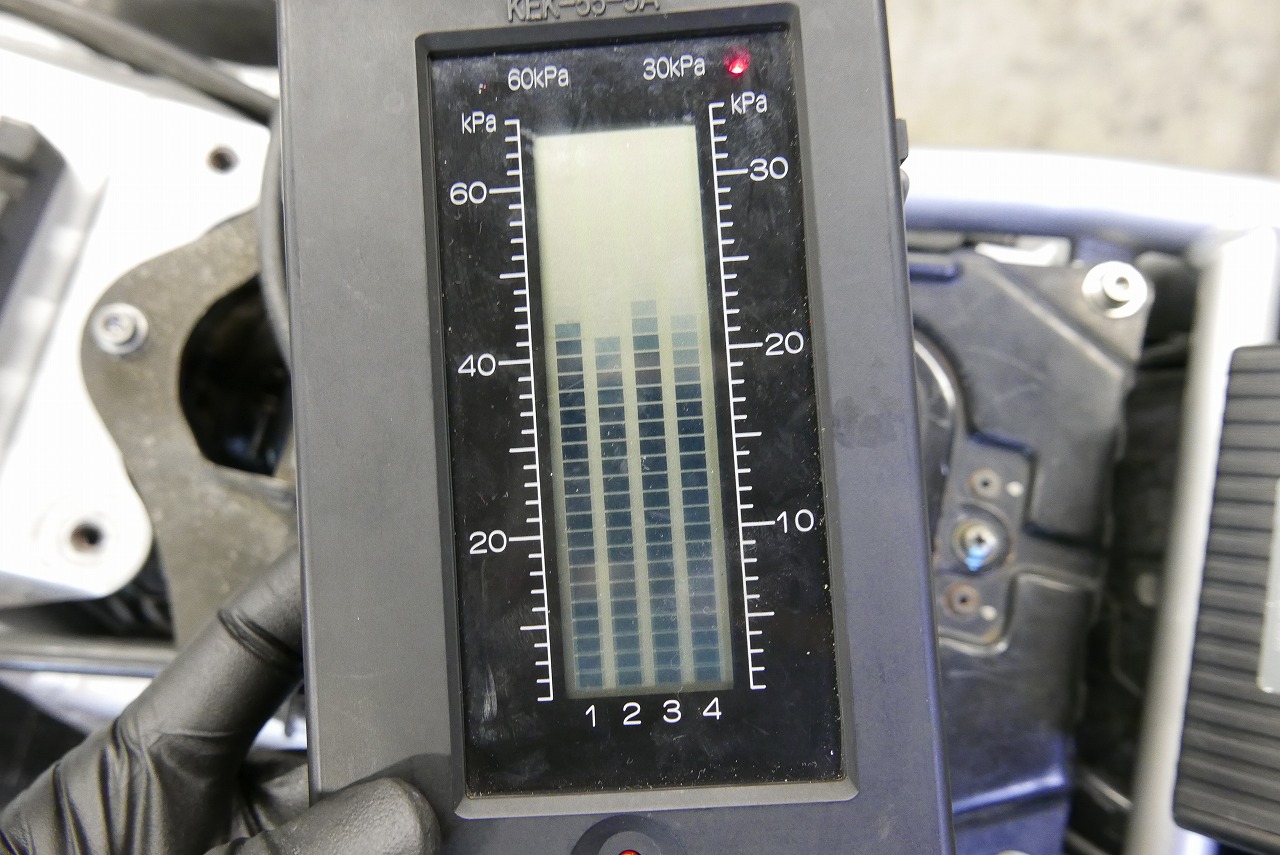
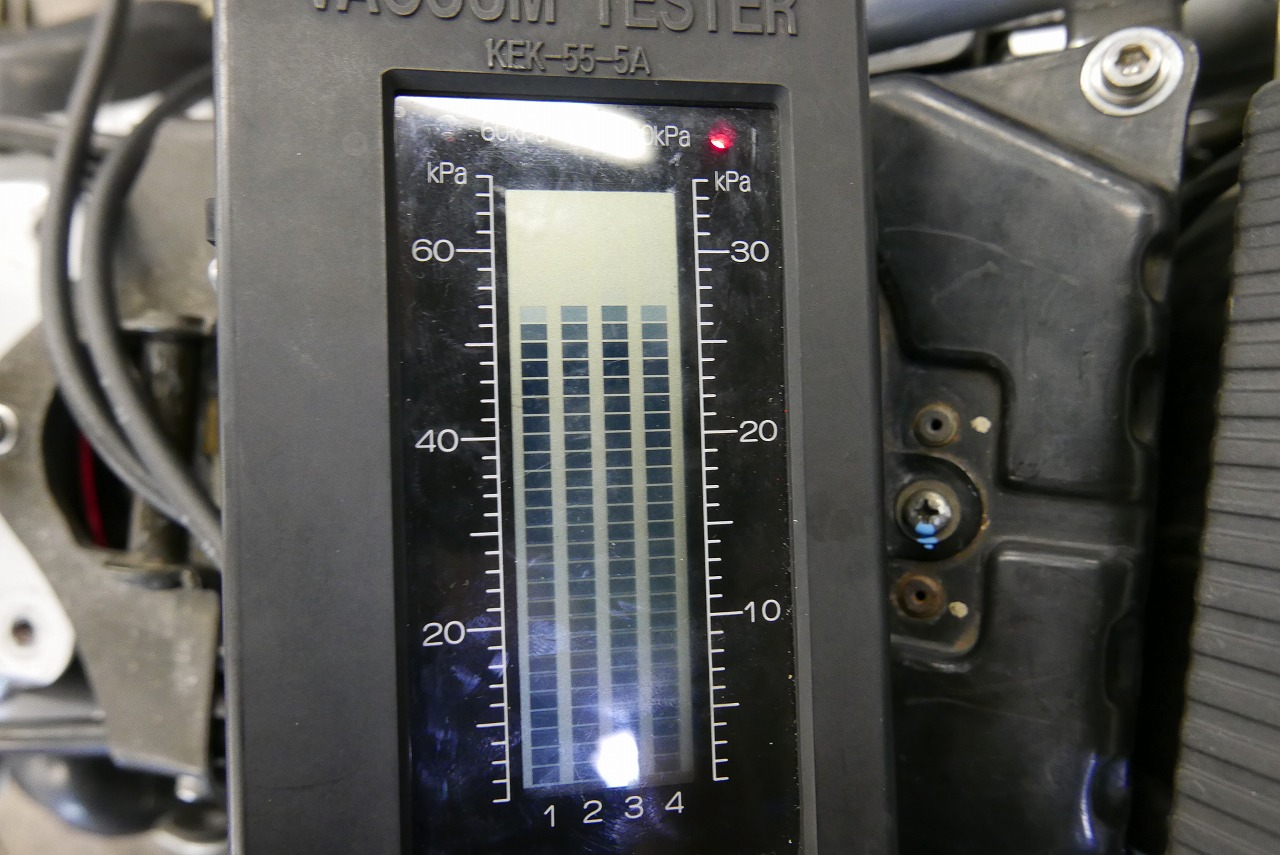
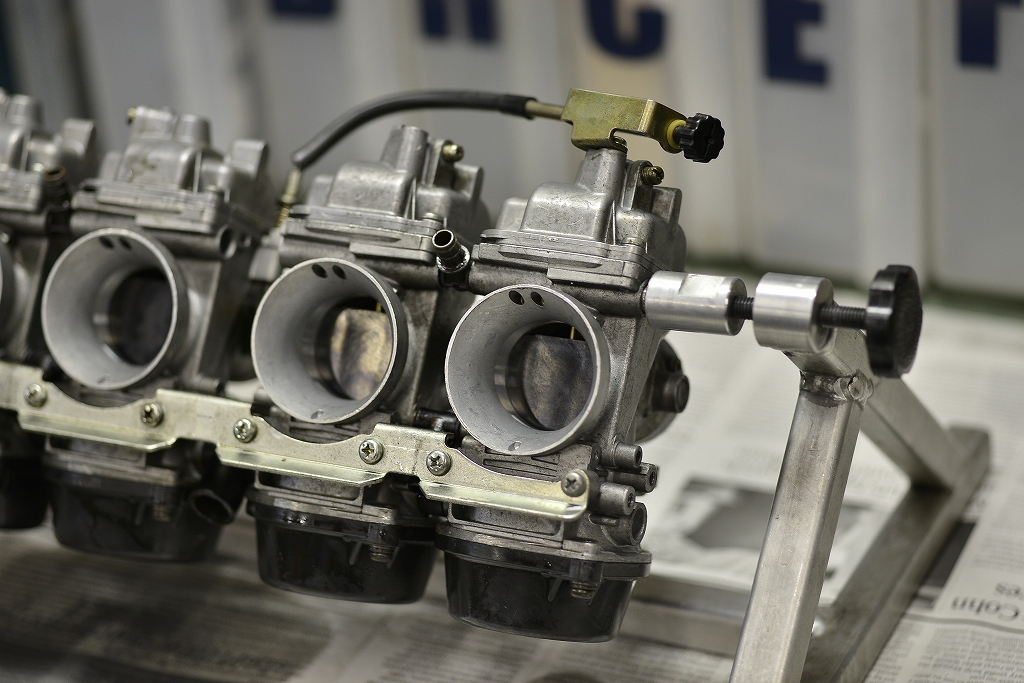
The carburettor sync is slightly off. If it’s just pre-adjustment variance, it’s not worth worrying about.
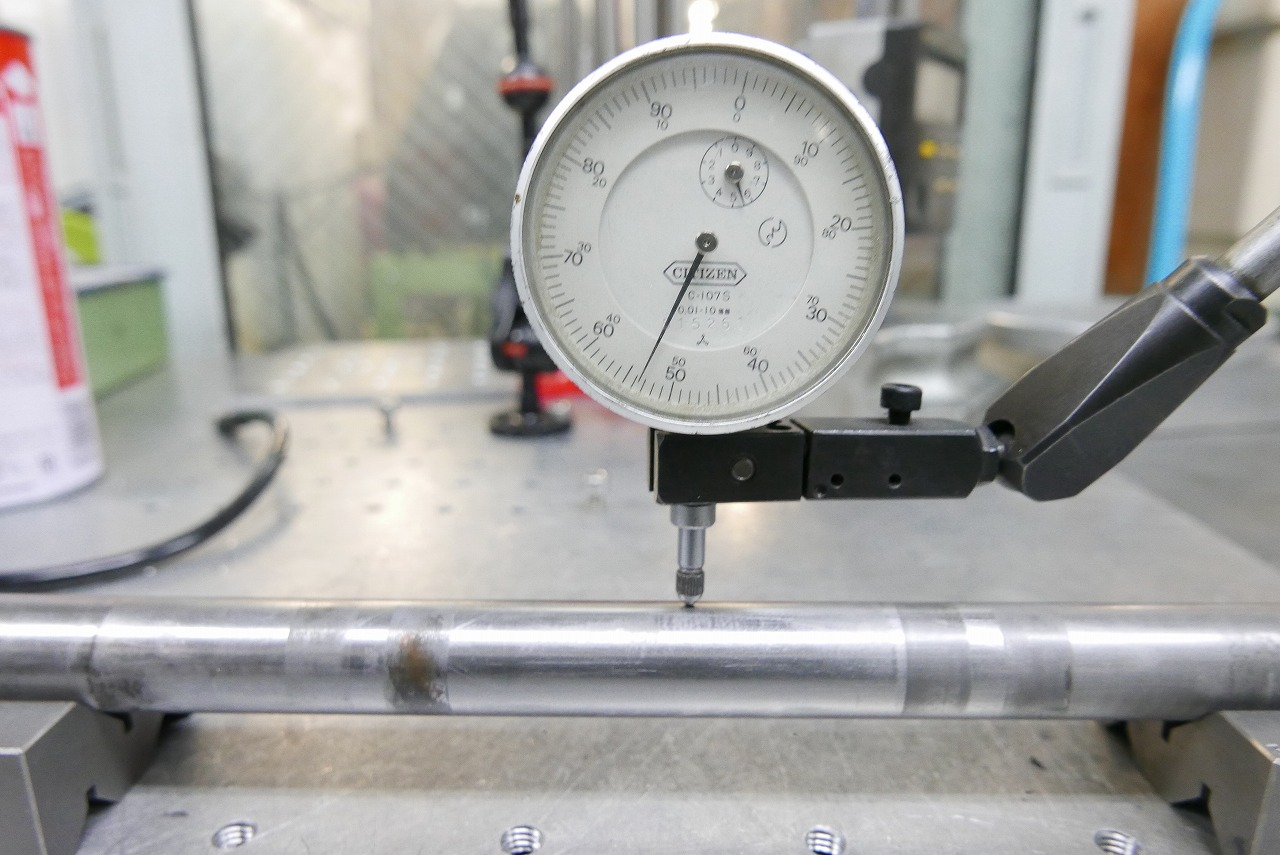
The rear axle should be fine too.
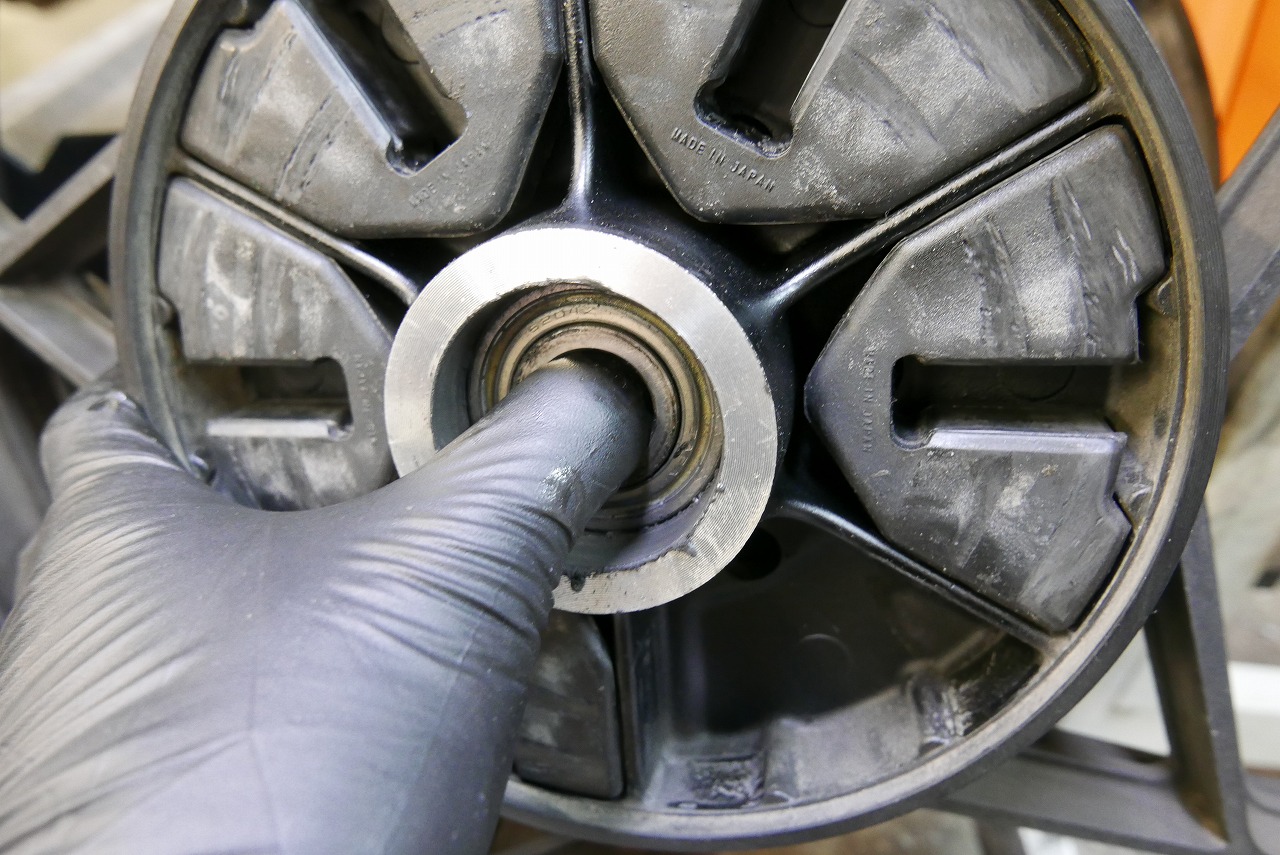
I felt a really strange discomfort. No matter what I did, the distance collar kept playing loose.
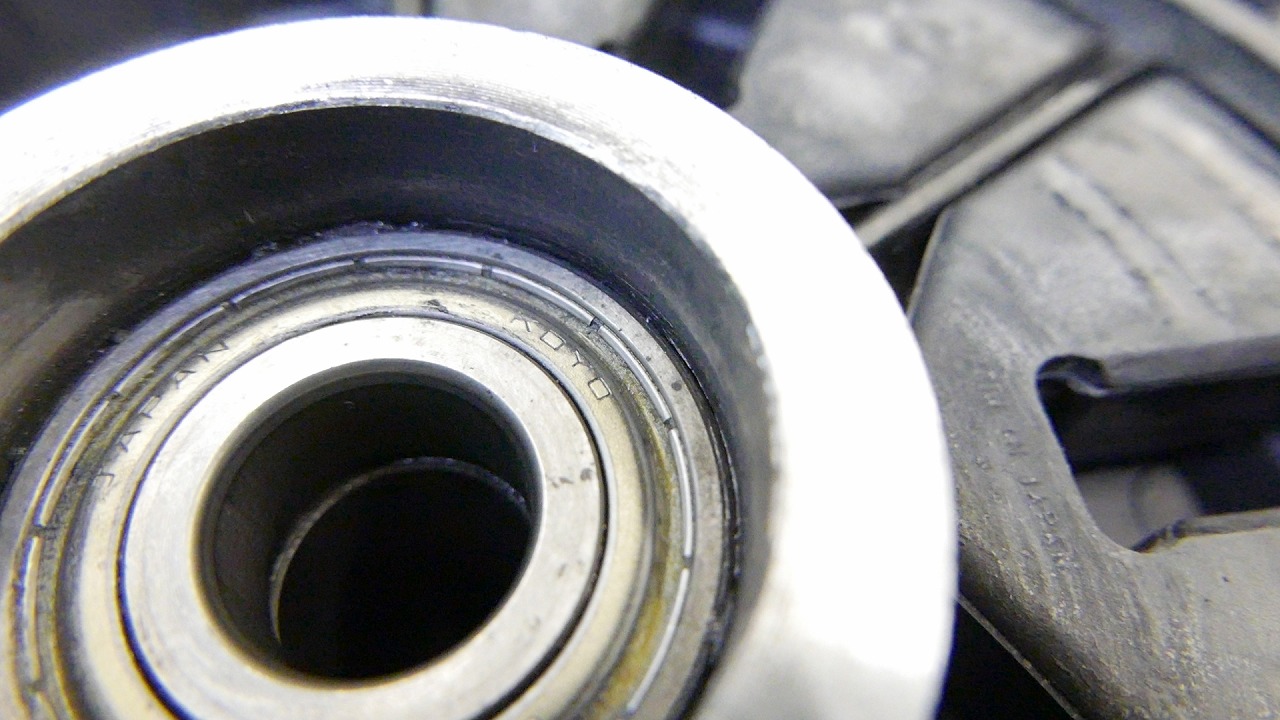
The wheel-side press fit was loose, the bearing moved, and it became rattly.
The wheel must have come loose. We have a wheel a previous customer left behind, so we’ll swap it in. (Wheel free / labor charge applies)
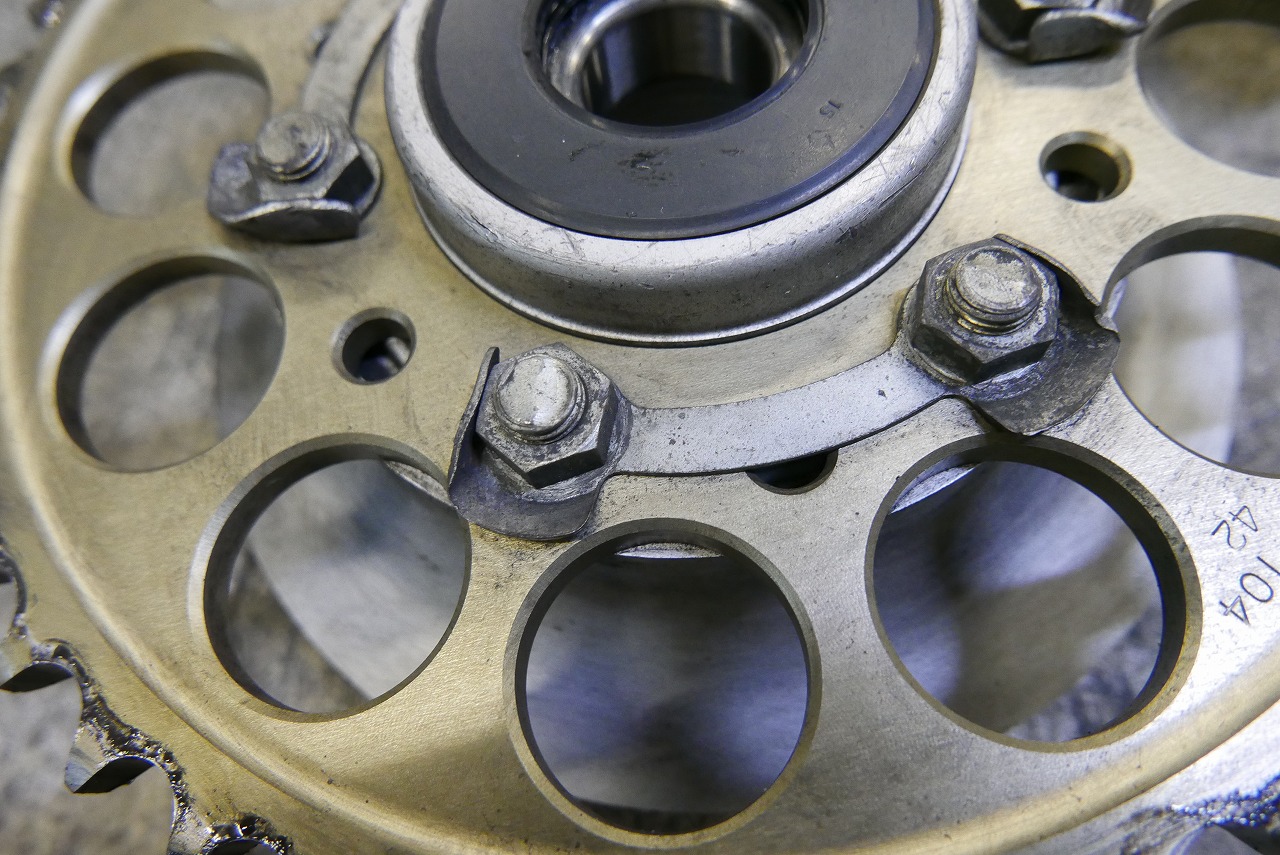
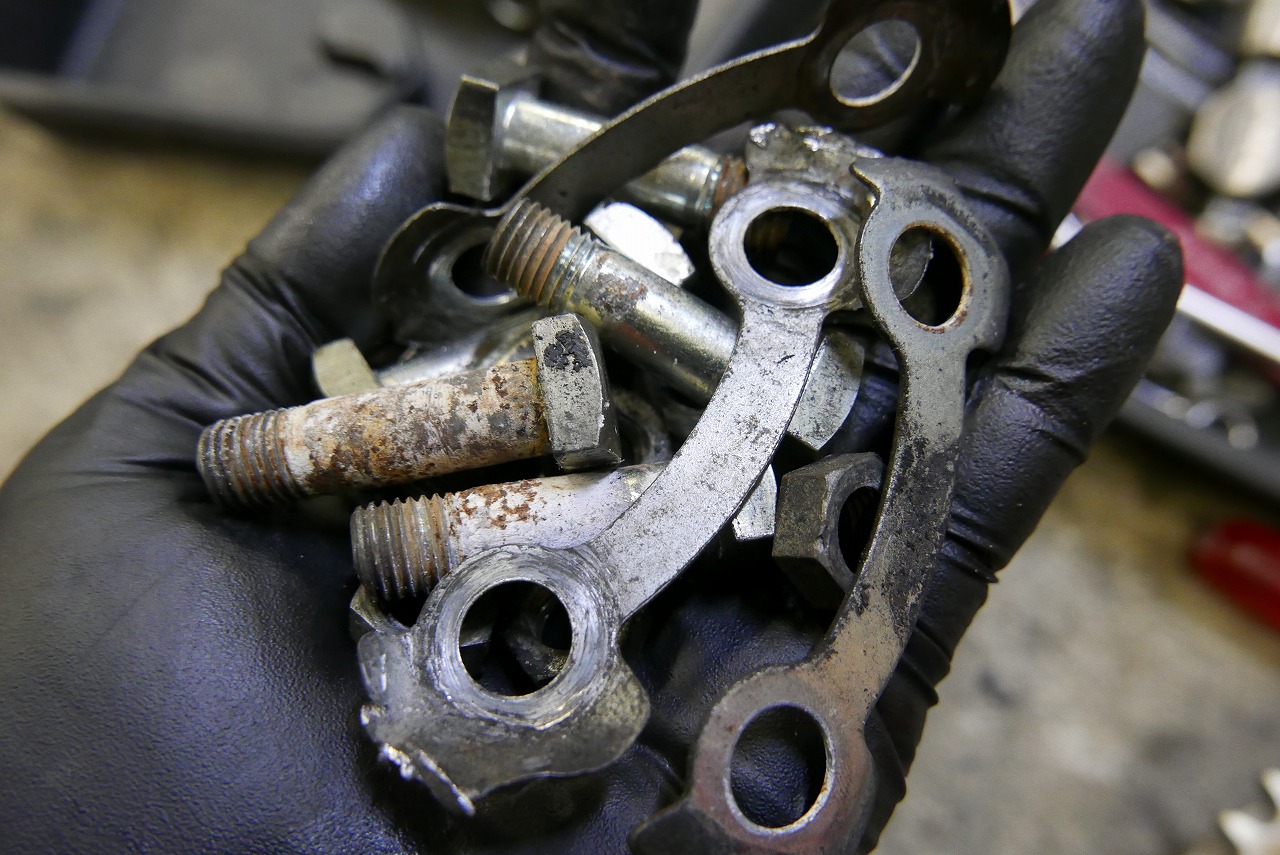
I basically dislike lock washers where they’re visible. We lengthened the bolt and used a lock nut (tri-chrome black).
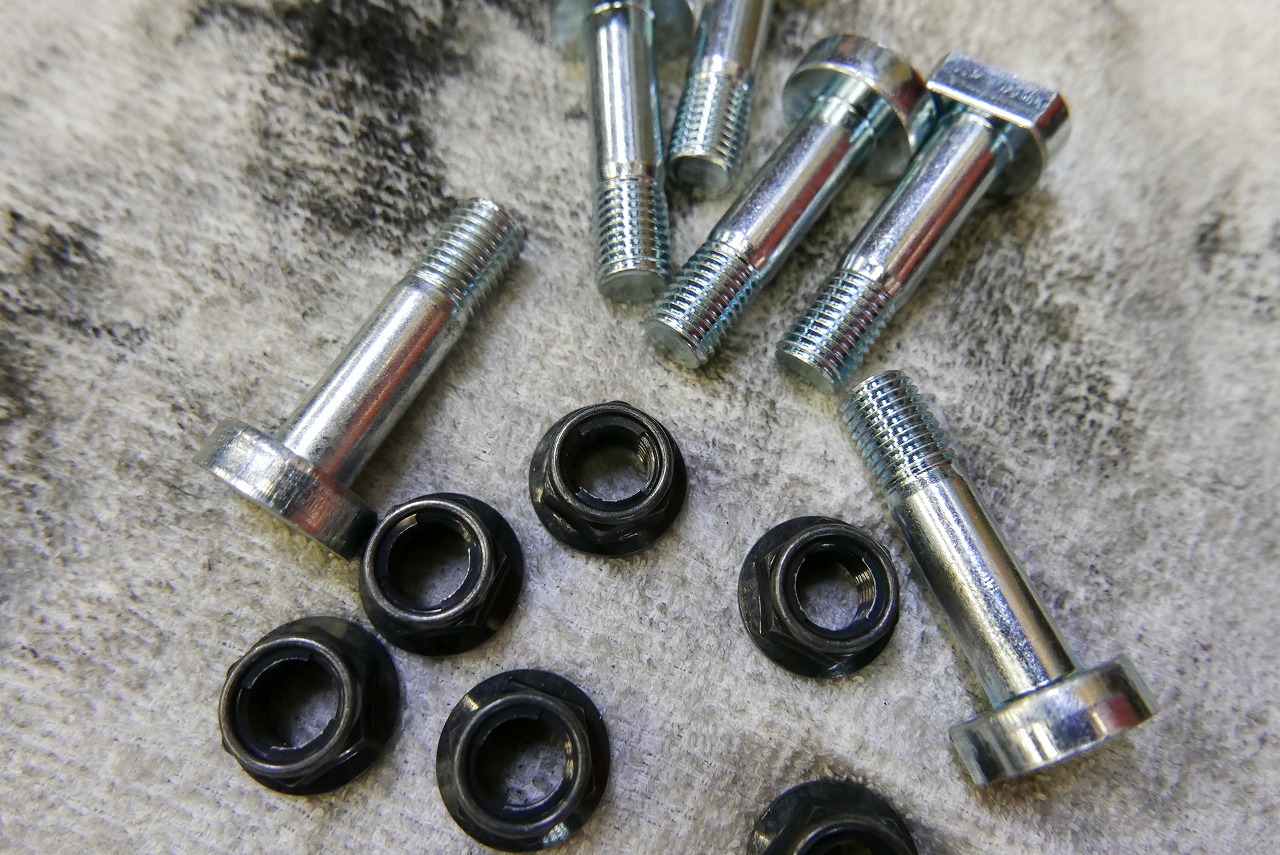
Now it’s a very satisfying setup.
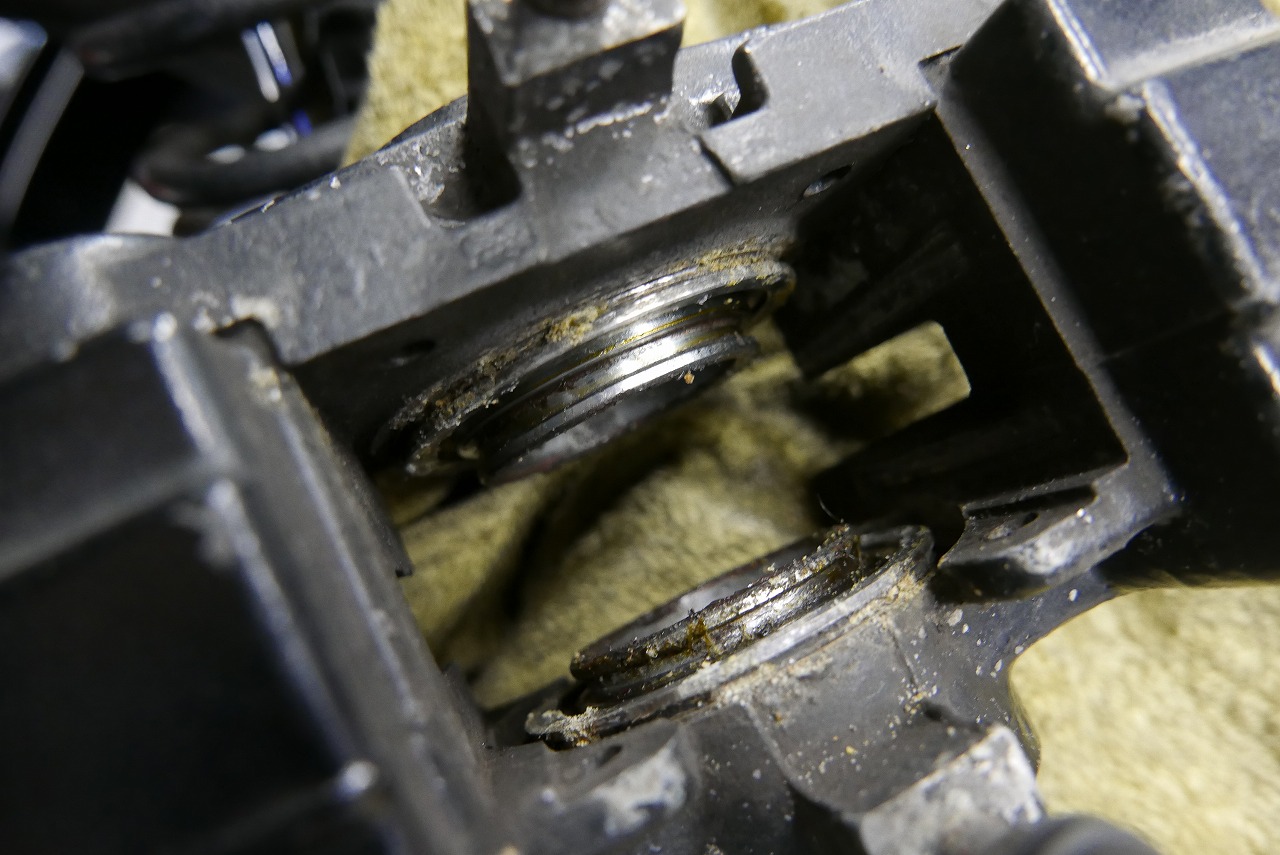
We cleaned the rear caliper and worked in some lubrication.
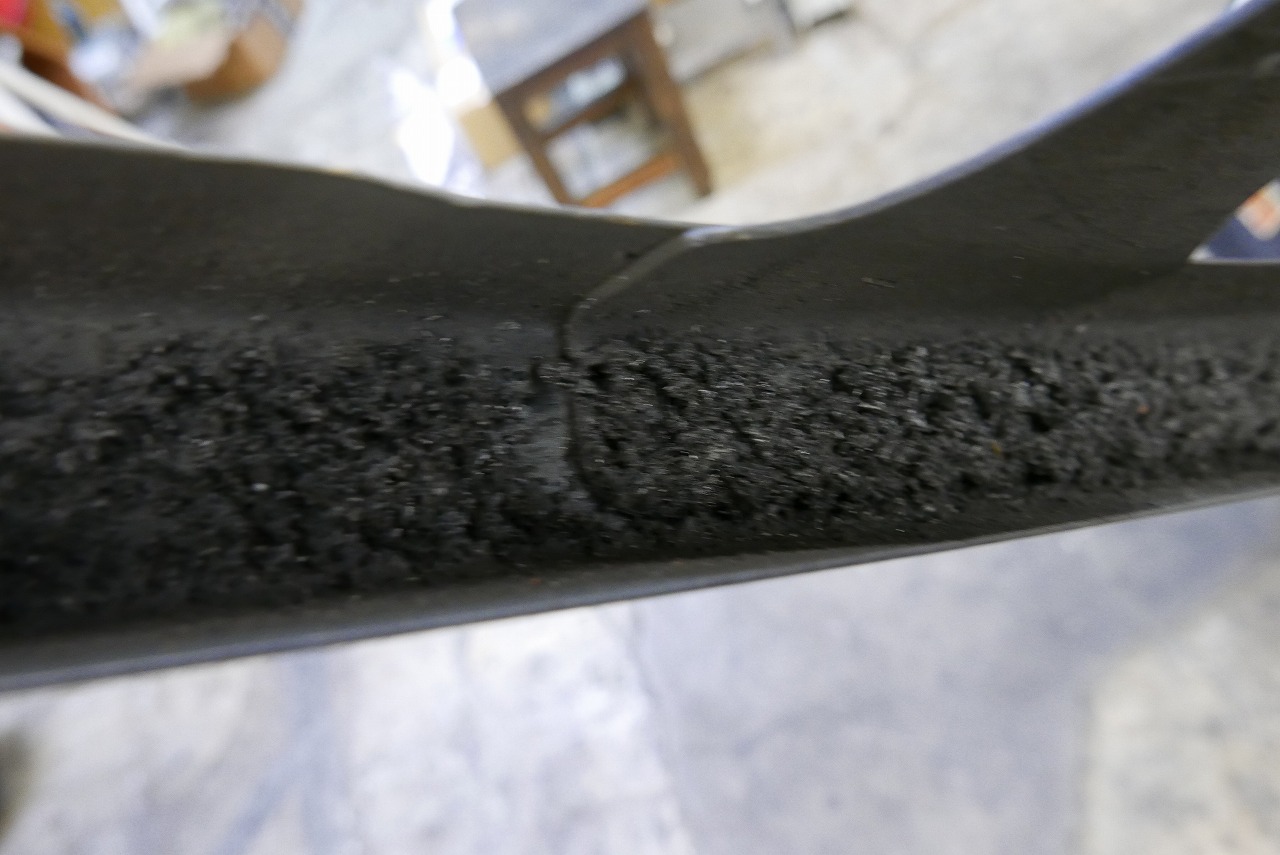
It’s good to remove the grease from the chain case at times like this.
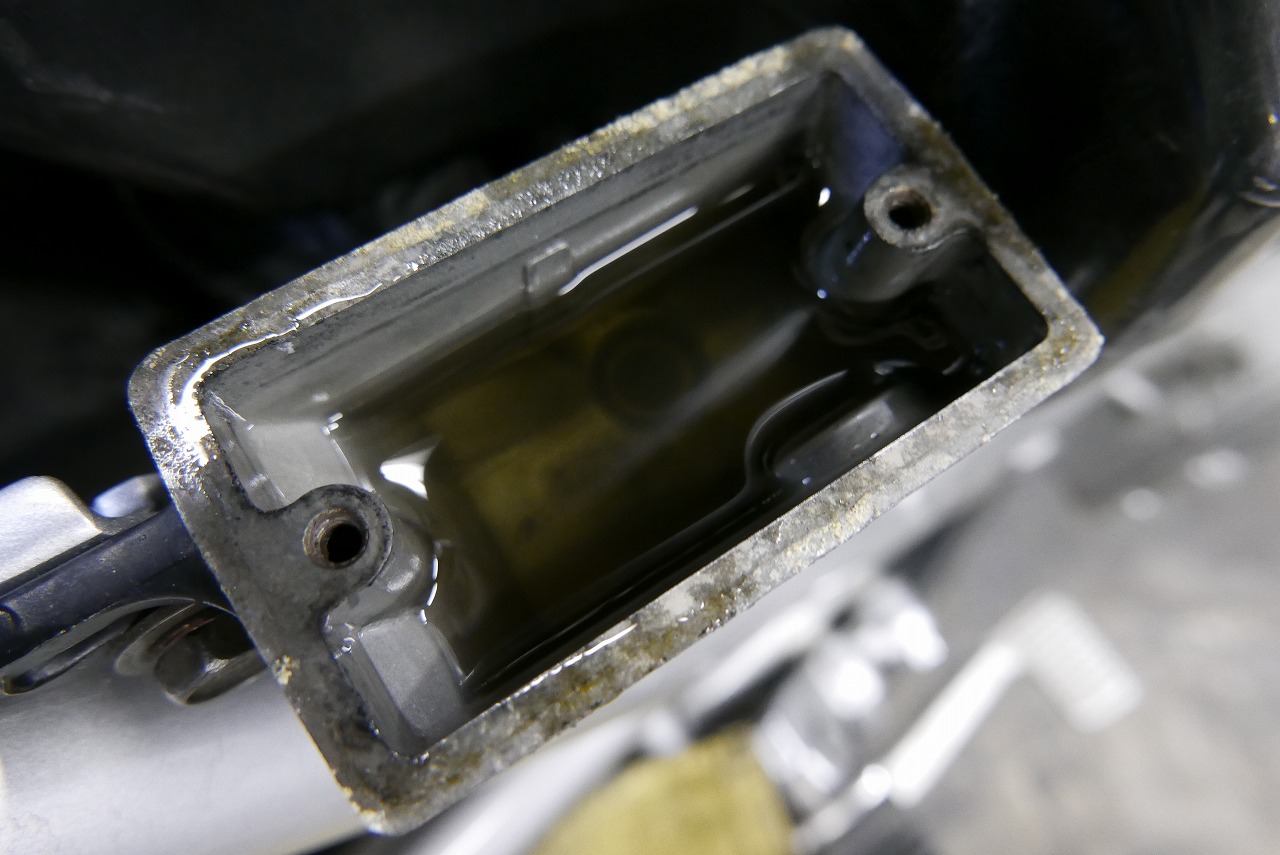
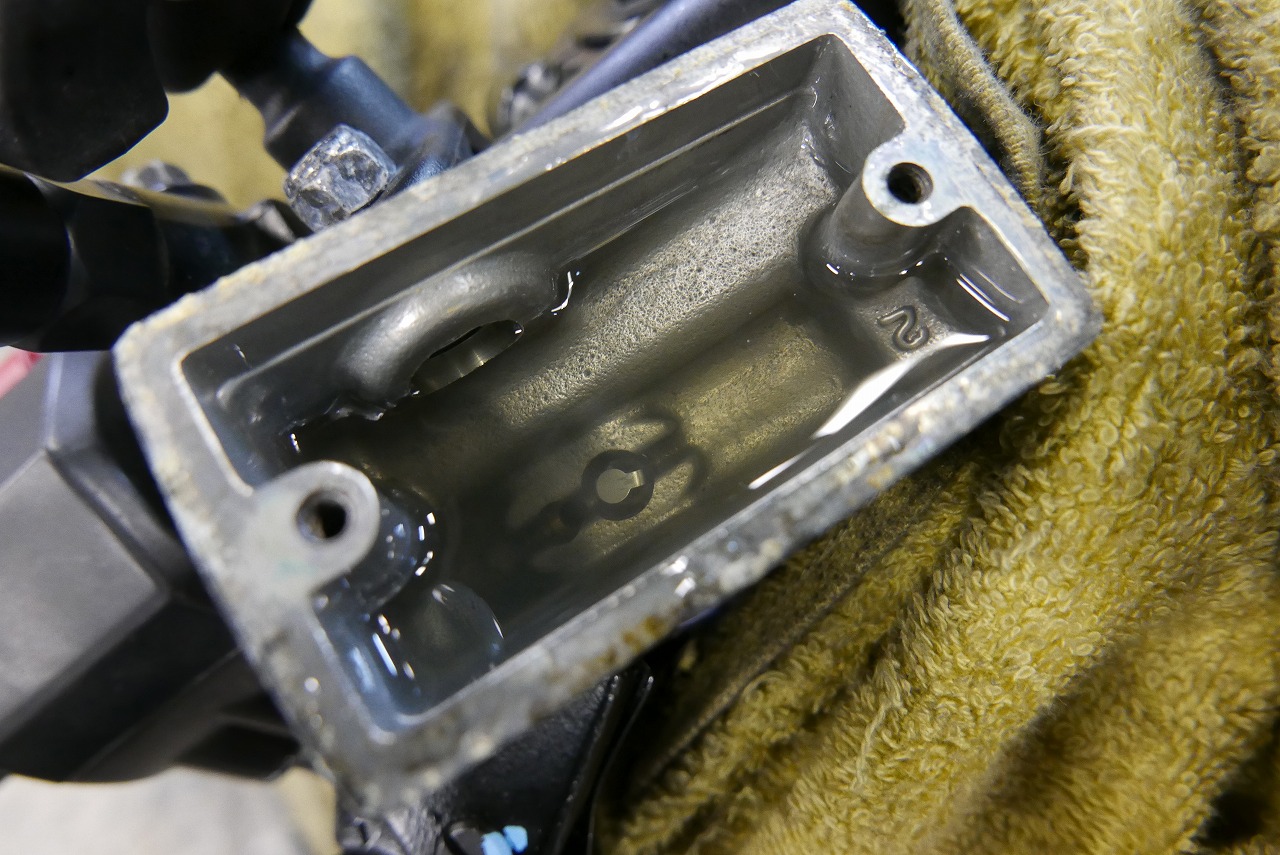
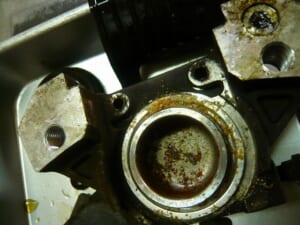
We replaced the fluid. The rear was quite dirty.
CCI Golden Cruiser DOT4
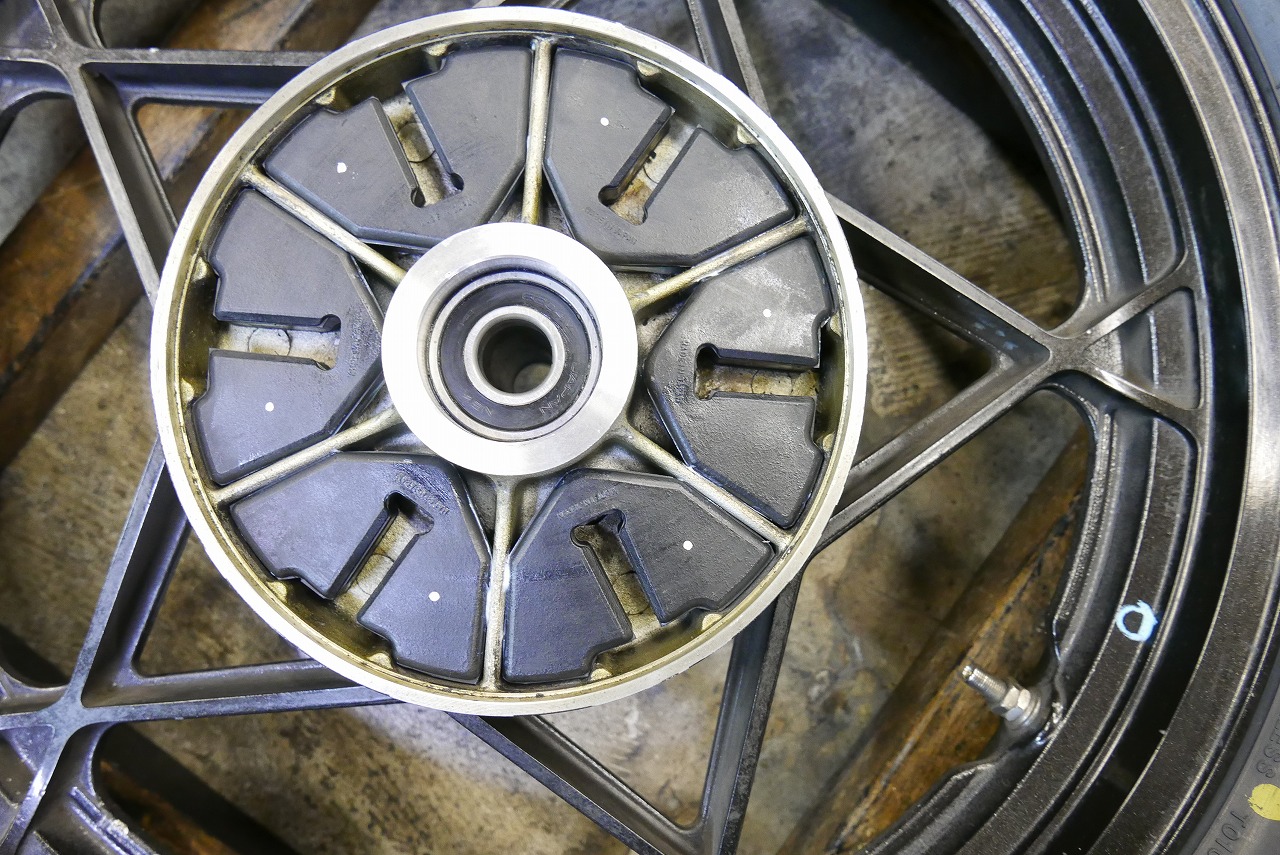
The wheel bearings were fine, so we reused them. The hub damper is new, and we swapped in the previous tire.
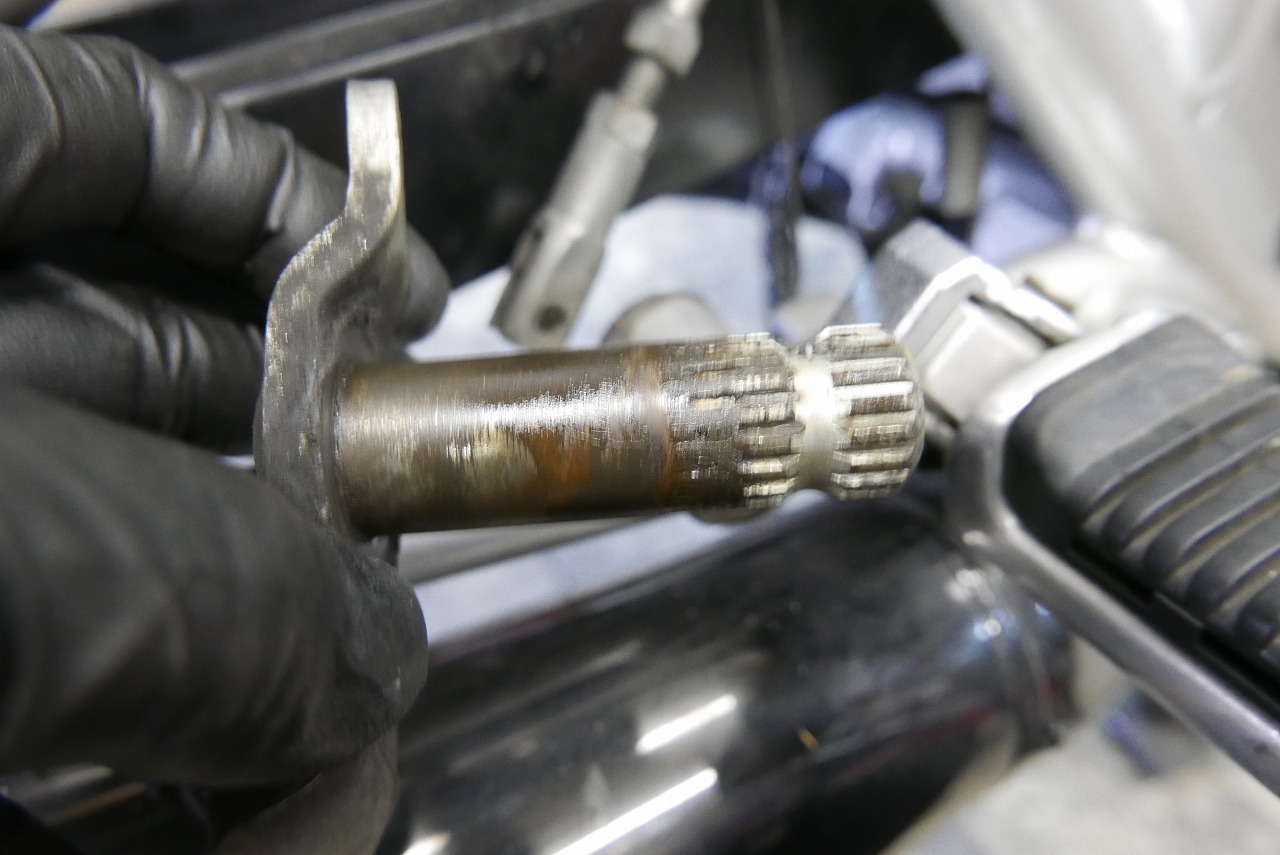
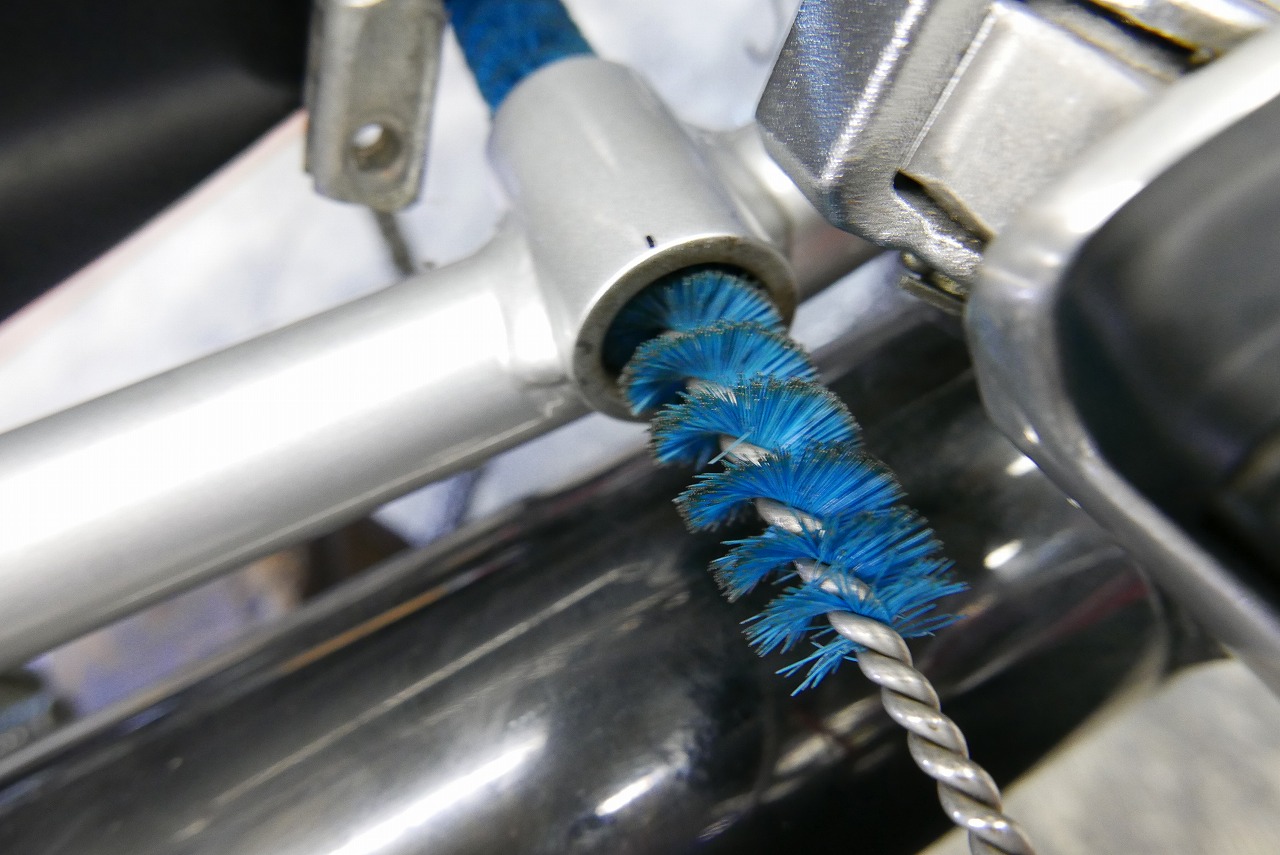
The brake pedal shaft is hard to remove. It rusts easily.
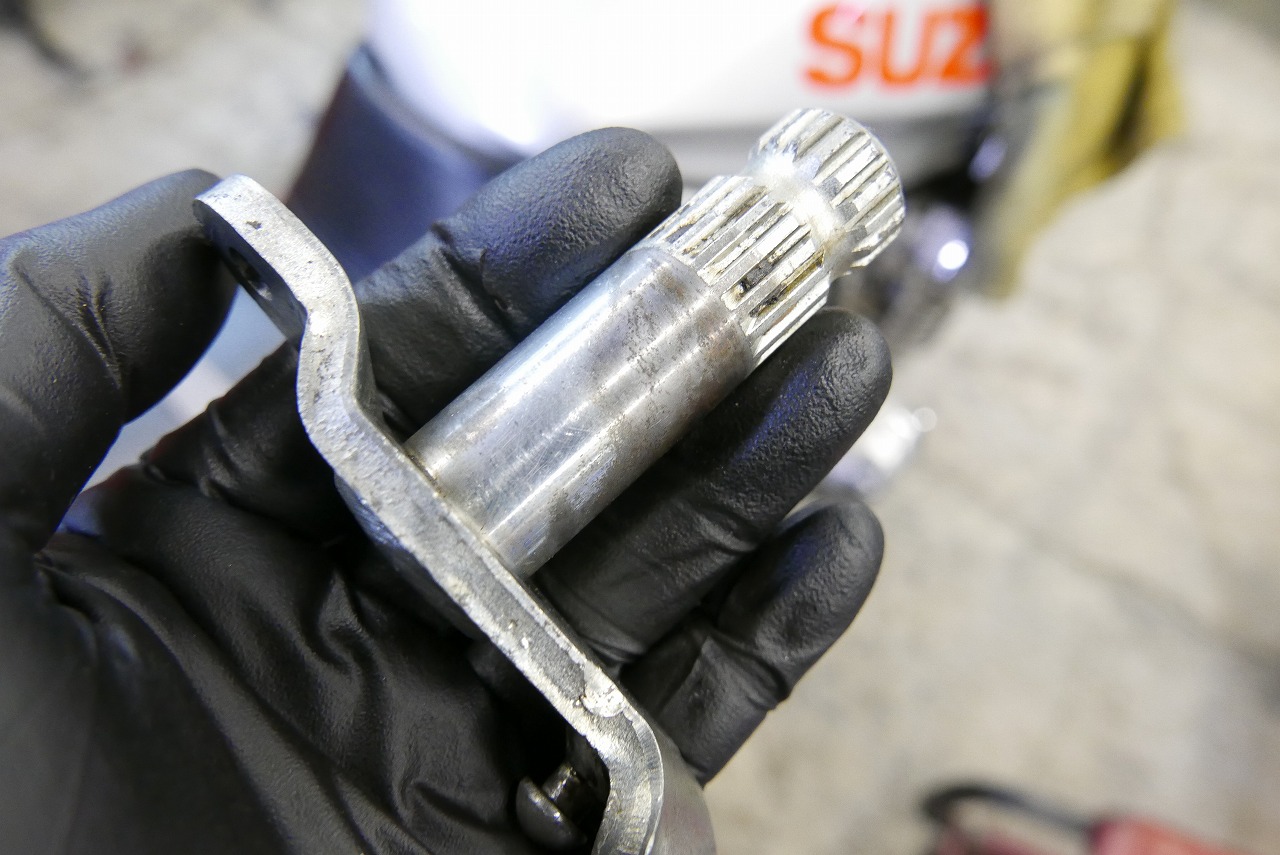
We polished it clean. We didn’t do it this time, but cutting grooves on a lathe to create a grease pocket would be even better.
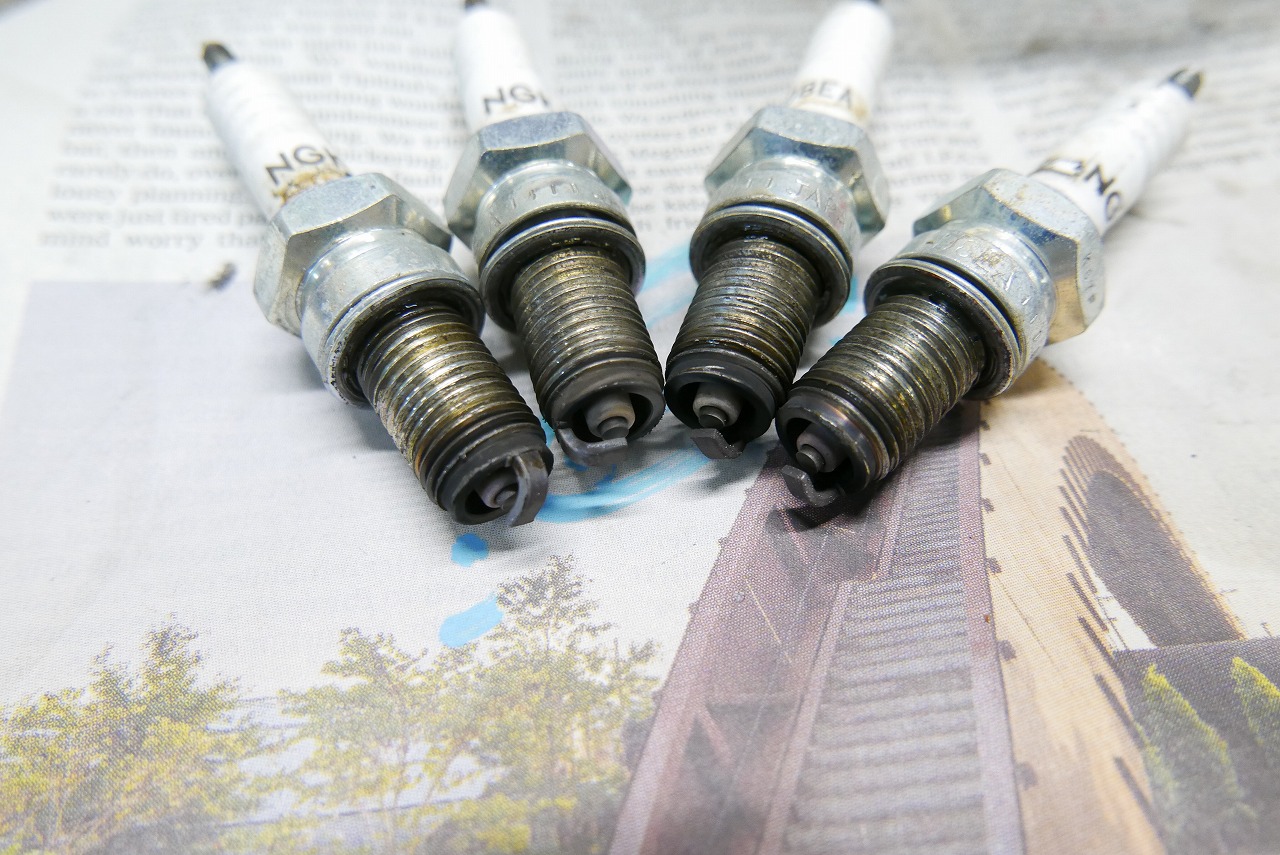
We replaced the spark plug.
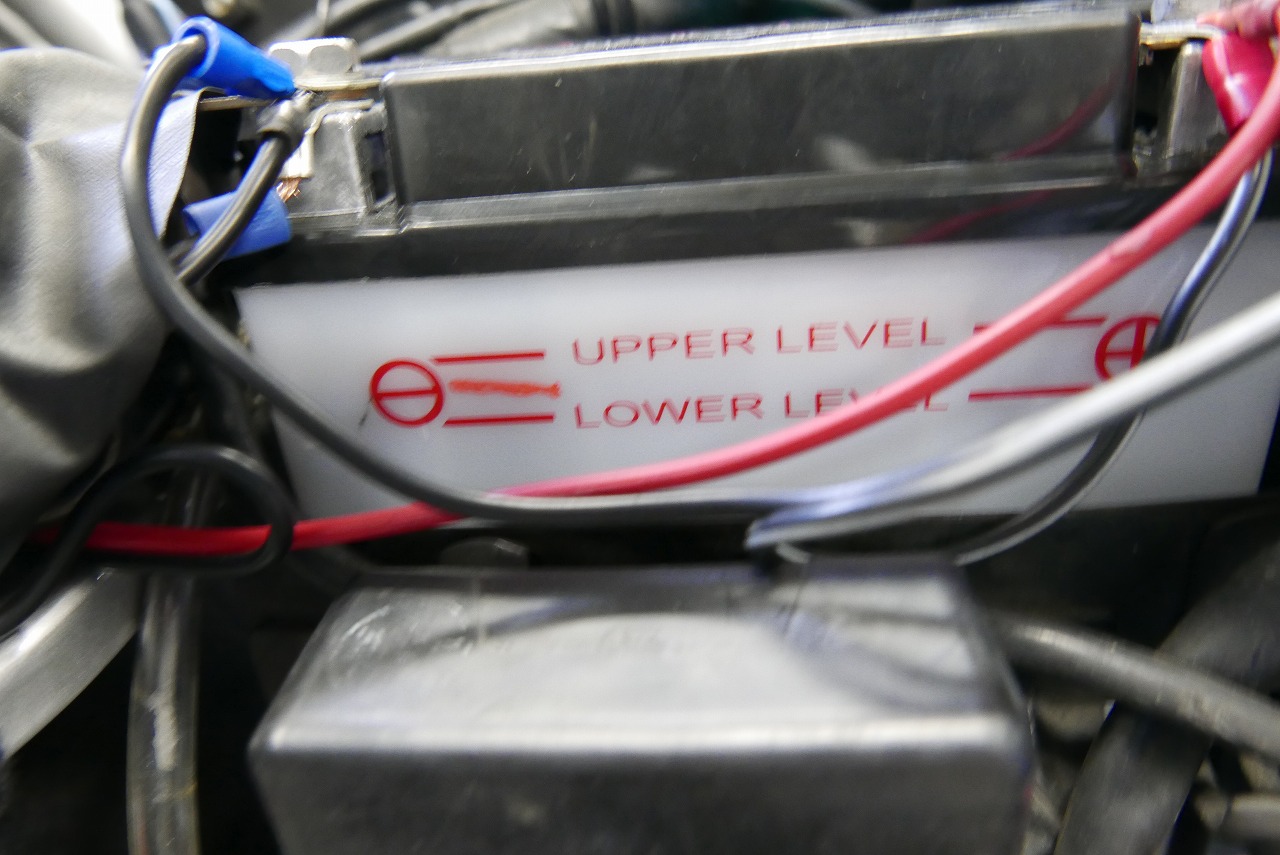
The battery fluid level is fine, so we just charged it.
Wet-cell batteries are high-maintenance, so switching to an MF like WEST CO would be a good idea.
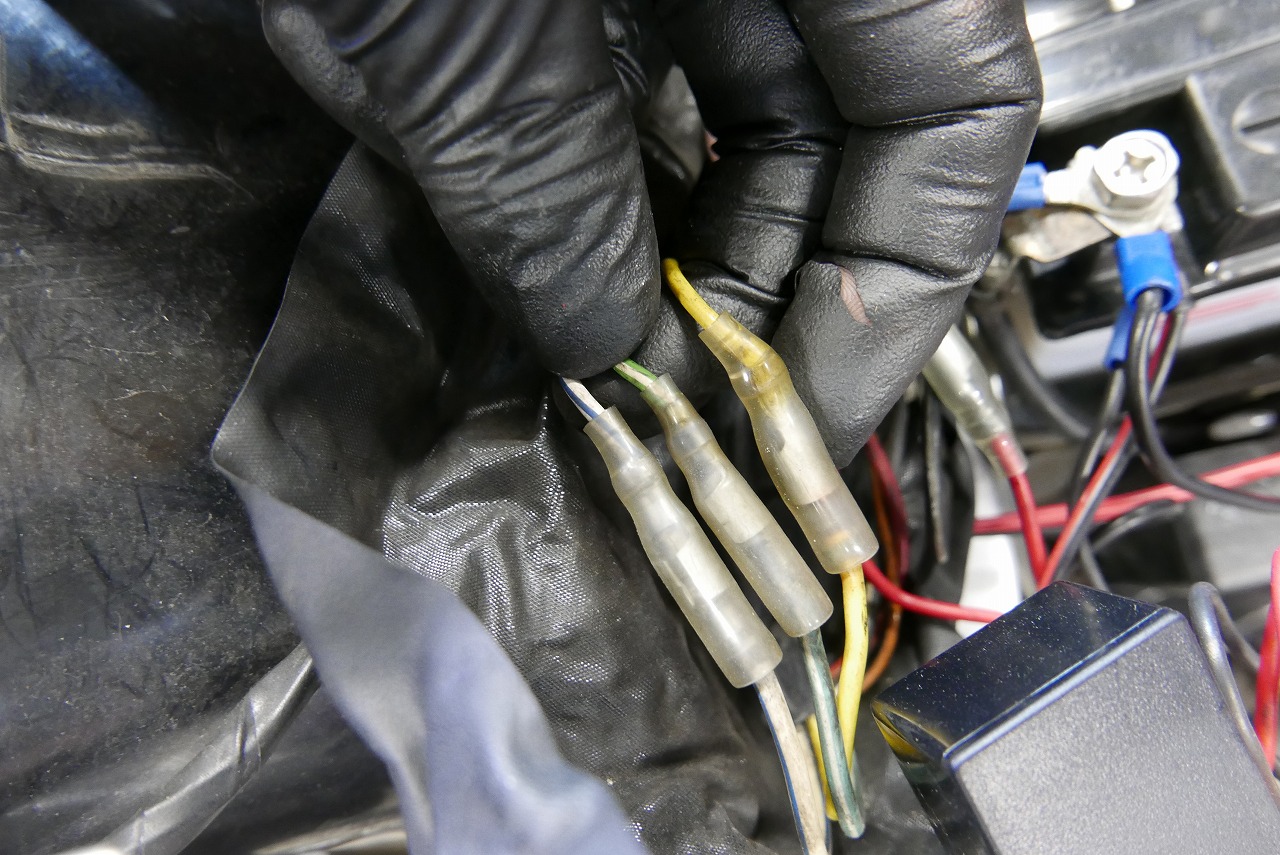
The generator wire and main ground were both fine.
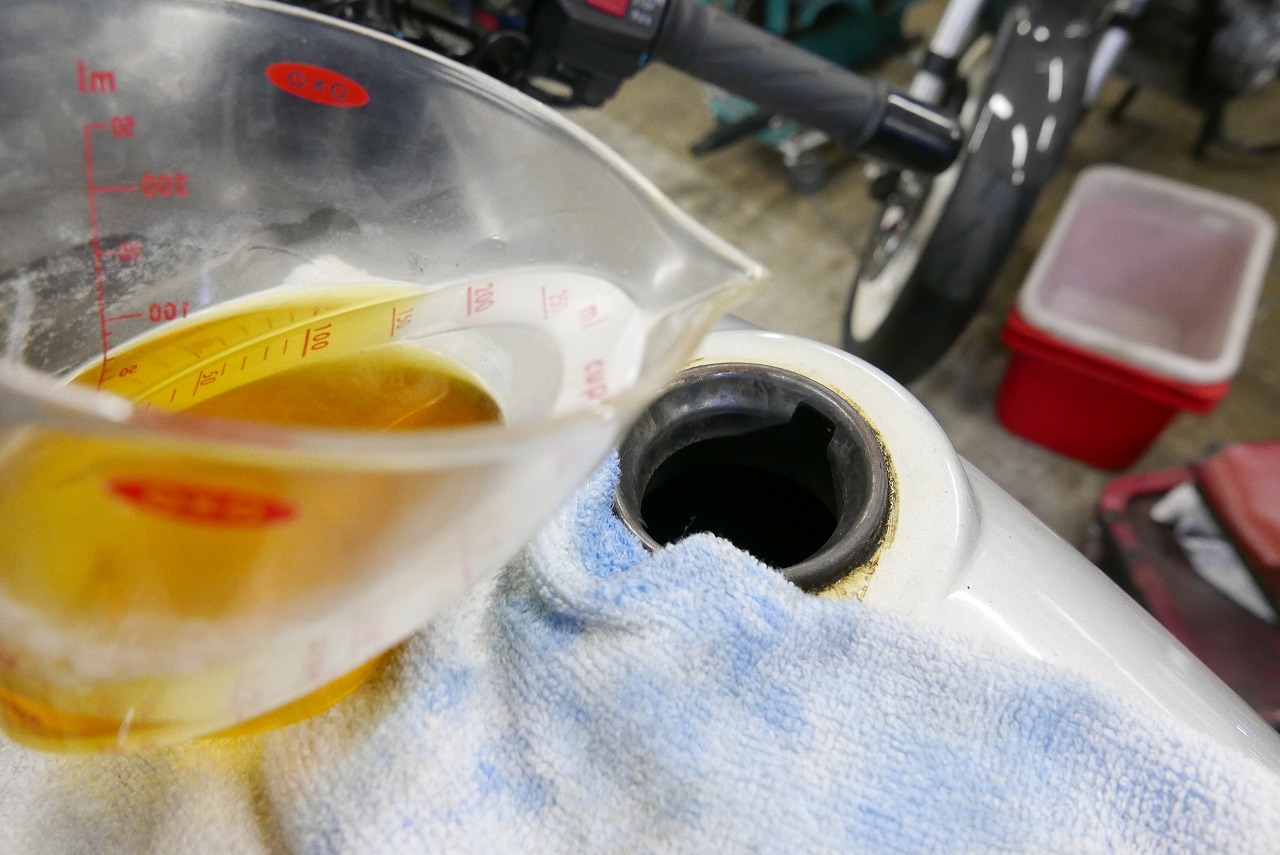
We added Fuel One to boost rust protection a bit.
*You don’t need to add it frequently.
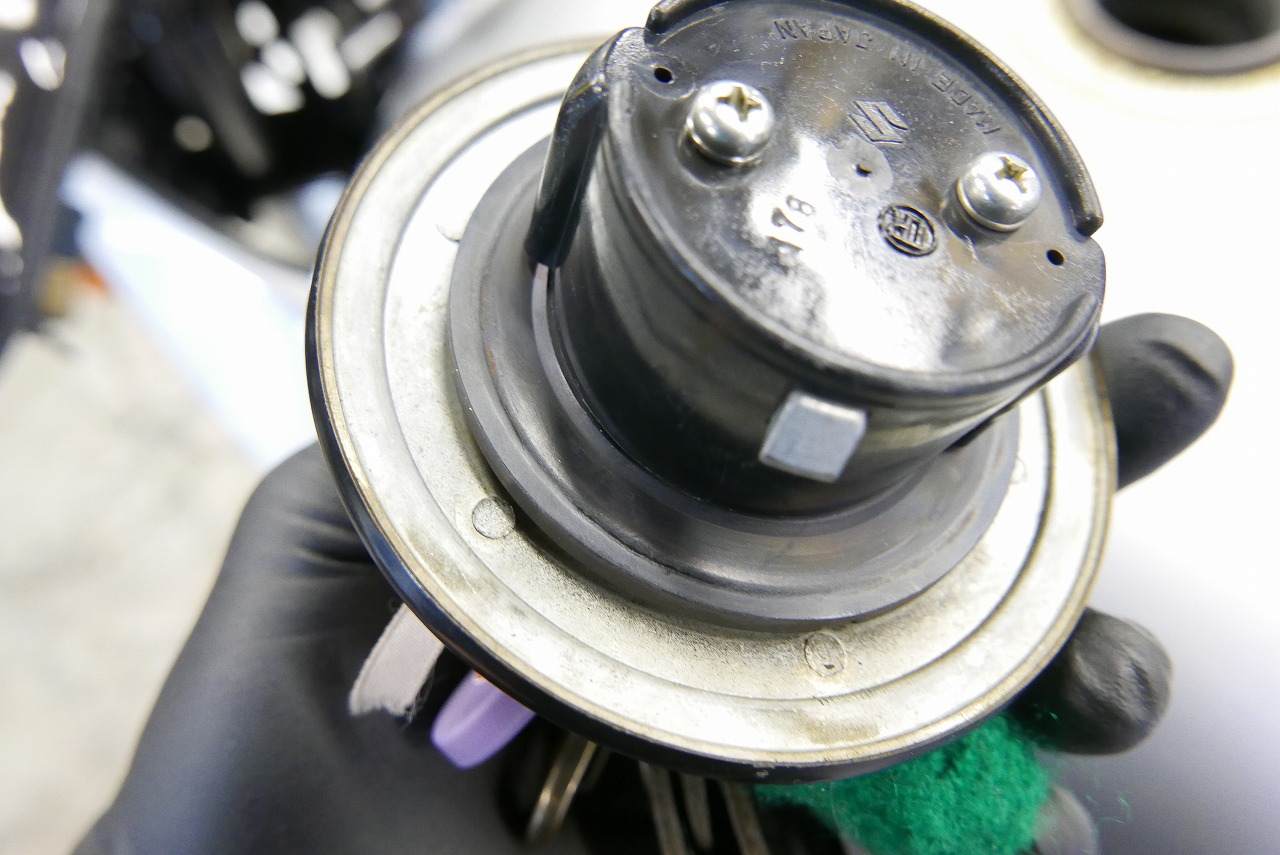
In a way, this is an excellent fuel cap—it won’t rust. Lovely.
That’s all.