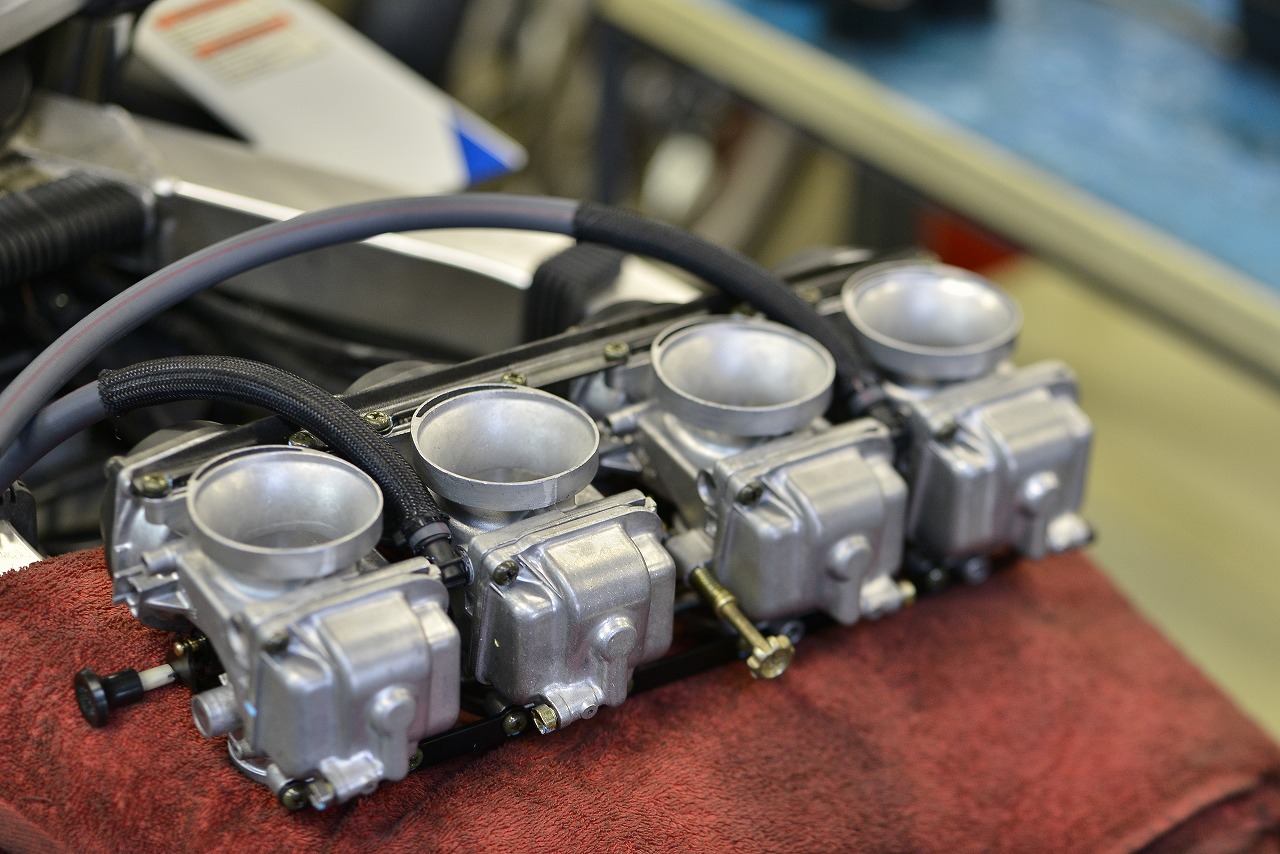
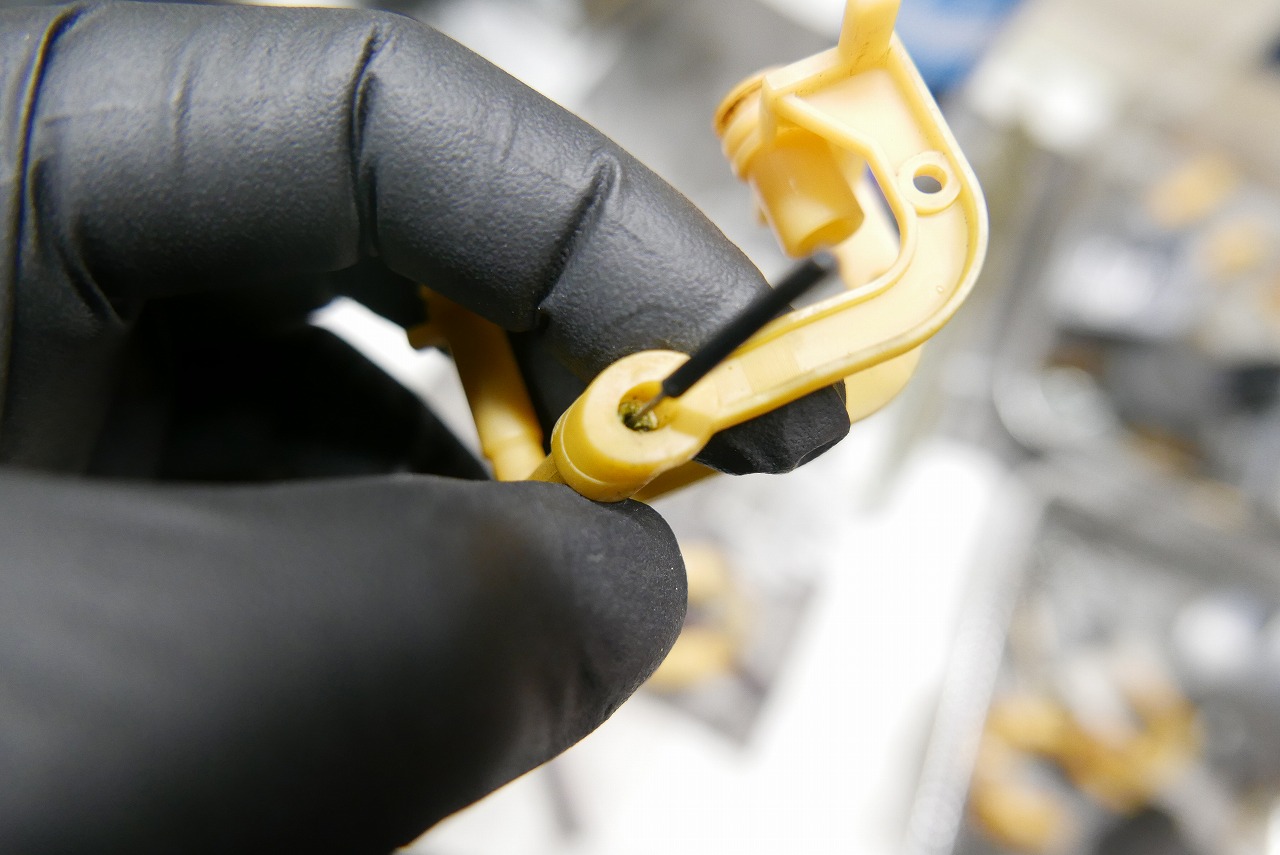
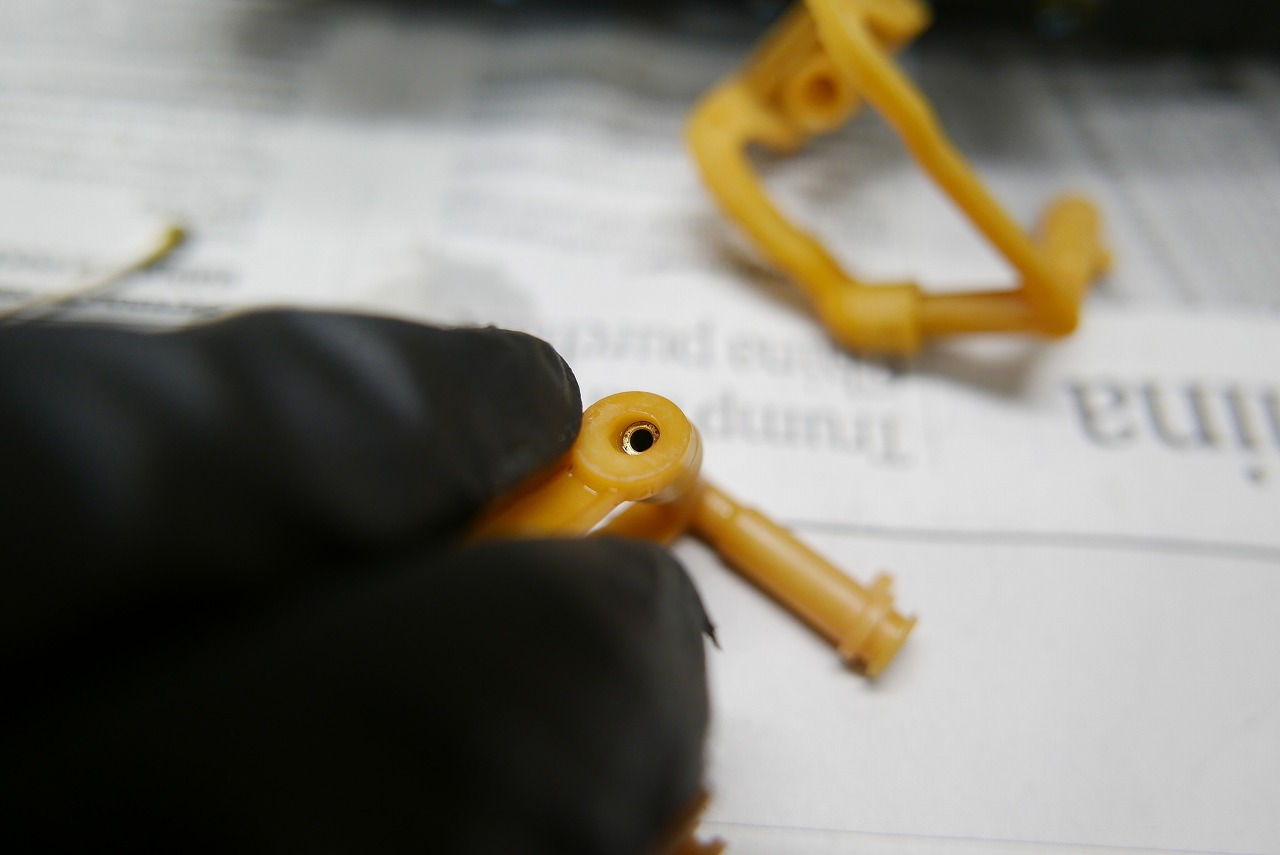
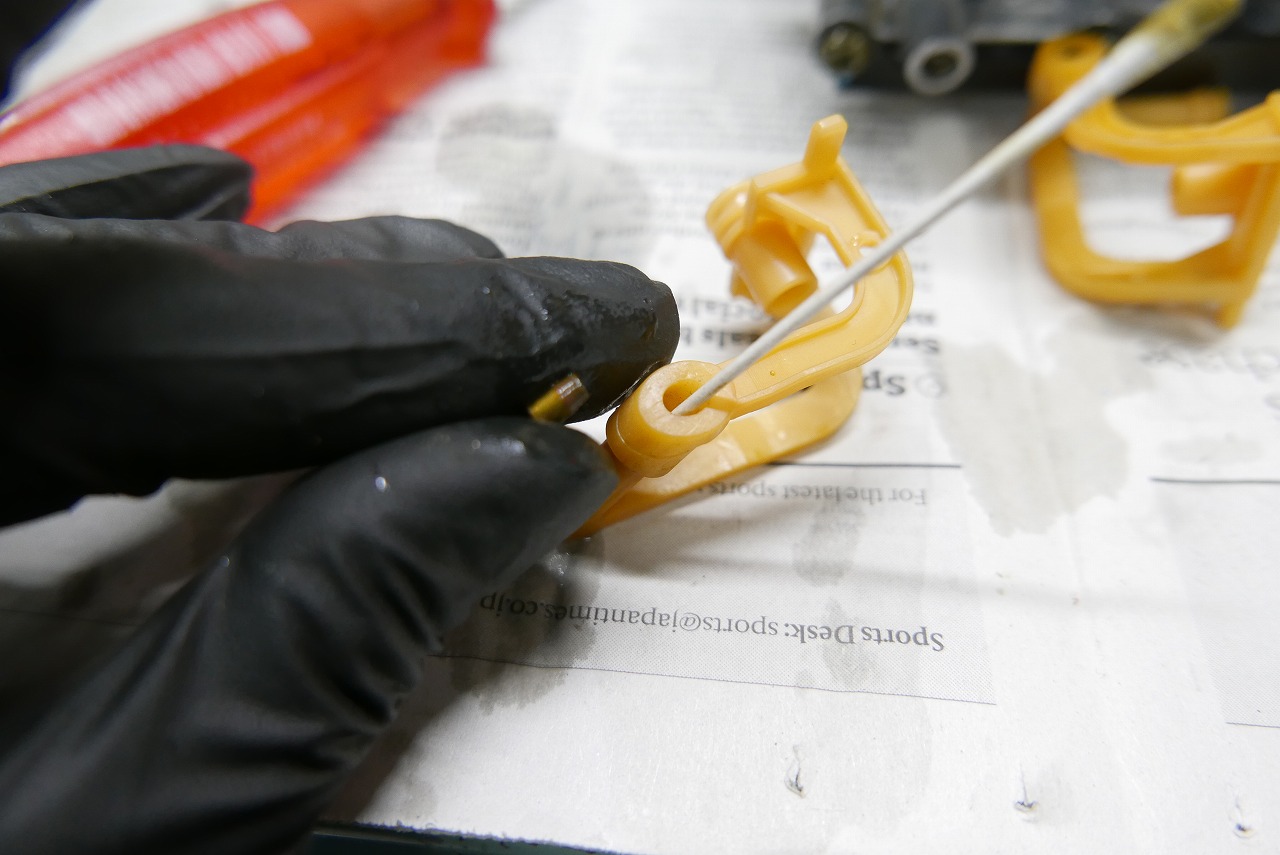
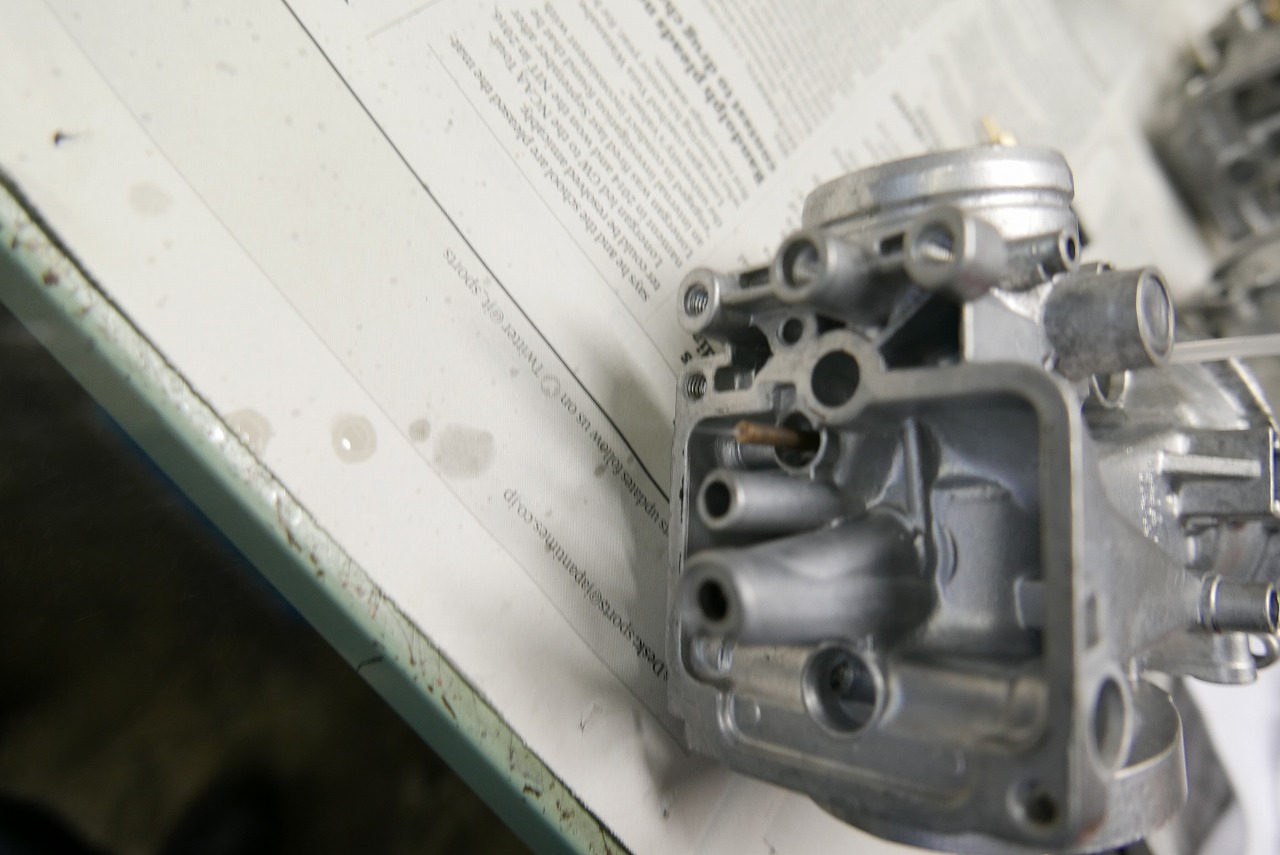
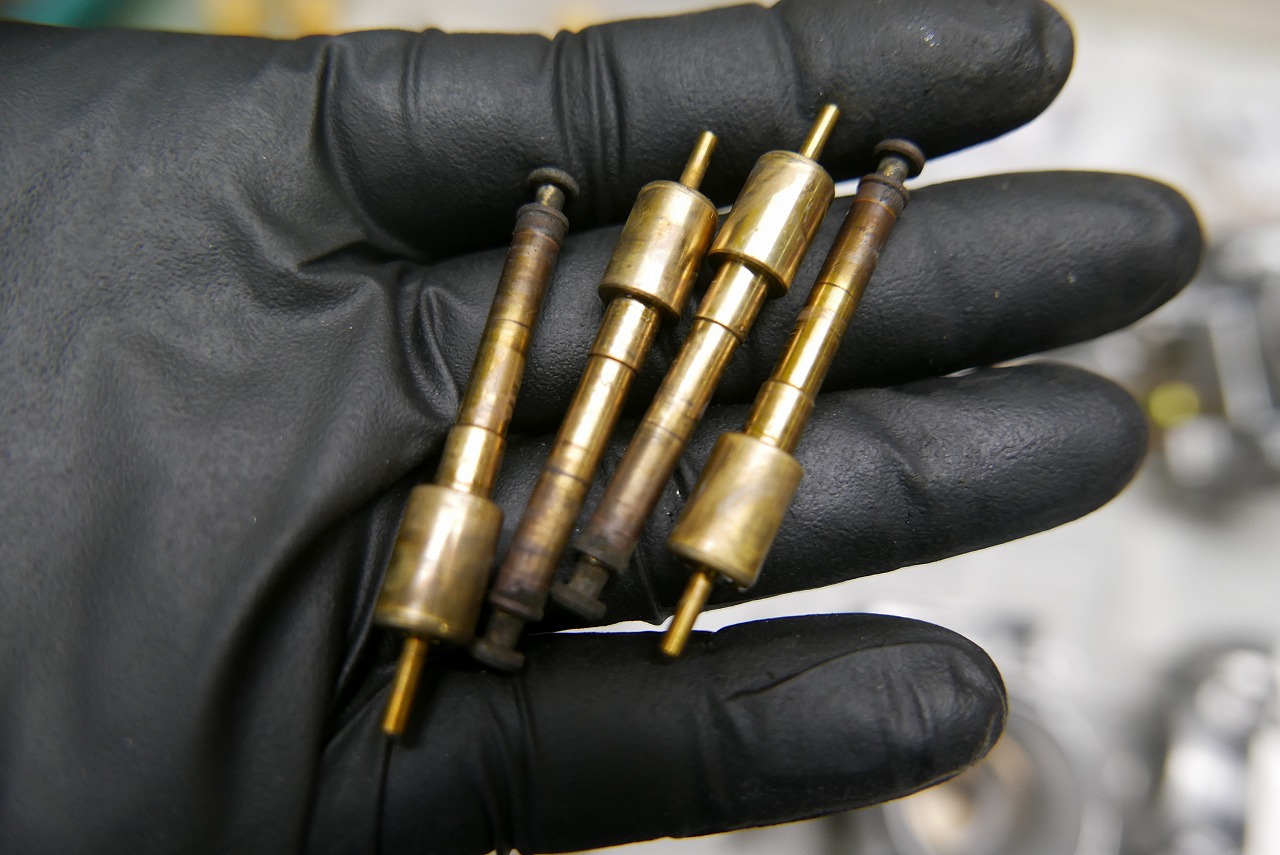
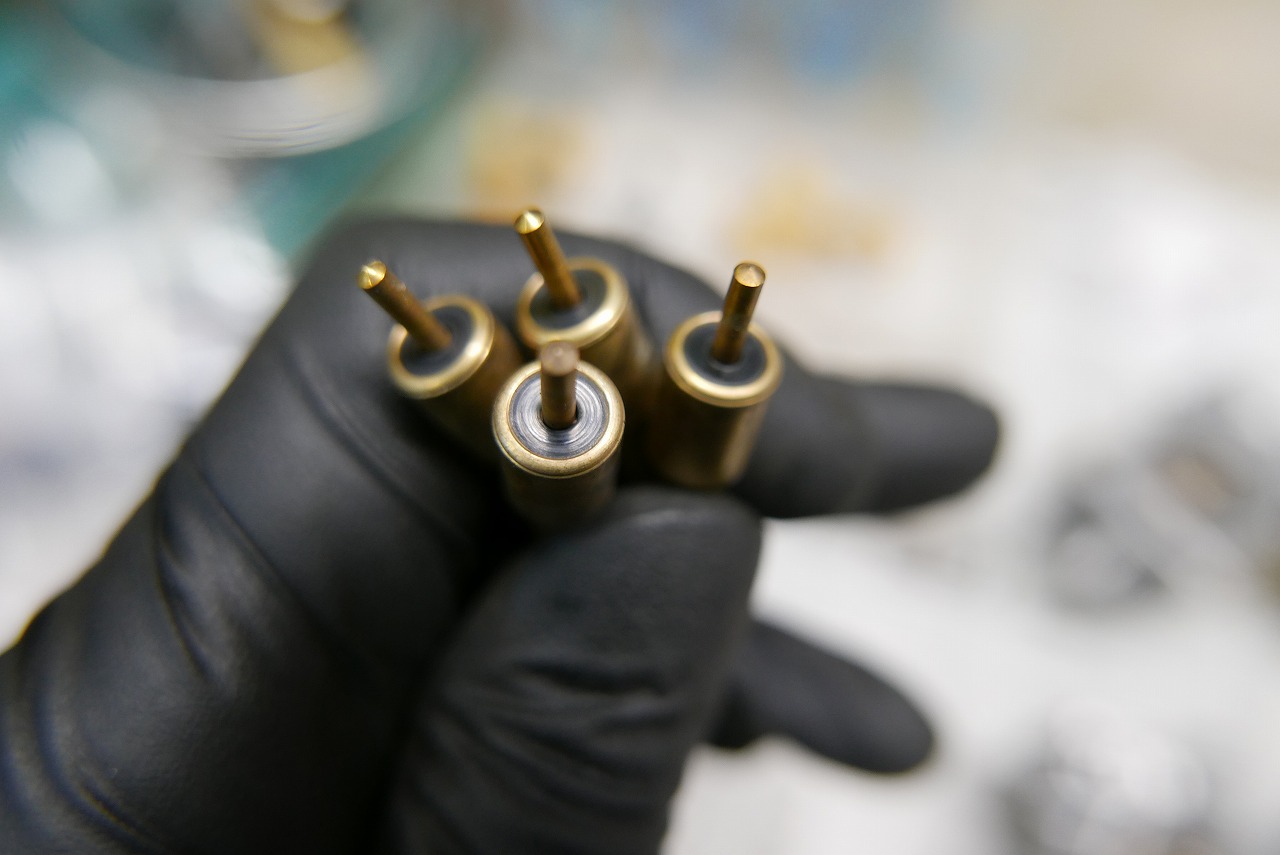
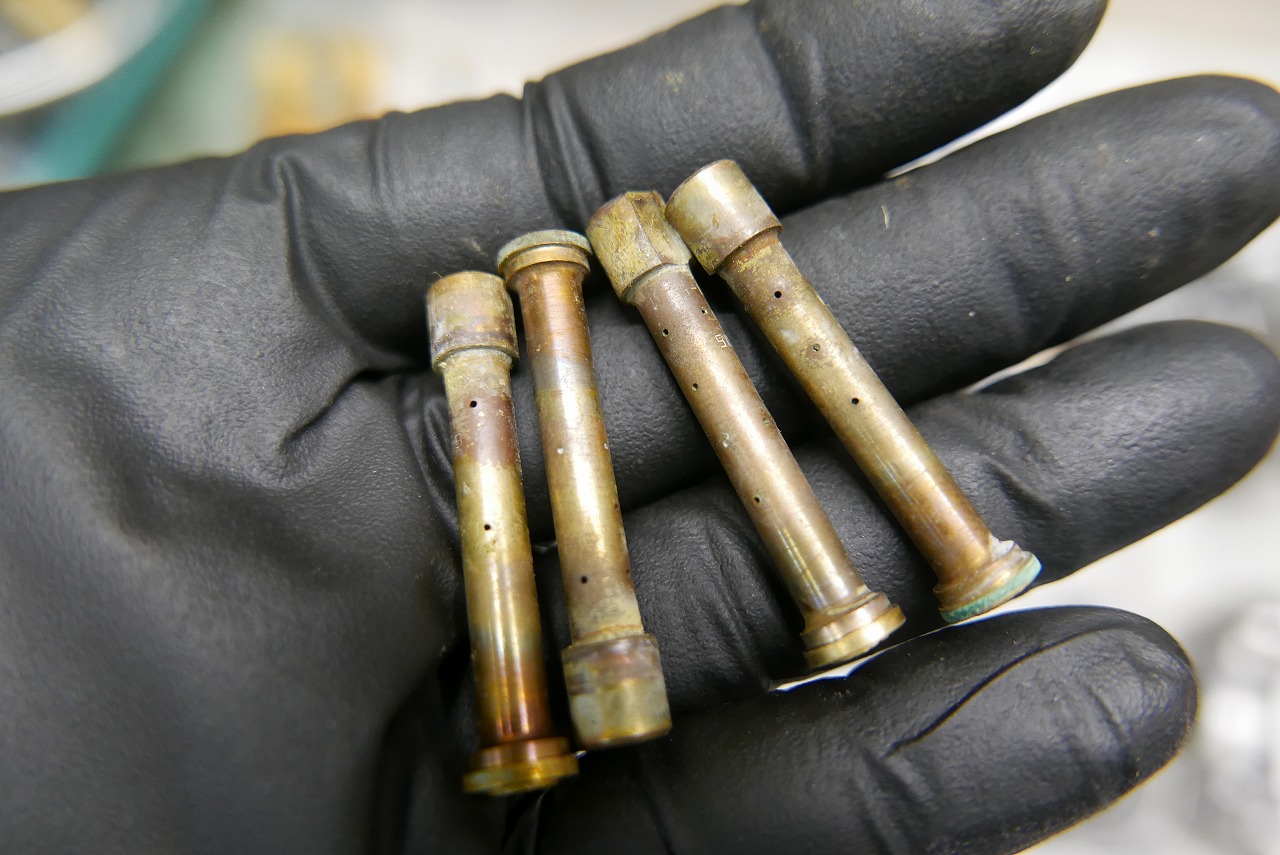
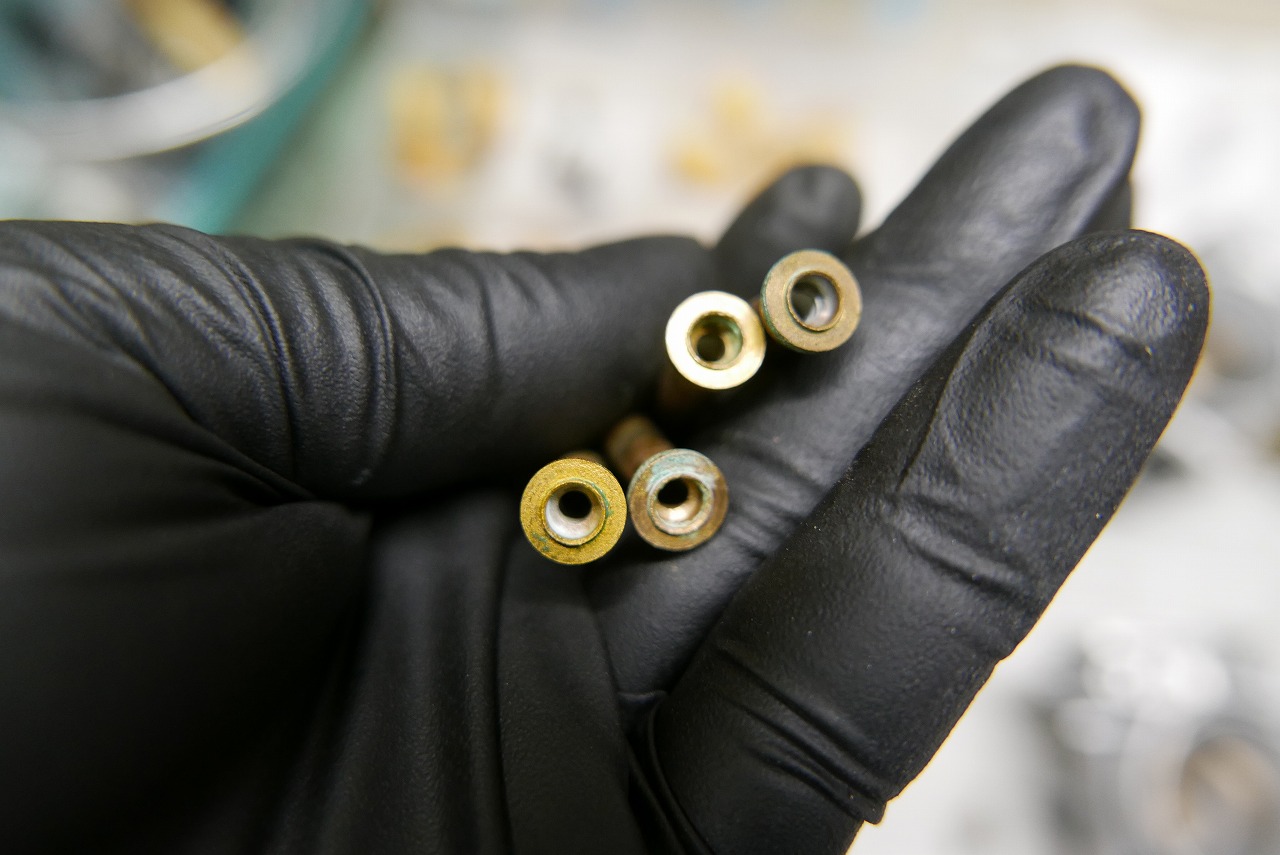
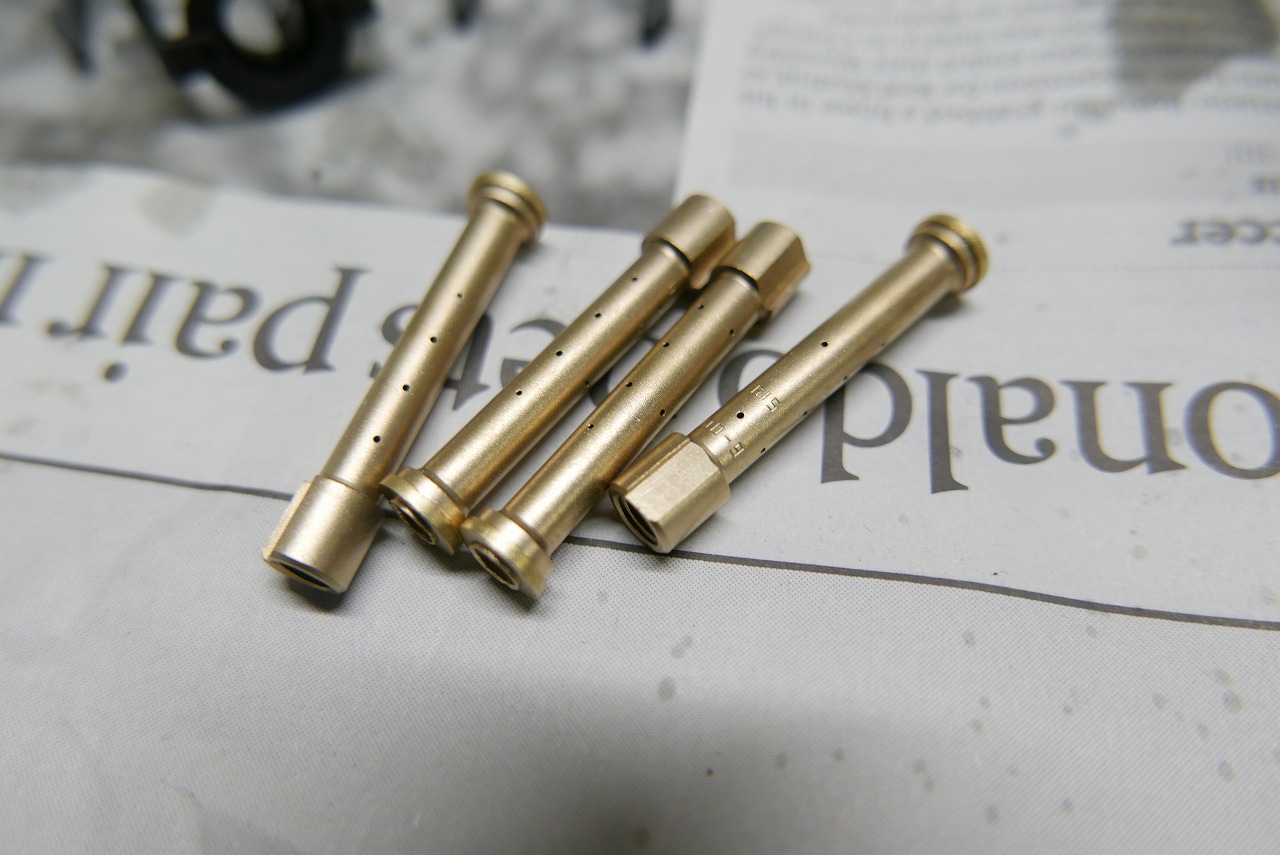
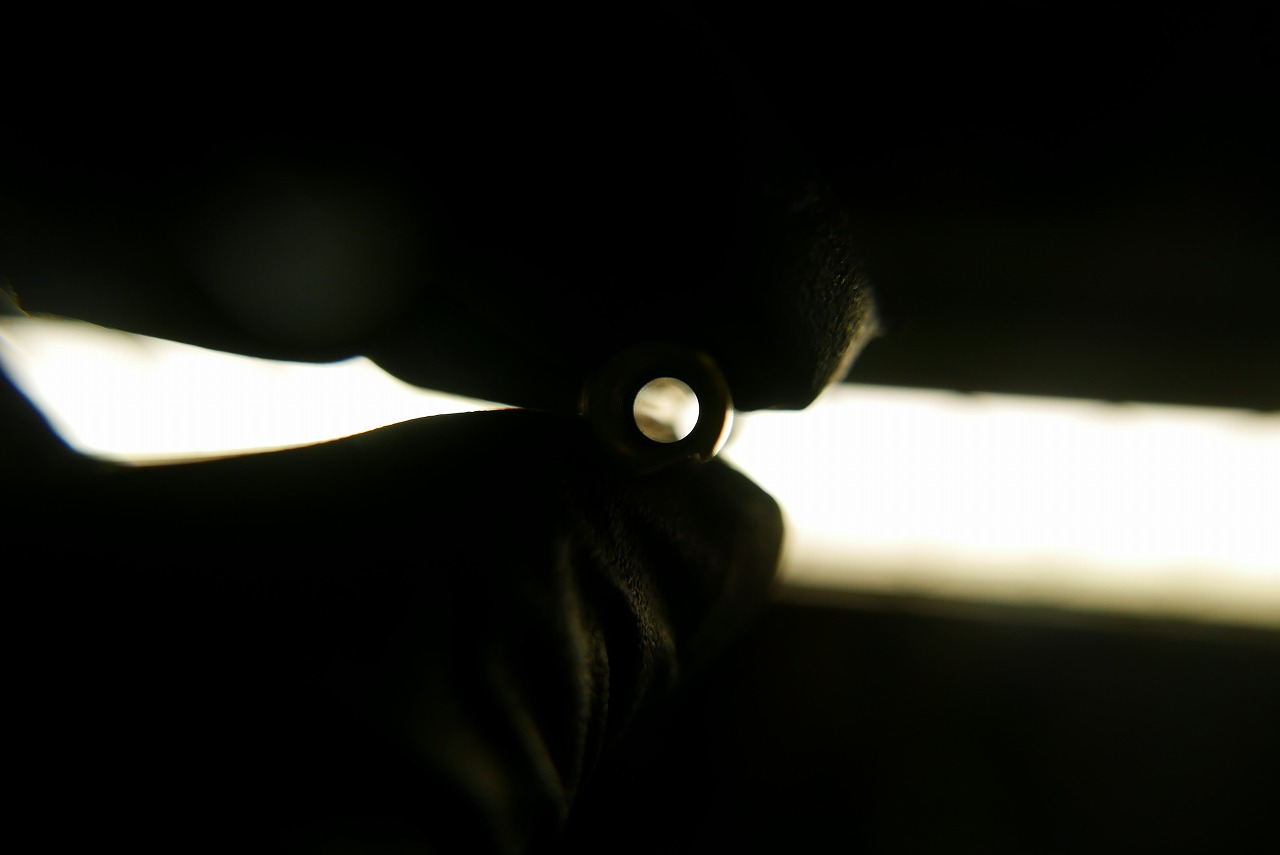
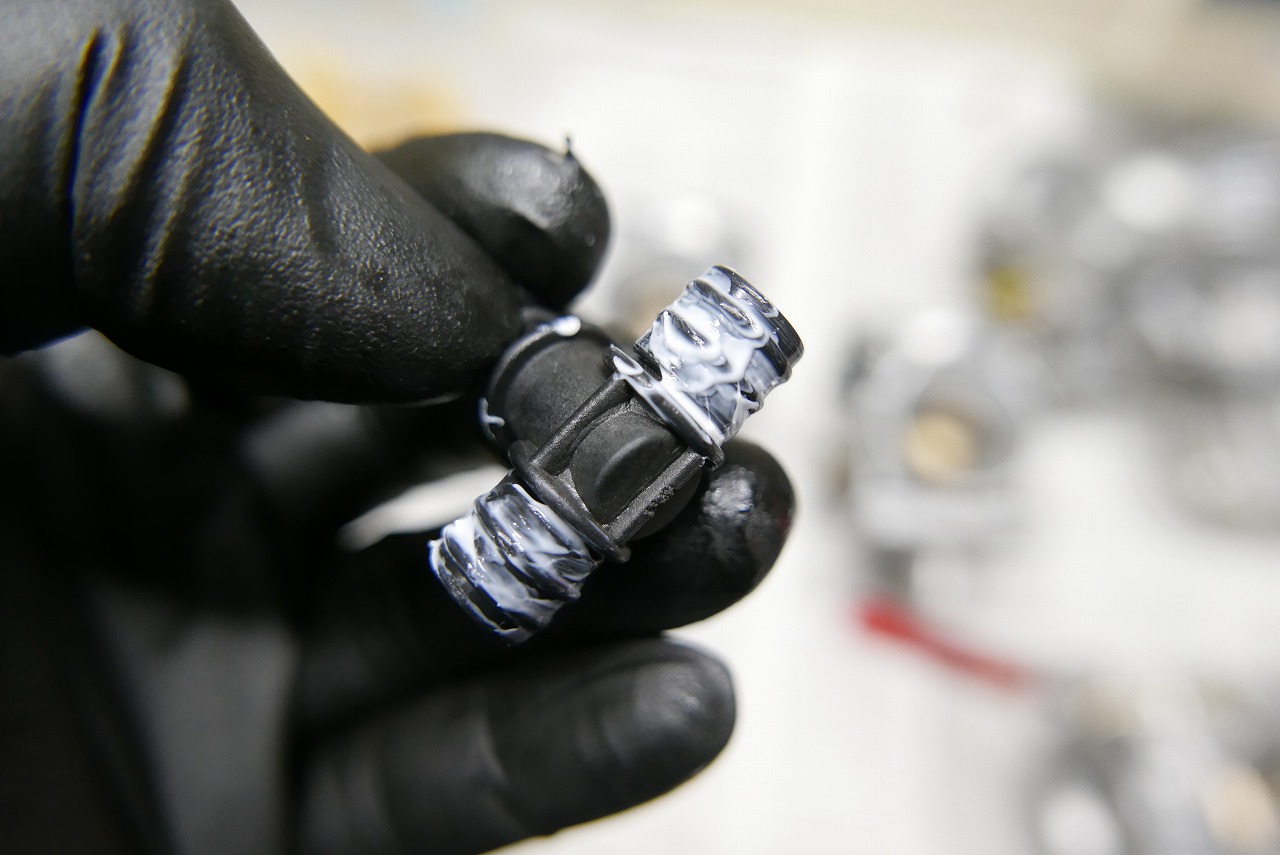
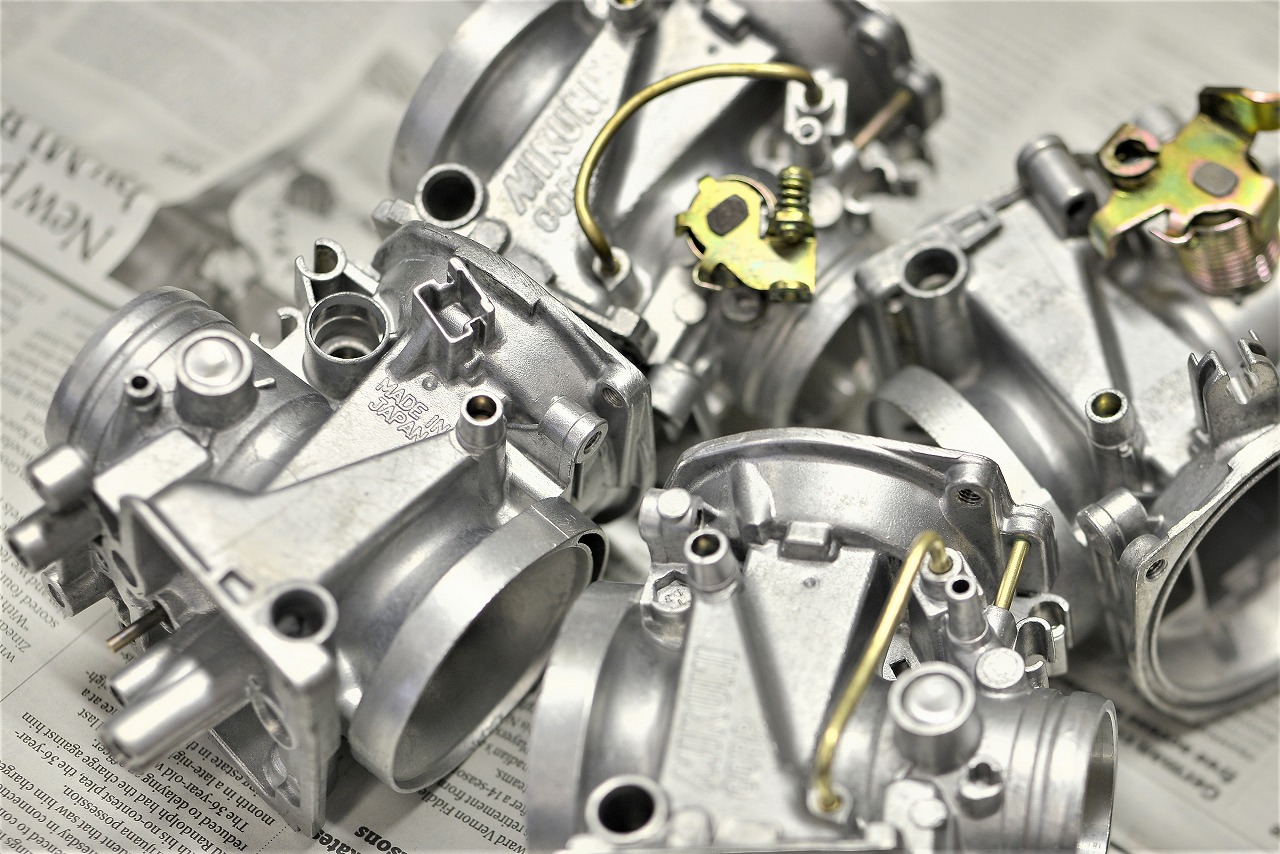
This is a continuation. Jets are easy to clean, which is nice, but the starter circuit (choke passage) is incredibly fine. If carburettor cleaner and air can blow through with a whoosh, that’s good, but honestly it’s tough. Even poking around with a carburettor reamer, it’s clogged deep down and won’t clear at all. At 3,672 yen (tax included) per unit = 14,688 yen for four units… I’m basically a cheapskate by nature, so I’ll give it my best shot. Replacement is certain, but if this part doesn’t come out? What am I going to do? I ask myself these questions and try to level up my skills. The problem is that what’s clogged is basically old gasoline, which is heat-sensitive. Resin with brass pressed in means I can’t apply heat. How can I get this out without damaging it? I fidget and worry about this for a few minutes. Today it came apart cleanly too. I’ll poke it out with a cotton swab and clean it up. Clogging means buildup on the inner wall, which doesn’t come off easily, so carburettor cleaner alone won’t remove it, which means it stays clogged. I wish it wouldn’t get clogged in the first place. The main body was clogged too. Since I can apply heat here, it was a bit easier. I’ll replace the starter valve too. Finally the needle jet (NJ) is discontinued. I’ll do my best to reuse this one. I polished it and got it working again for now. I basically don’t like polishing jets, but when they’re discontinued, there’s no choice.
When you scrub with industrial cotton swabs, you think “Ugh, that’s dirty!” There’s a surprising amount of grime stuck on there. Carburettor cleaner and air do okay, but the deepest parts might need a gentler approach.
*I have an ultrasonic cleaner, so maybe I’ll try that next time. If it’s been over ten years, or even up to fifteen years, you should disassemble all four carburetors. The fuel passages and air vents get all crusty.
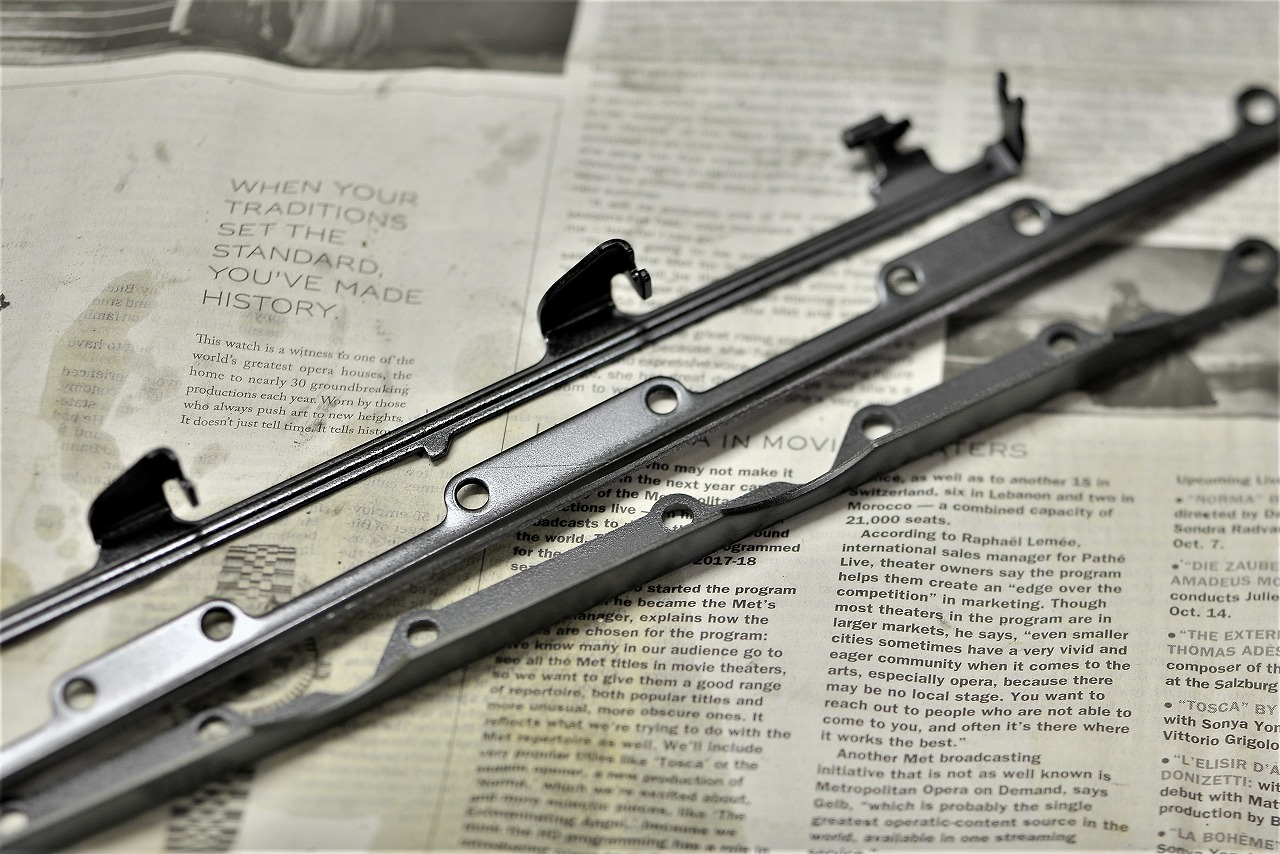
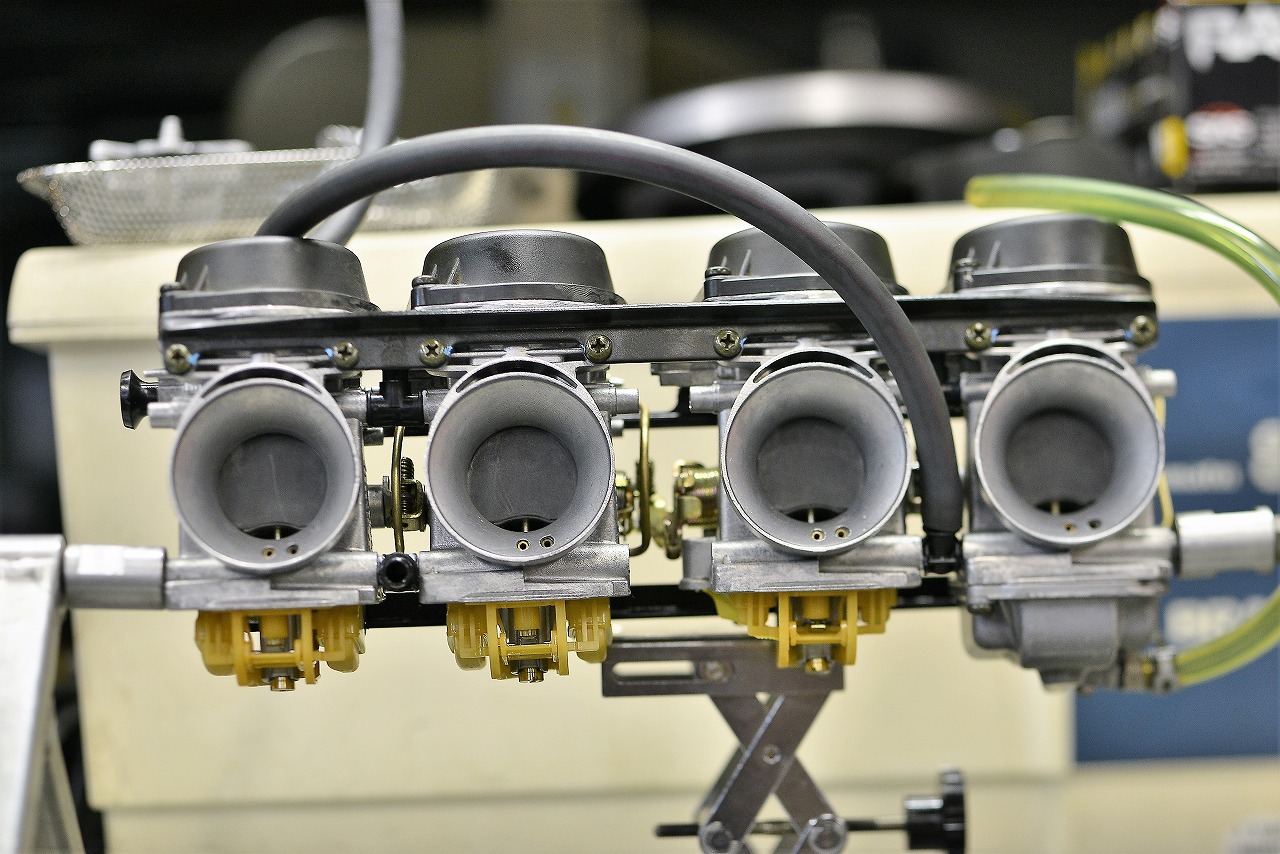
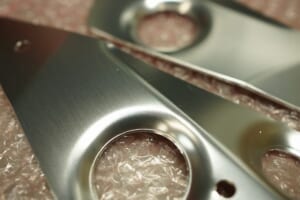
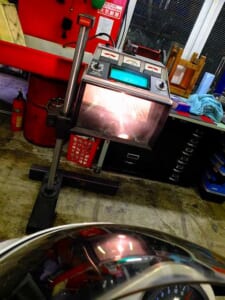
After an overhaul, we don’t want any seeping, so let’s make sure that doesn’t happen. The fuel passages move quite a bit. If they’re lubricated, the movement is smooth and the seals might not wear as easily. That’s the hope anyway. With that in mind, I apply Valvoline in the grooves each time to keep it trapped there. This time the internals were what mattered, so I cleaned up the exterior nicely too. To keep this BST going, there’s still more to do. I like this carburettor, but it feels like a problematic one. I polished the connecting plate and then applied gun coating. Our shop’s work keeps improving every day. Next I check the actual fuel level and adjust, then it’s done.
I don’t think the fuel level itself has a dramatic effect. But checking it removes any vagueness when troubleshooting. And you’ll understand why overflow happens and what causes it.
You won’t blindly swap the float valve just because you think “Maybe the overflow is from the float valve?”
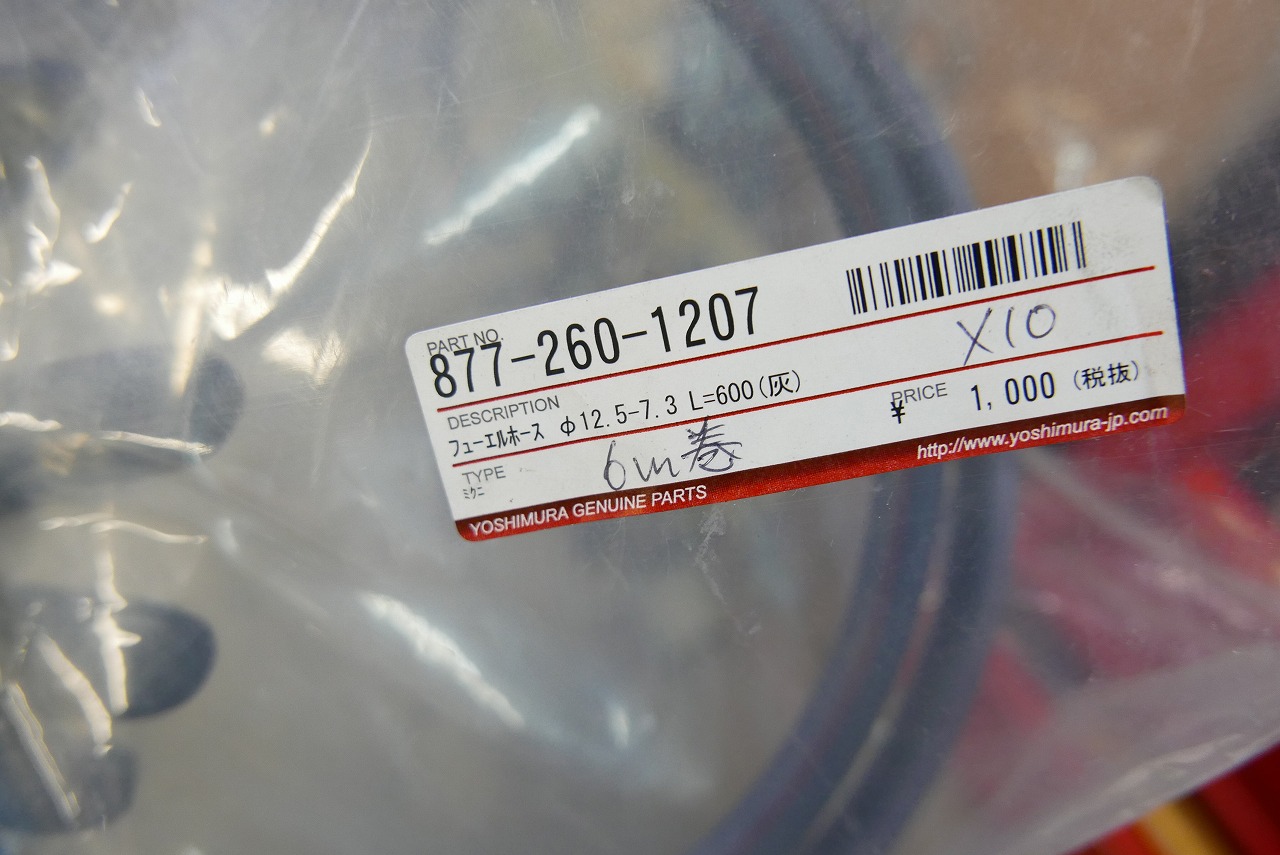
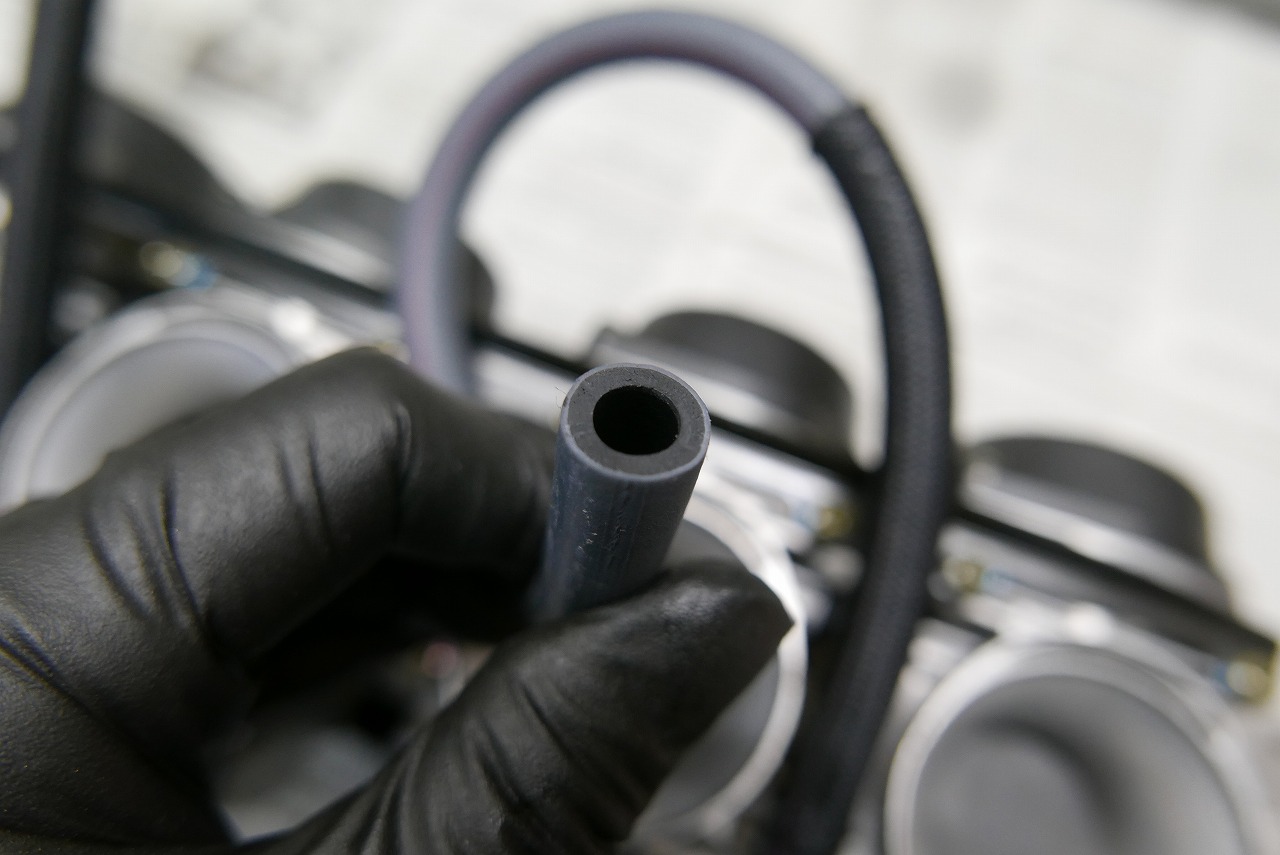
We use Mikuni fuel hose (arranged through Yoshimura). (We keep it in stock.) I don’t want to use anything else.
Kijima and Honda OEM are available too. This dual-layer construction is the secret to its quality. The balance of flexibility and resistance to crushing and kinking is really good.
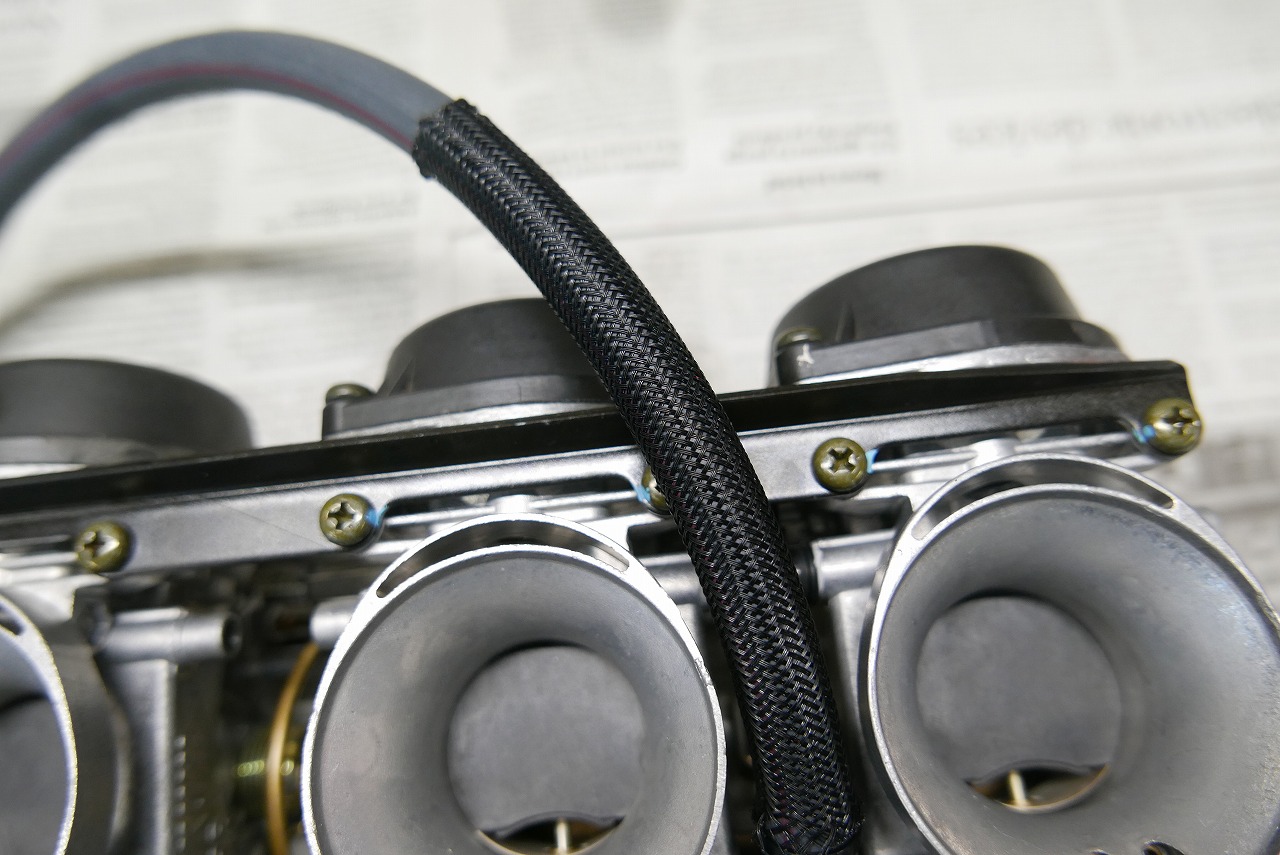
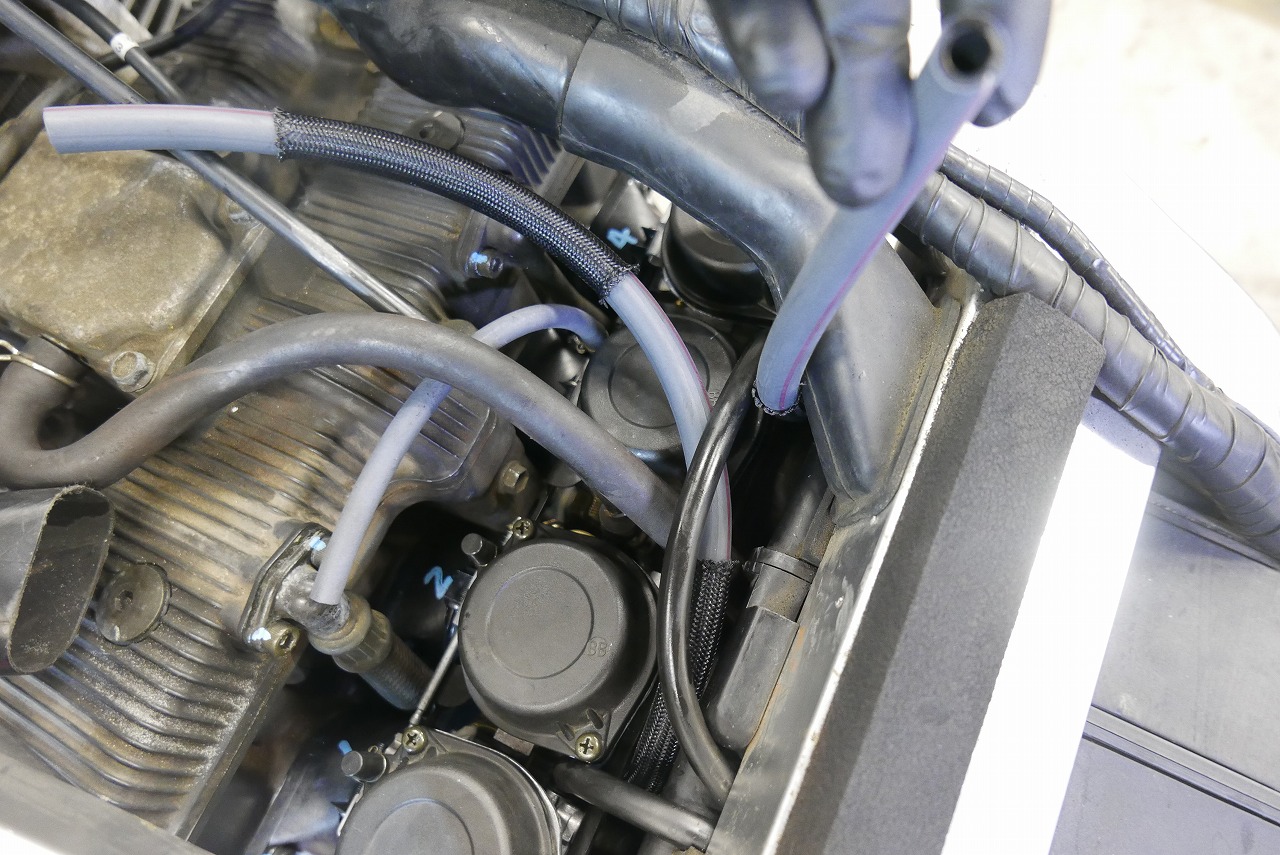
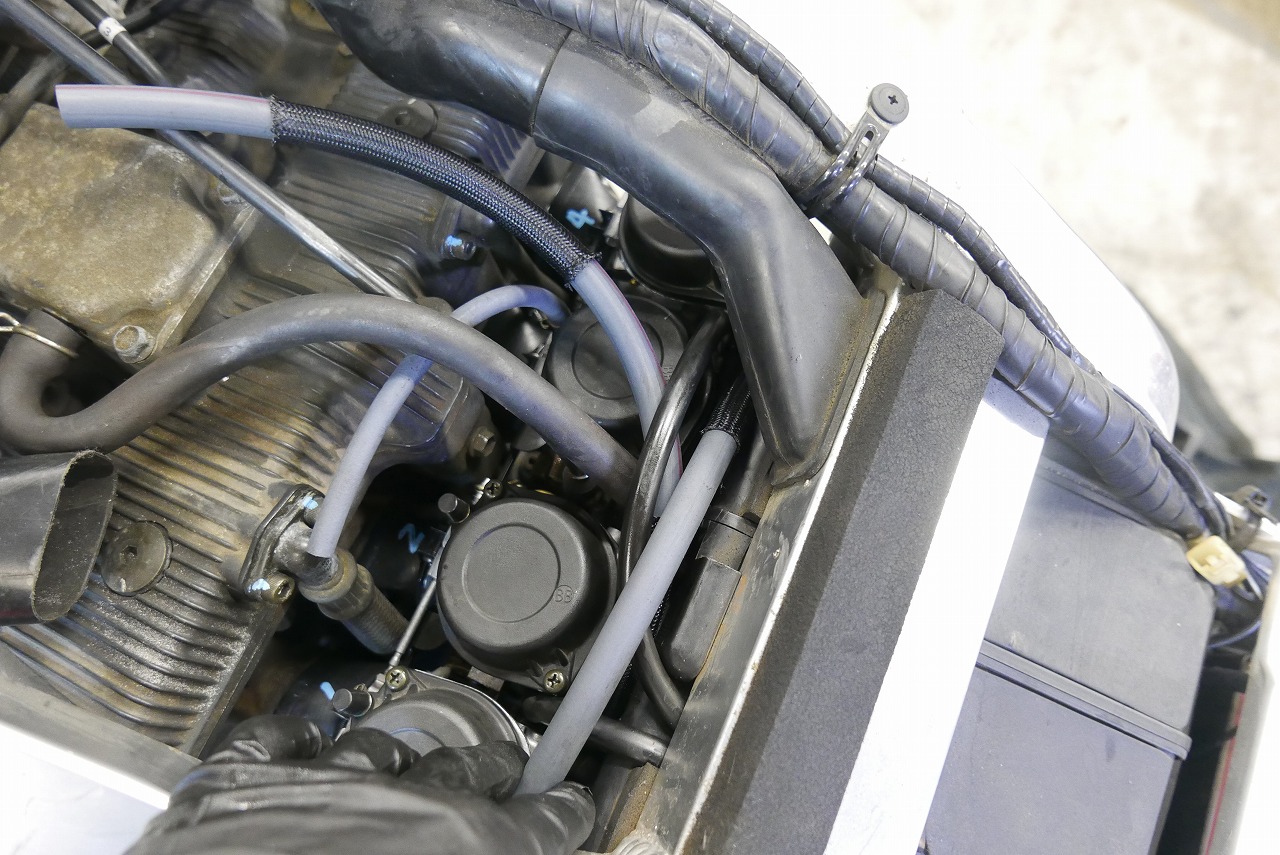
Whether it’s wiring or hose, if the layout requires bending, you should avoid layouts where crushing is possible. Make nice, gentle curves for good workability too. It’s good to wrap the hose with mesh so it doesn’t get abraded. The stock setup has a tube on the connection side. (Old school!) Don’t you think the stock GSX-R1100K LMN hose connections are pretty annoying? Two hoses go into the petcock, so if one comes loose, “that’s a crash waiting to happen!”
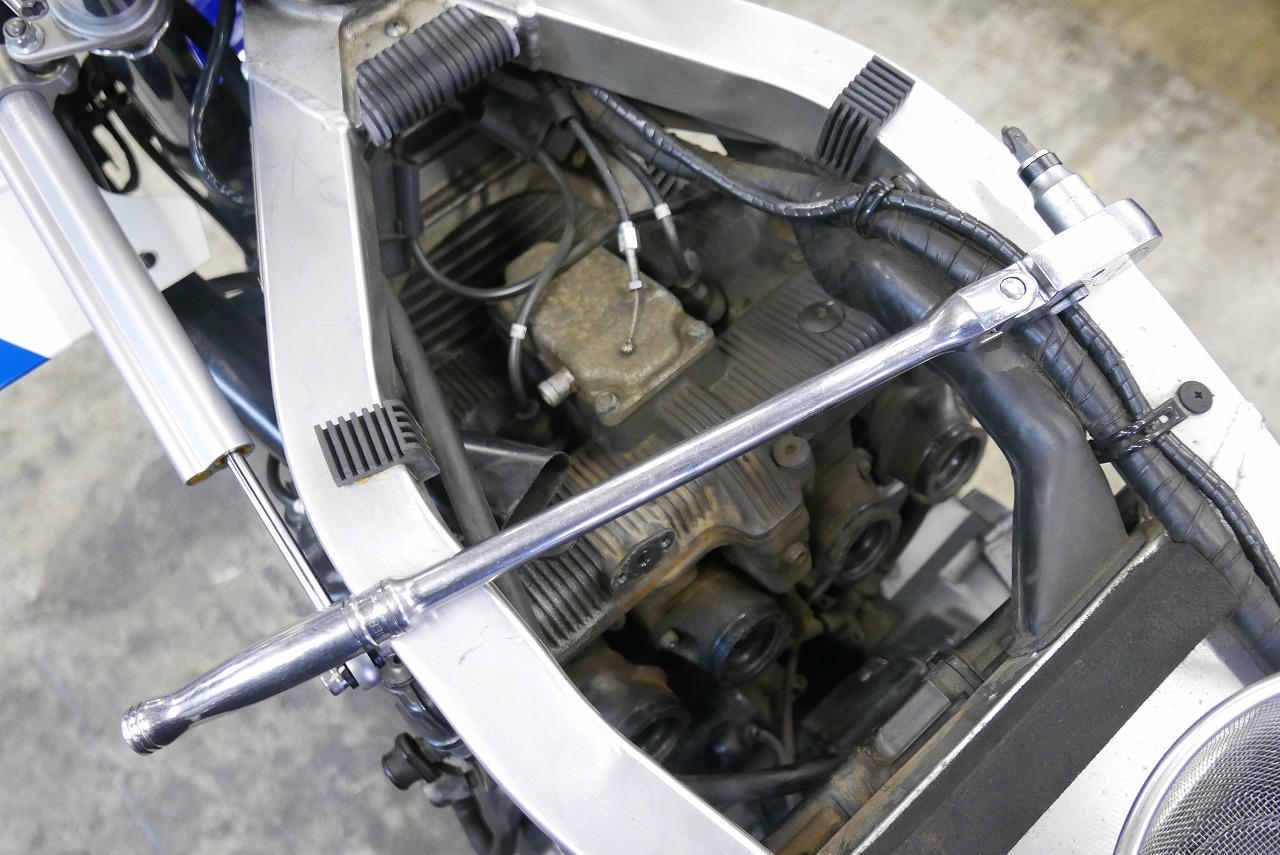
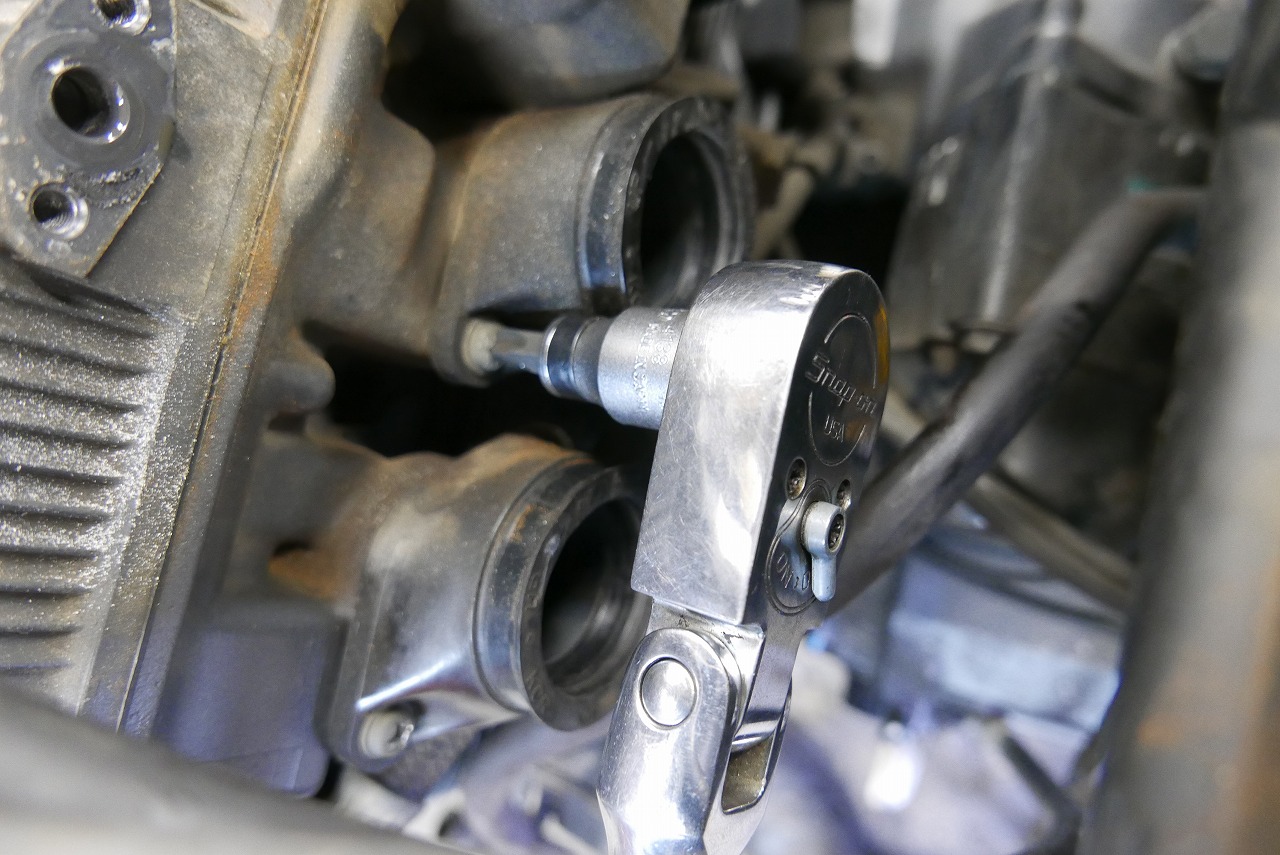
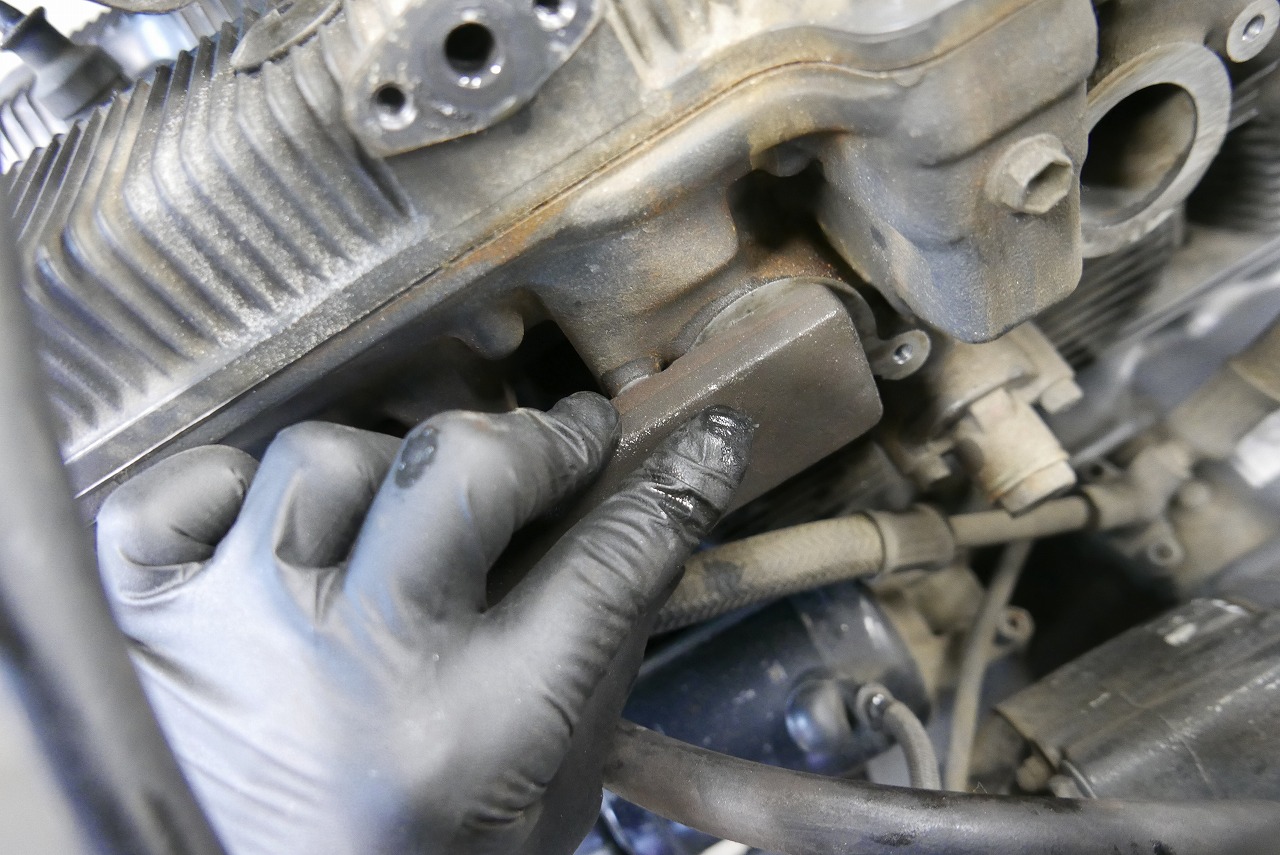
You should set it up so it’s secure and reliable, and maintenance doesn’t become a chore. For those struggling with intake manifold bolts that won’t come loose, here’s a handy tool that sometimes helps. • #3 + box (1/2 size) • 1/2 ratchet breaker bar should do it. It’s all about transferring the loosening force reliably to the bolt. After doing this a thousand times, you might build confidence in removing bolts without stripping them.
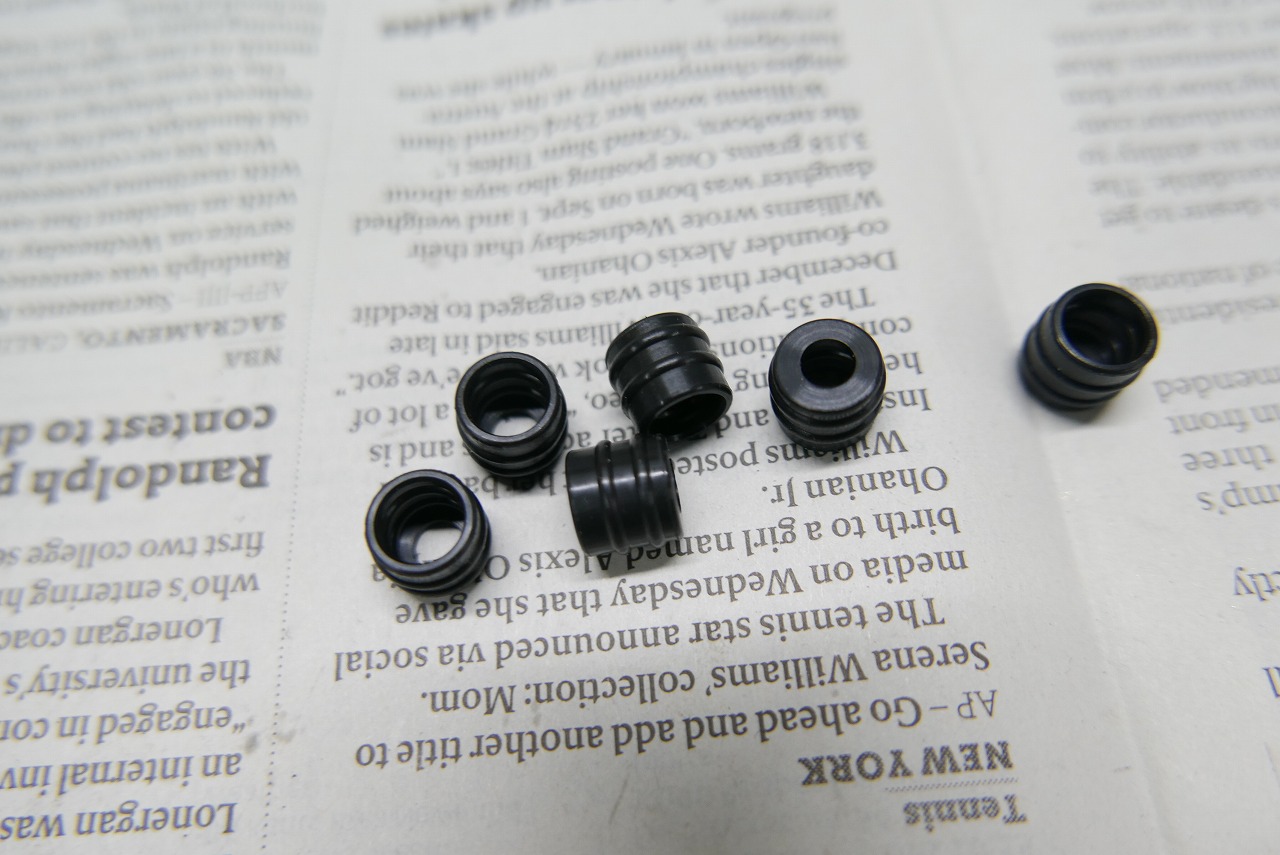
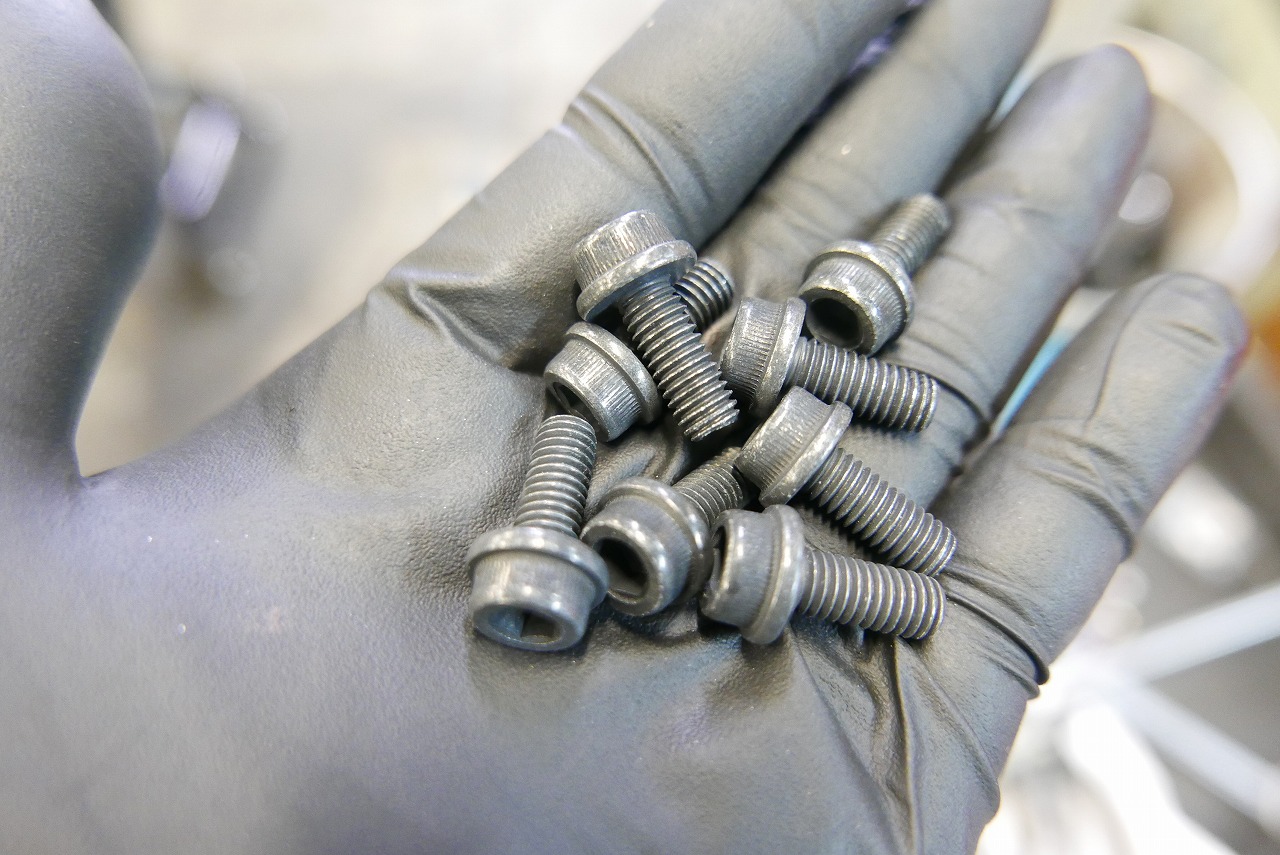
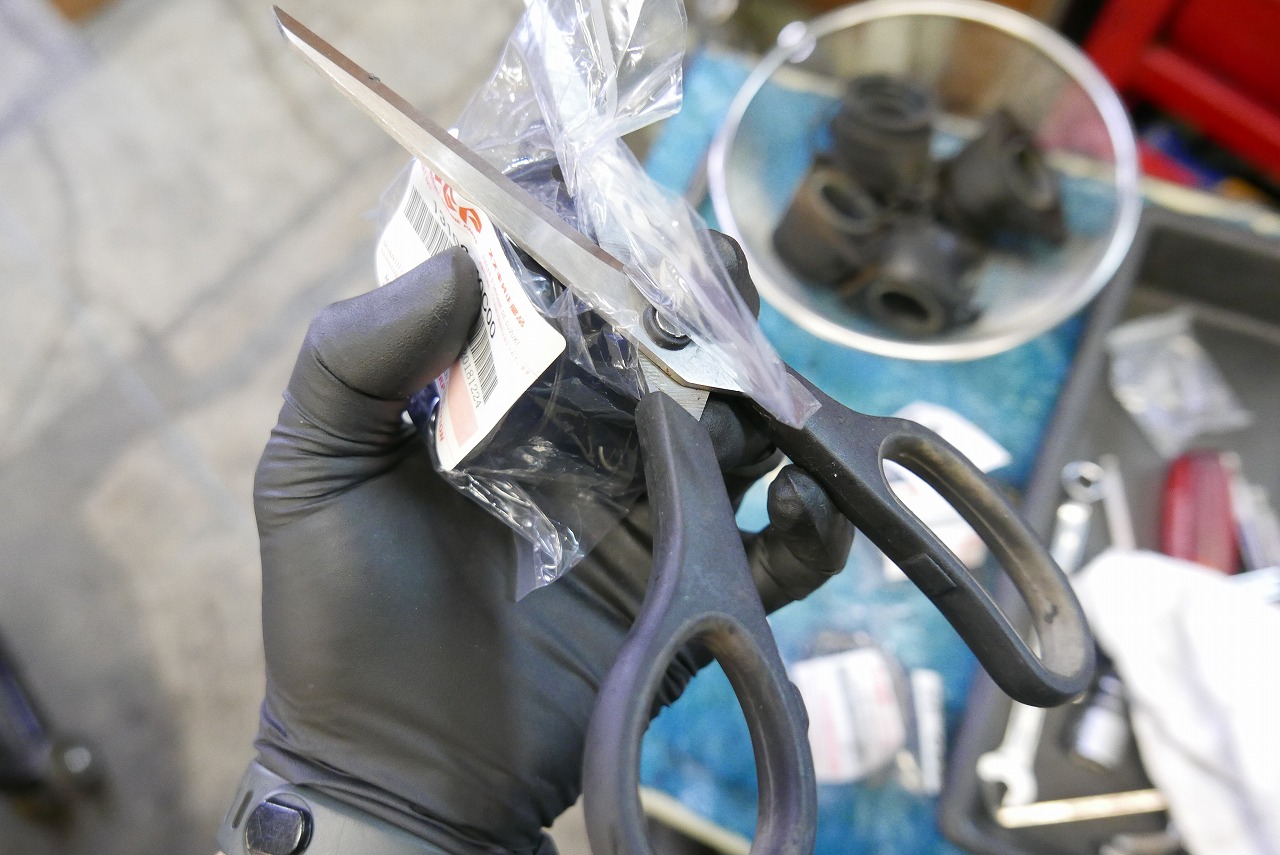
It’s important to work calmly and smoothly. It’s hard to tell whether a bolt is genuinely stuck or if the technician stripped it. I’ll replace them with black chrome flanged hex bolts (steel). No Phillips head, please. These won’t be removed for a long time. With the feeling of “You’ve been hanging in there for about fifteen years,” I’ll scrub them clean. A small good thing: raising the baseline little by little seems to make things safer overall. When you tear open OEM part packaging by hand, a tiny bit of plastic might stick to it.
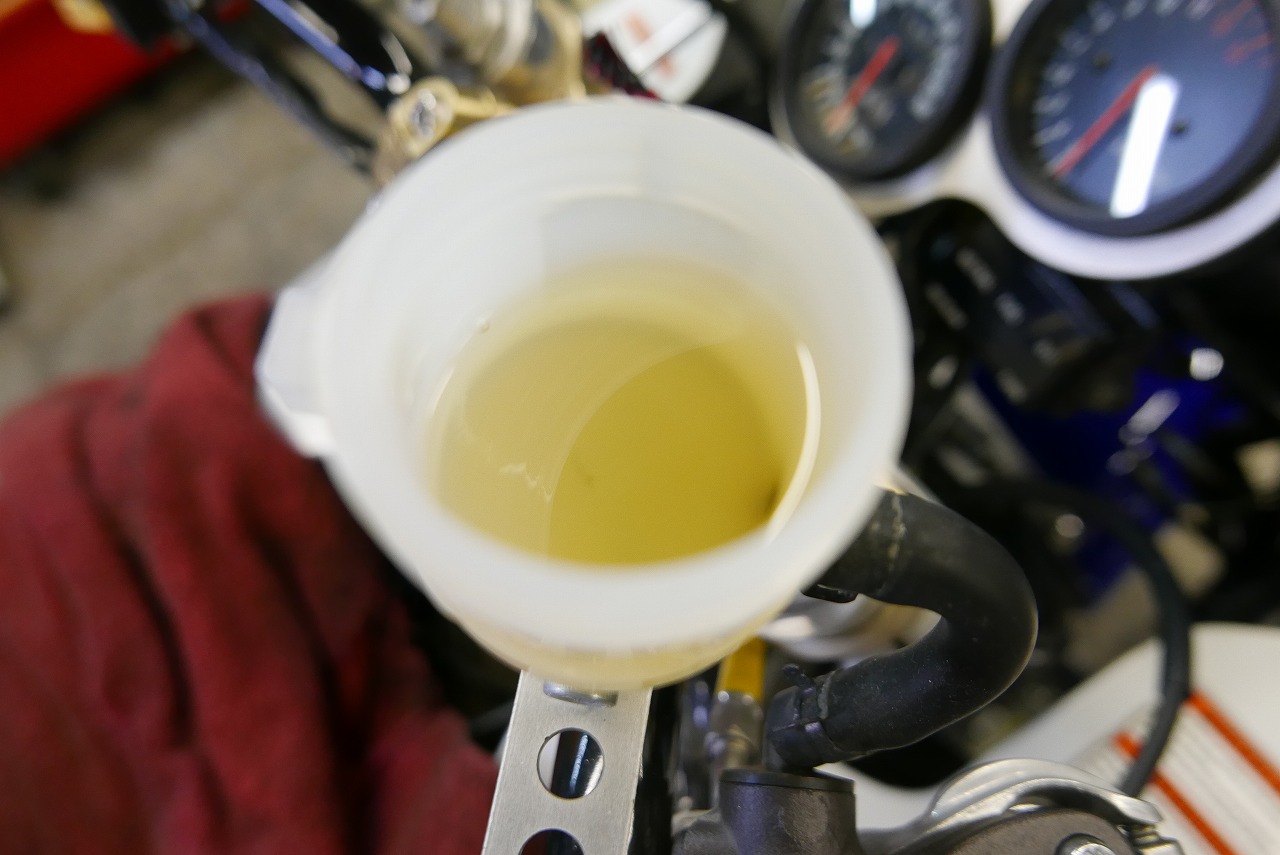
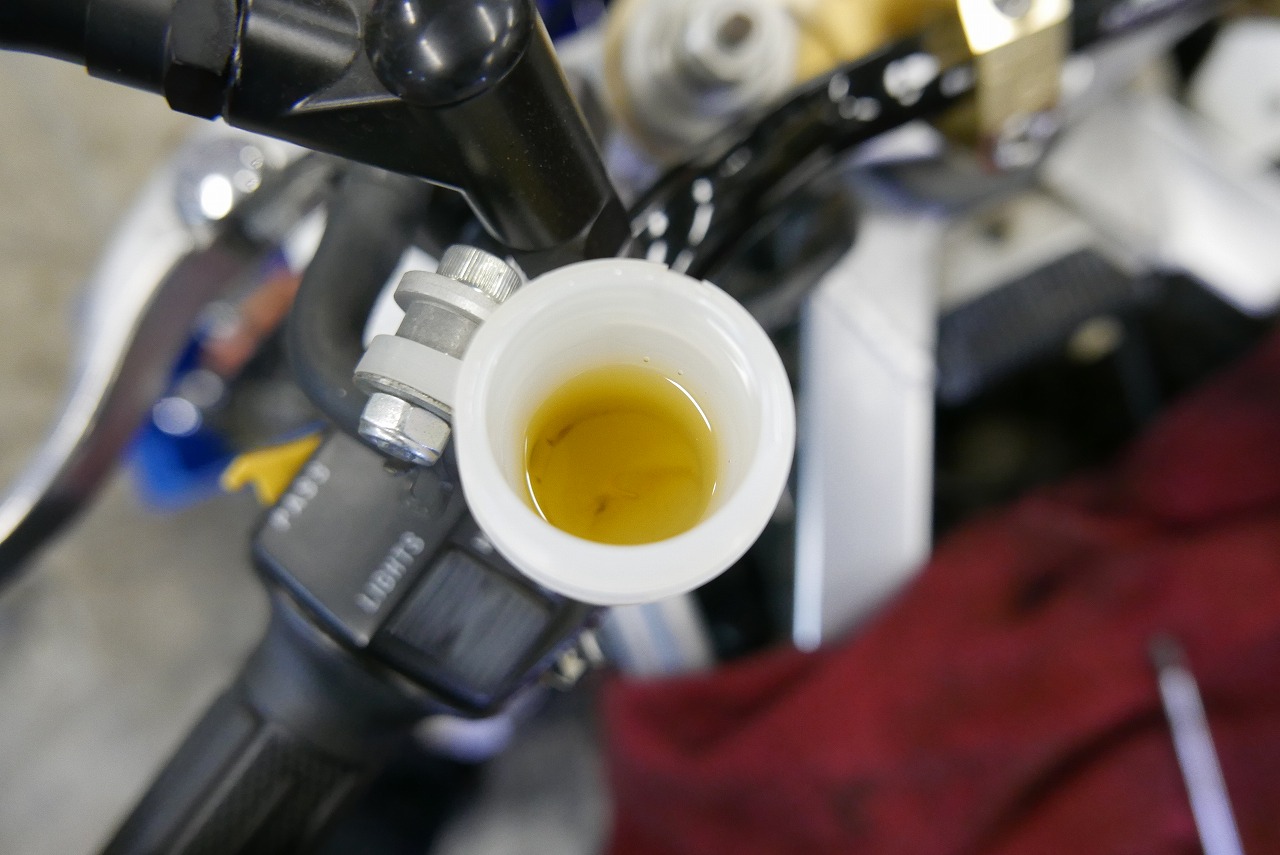
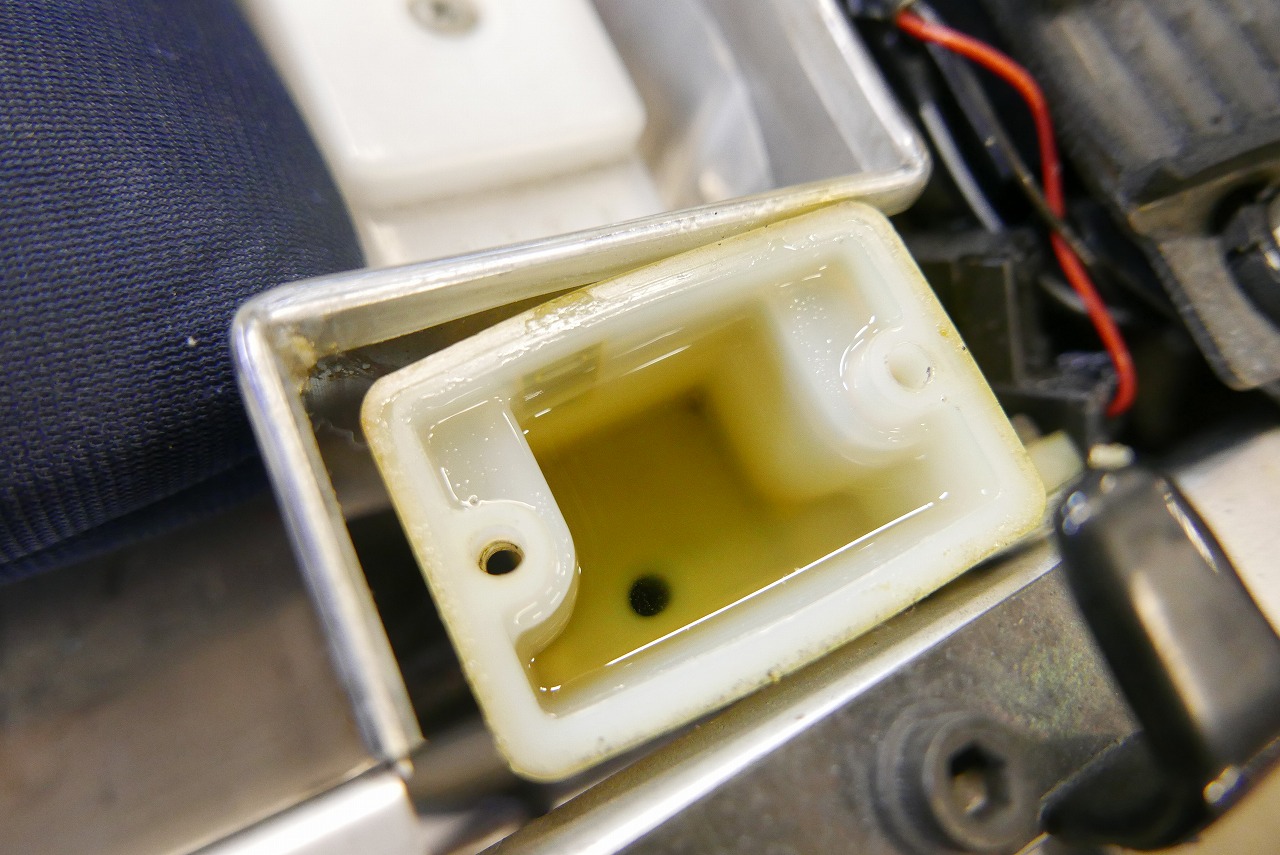
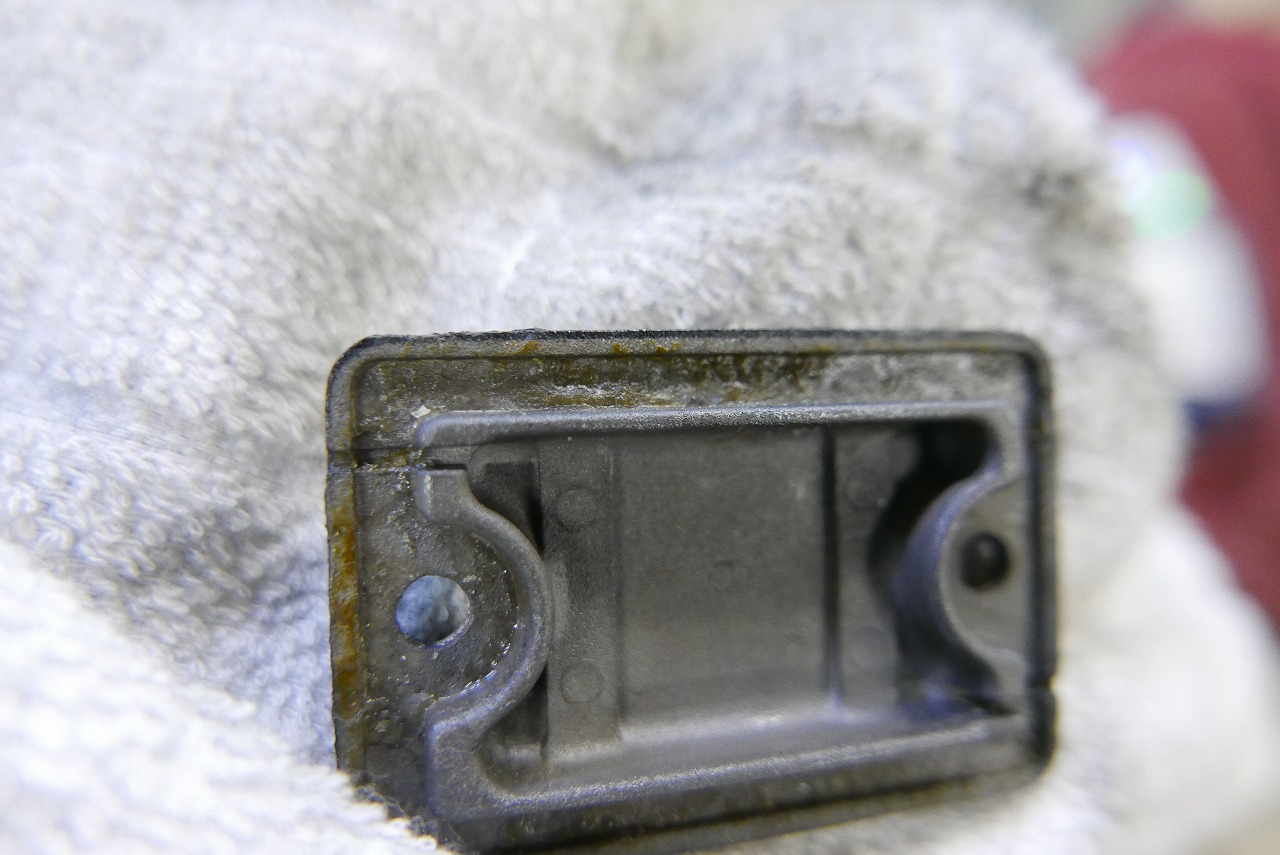
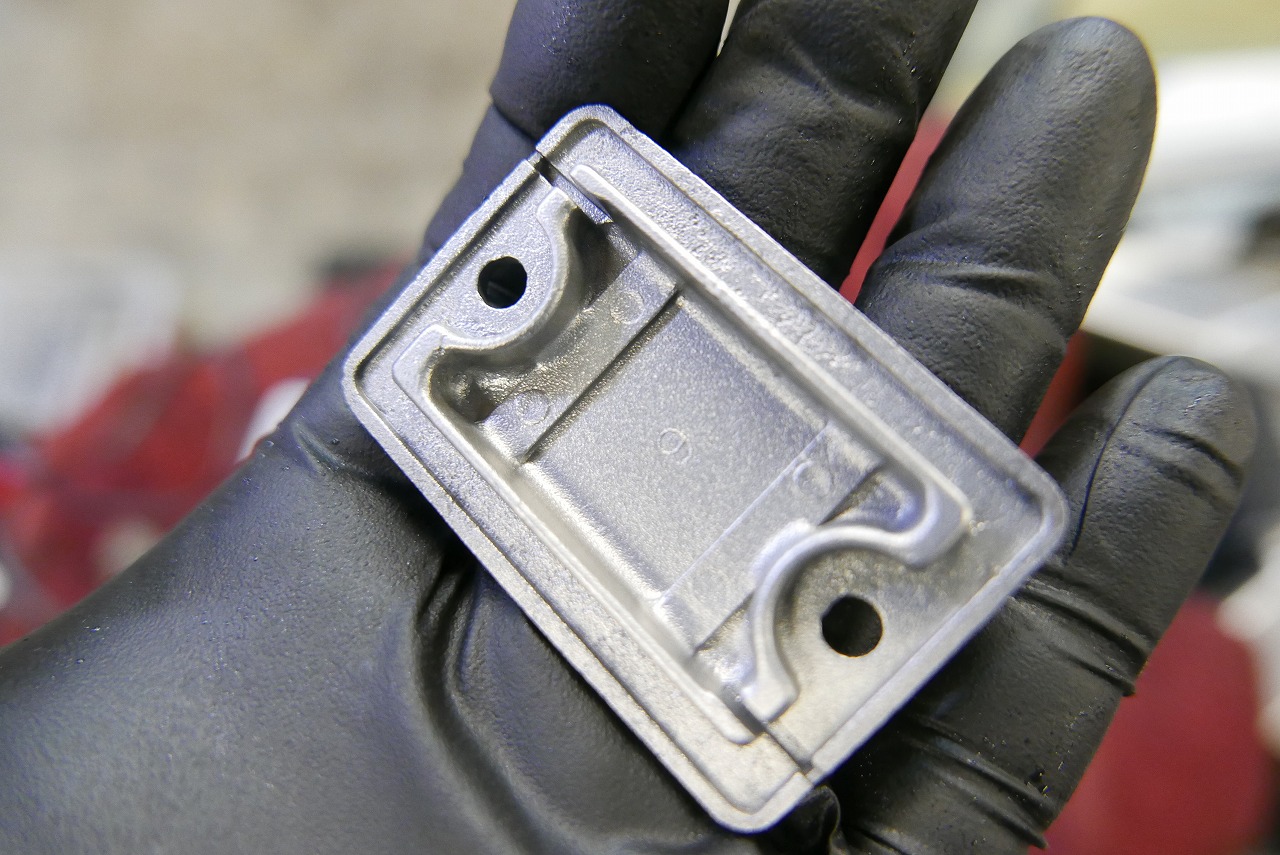
If you cut it 80% with scissors and then remove the contents, you might boost your confidence level. I’ll change the brake fluid. Switching to Golden Cruiser DOT4. Don’t just put the crusty cap back on. It’ll get even crustier and the diaphragm will get all pitted. Polish it clean.
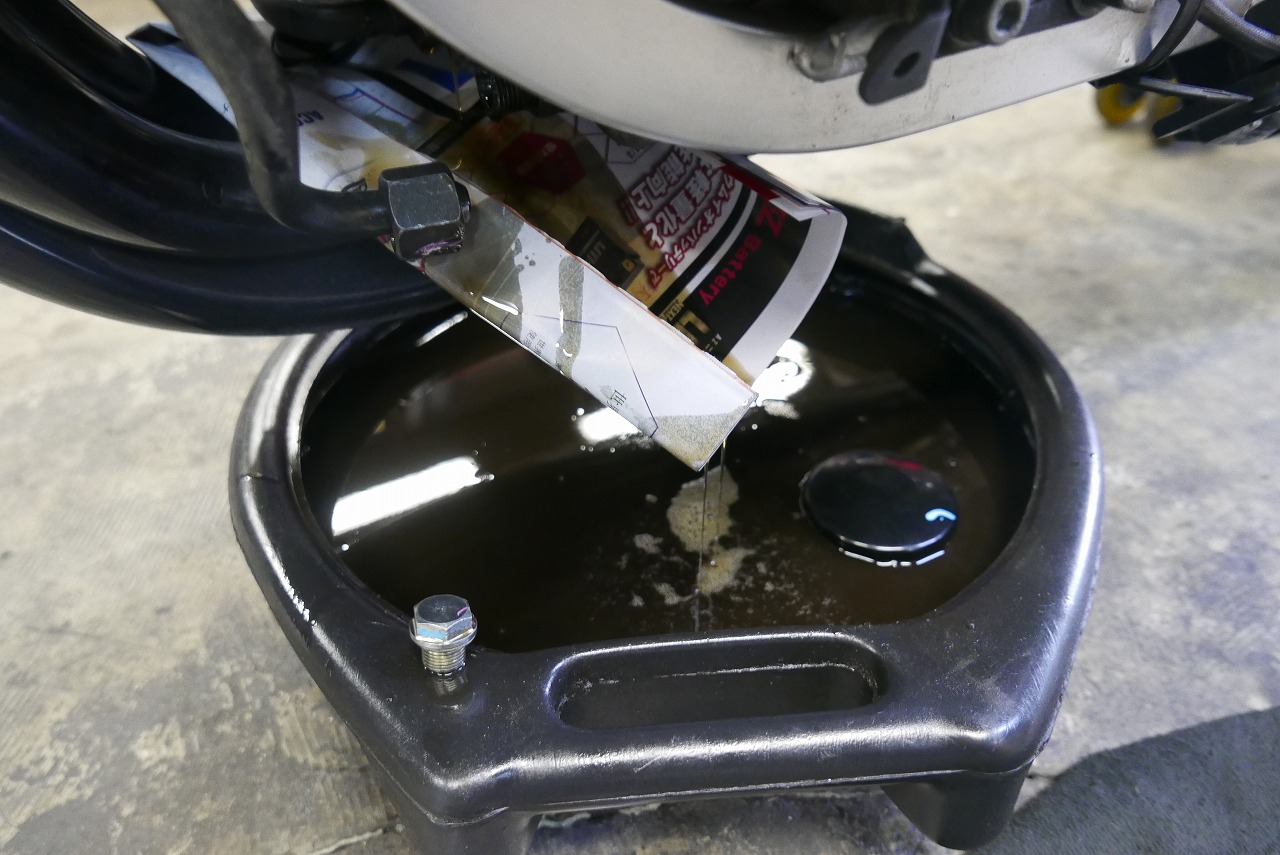
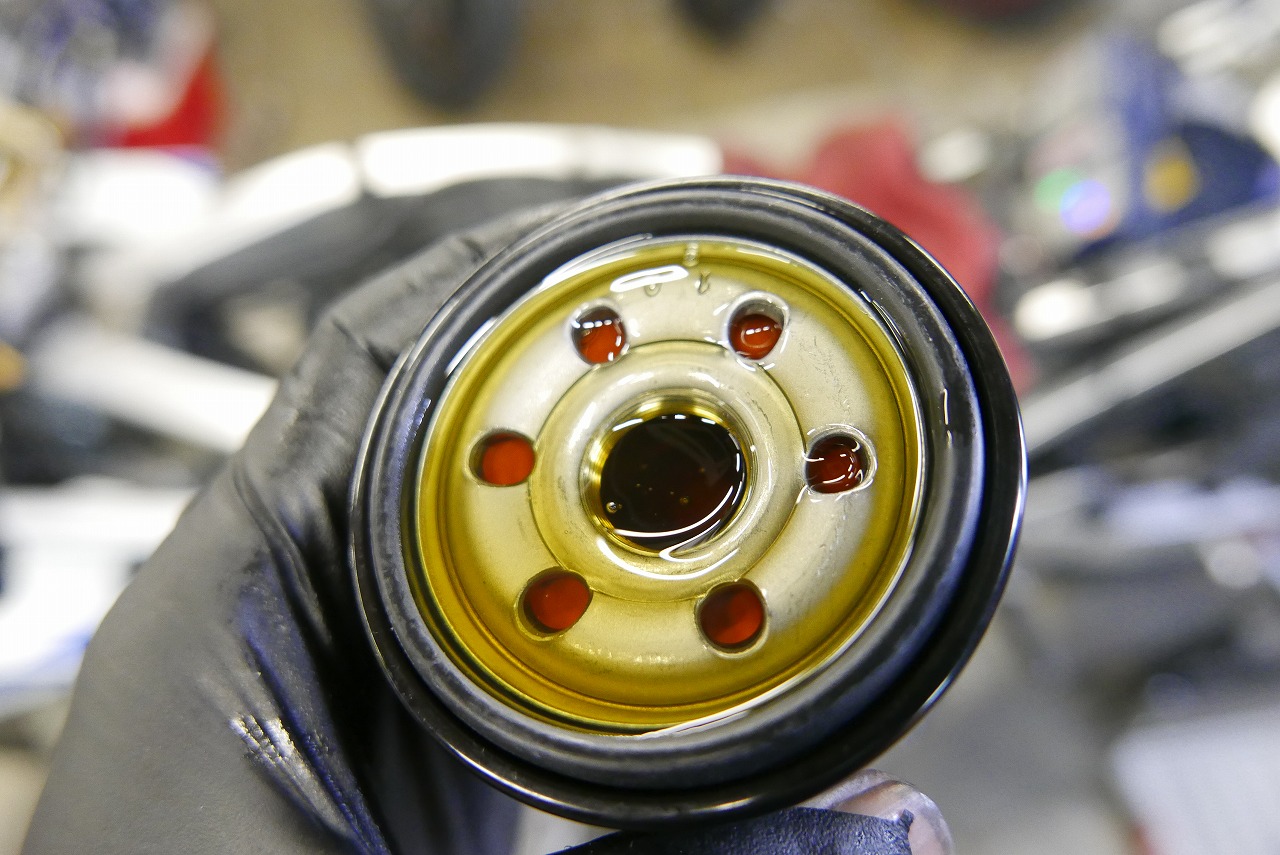
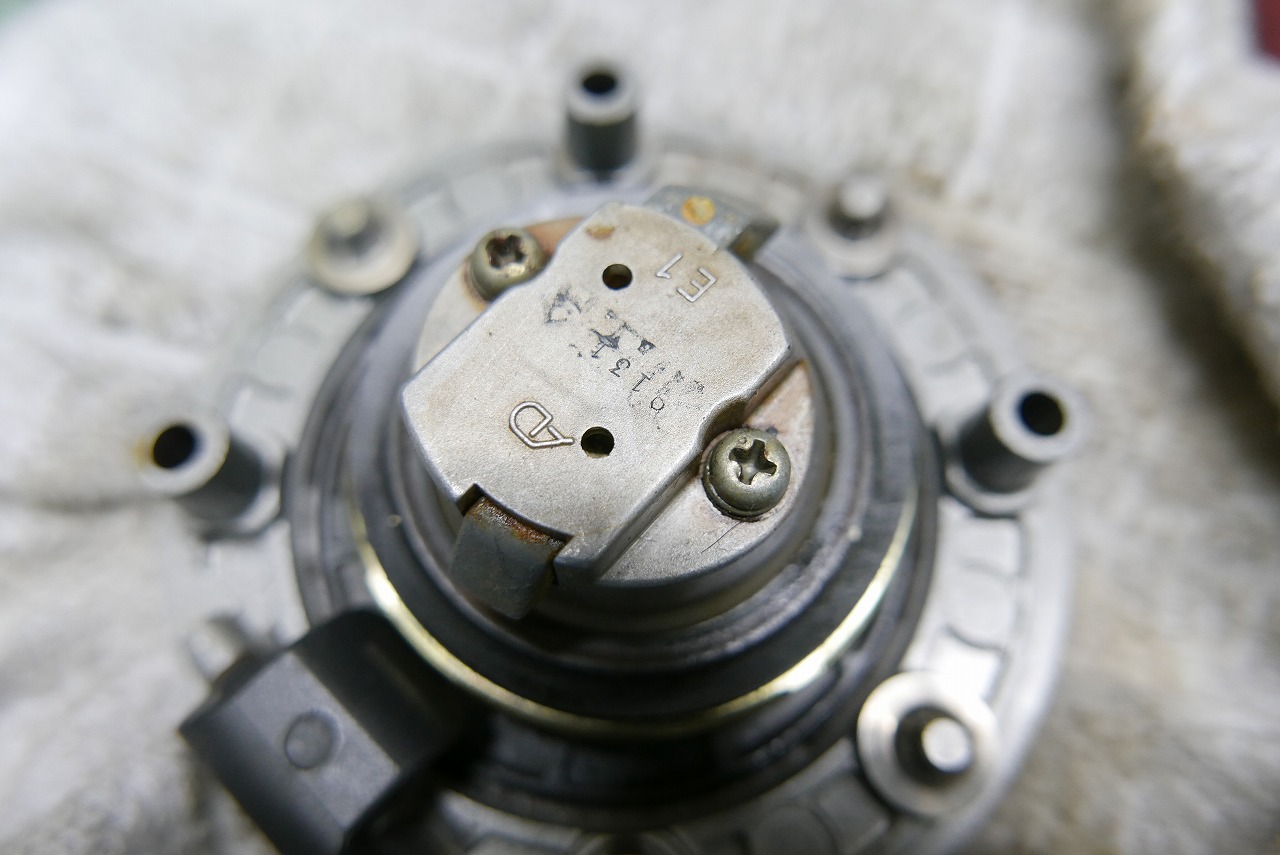
Customers can see the outside, but they can’t see the work inside, so they just have to trust the shop. Engine oil is Newtech NC50 10W-50 and an oil filter. I think it’s a bit better to fill the new filter and let it soak before installing it. The cap is reused, so I removed some corrosion and applied rust preventative before reinstalling it. That completes this service.