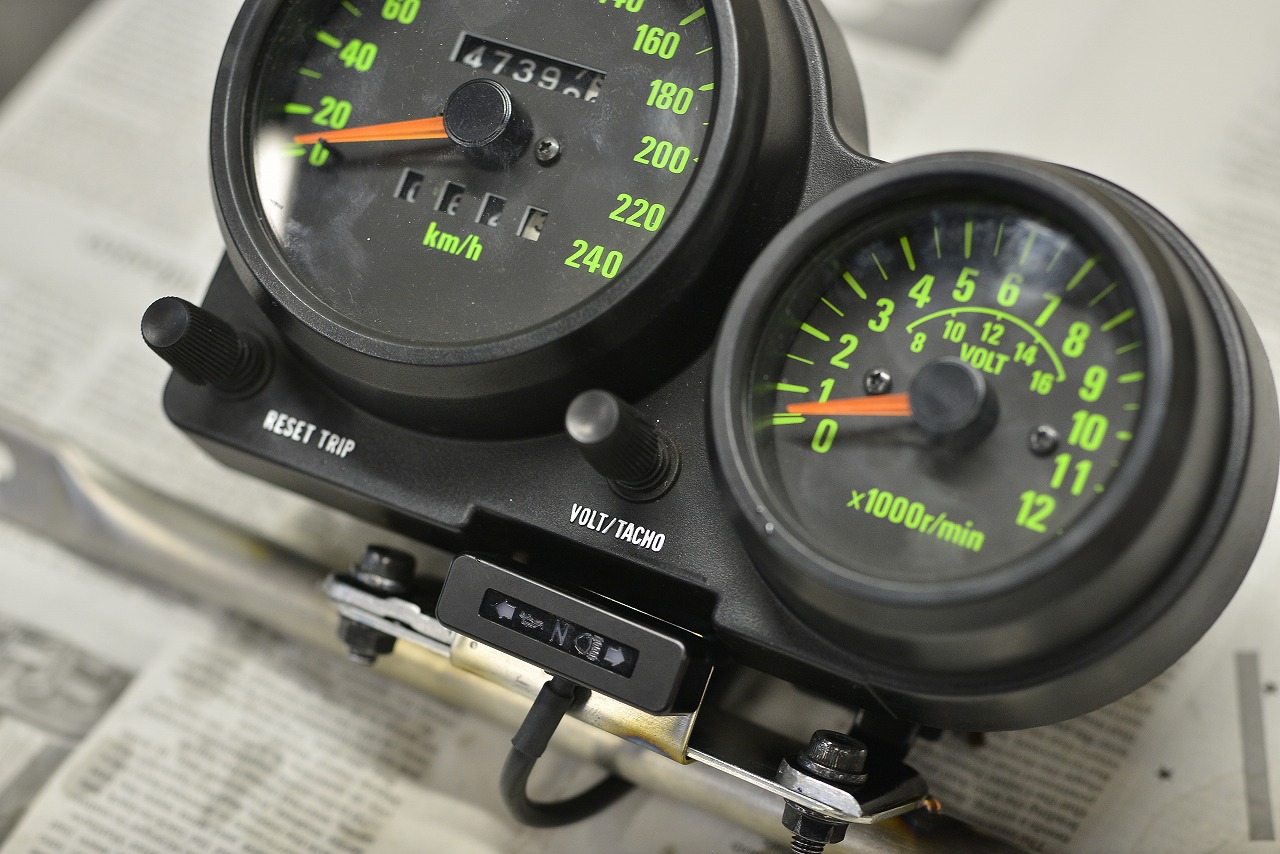
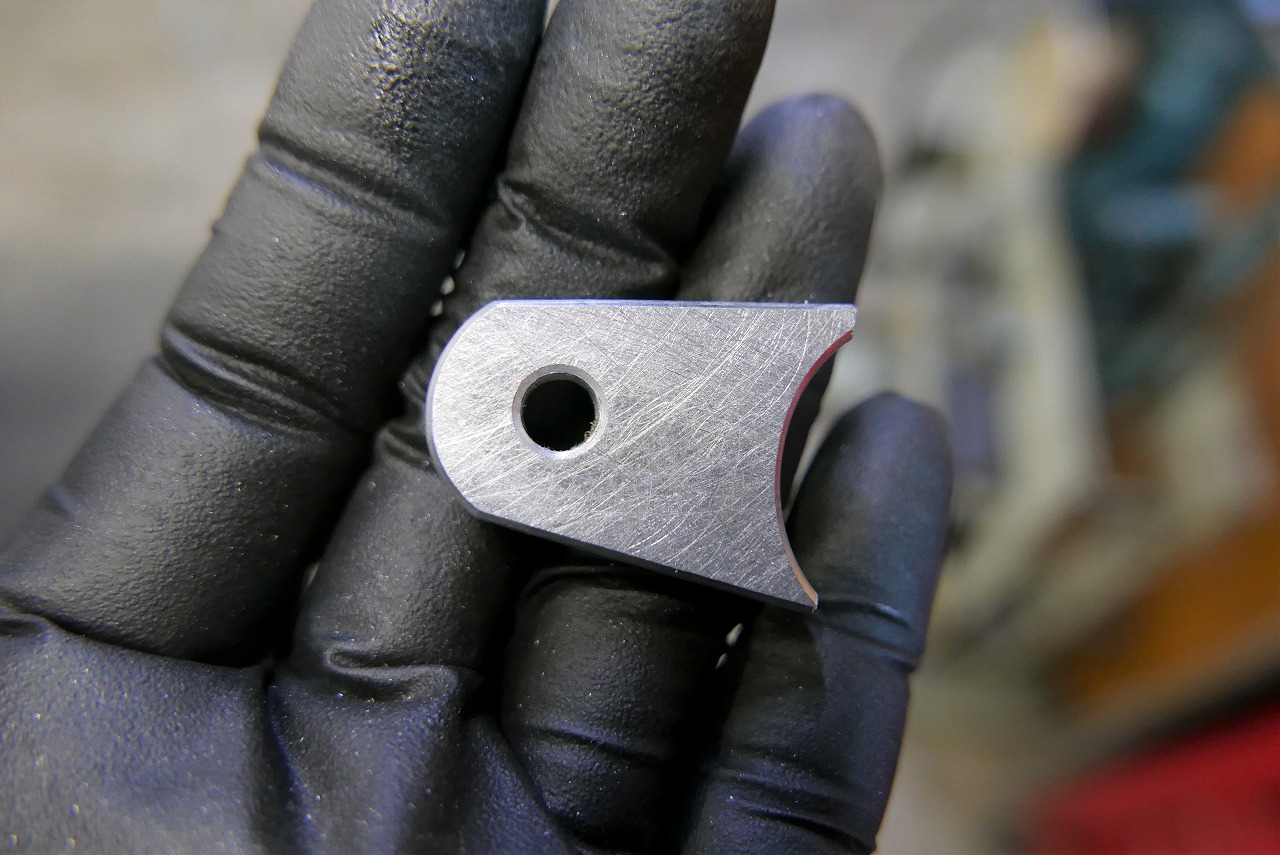
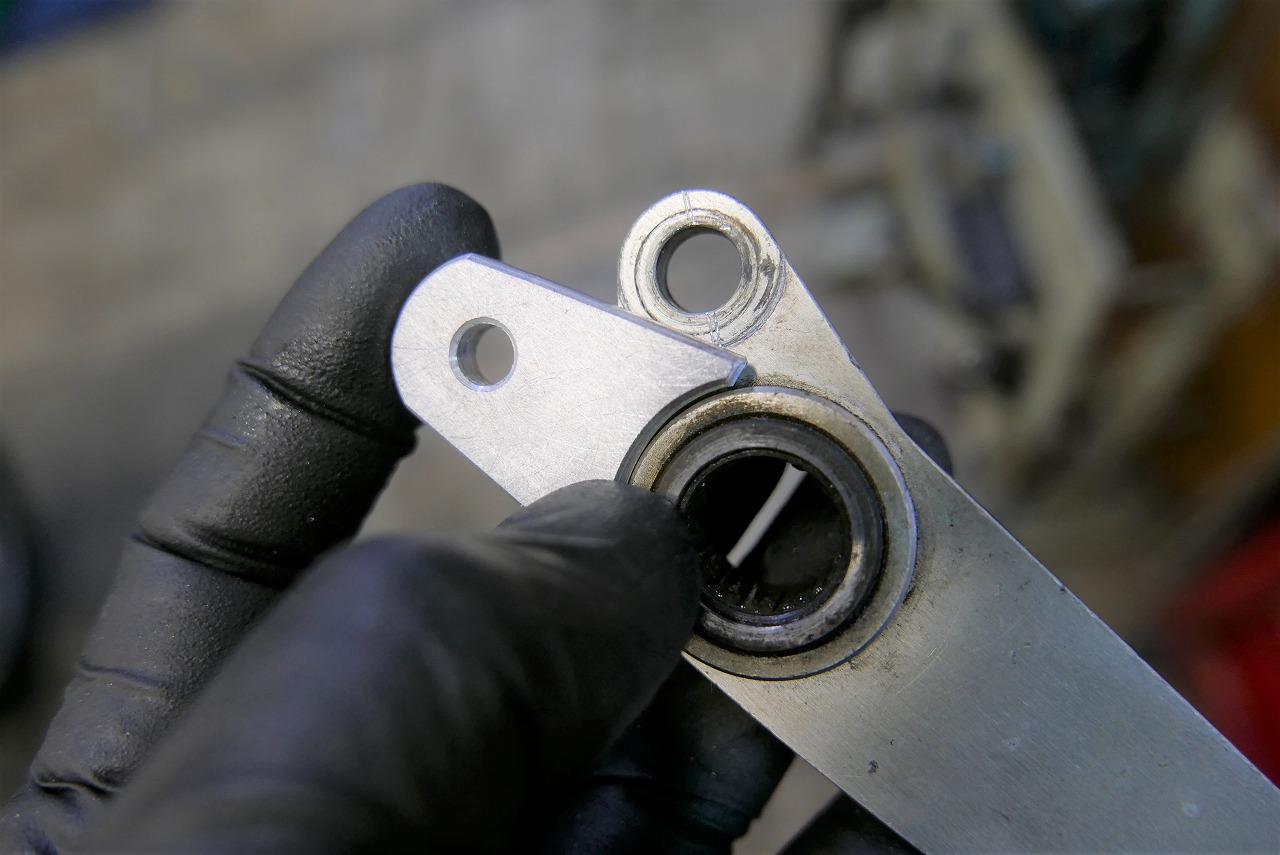
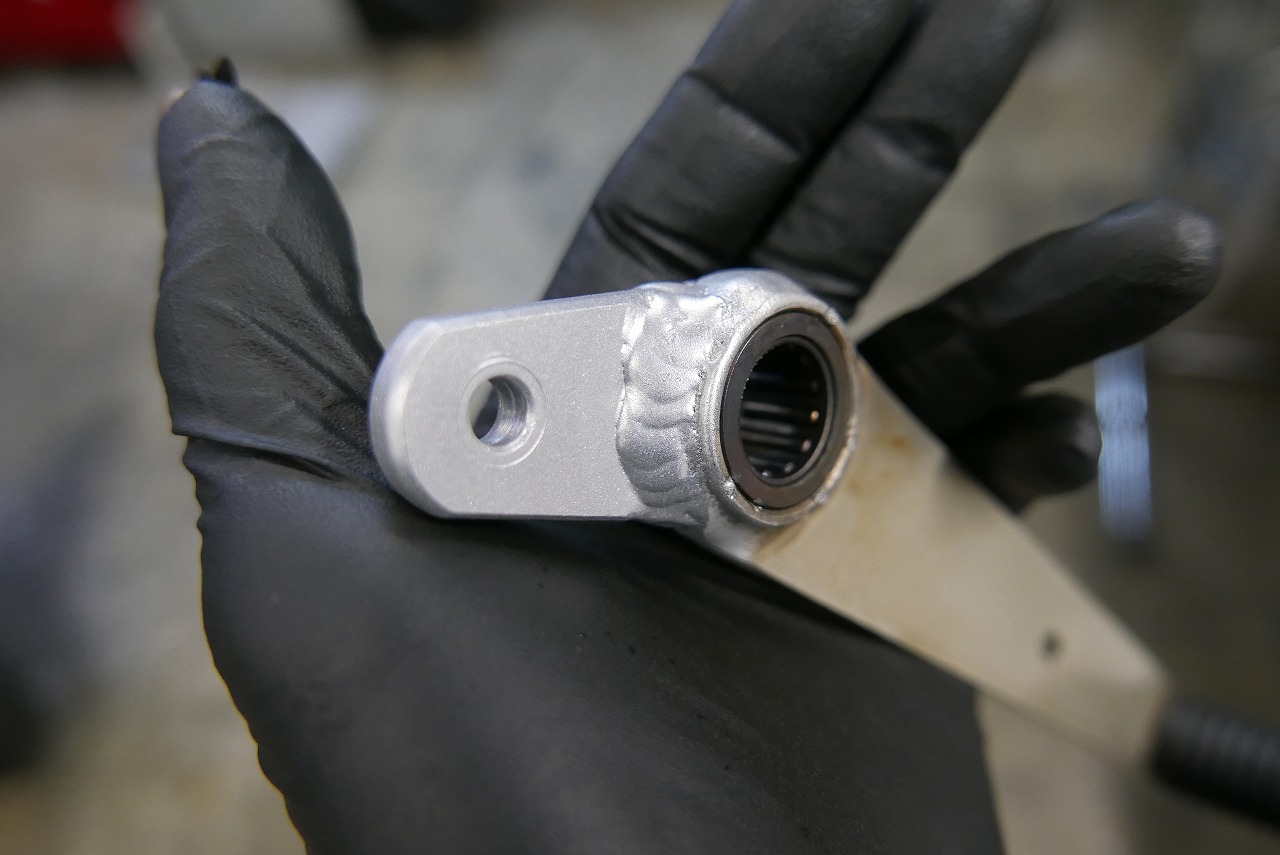
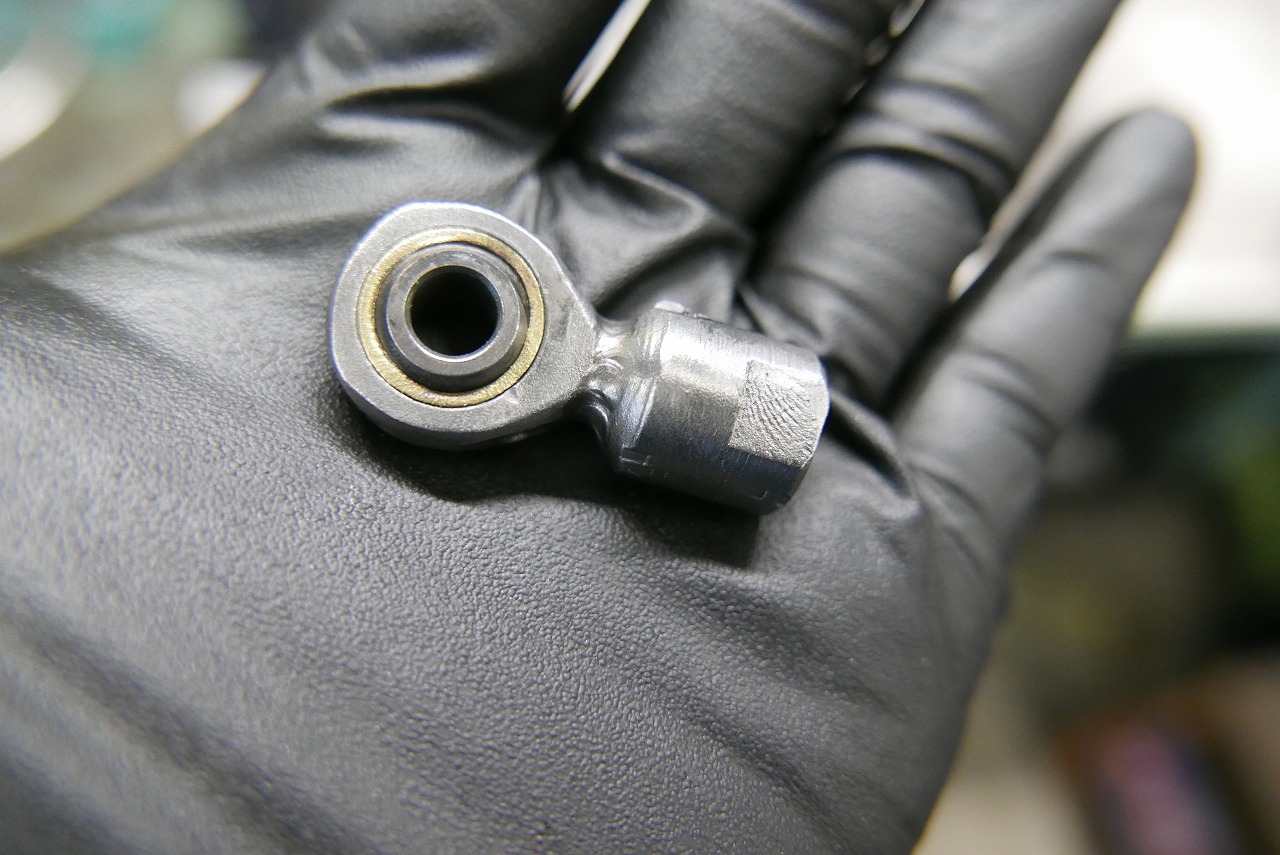
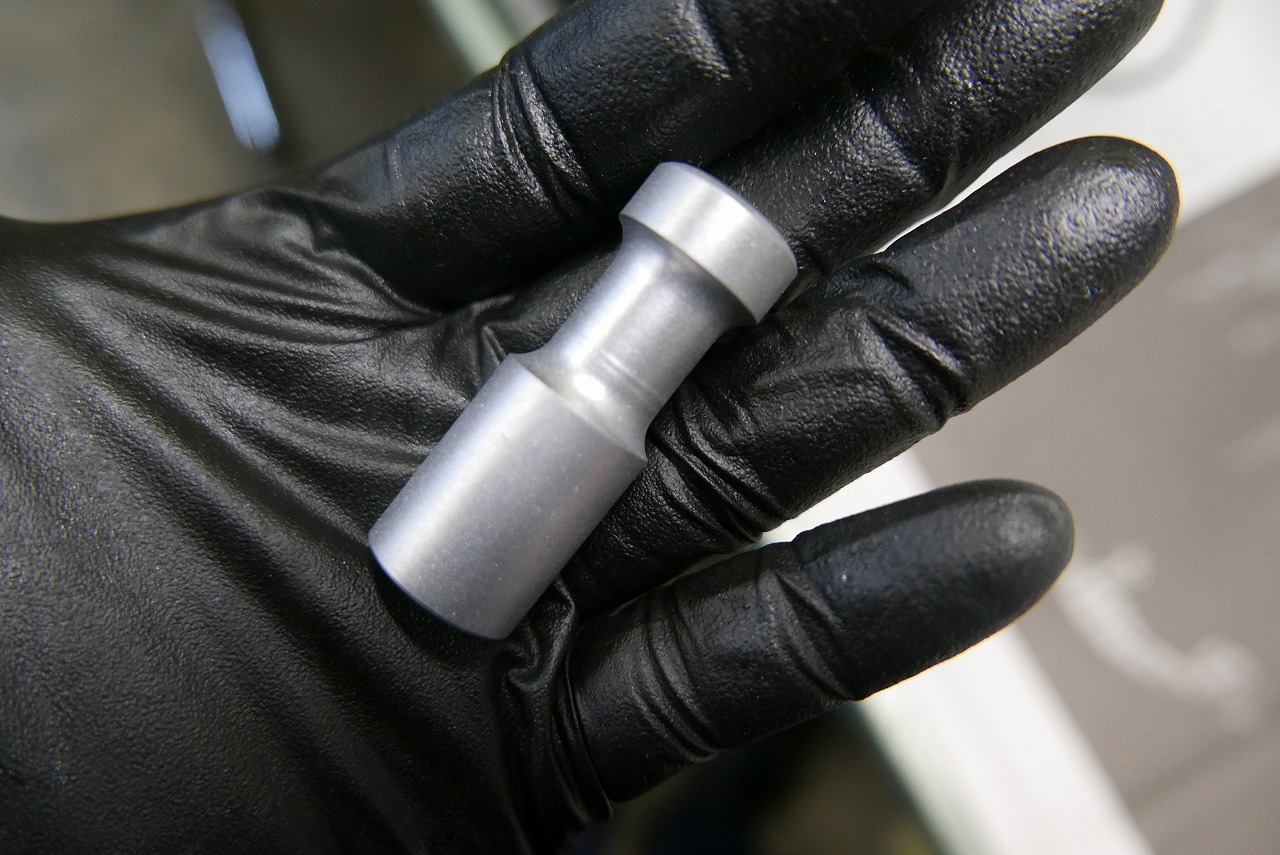
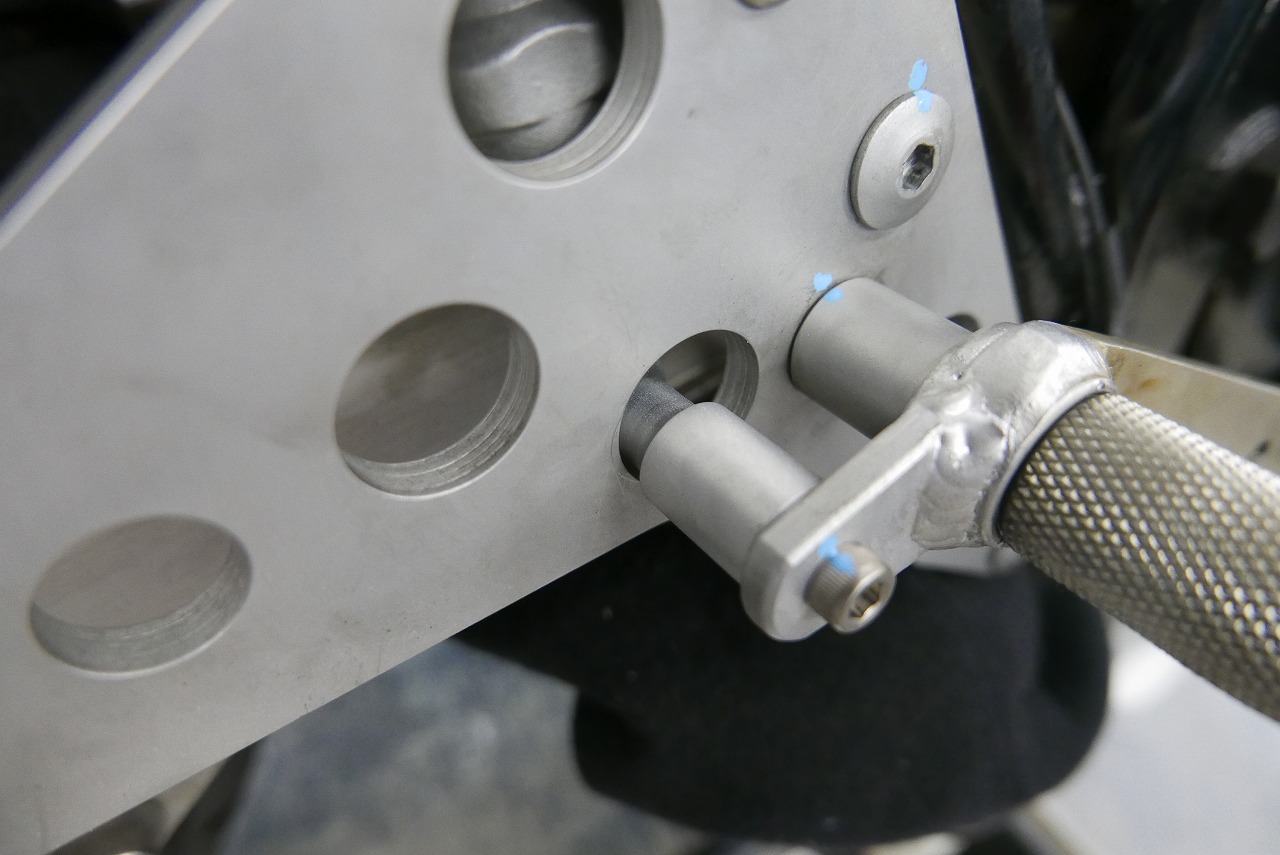
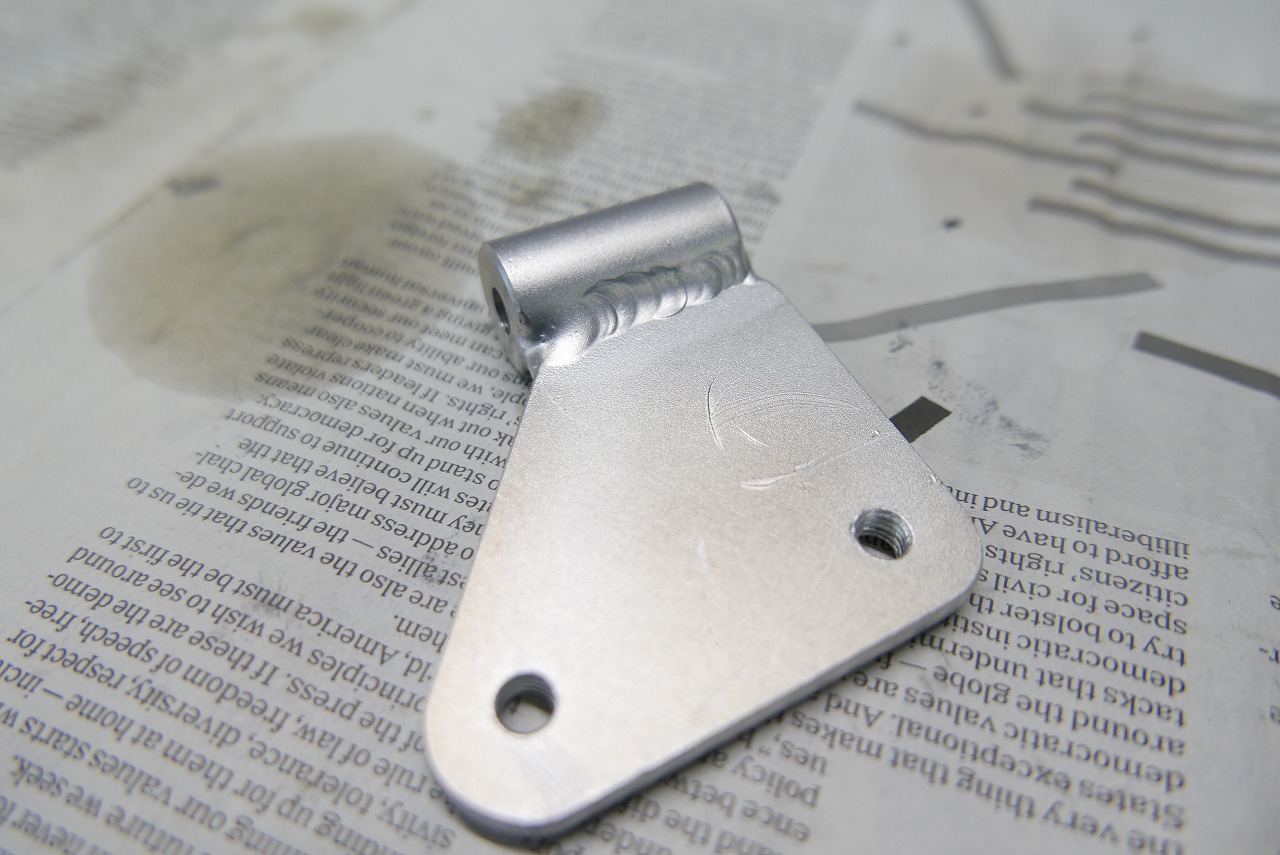
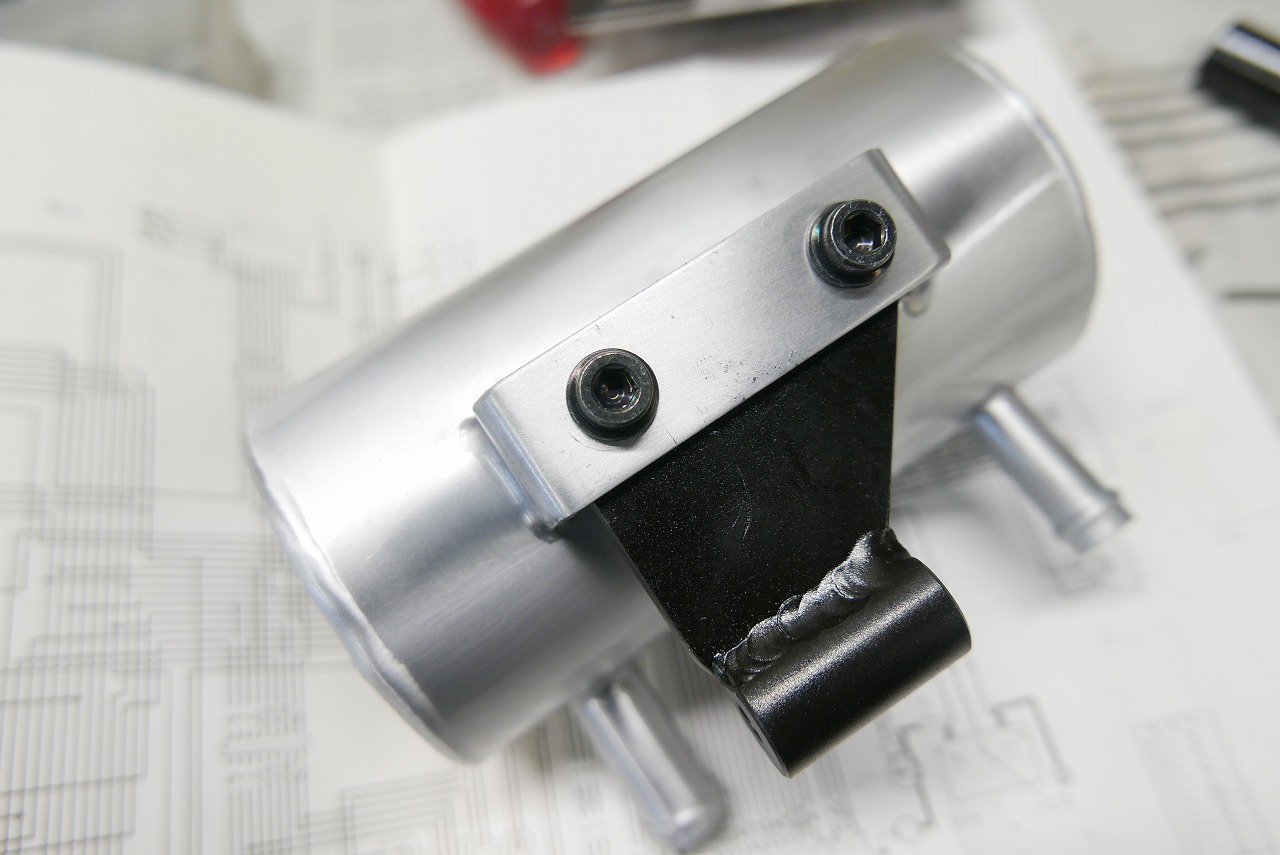
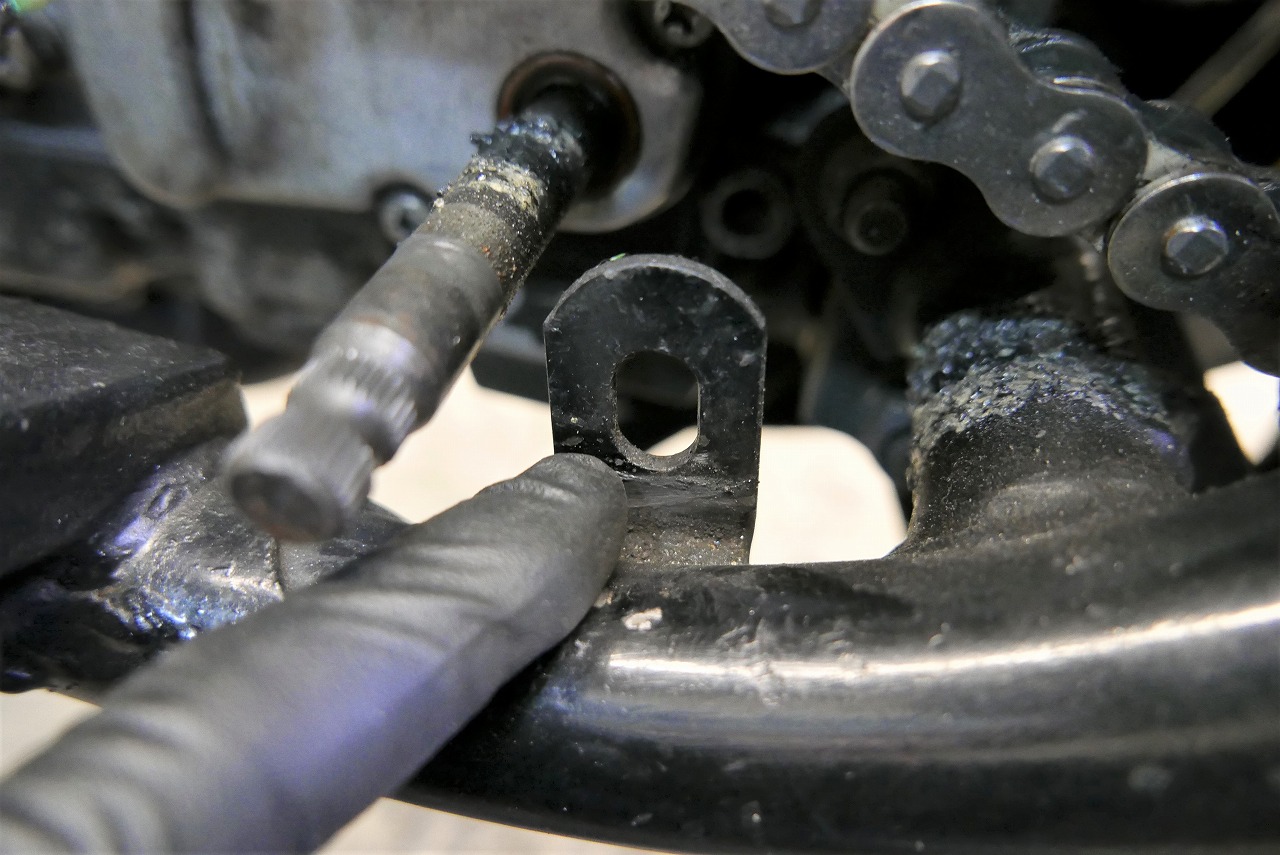
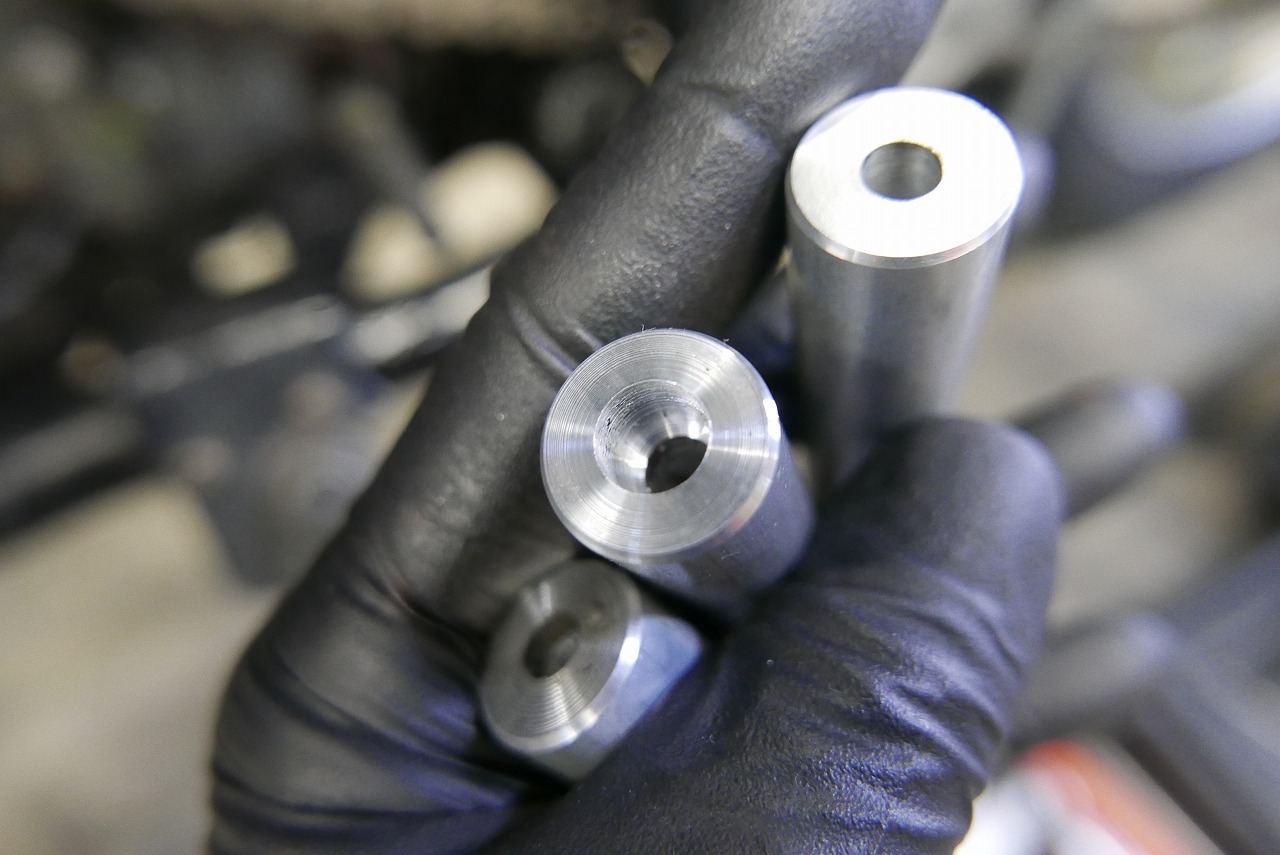
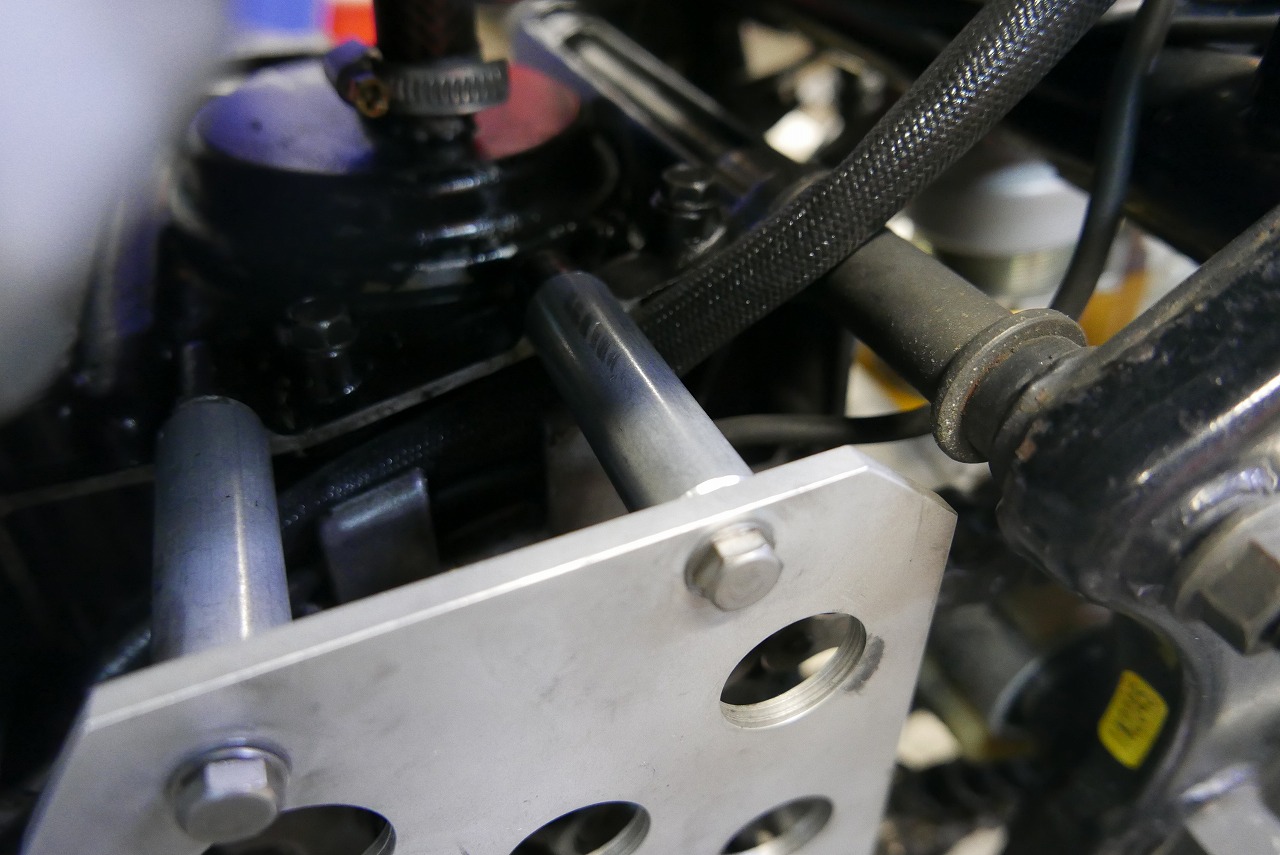
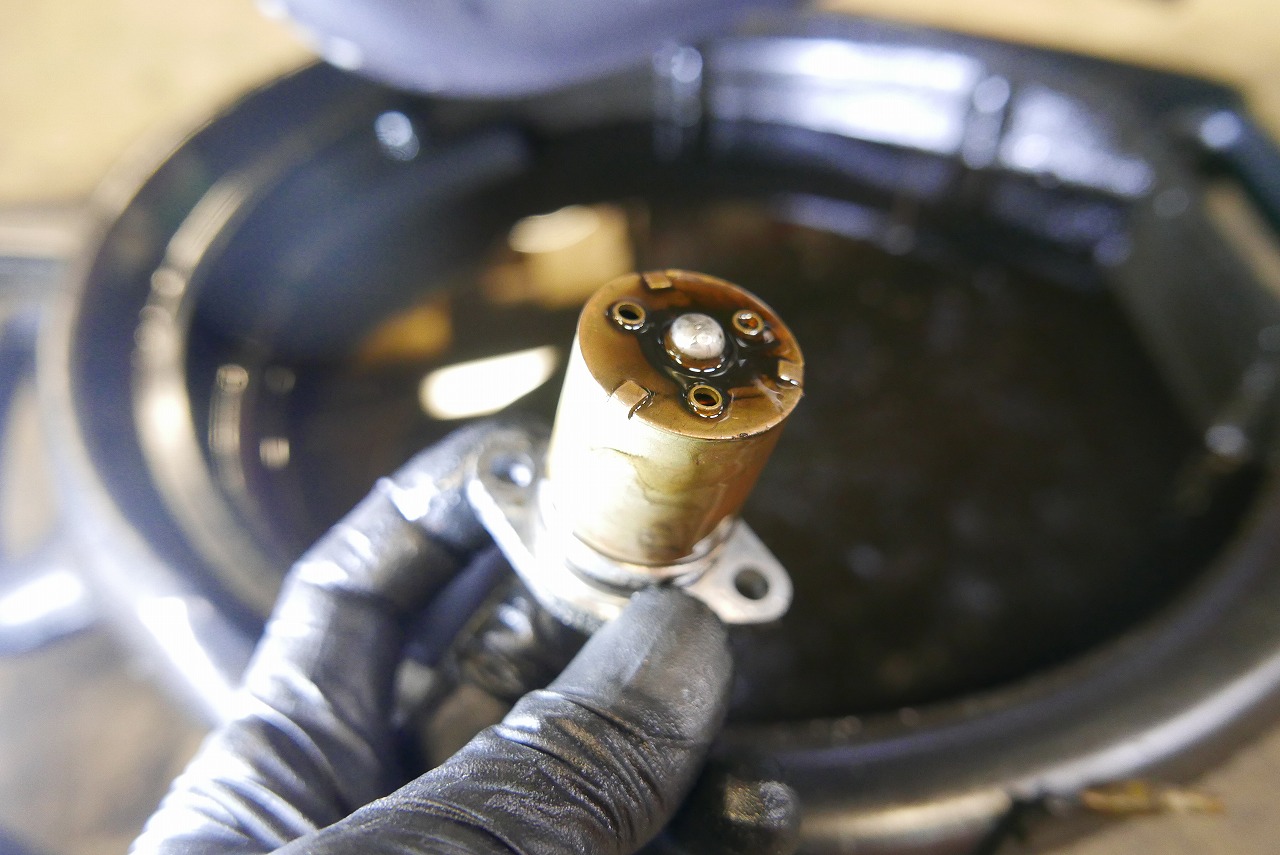
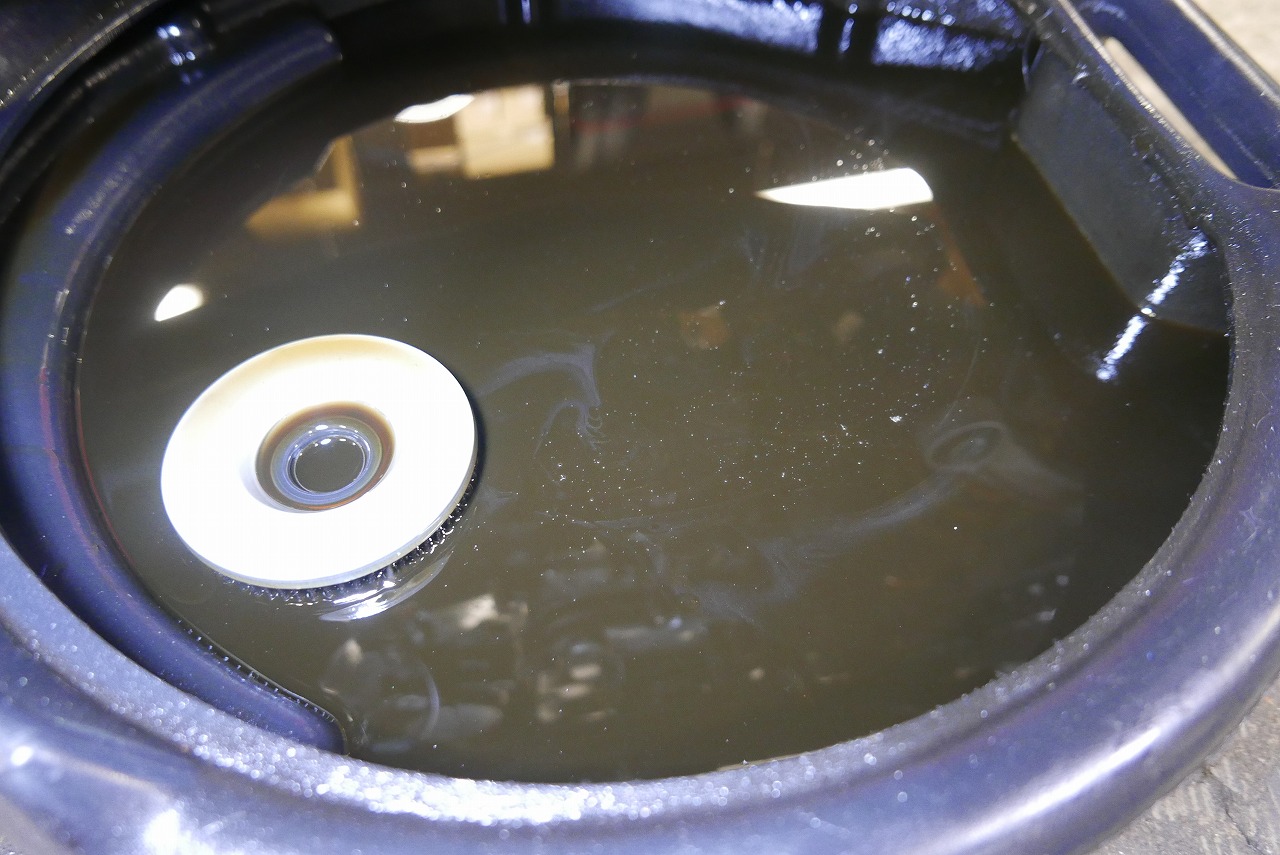
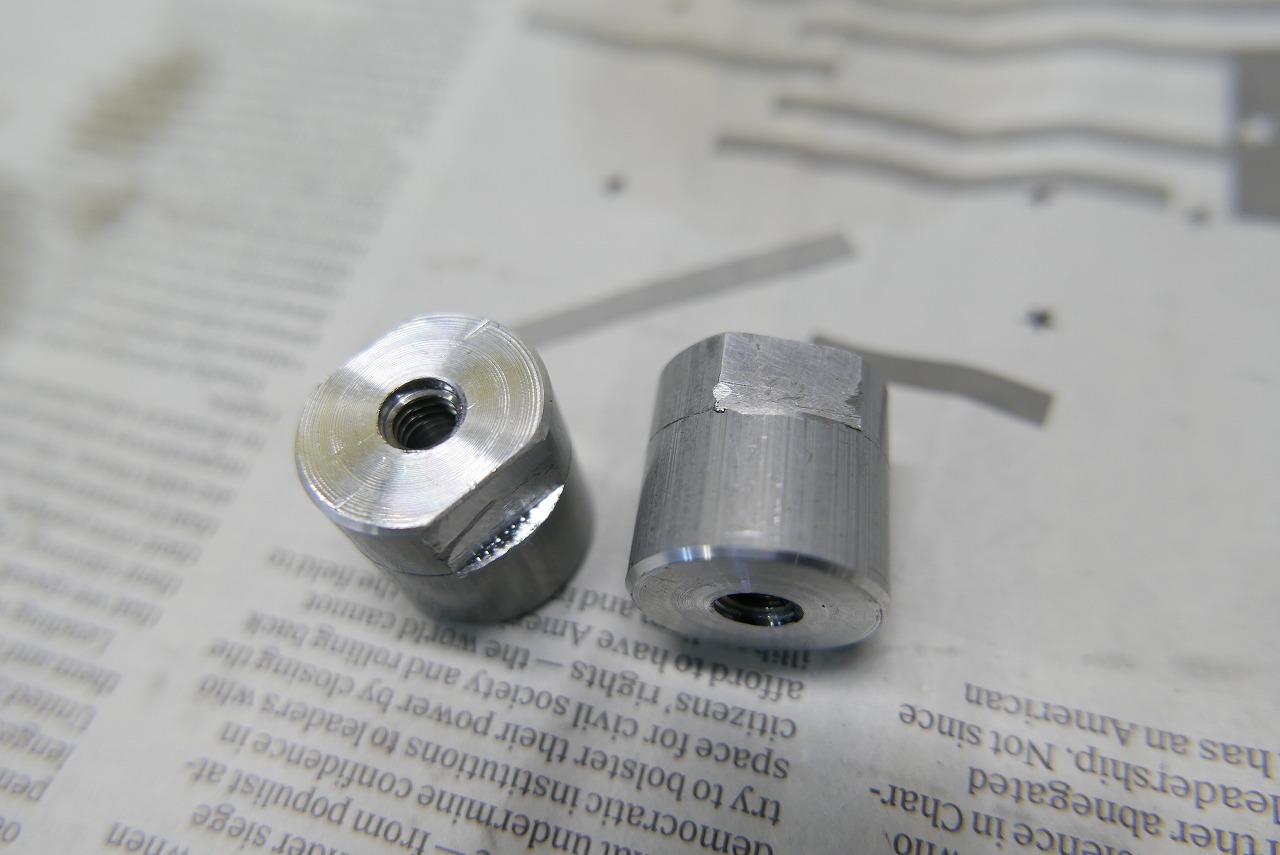
The deadlines keep slipping and slipping—I guess I’m living on everyone’s love and support… or maybe I’m being kept alive by it? Who knows. The request is for an inspection, oil change, meter frame mount conversion, and some other work. I’ll skip showing the before state on purpose. The rear brake pedal area mounting is… problematic. What do we do? This is… I mean, I could remake the base plate, but… I shouldn’t say that. The arm position is bad, so the plan is to change the angle and length to clear it. Make it a bit longer and position it around here… and it should work, I think? I visualized it in my head and made the material. There’s a bearing in there… and with the thin wall and the thickness of the material I made, I nervously assembled it without messing up. *The arm was originally welded, so it’s not 17 and 75, so don’t worry. Anyway… the position relative to the master is really bad… so I did something a bit sketchy and made the world’s smallest spherical bearing to clear it. I threaded it into a collar first and then welded it, so it should be solid. I made a collar with a meaningful waist… Somehow it’s now upright… why it sticks out this much, I’m not sure… I interpreted it as something made by following the left side. I made the oil catch tank bracket using a collaboration of 5mm plate and collar. This is how it turns out. By the way… the image is upside down. I blackened it with gun coat. I’m realizing that I’m sending fewer small parts to anodizing for rust prevention these days. The sprocket cover is rattling around, so they want to do something about it. What is this bracket? Because of it, the bolt doesn’t go in straight, but I’m not sure if it’s an aftermarket addition. It was in the way, so I cut it off. The original collar was pretty thin, so I remade it with a proper outer diameter and a dowel pin hole. I blackened it with gun coat as well and it’s done. They wanted to replace the oil level warning light, so I did it along with the oil change. Do we really need an oil level light? Later I checked and found that the Zephyr and ZR7 have oil pressure switches. I looked into where it is, and like the oil-cooled models, it’s inside the right pulsar cover. There was a blind plug, so if I remove it and swap it in, it should work. If there’s interest… The oil condition looked good. We changed it to Newtech NC50 10W-50 and replaced the oil filter. Now we move on to mounting the meter to the frame. We don’t start work until we come up with a custom solution that says “This is it!!” ·We don’t proceed until we’ve thought it through to the end both manufacturability and workability suffer. ·If we build in flexibility, the process goes smoother = less risk. ·We also consider repair in case of accident or crash. And so on. There didn’t seem to be any boss to pull out, so I thought I’d just have to weld it… but after a nap, I had a “eureka!” moment: just extend the stud that’s already sticking out! That’s the plan.
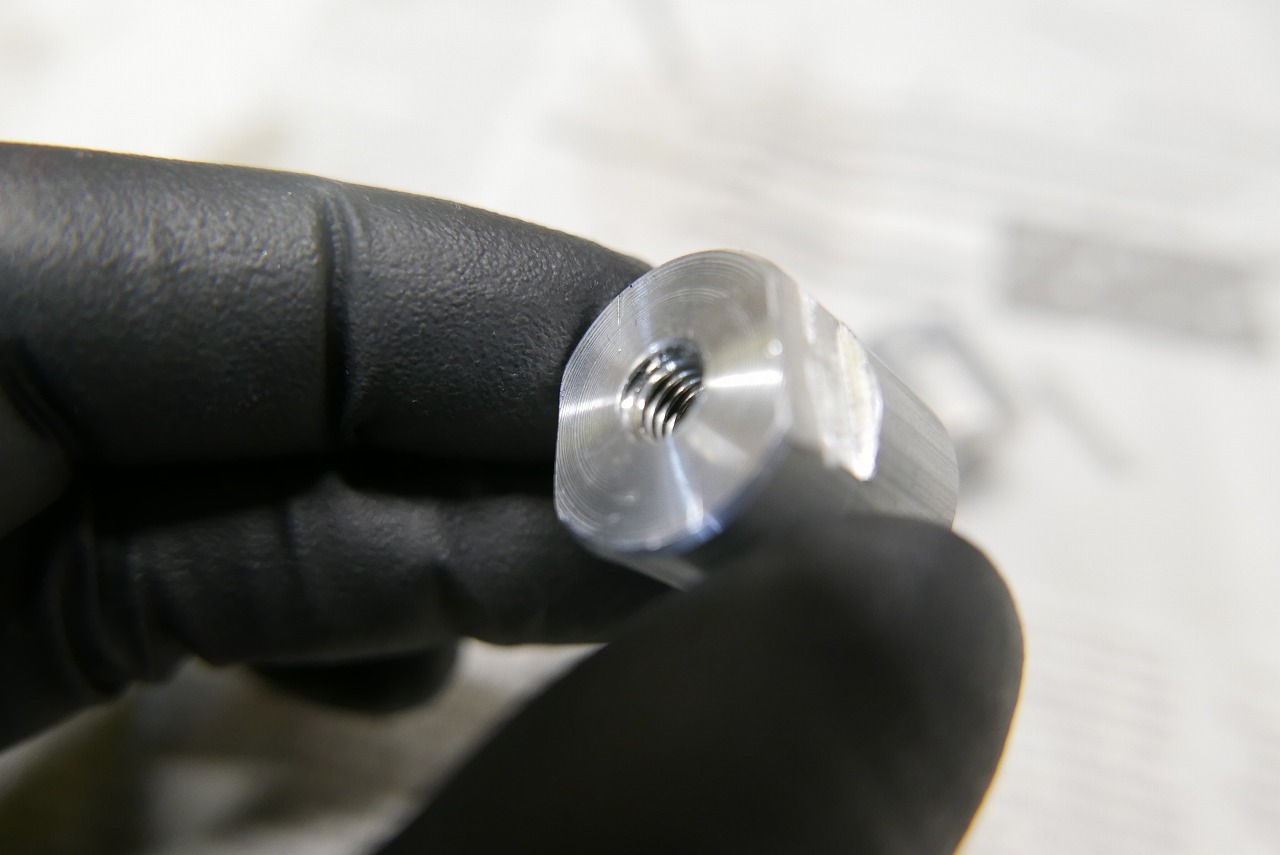
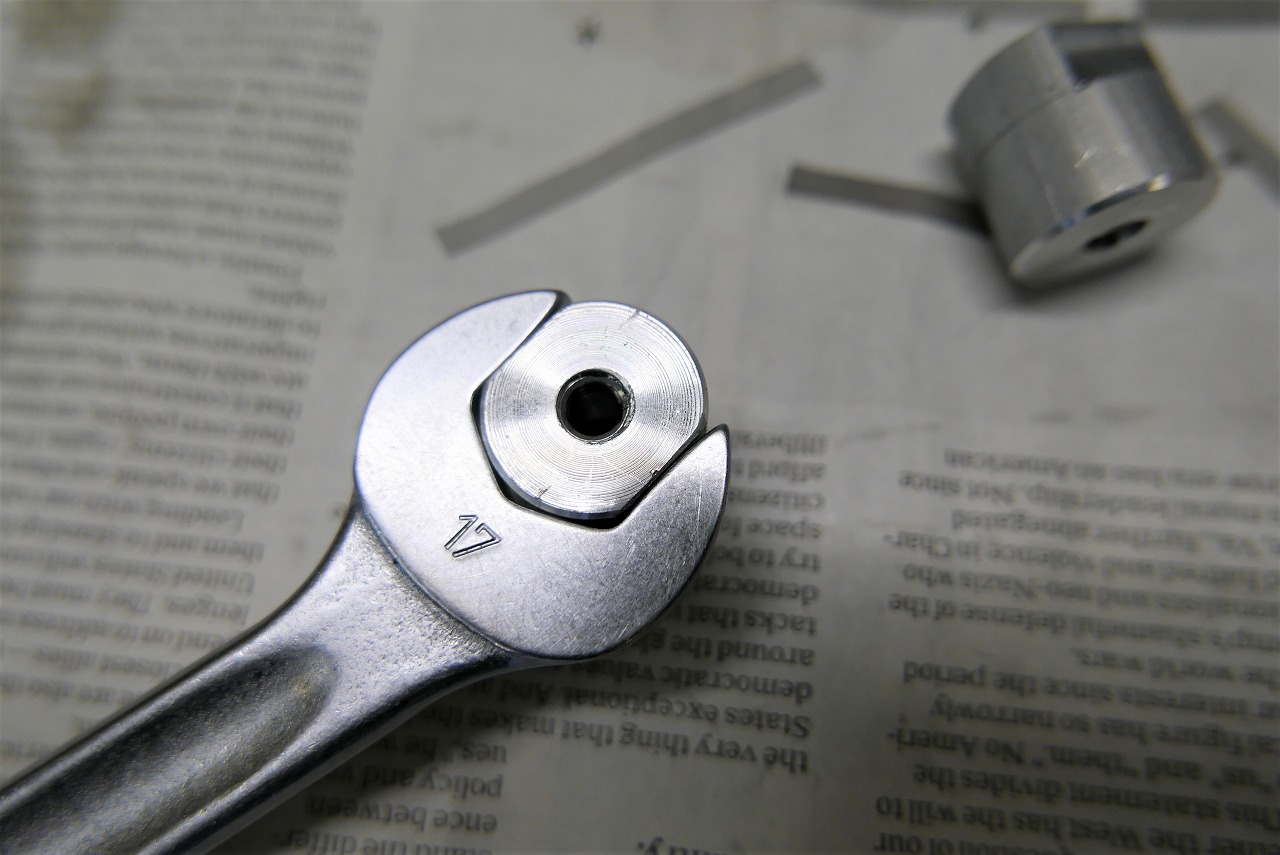
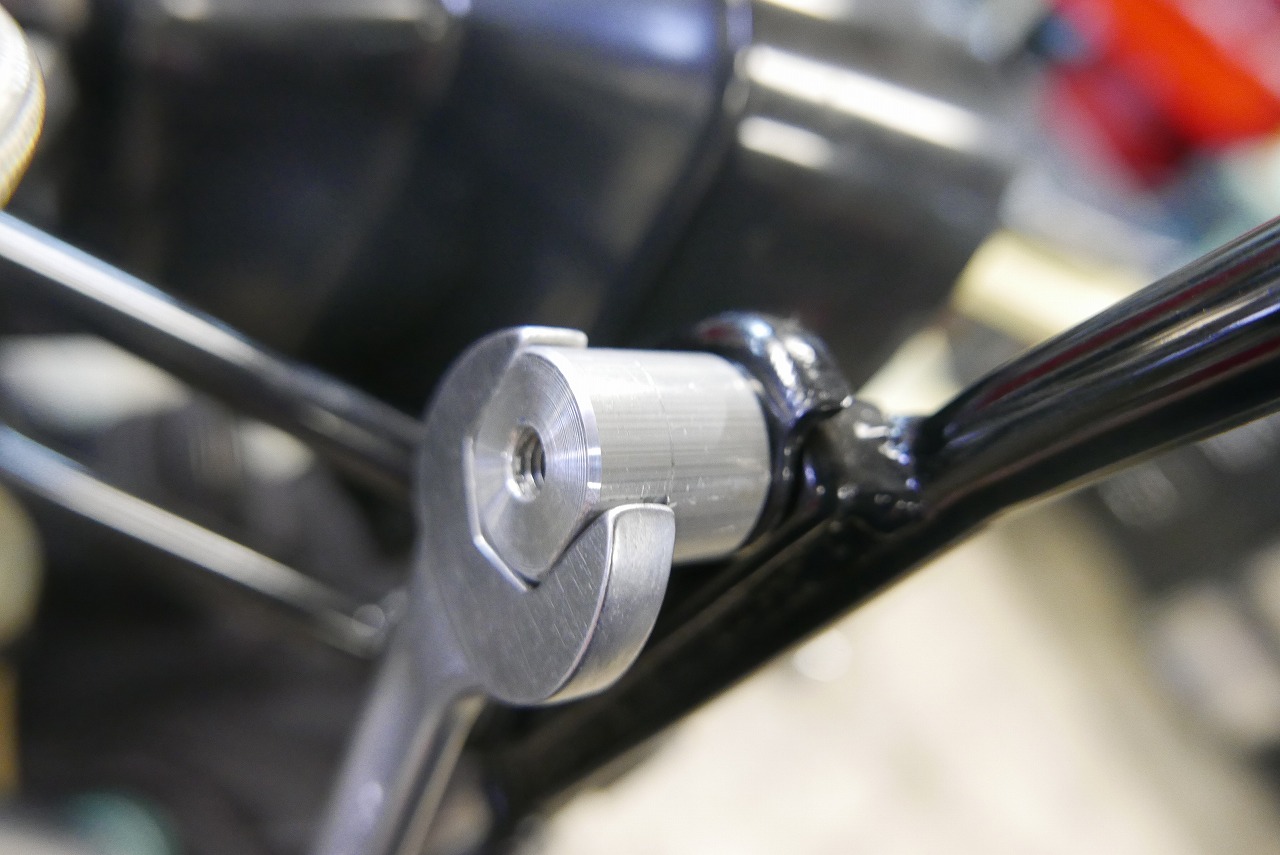
I made a threaded collar with a 17mm flat width.
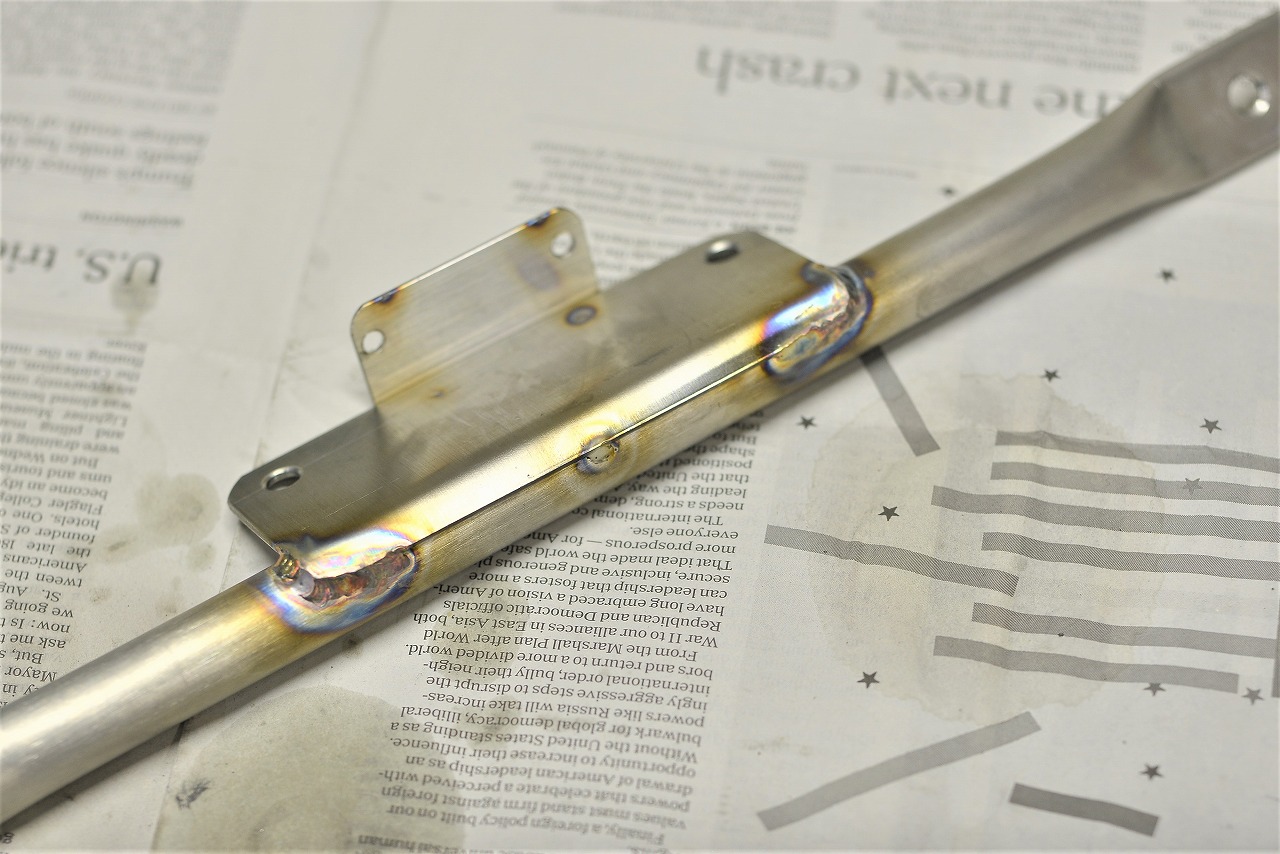
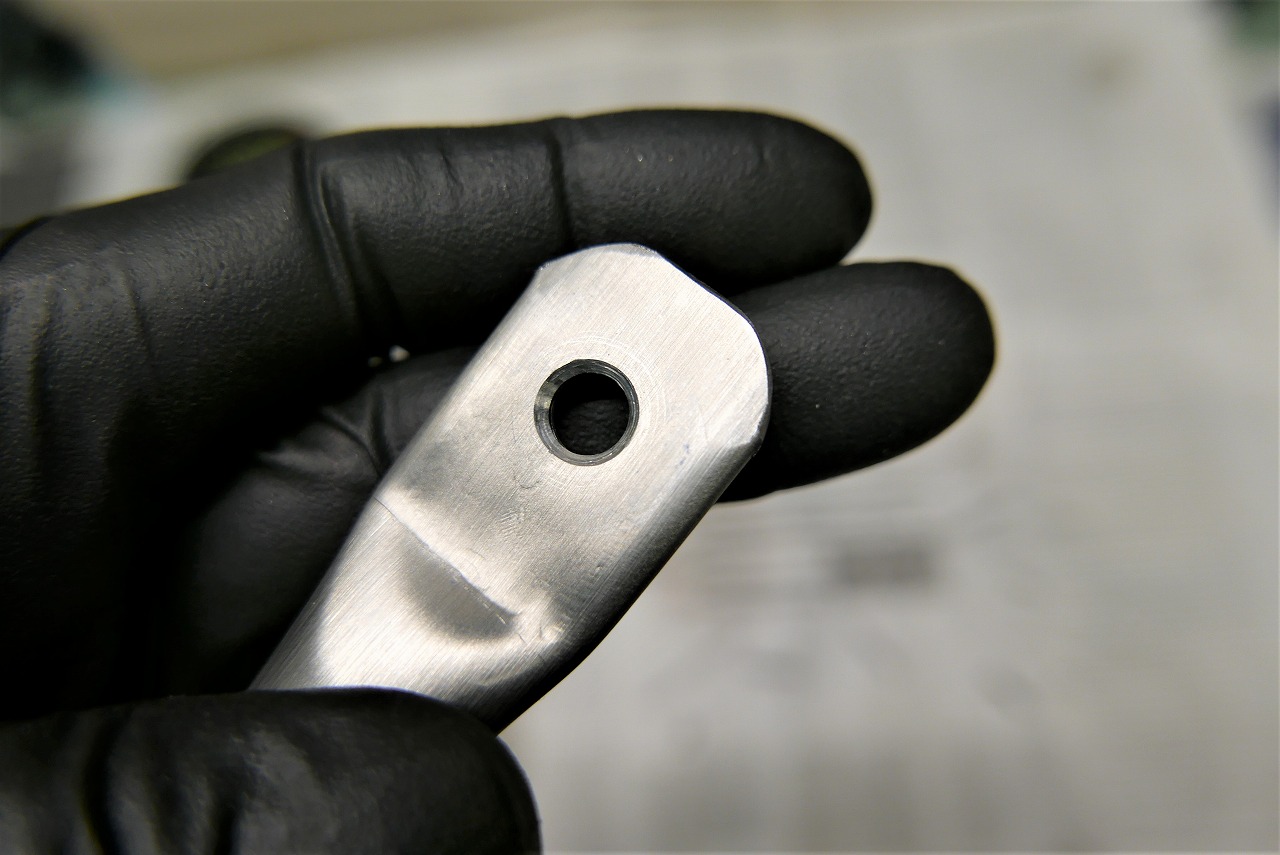
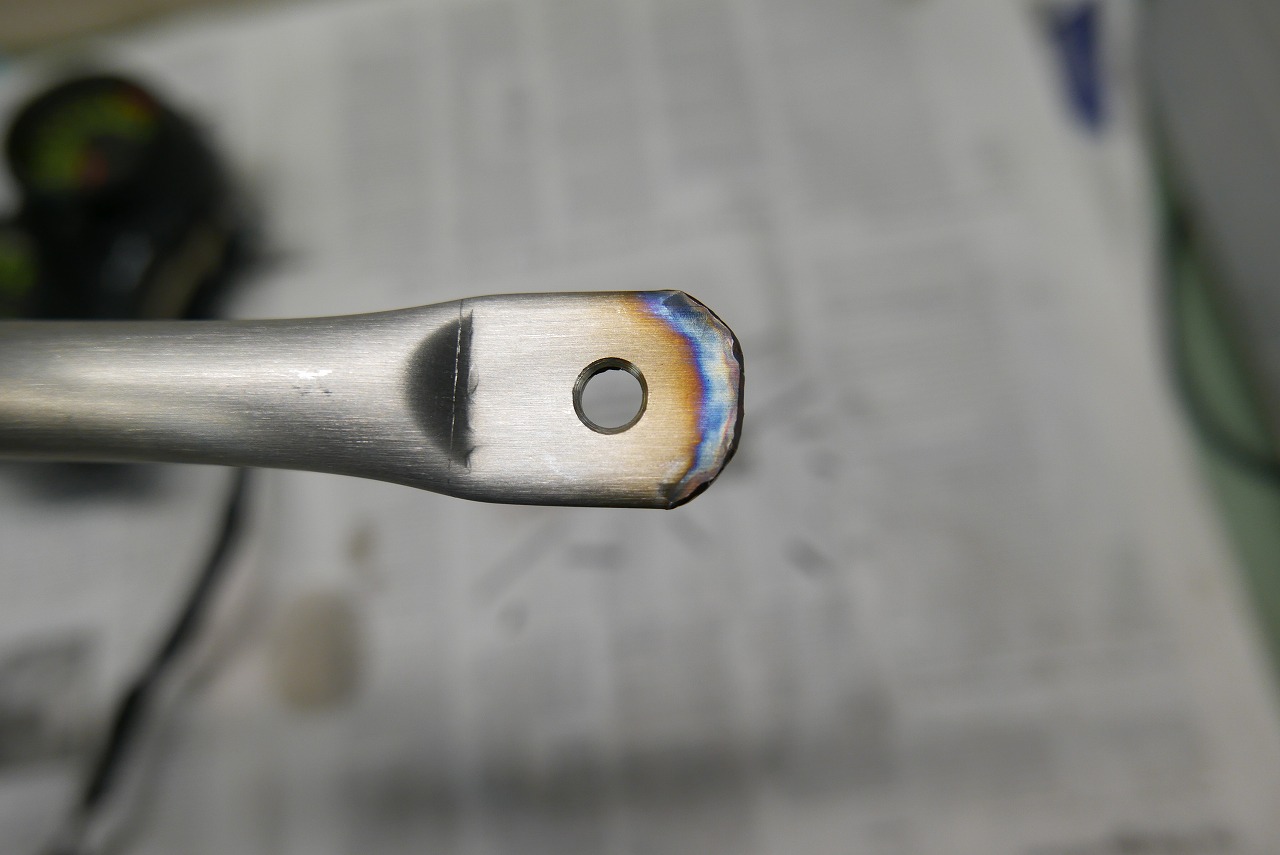
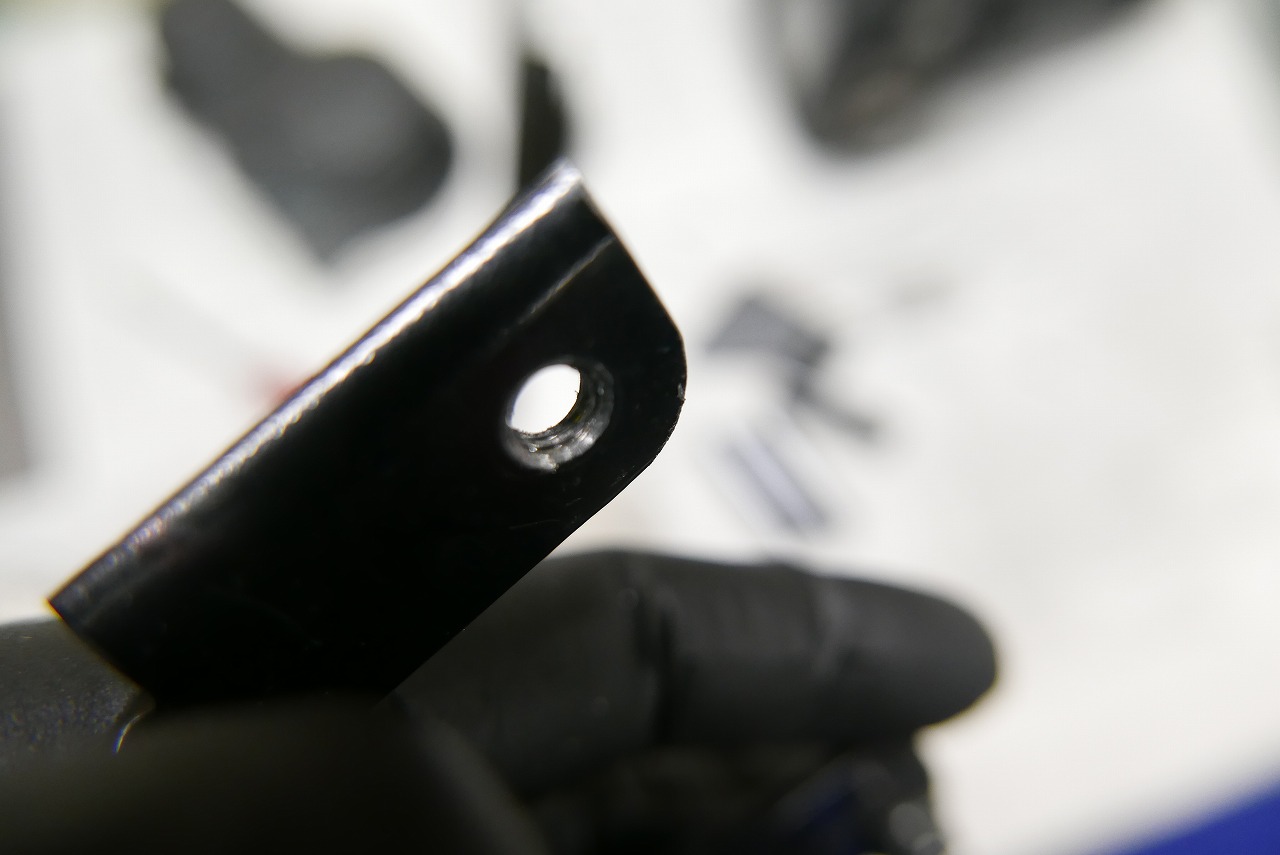
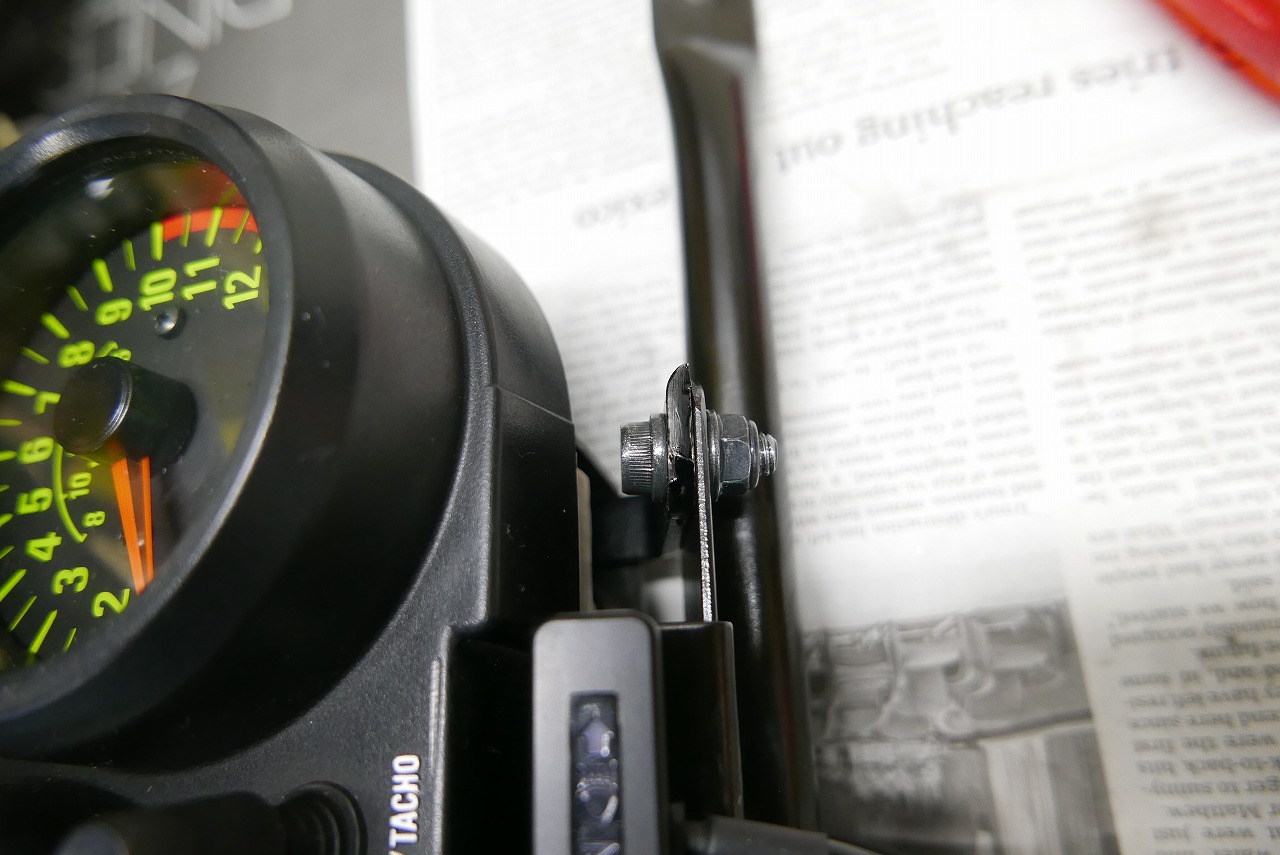
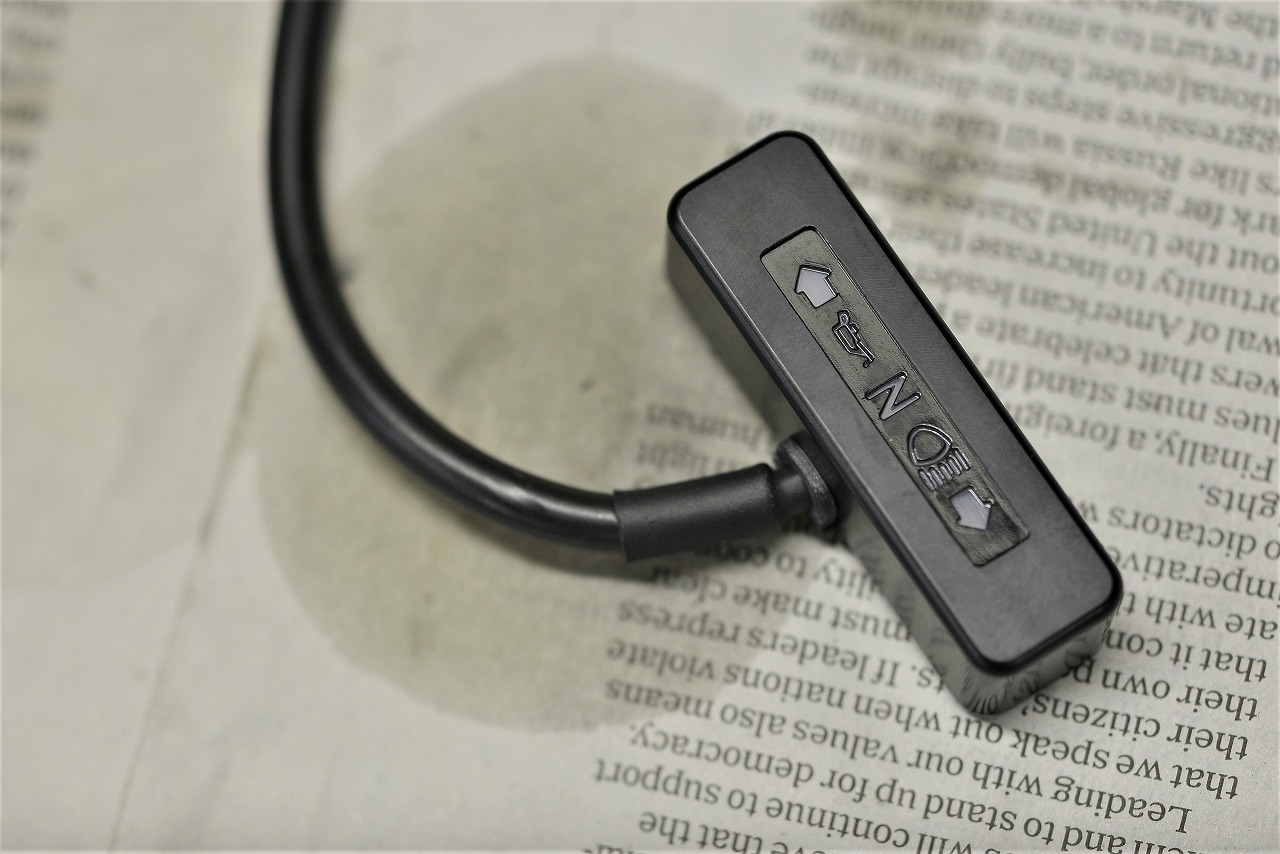
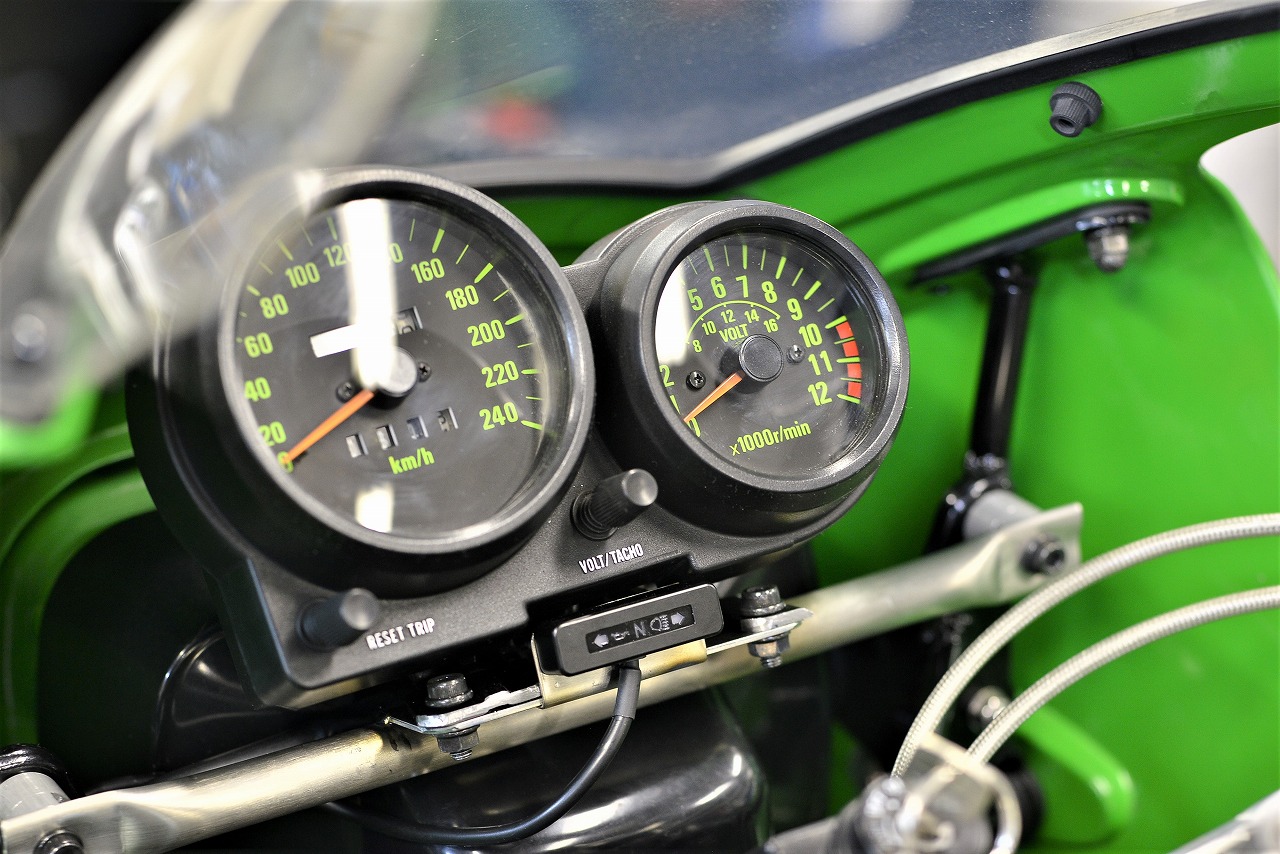
Being cautious, I helicoiled both end faces as insurance. -0.1mm, is that okay? Threads appear at the end of the nut—I think we’ve basically won at this point… If you want to DIY this, you could substitute a tall nut. I’m not sure if they make them with such a large outer diameter, but… After that, there’s nothing particularly tricky, so I’ll skip ahead. I flattened both ends of my favorite SUS304 pipe to the same size and drilled holes using the boss pitch from earlier. I cut off the meter-side bracket leg and spent a lot of time deciding on a cool position—eventually settling on around here for the fabrication. It looks like it comes together in a flash, but it actually takes quite a bit of time. About sixty percent of that is spent deliberating. Once you weld it, realizing you made a mistake is the worst, so double-checking is essential. I rounded the edges with an 8R radius. With a die, it’s easier and there’s less sloppiness, I think. I chamfered it so water doesn’t get in. Nobody notices or cares about this extra step, but for parts that would be bad if they fell off, I cut threads. For example, with this setup, if the nut falls off, the bolt falls out too. It’s a lock nut so it should be fine, but if the nut does fall off, the threads still hold a bit—you notice it—so it’s safer. Because frame-mounted steering components are super dangerous, right? The indicator is the Daytona classic—the BETA Micro Indicator. Since there are left and right turn signals, you don’t need to worry about diodes.
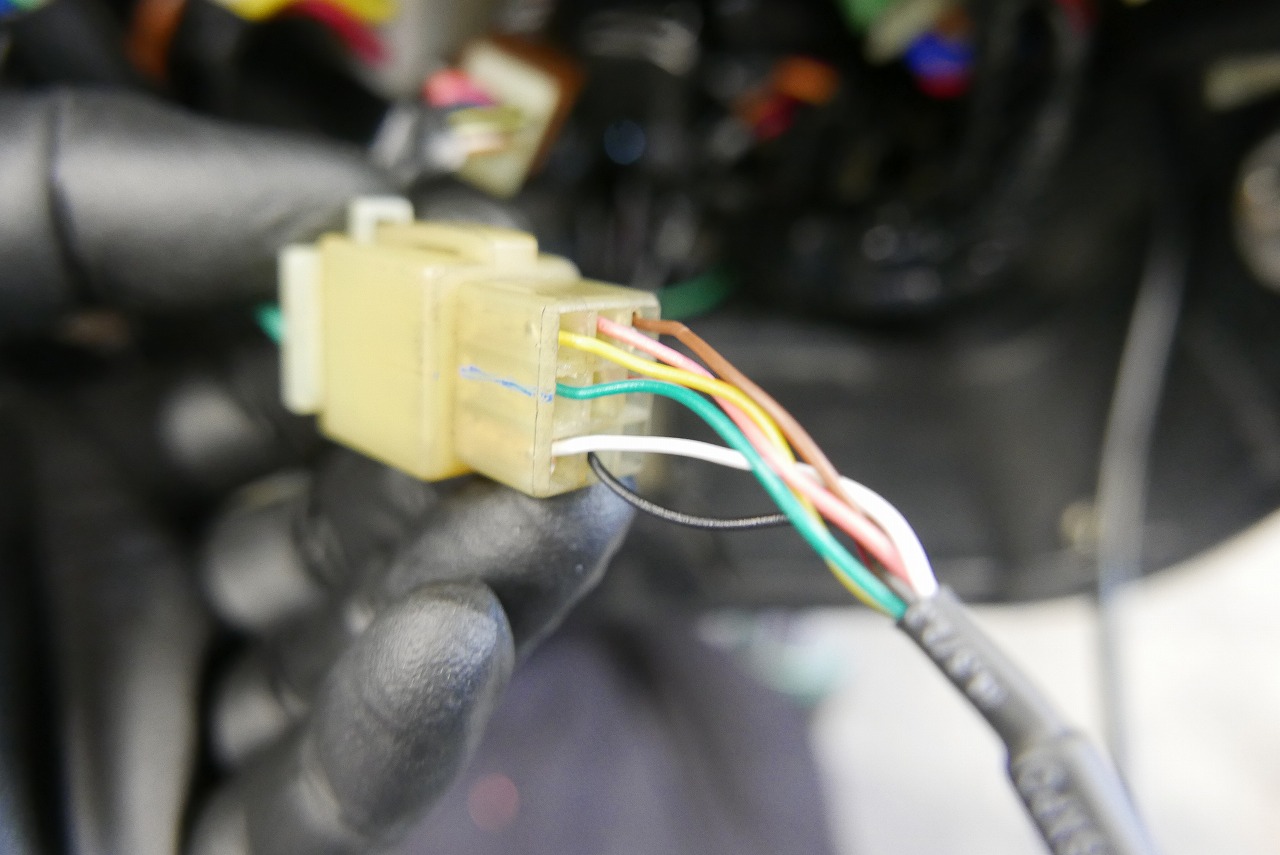
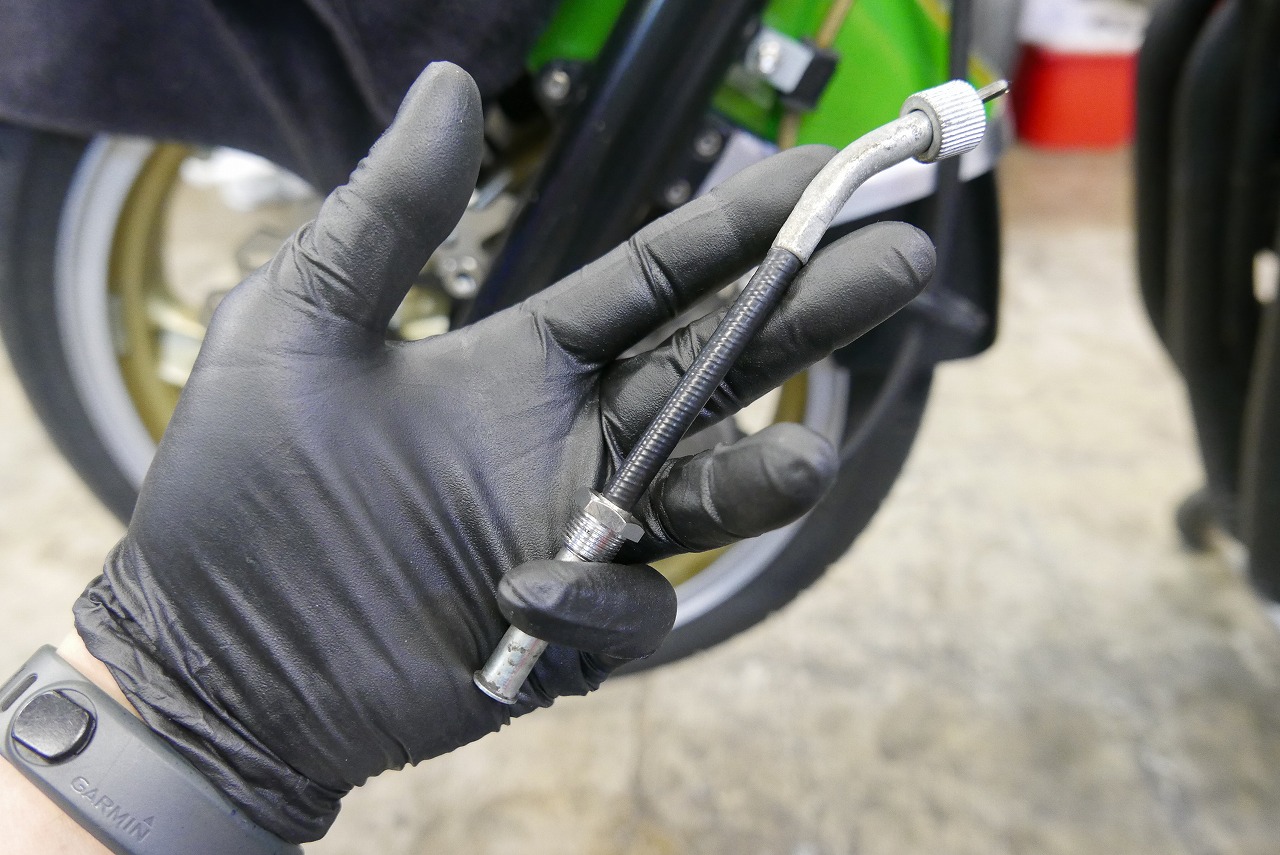
I wish the wiring came out the back, but at this price, I shouldn’t complain. Modern wiring is too thin… it doesn’t fit the old connectors anymore. The wire is too thin to crimp terminals onto. The troubles never end… I agonized over the placement and went with the safe middle position. It looks nice and stock. I did a trial layout. *The images are out of order. The time spent thinking about the custom part and the time spent removing and installing it is huge! I need to check that the speedometer cable is okay when fully extended. I removed an extension cable that was on there for some reason. All you air-cooled GPZ750 folks, let’s add an oil pressure switch next time!