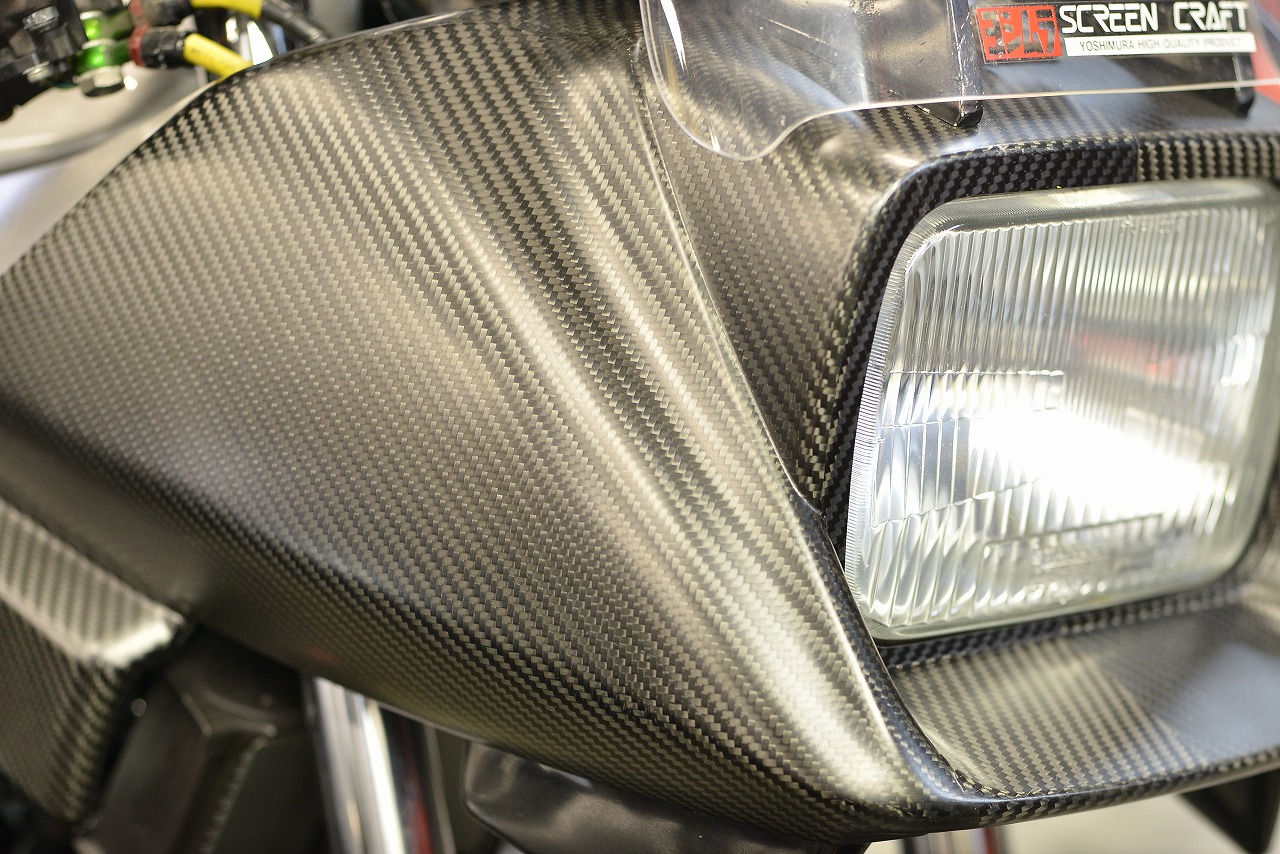
Back to life after four years. Everything’s now dry carbon—what a terrifying texture? Luxury feel?
Love and care really matter.
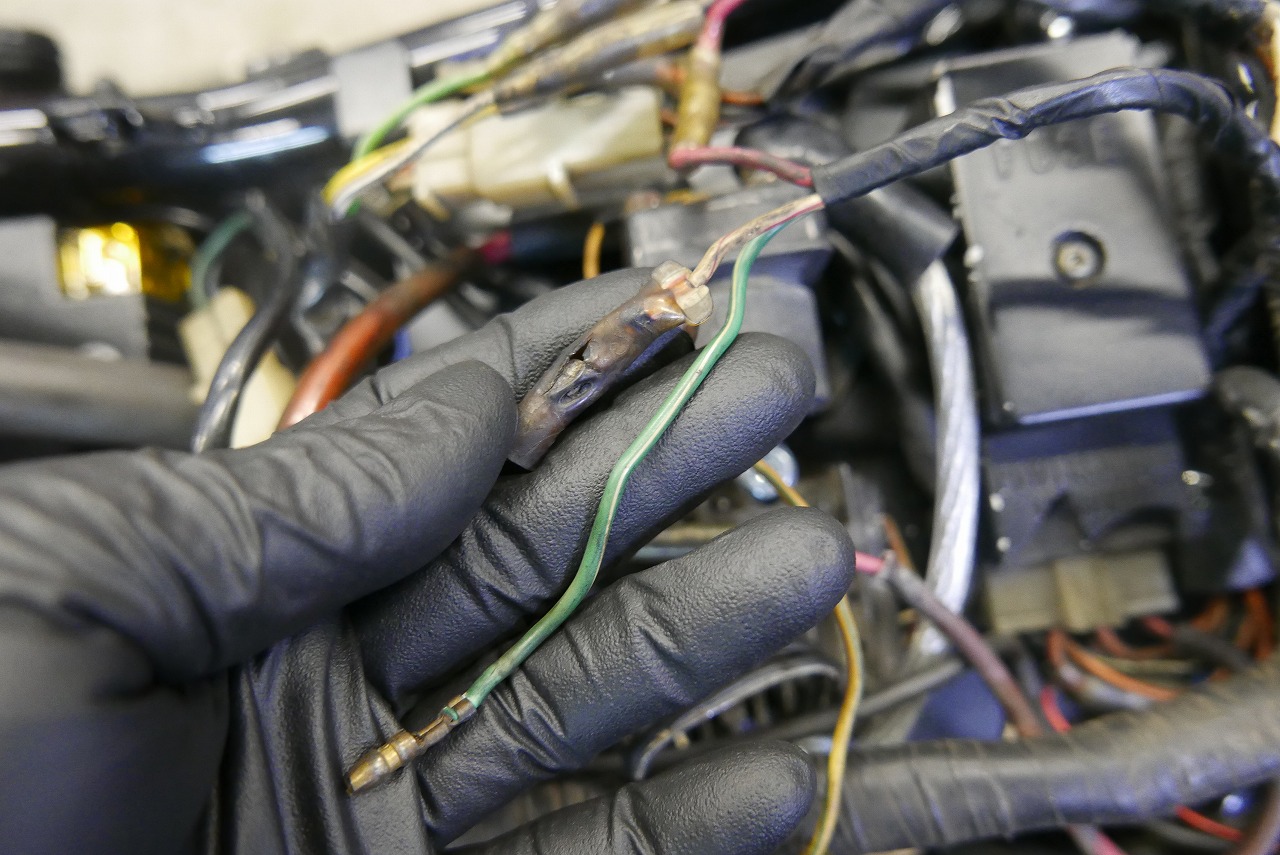
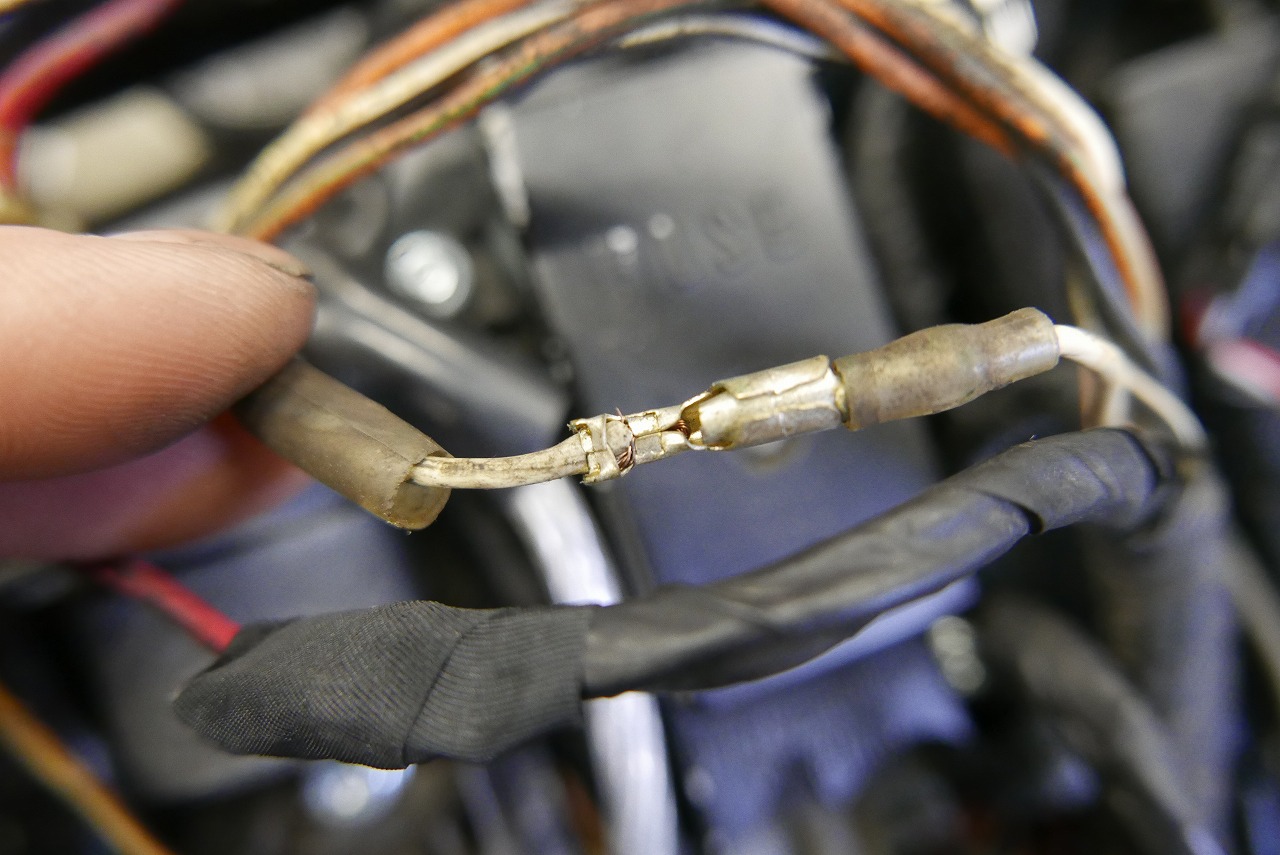
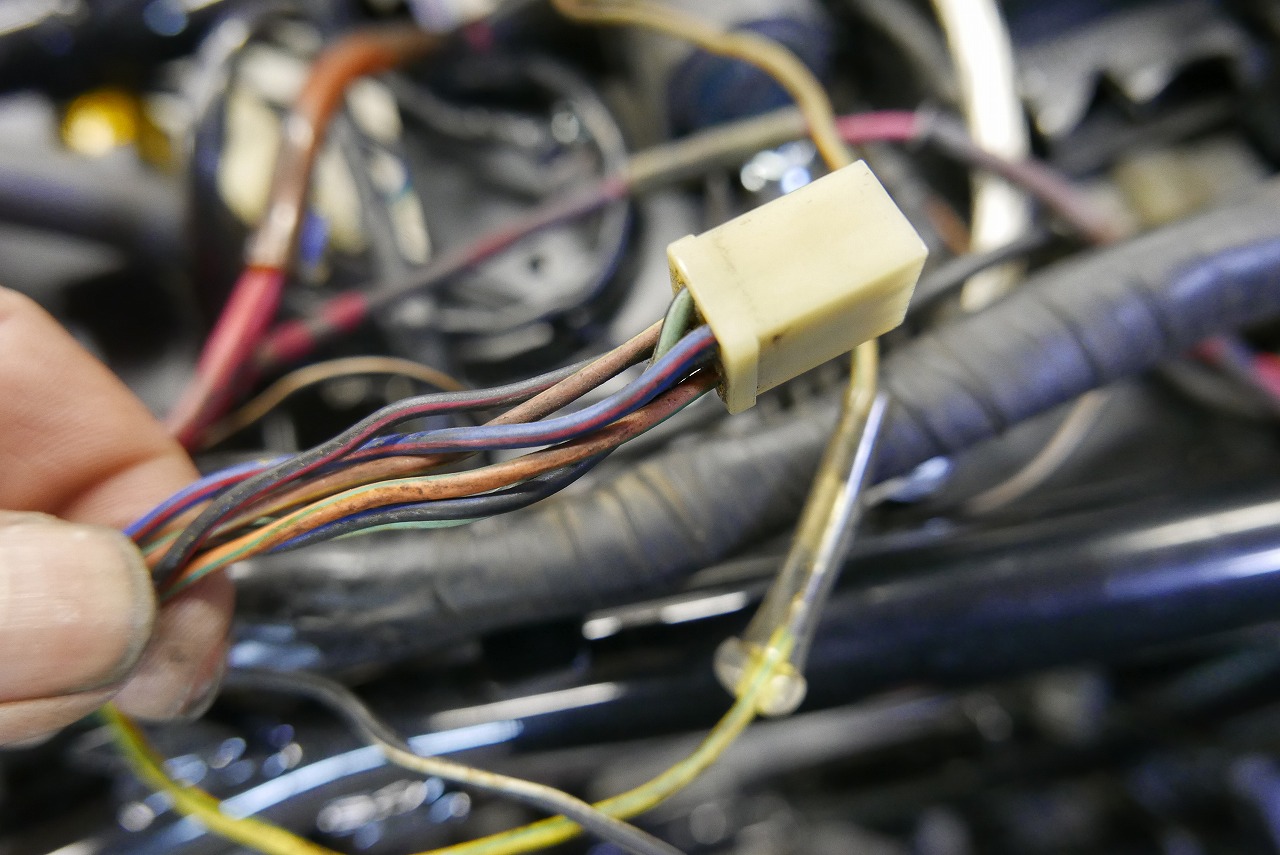
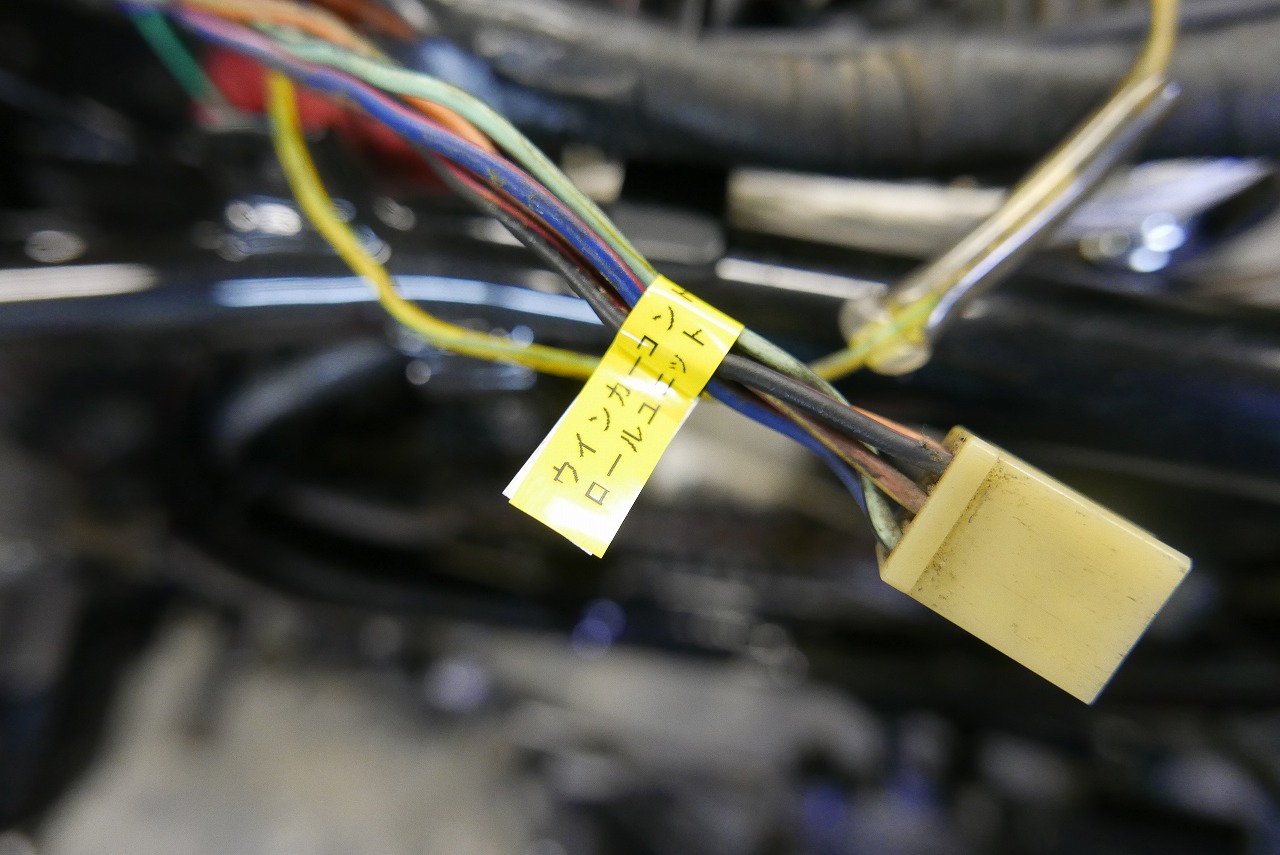
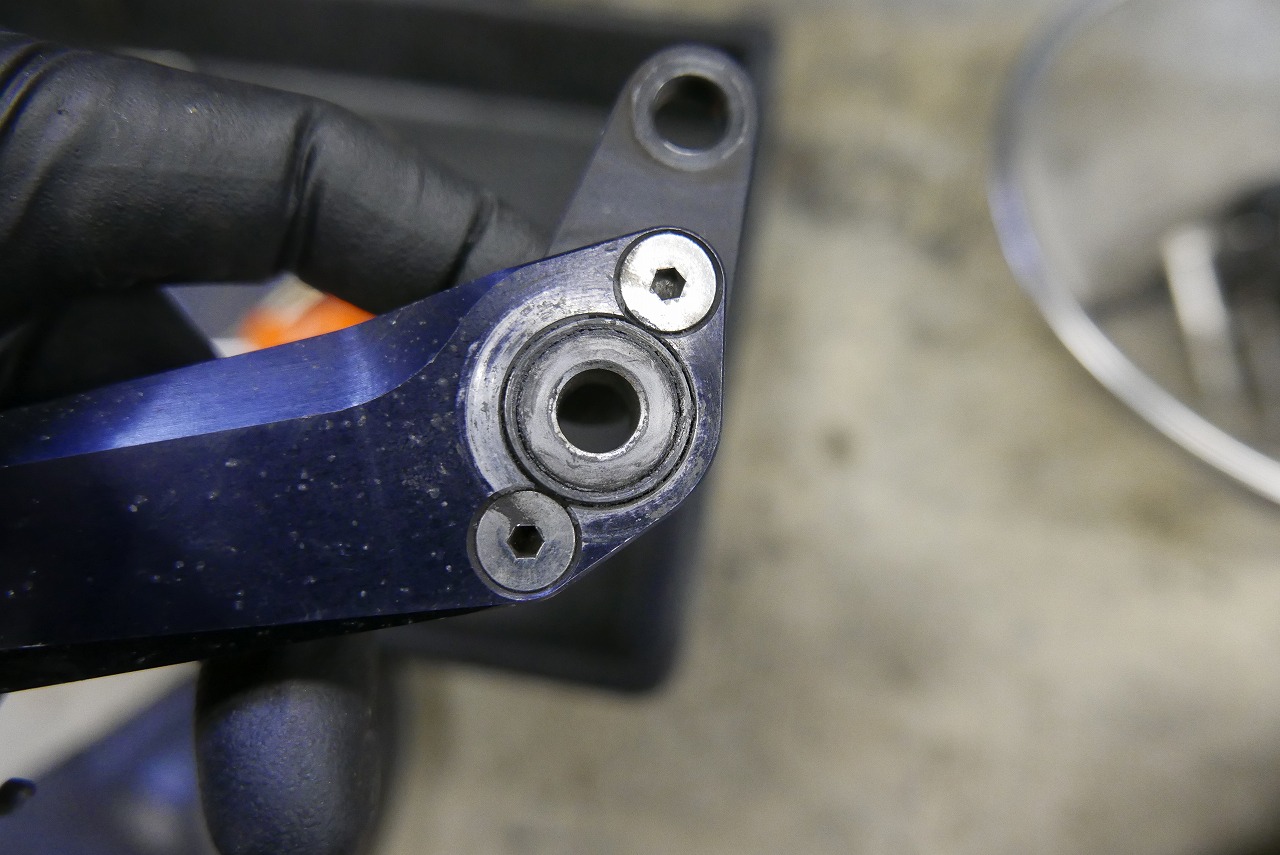
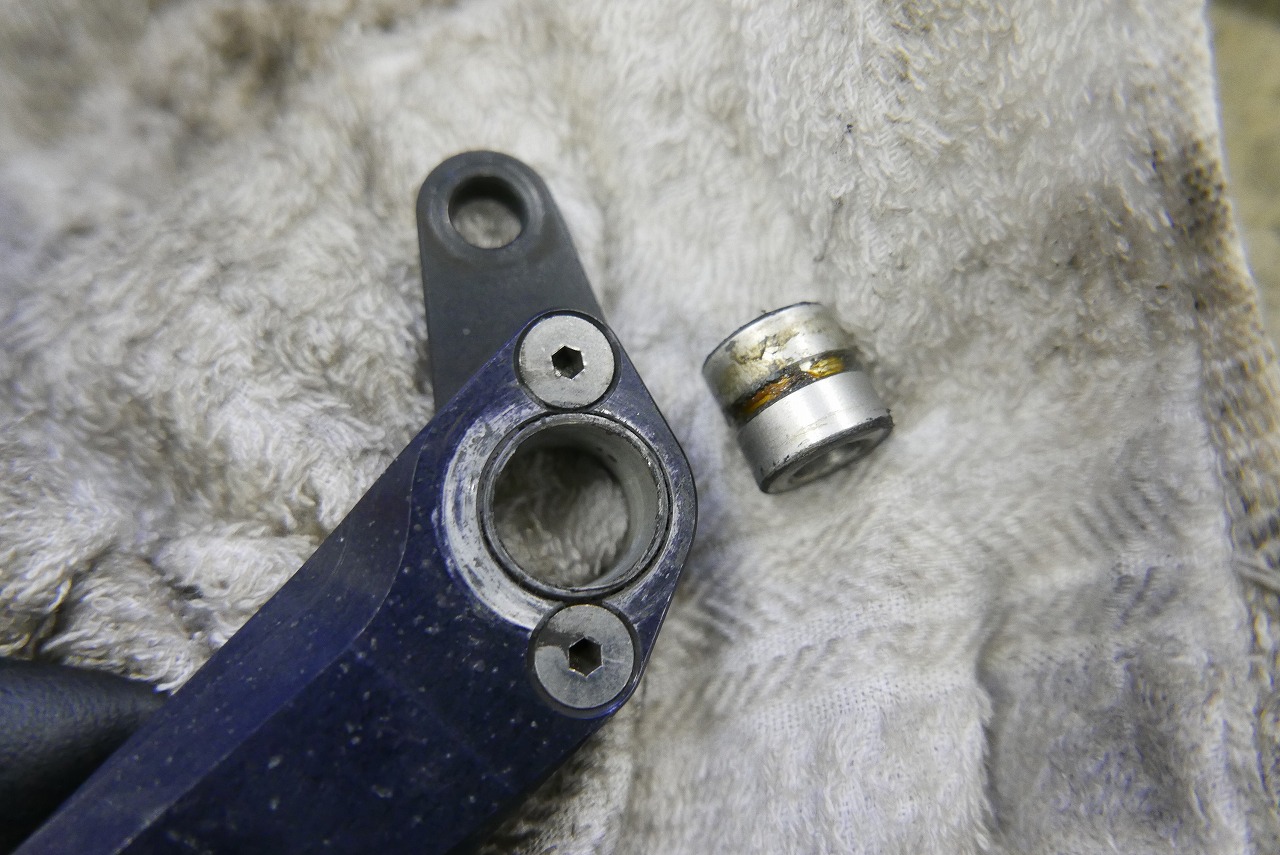
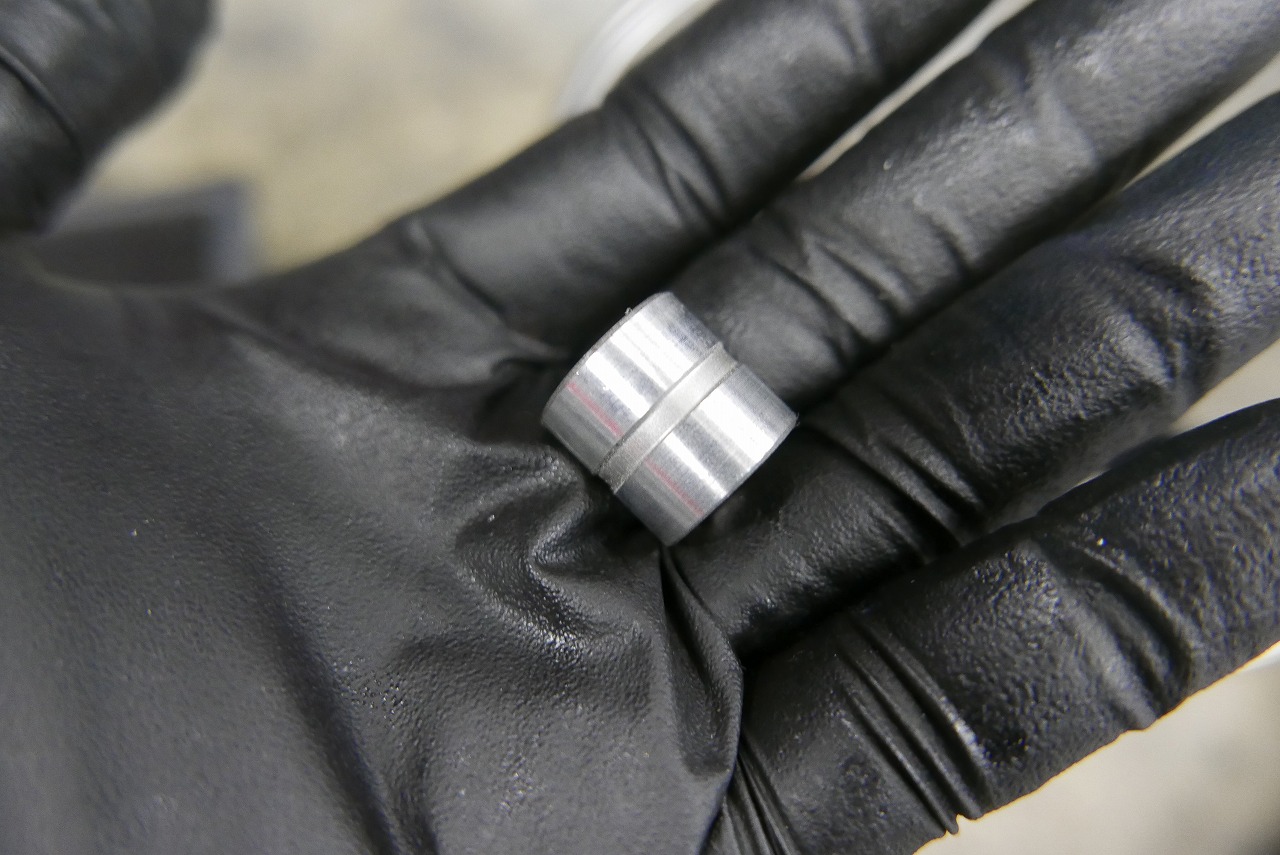
Like taurine 1000 mg…
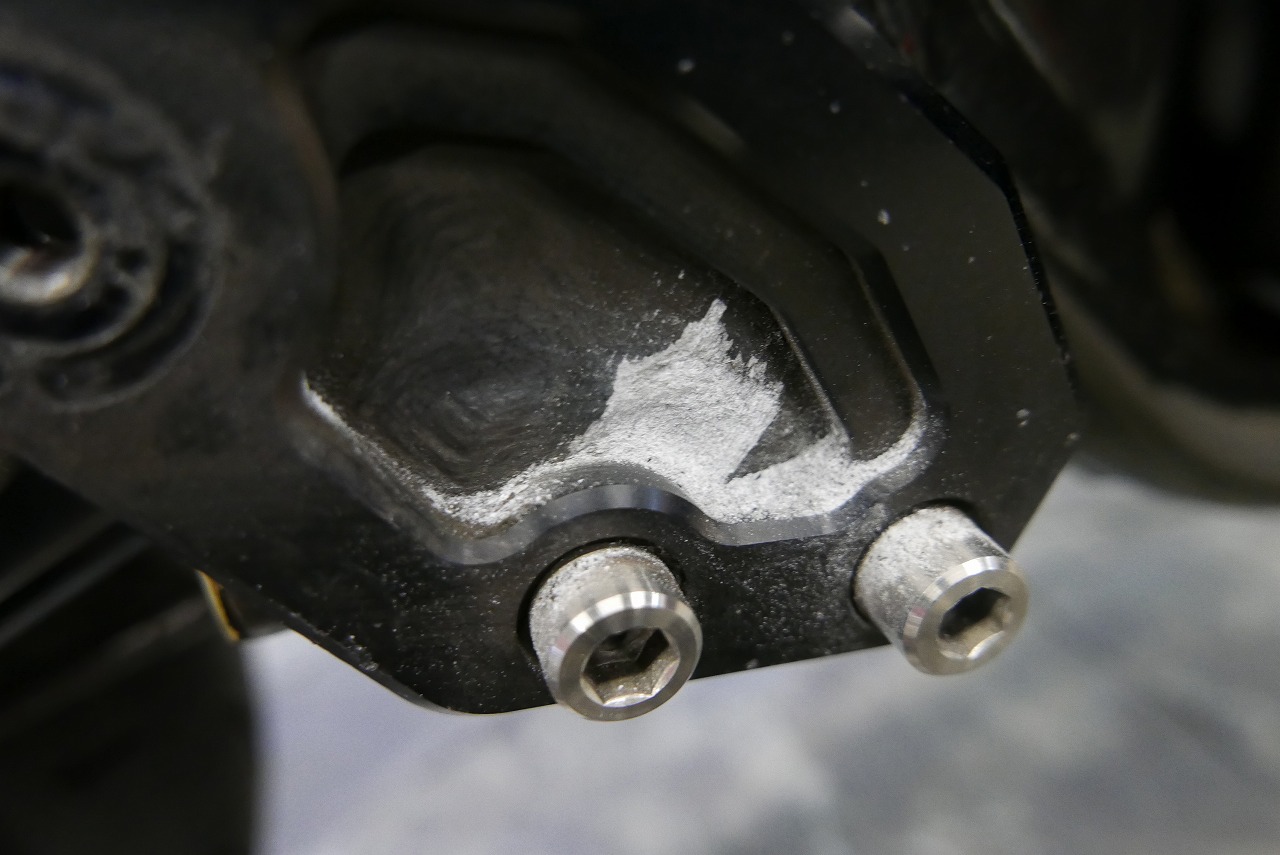
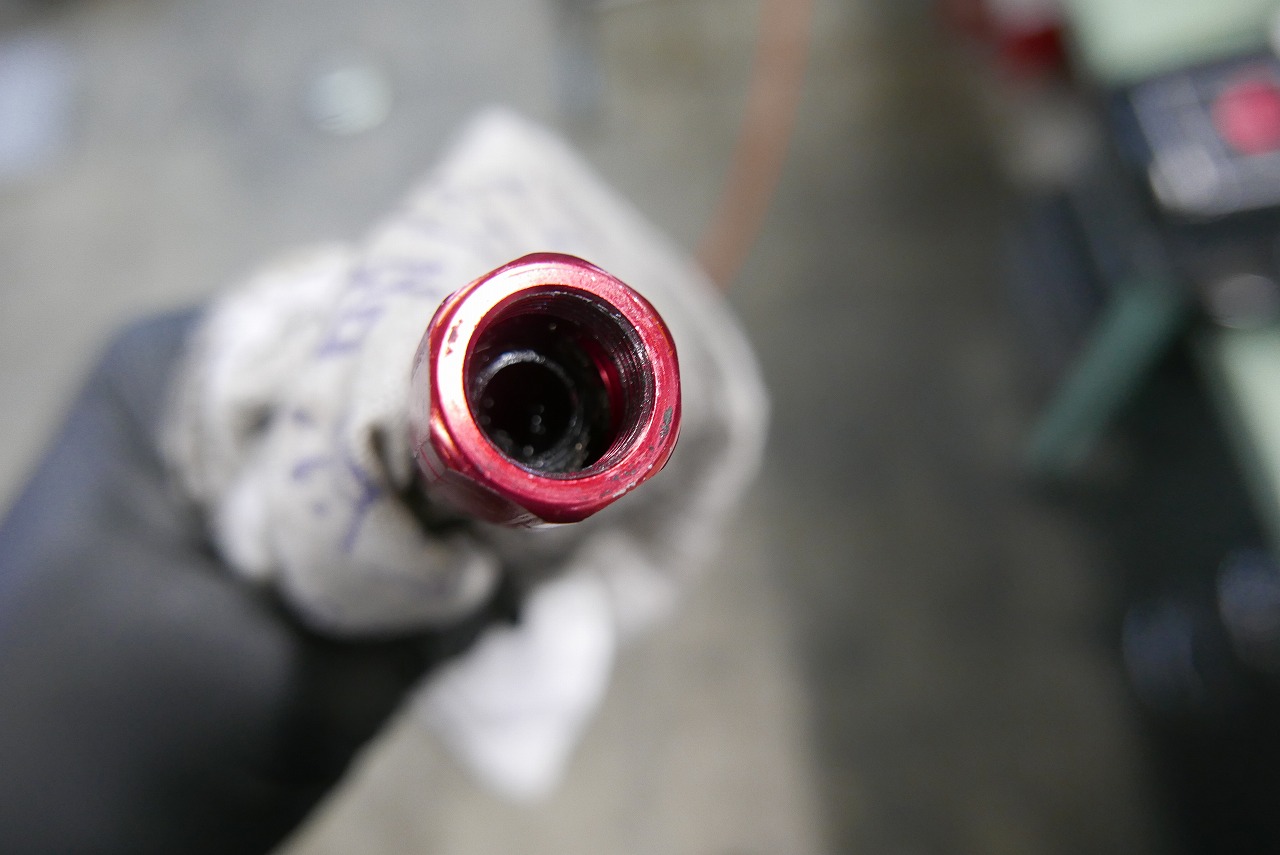
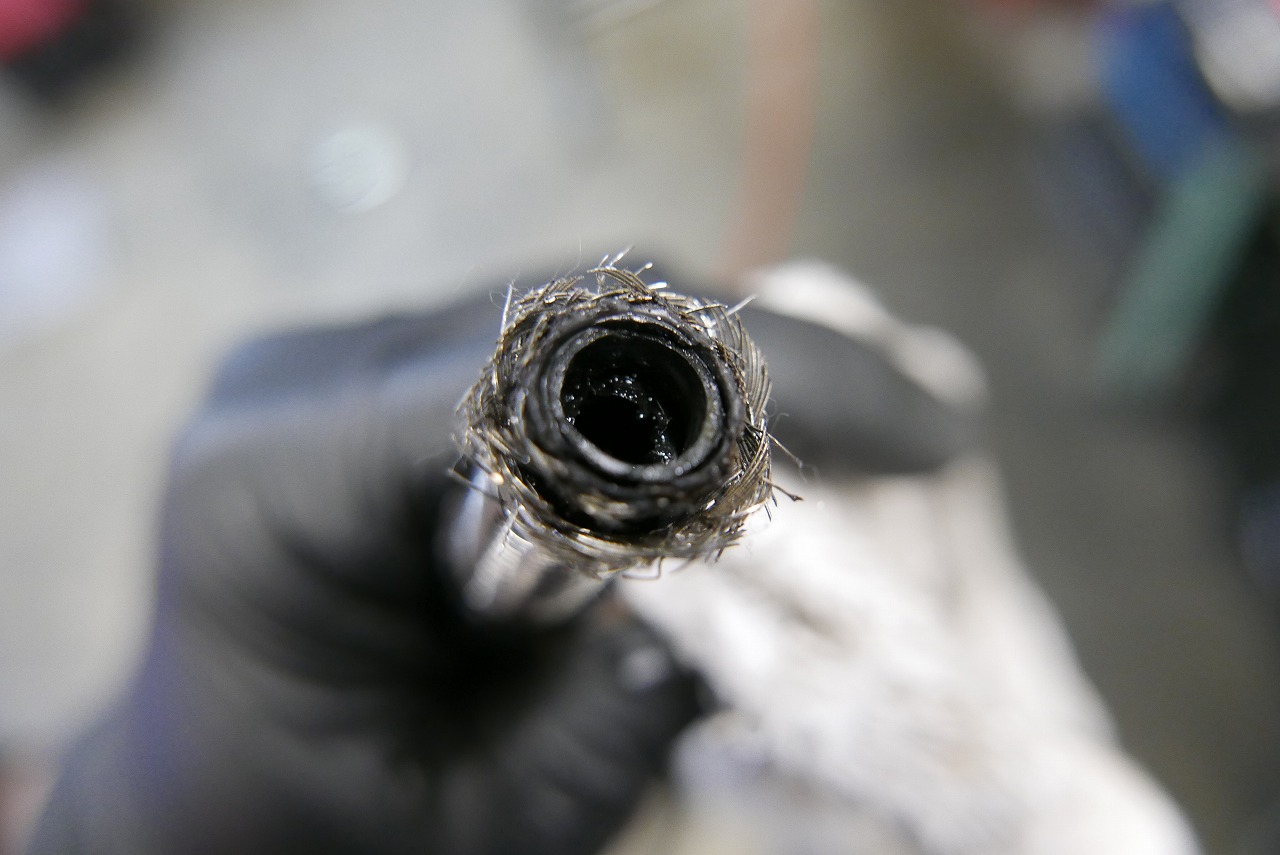
Super careful.
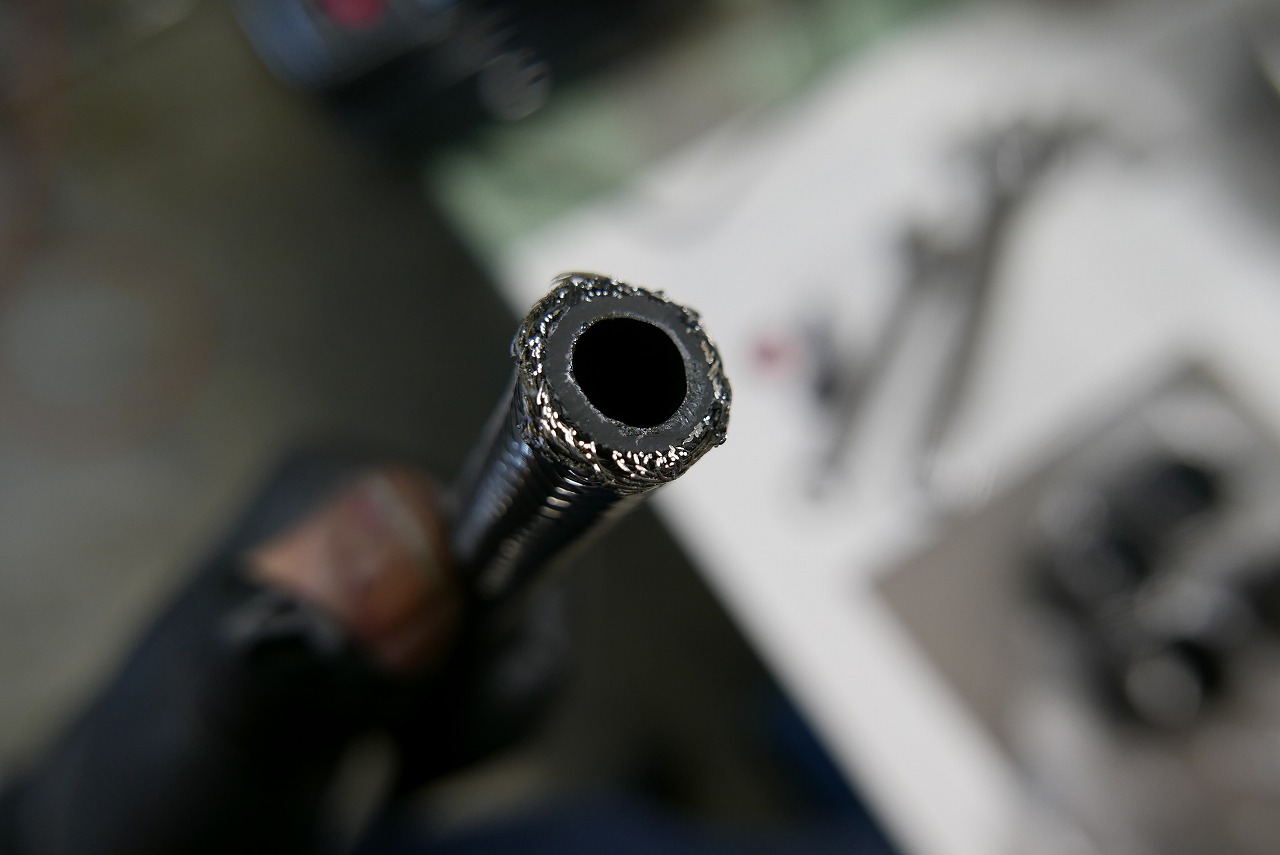
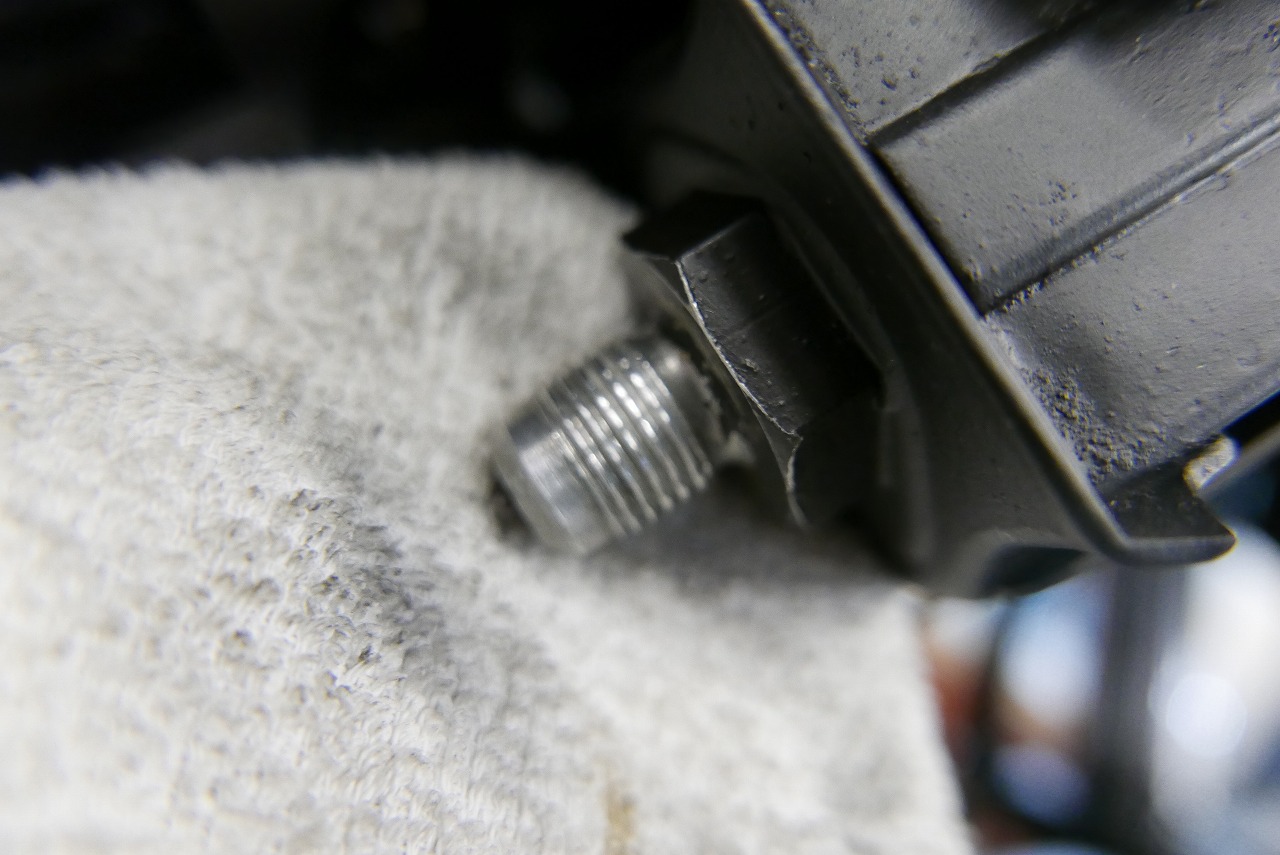
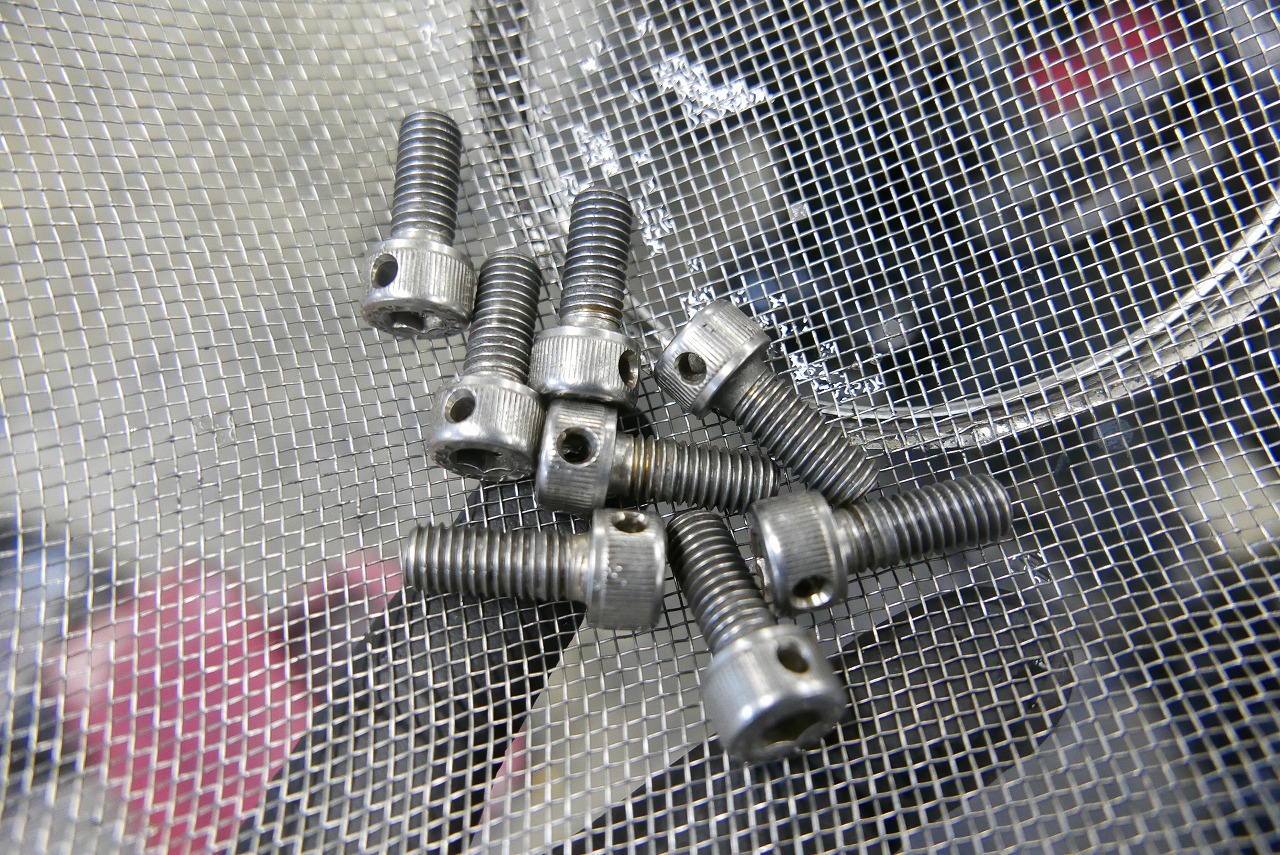
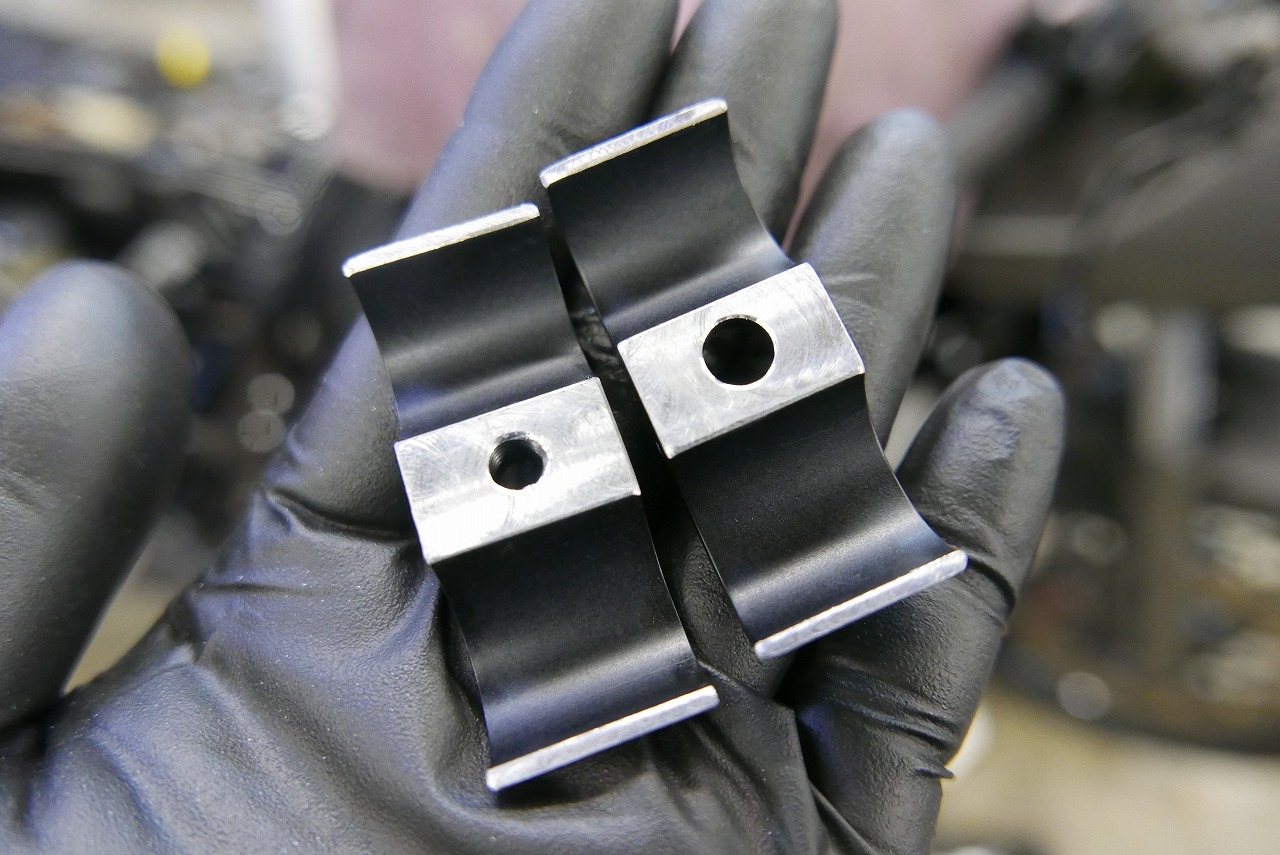
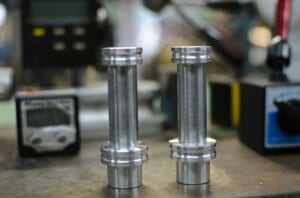
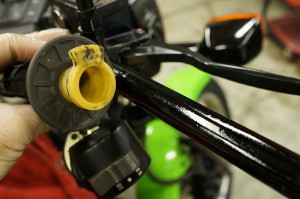
It’ll become oval, but I adjusted the thickness with a milling machine to get a nice bite.
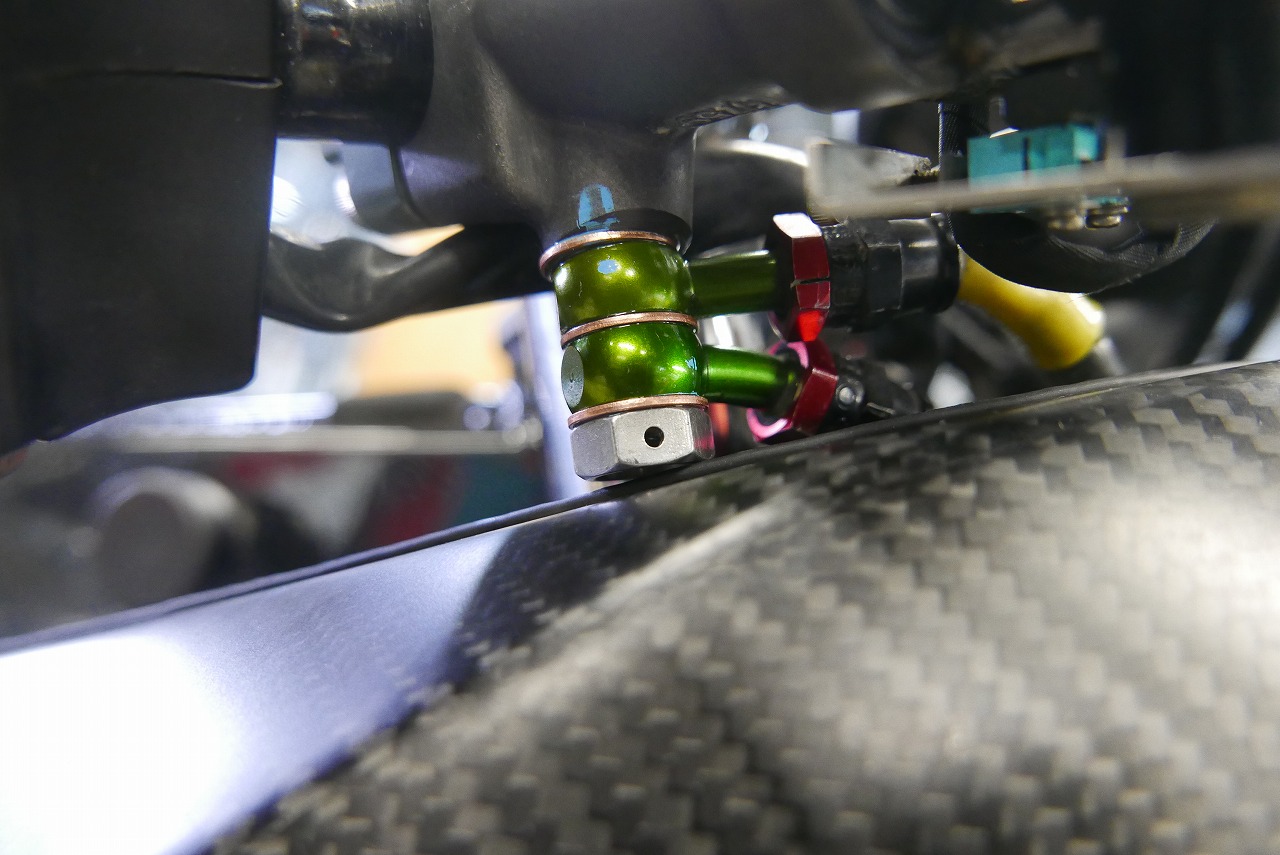
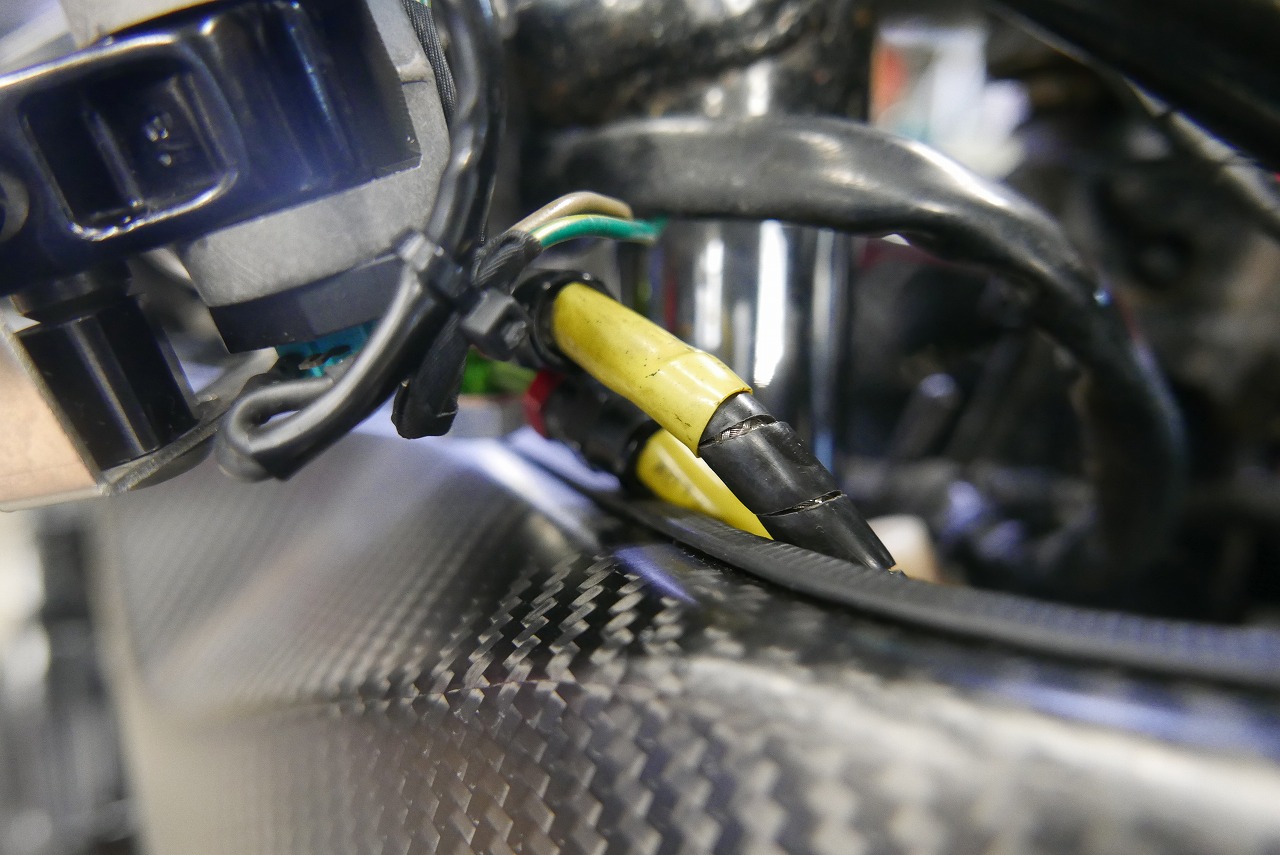
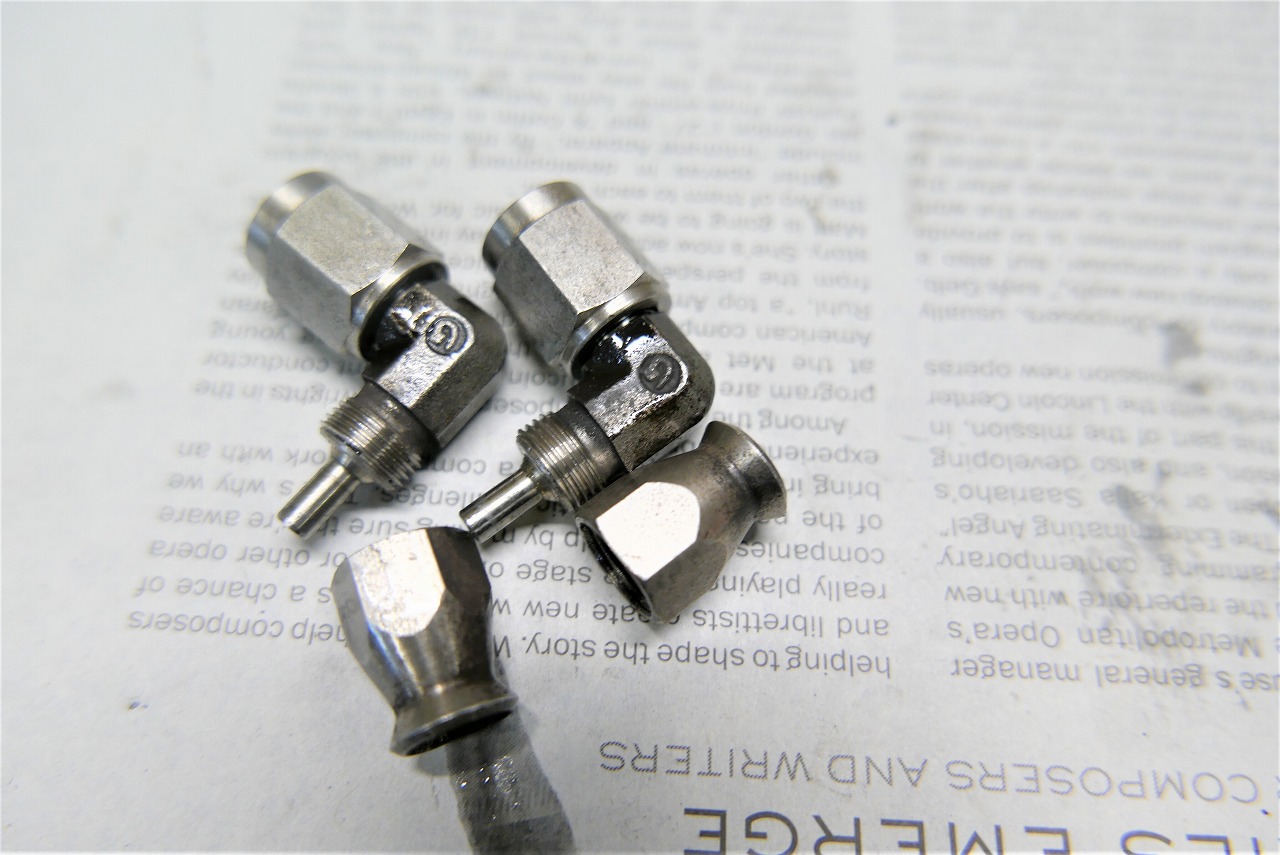
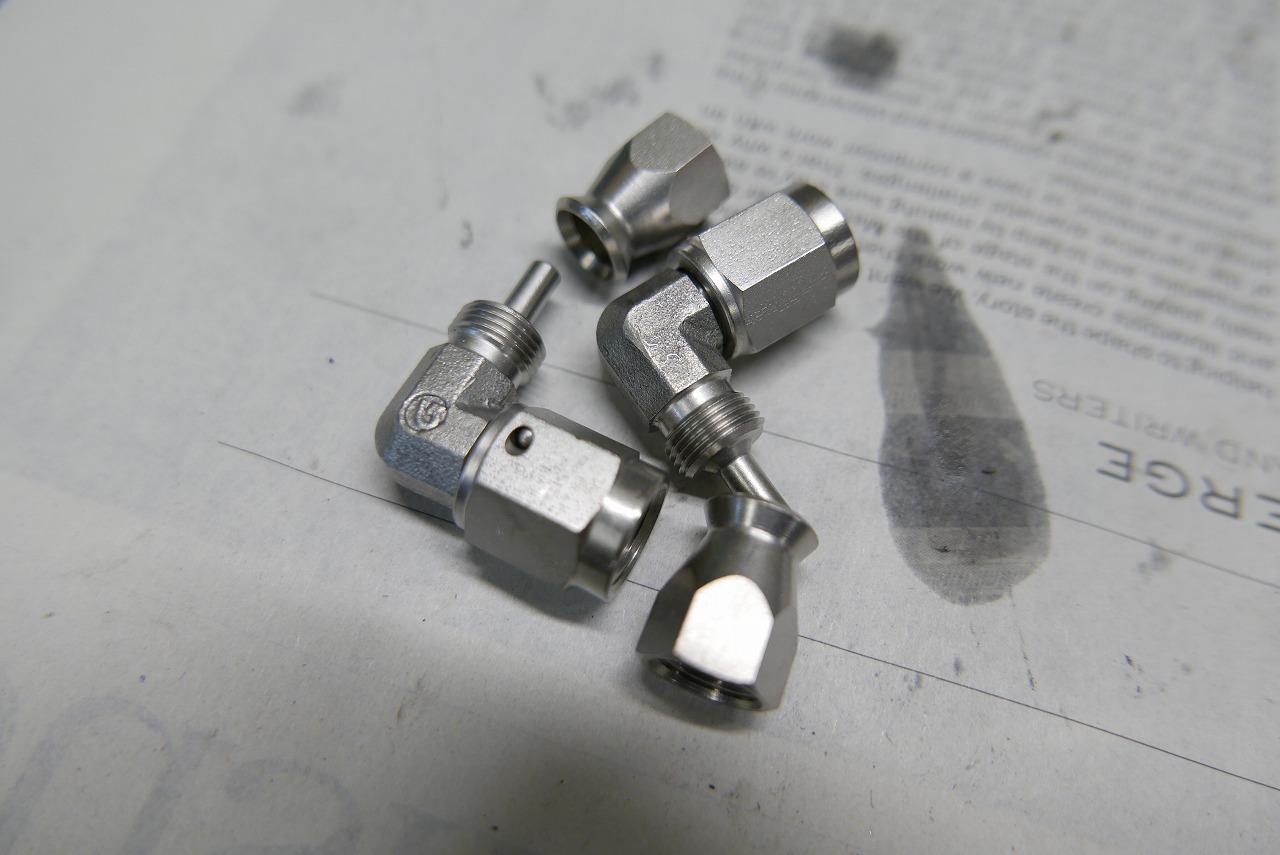
People spot dirt and scratches, but they don’t notice when something’s clean. Strange human nature, isn’t it?
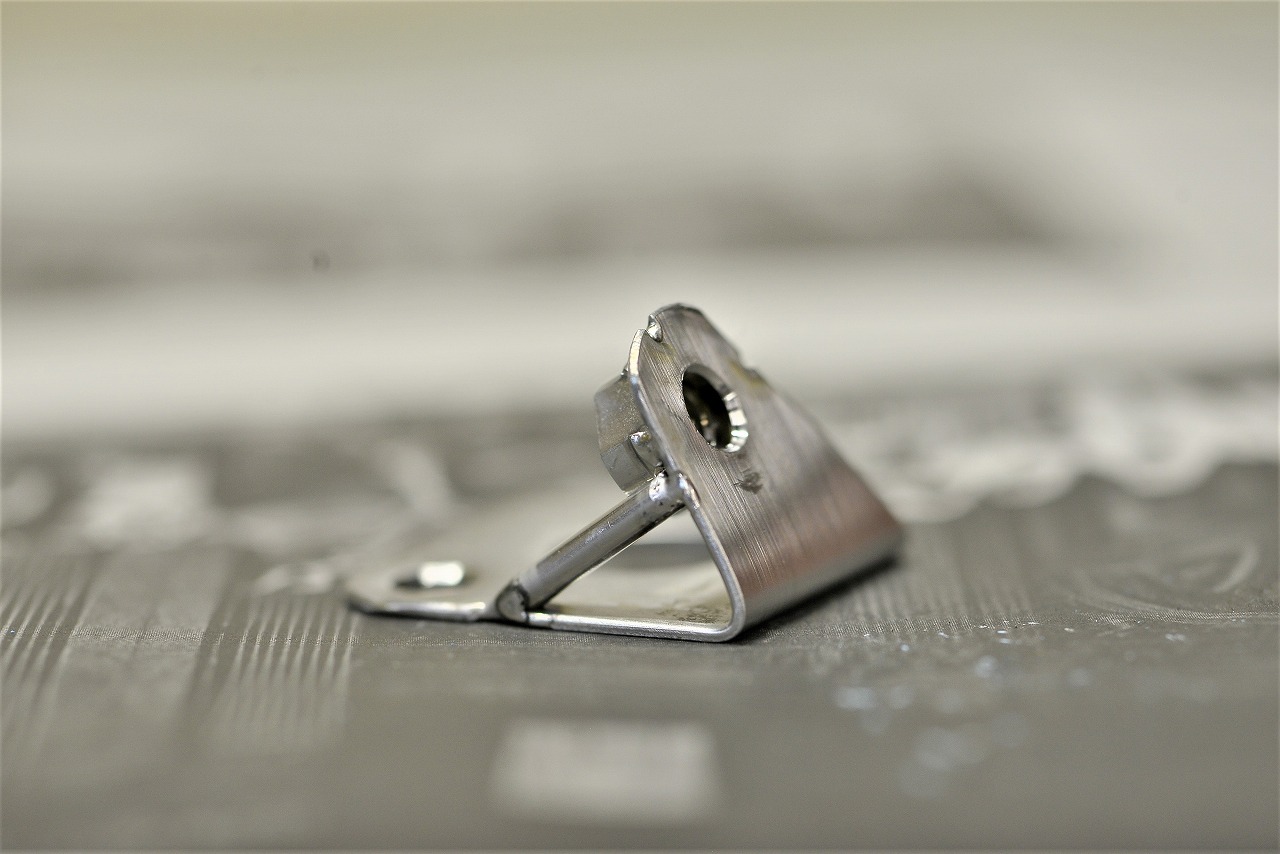
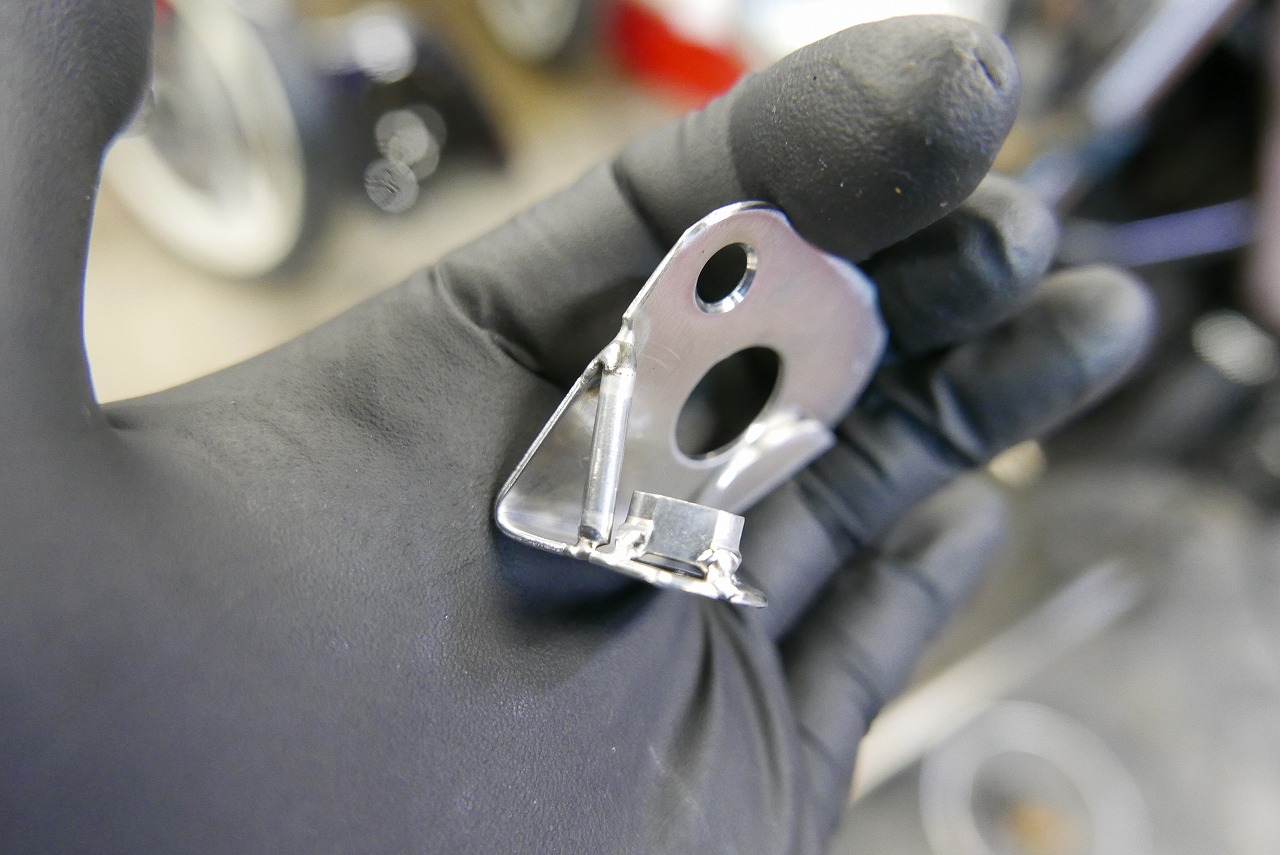
there were exposed threads on top of the steering column, so I borrowed one from there. If it loosens and catches the steering, wouldn’t that be scary? In daily life, I’m optimistic. At work, I’m pessimistic.
I want to sleep with my head held high every day.
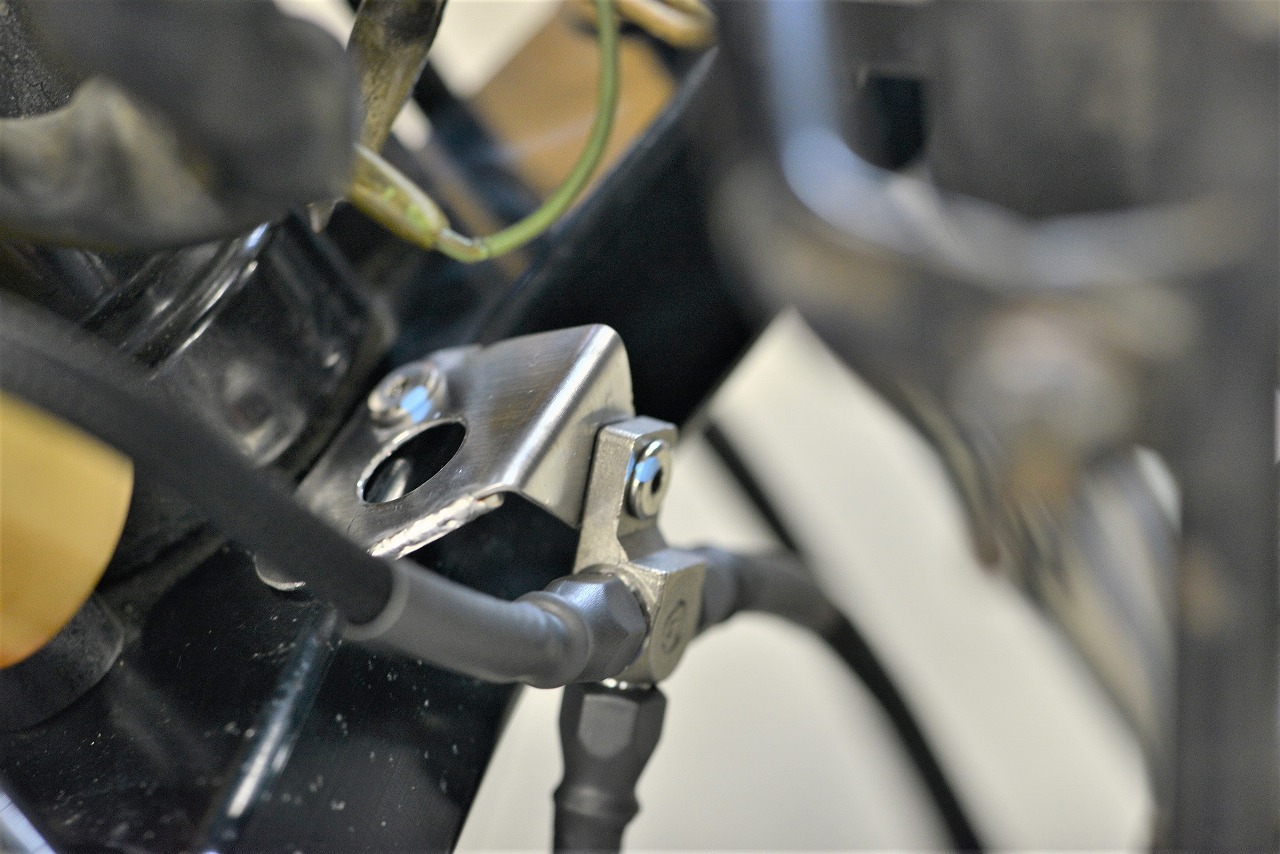
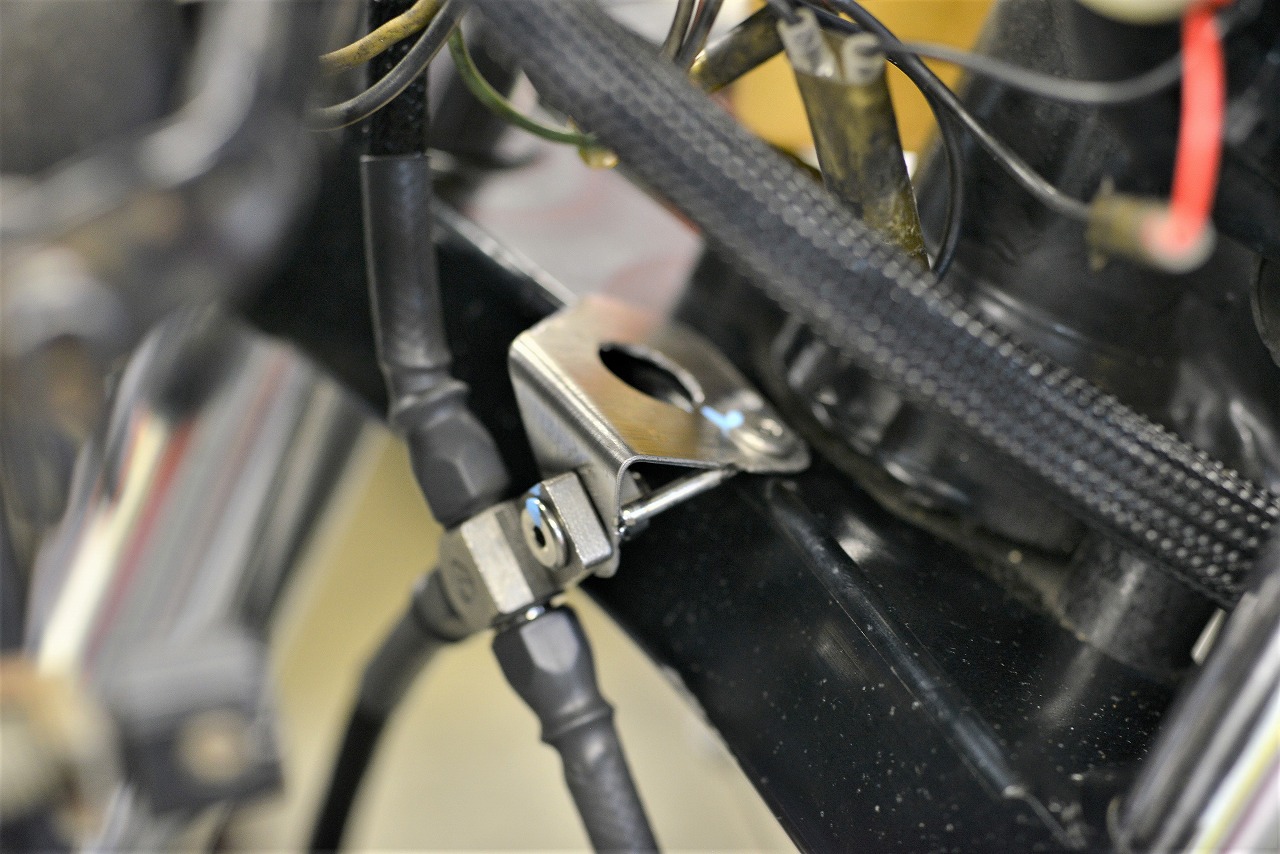
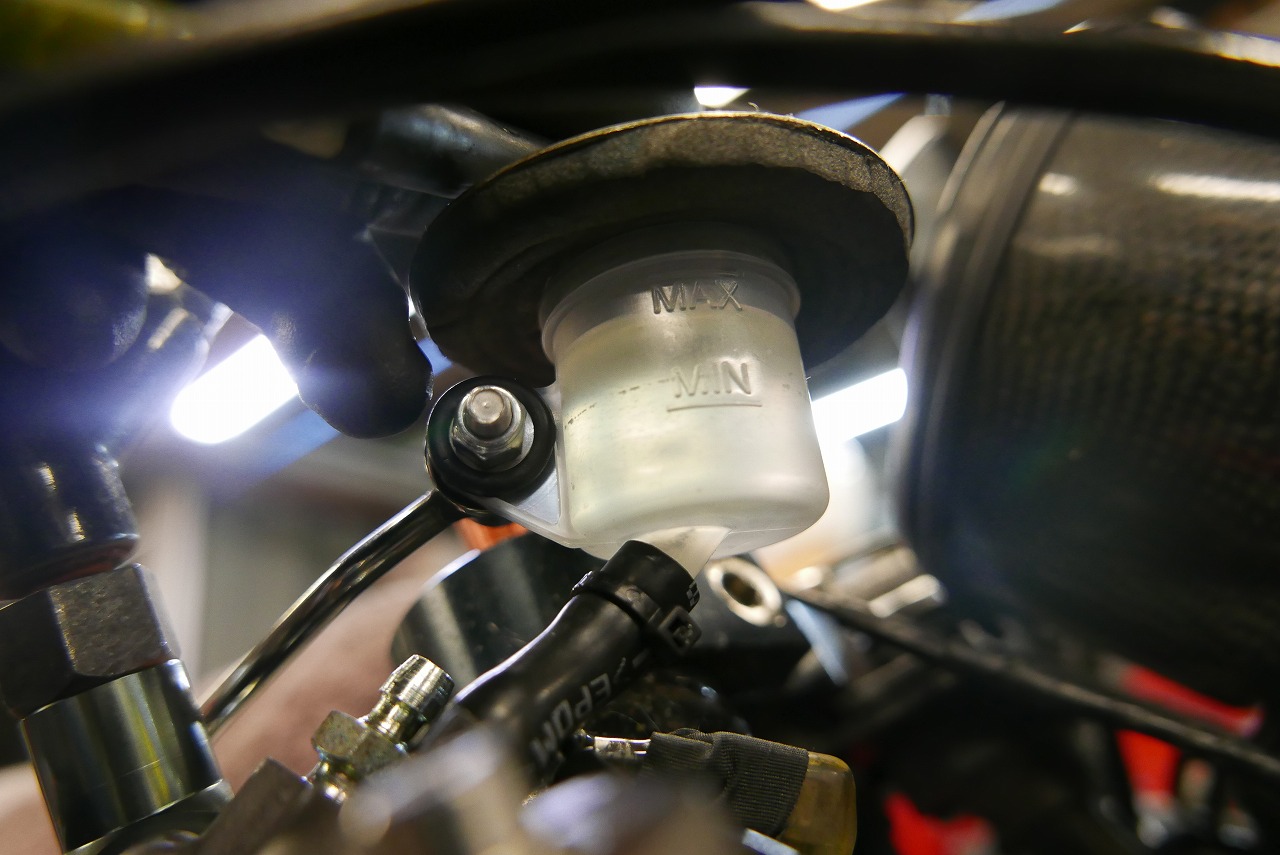
There’s always a bonus: if something’s loose or a hose crimp is weak, air keeps coming out and you spot it right there.
I also heard that
someone had brake hoses made (or replaced), and on the way back they felt the brakes getting soft. They turned around, and it turned out the hose was defective—tiny pinhole marks. Defective product.
Not every product on the shelf is perfect, but normally you don’t find out until you get that far.
With vacuum bleeding, you catch it, so I’m confident. The owner’s confident. And the air comes out so completely you’d never know it was there—peace of mind.
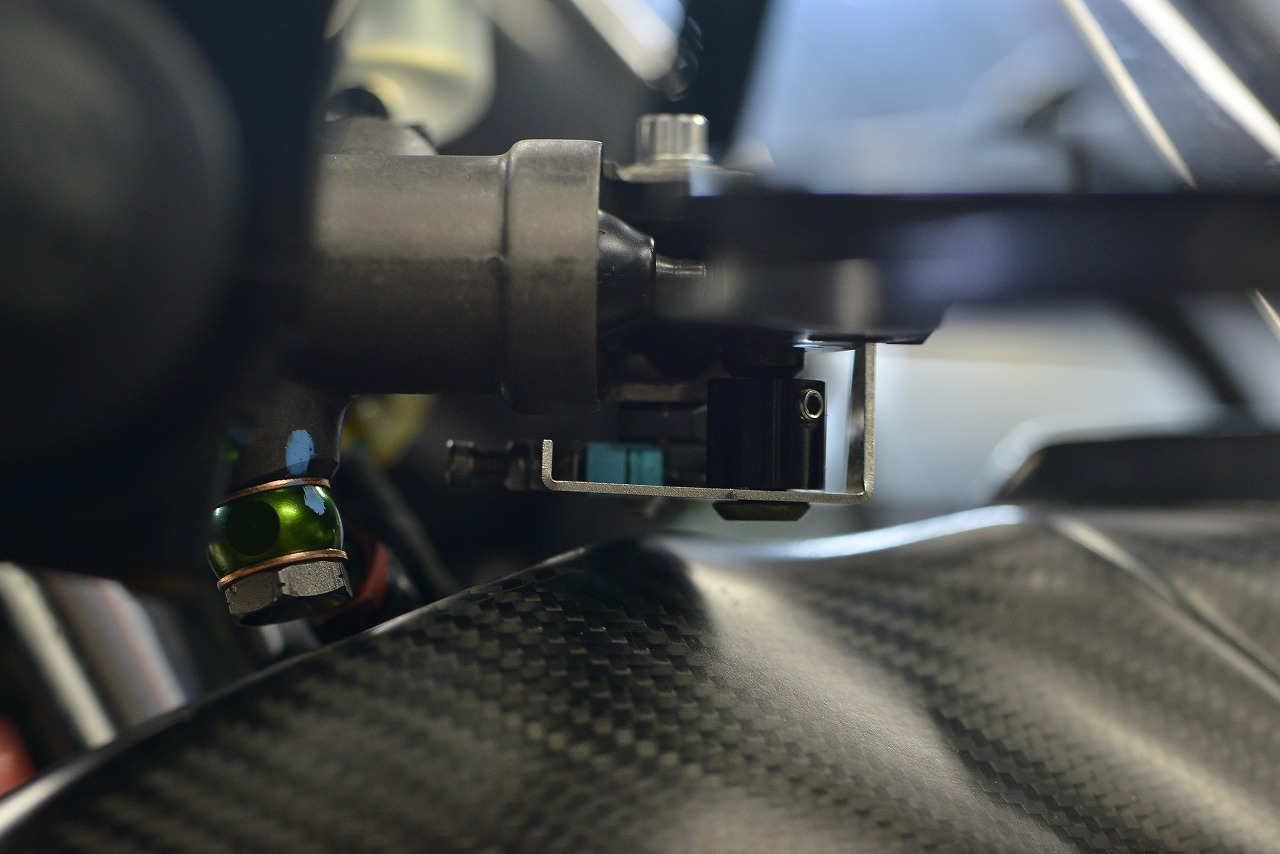
We had dead stock of this back then.
Somehow we dodged it—phew. If we switched to a hydraulic Bright Logic switch, we’d have more room. (But we’re going as-is.)
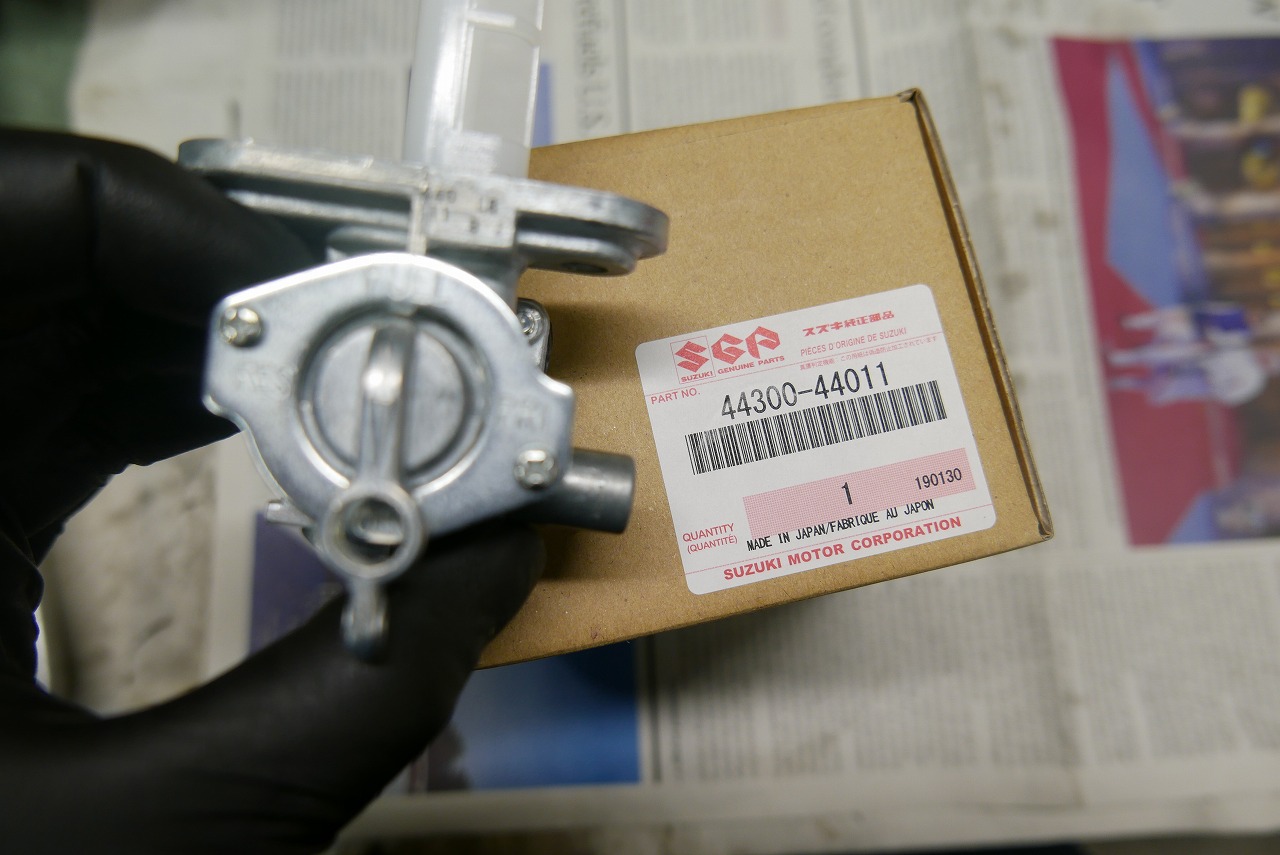
I was prepping the night before the inspection when… sniff sniff. Smells like gas?
Overflow? No, no… the petcock knob area and the diaphragm chamber were weeping.
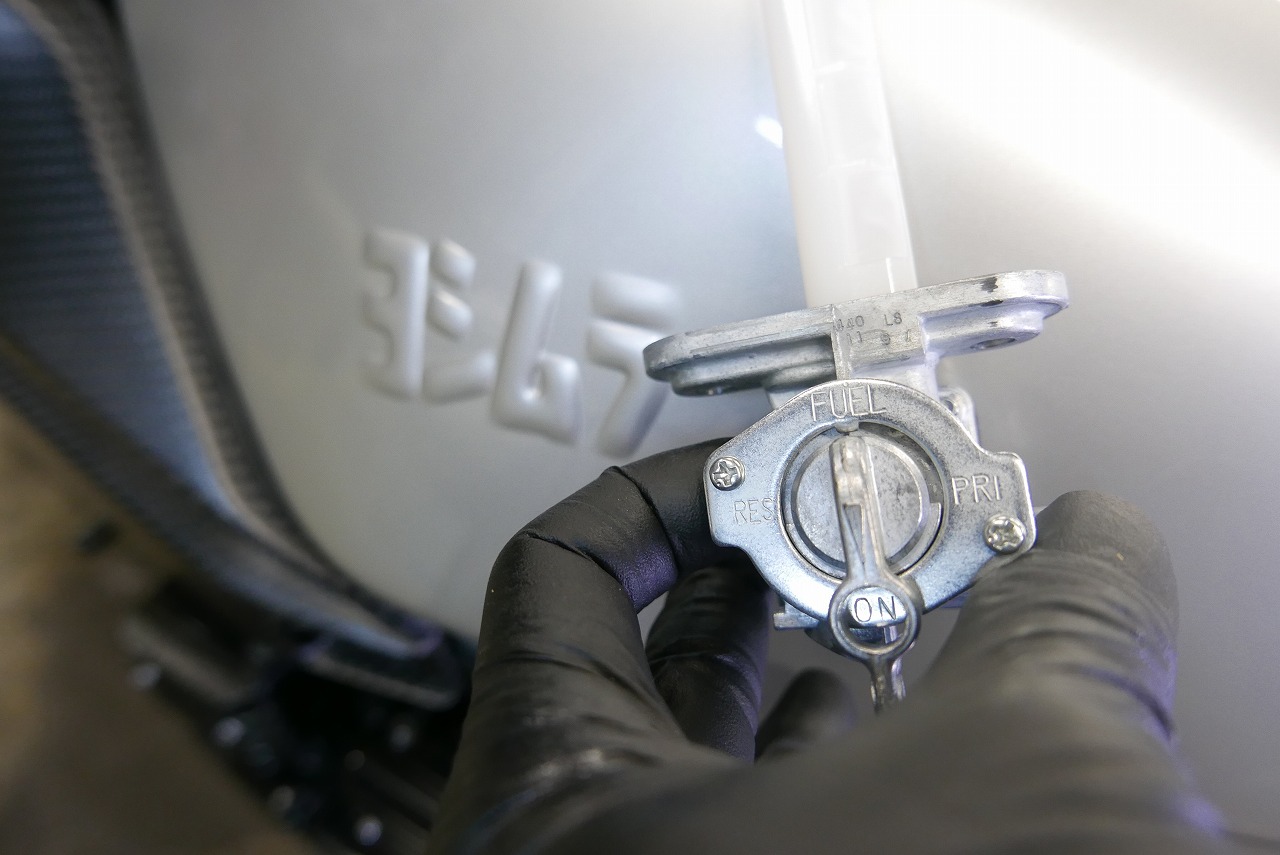
But the inspection’s tomorrow. What do I do? I used a pretty sketchy trick: “gasoline-resistant grease, Variel-ta” to stop it.
Took the petcock apart, degreased it, sealed the mating surface and O-ring properly, and gas stopped.
It really was gasoline-resistant. That’s how we made it to the inspection the next day.
That wraps it up for this time.