Always going all the way to Tokyo… thank you so much.
Especially for new customers…
motorcycles have a way of breaking down somewhere else right after you fix one thing. When that happens after we’ve done work, if the distance is too far to say “take a look and bring it in,” it starts to feel irresponsible lately. Don’t you think?
Honestly, I think the best approach is to find a familiar shop within a distance you can actually reach.
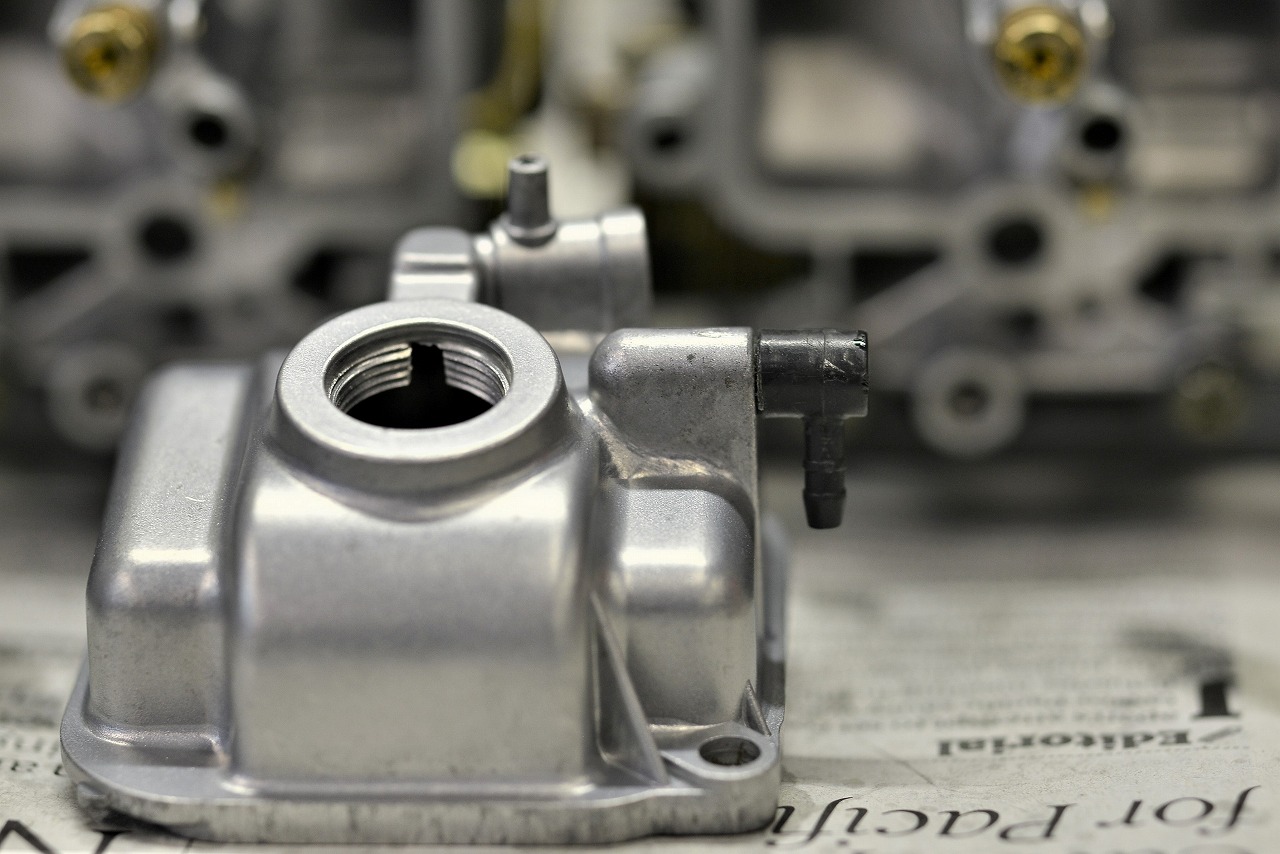
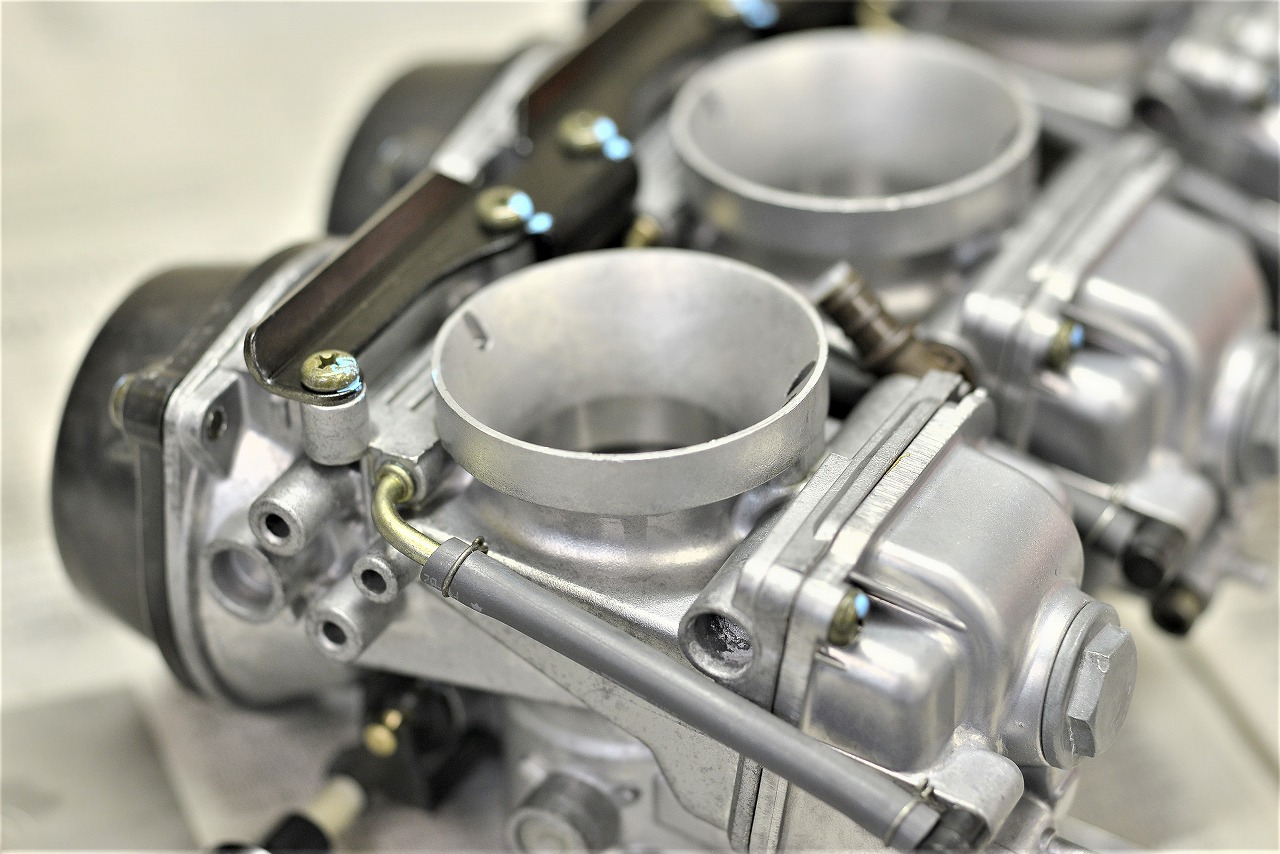
This time, we’re handling oil-cooled maintenance and carburettor maintenance.
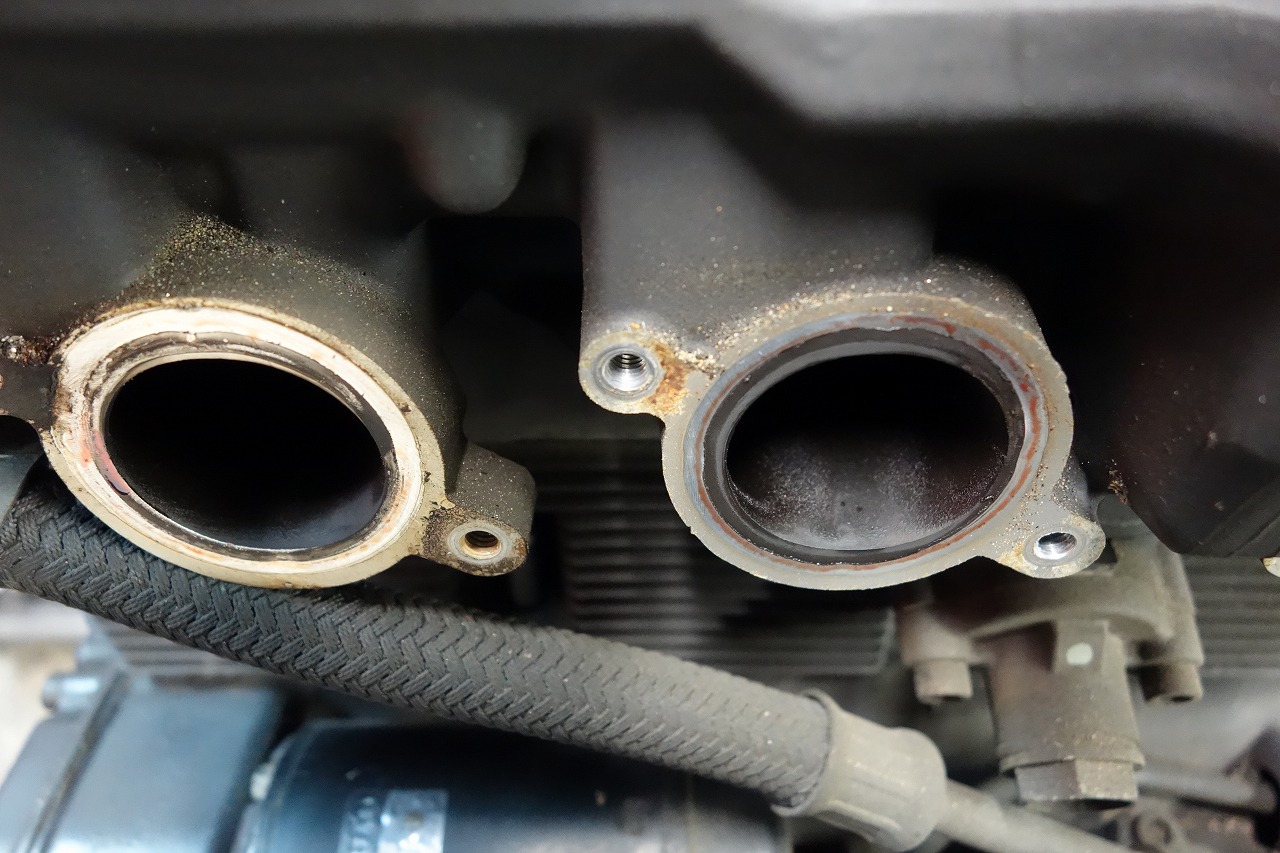
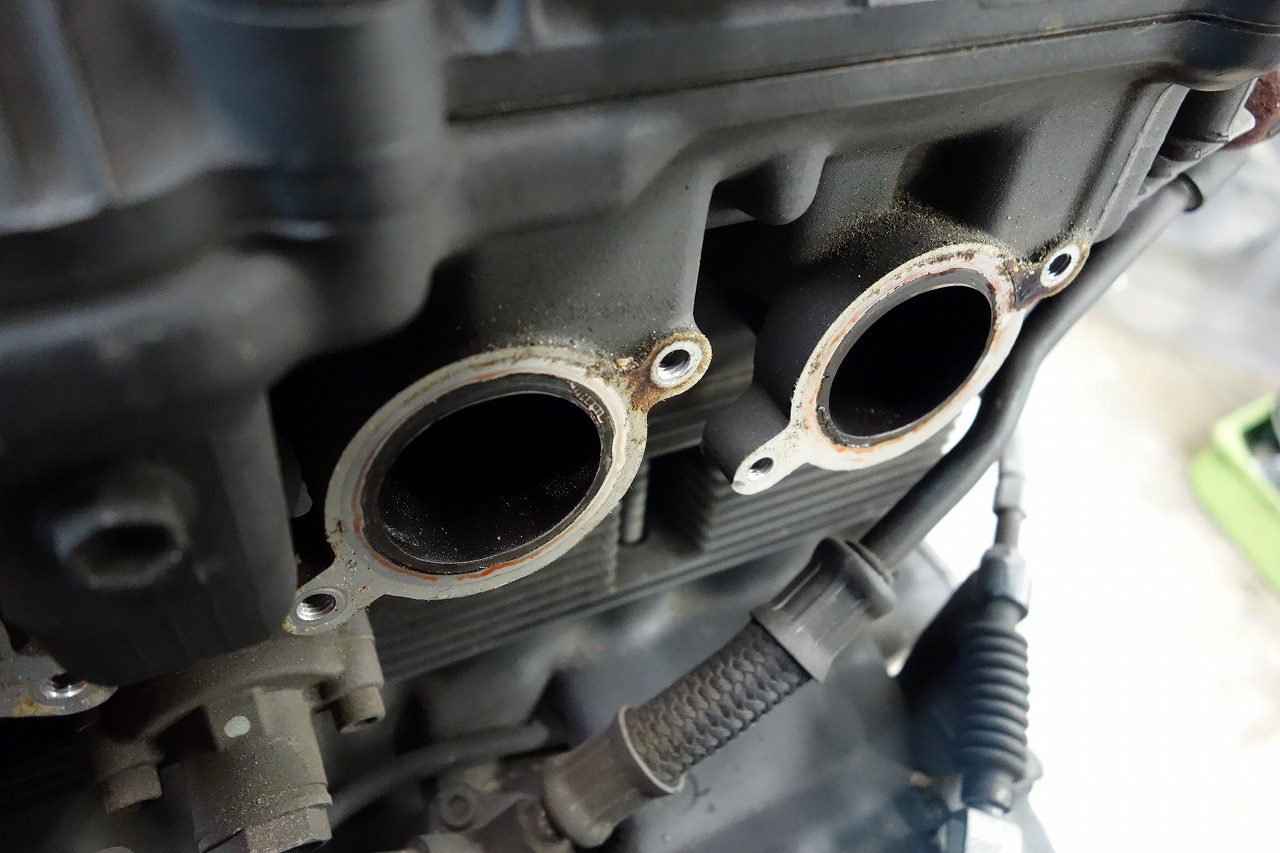
You can’t do it without removing the carb anyway. As always, just use a 1/2 breaker bar and a +3 box and crack it loose with a bang! You should be able to get everything off without any trouble in a second.
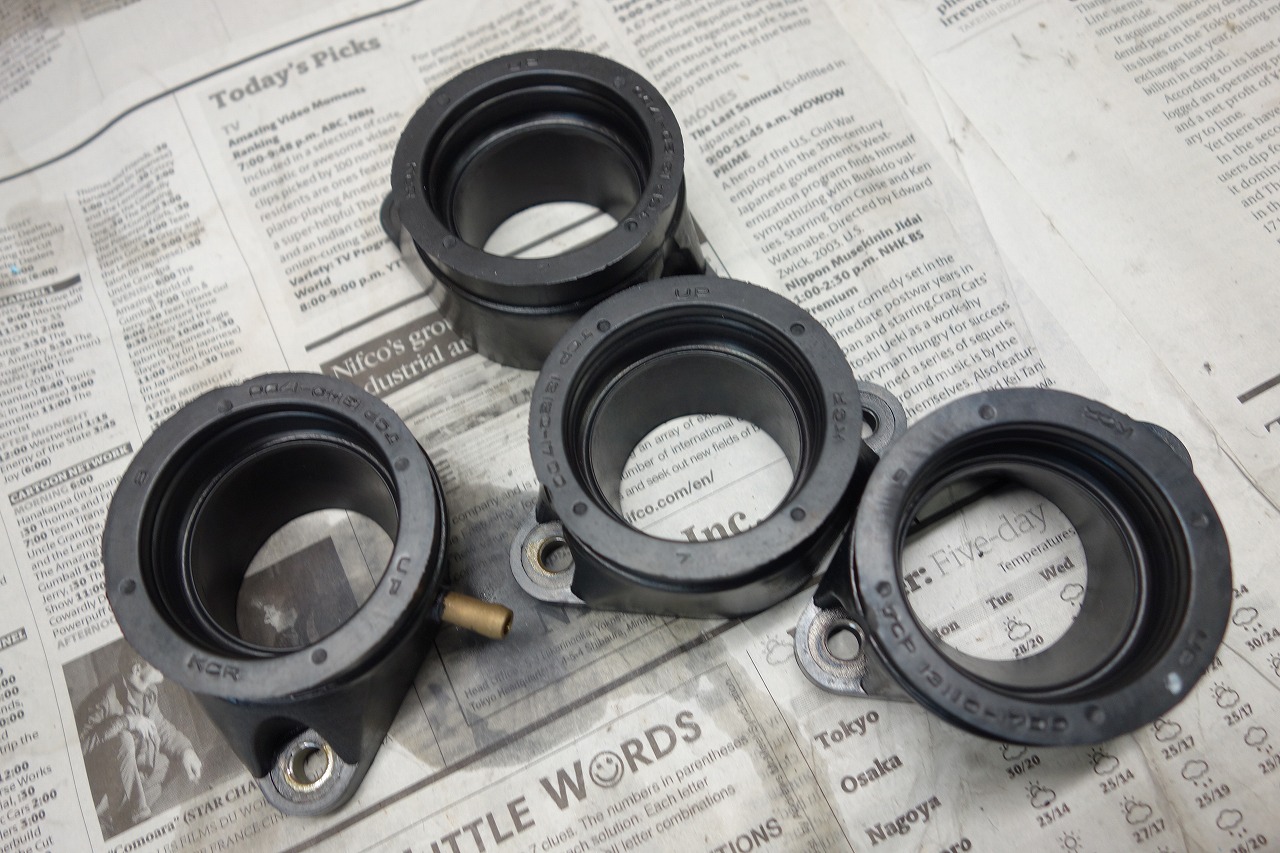
When they become discontinued, you’ll be grinding your teeth thinking “I should have bought them when I had the chance.” That day might be coming soon.
Oddly enough, list prices go up too, so you might not lose out.
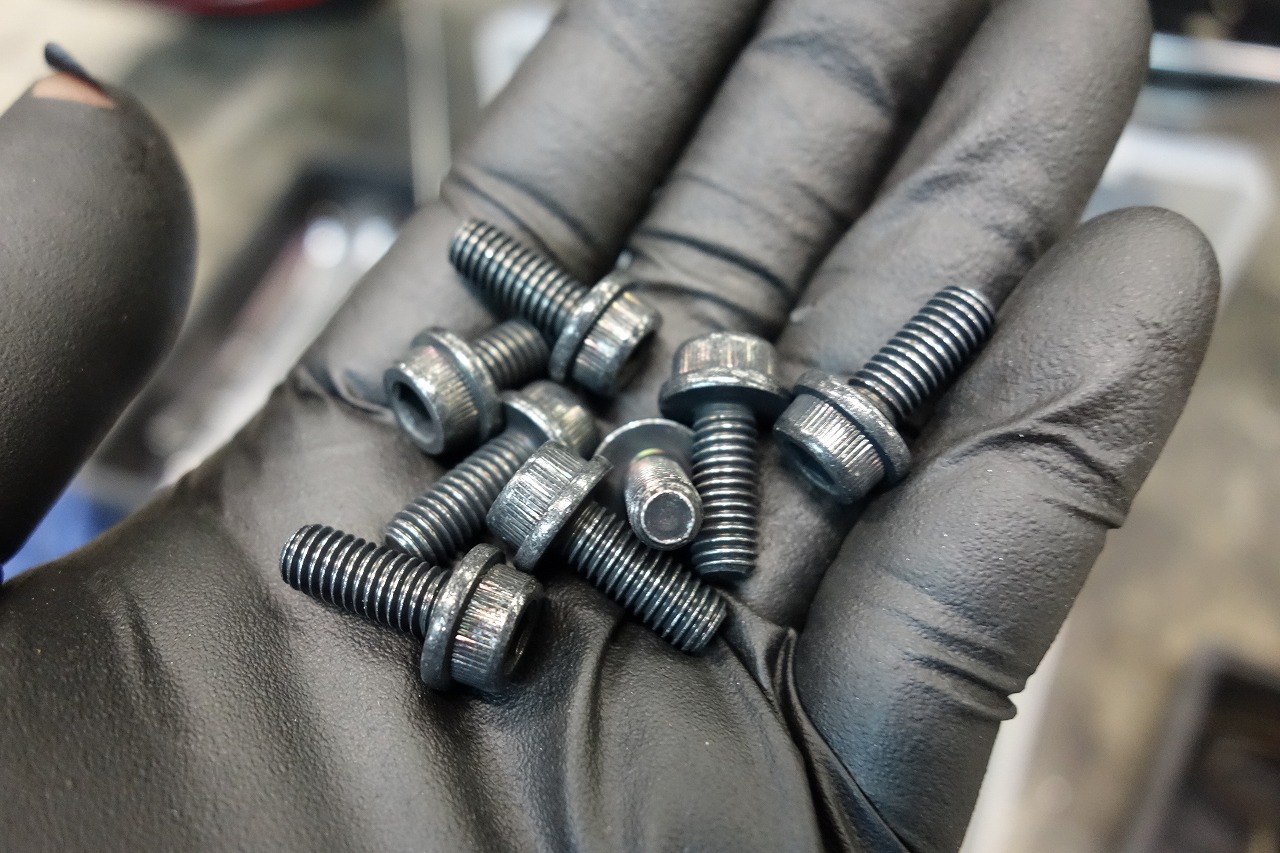
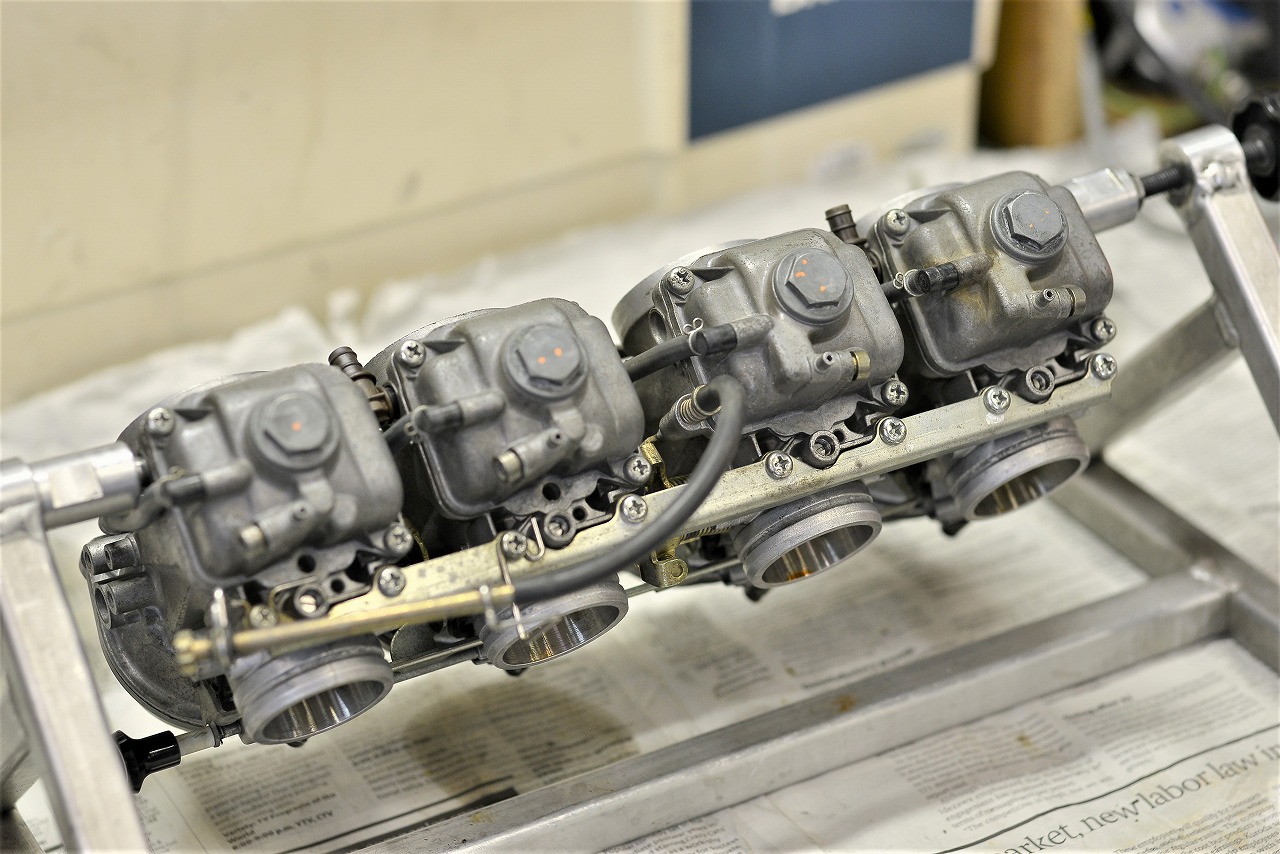
This large body in particular has a suspicious vibe to it. You can change the main jet from below… you can add a power jet after the fact, and with the RK you can quickly remove the needle with the top cap, and so on—it’s got everything.
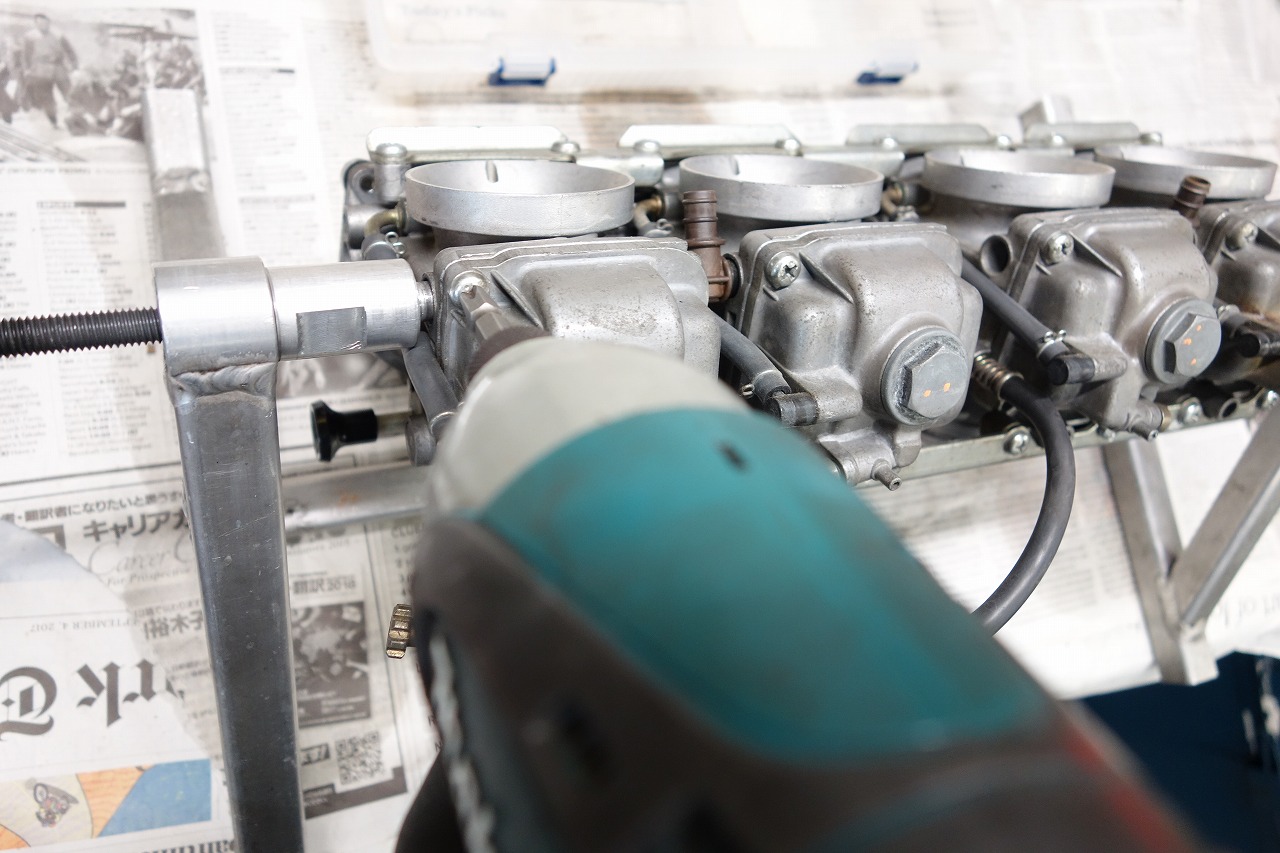
I think it’s better to loosen them with an impact driver as much as possible. They usually come loose.
If you can muscle it with arm strength and get it off, that’s fine too.
• Don’t strip it
• Save time and work quickly
• Use a shock driver so you don’t impact the body
• You can watch the disassembly work objectively and feel confident
I think there are more benefits.
“It was so tight I couldn’t get it off, it was a real hassle”—then extra labor charges.
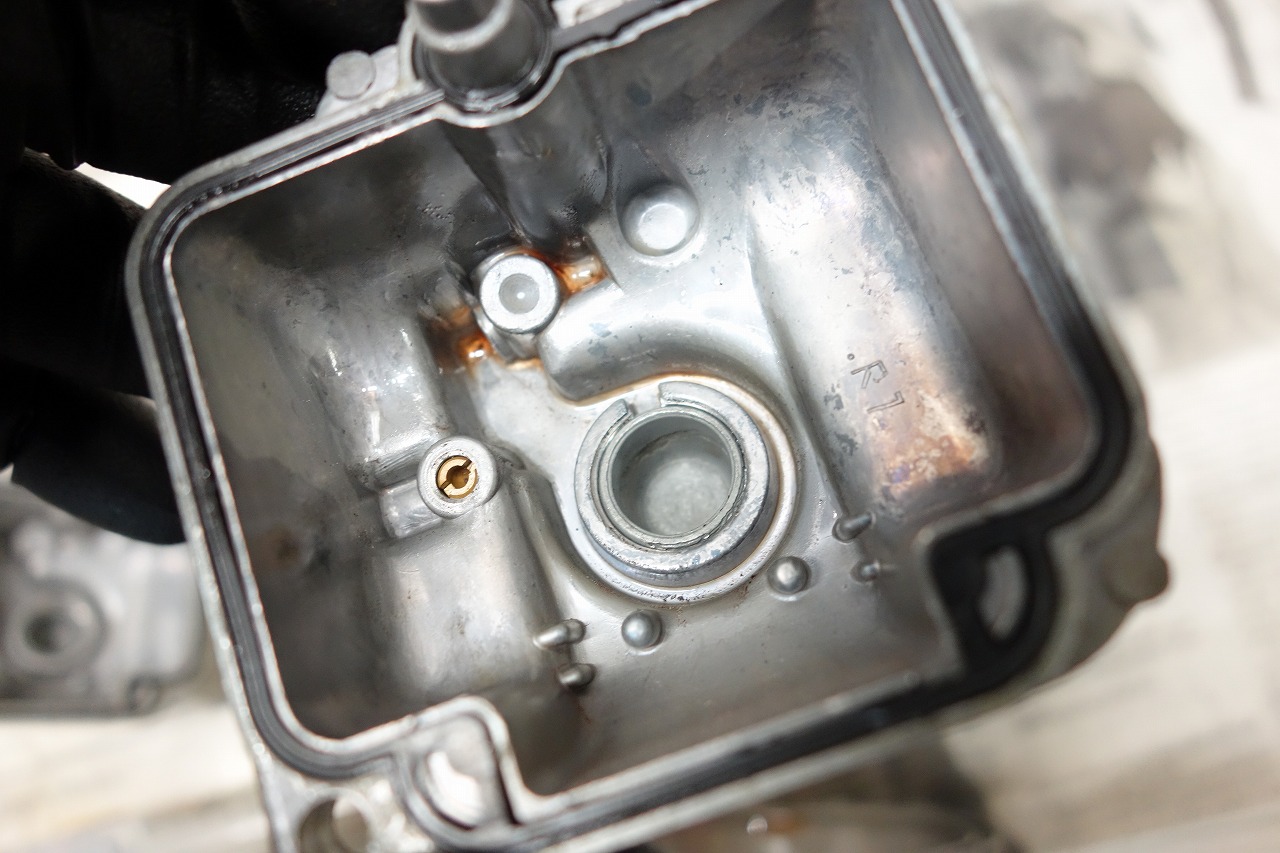
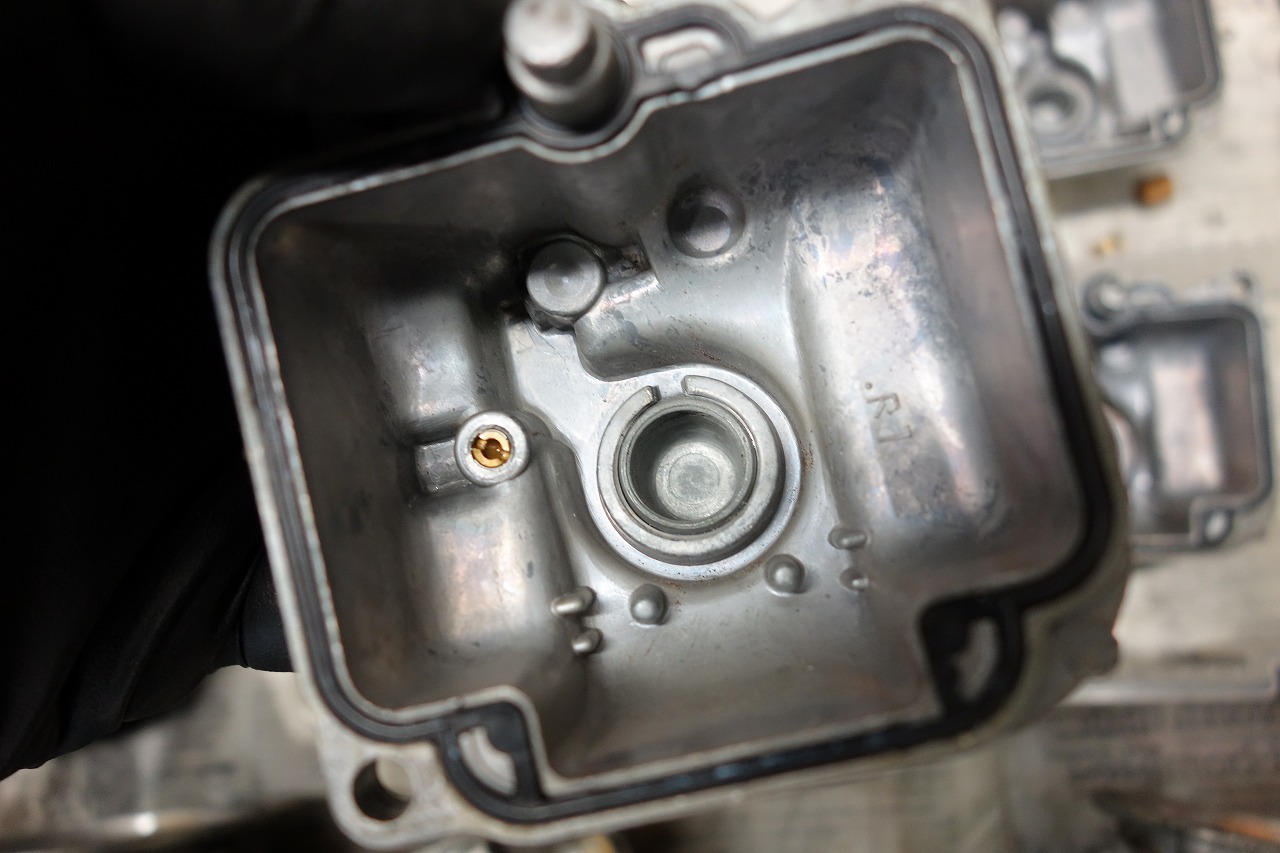
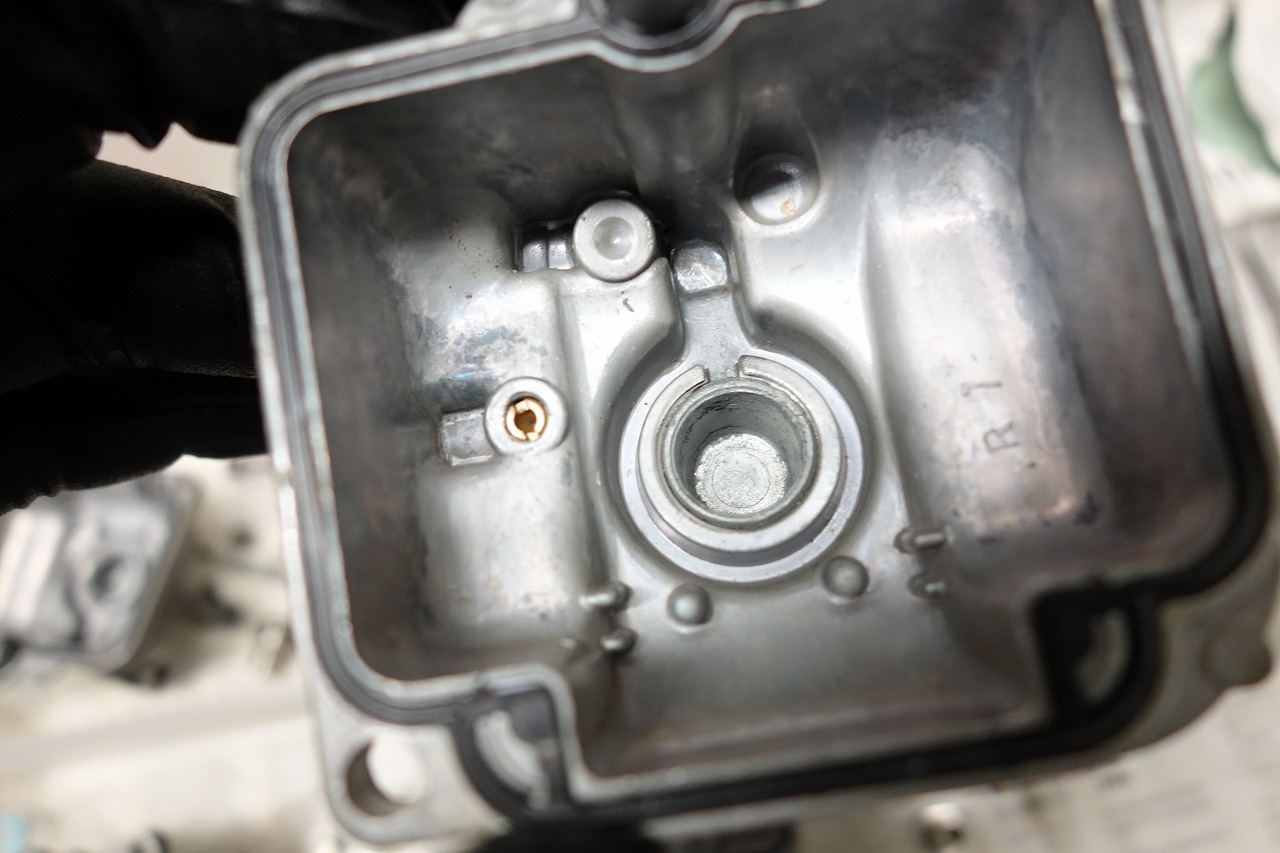
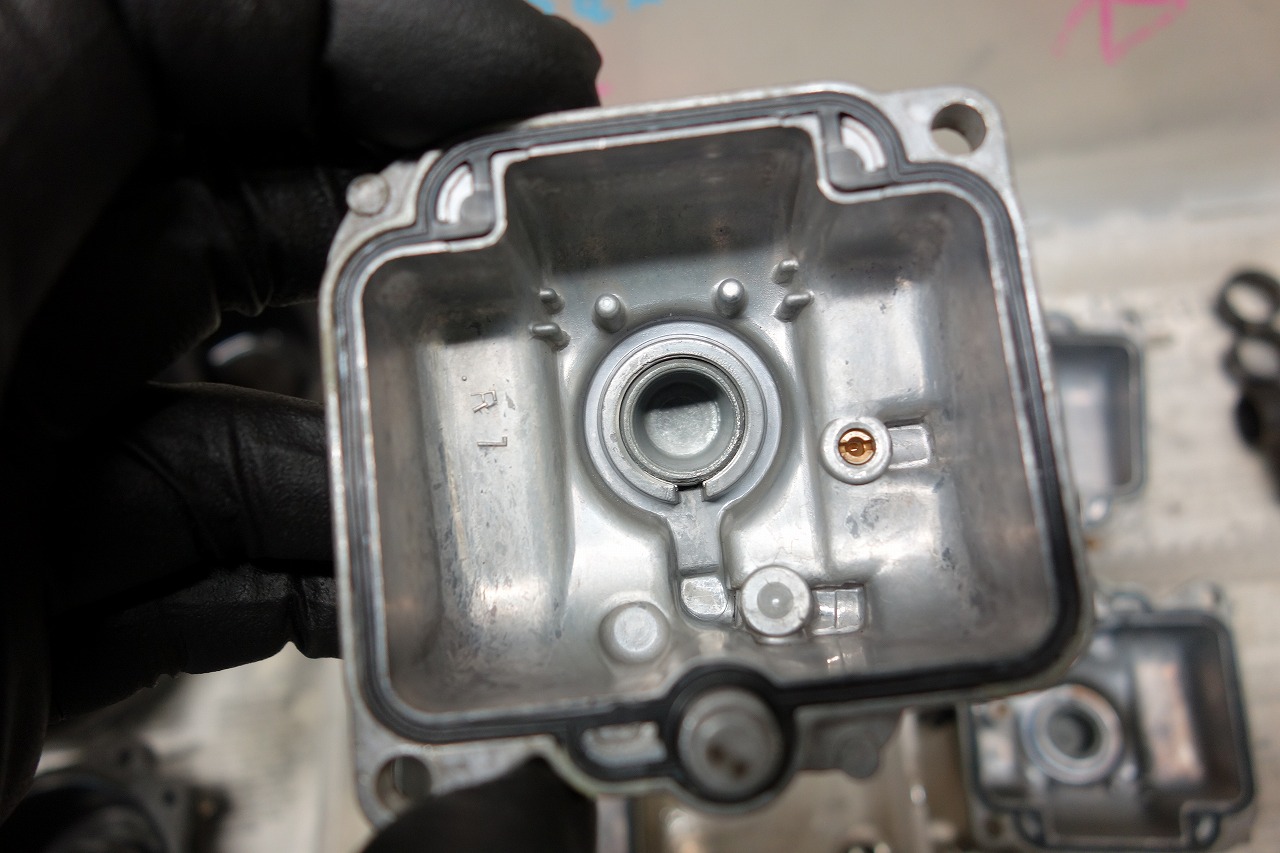
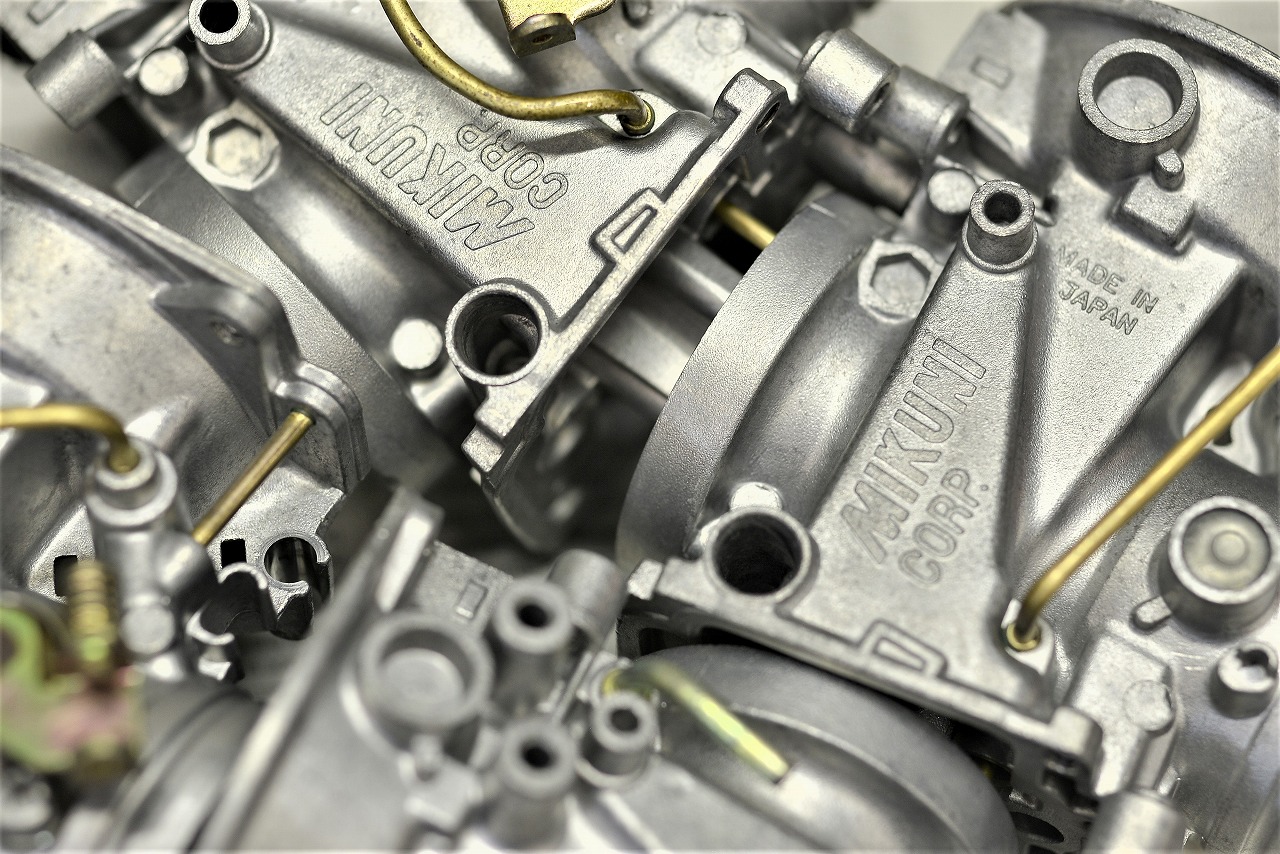
“It costs money and isn’t it fine without it?” If you really want polishing done, please be mentally prepared to push back on that talk.
*I do do a light polish during cleaning, but…
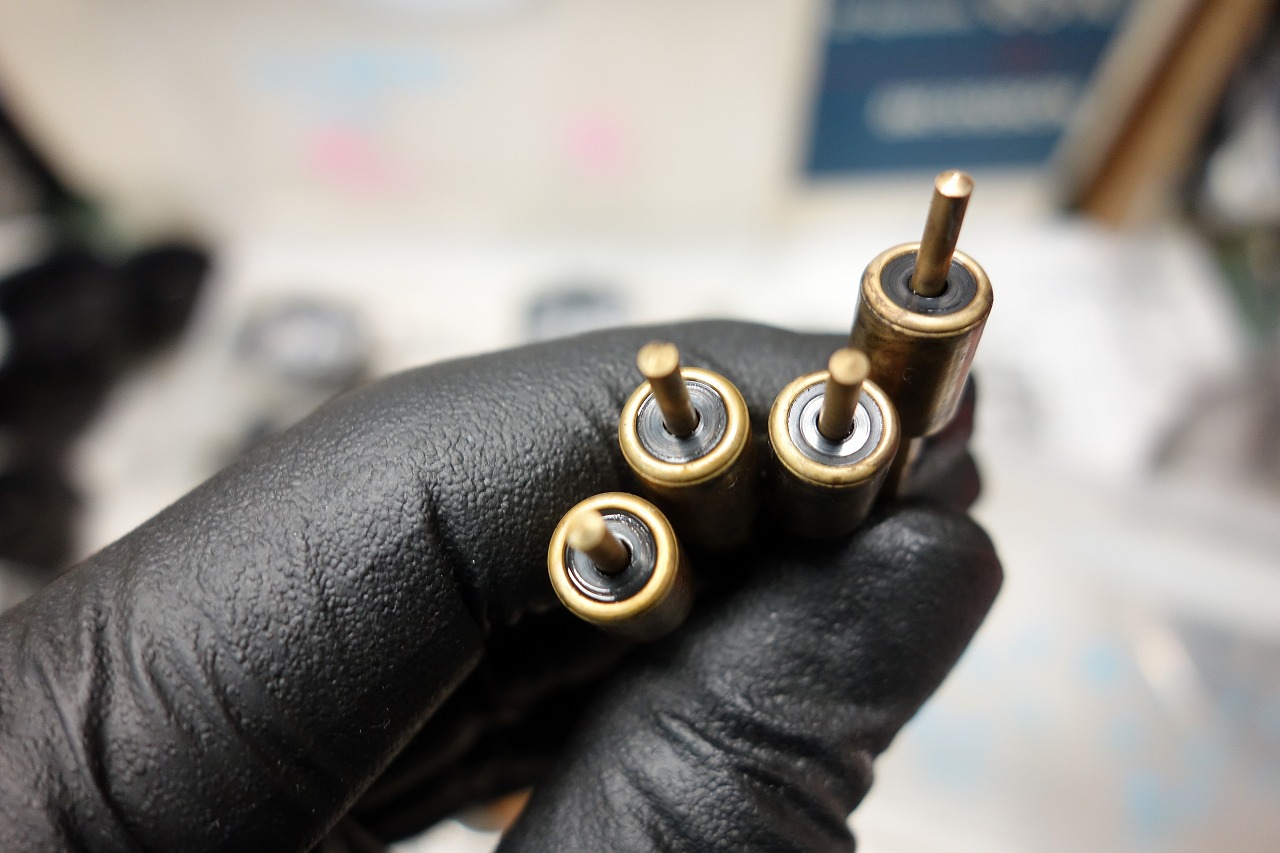
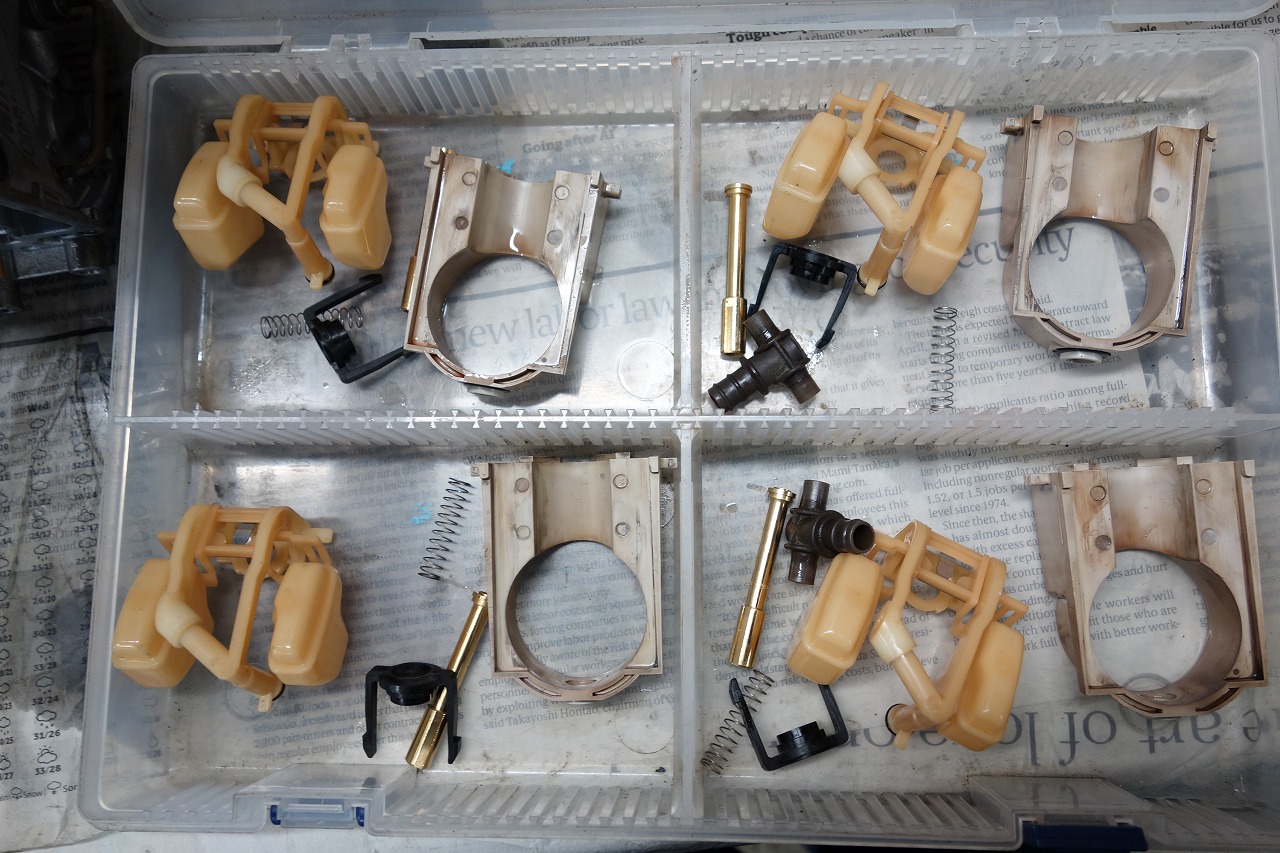
If the carburettor body has never been taken apart into four pieces, you need to be careful with the seals and such.
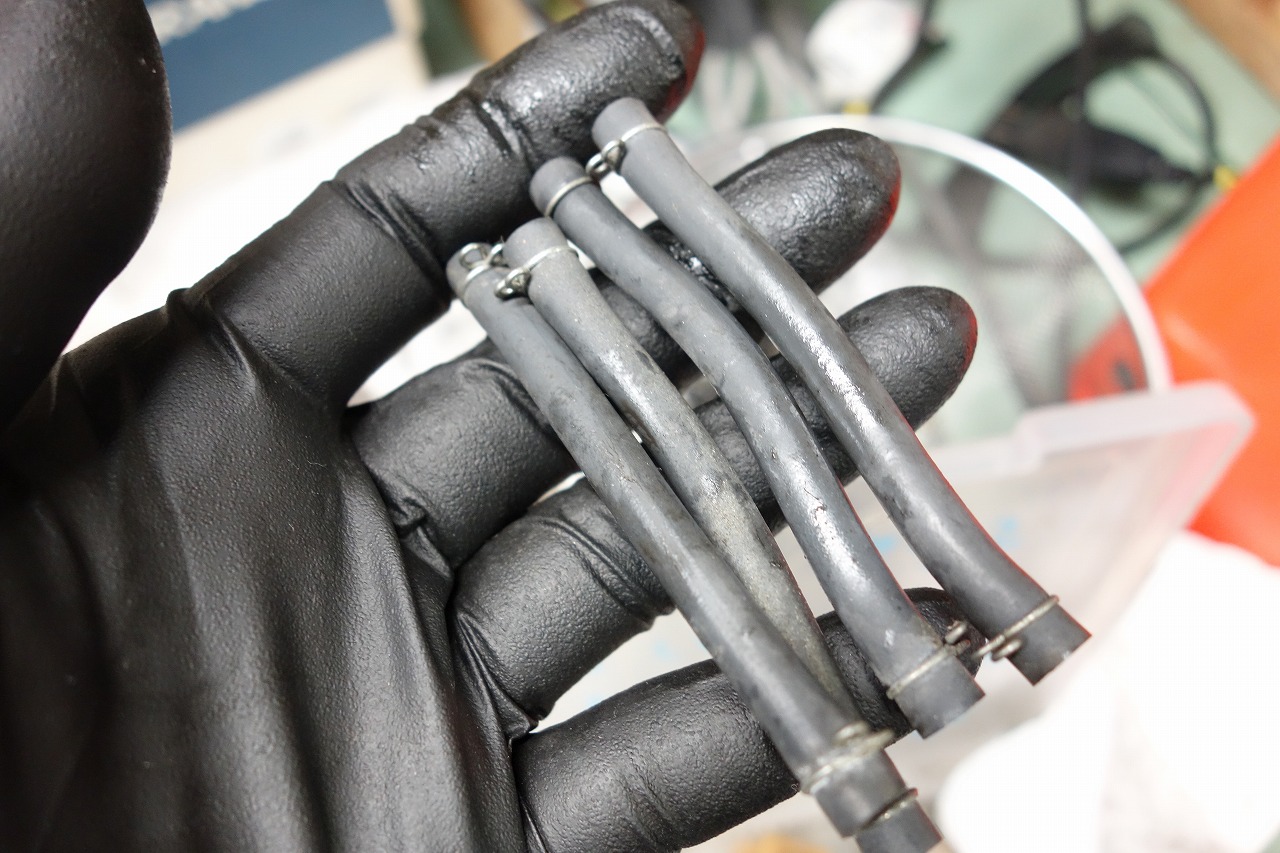
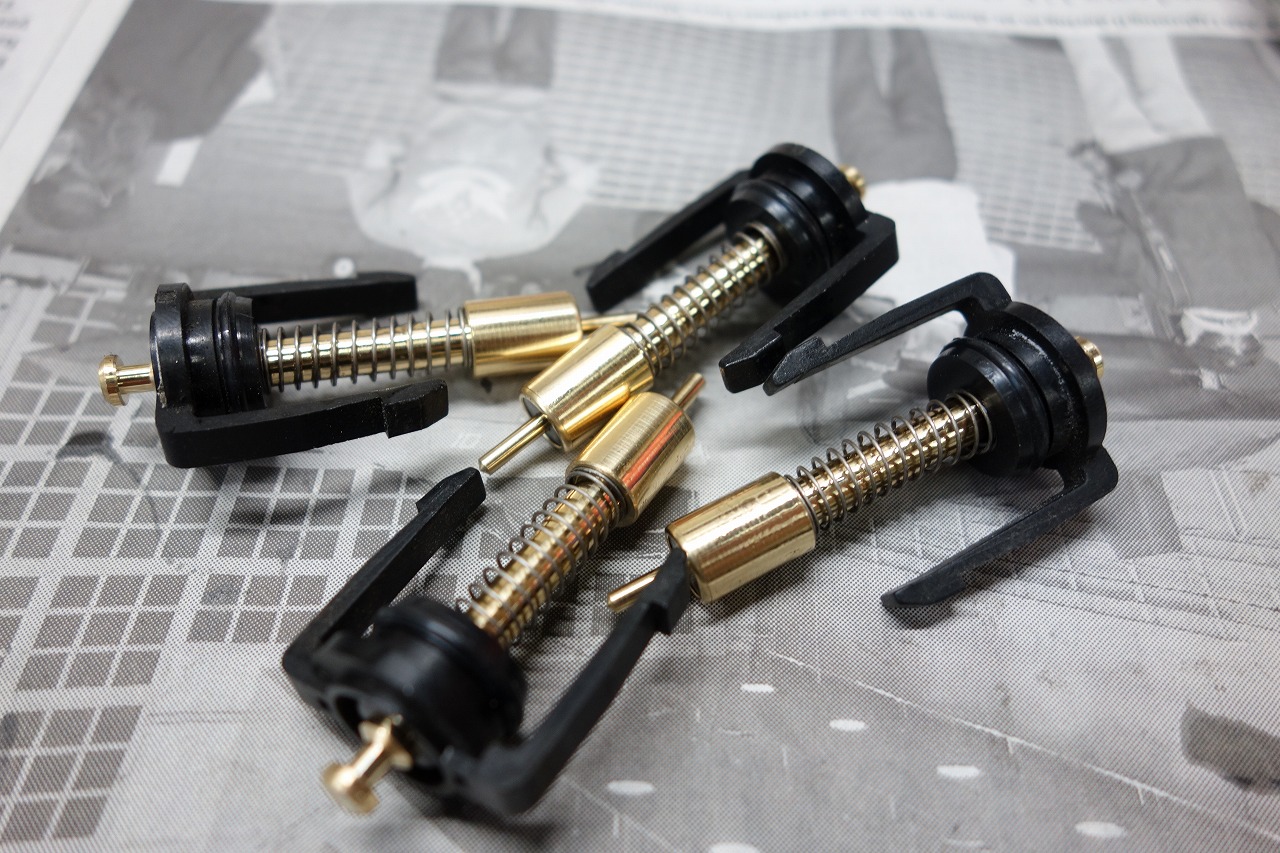
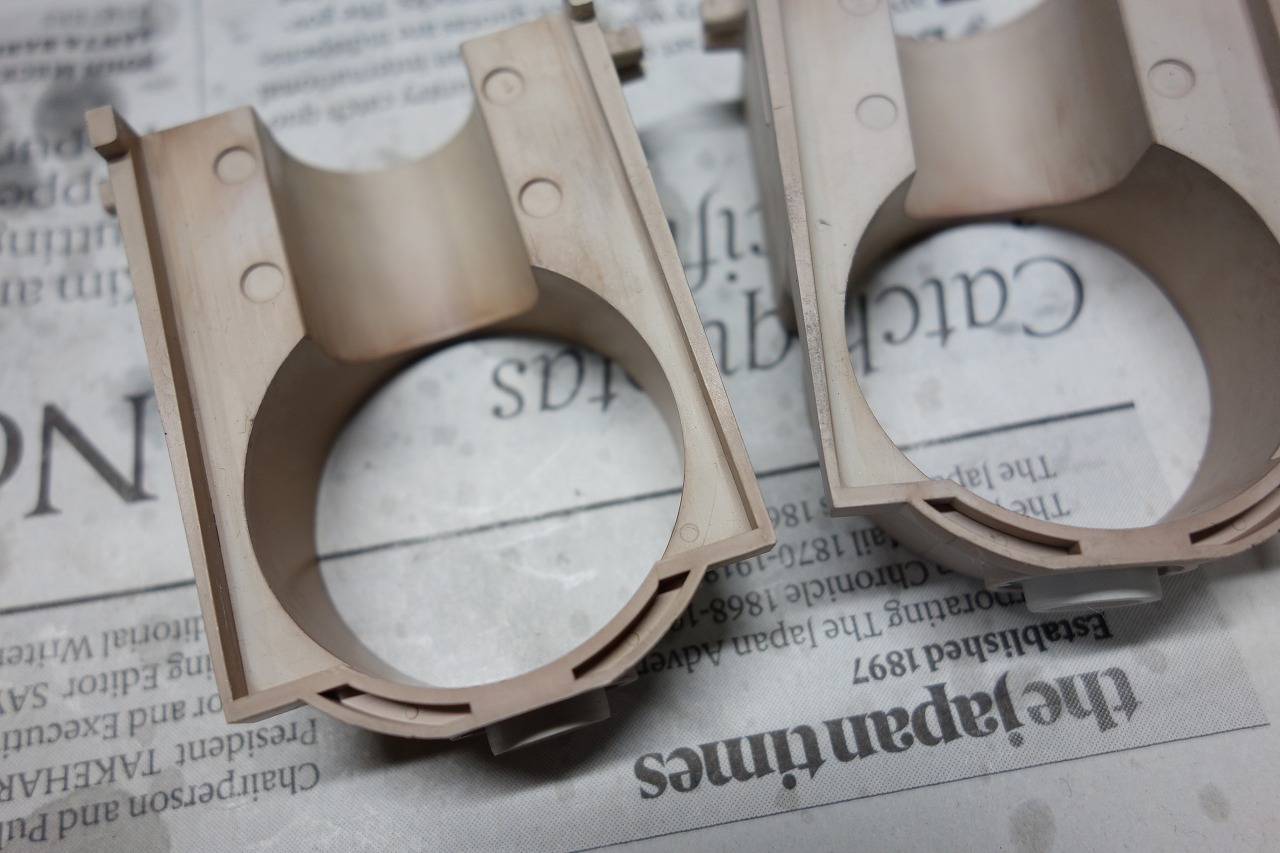
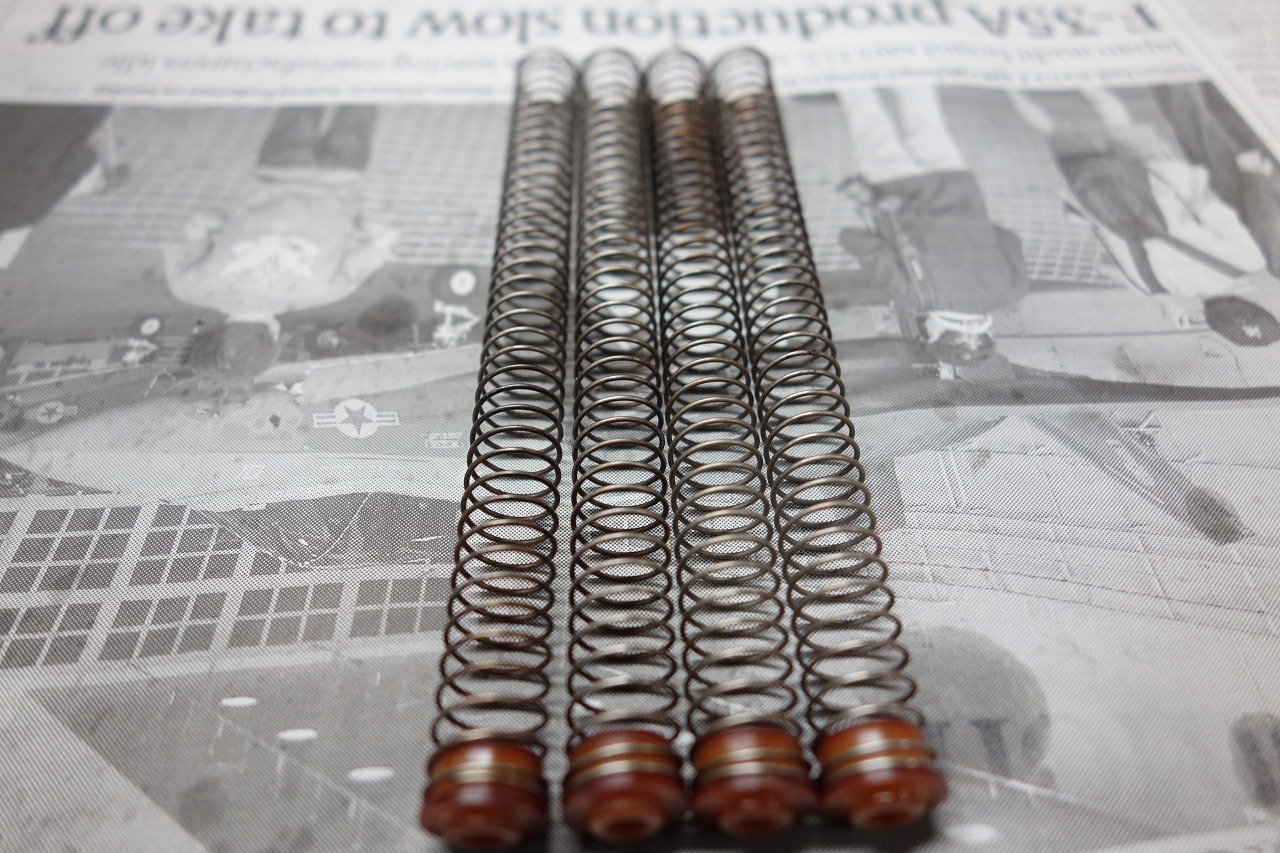
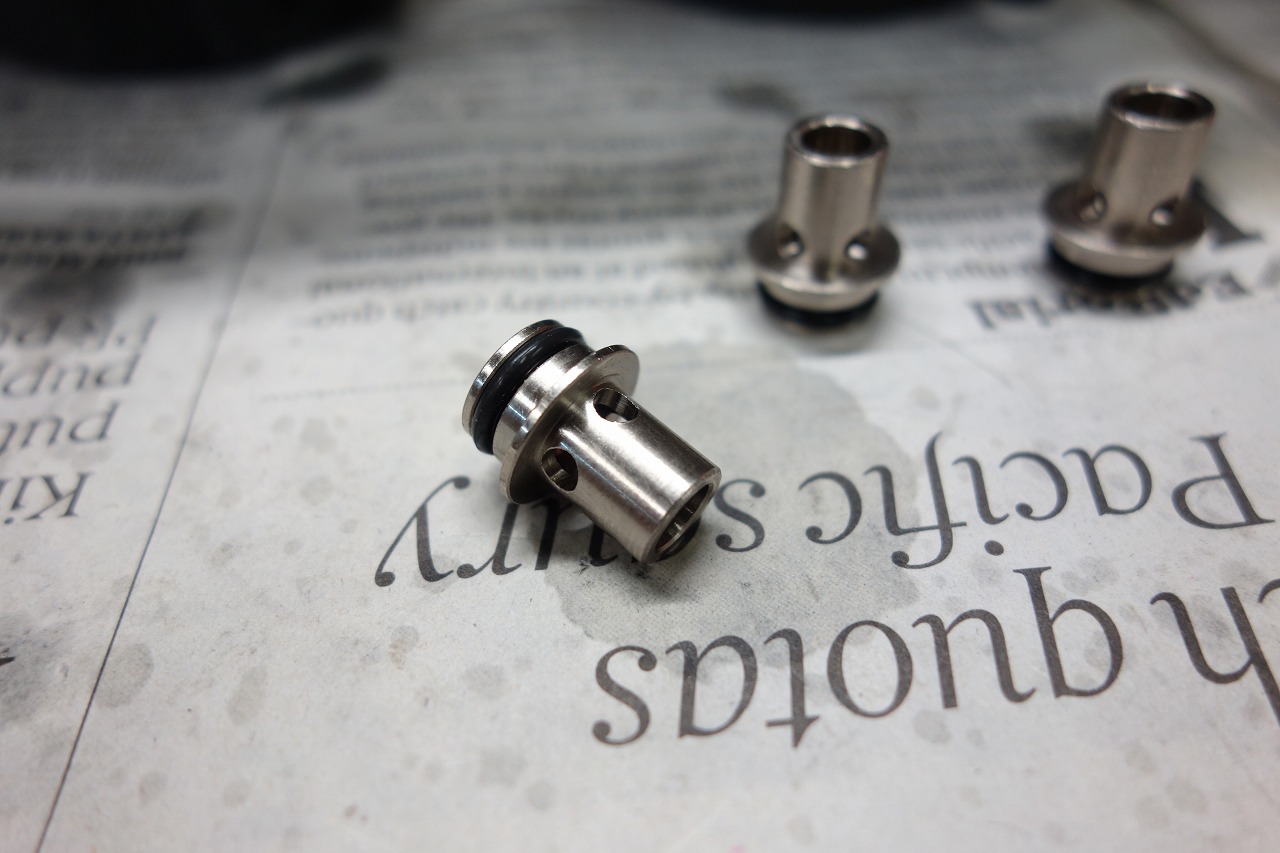
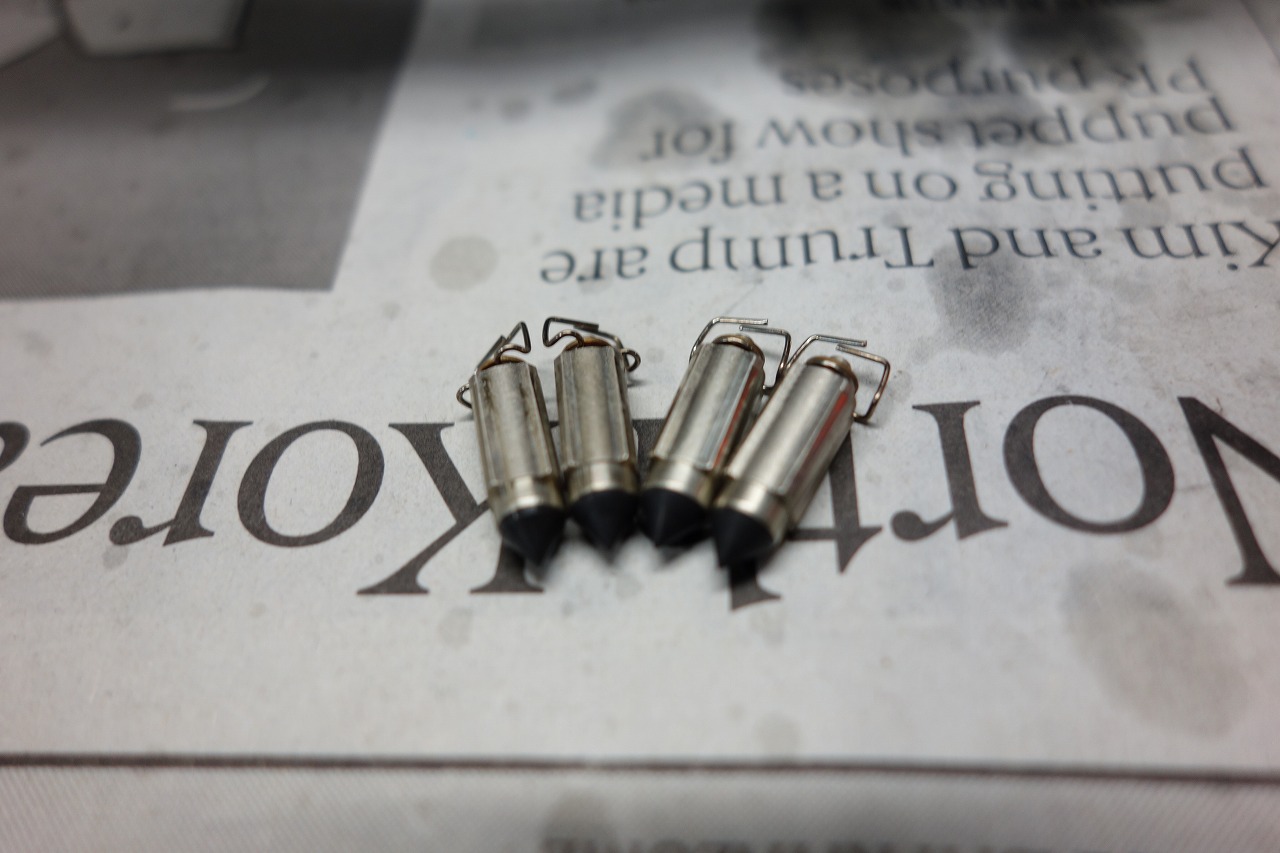
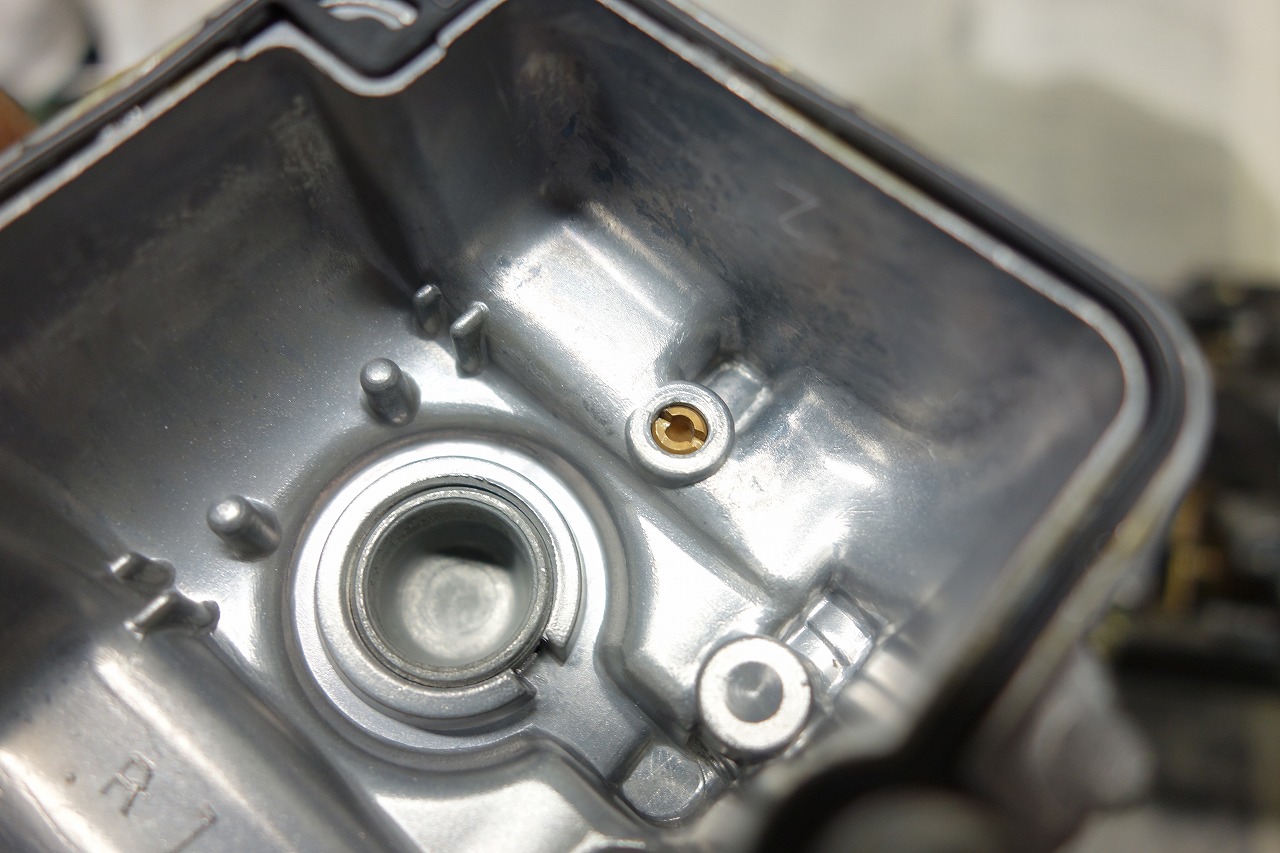
Adding it and getting it to work is also a good idea. That’s the fun of the BST.
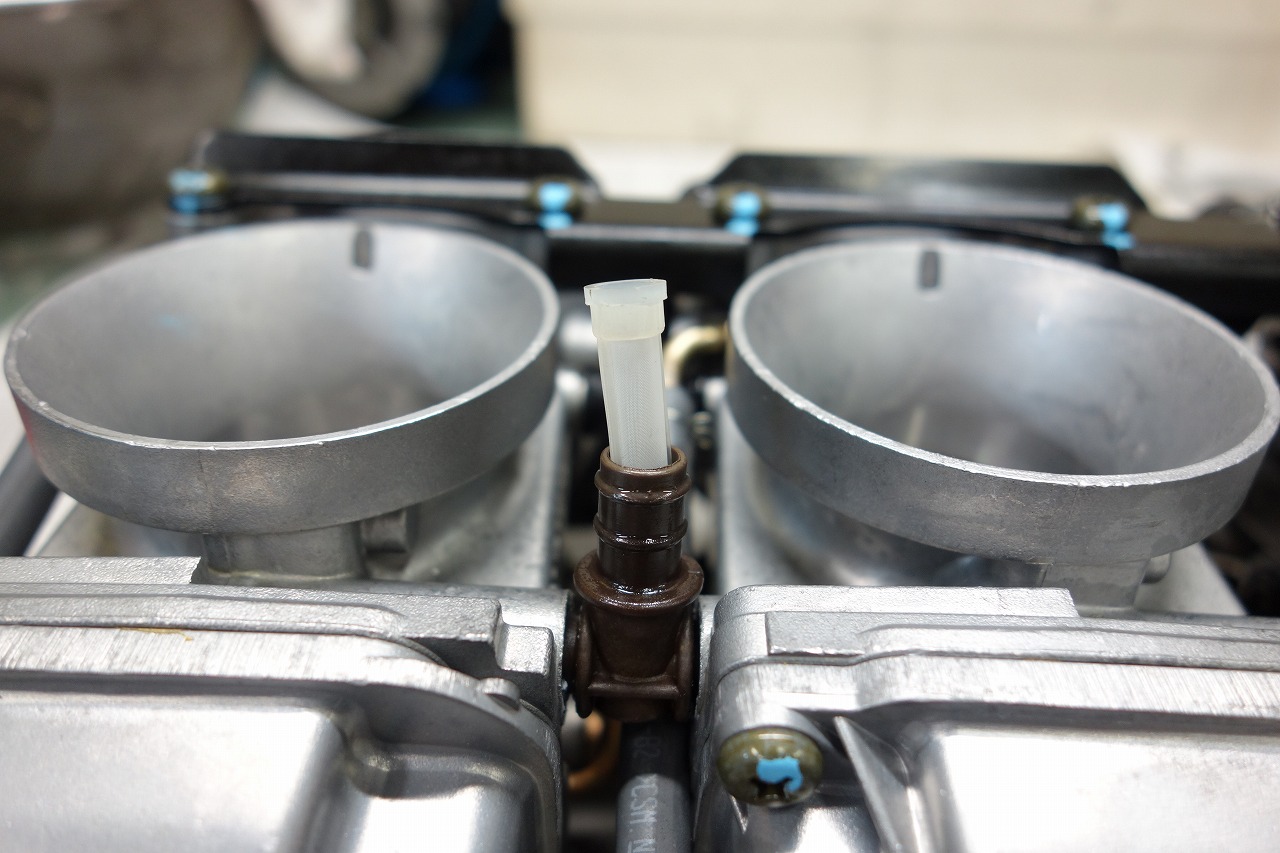
Because it’s not rusty, that’s exactly why we add a filter. I don’t want any chance of debris getting into the carb and causing problems.
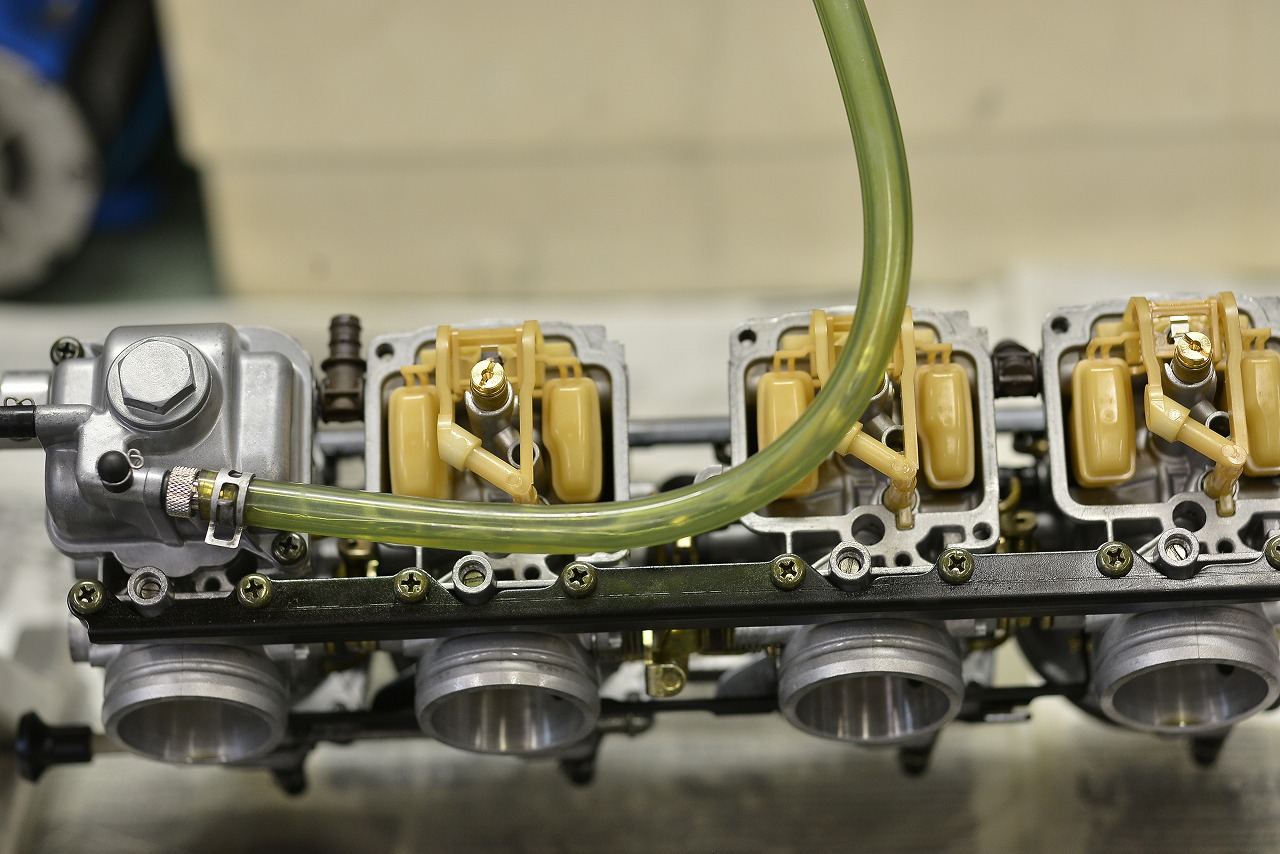
Honestly, looking at this and adjusting it won’t cause a “dramatic change!”
However,
• Wavering overflow (a weird symptom where the fuel level rises over time)
• Problems around the air vent (fuel level is off the same way)
• Misassembly (so-called mistakes)
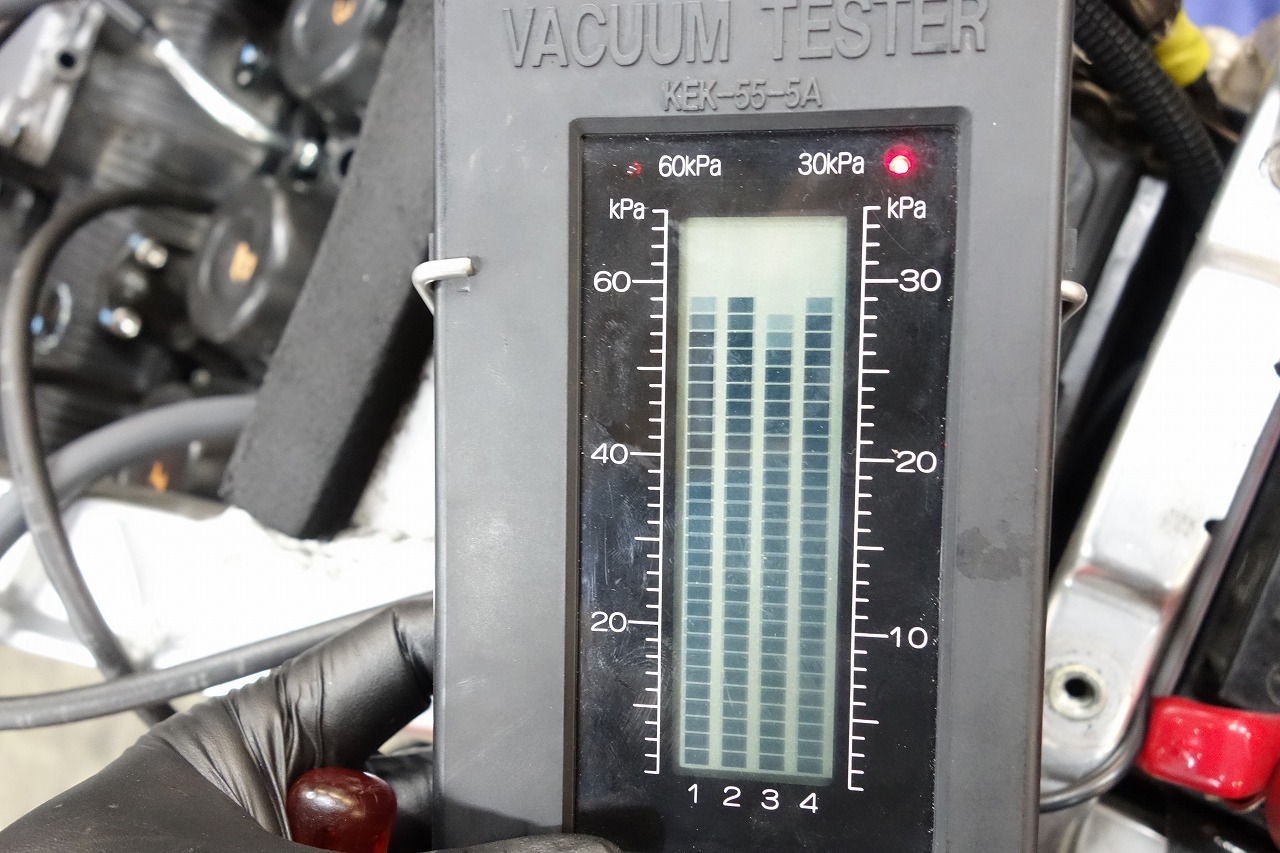
• Final fuel level adjustment check for cylinders 1-4.
These are the final checks. By the way, the BST carb has a removable float arm, which is innovative(?), so the float level is super vague as is. If you want to check it, you have to push it in firmly and hold it with something. (Basically, I don’t check the BST float level.)
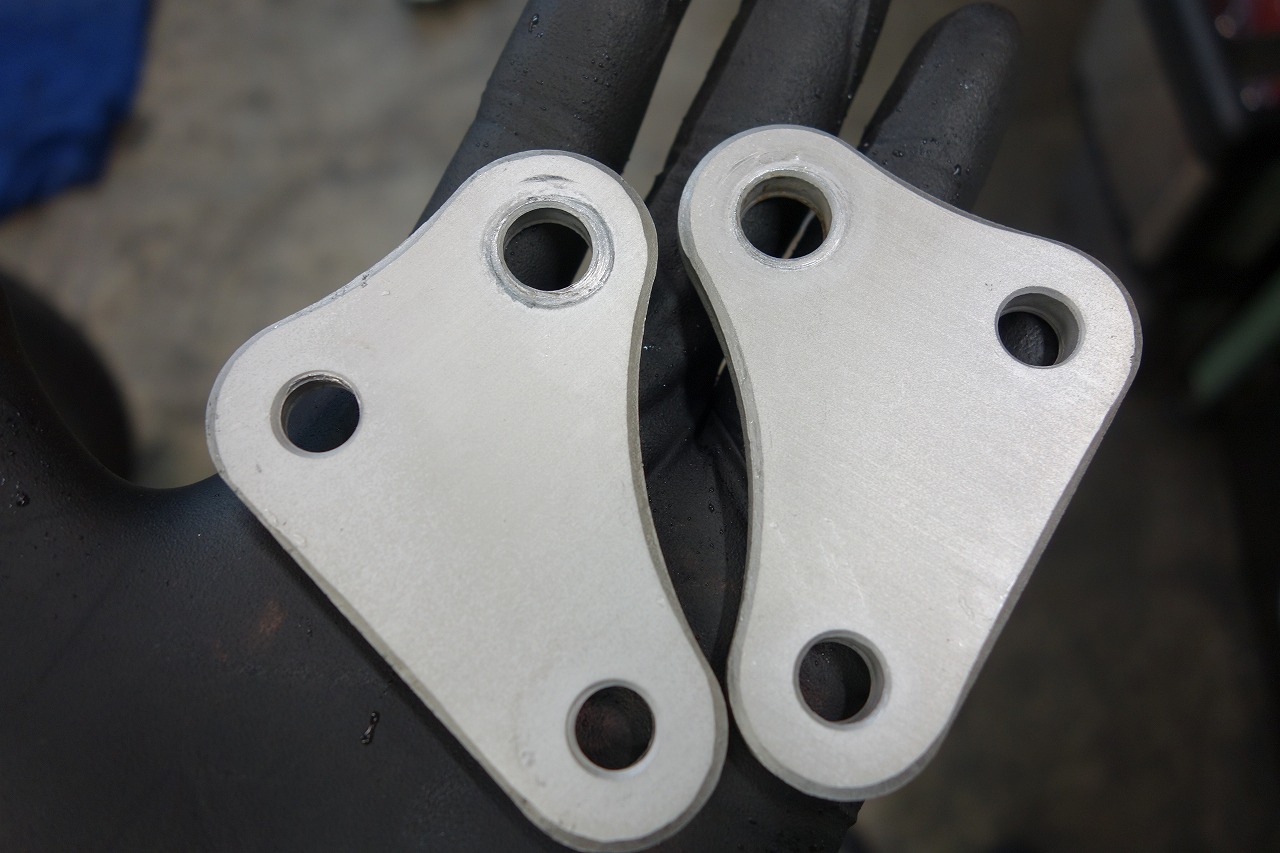
In the end, when you sell it, it becomes “this is a bike in great condition,” and that’s a plus for the future too.
It’s like looking ahead to something you can’t see, or maybe not…
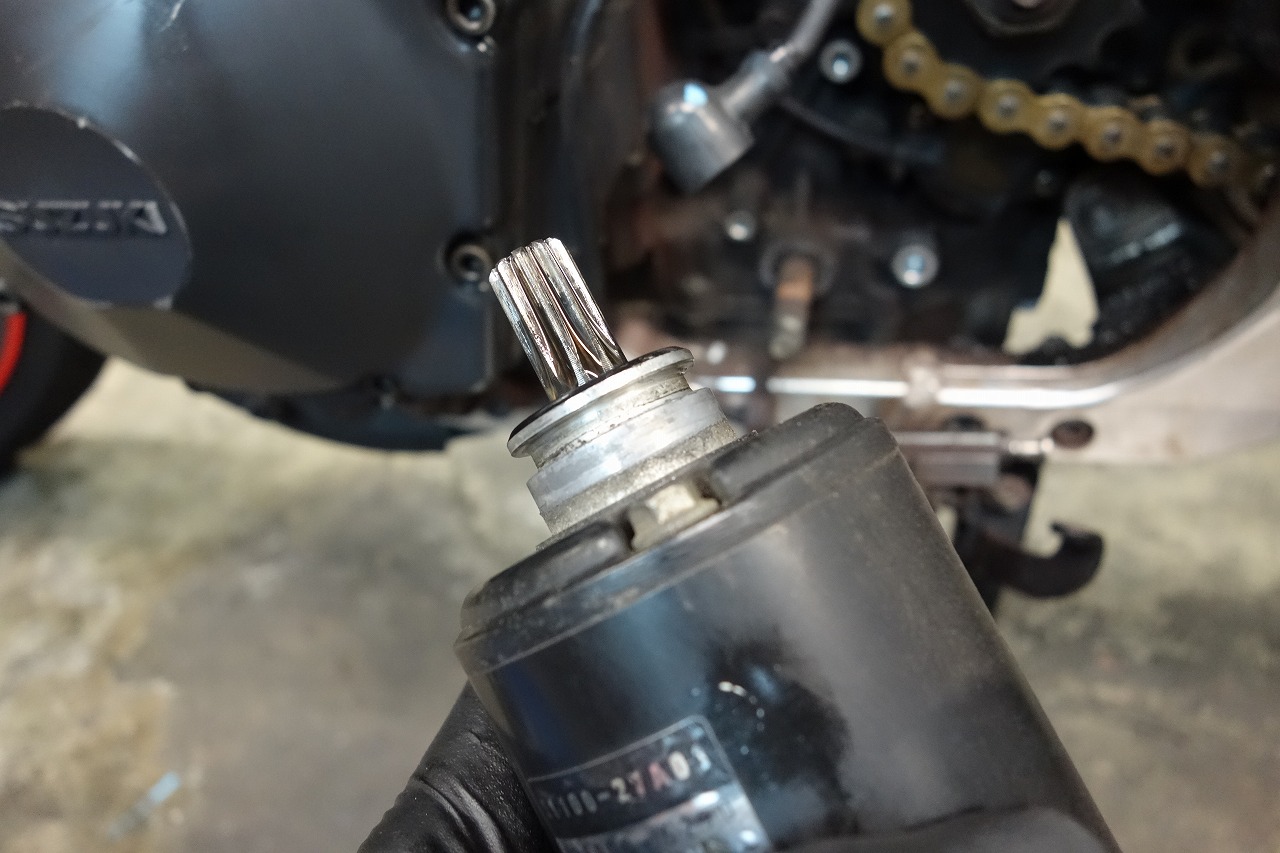
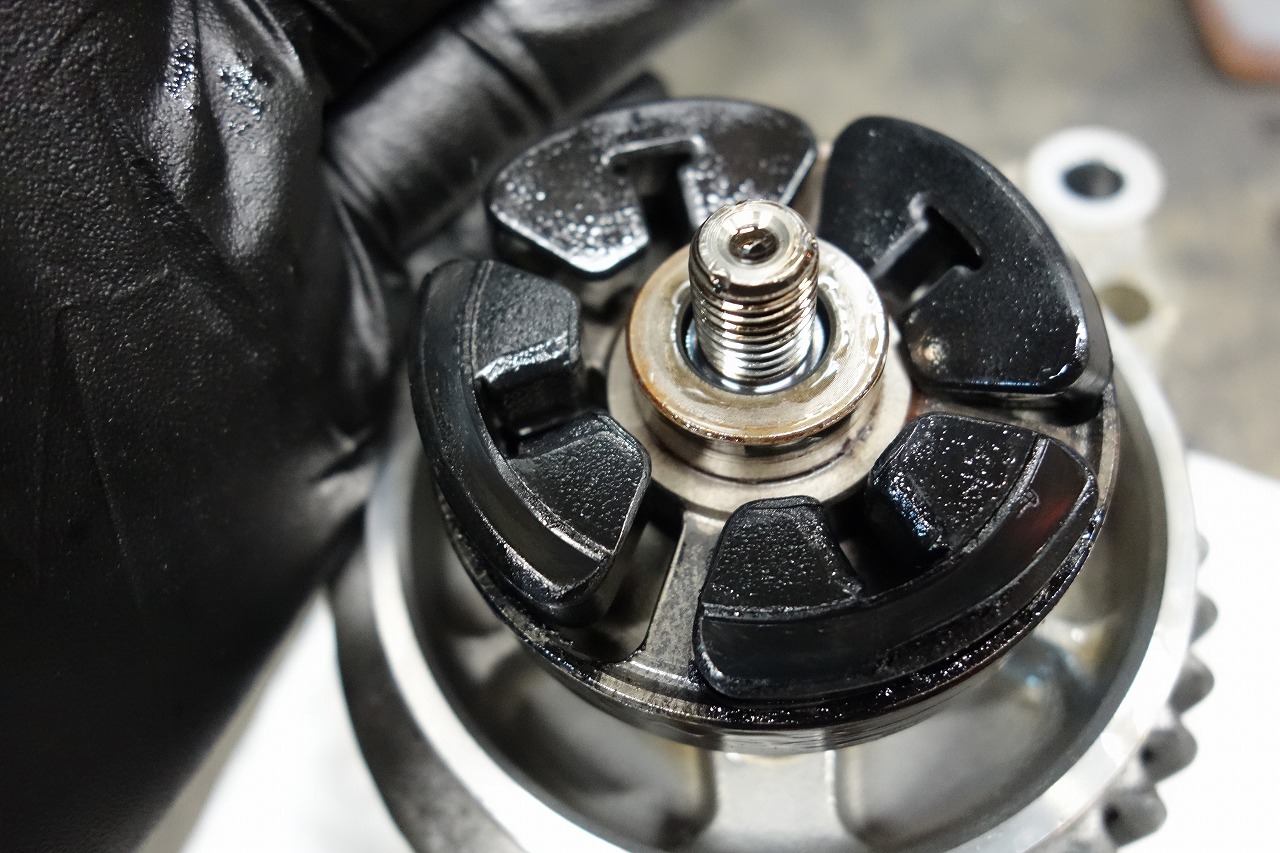
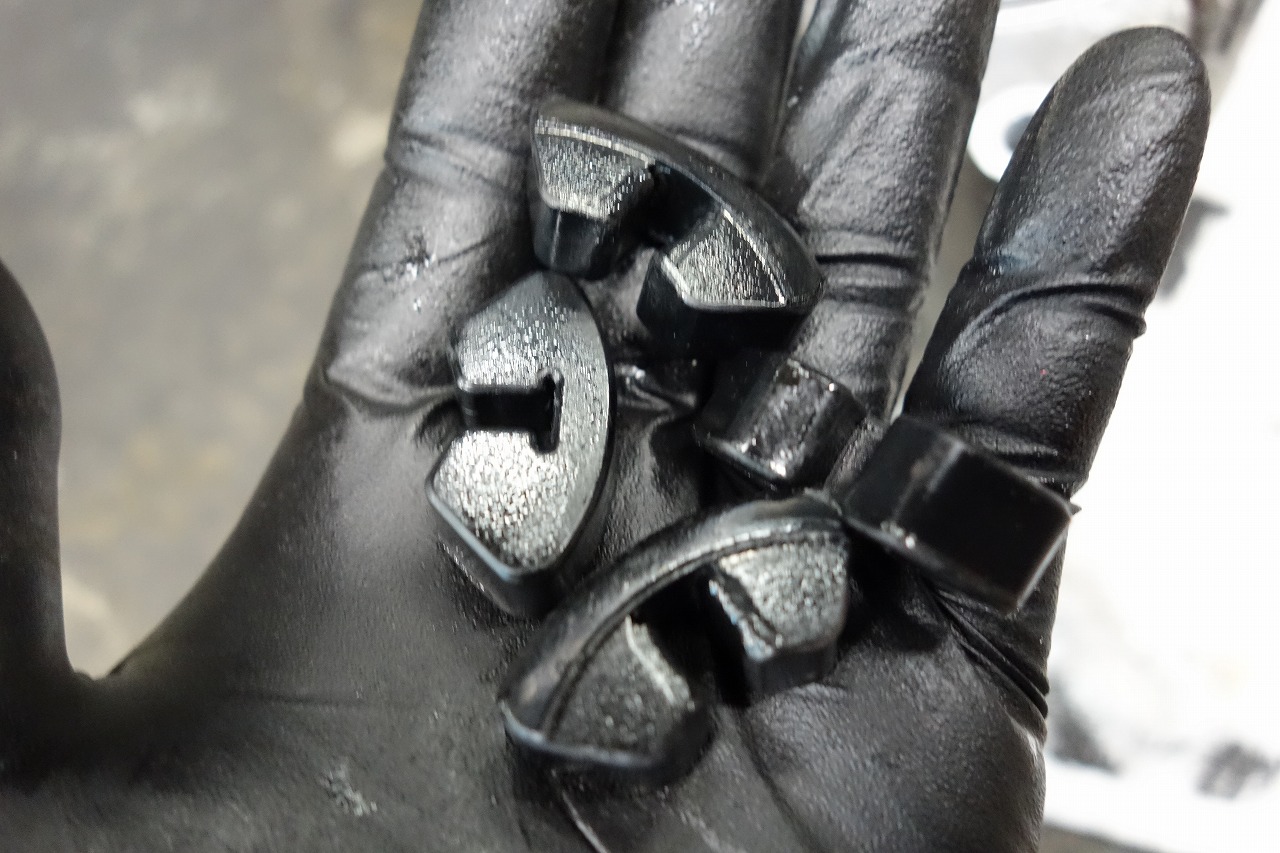
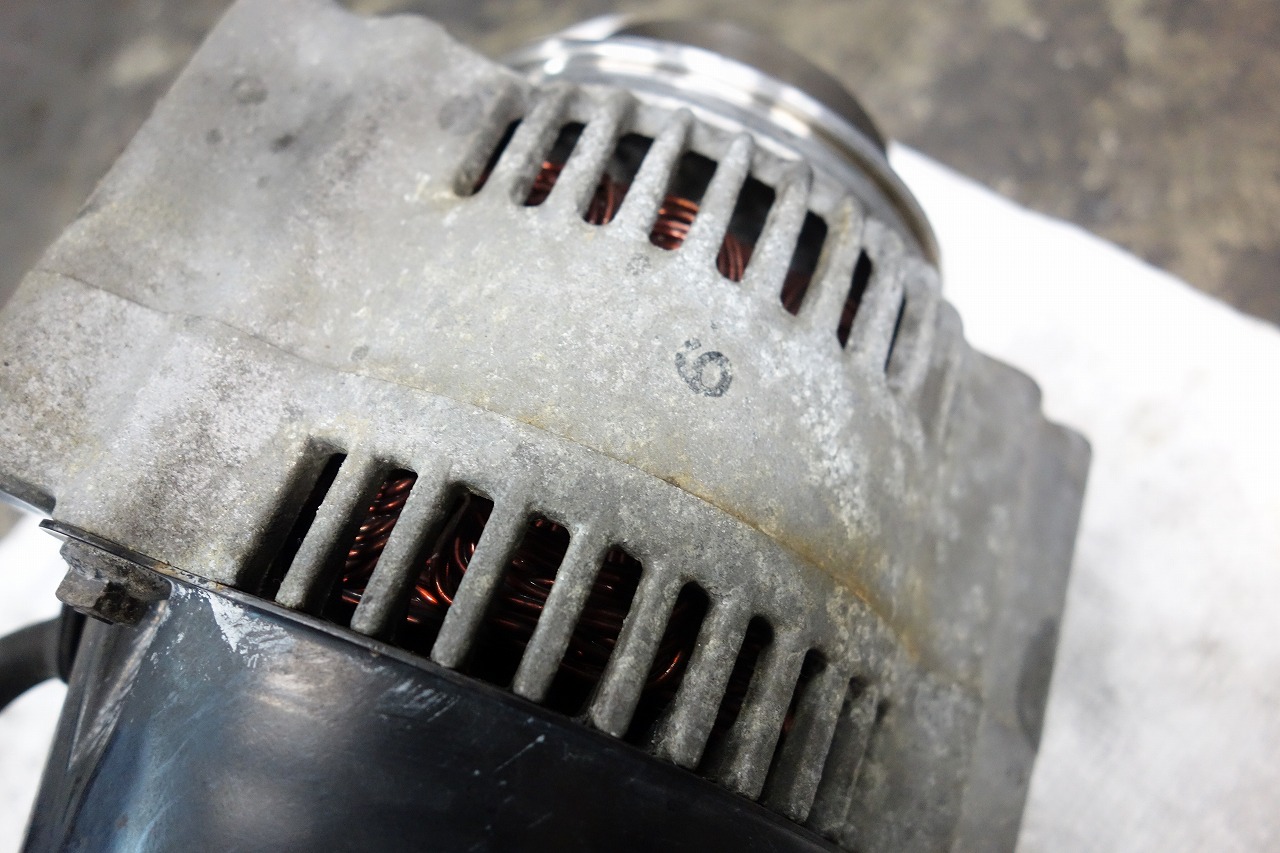
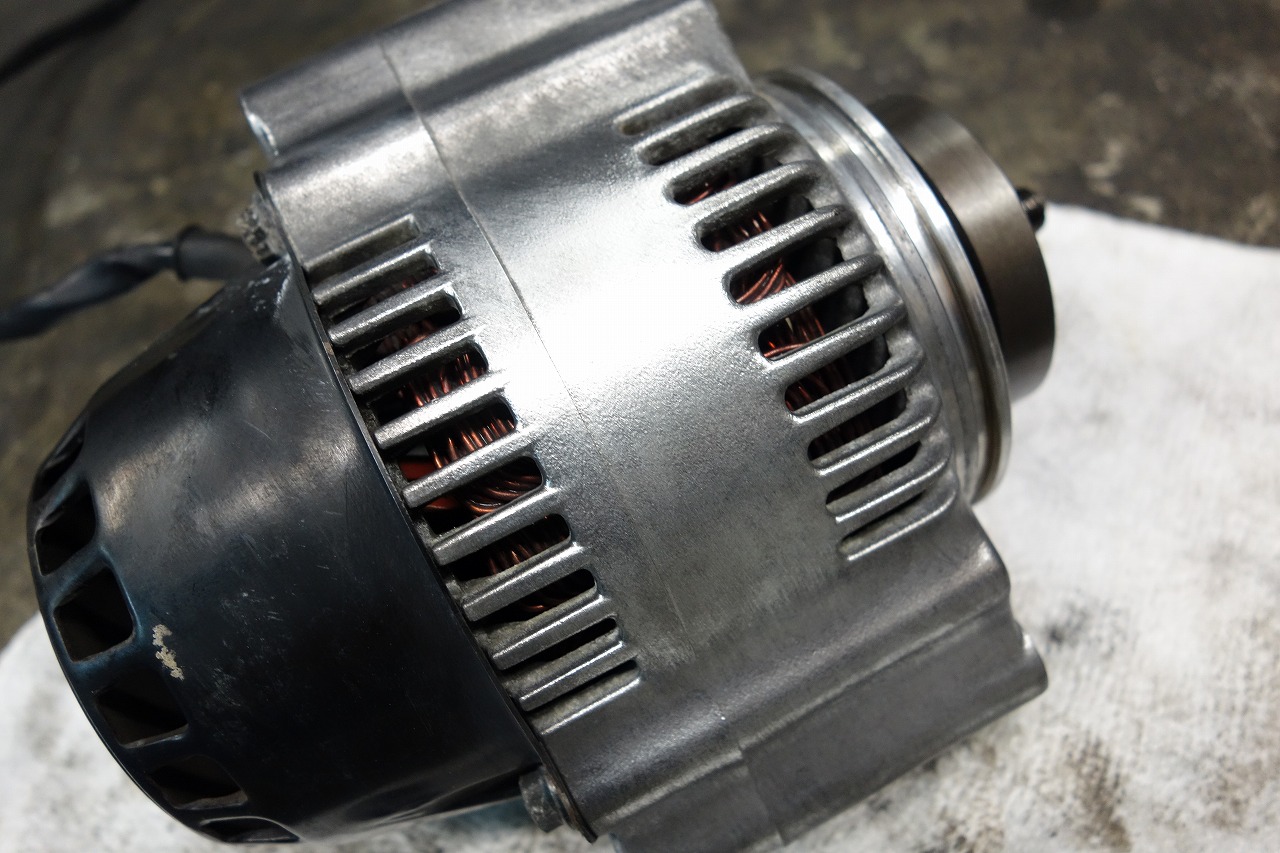
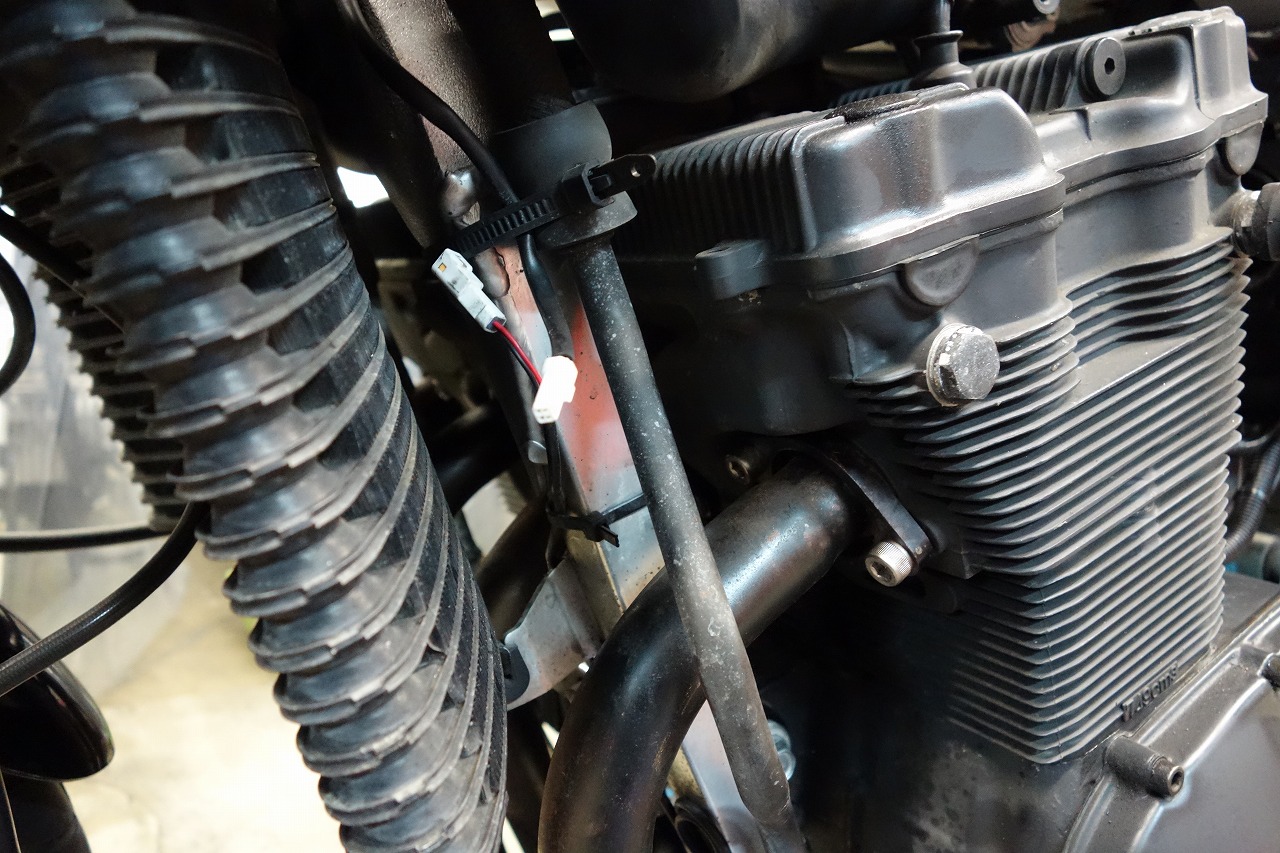
• The appearance isn’t great
• The heat makes it crispy
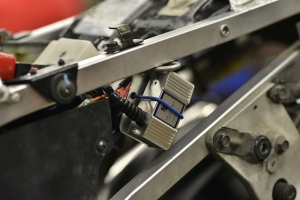
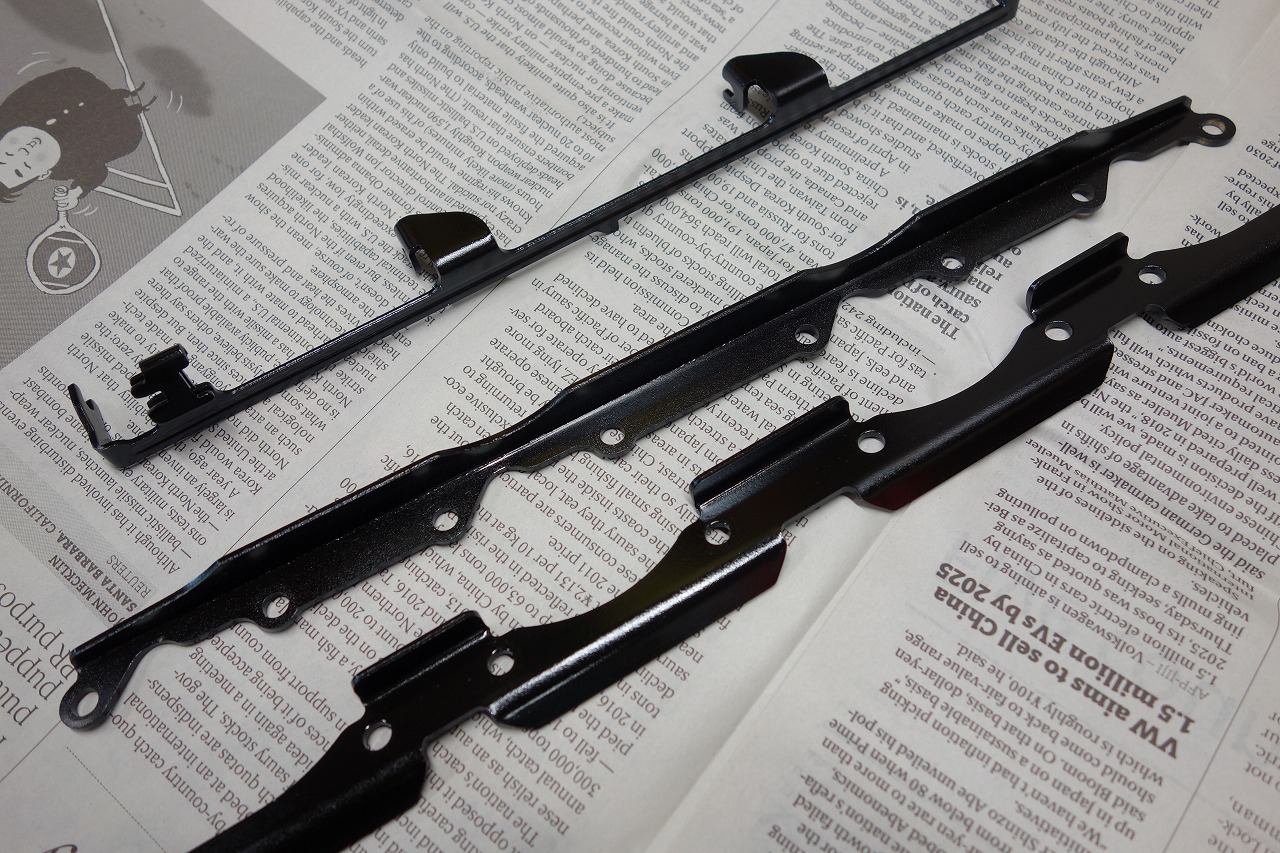
• The wiring is actually pretty long, so you have to bundle it, which looks shabby
So I rerouted it on my own.
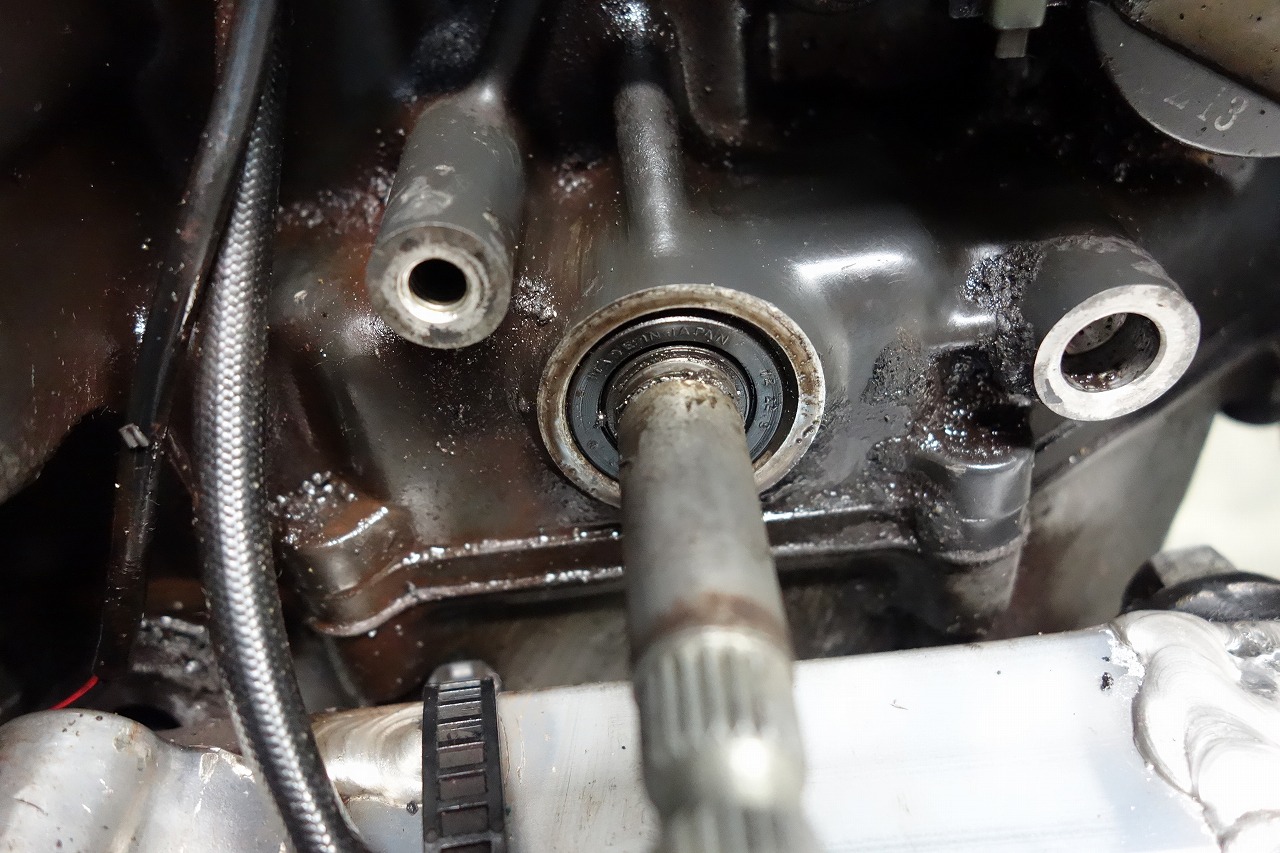
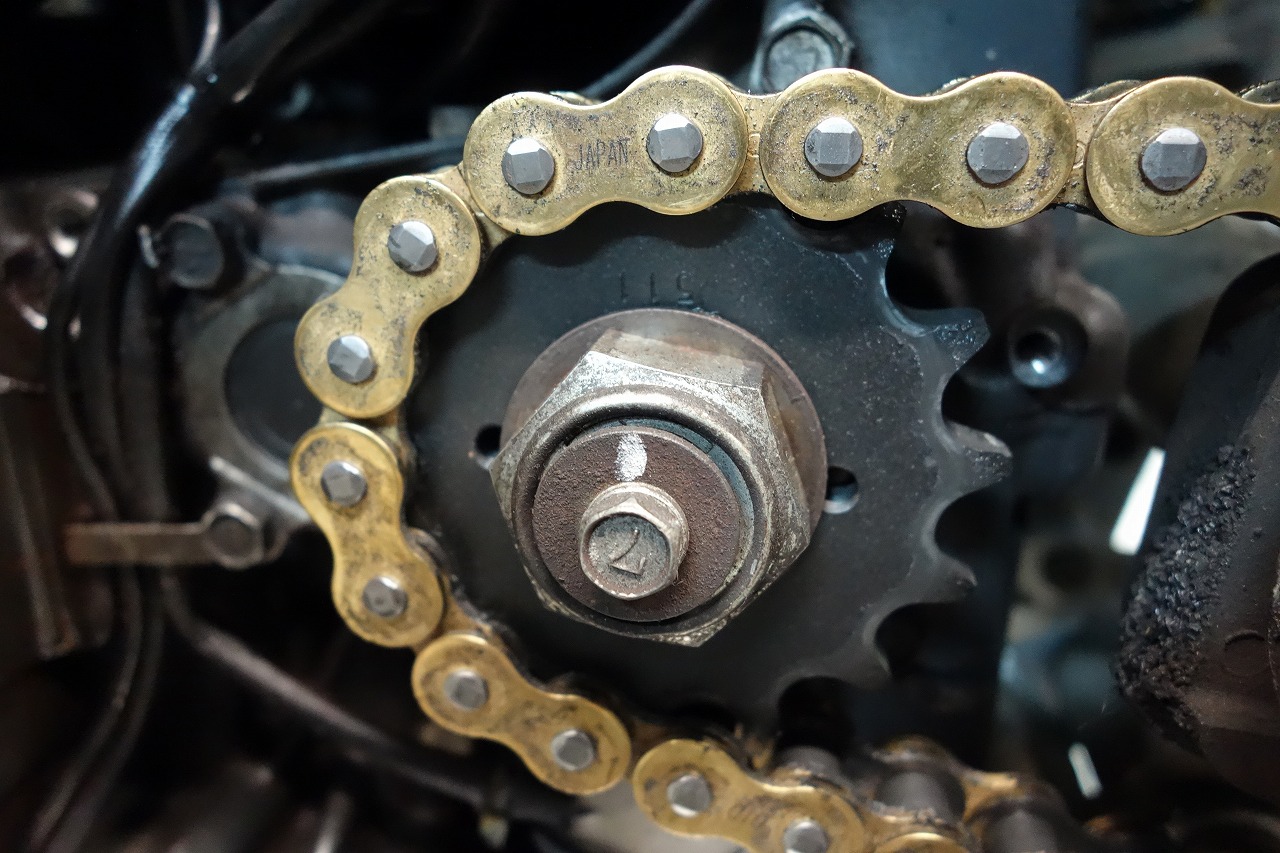
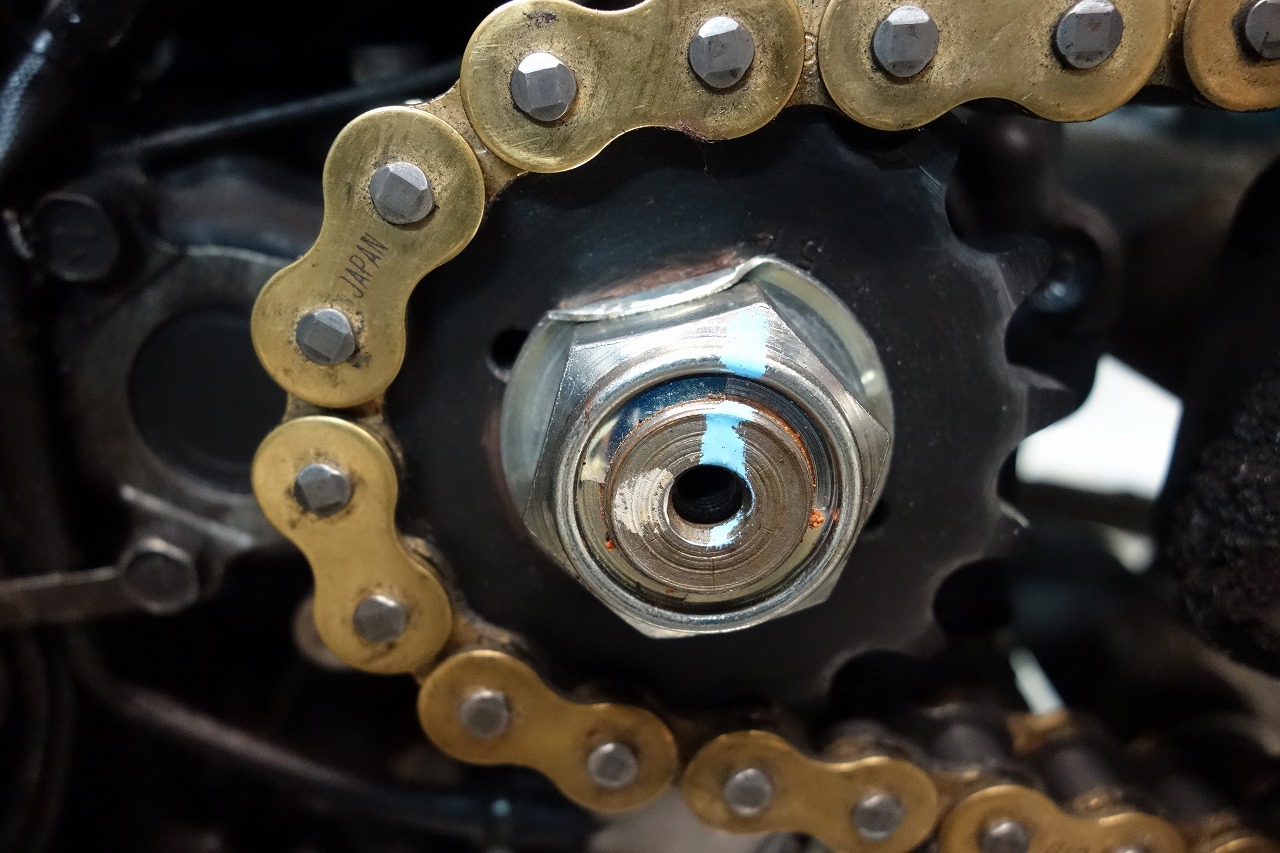
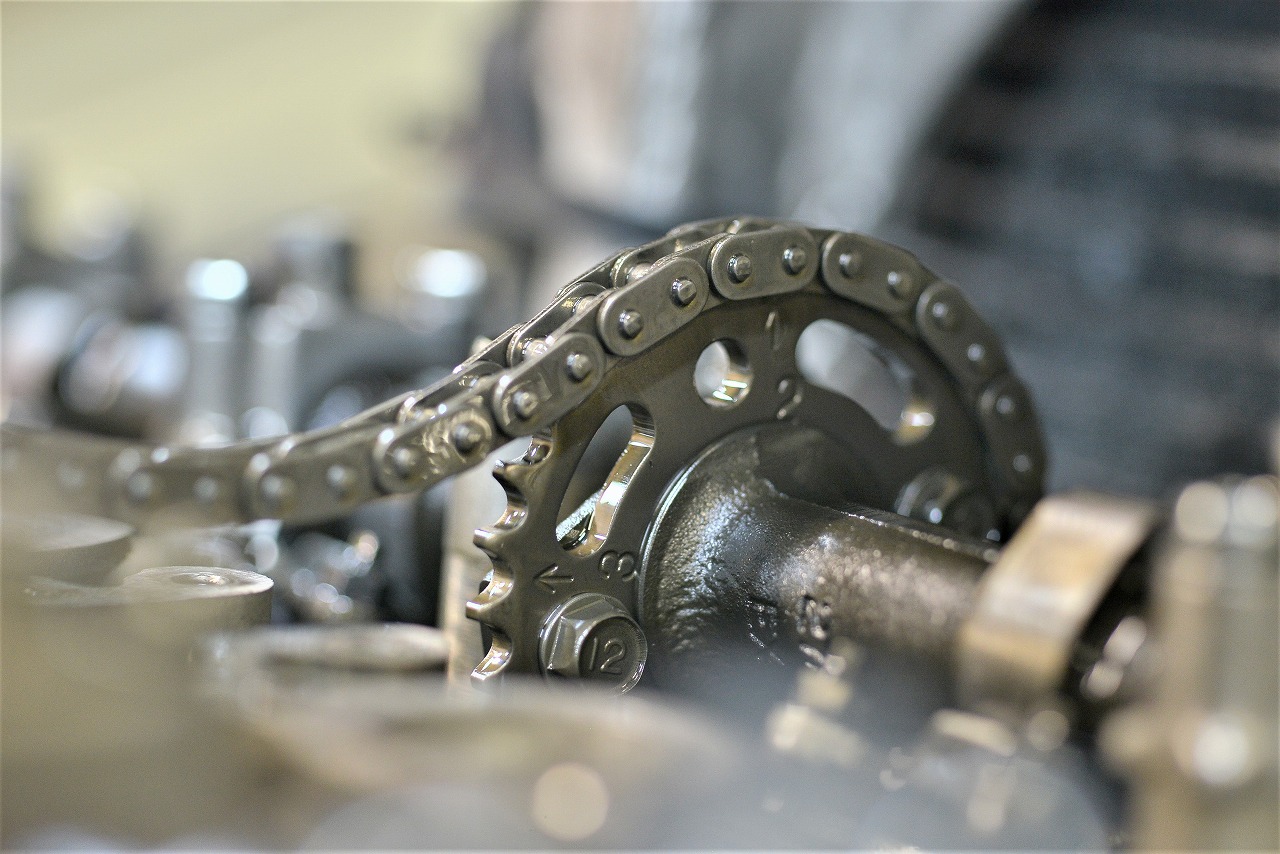
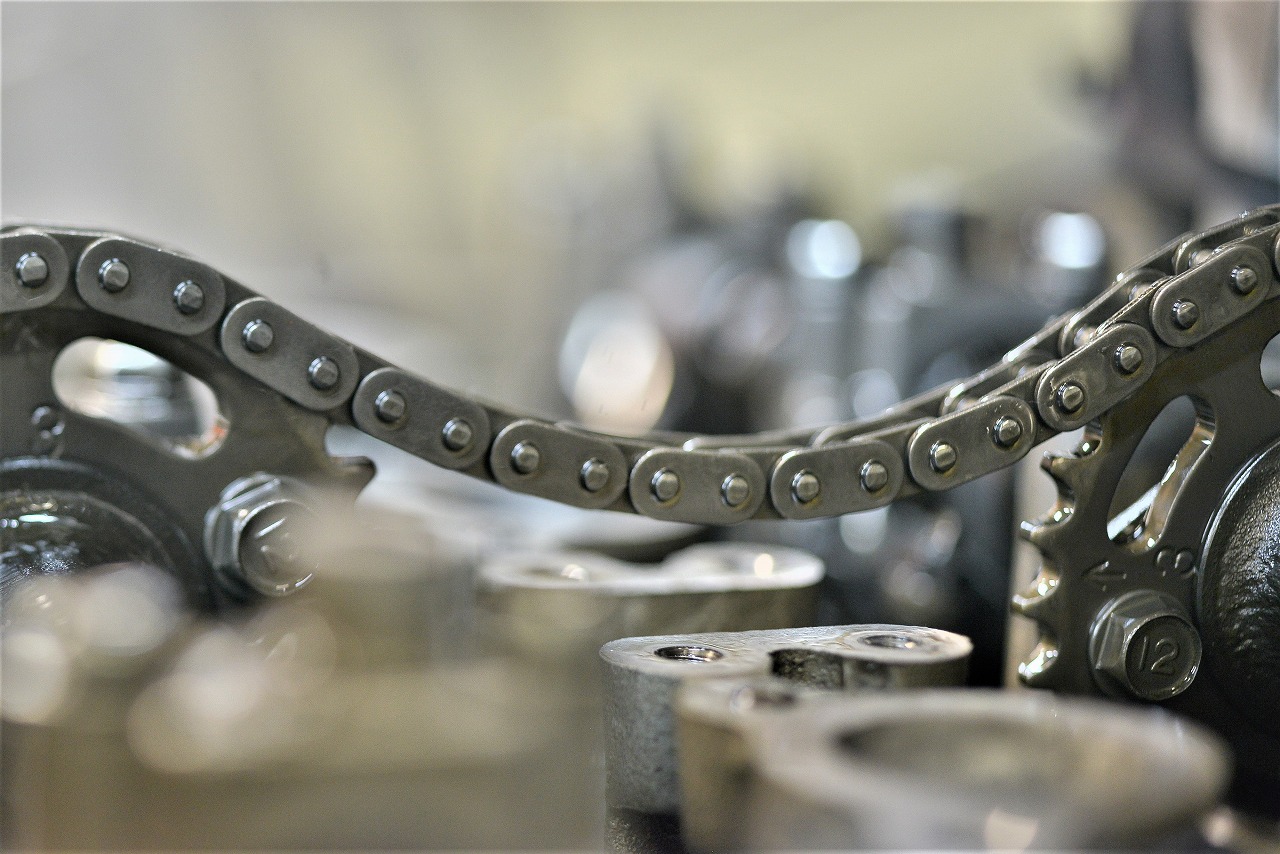
The carb was just torn down, the ignition timing area hasn’t been touched, so let me just check the gear count. So I pulled the idler and counted 1, 2, 3… no problems. (Relieved.)
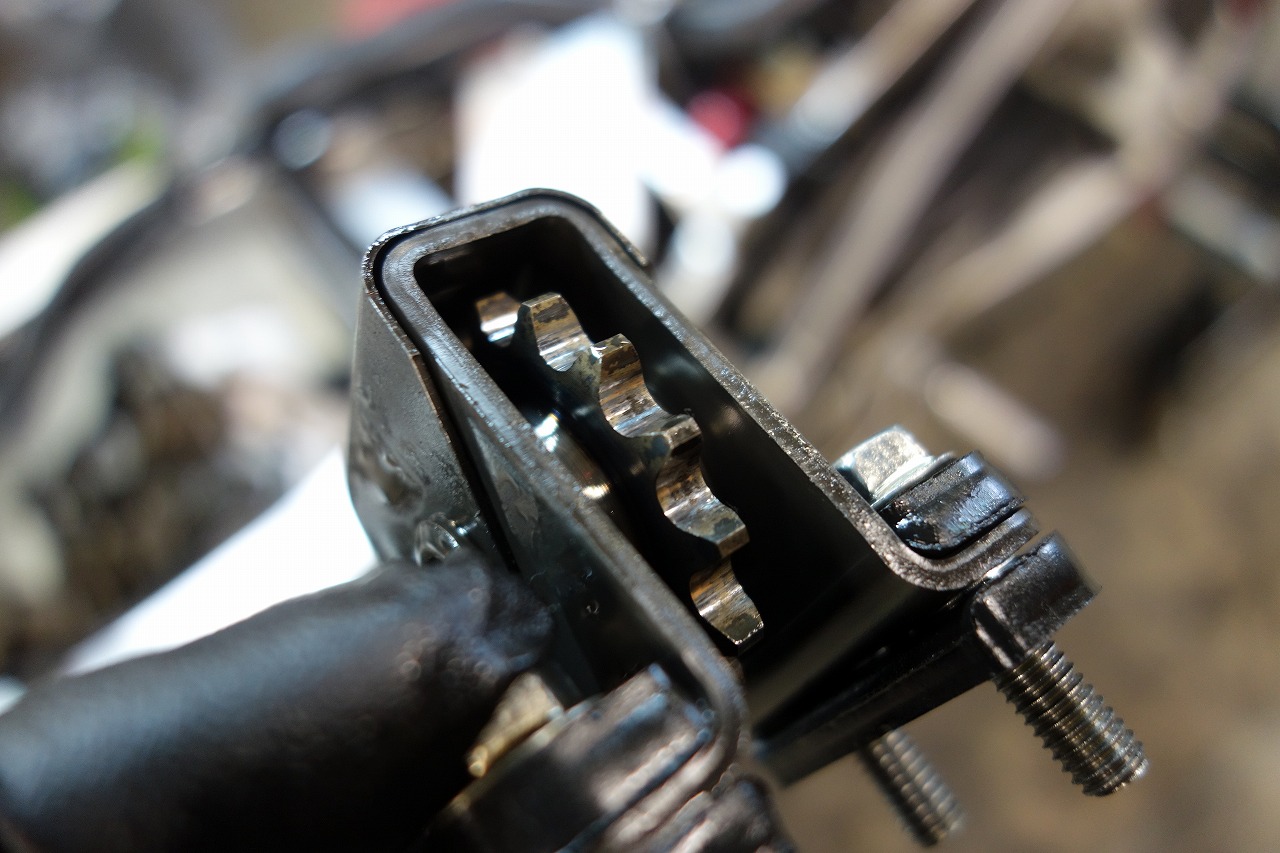
I hear Kawasaki’s air-cooled Z-series bikes are “tough! robust!” and all that, but… is that ancient history?
Aluminum with stripped threads—what’s up with that?
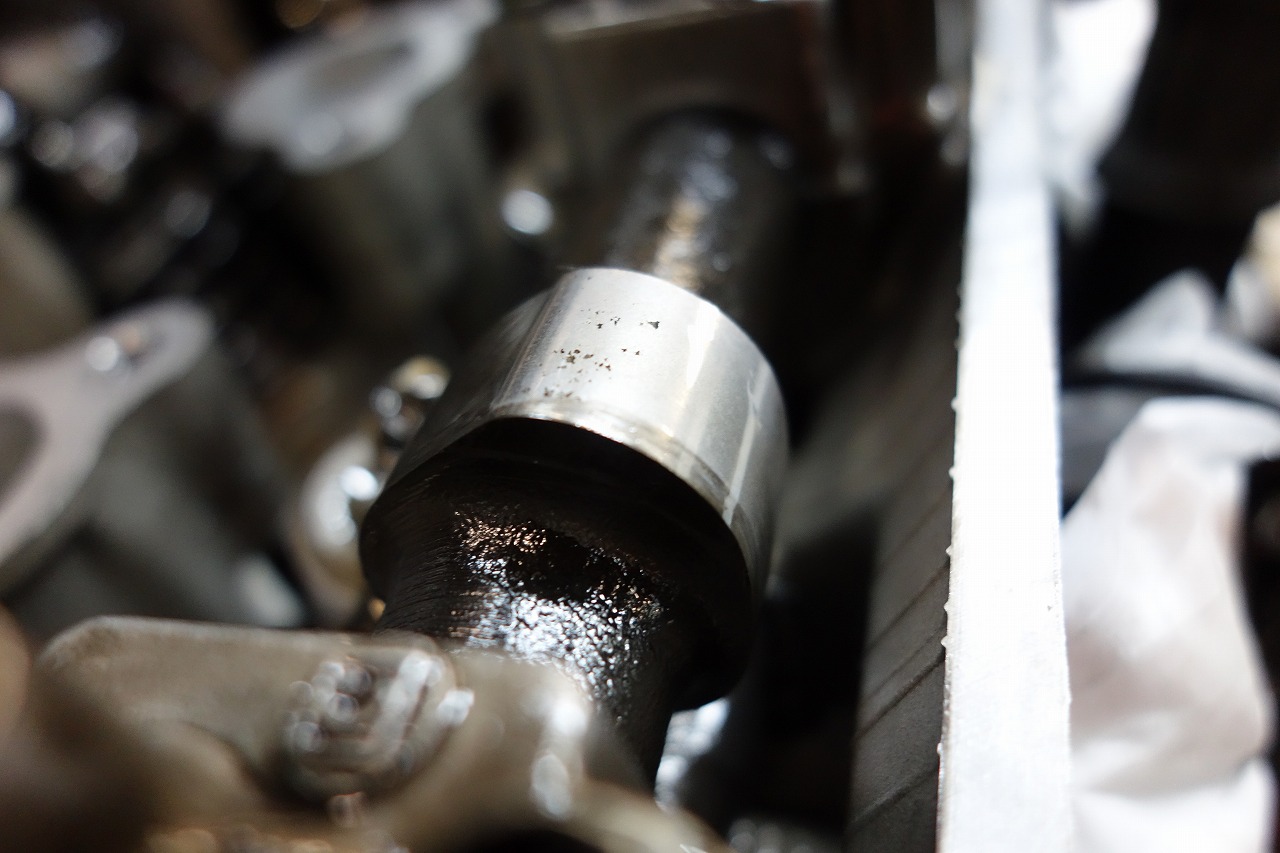
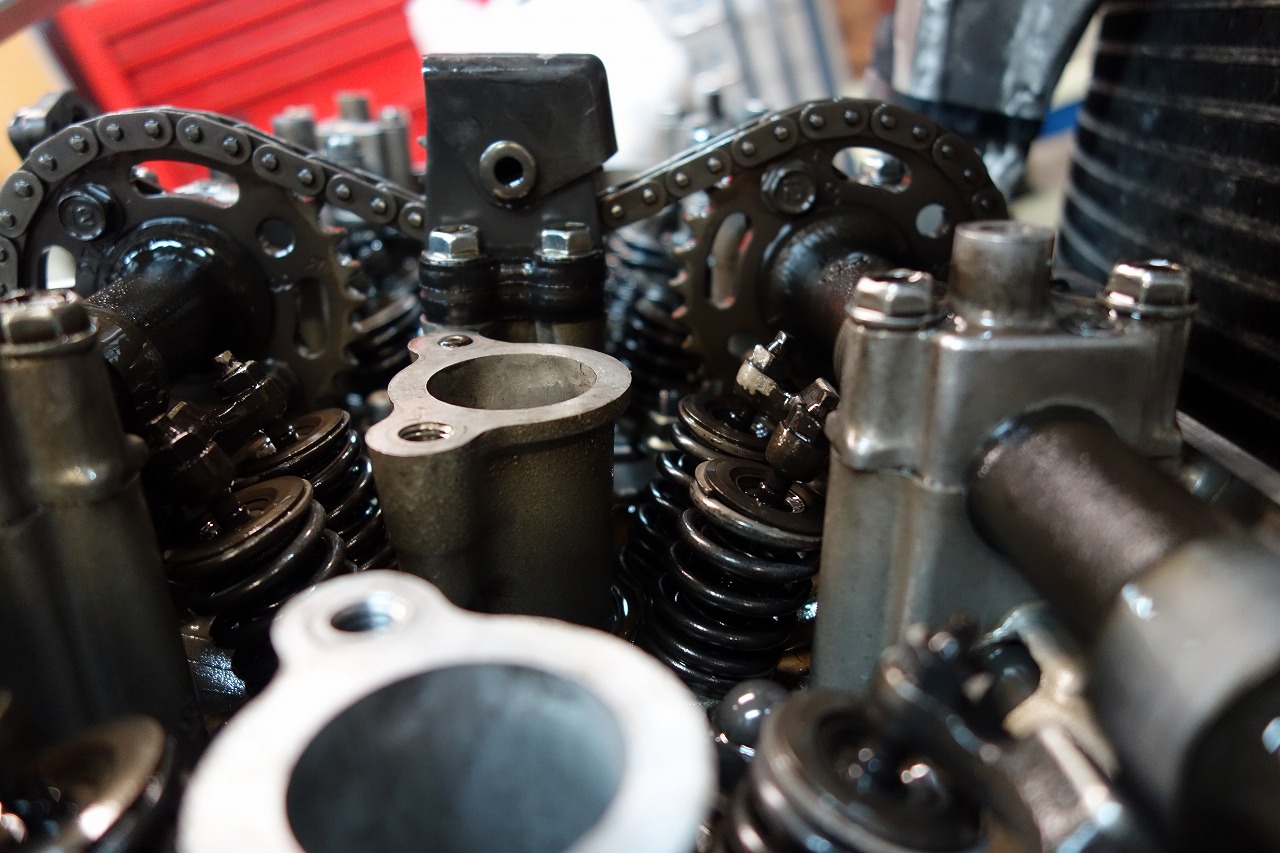
IN#1 Seized
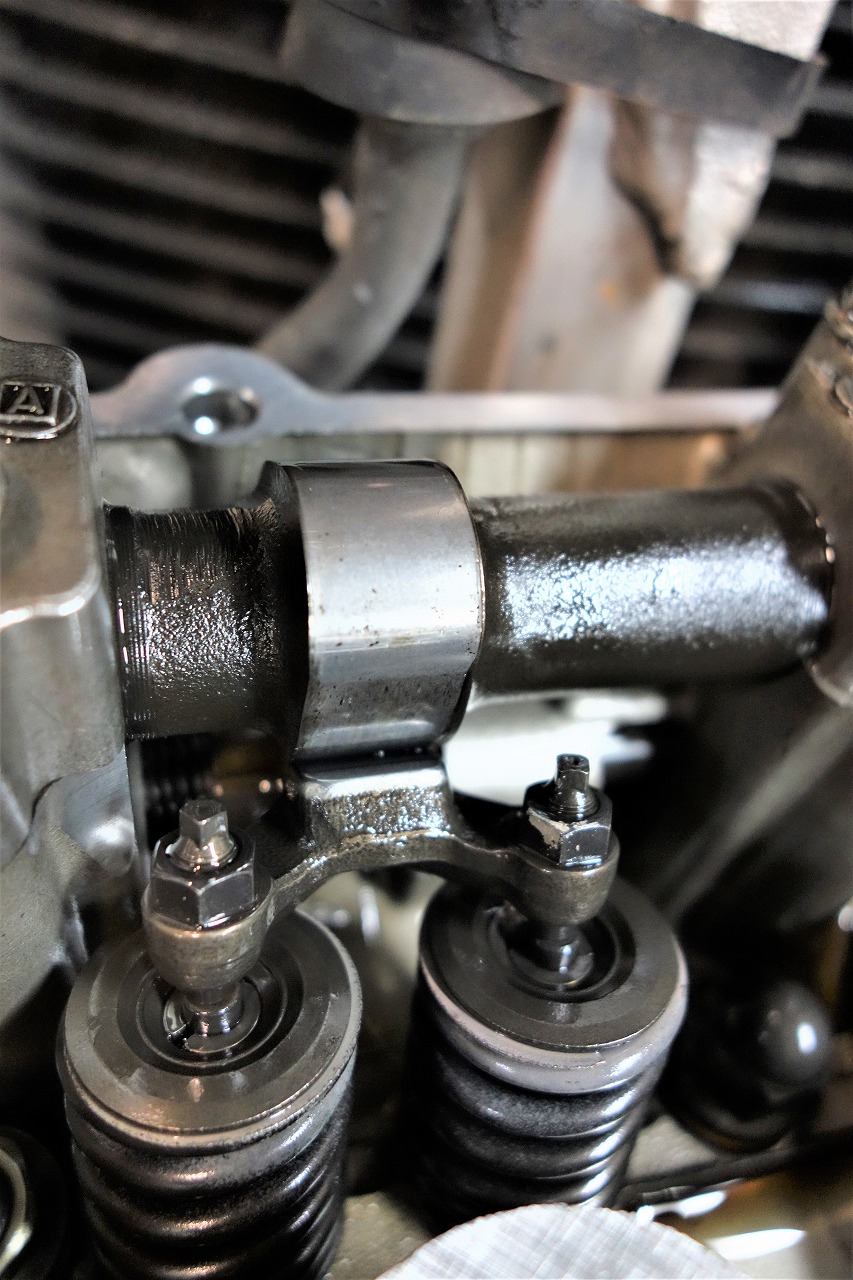
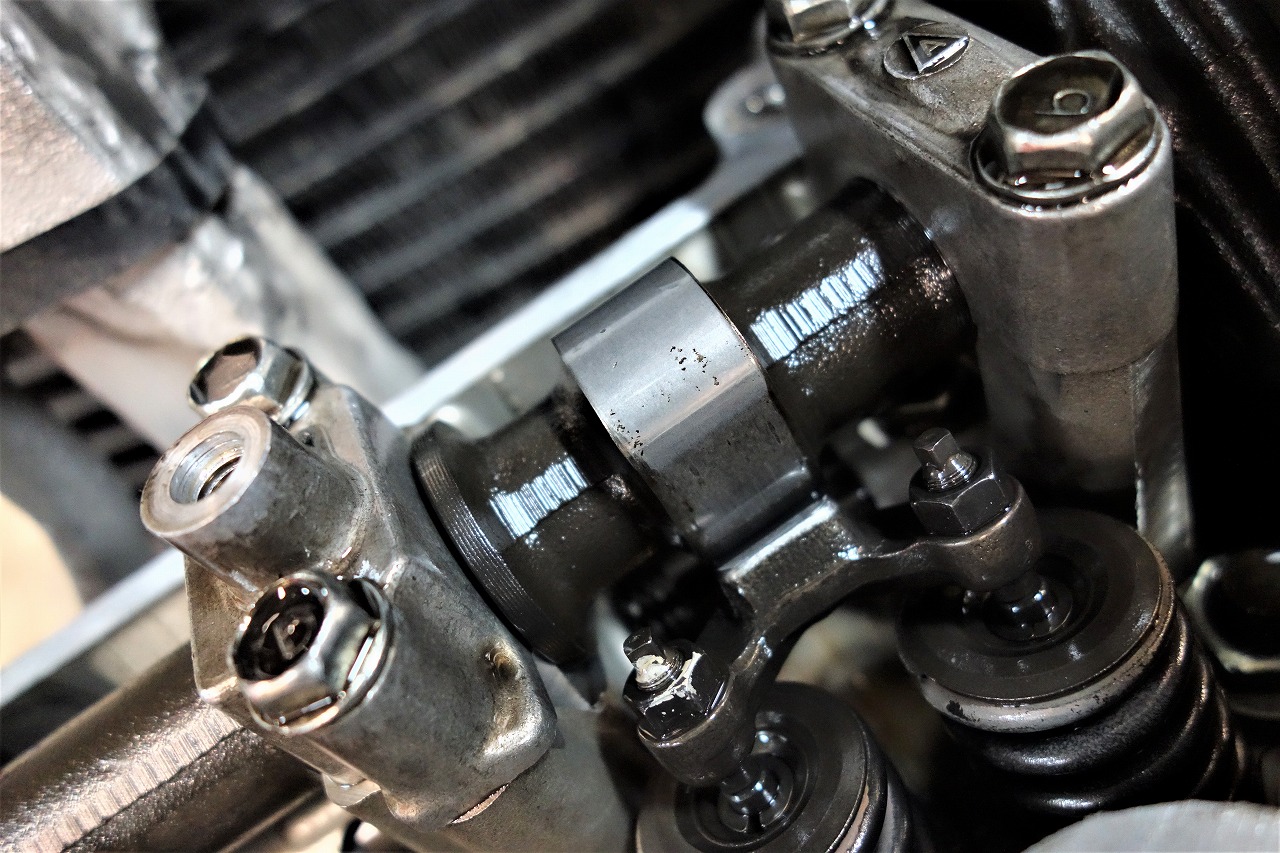
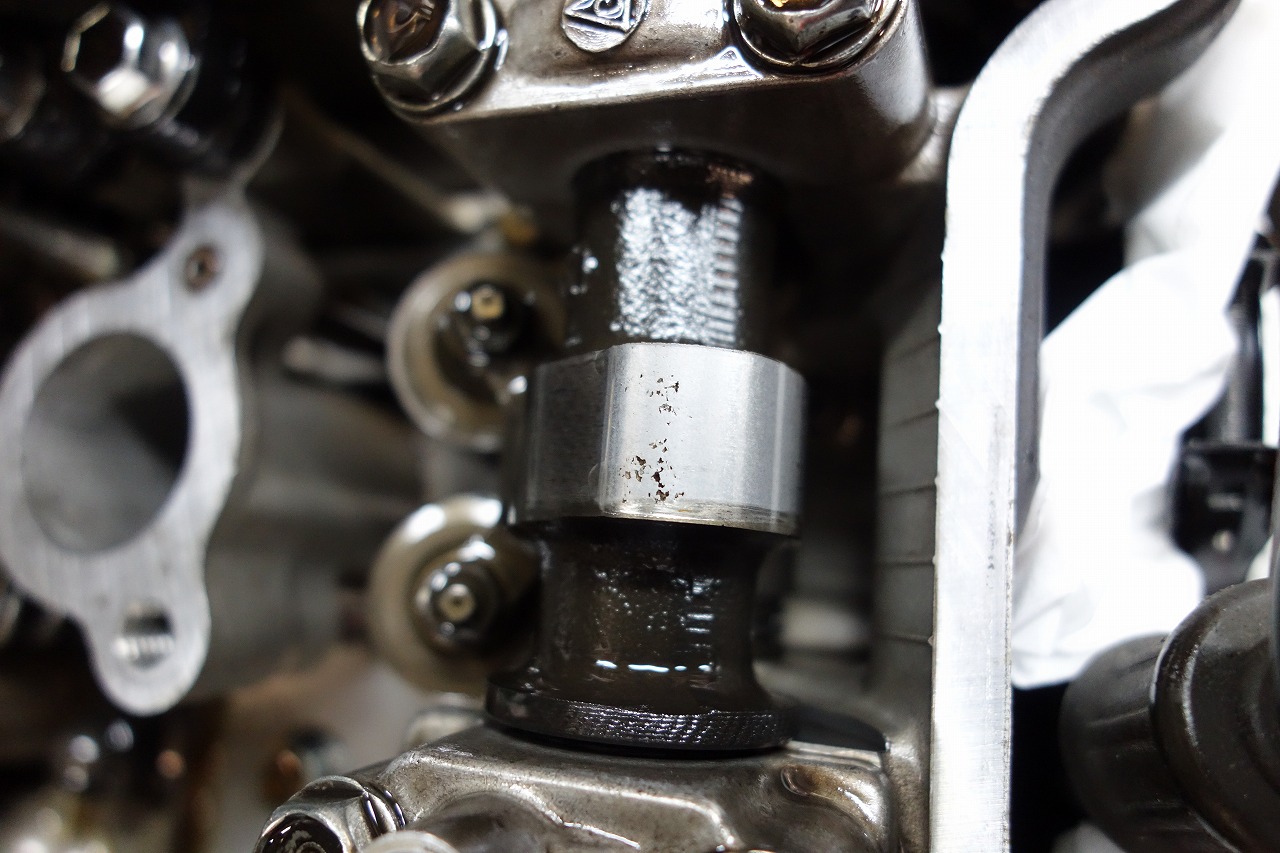
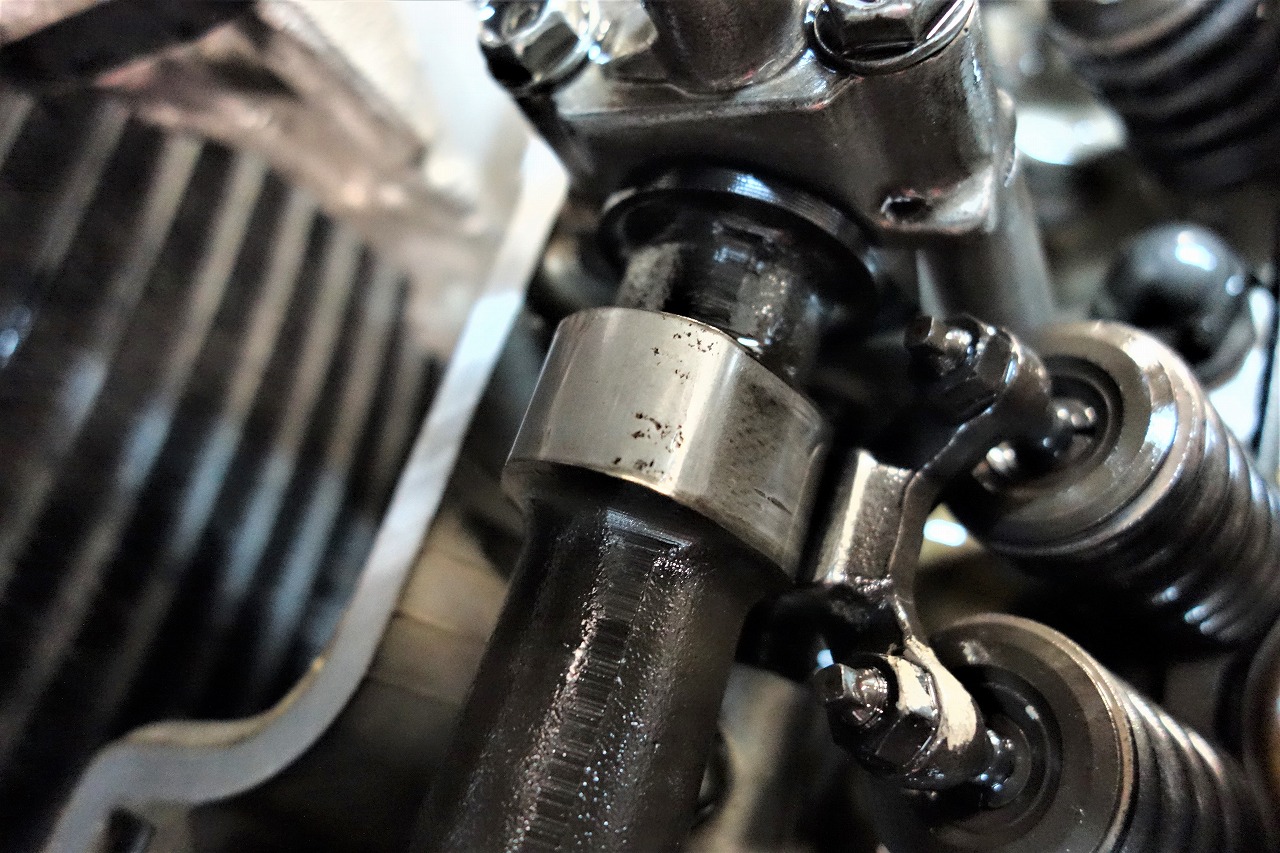
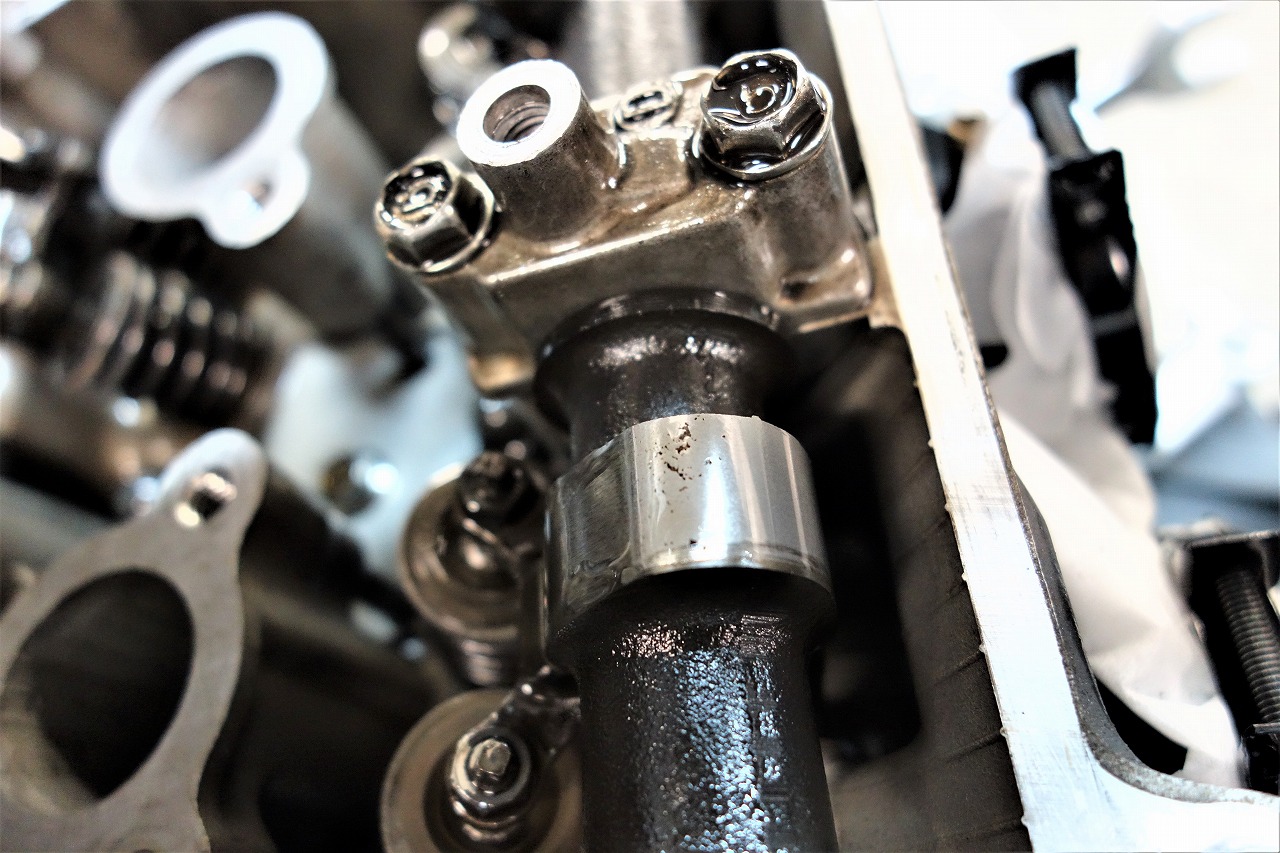
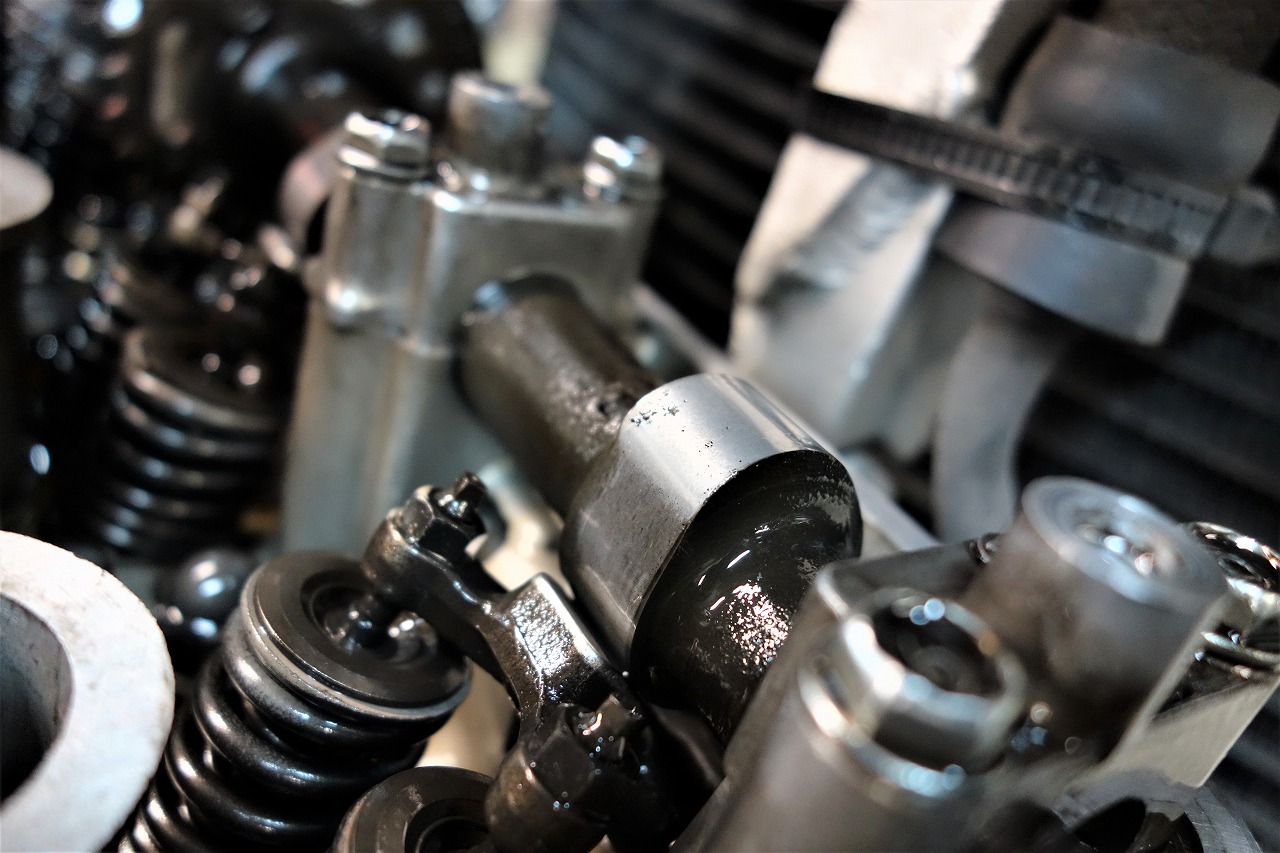
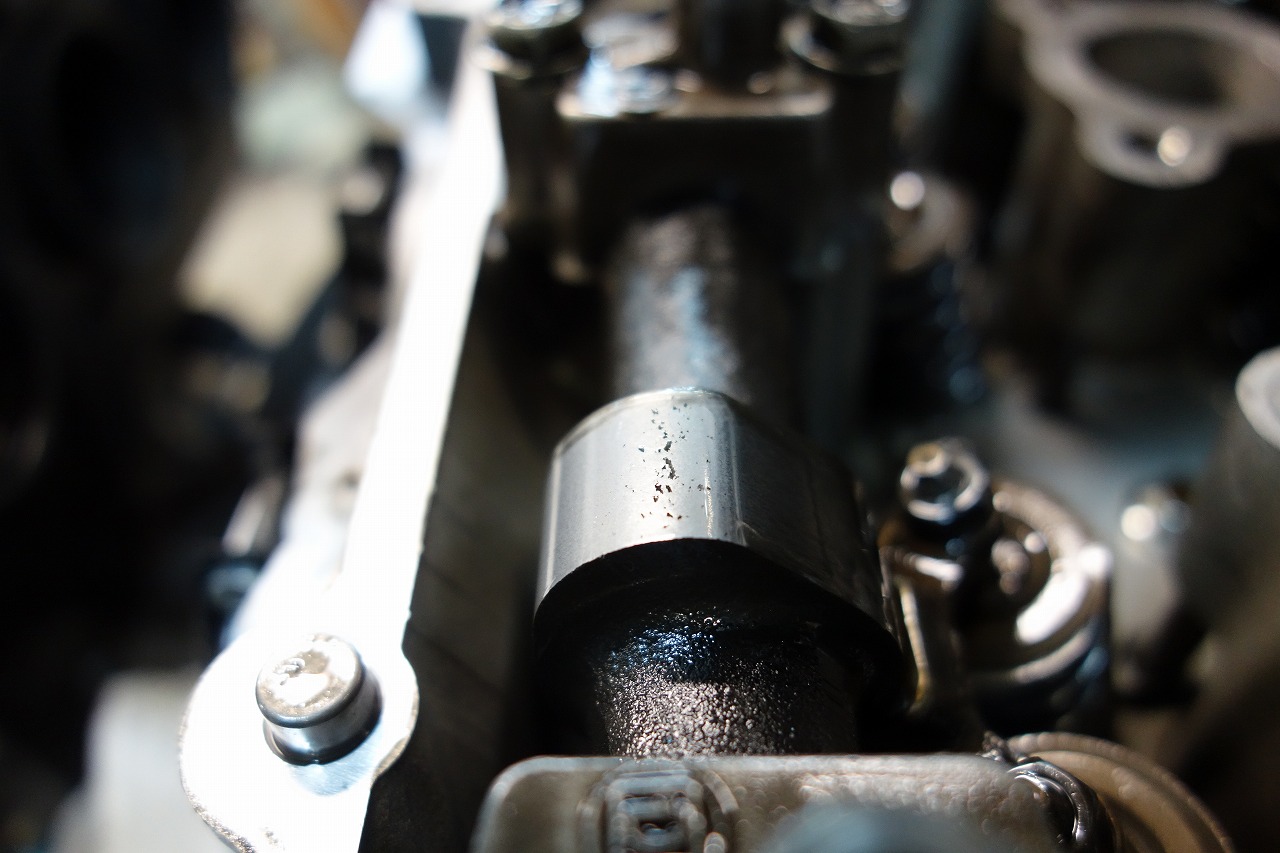
So they were all seized. What happens when they seize? They gradually wear down and become low-cam. Especially the rocker arm slider wears more than the cam, and the tapping noise increases. This tapping noise is a weird kind of wear that valve clearance adjustment can’t fix.
With rocker arm-type engines, the noise might actually be coming from rocker arm wear more than from valve tapping.
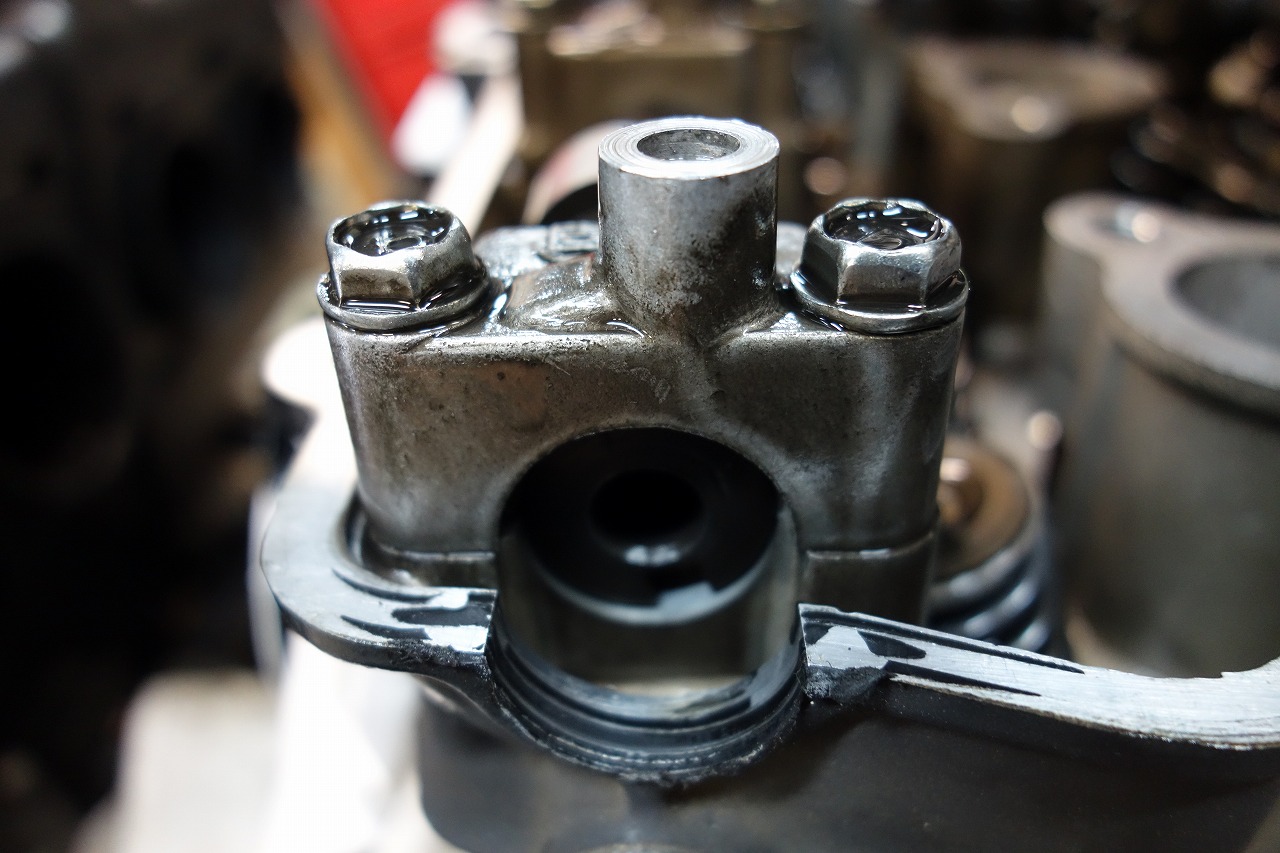
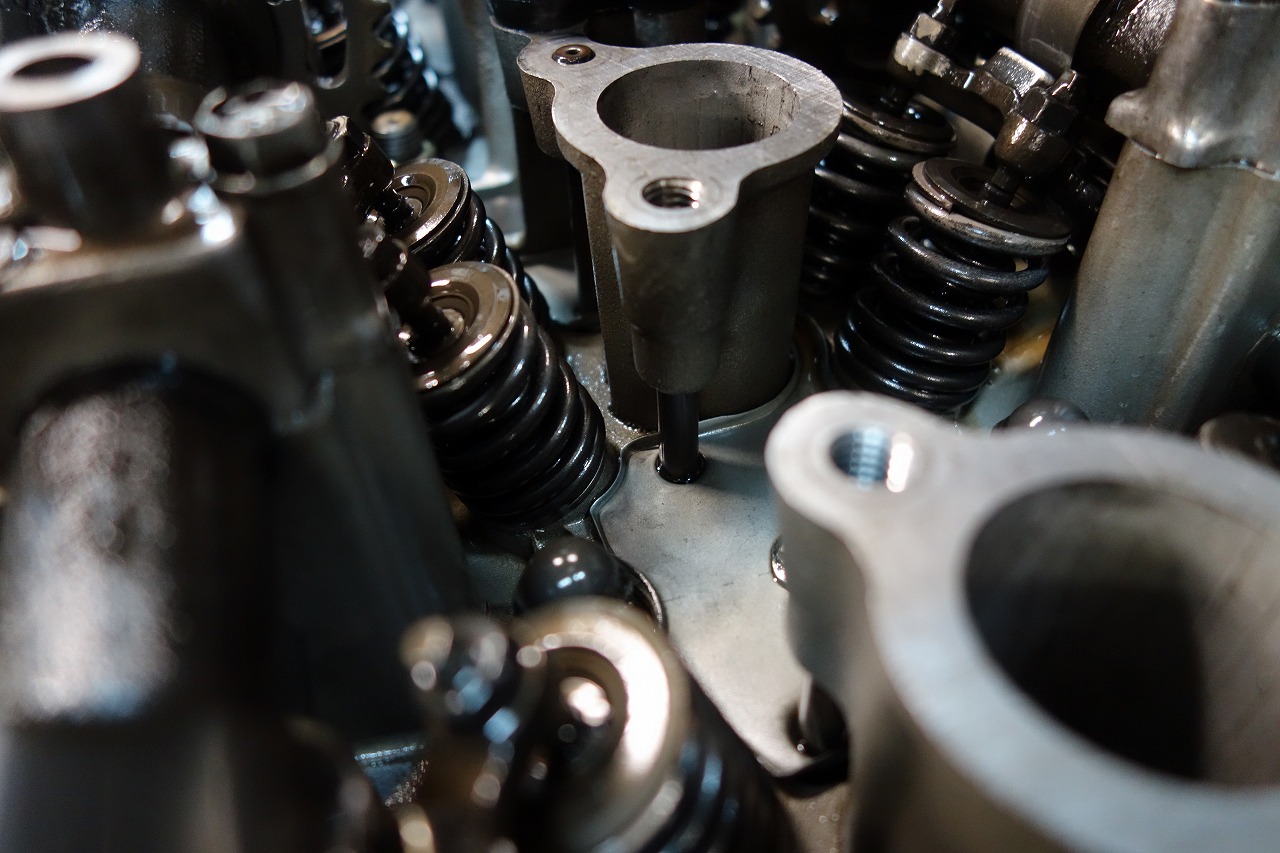
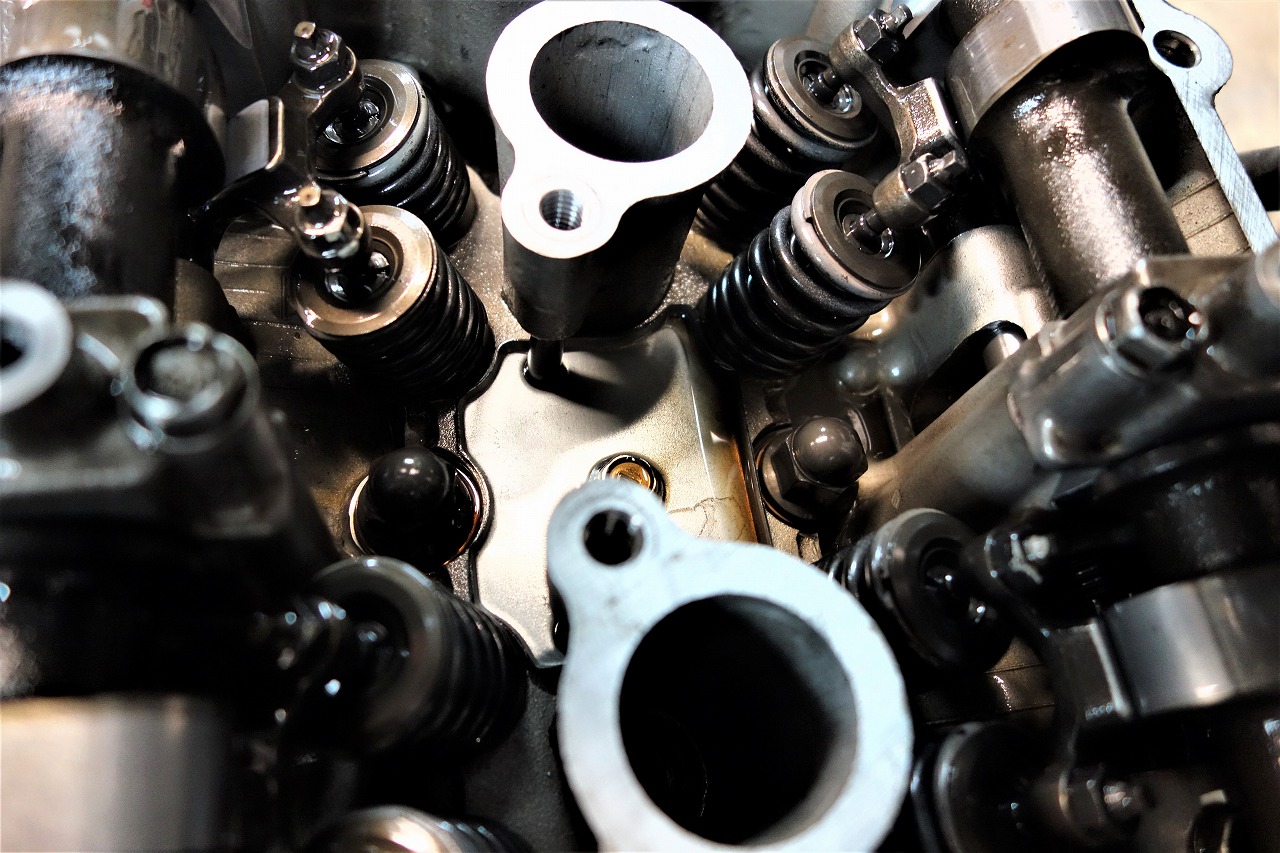
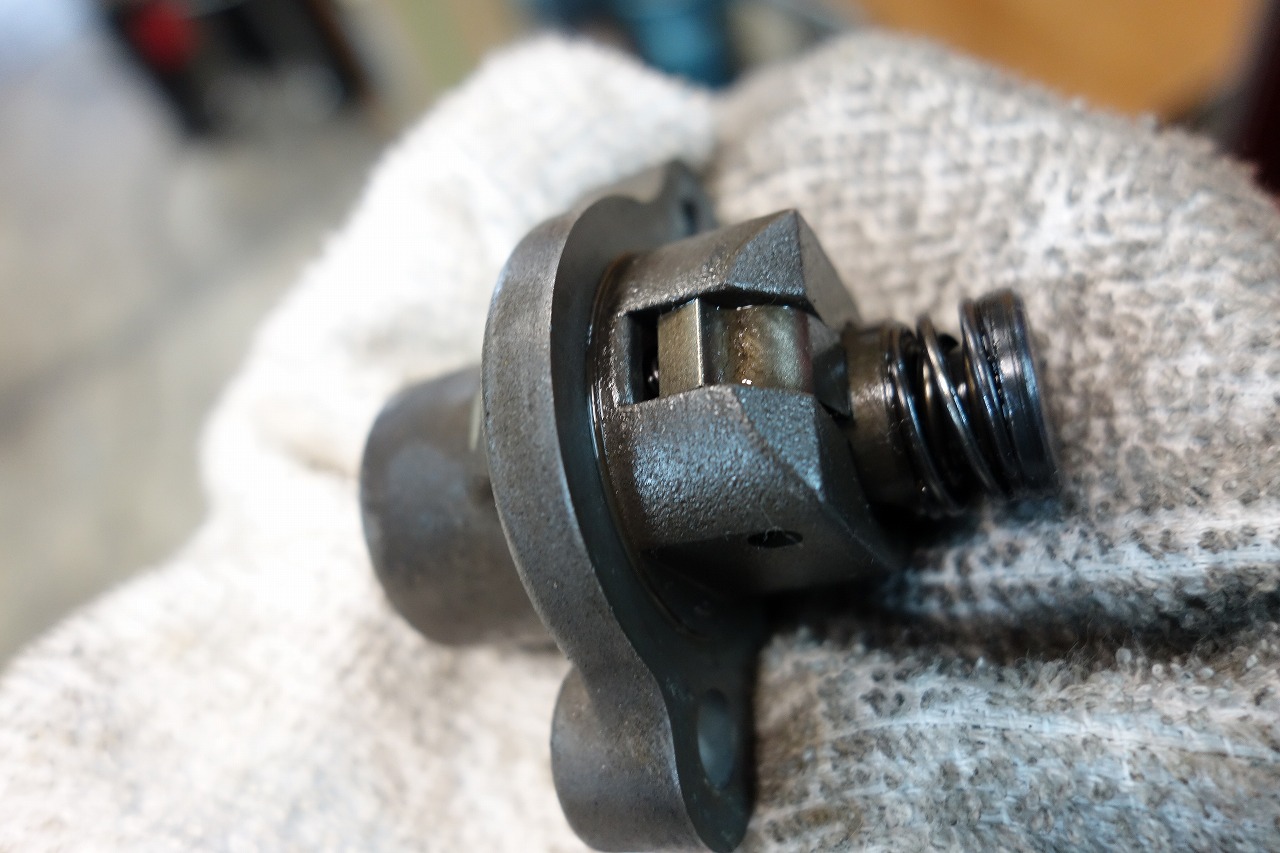
I tried pushing from the back to adjust it, but it won’t budge… which makes me a bit uneasy.
I was worried the slider might be broken, but it’s fine, so don’t worry.
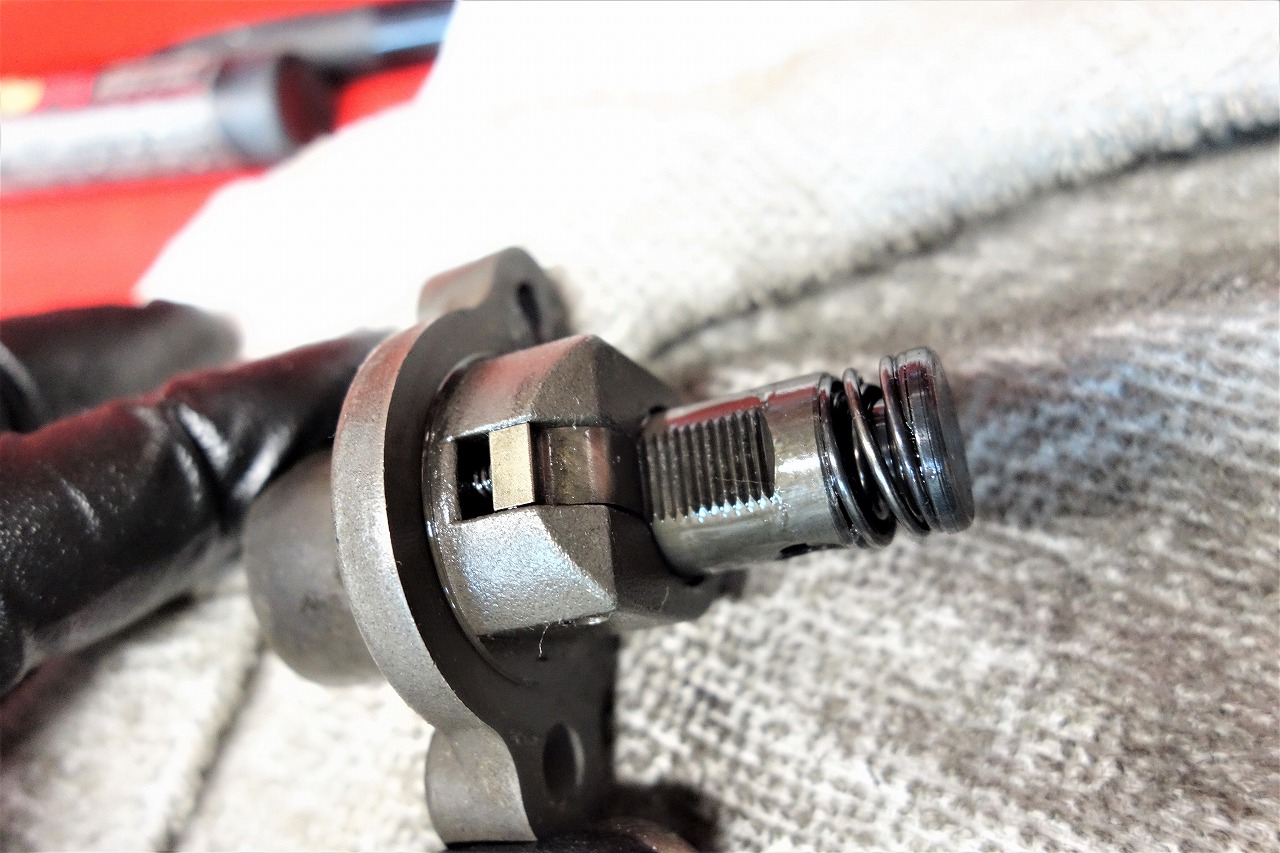
It wasn’t moving much, so it must have been stuck.
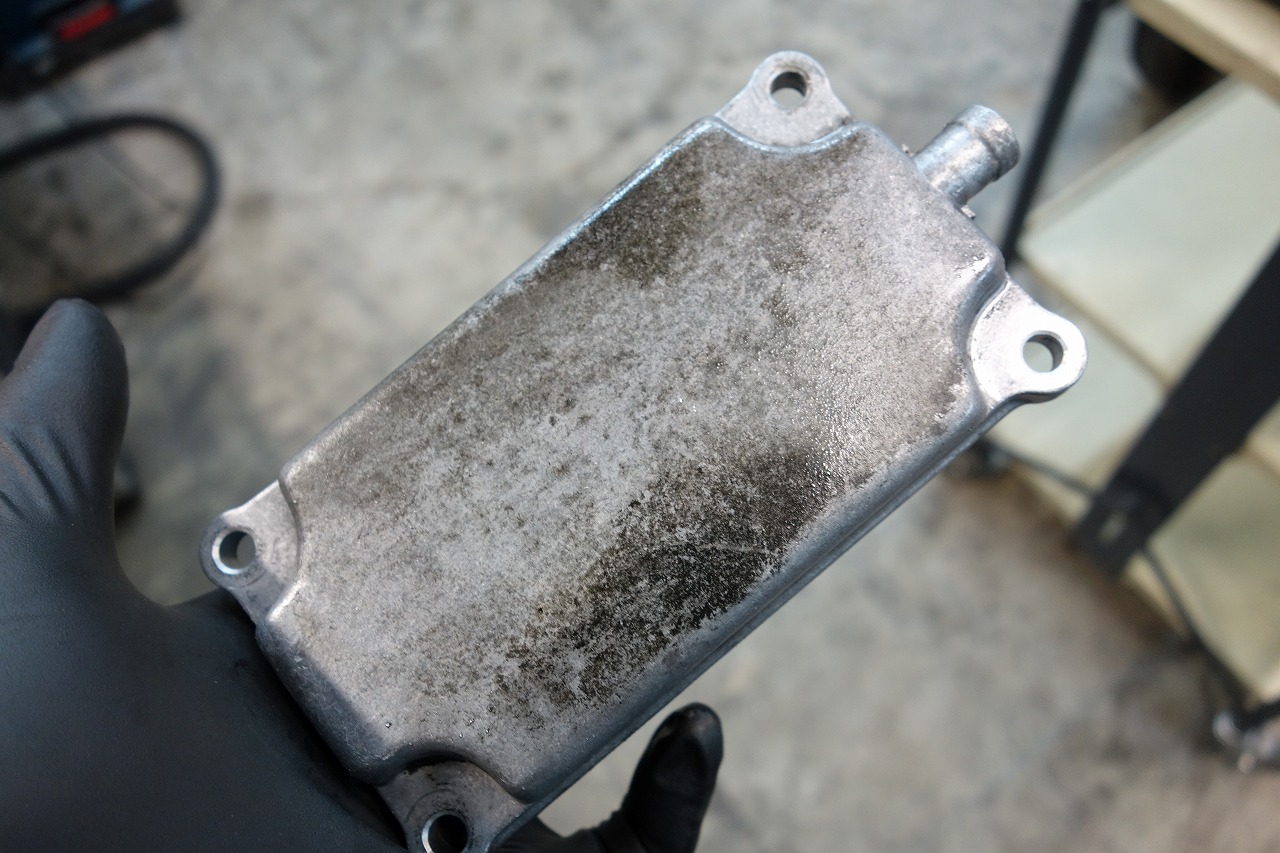
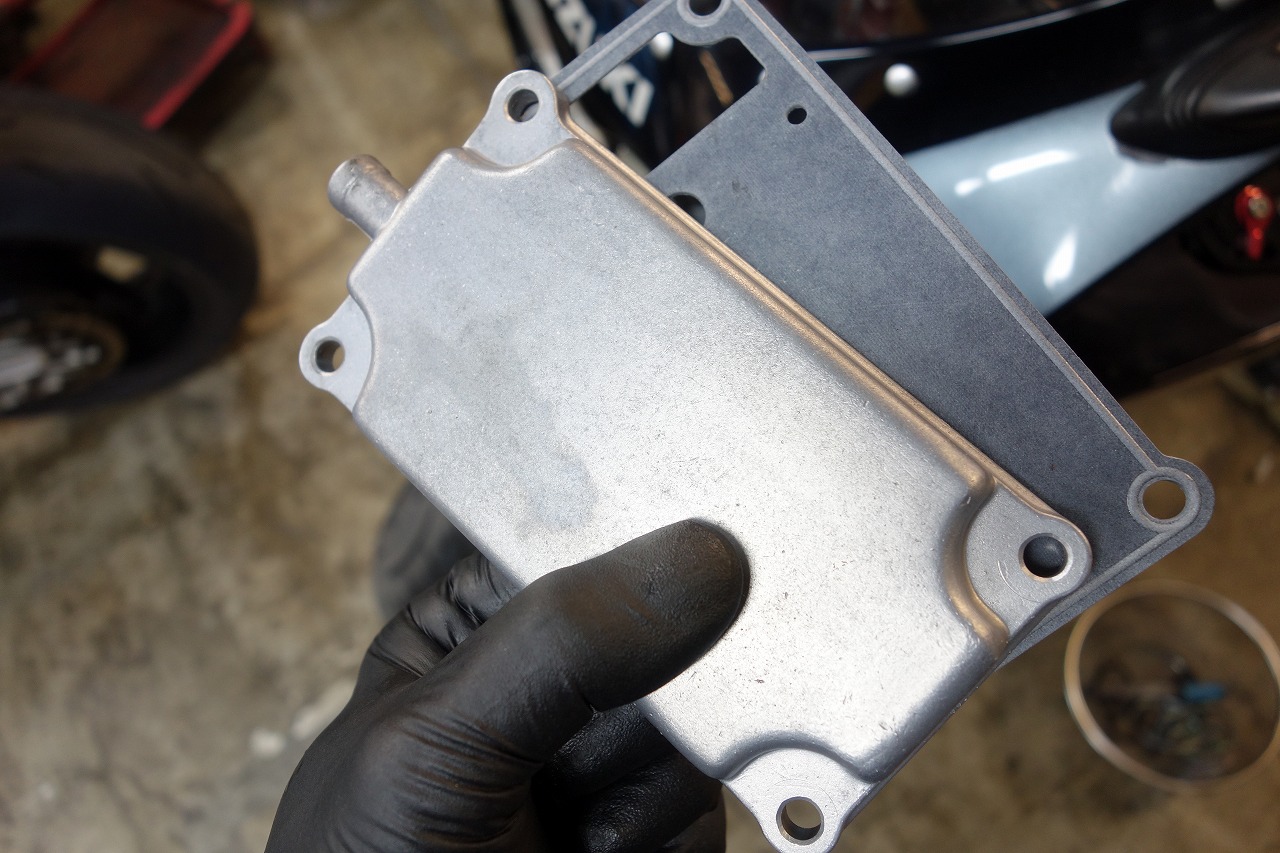
I think it’s because when it’s dirty you notice the difference, but when it’s clean it blends in.
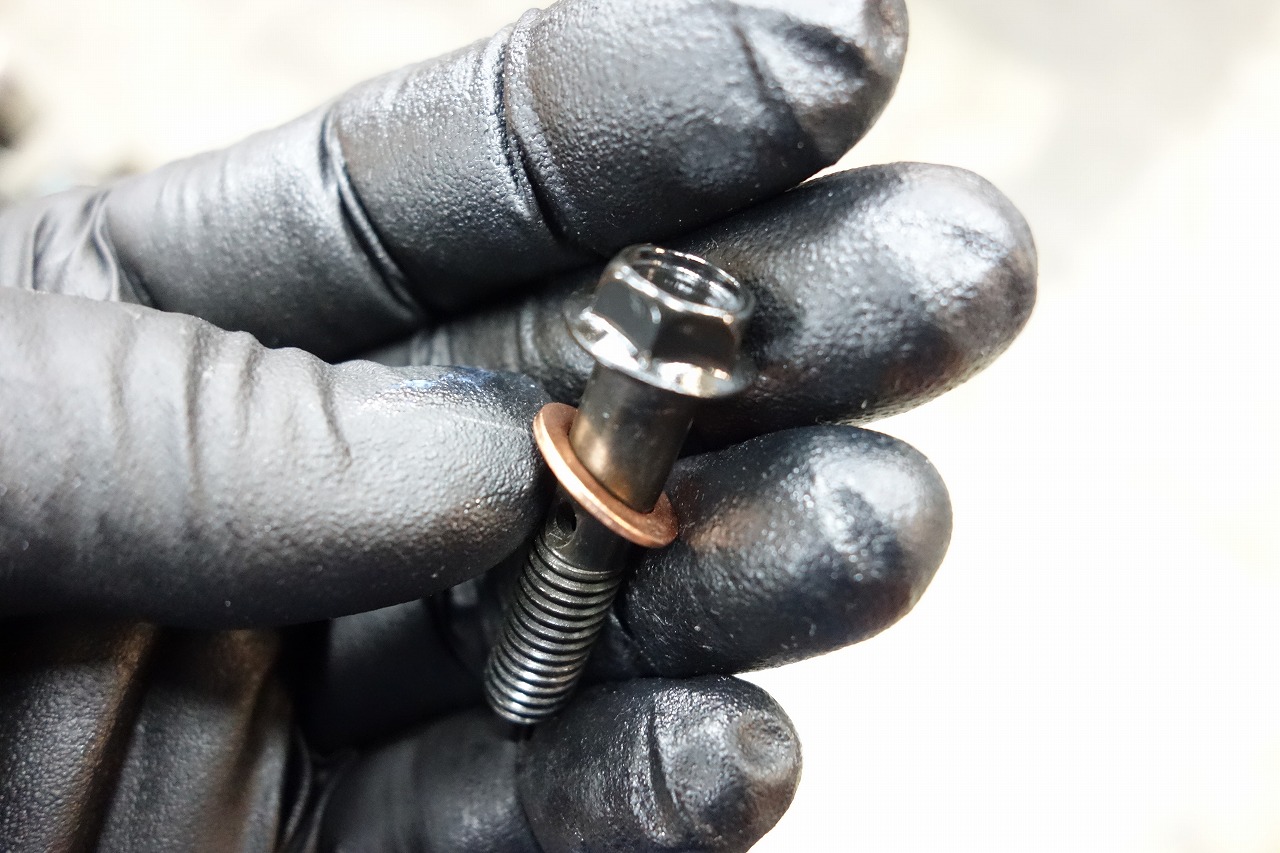
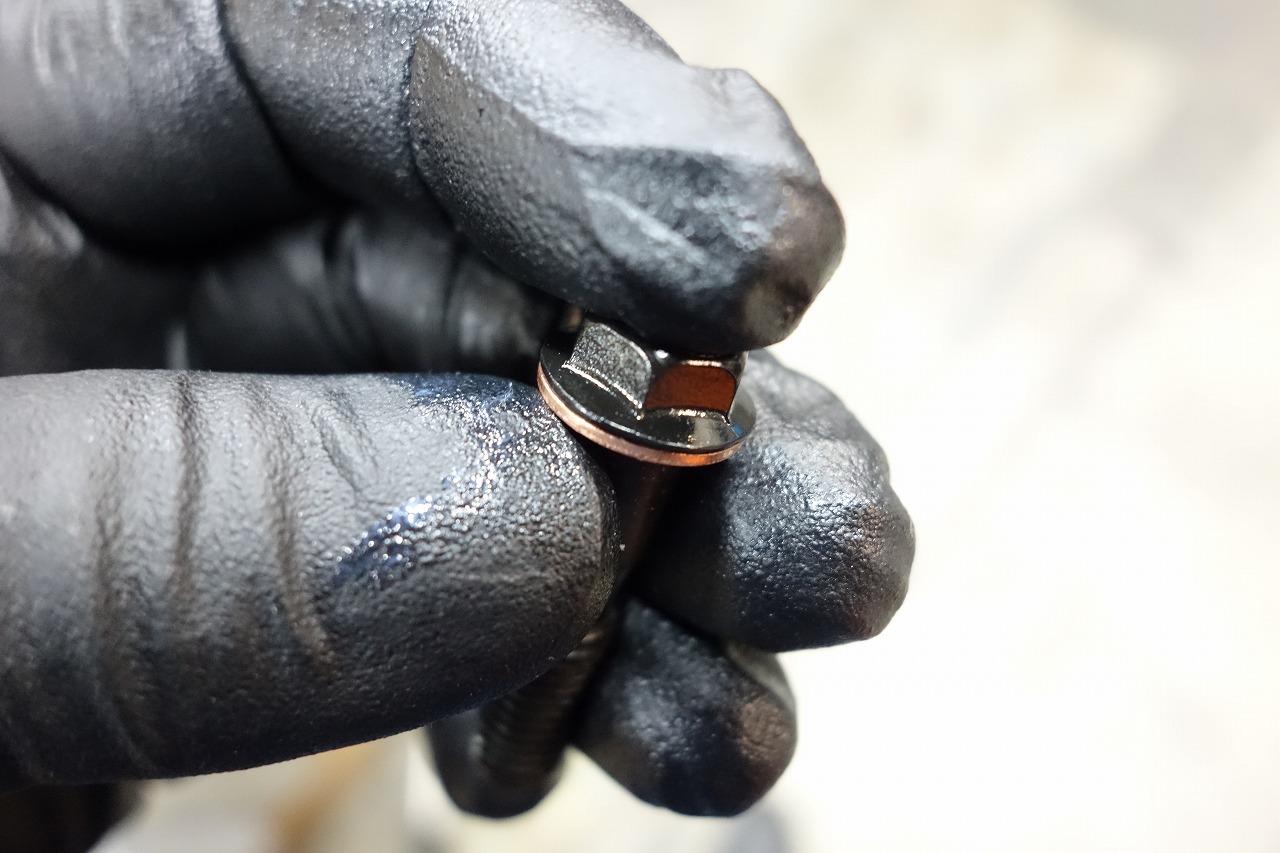
The head oil passage gasket—the stock one is aluminum and large (big outer diameter).
It’s soft and the large outer diameter means it deforms—kind of like a spring washer—which feels weird, and sometimes it seeps a little…
I’ve been doing this for a while now: swap it for a copper gasket and match the bolt seat and gasket outer diameter so you can press it firmly and it won’t leak.
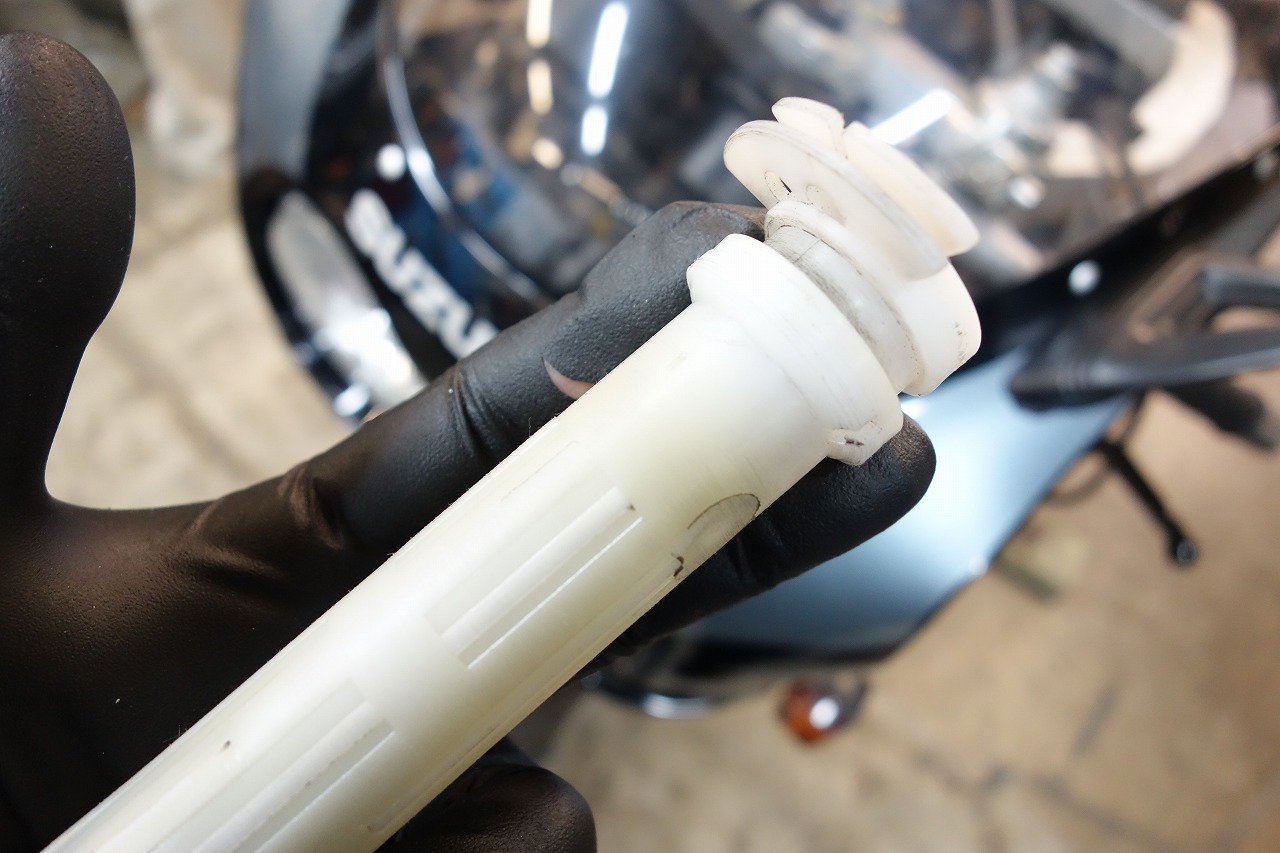
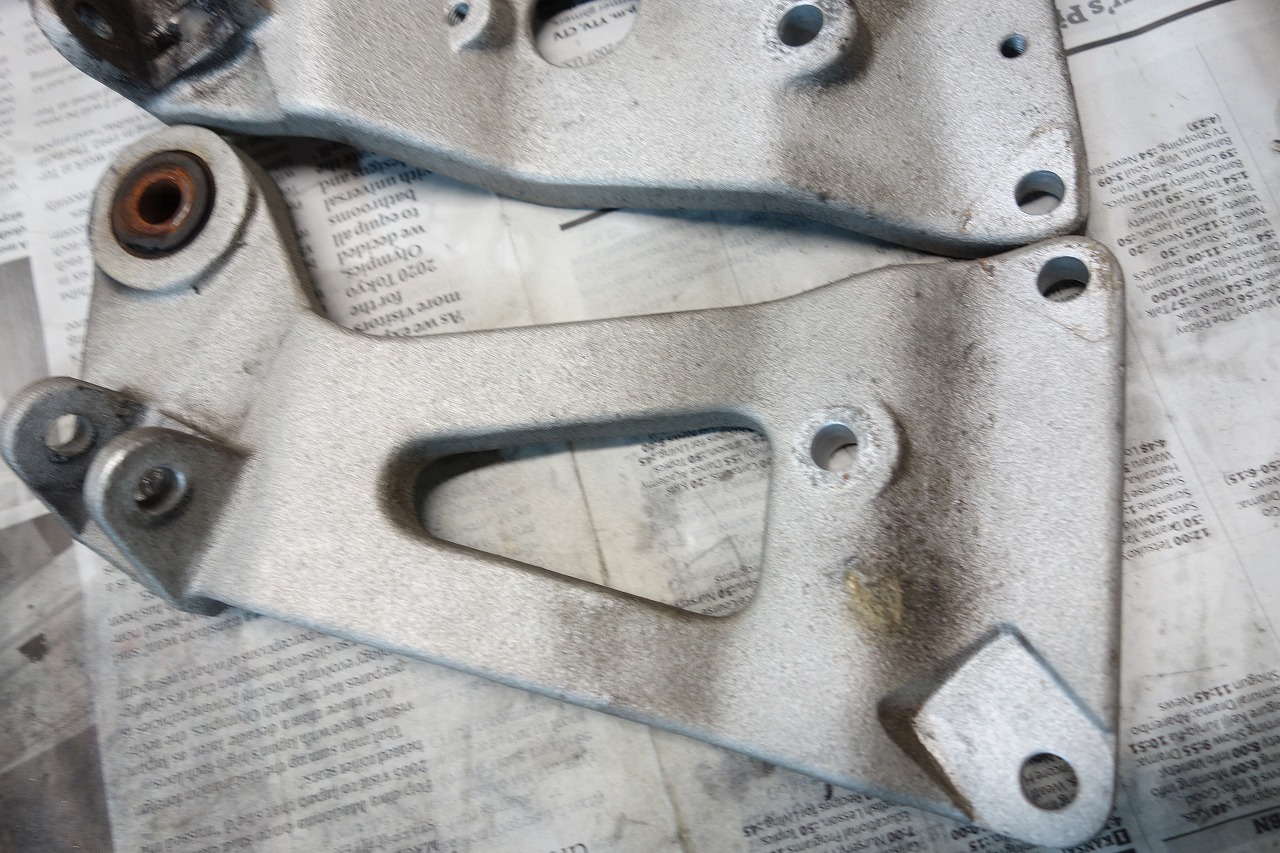
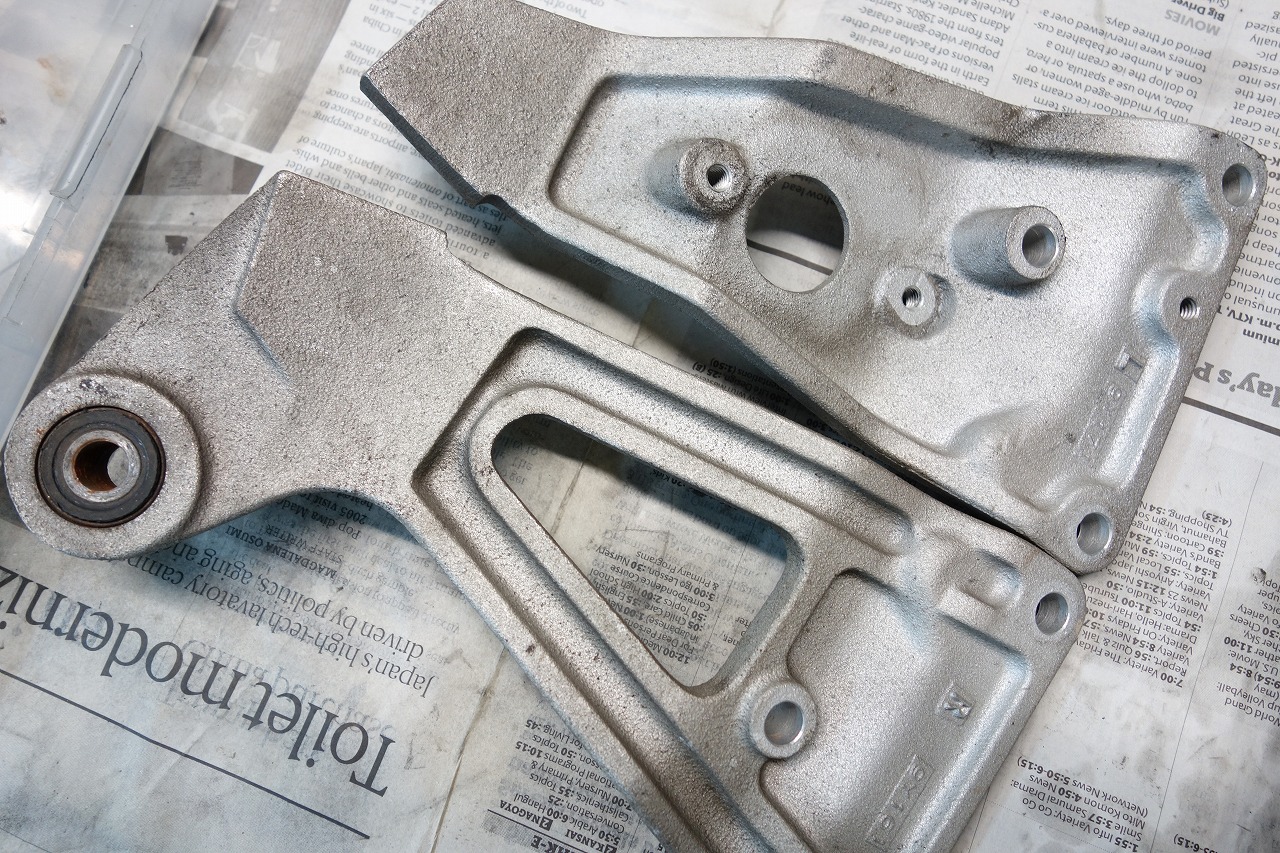
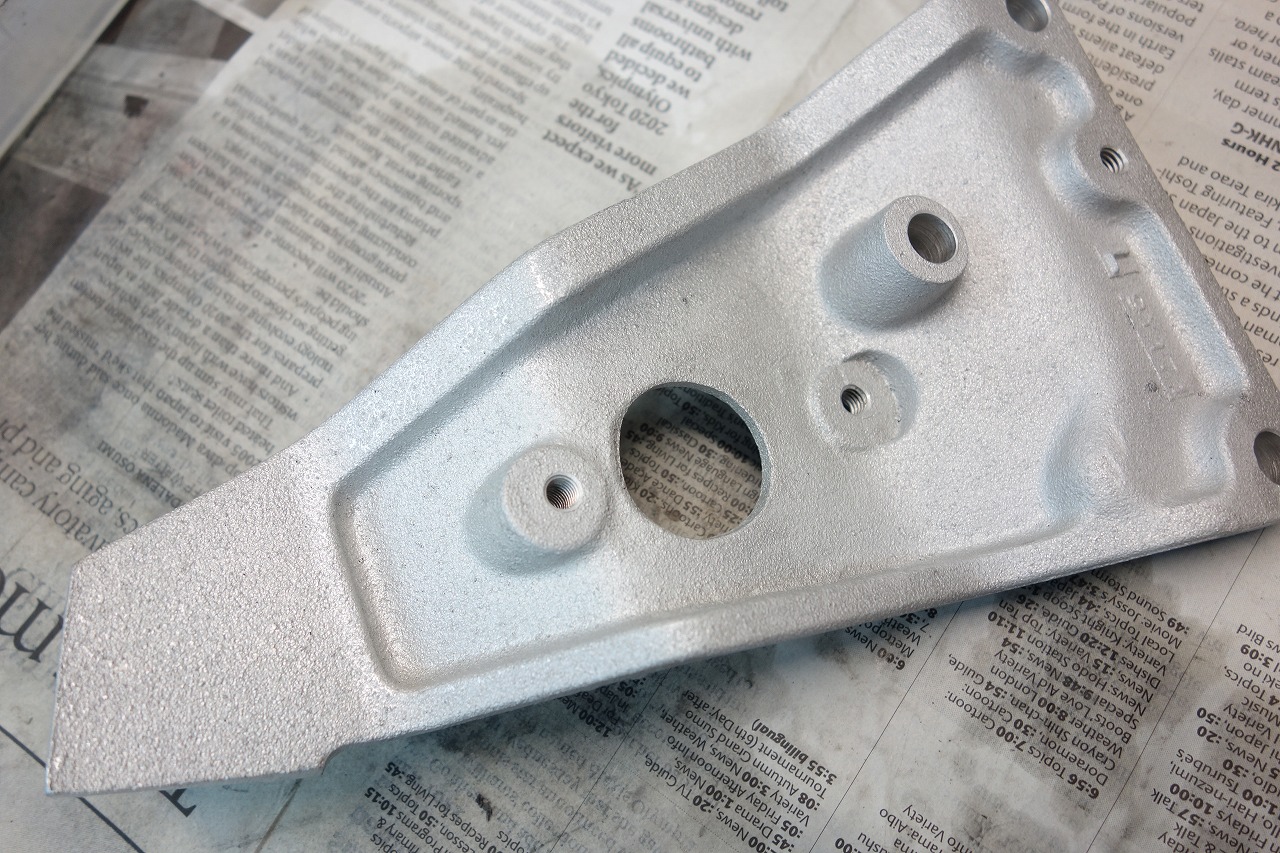
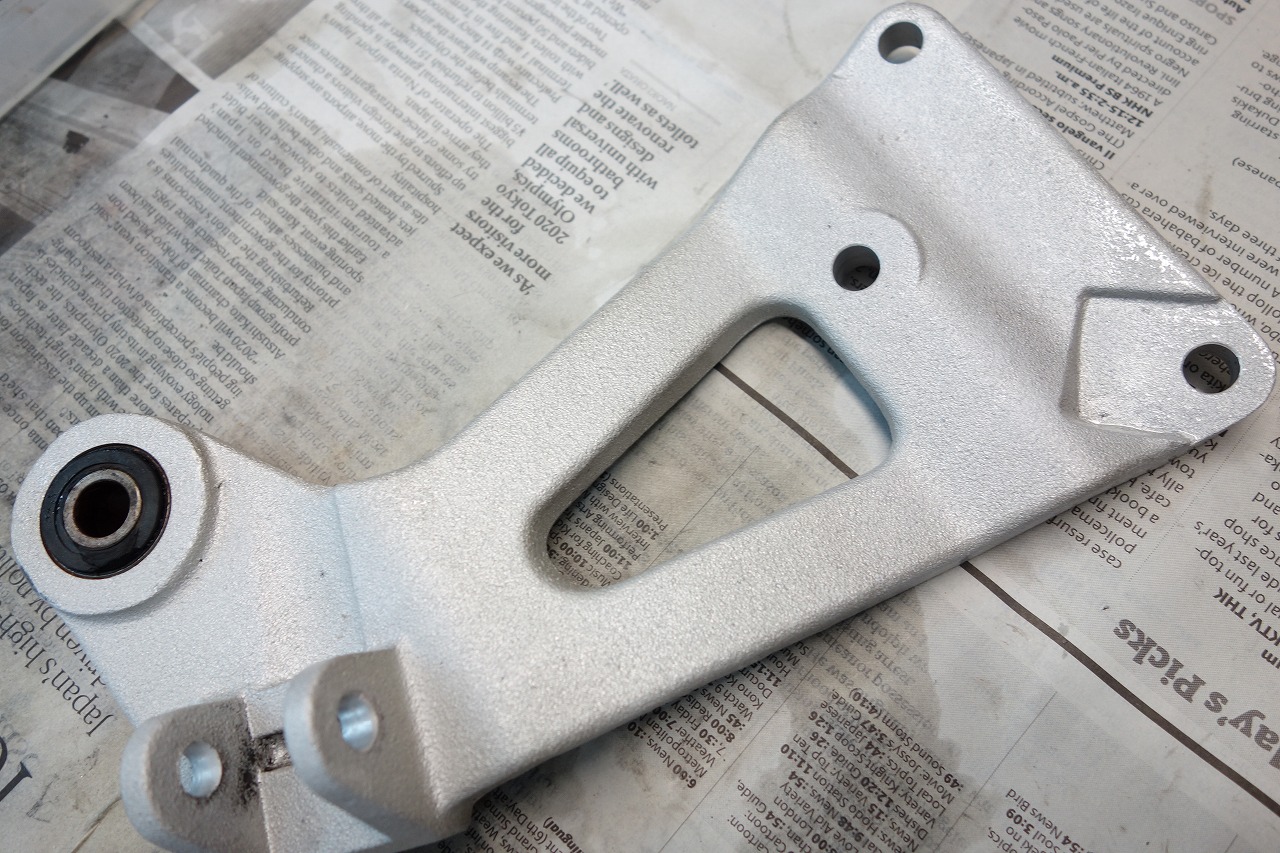
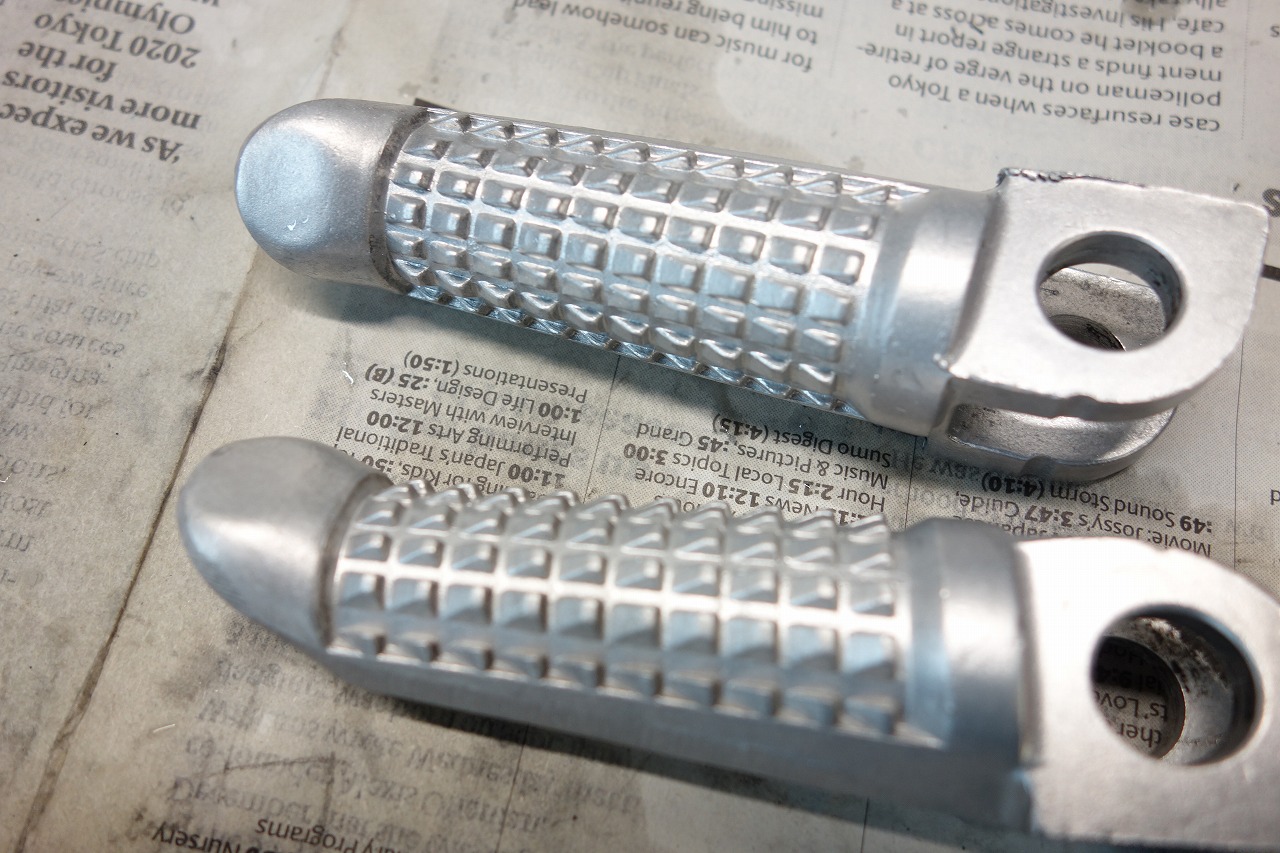
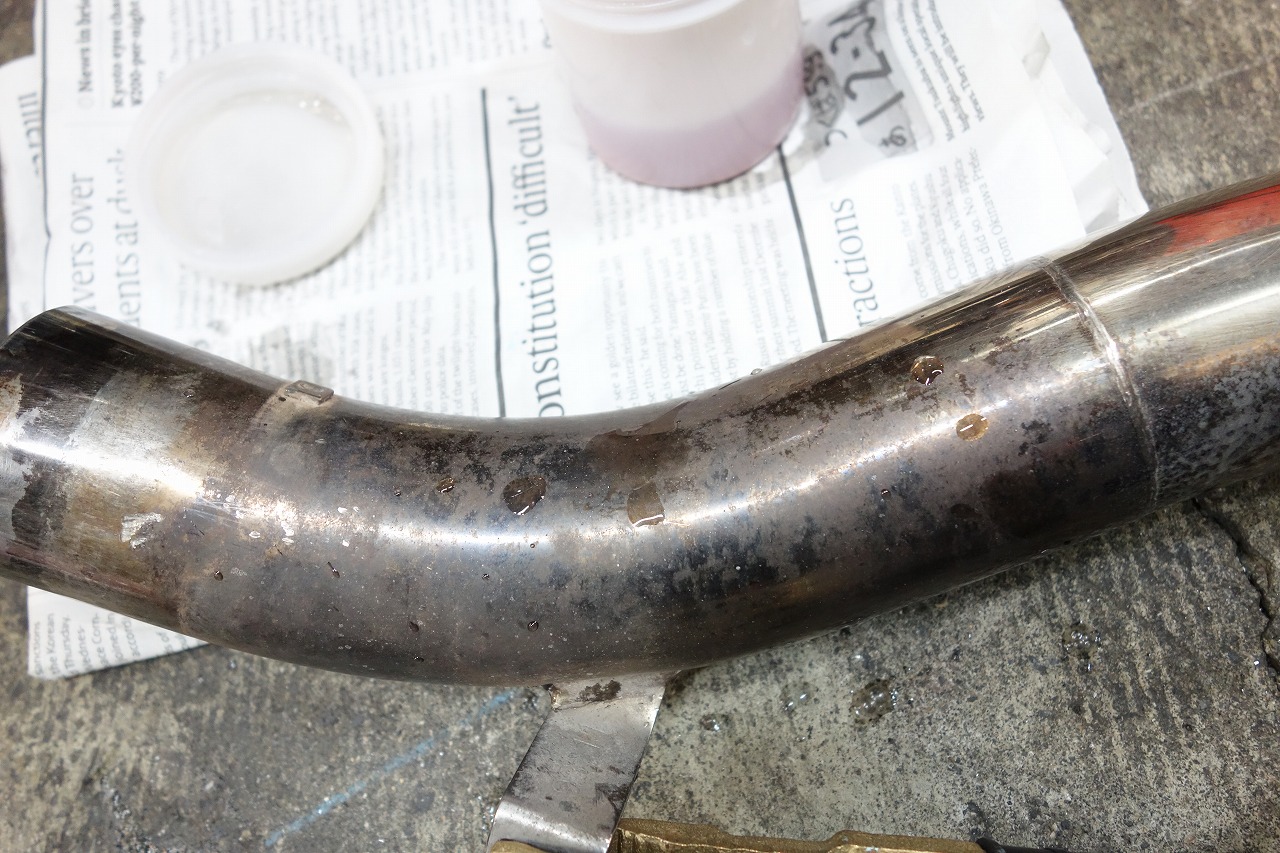
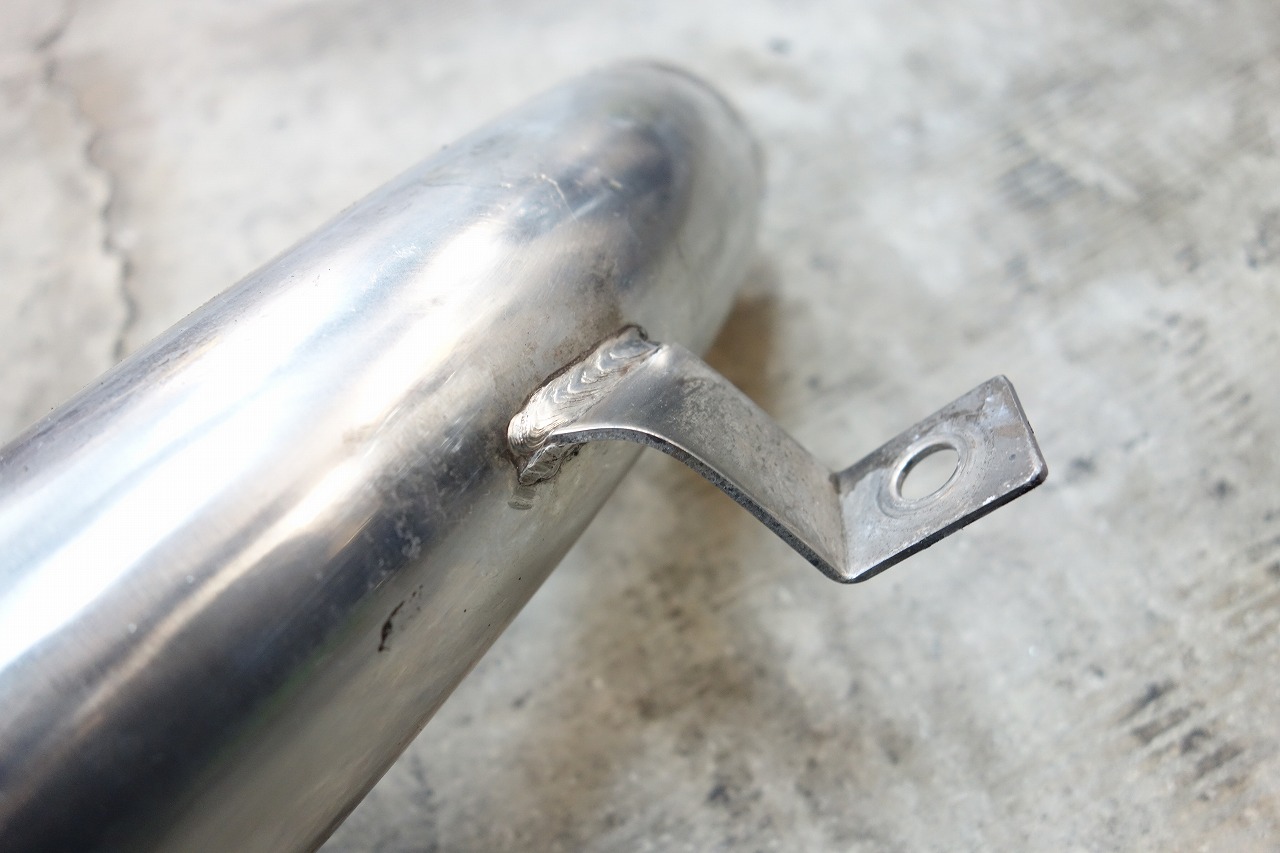
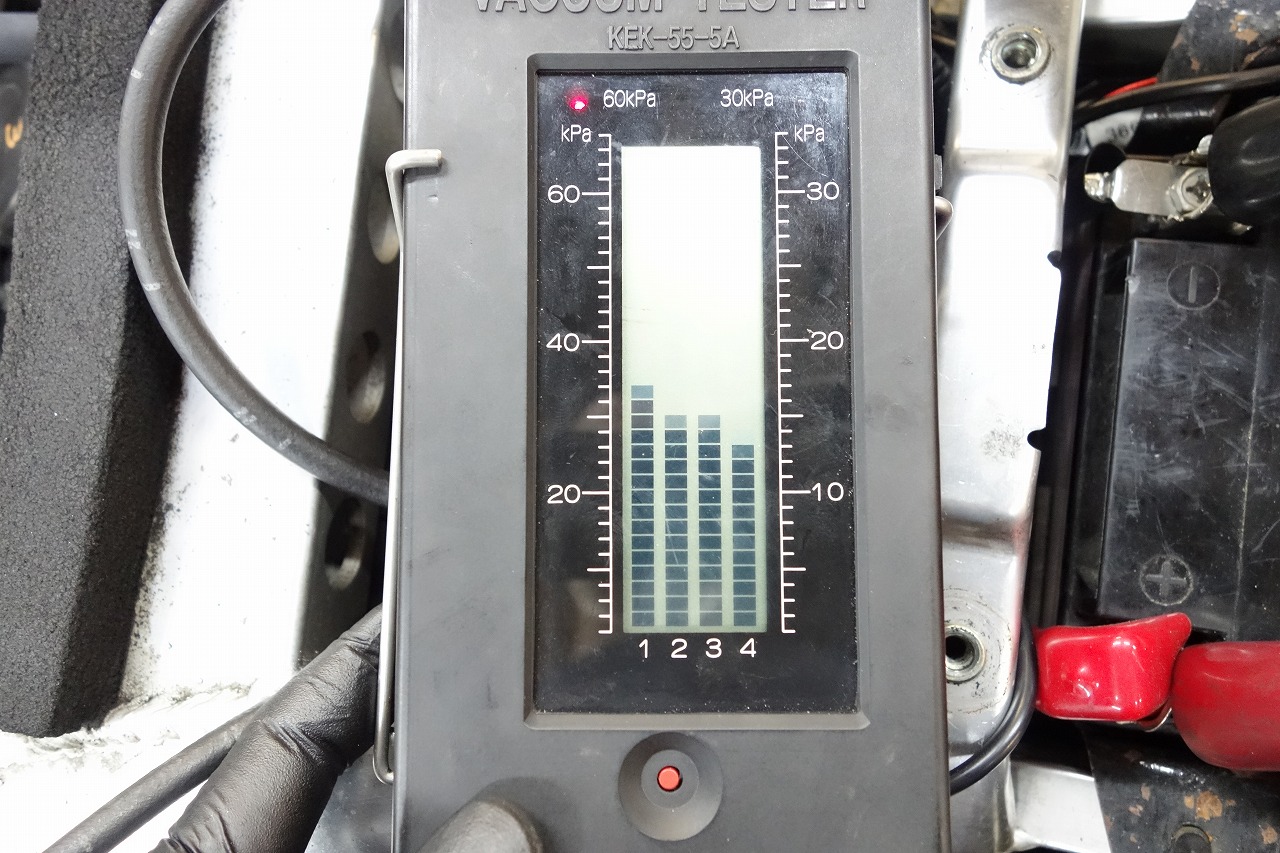
The GSX-R750L is nice…
I kind of understand why the 750 is so popular. That wraps up this job.