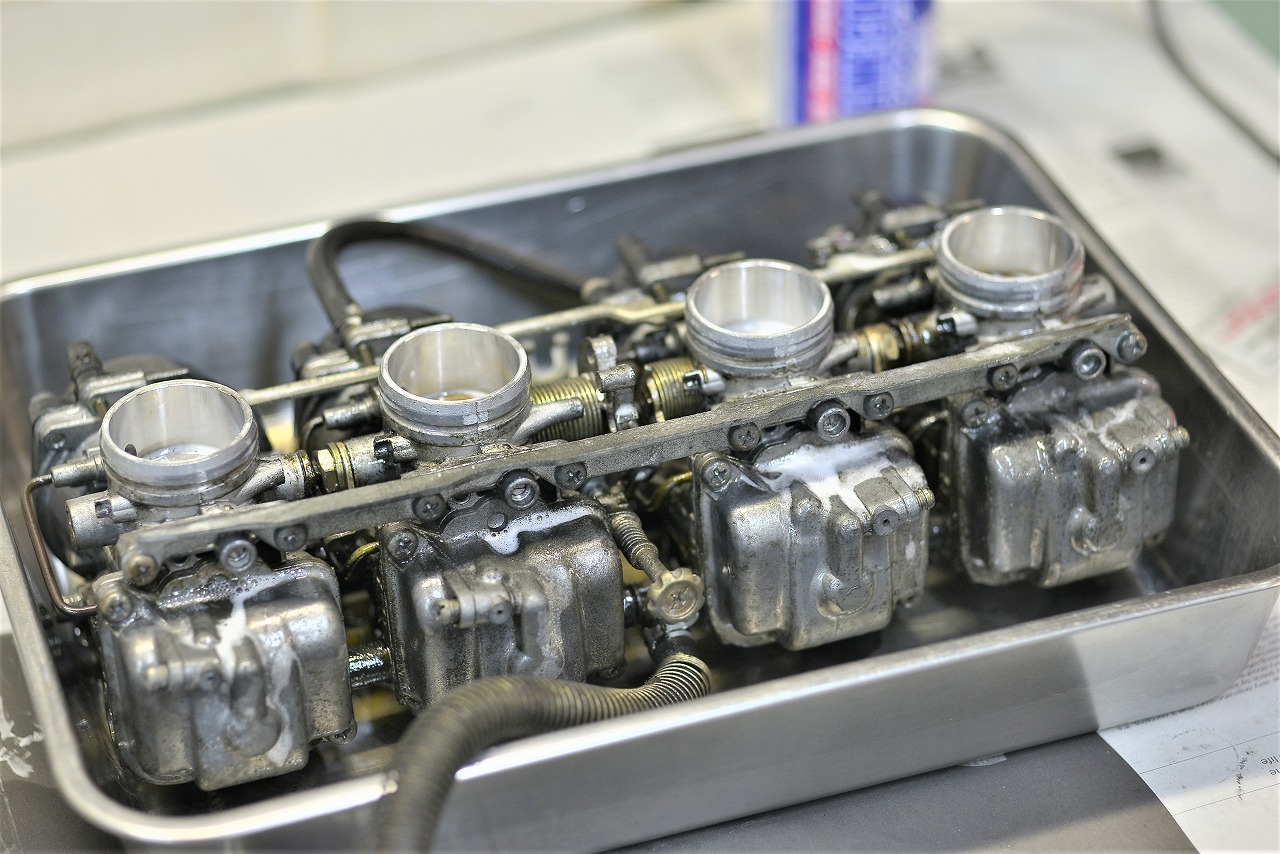
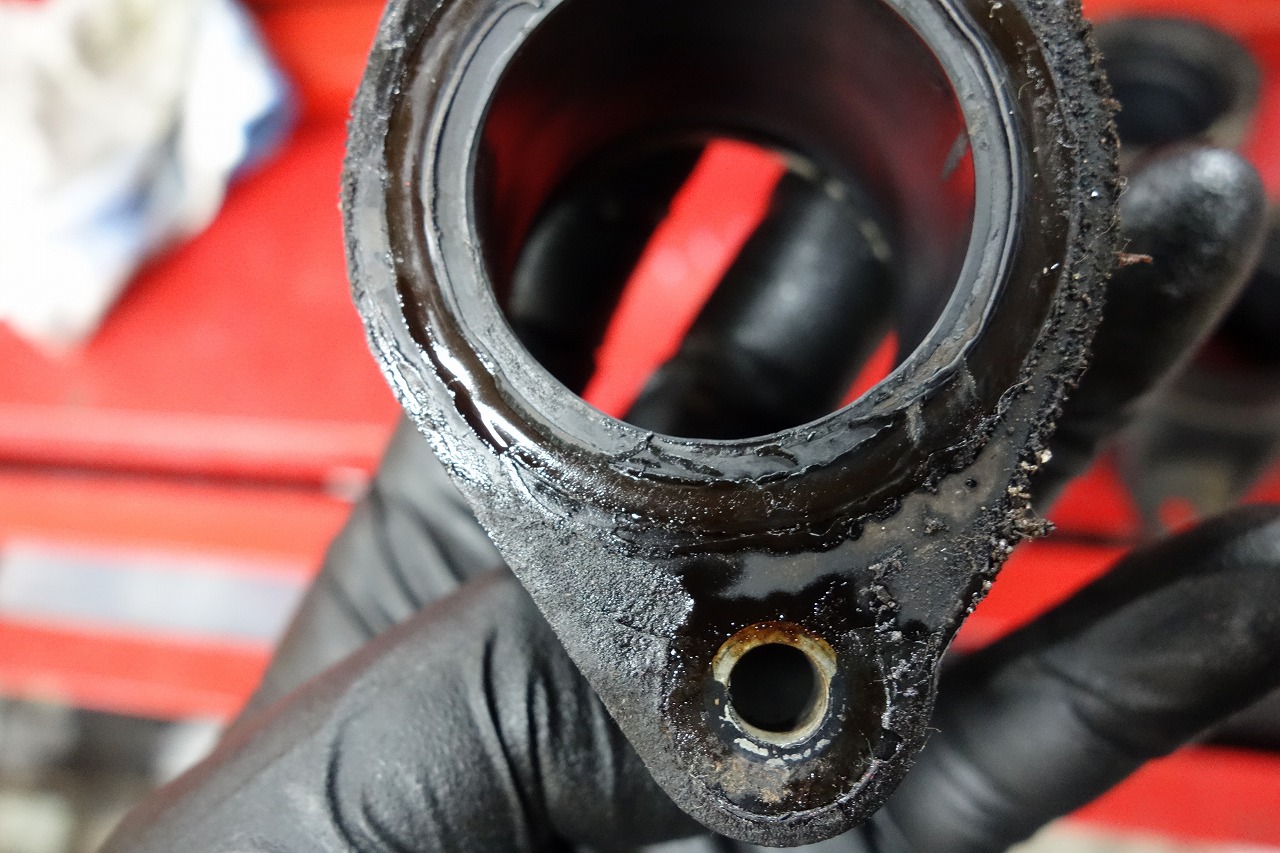
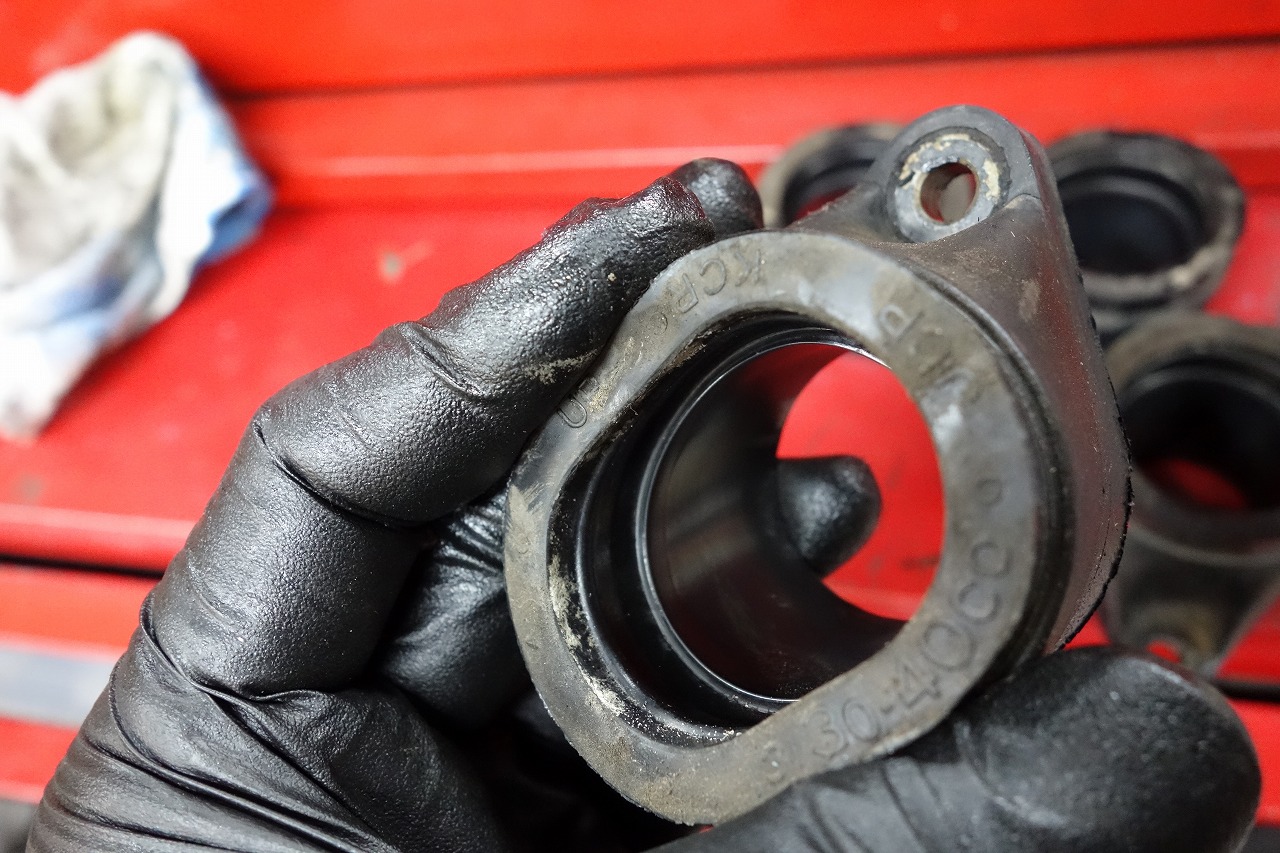
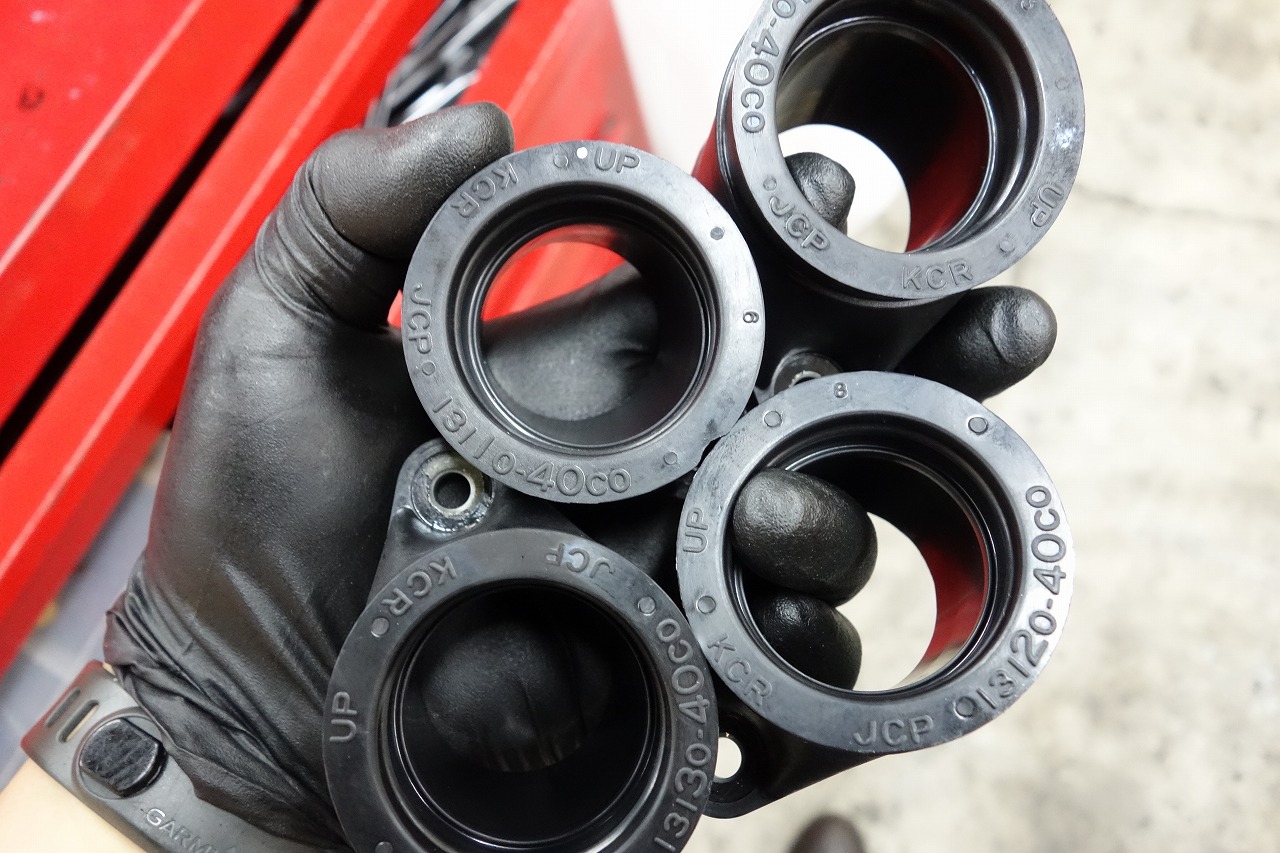
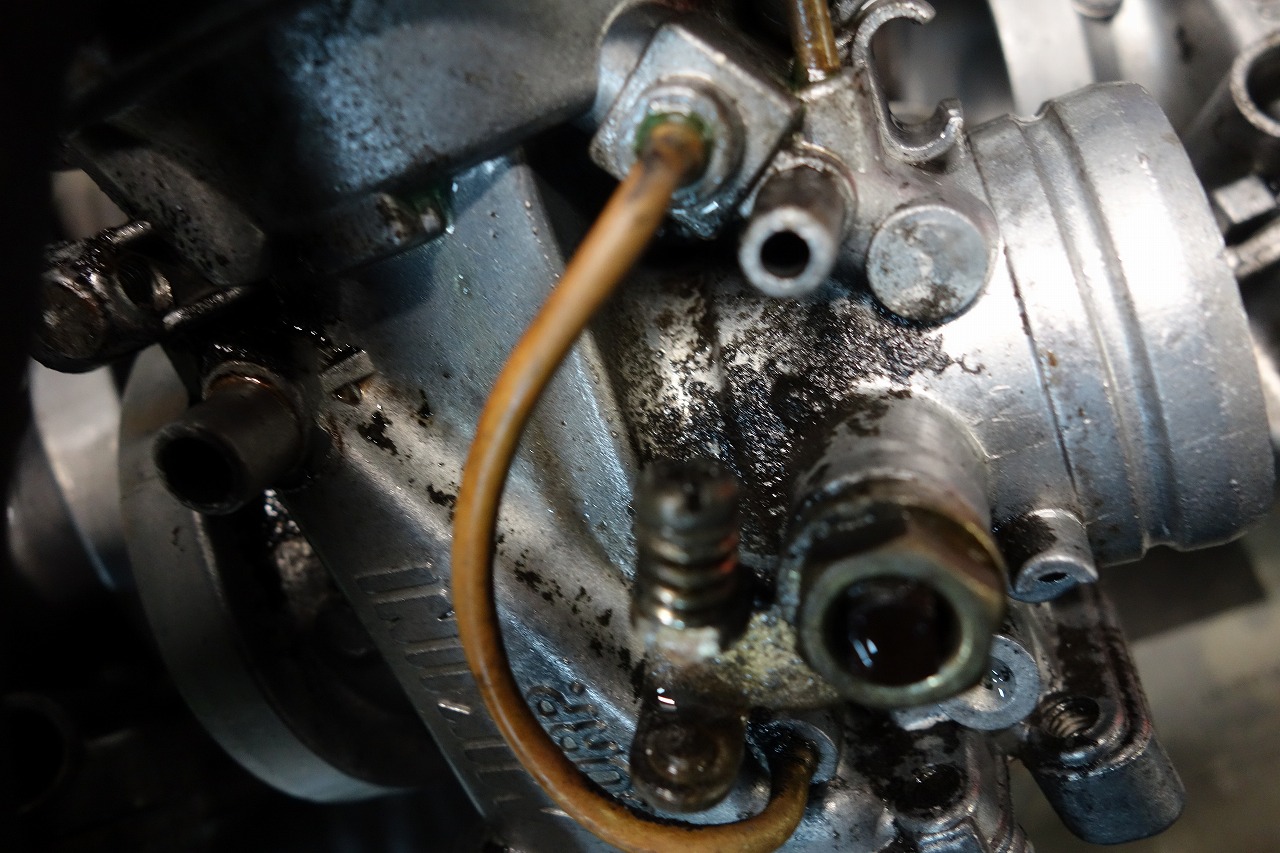
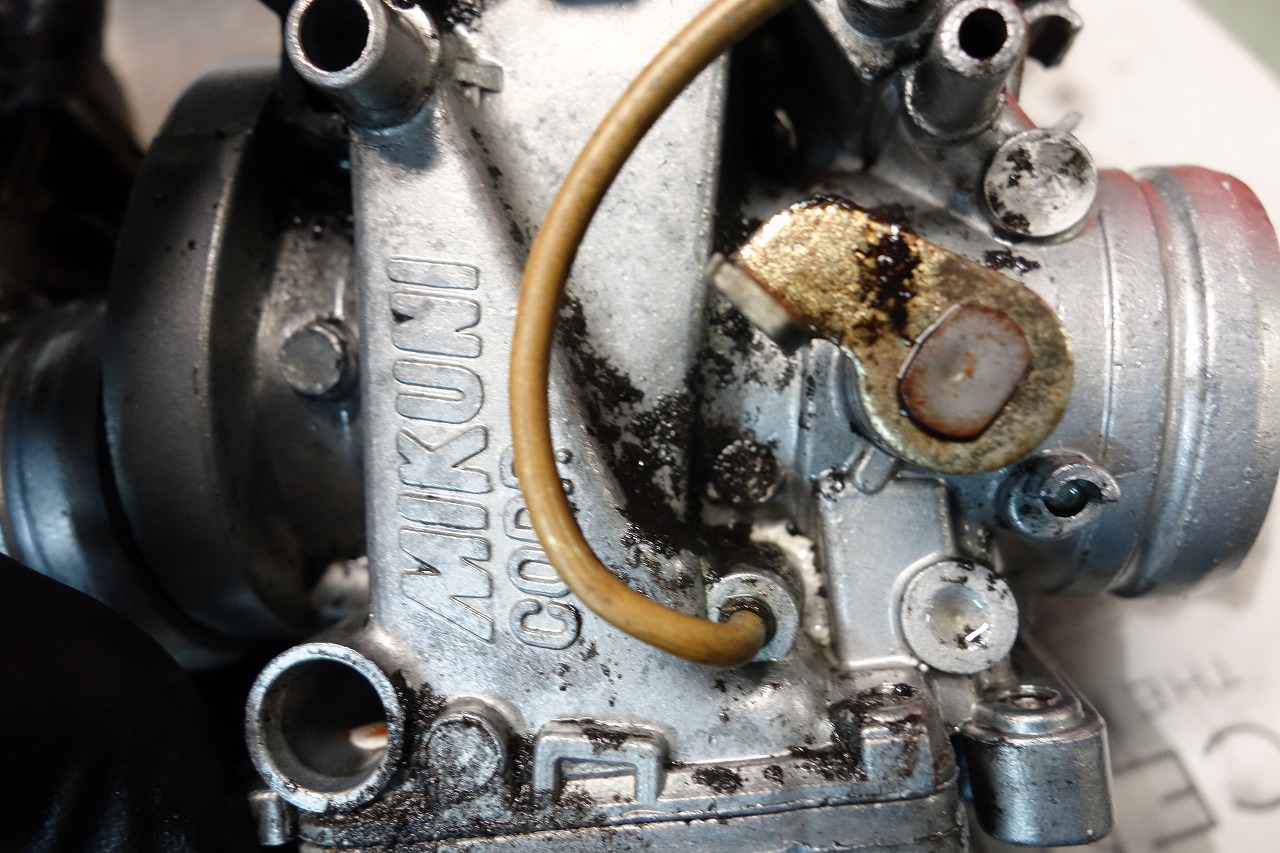
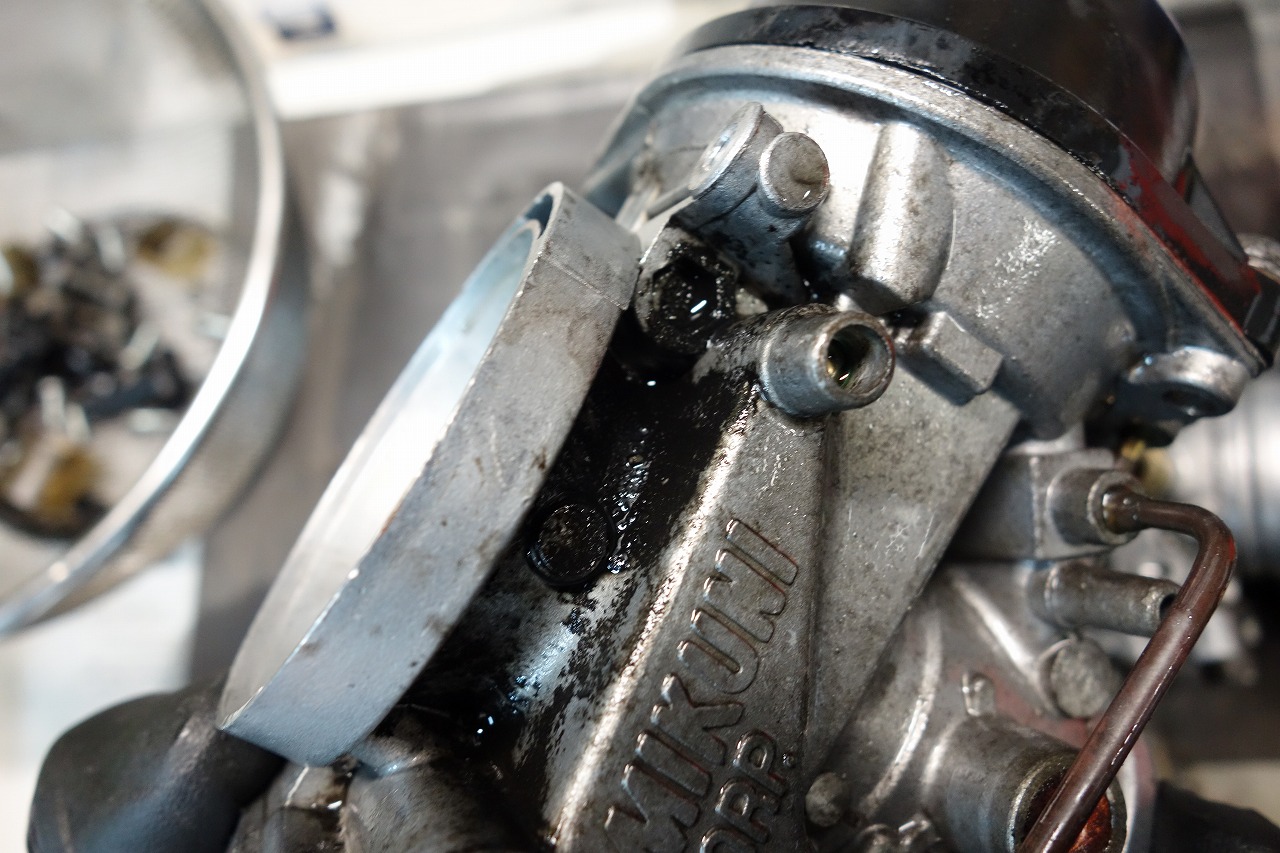
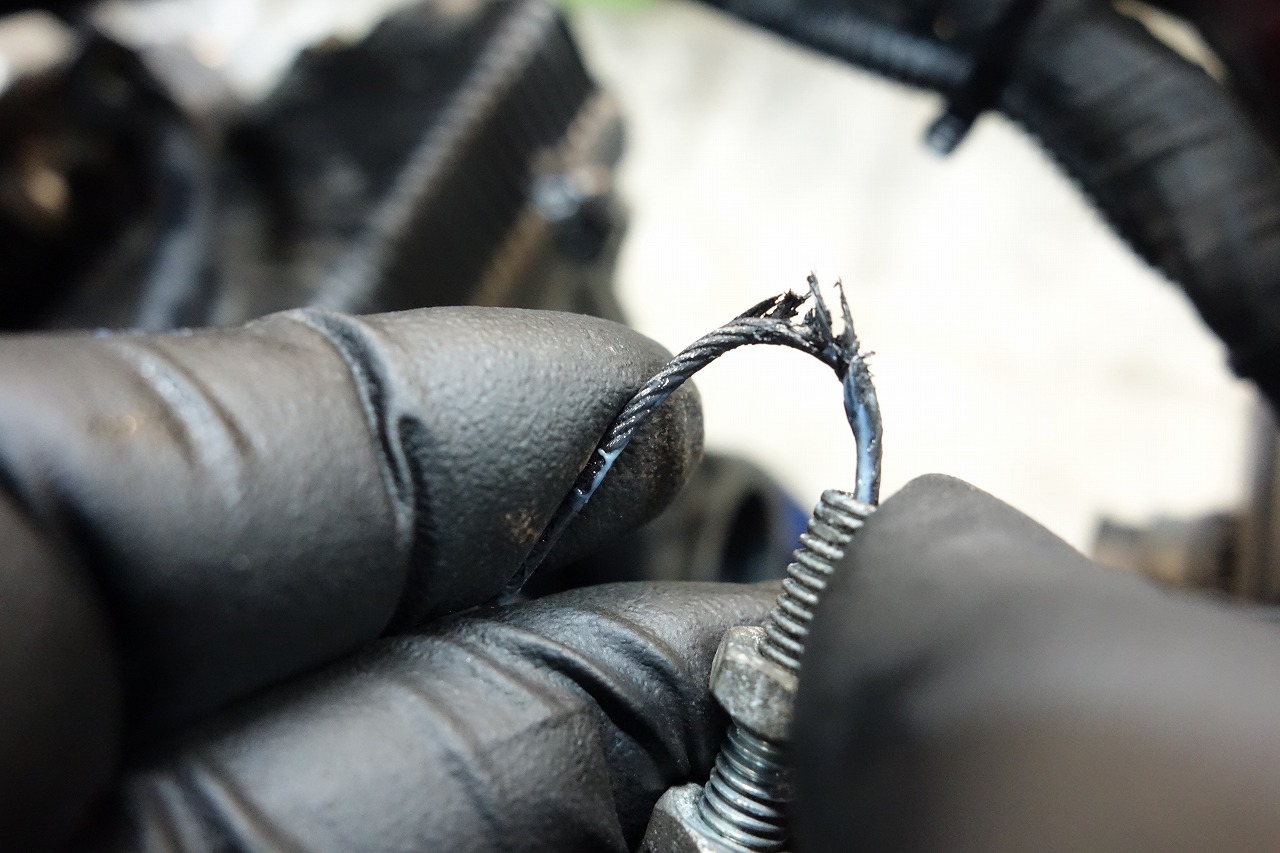
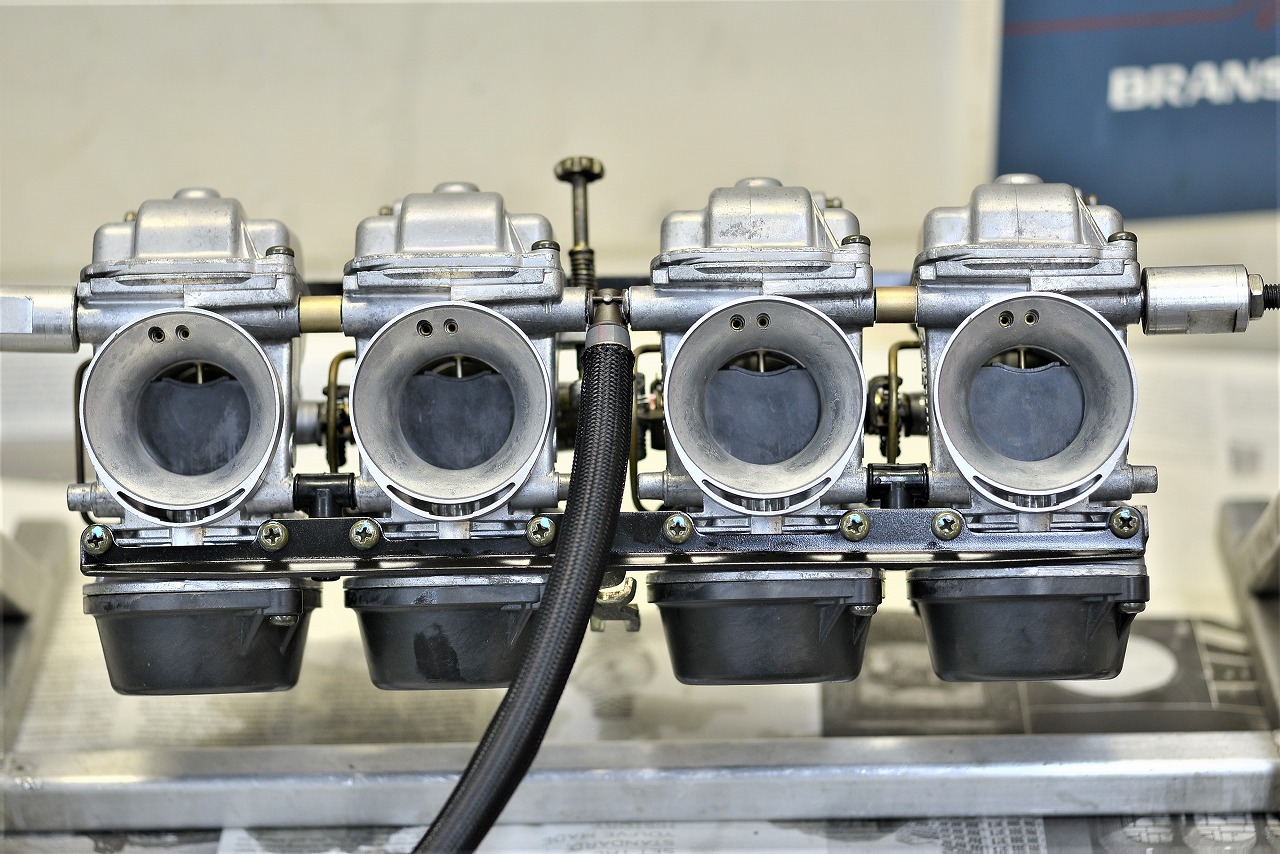
GSF1200 inspection and carburettor maintenance request. It looks like the carb has never been serviced. But the stock carburettor plus air cleaner box is really great. They don’t go wrong that easily. That’s the power of OEM! I always think that. When removing the carb, I recommend replacing the intake manifold and throttle cable. If parts like the intake manifold stop being supplied, it becomes a real hassle. It’s tough to find alternatives.
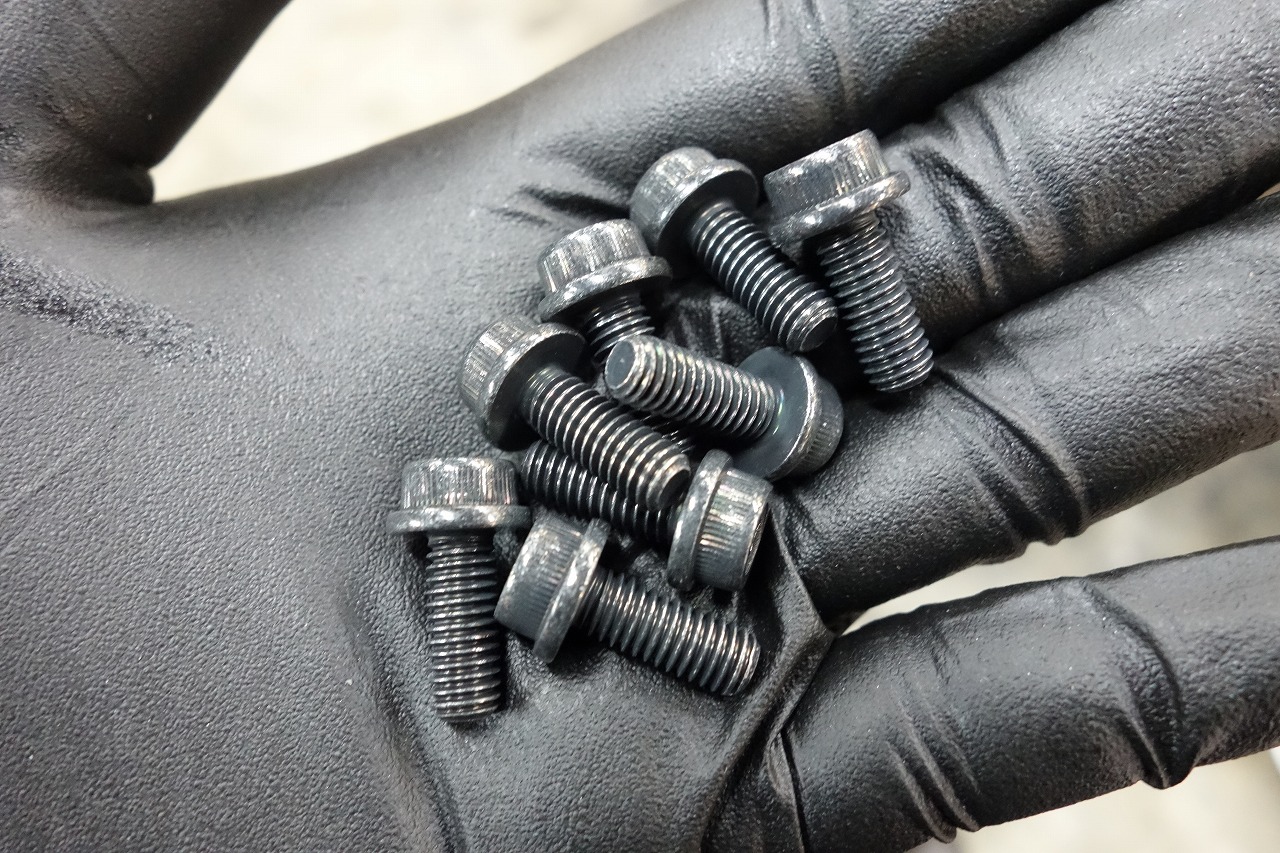
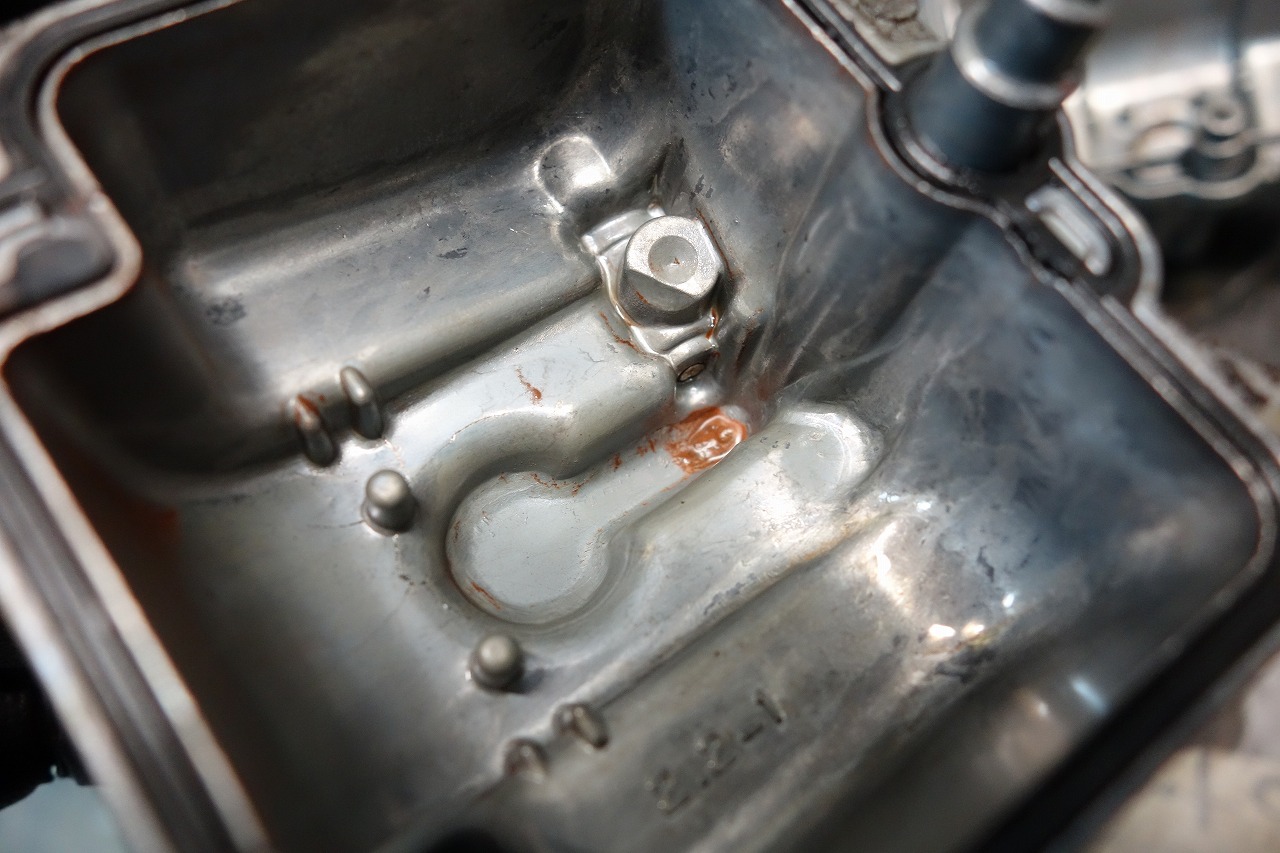
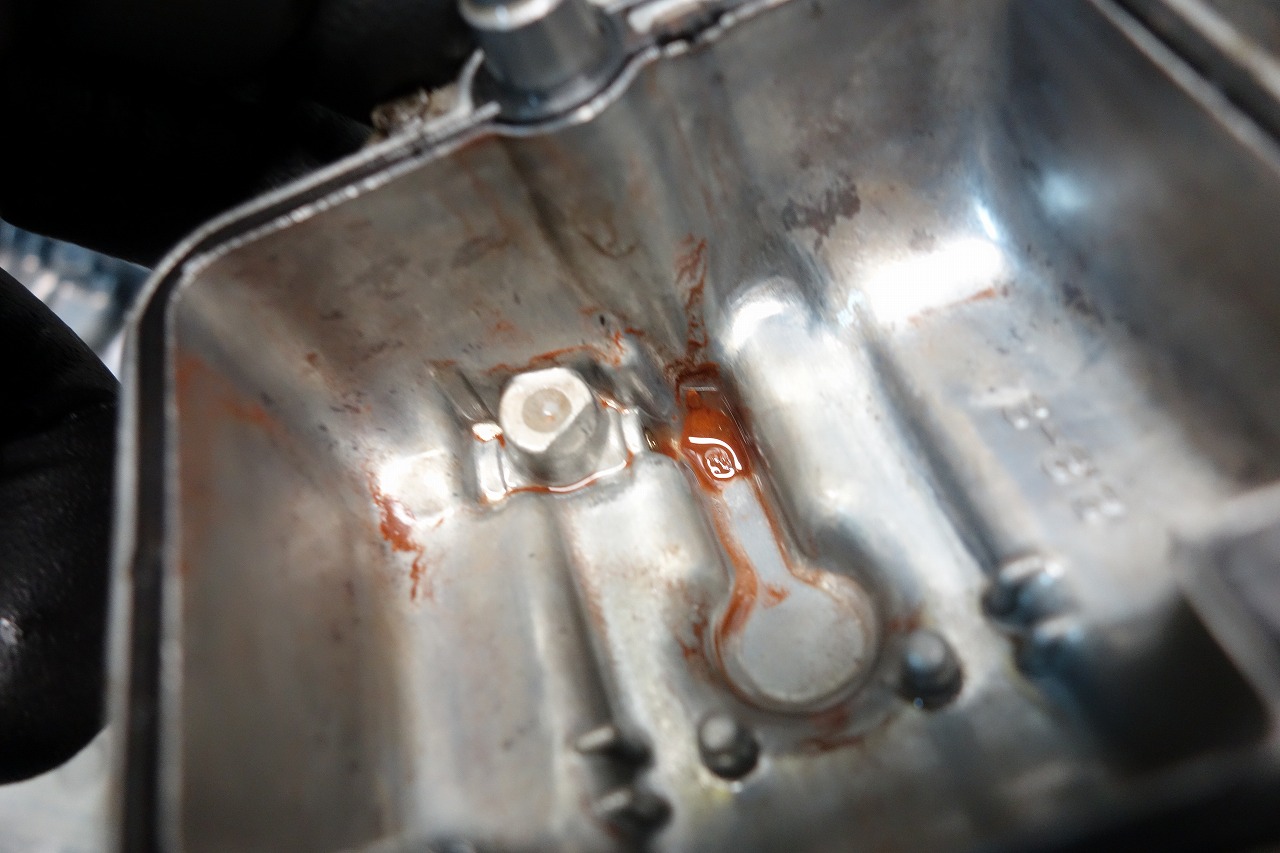
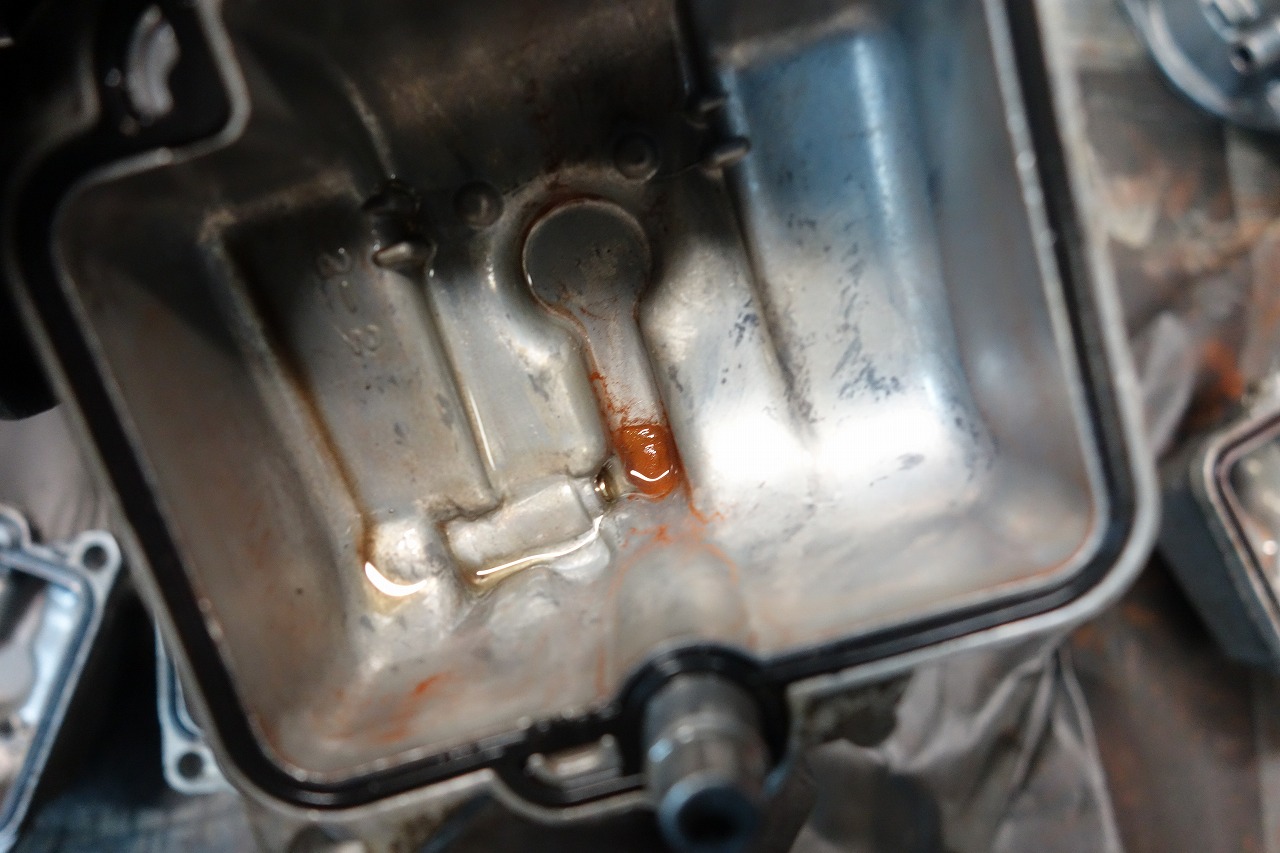
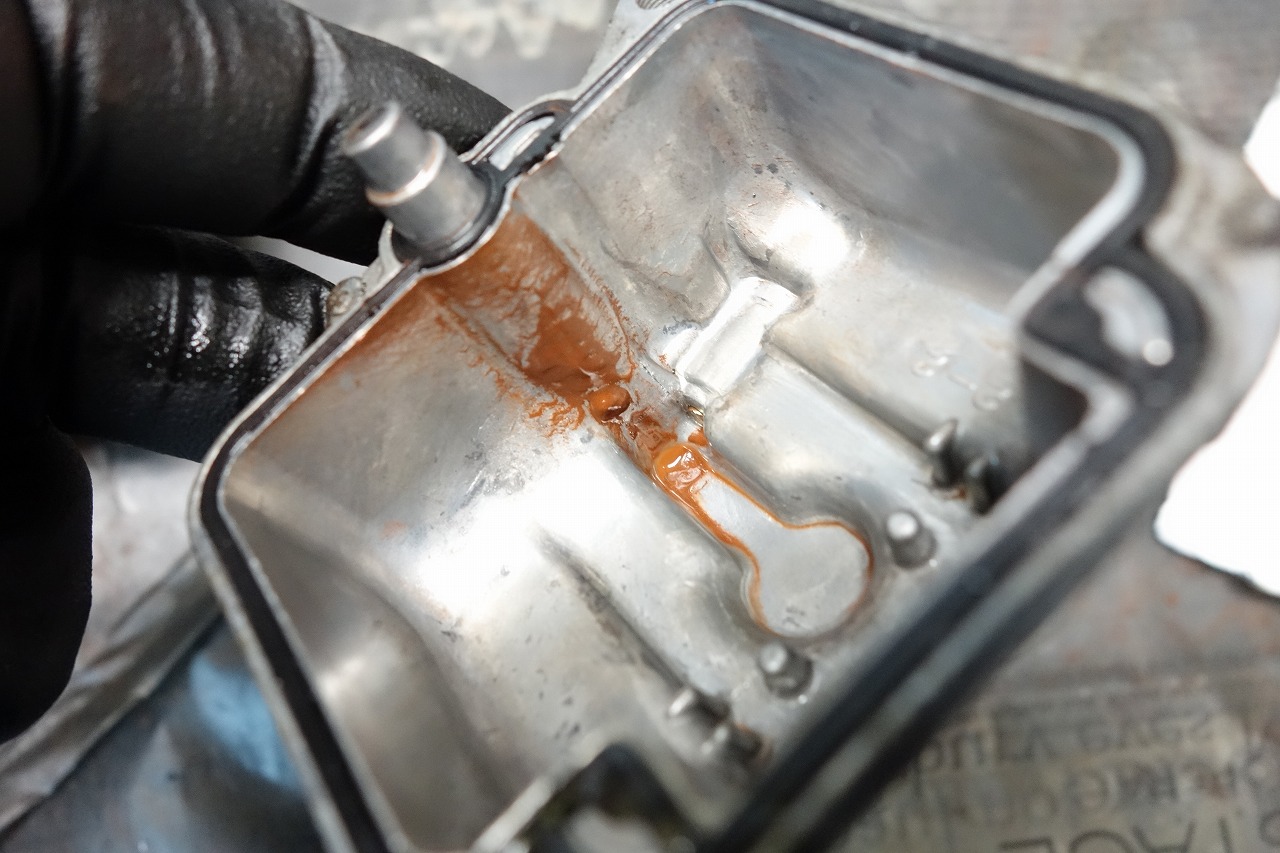
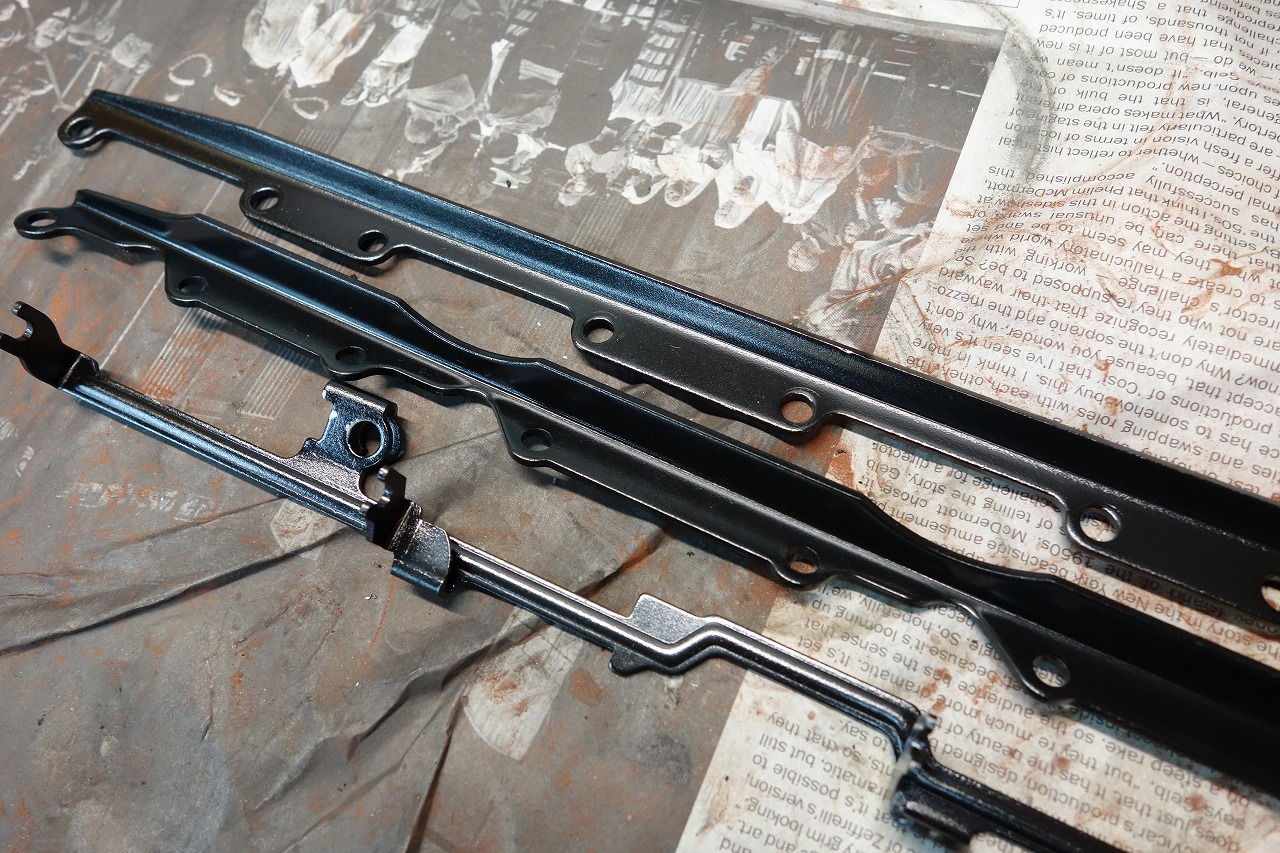
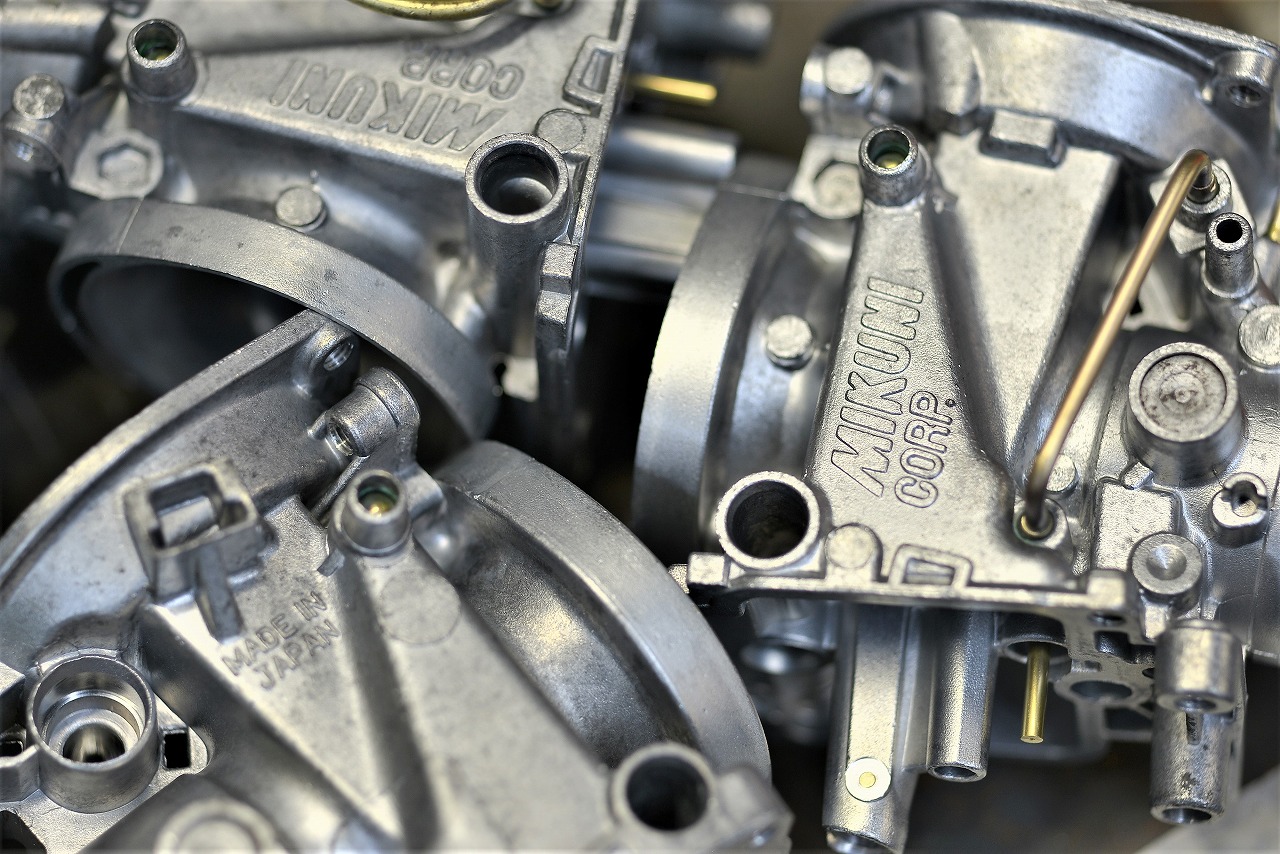
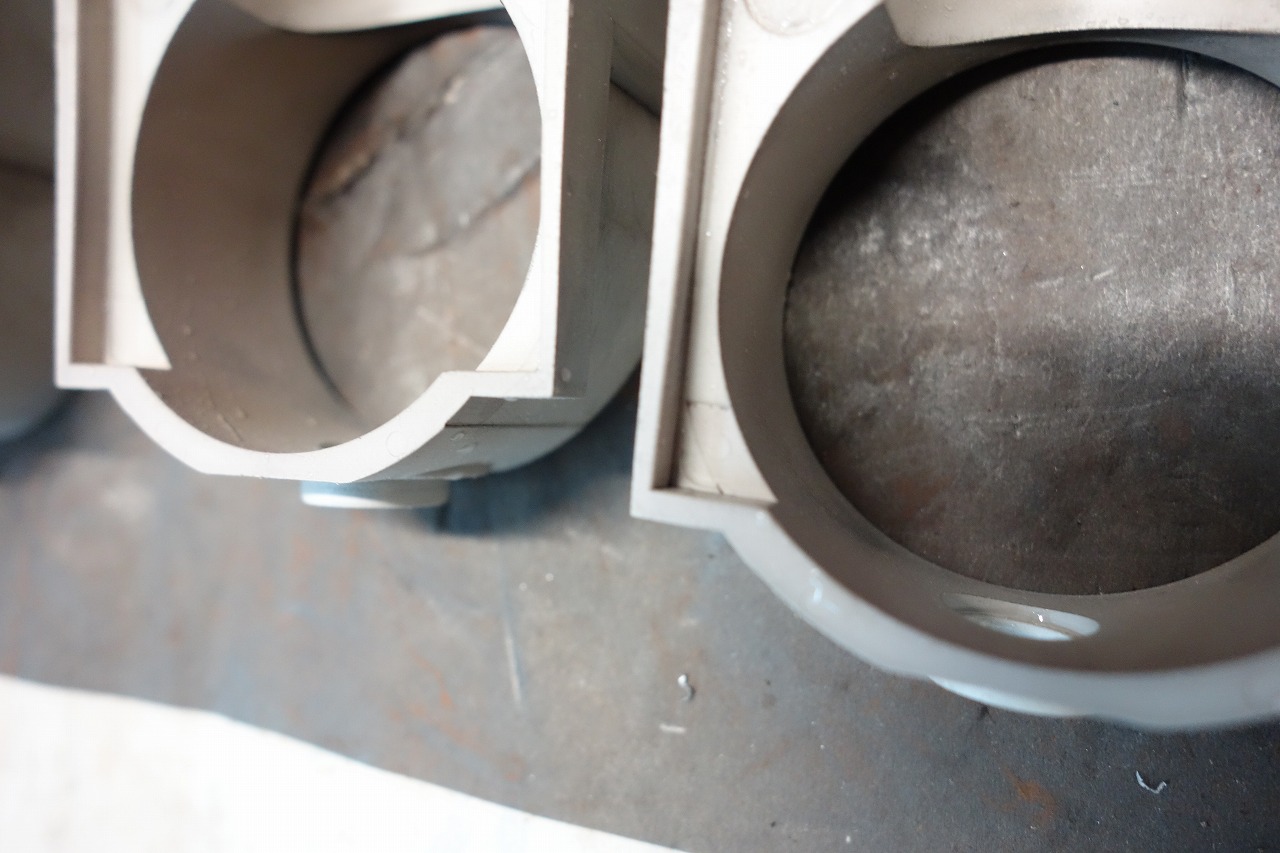
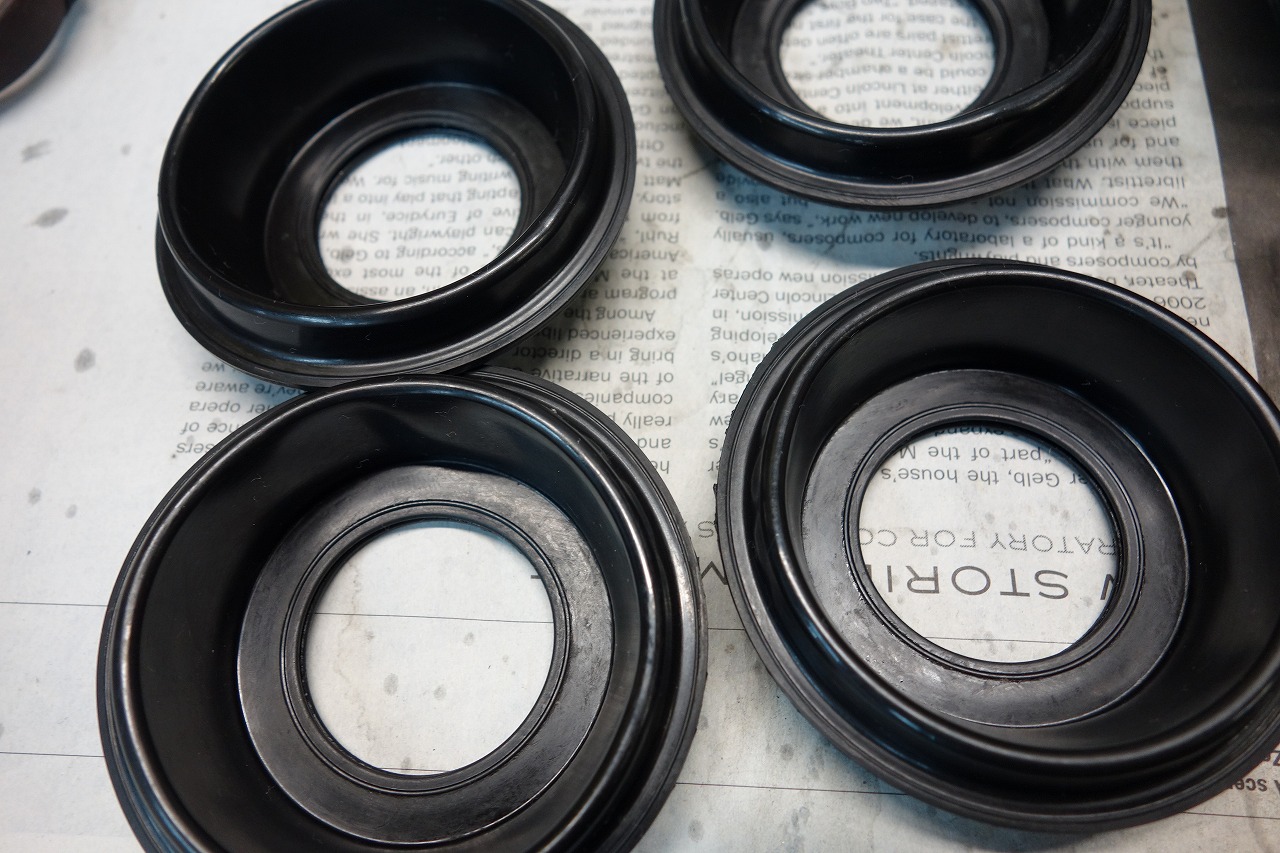
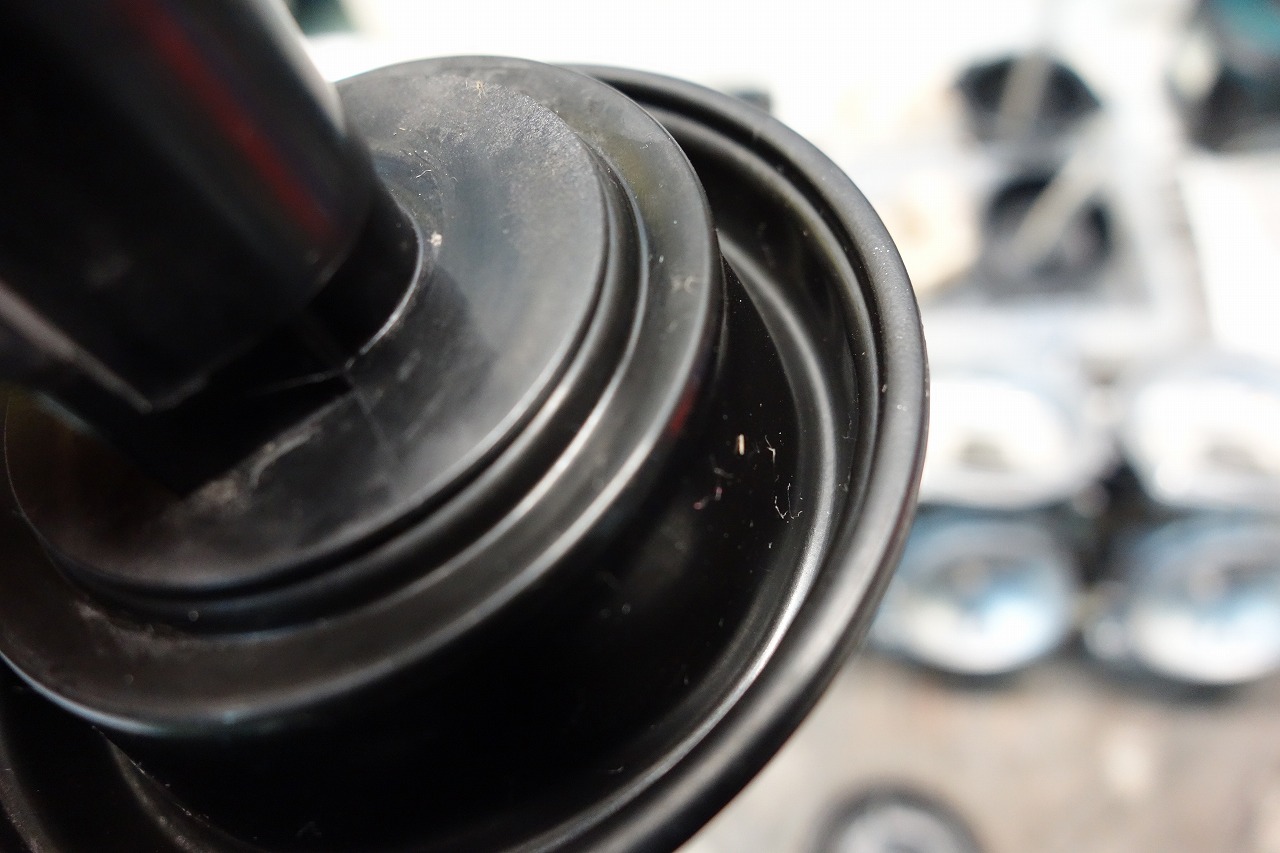
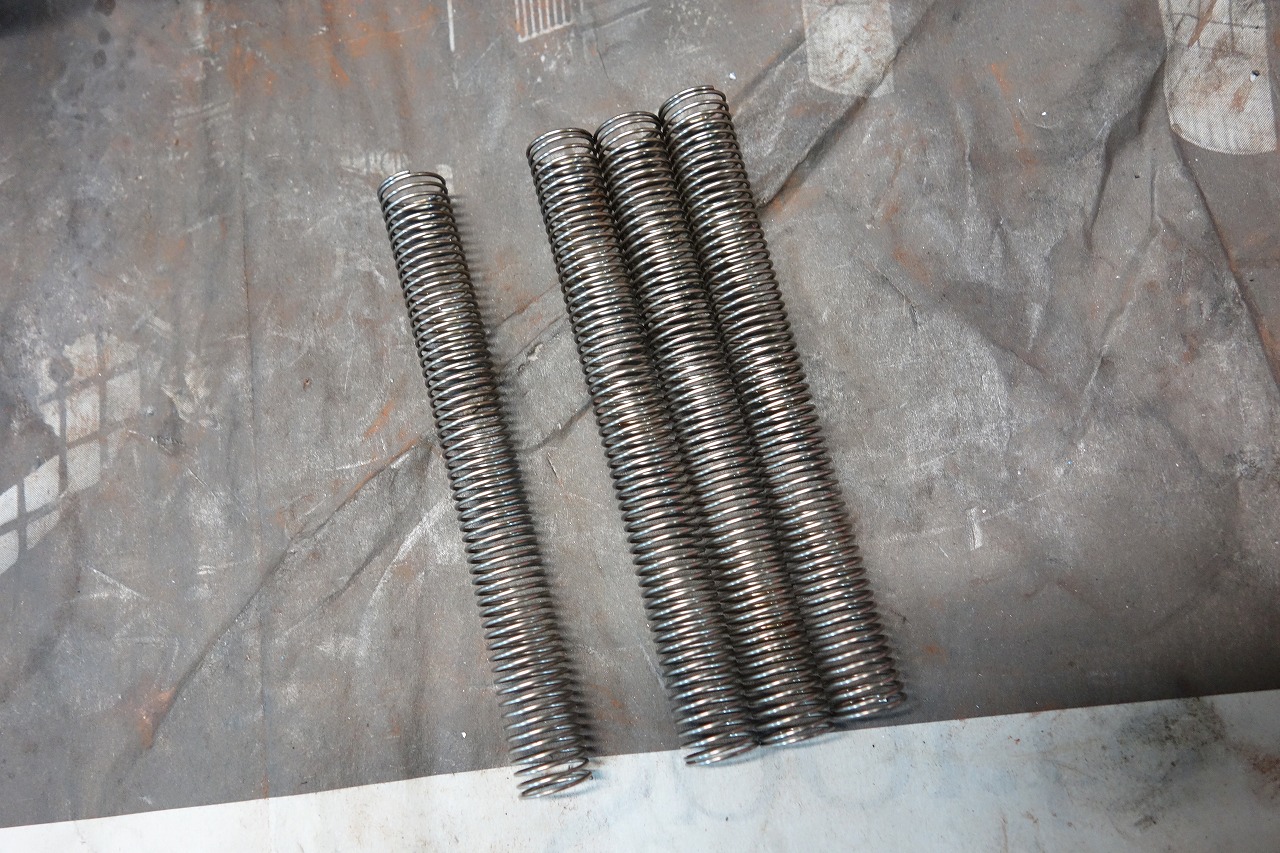
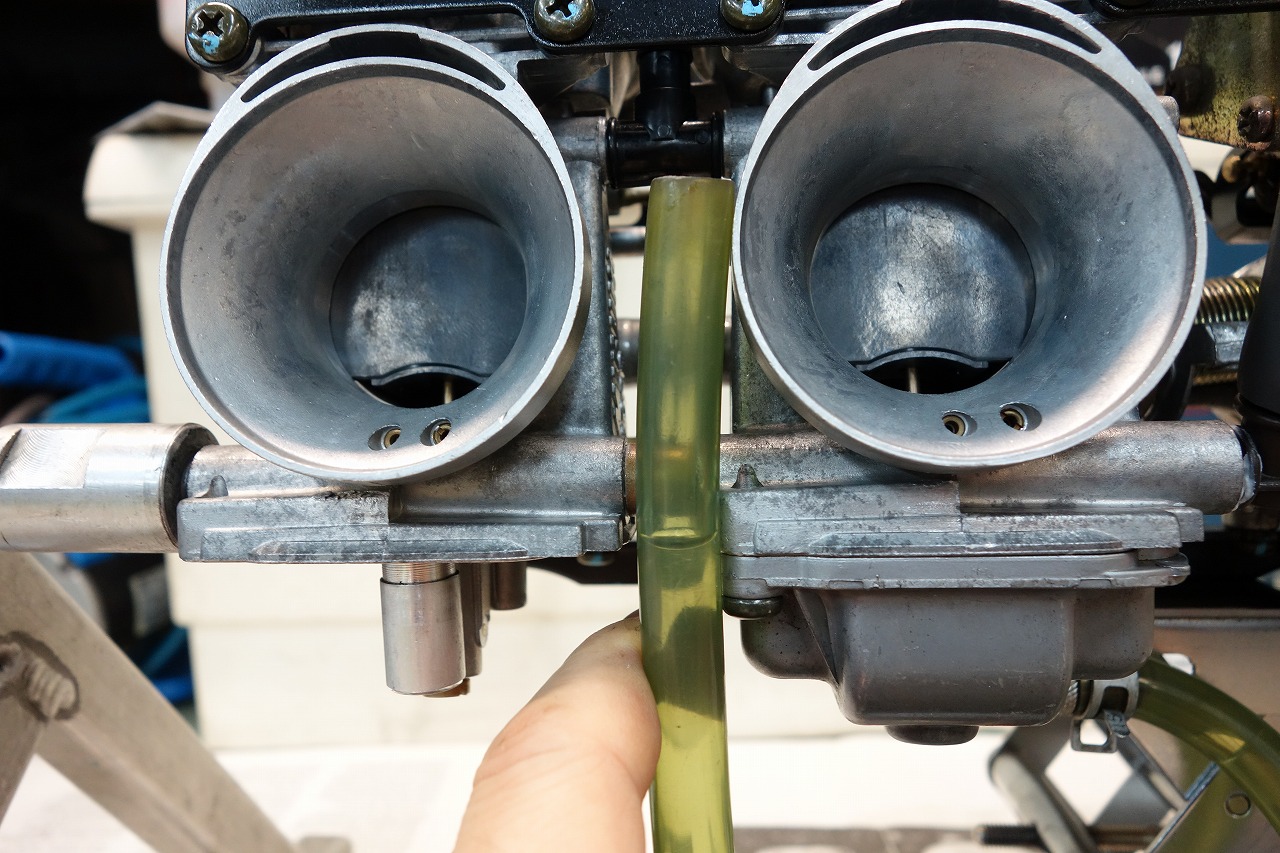
OEM parts only go up in price, never down, so it’s wise to buy them ahead of time. It has good elasticity and feels crisp and tight, so we’re confident for the future. Let’s replace the mounting bolts as well. We disassembled the carburettor completely and scrubbed it down. For a carburettor that’s been in service over ten years, I think it’s better to take it apart and replace the small seals too. There’s a little rust in the tank. I don’t think there’s any tank without rust. At this powdery level, given how many years have passed, this is the amount we see, I think it’s fine to keep an eye on it. We applied gun coat to the plates. I think… by the way, this plate is discontinued, so don’t bend it. Well, we won’t bend it or break it. This time there’s no polishing, so we polished it at the cleaning level. Compared to before, it’s much cleaner now. The slide block looks to be in good condition. We clean the diaphragm by gently working it with neutral detergent. Number 2 is slightly enlarged. Since it can be replaced later, we decided to keep it this time. The springs weren’t mixed up. We carefully observe the actual oil level and pooling, and the adjustment is complete. The throttle cable timing was just right, I think. That’s how we wrap it up. We’ve put mesh over the Mikuni hose to prevent chafing. It fires right up with a purr and goes “vroom vroom!”