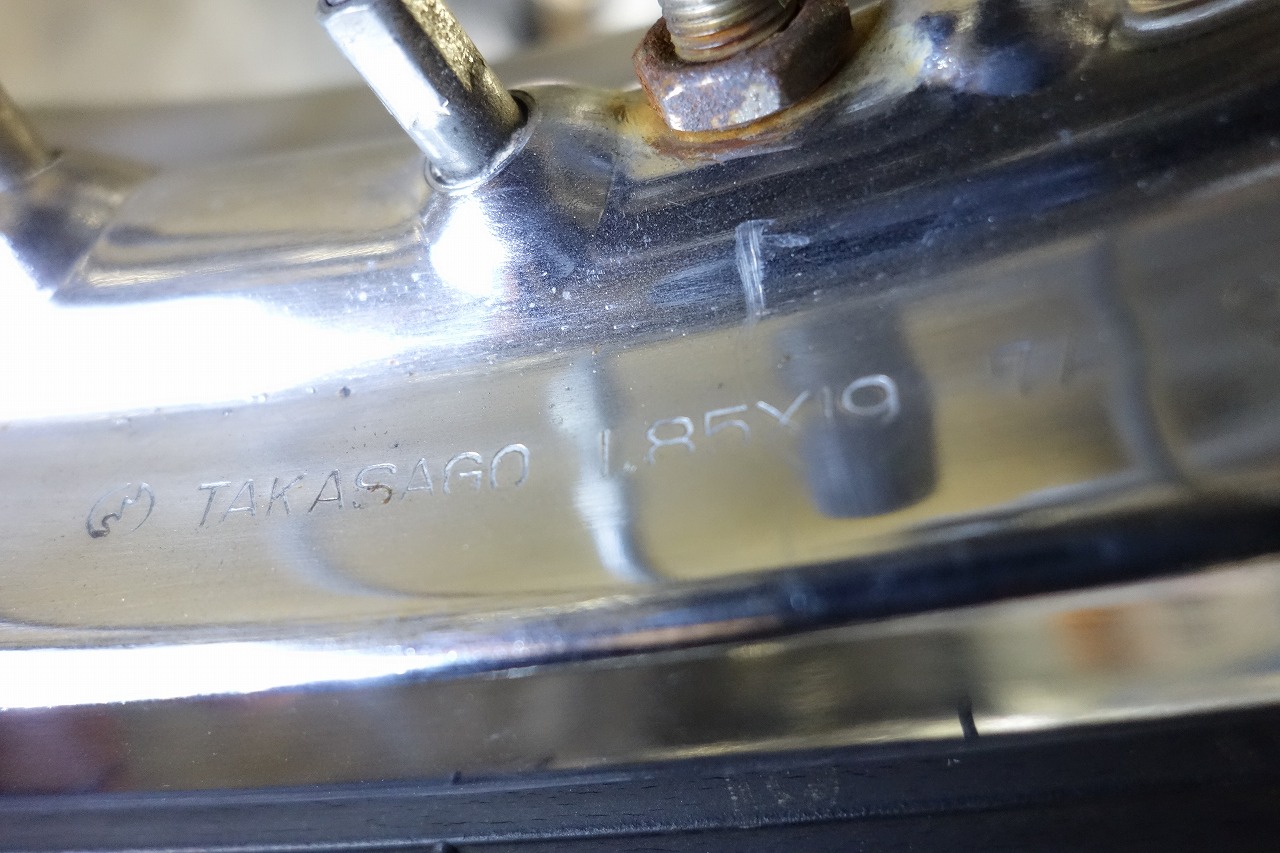
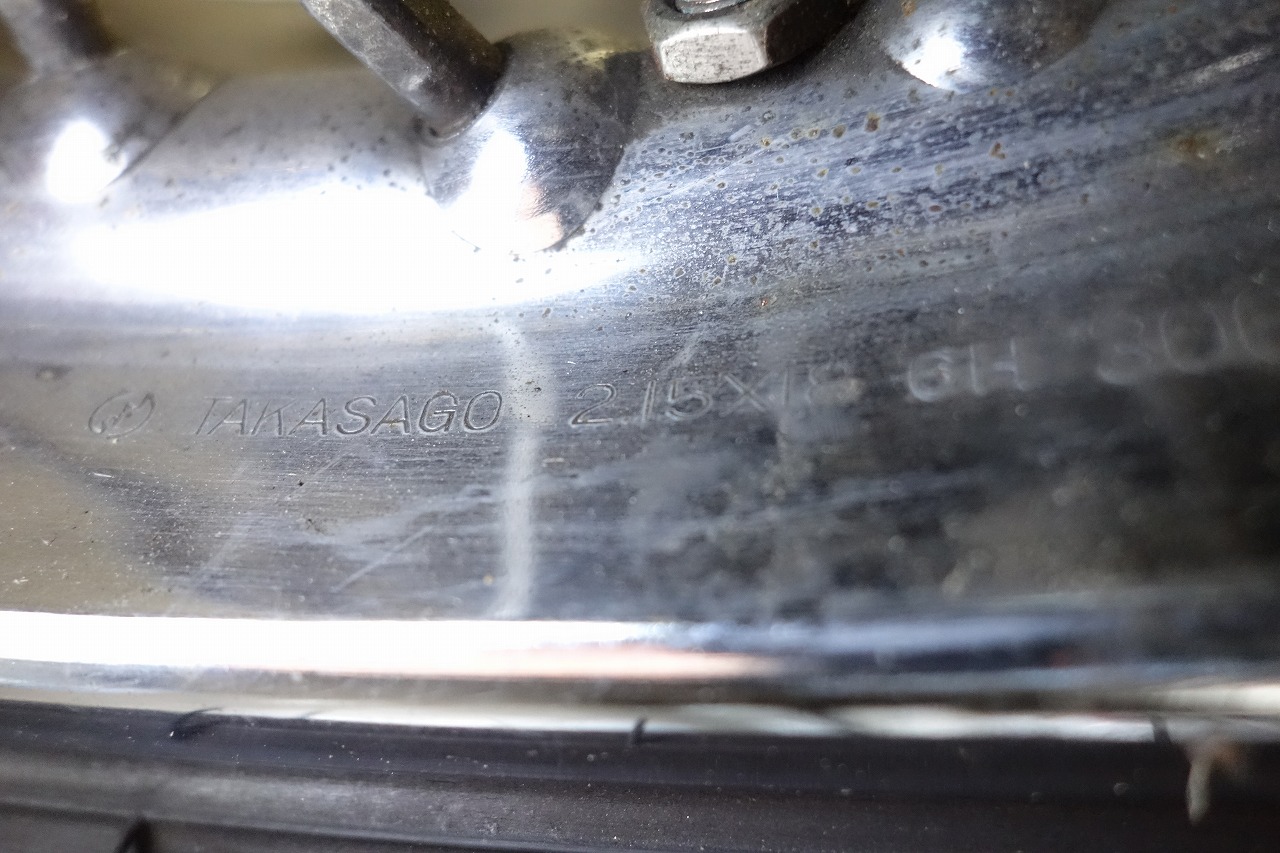
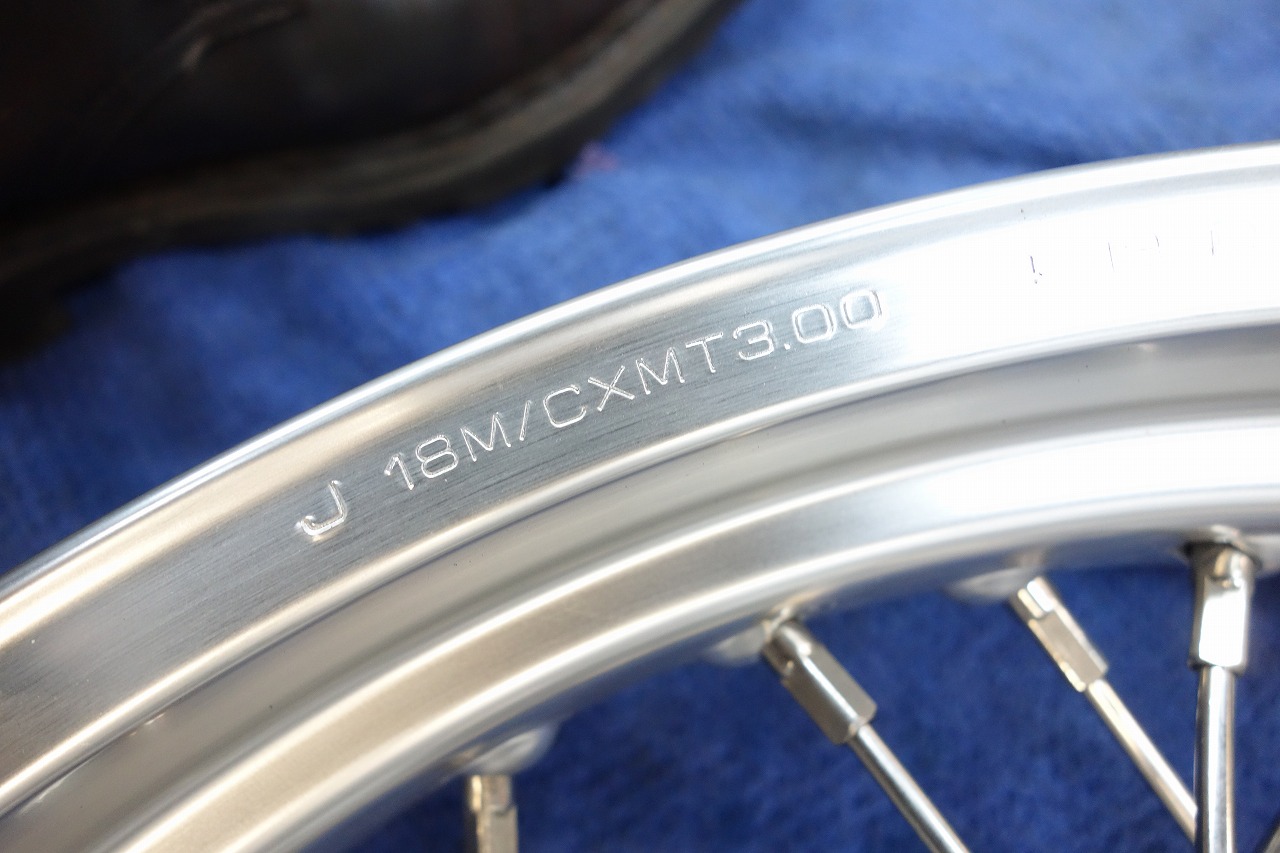
As always, I don’t have the full picture. That’s because it sometimes feels like personal information, and I worry that reading it might upset someone. I’m trying to write this in as gentle a tone as possible. A request to switch to aluminum rims—which size would be best? They weren’t sure, so first we checked the stock rims. Front 1.85-19 Rear 2.15-18. Since they wanted to keep the front at 19 inches, that’s a no-brainer.
Now we had to think about the rear. 2.50-18 3.00-18 3.50-18 4.00-18 —four choices. Personally, I’m not a fan of rim widths like 4.00 or 4.50. (I made my own GS1000S look too wide just for looks… oops.)
There’s the chain line issue too, but as the rim gets wider, handling gets duller, that nimble feel fades, and you’re basically stuck with radial tires only.
Narrower tires don’t slip even if you ride them carelessly—that means safety, agility, and strong performance in the rain. Tires are also easier on the wallet, and having the choice between bias and radial makes it really fun to ride.
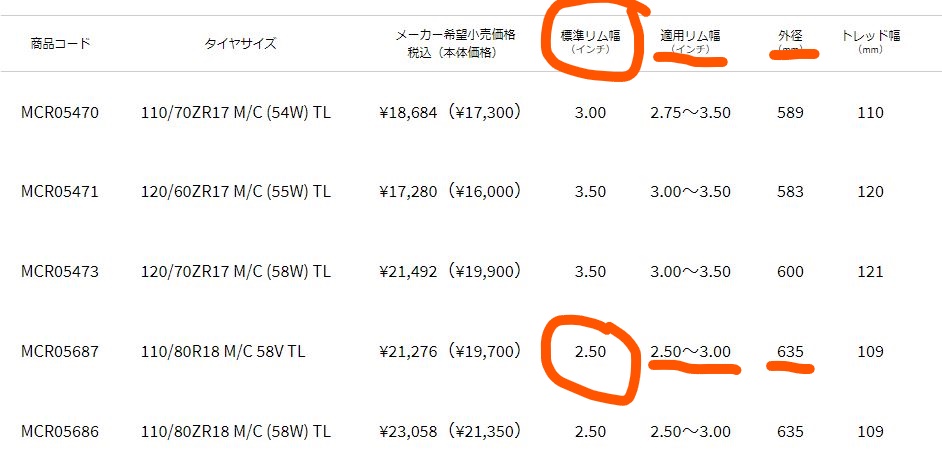
The image is for the front, but considerate makers announce their data this way. Overseas makers… I wish they’d make it a bit easier to read.
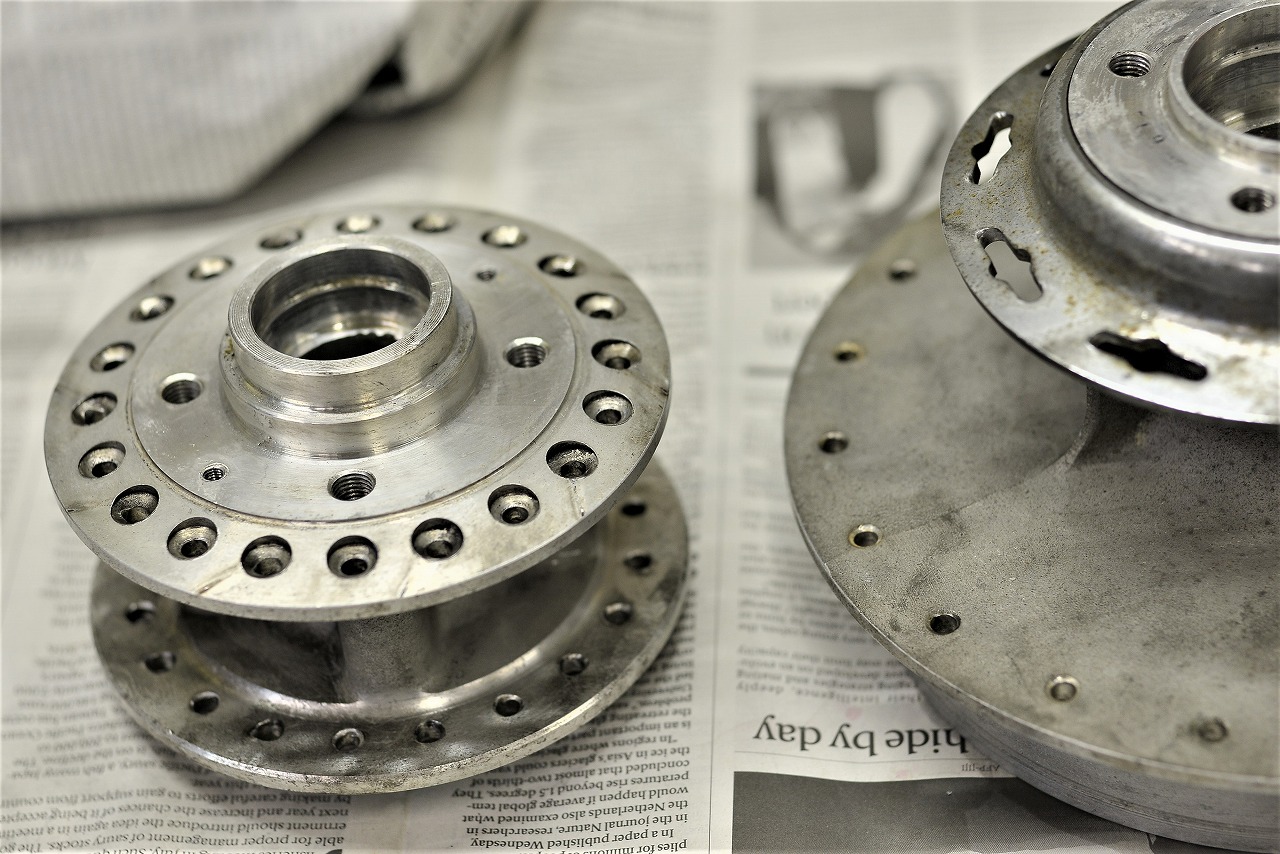
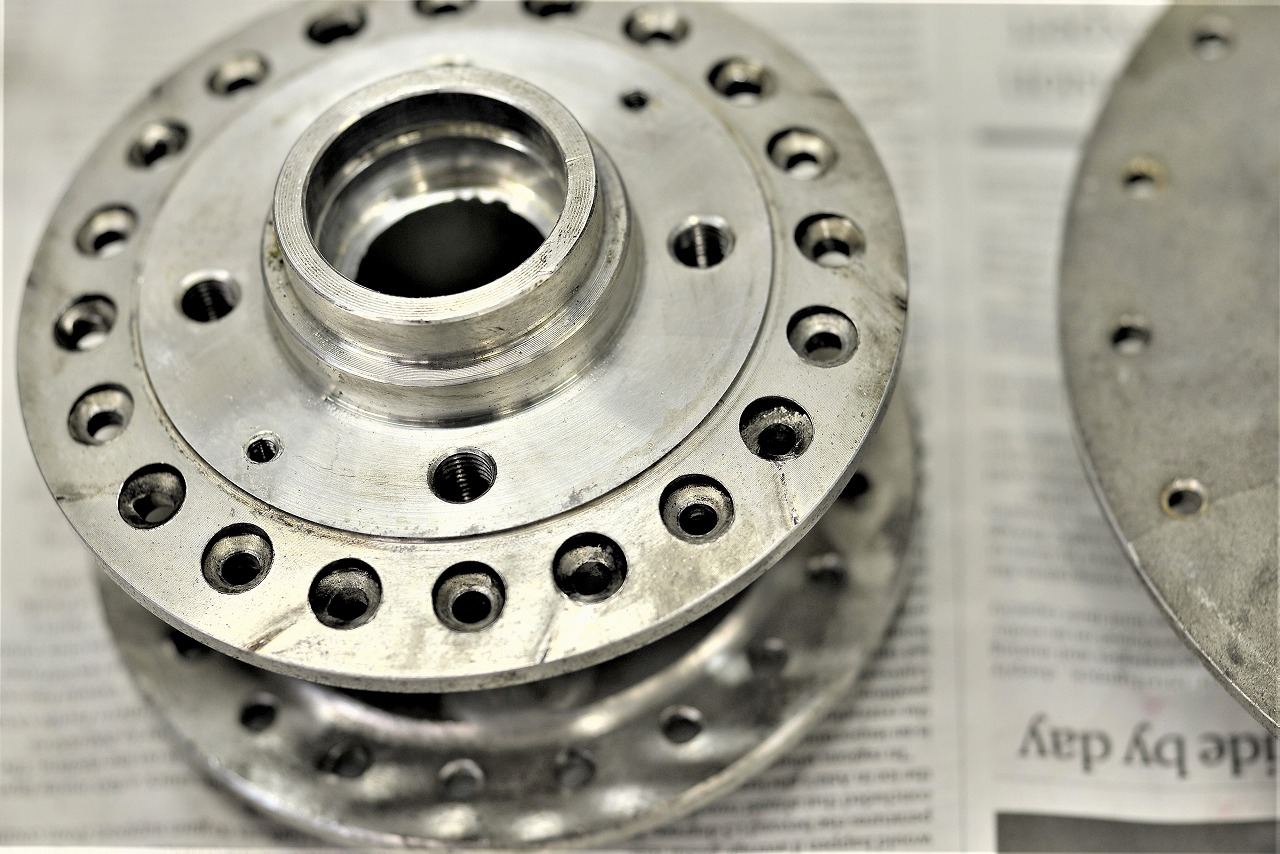
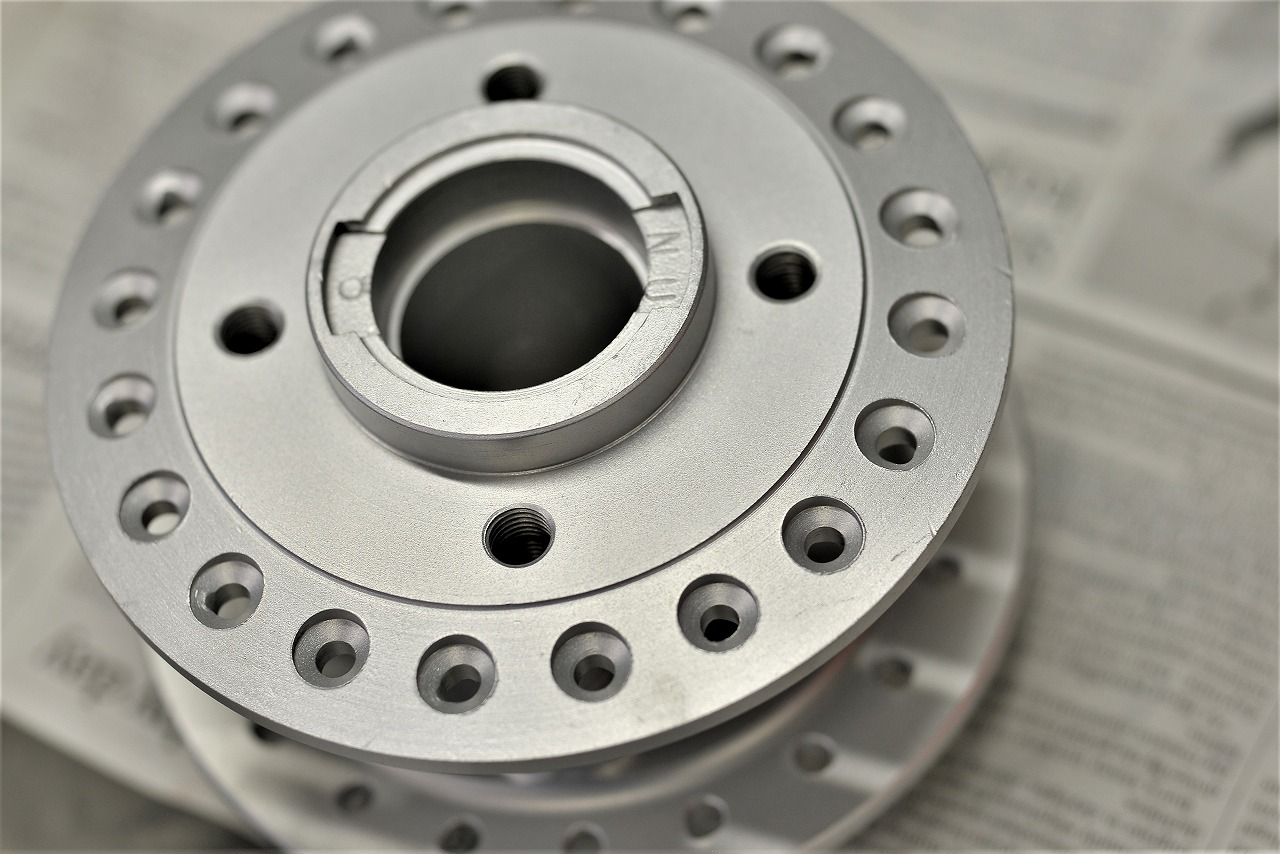
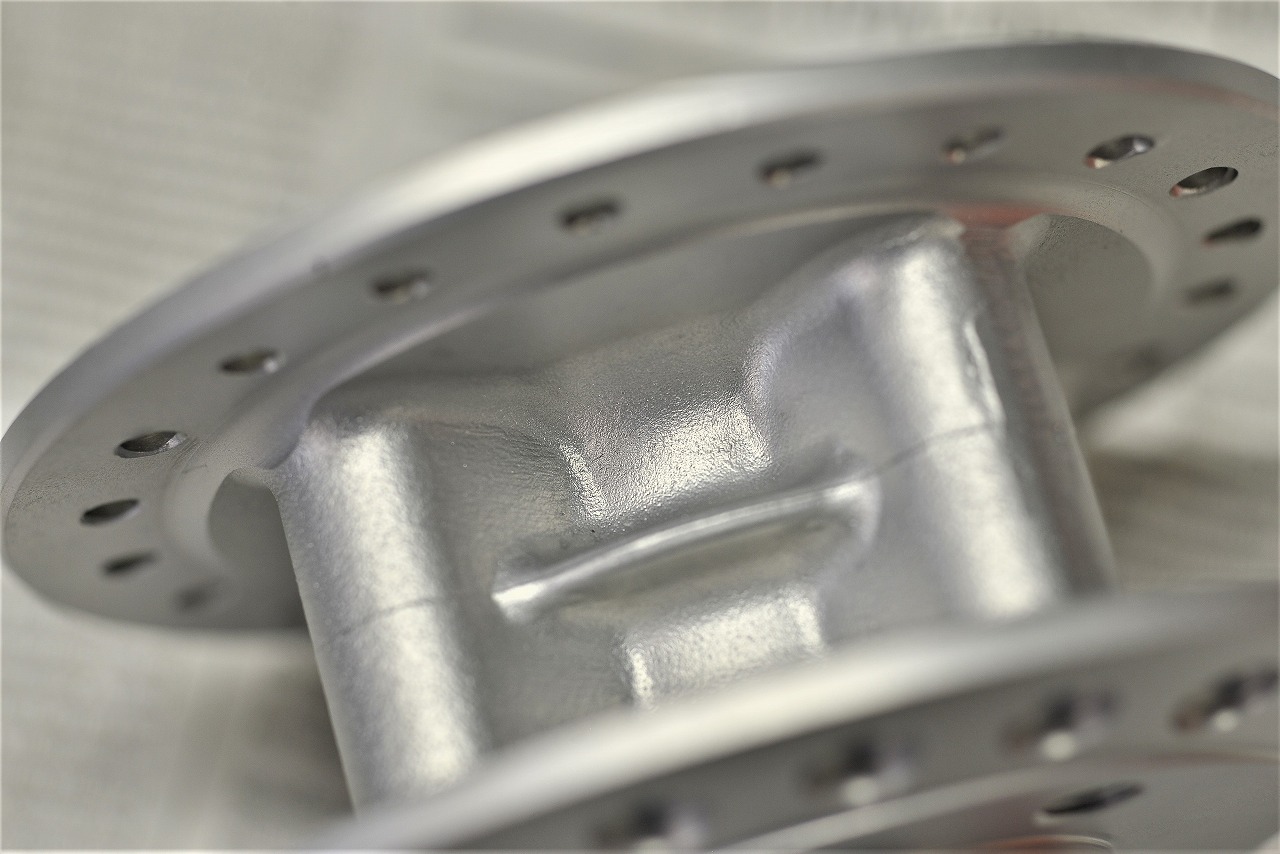
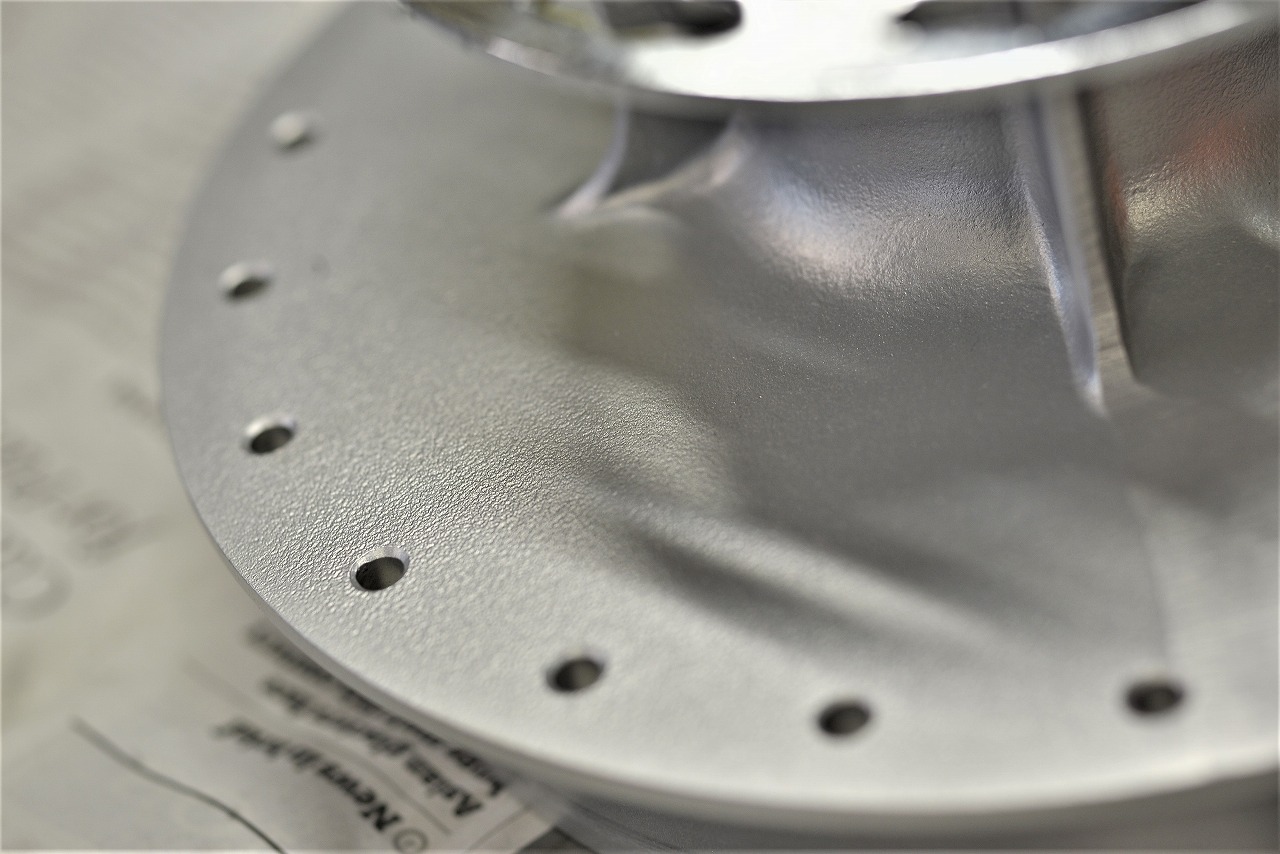
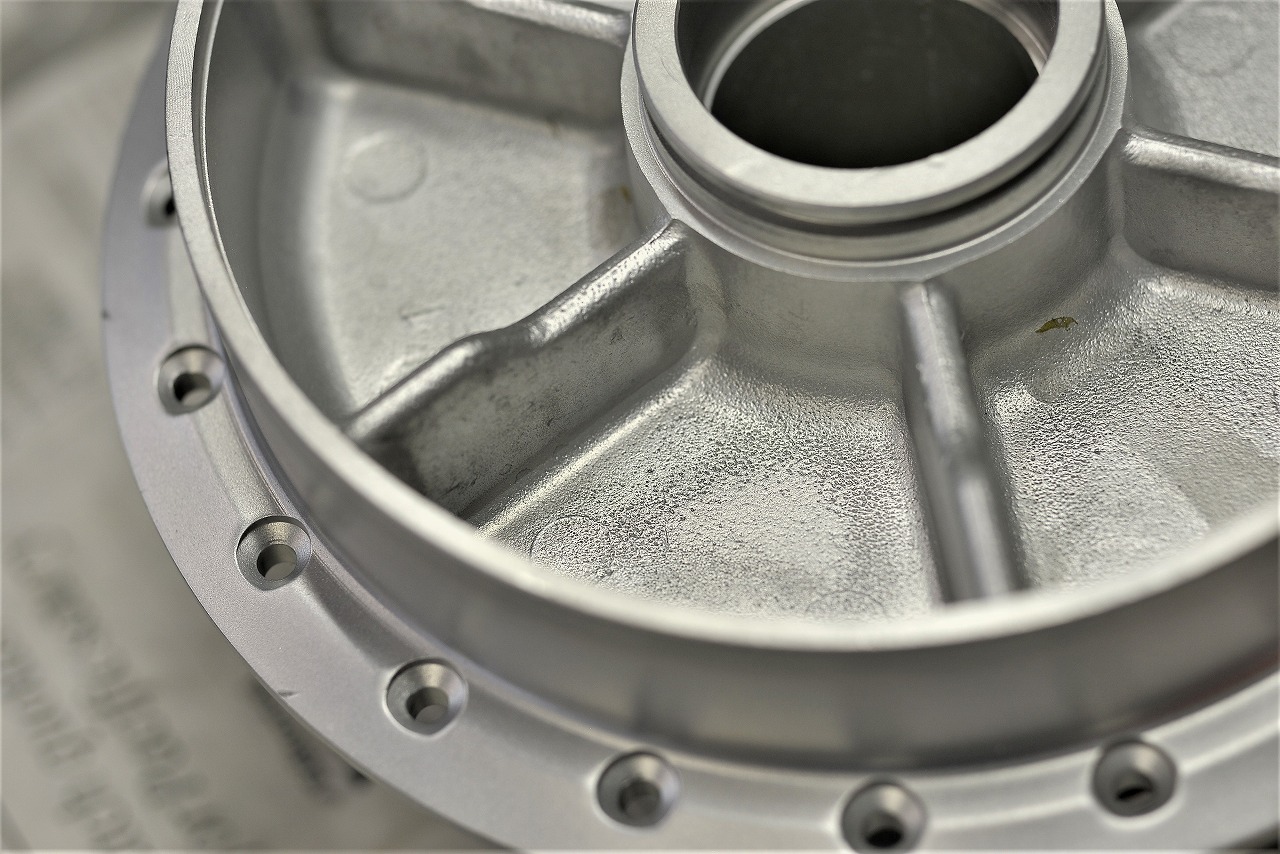
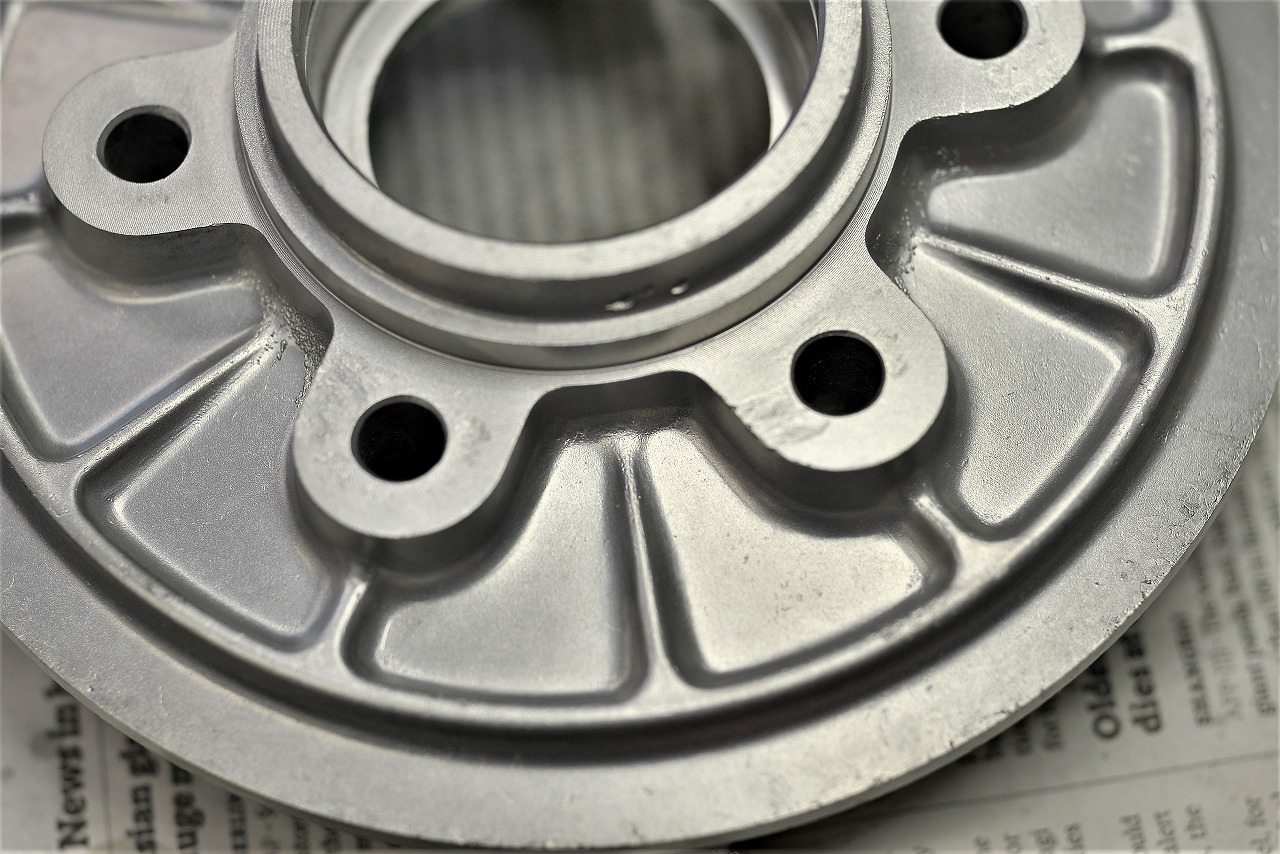
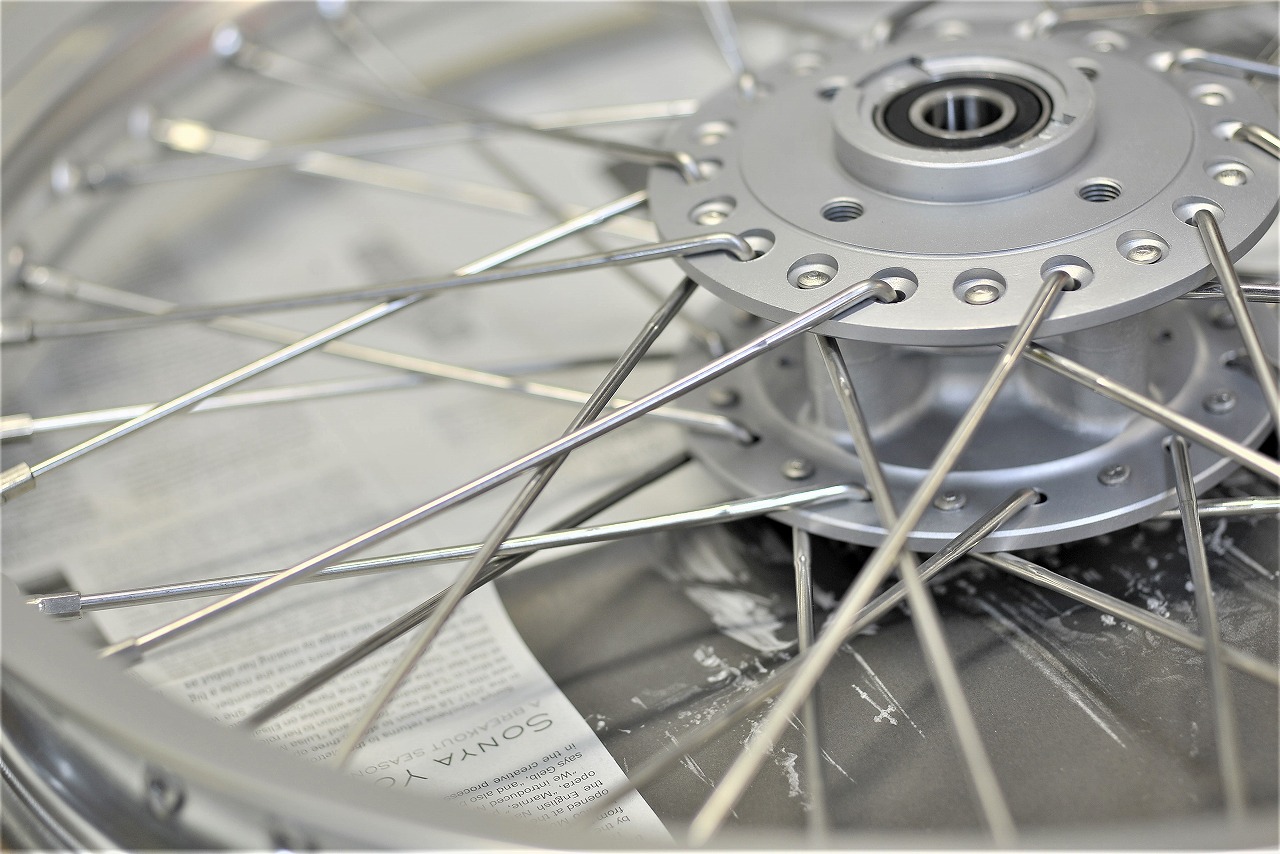
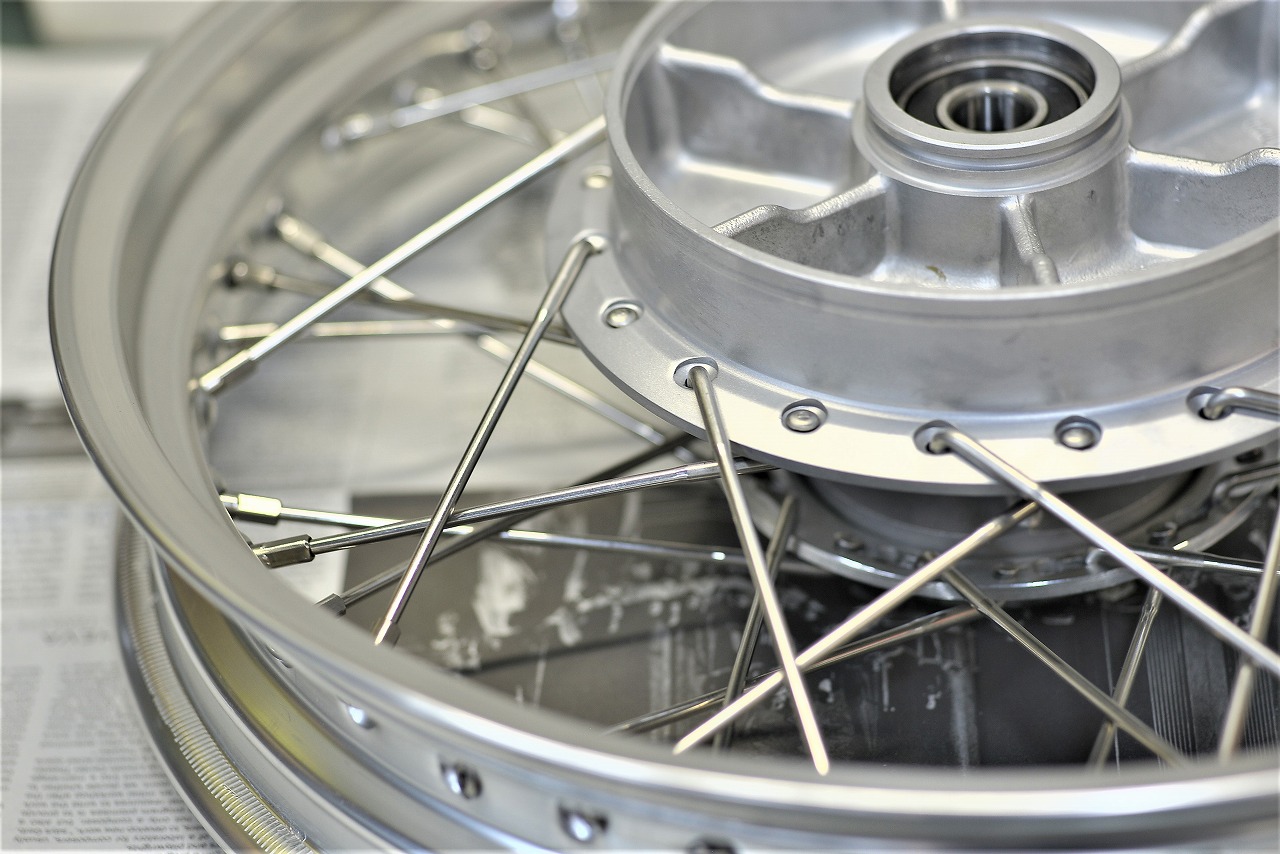
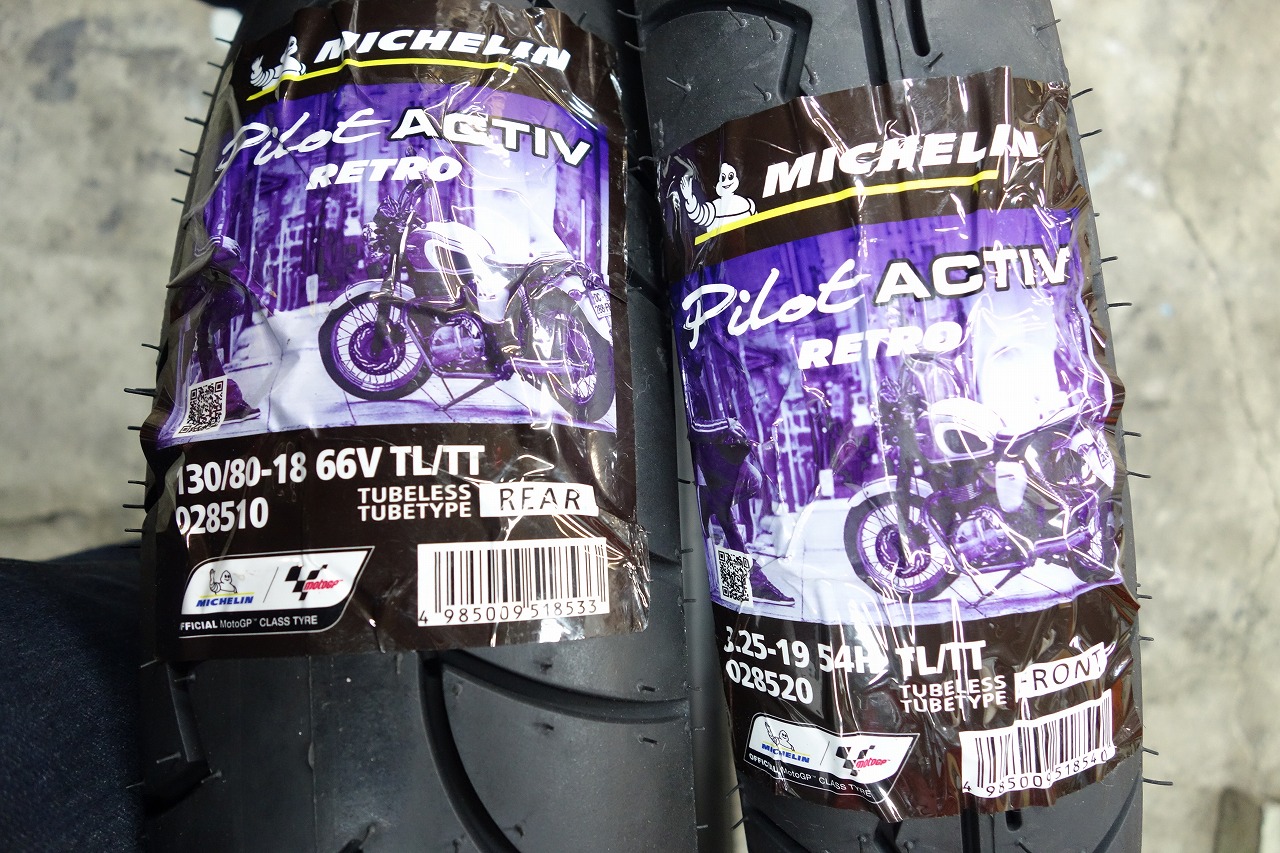
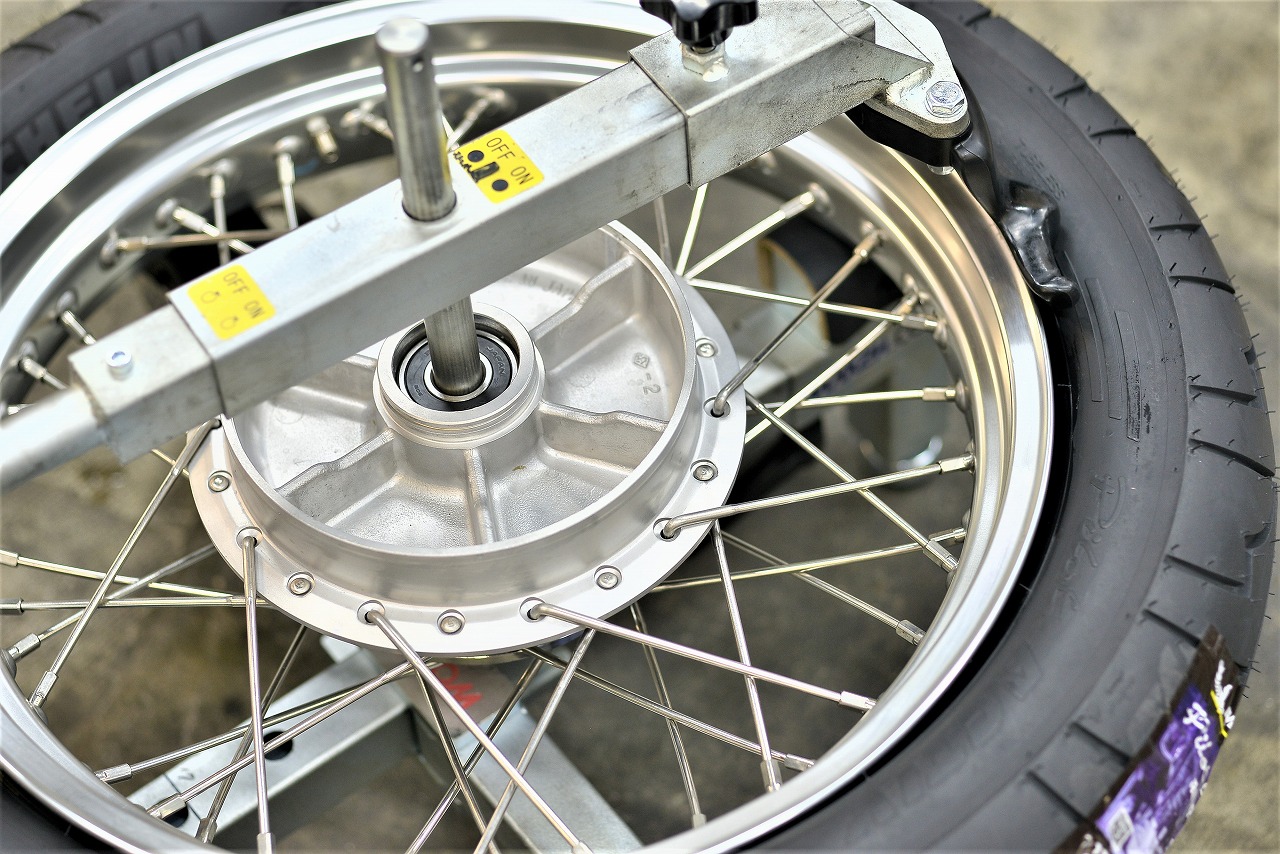
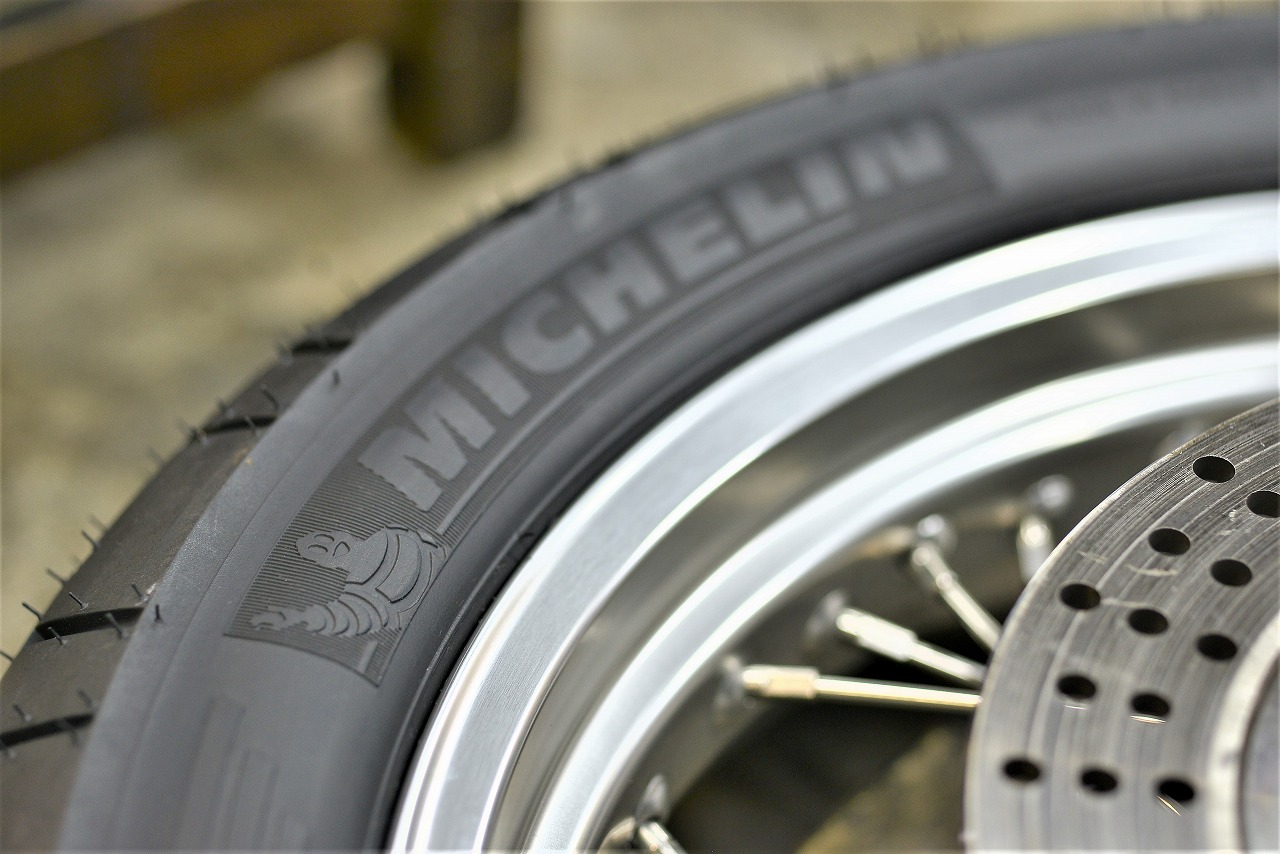
Standard rim width = the manufacturer’s recommended sweet spot Applicable rim width = usable at this size Outer diameter lets you see the difference in stance compared to the previously installed tire in numbers. Considering various tire options, we chose 18-3.00 for the rear. Lately Continental is available too, so that’s another option. This was probably the first time they’d removed spokes. Three nipples were stuck and wouldn’t come off, so we ended up cutting and removing them. Since they wanted the rim cleaned up, we polished it. We polished everything, then installed the wheel bearings and sent the rims out for lacing. And a few days later, they came back all laced up. Almost brand new now. Mounting the tires and installing them on the bike requires careful attention. This time we chose Michelin Pilot Active (bias). With a tube tire, I wondered if we could use the tire changer, so we tried it as an experiment. The anti-rotation stopper doesn’t work, but the changer itself does. As always, it’s so easy. For a small individual shop like ours, this changer is more than enough.
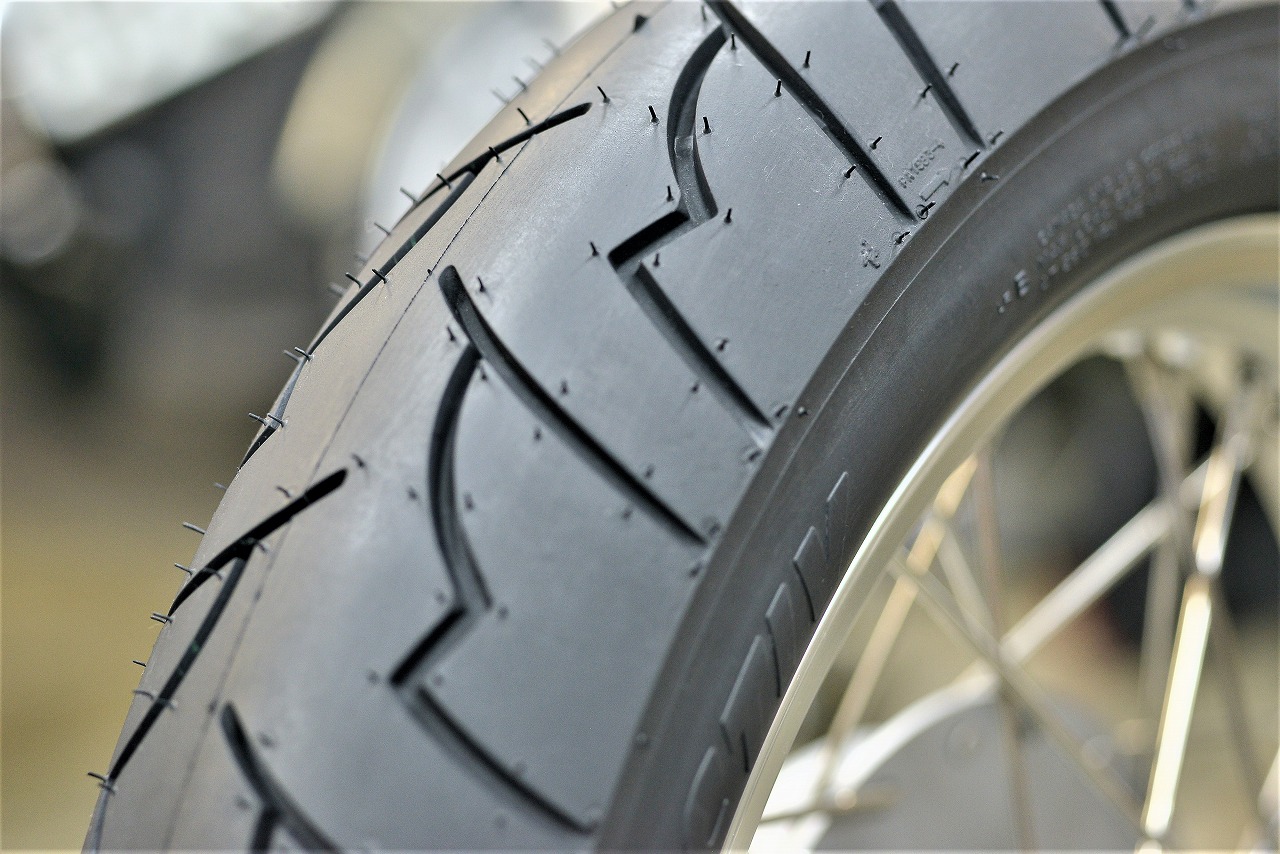
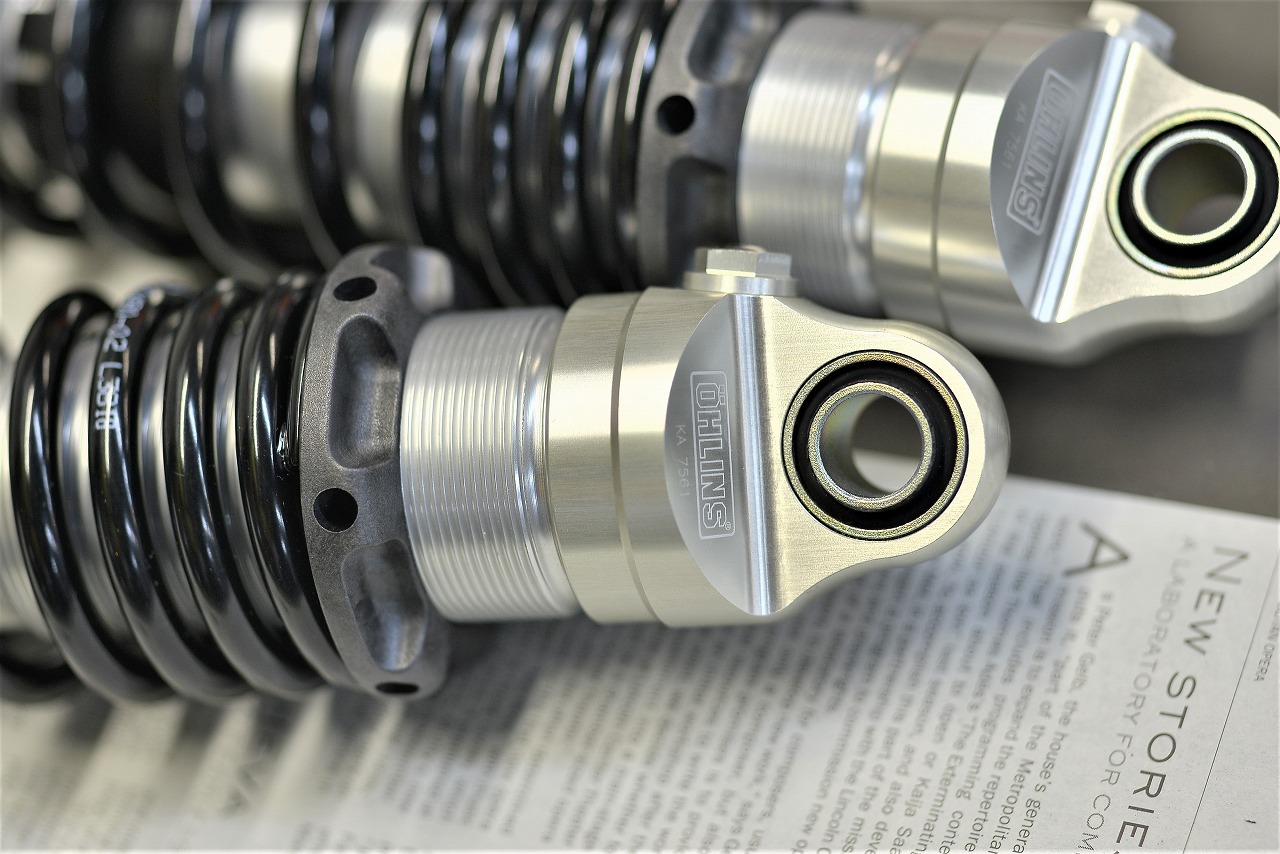
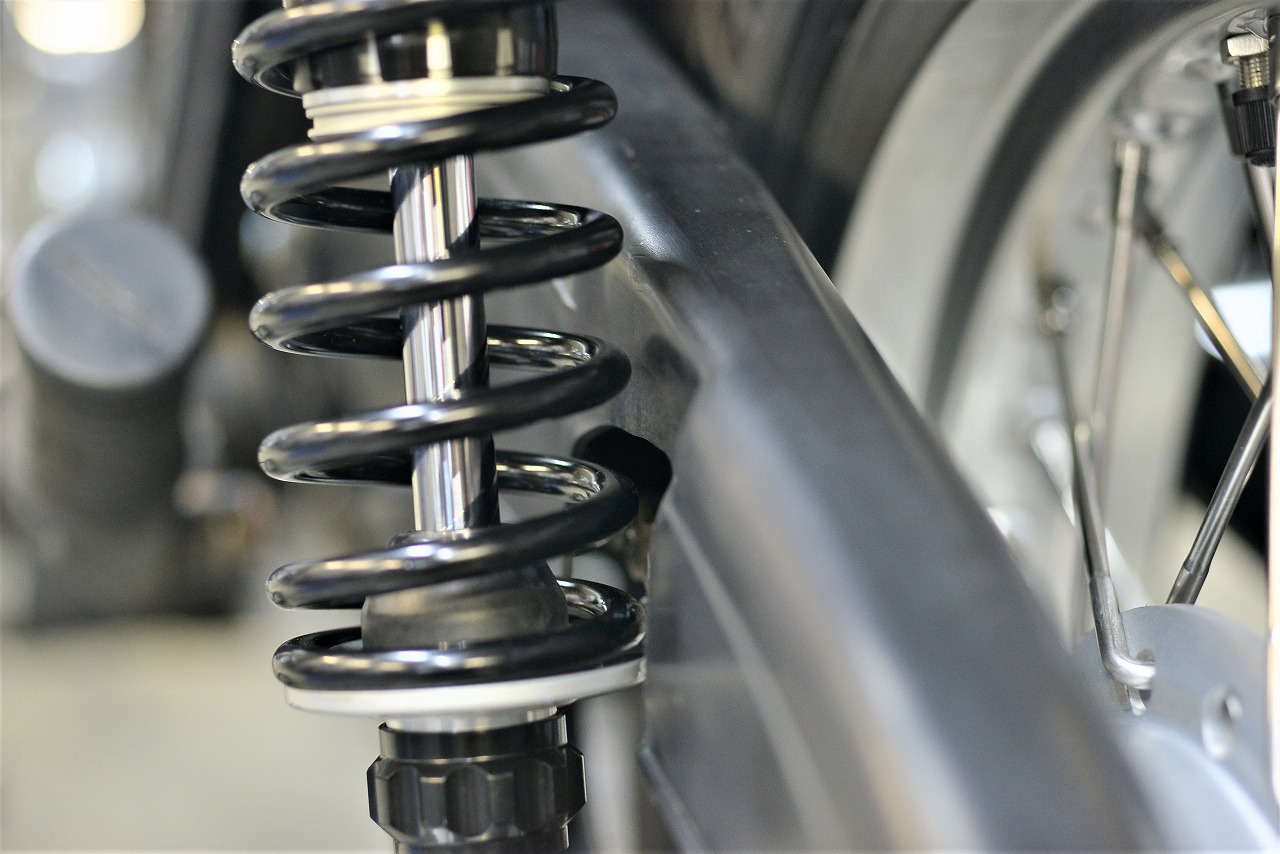
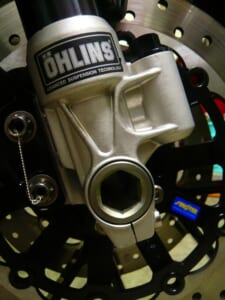
Since it’s the standard rim width, the tire should naturally reach all the way to the edge. The profile is gentle too, so expectations are high. We got it mounted with no damage—phew. Lately everyone’s bikes look so clean it’s almost scary. *Though dirty ones are a problem too… They had an Ohlins installed and asked us to keep it. I thought it would just bolt on… but. Image showing spring inner diameter play. Image showing spring inner diameter taken up.
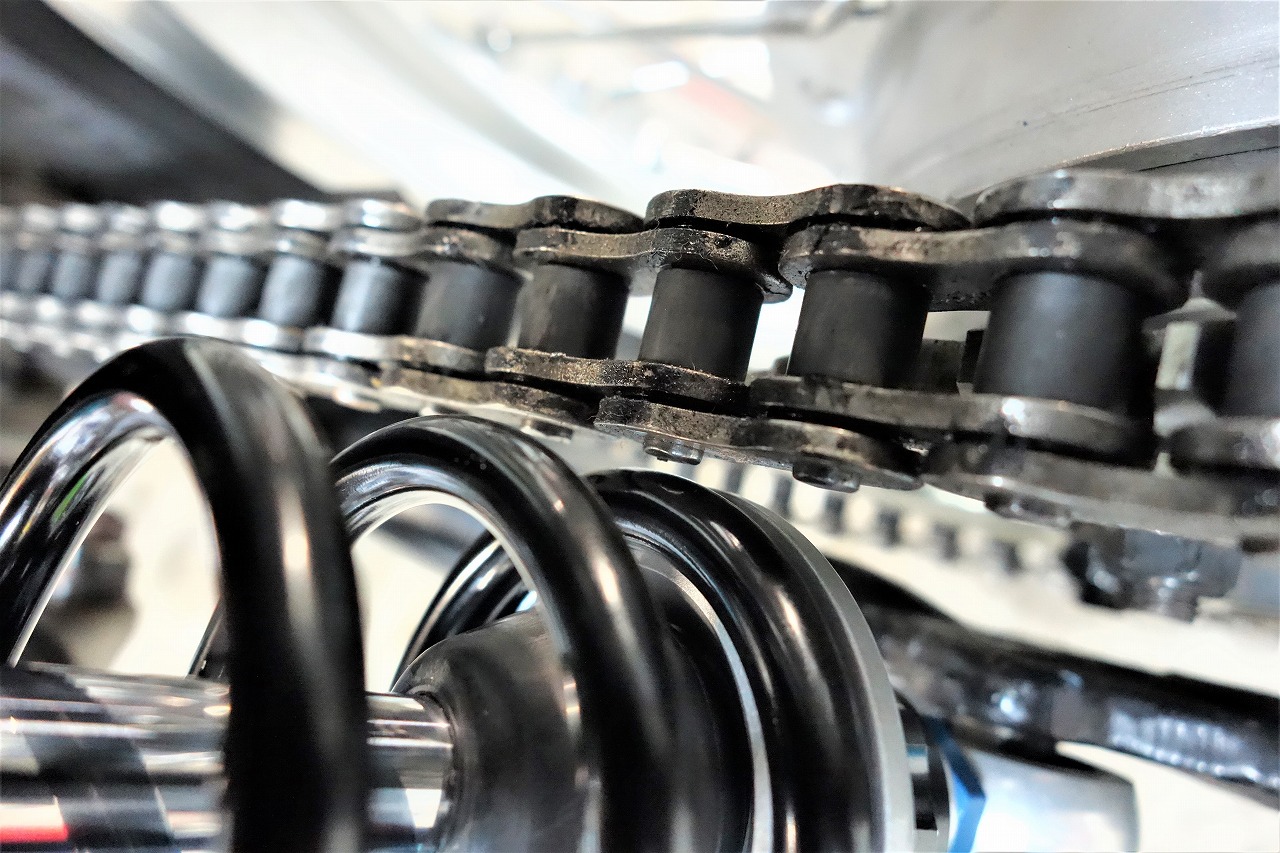
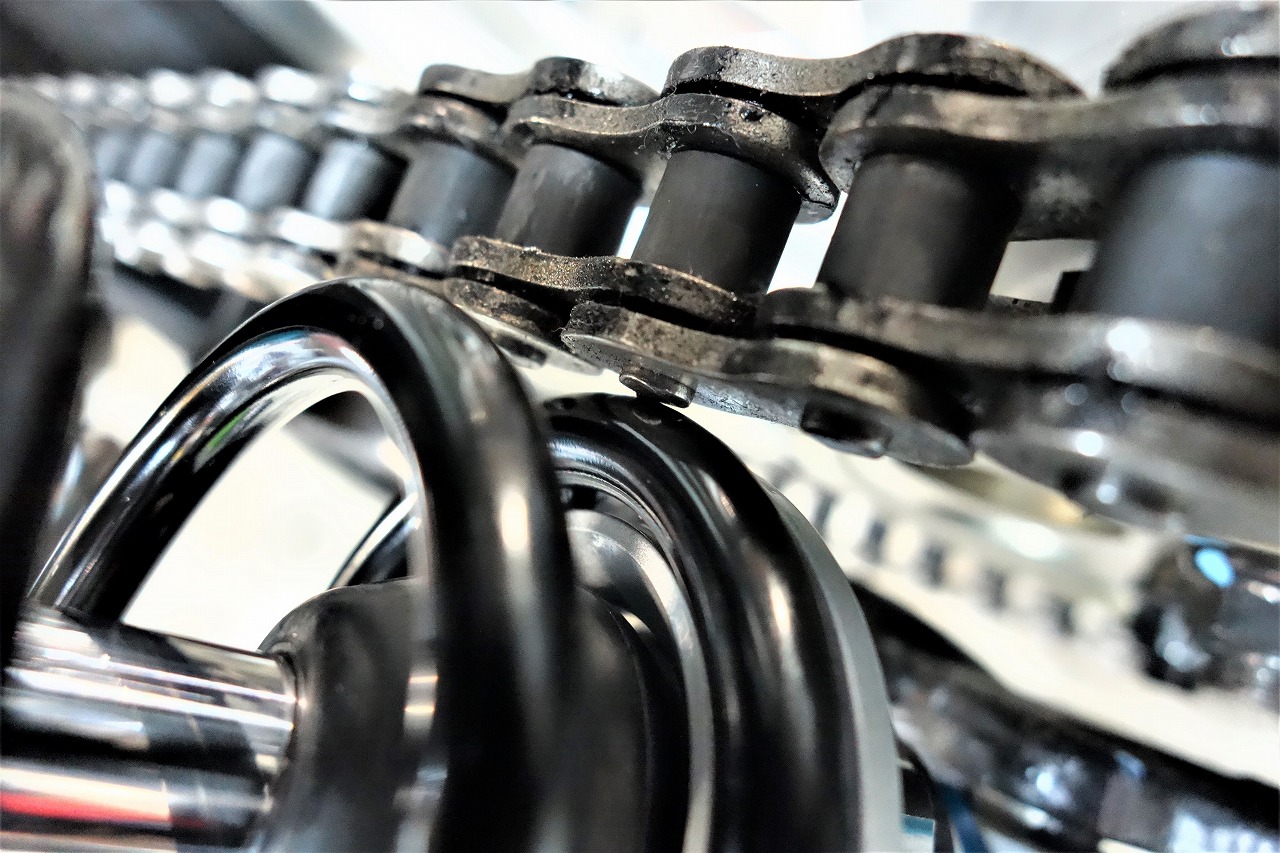
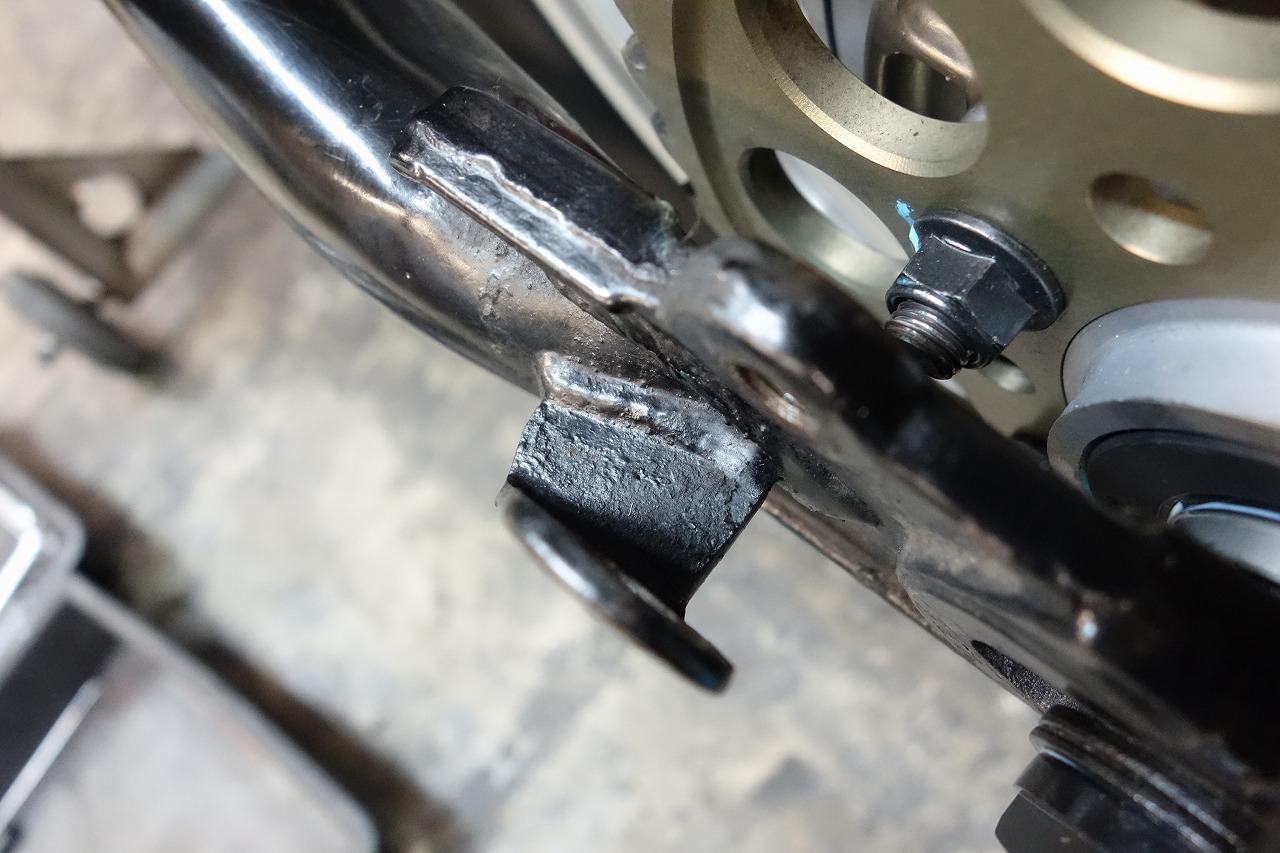
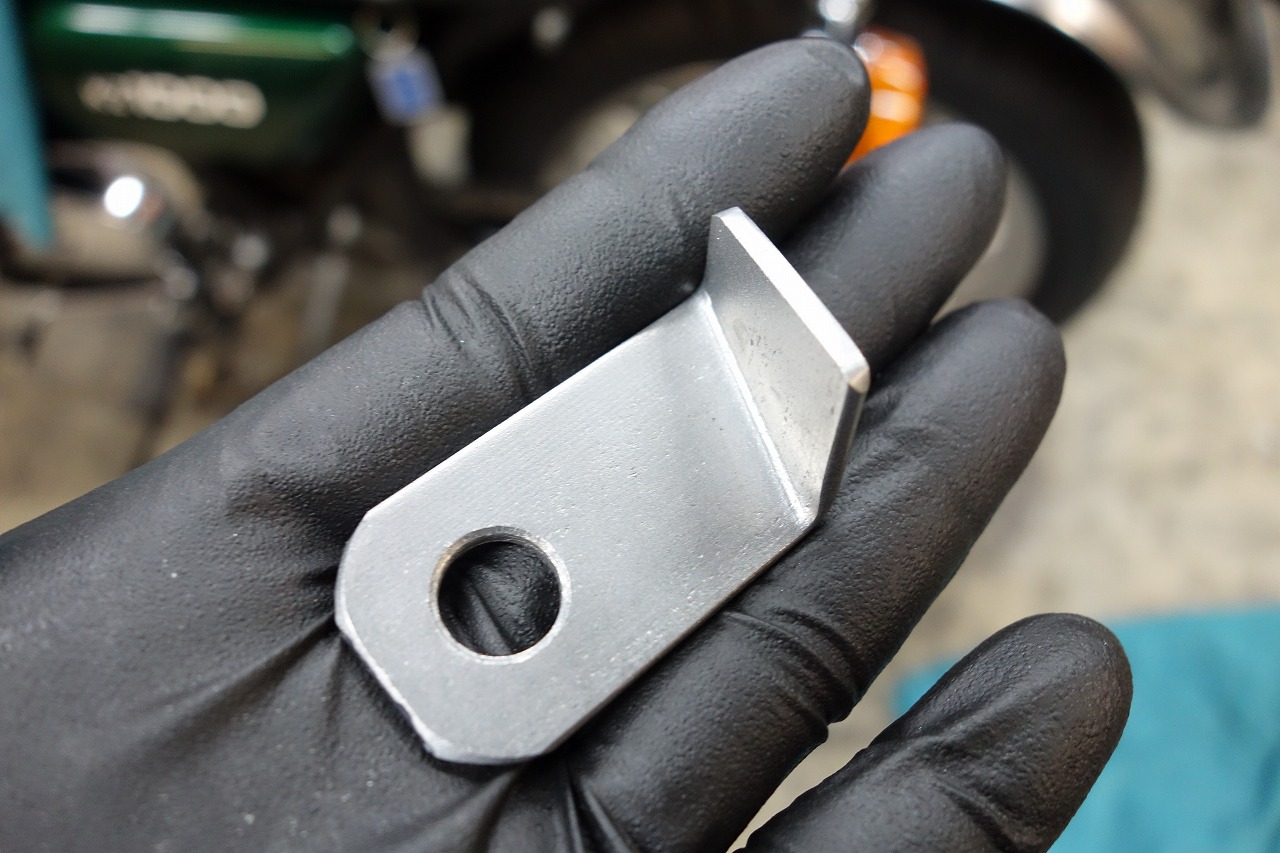
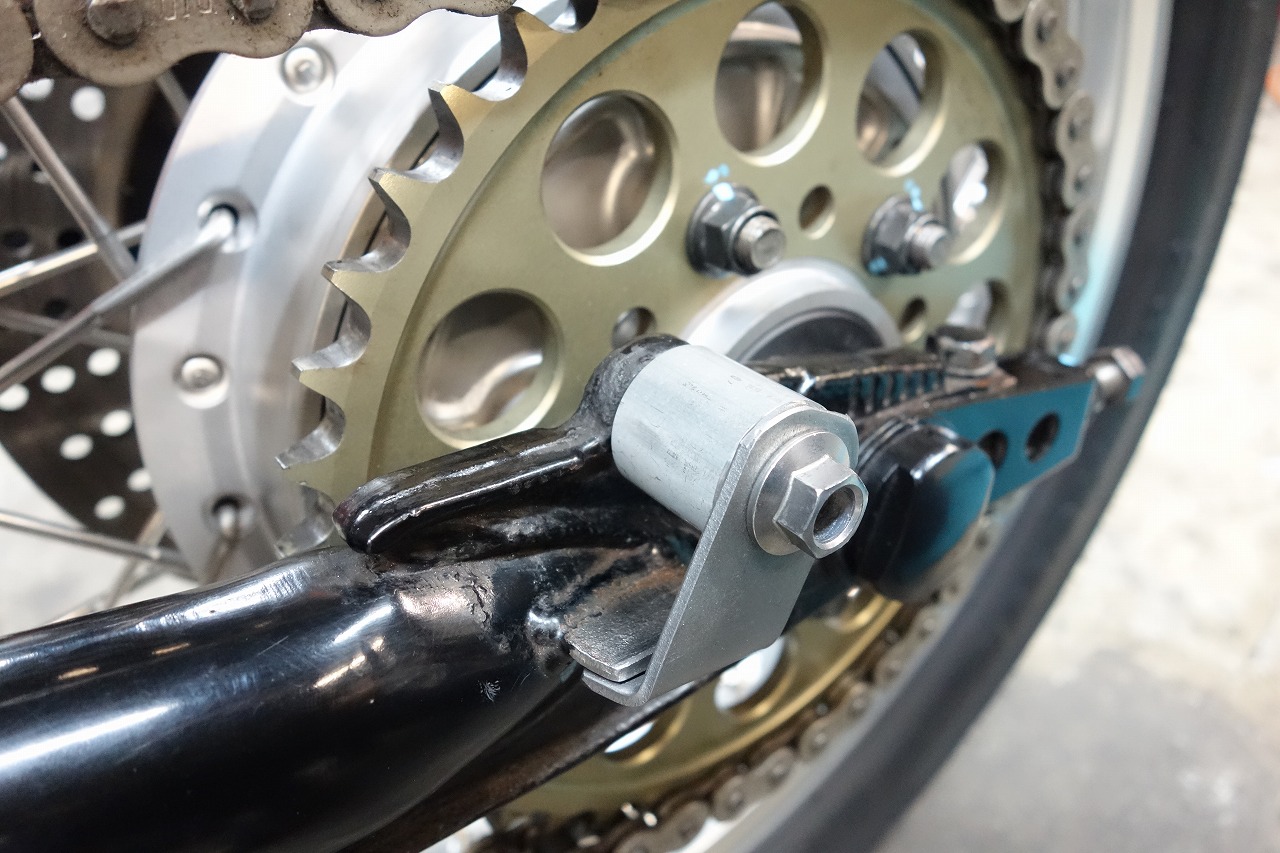
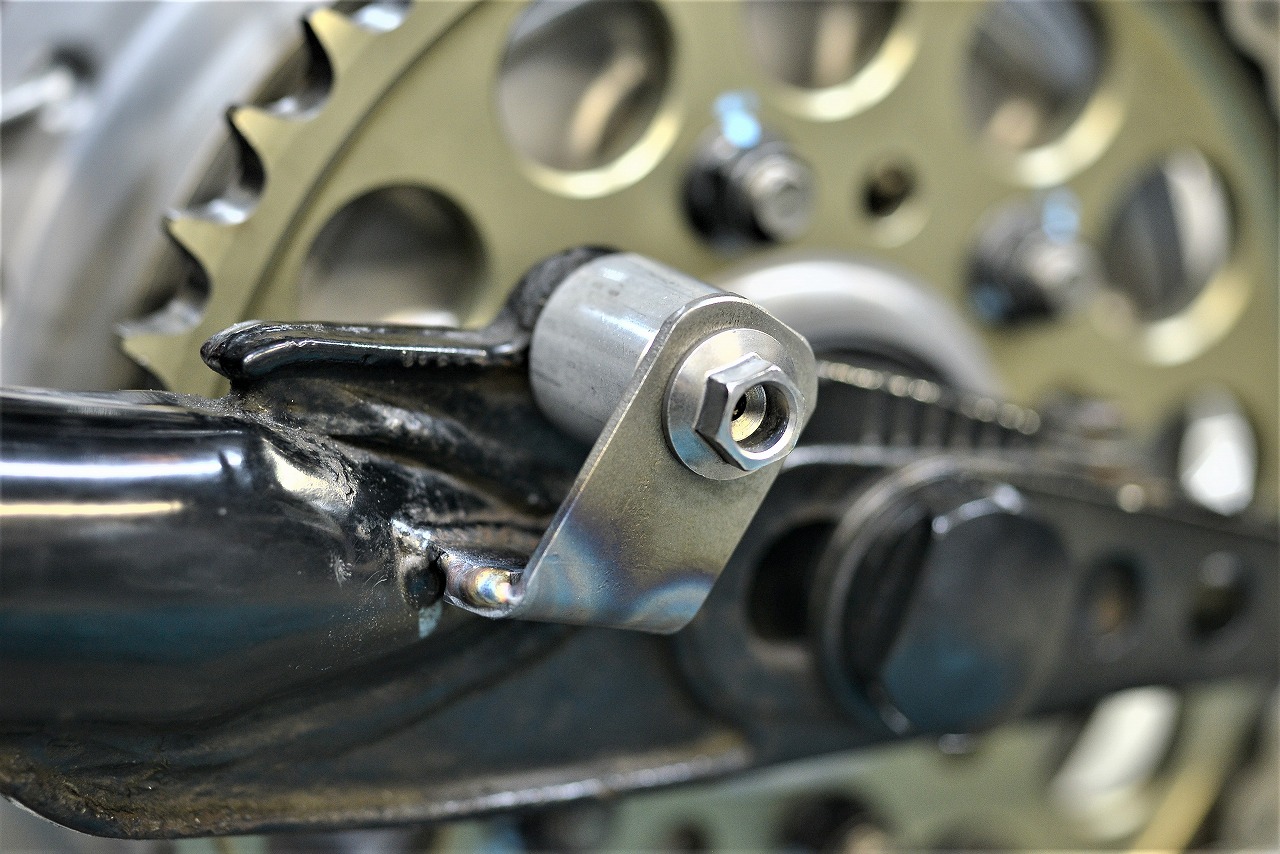
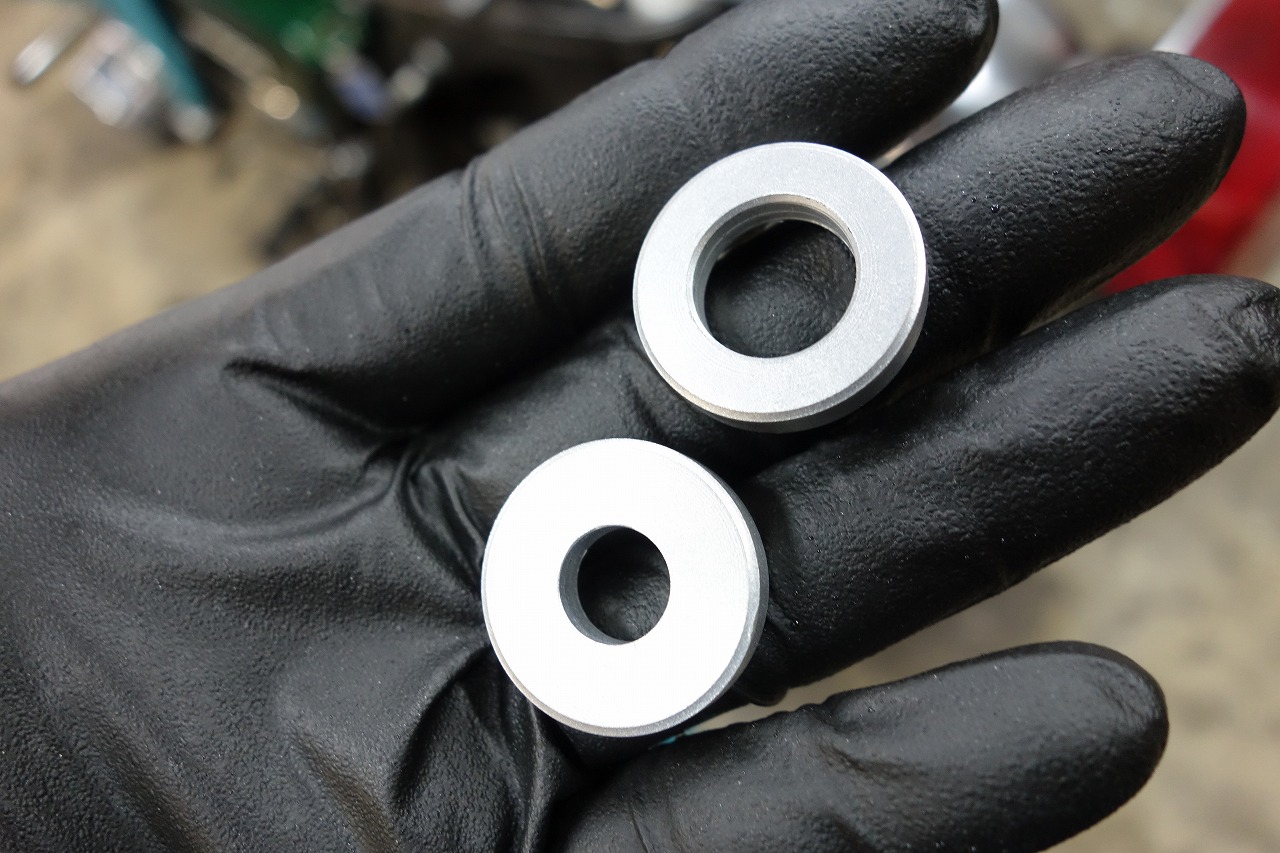
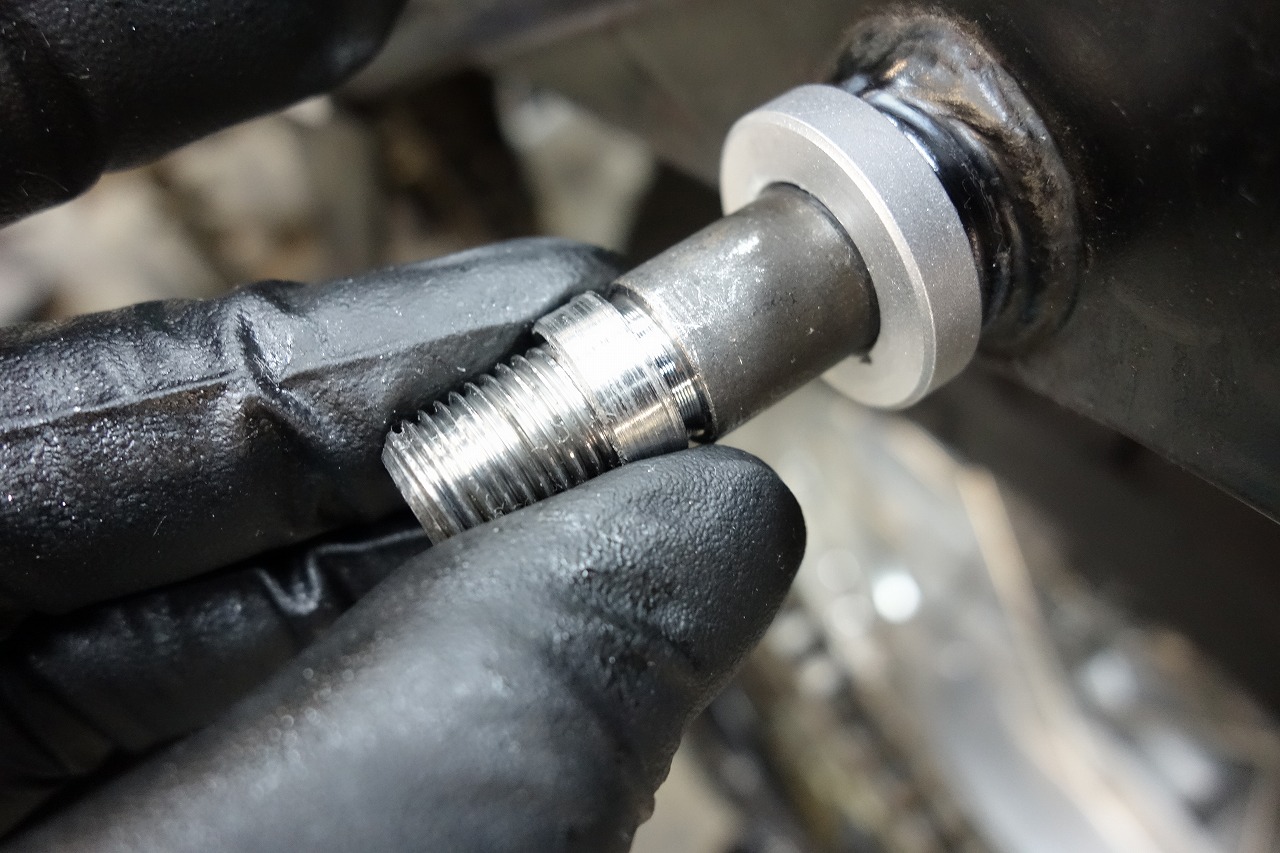
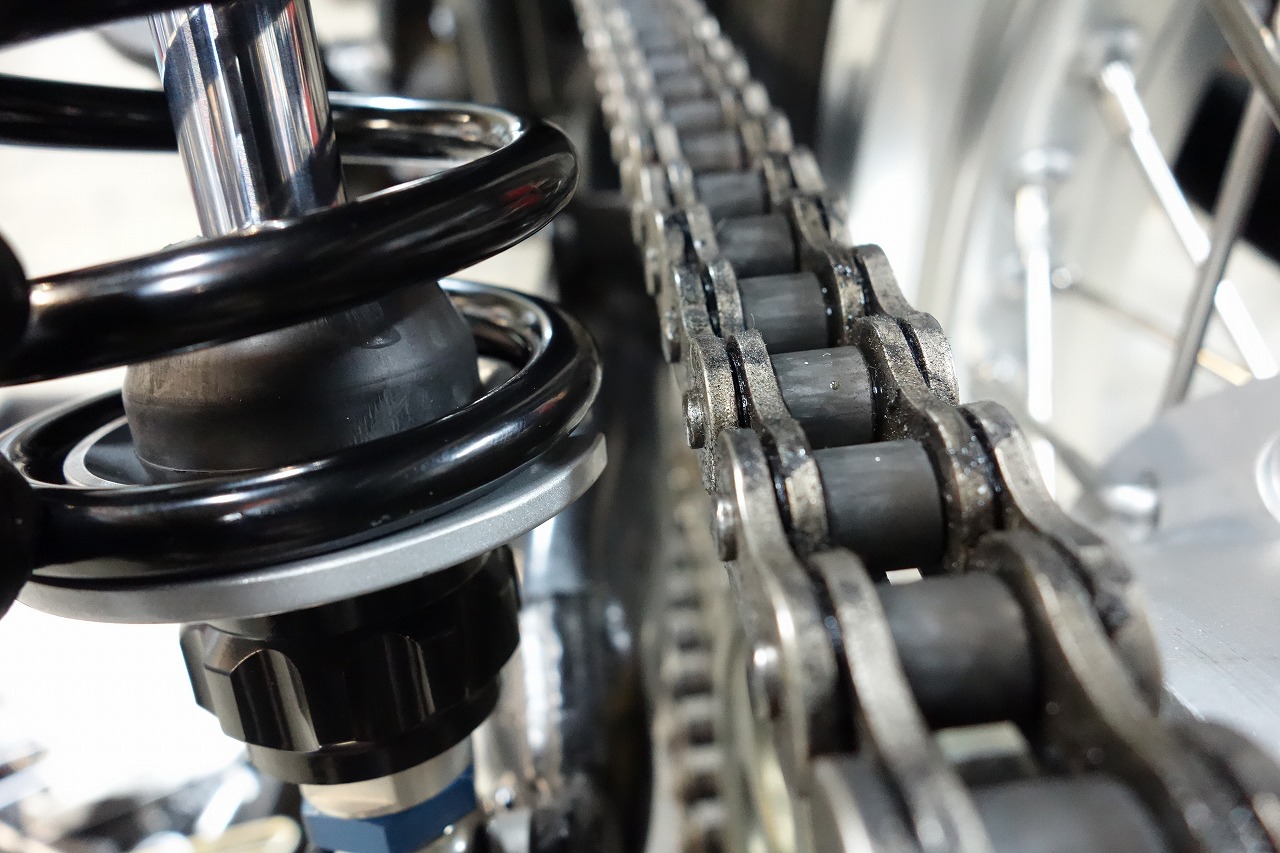
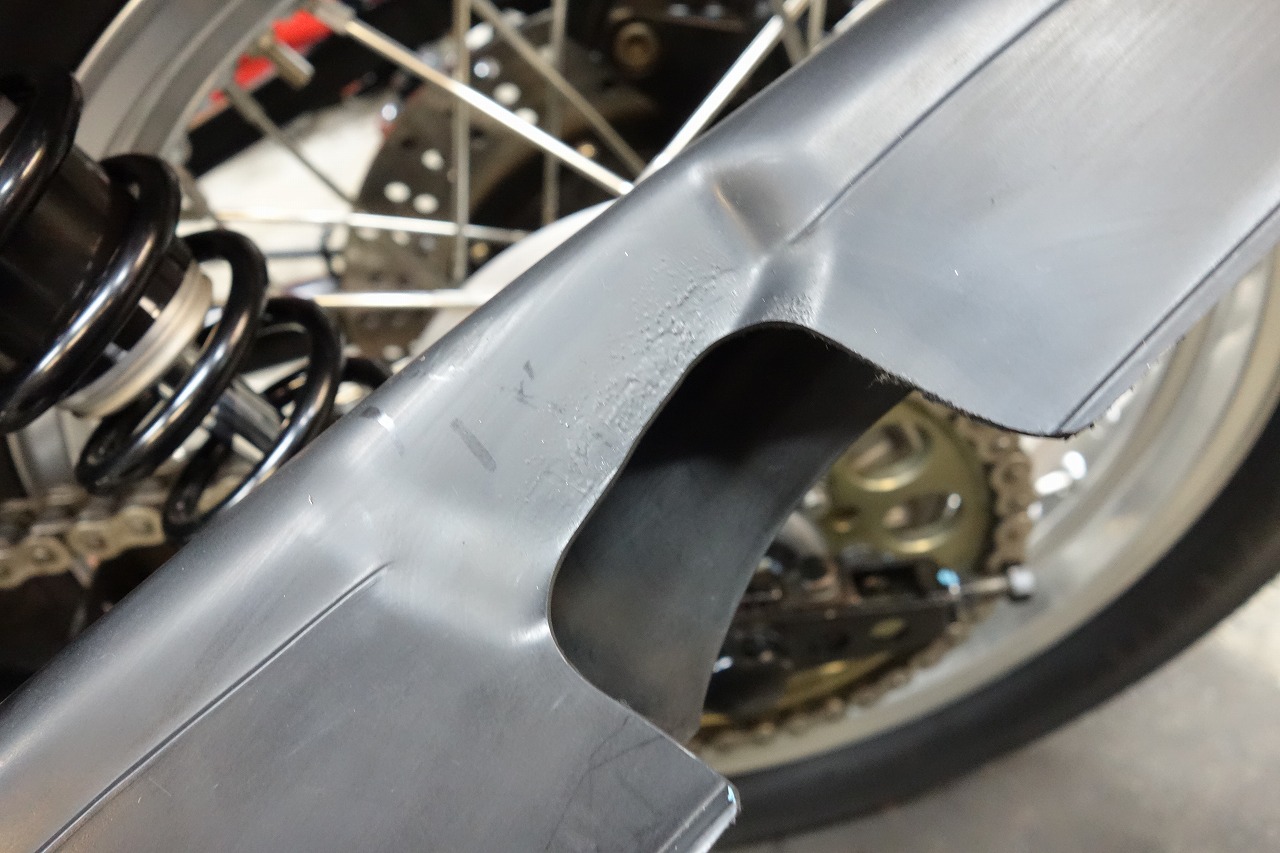
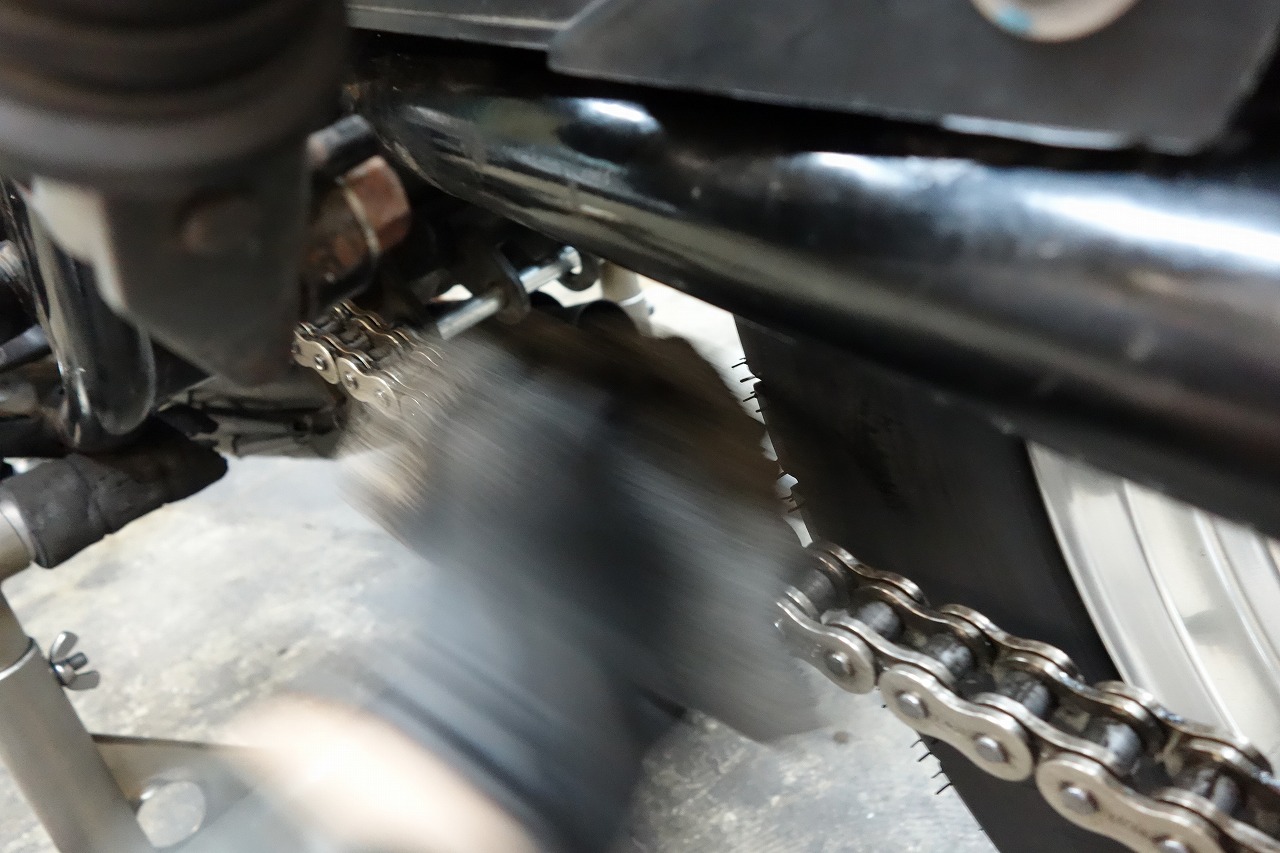
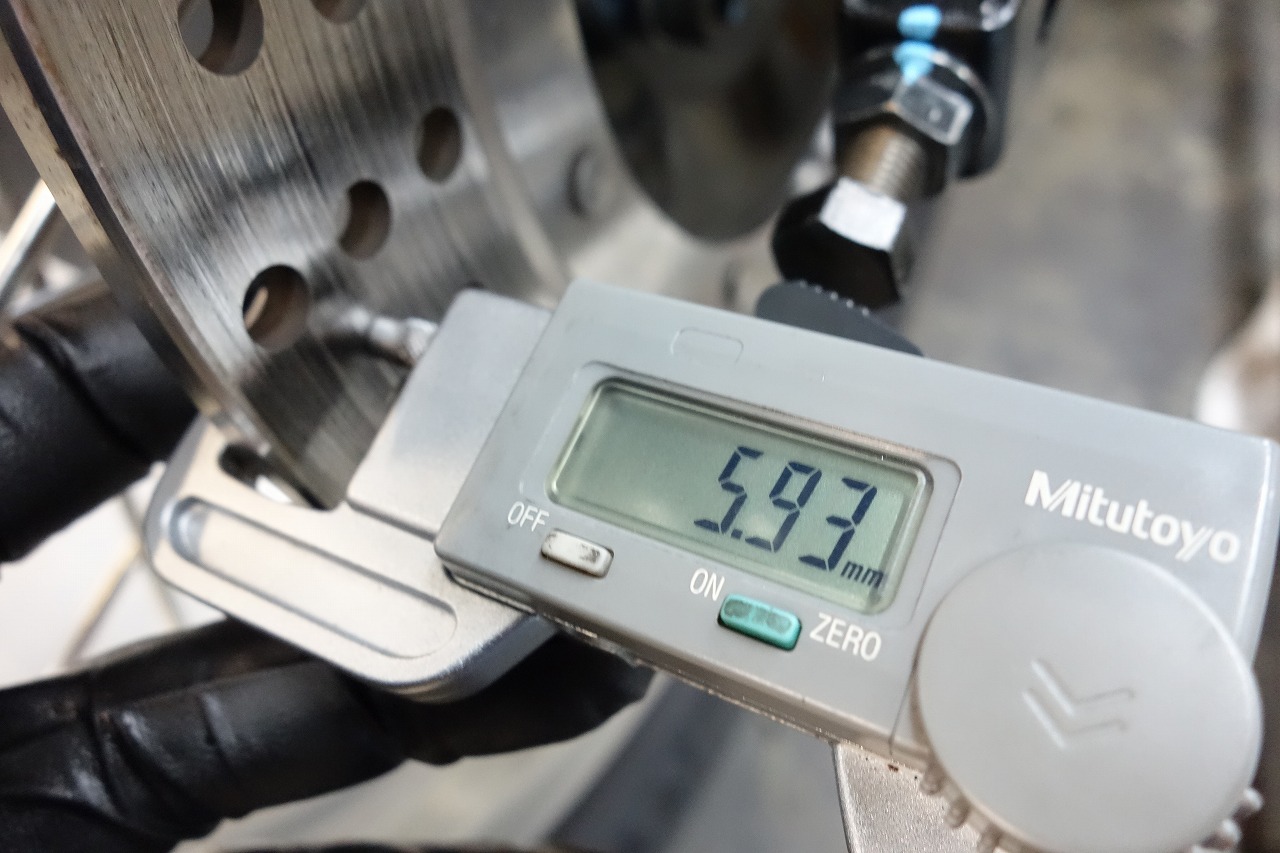
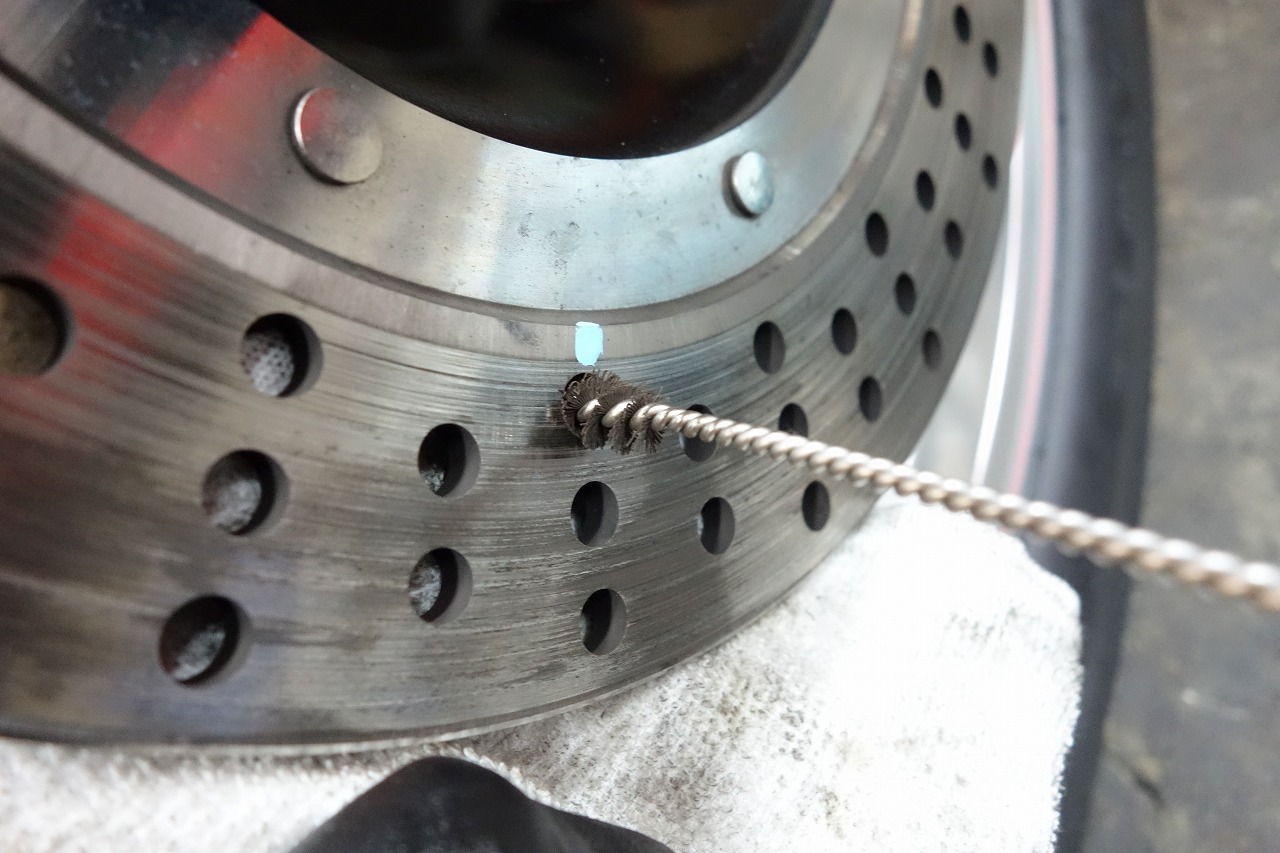
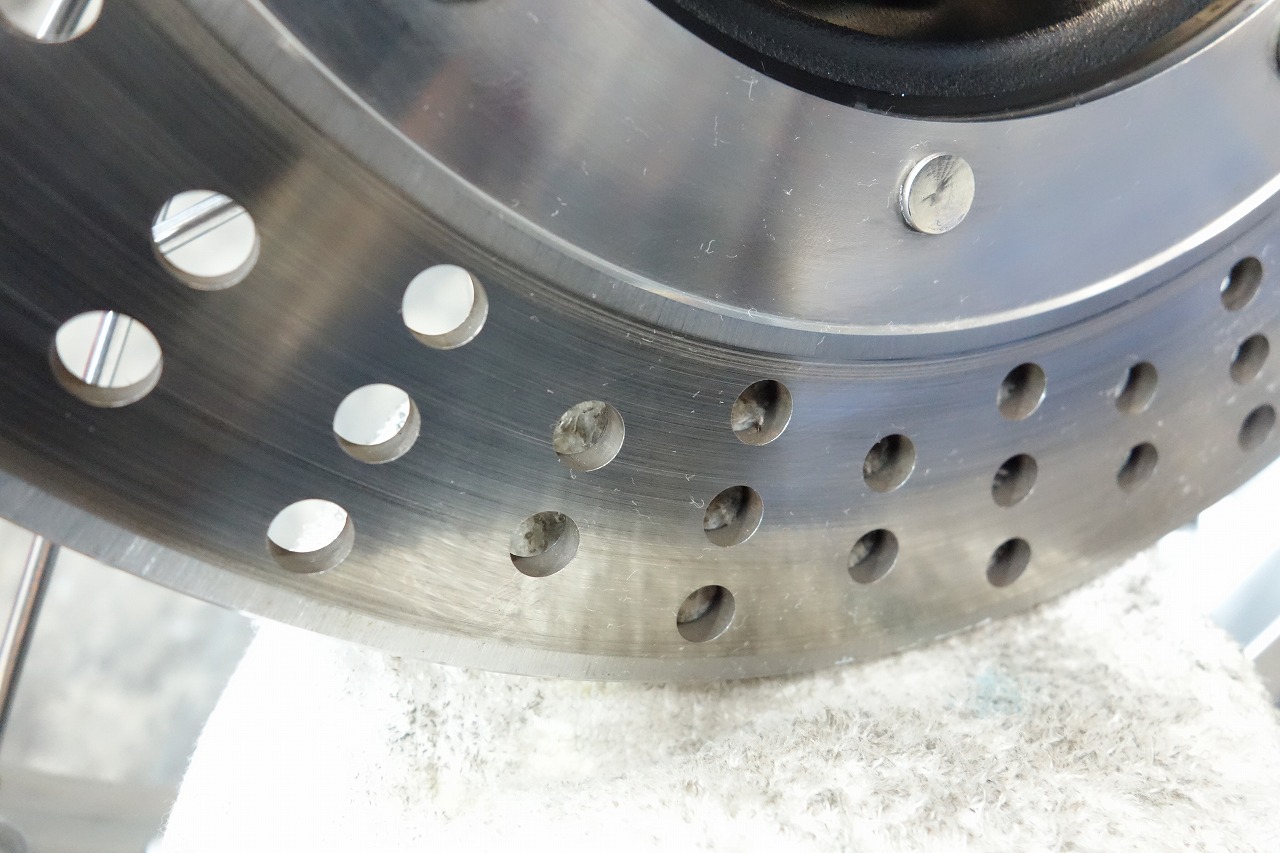
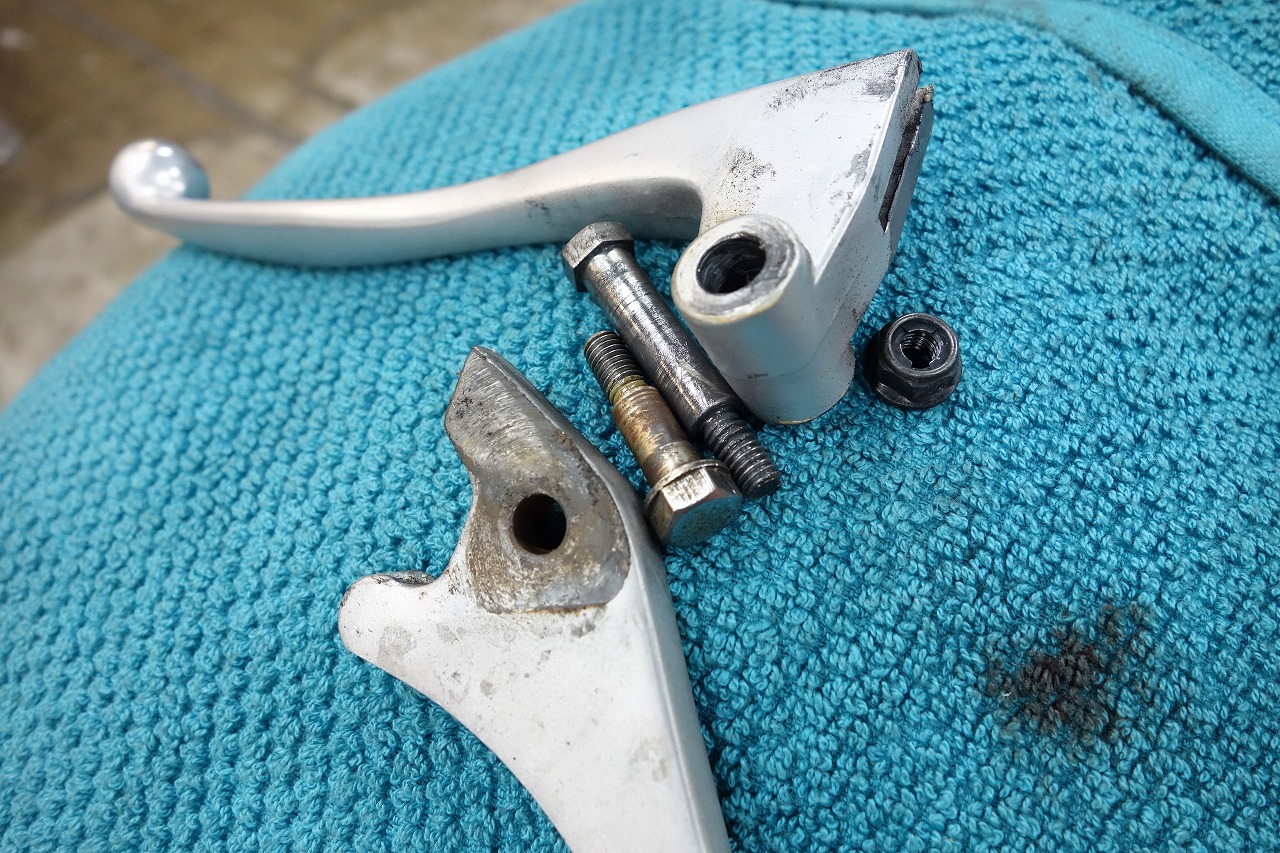
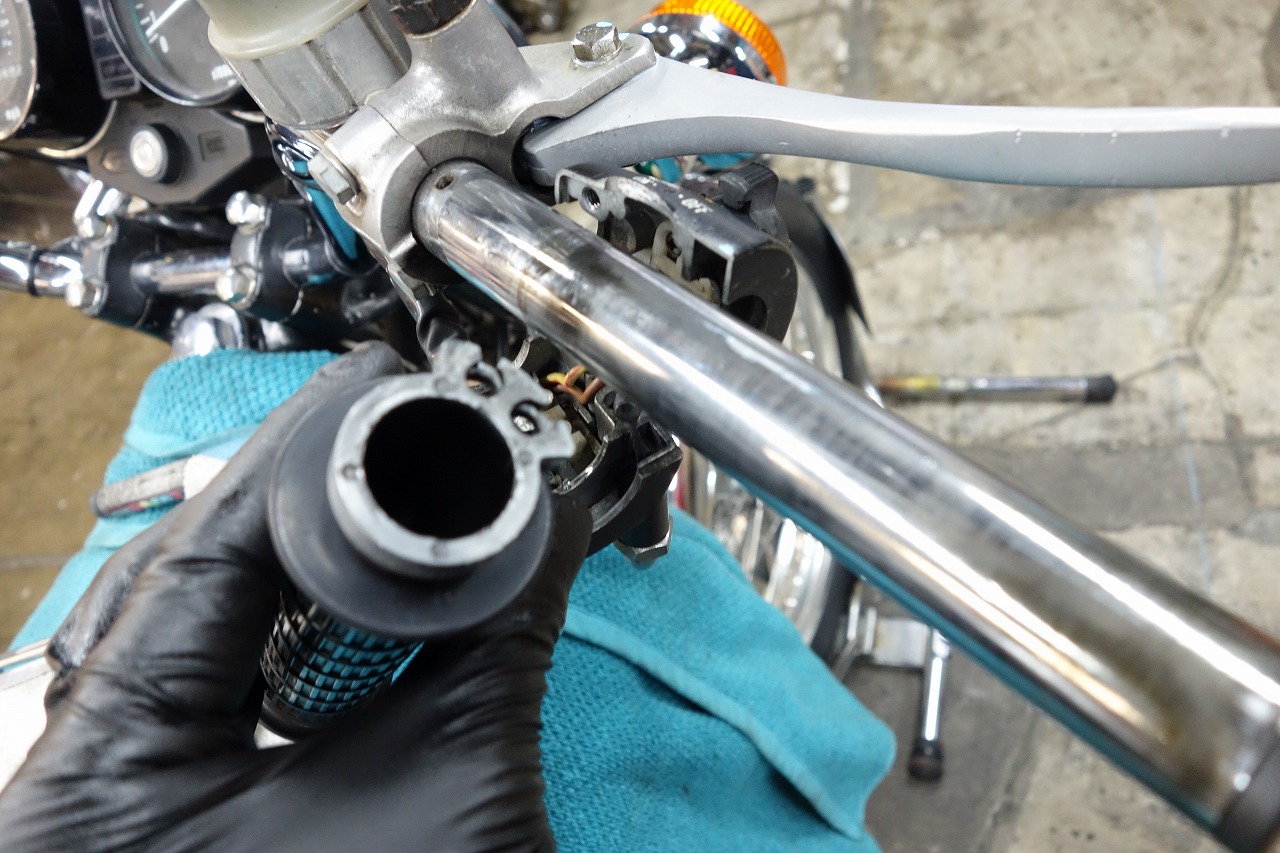
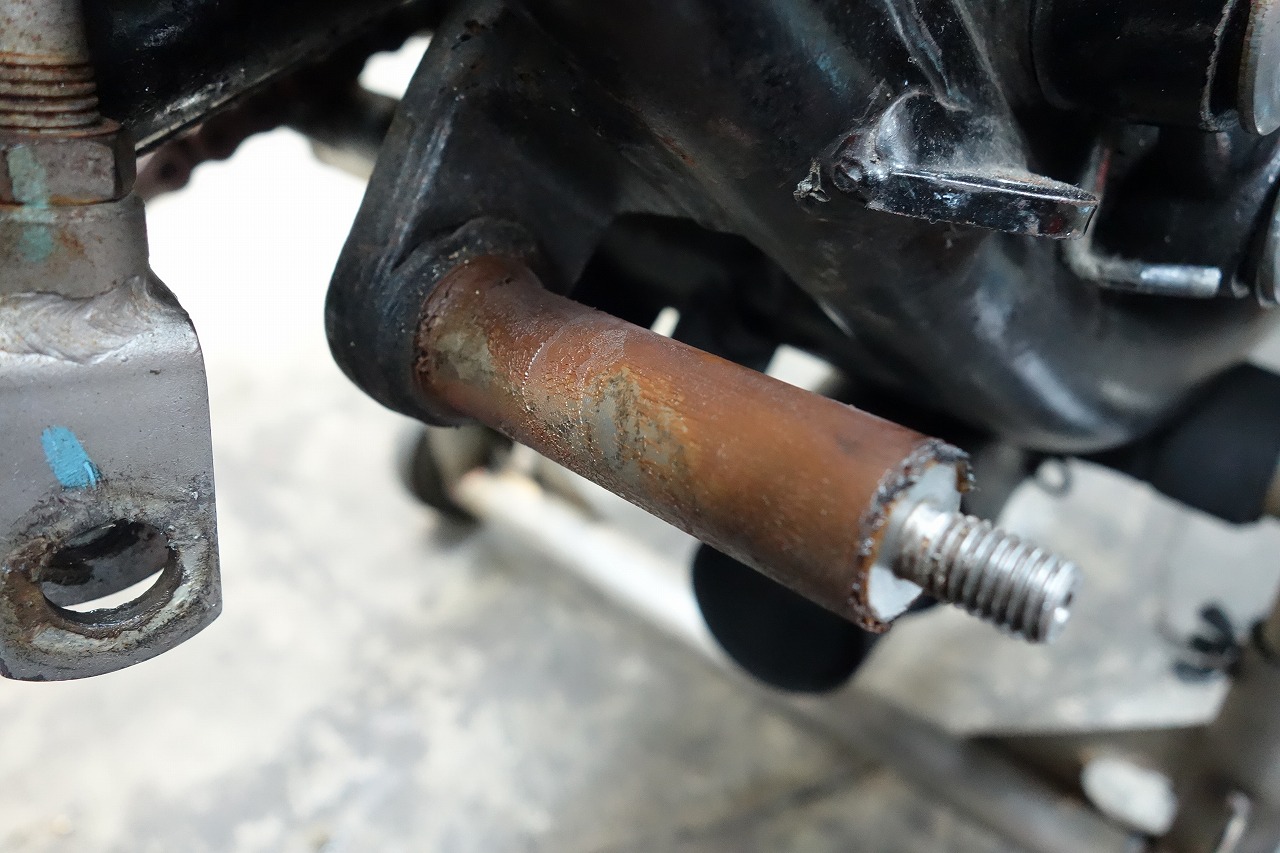
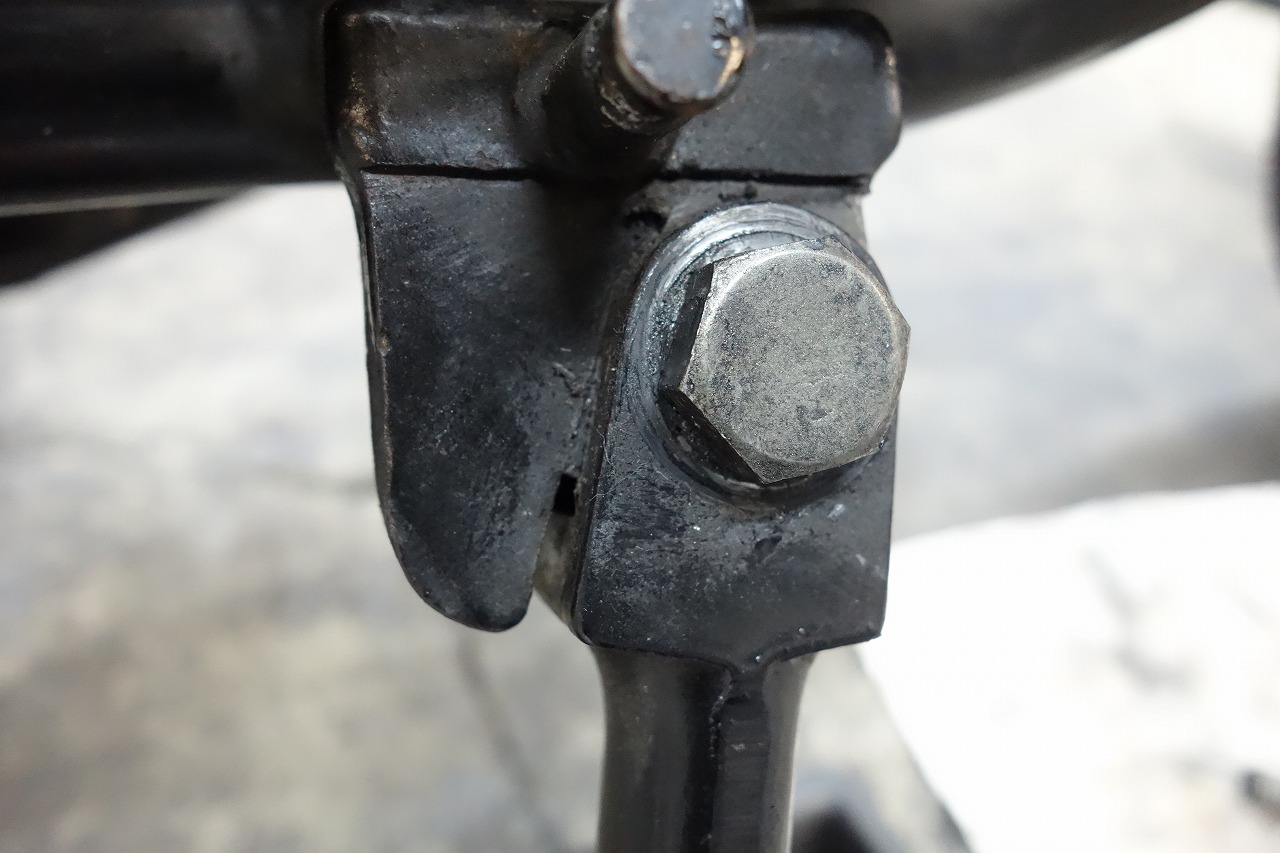
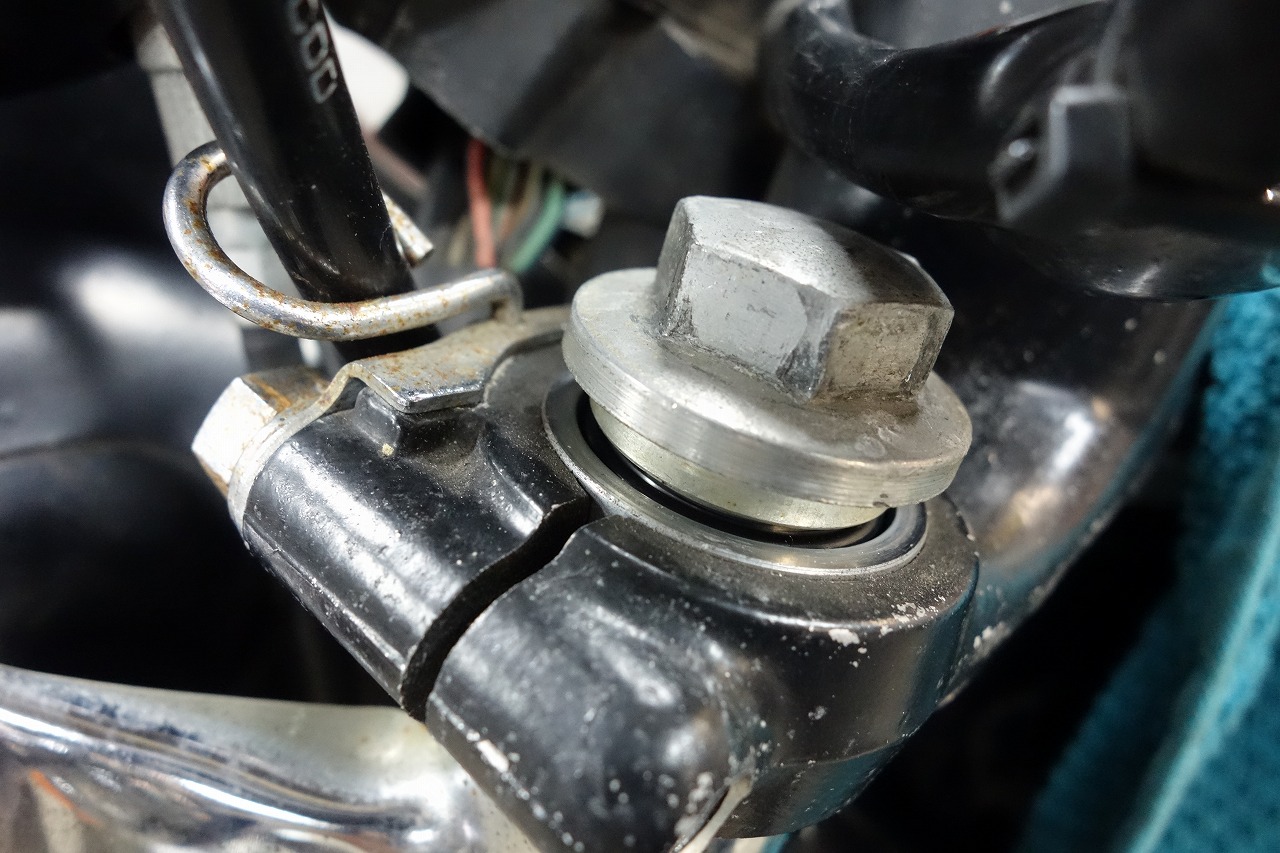
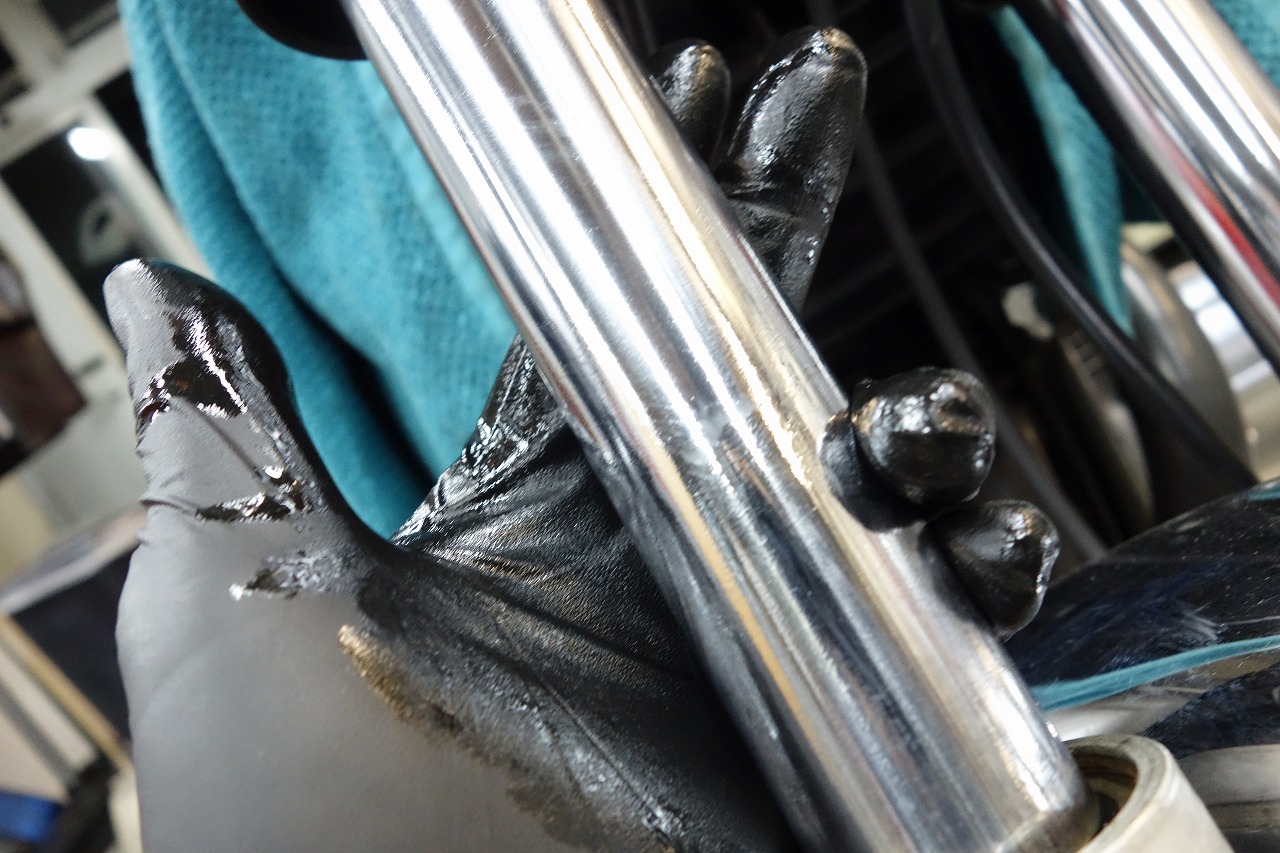
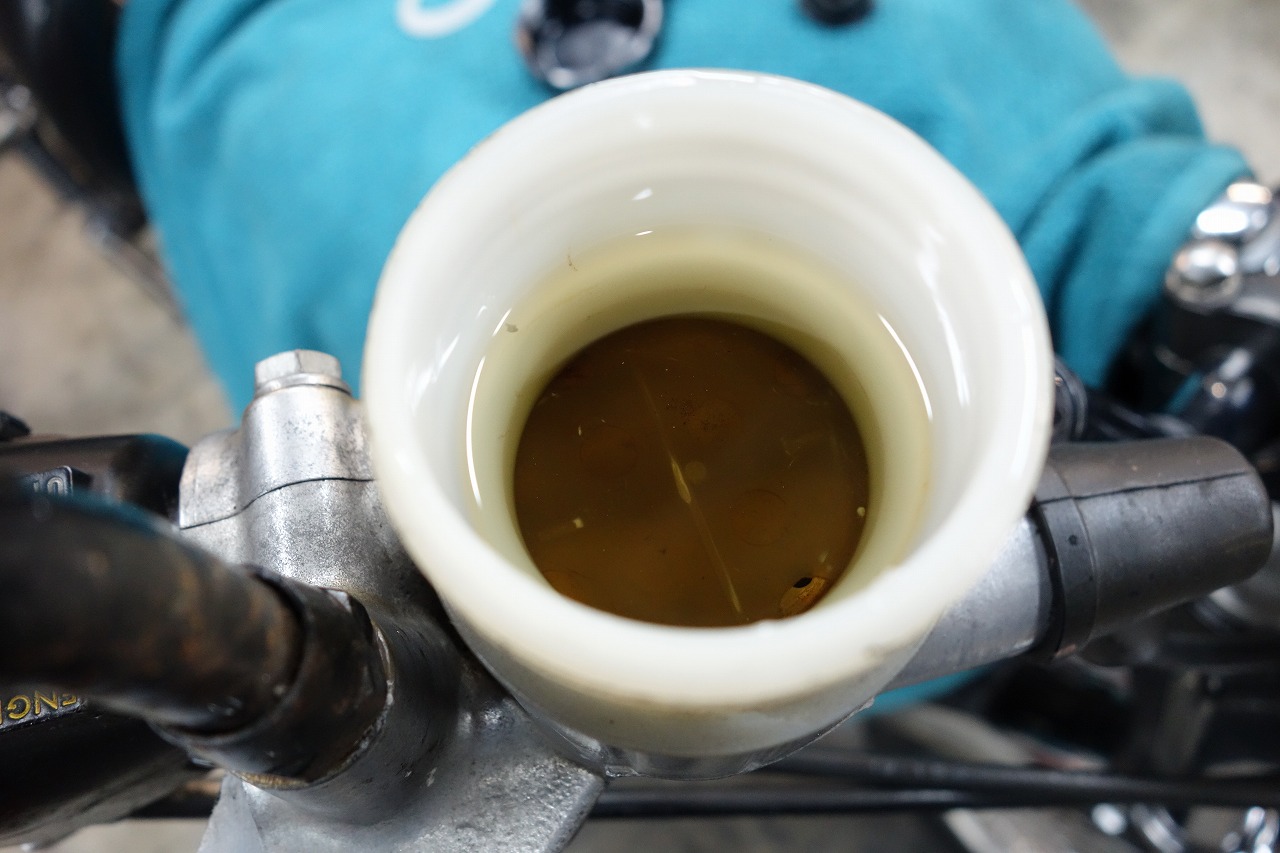
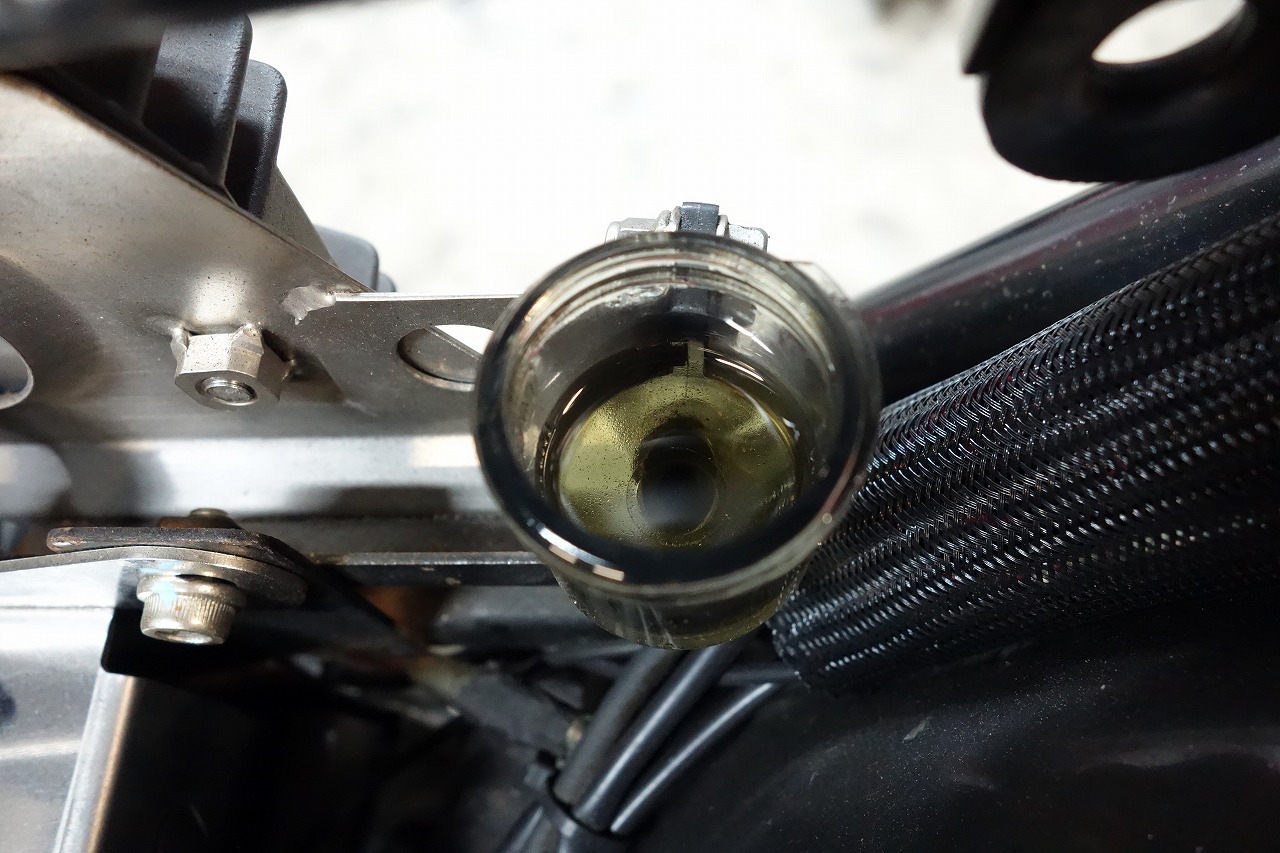
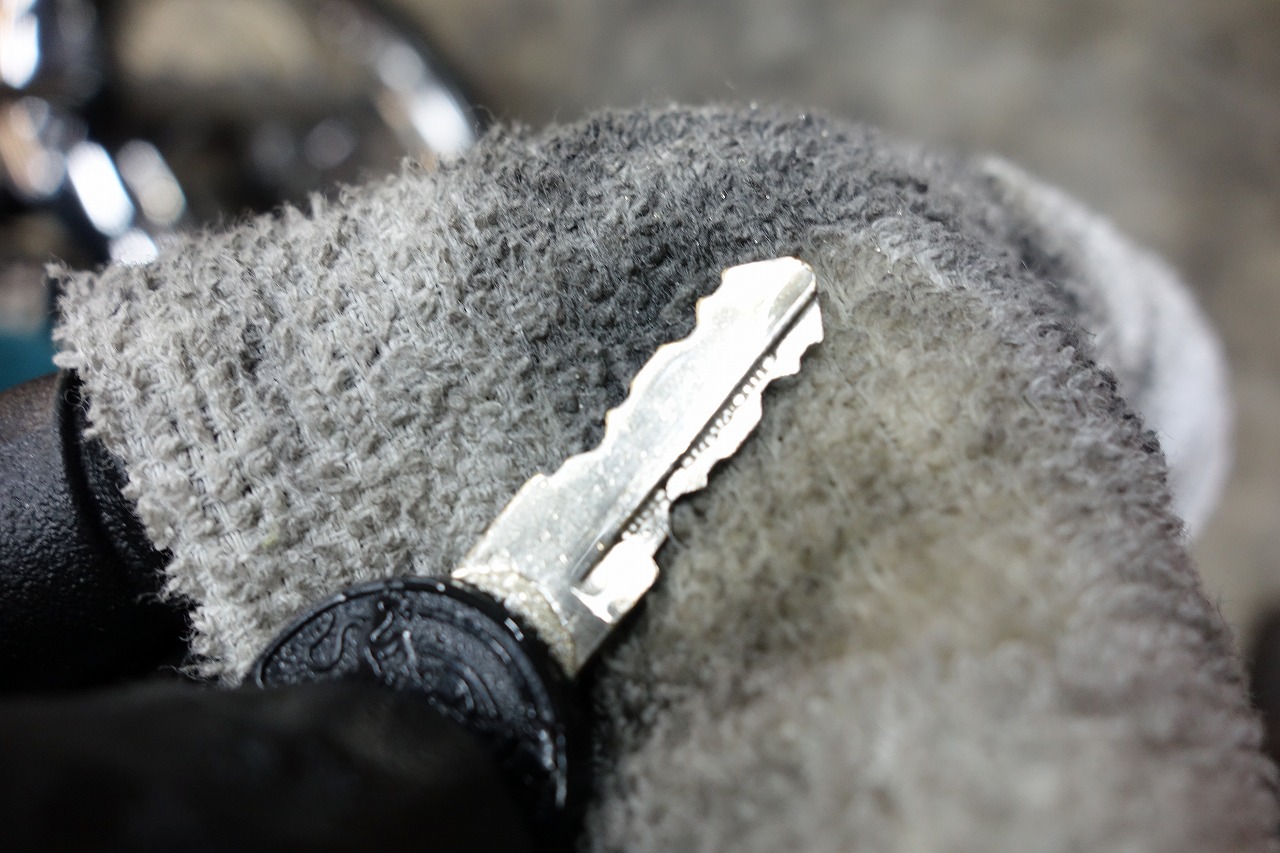
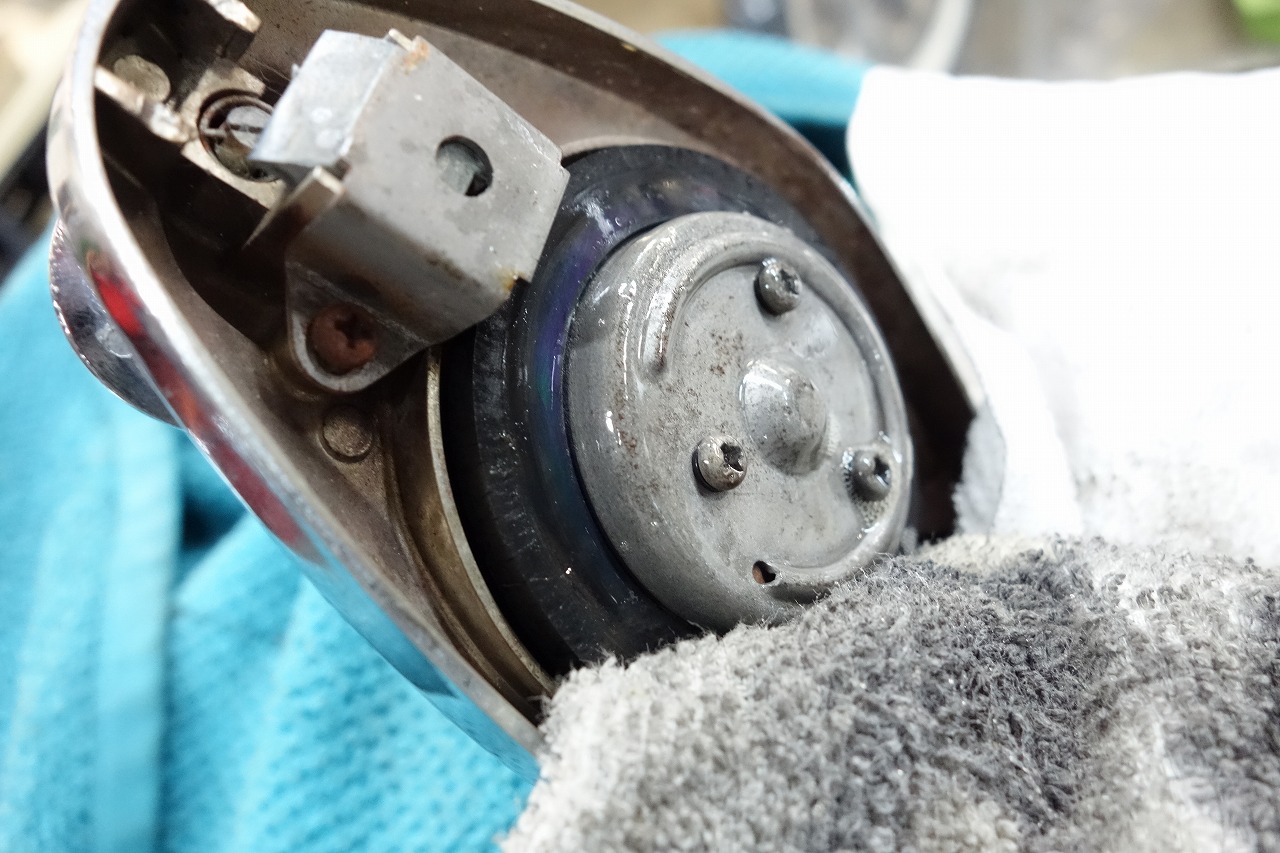
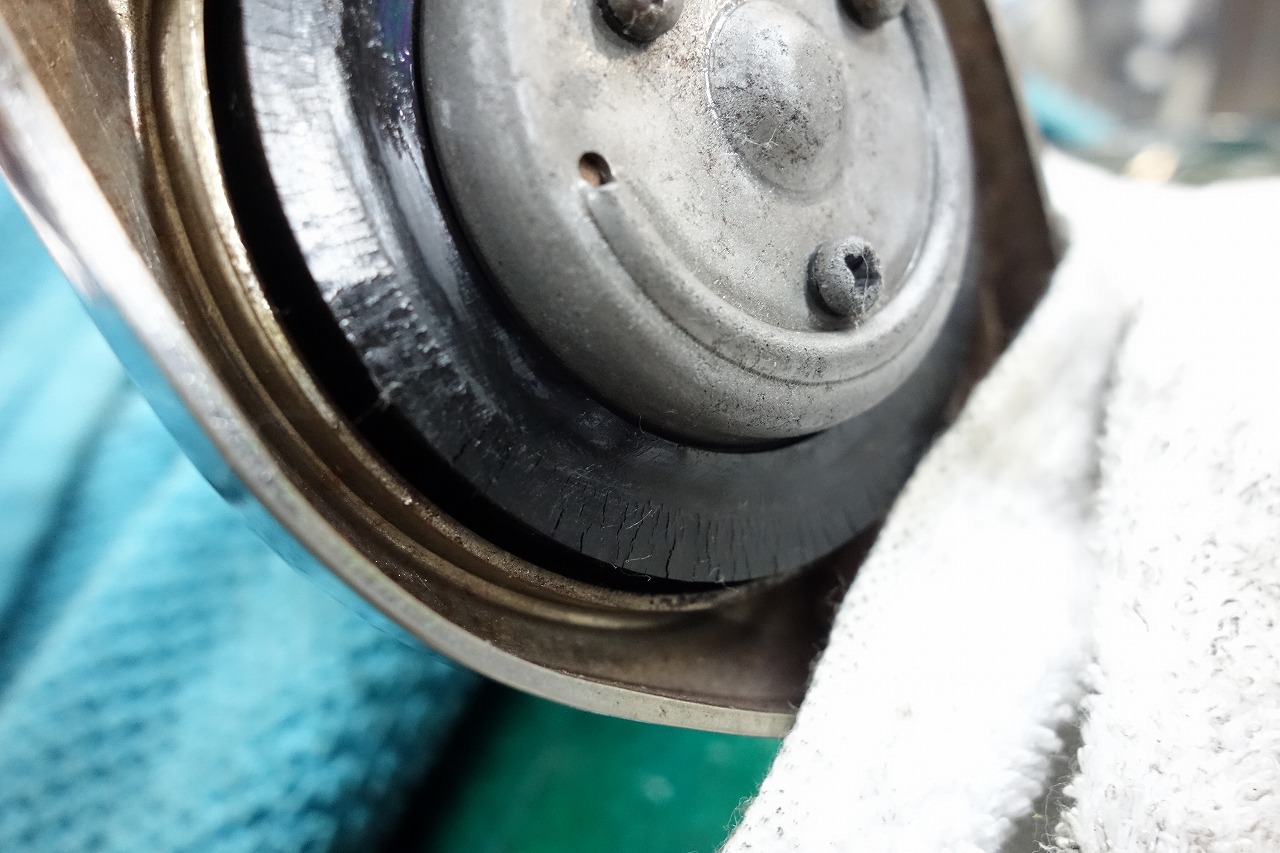
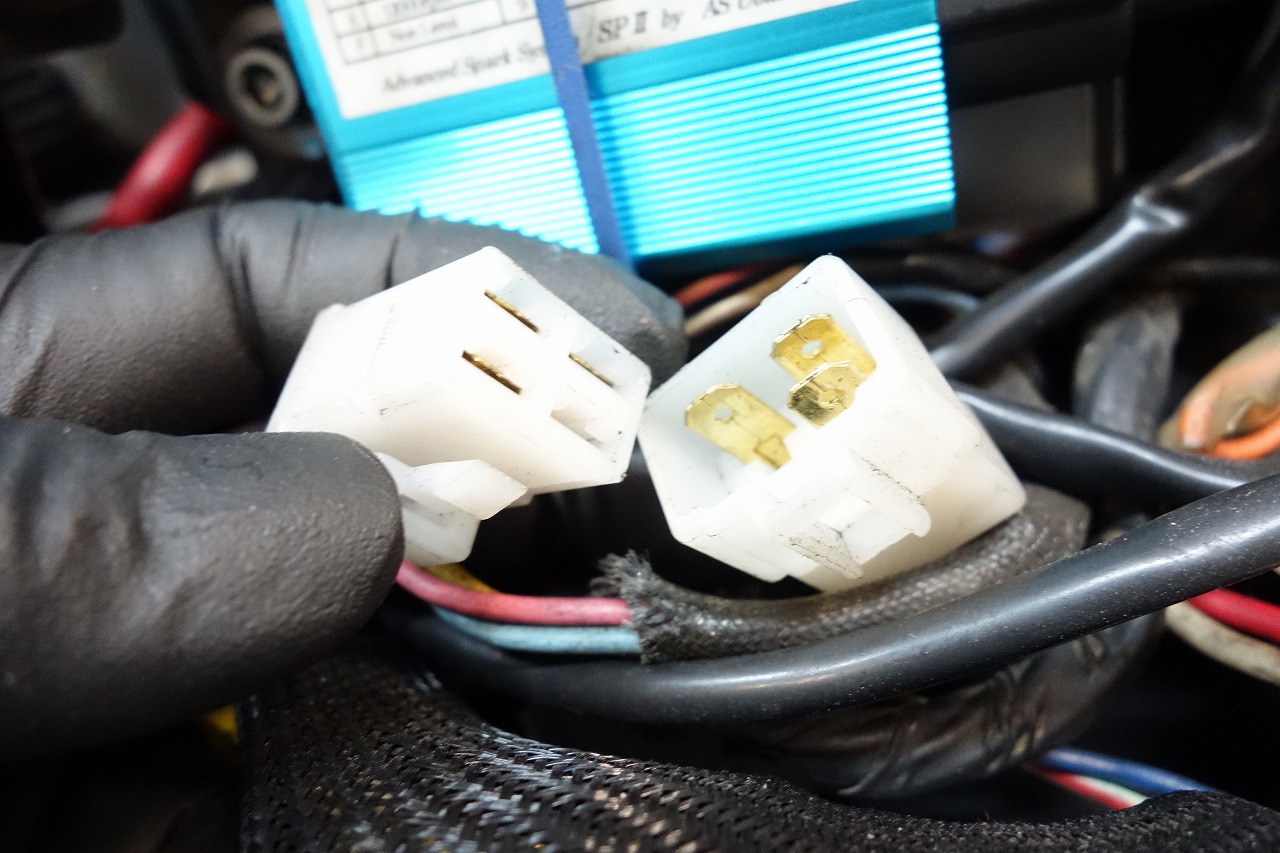
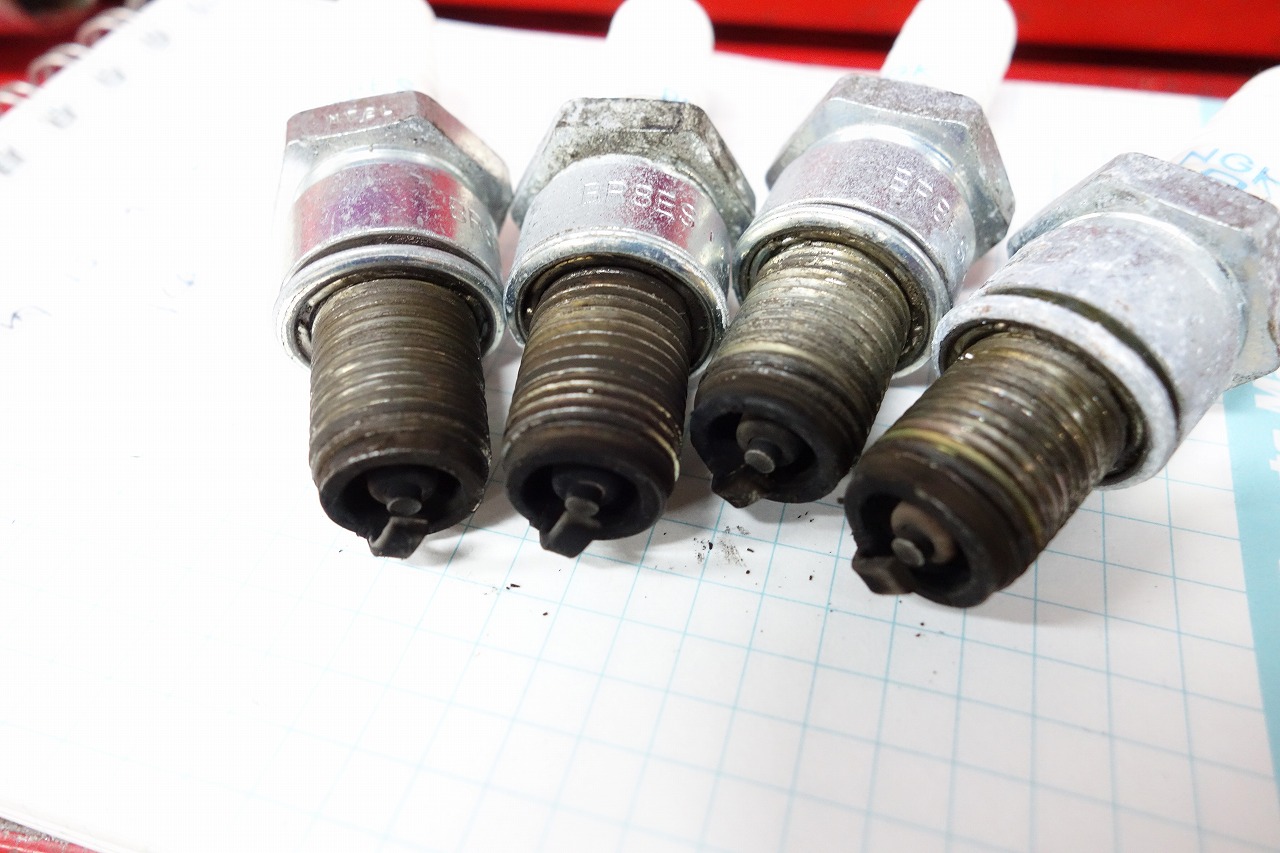
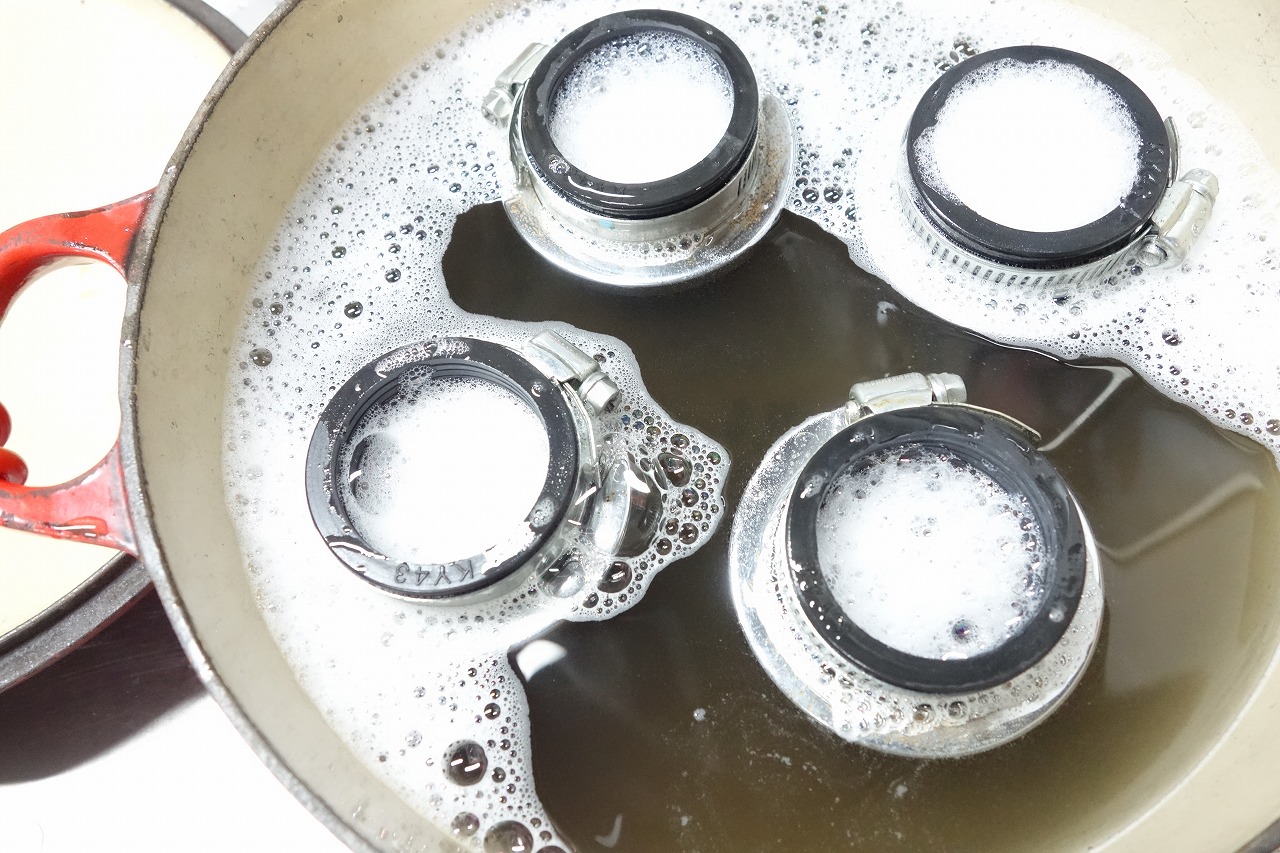
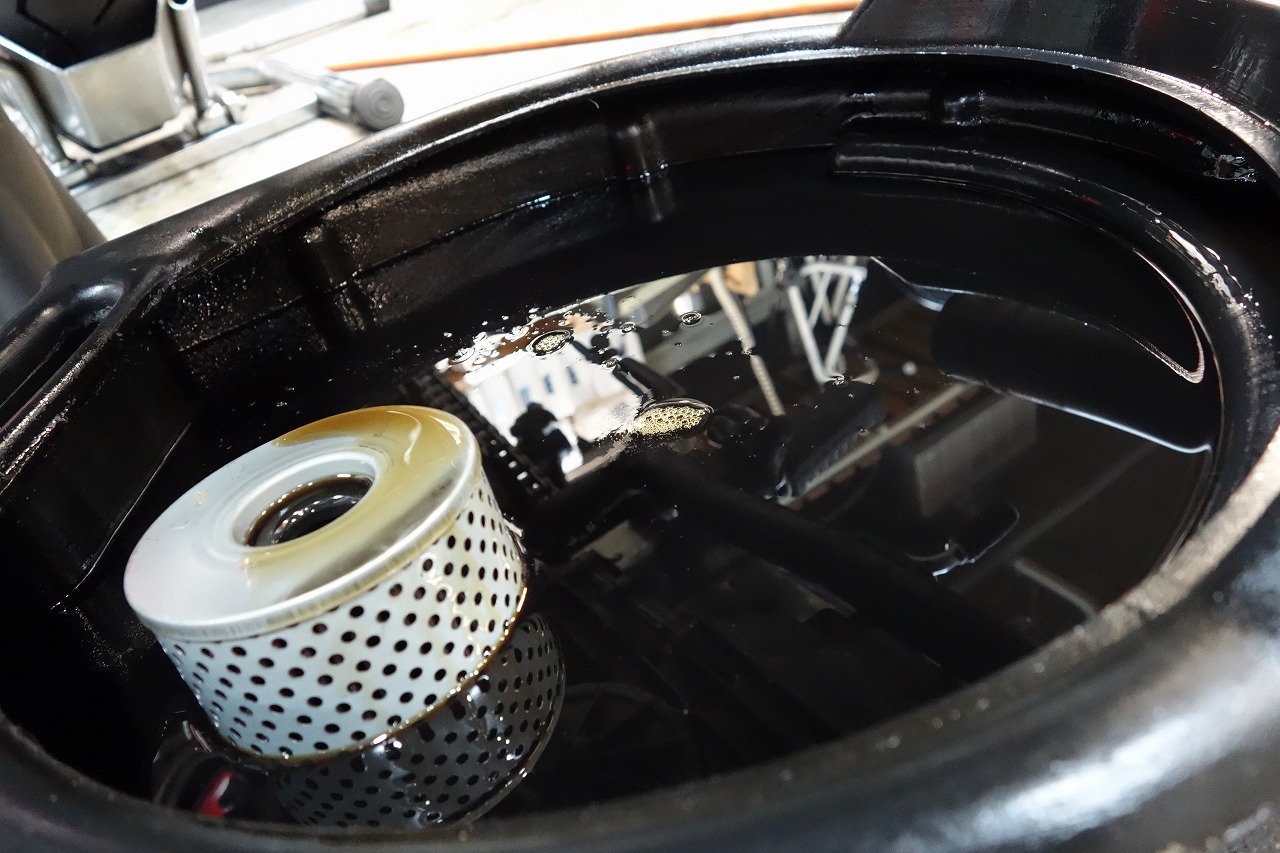
By the way, the chain is a DID 530ZVM-X. There are rear shocks that won’t fit as-is these days. If a customer bought one, what would they do? After discussion, they said it was fine to cut and spread it, so we’re moving forward in the path of least resistance. It was the same 3mm wall thickness, so we made something similar. We made an inner diameter collar and fixed it. We put it on the existing bracket and welded it. Panting away, we welded both ends first, then added a bit more and finished. We made a 5mm offset collar. The inner diameter didn’t match either, so we made this one from steel. Now there’s plenty of clearance between the chain and everything else—much better. I wonder how everyone else handles this? A side benefit of the offset: the chain case installs with just light modification—nice! Though it does stick out a bit. Next up is maintenance. We thoroughly cleaned the chain and lubricated it. Brake discs—checked the thickness front and rear. All good. Full of holes—lots to dig into! I scrubbed away while wearing a mask to avoid inhaling too much dust. Then a thorough degreasing and squeaky clean! Squeaky! After washing and degreasing, braking feel gets softer, so it’s good to brake hard during the test ride to get them biting again. Lever area: disassembled, cleaned, and lubricated. I think the durability is different between just lubricating from the outside versus taking it apart and applying grease. Throttle and cable also got lubricated. The throttle just needs a light rust-preventive coat. There’s no shift side, so just the brake side. Water seems to get in a bit. I guess you need to take it apart occasionally. *We did it two years ago. The side stand is the usual story, so we just lubricated it. Well, eventually… We opened the fork cap and refreshed the air inside. We lubricated and cleaned the front fork stroke area. Cleaned the front and rear calipers. Operation is fine. We replaced the brake fluid with Golden Cruiser DOT4. Cleaned the key grooves too. Debris builds up gradually. Little things, done consistently. The fuel cap can get condensation inside, so we occasionally spray it with rust preventative and wipe it down. I think it helps a bit. The cap gasket is looking sketchy. I wonder if parts are available. Checked the charging system connectors. No issues. Plugs are a bit carbon-fouled. Let’s keep an eye on it. K &N filter washed. It was dirtier than expected. Engine oil was changed to Newtech NC50 10W-50. I’ve skipped some details, but that covers the work for this time.