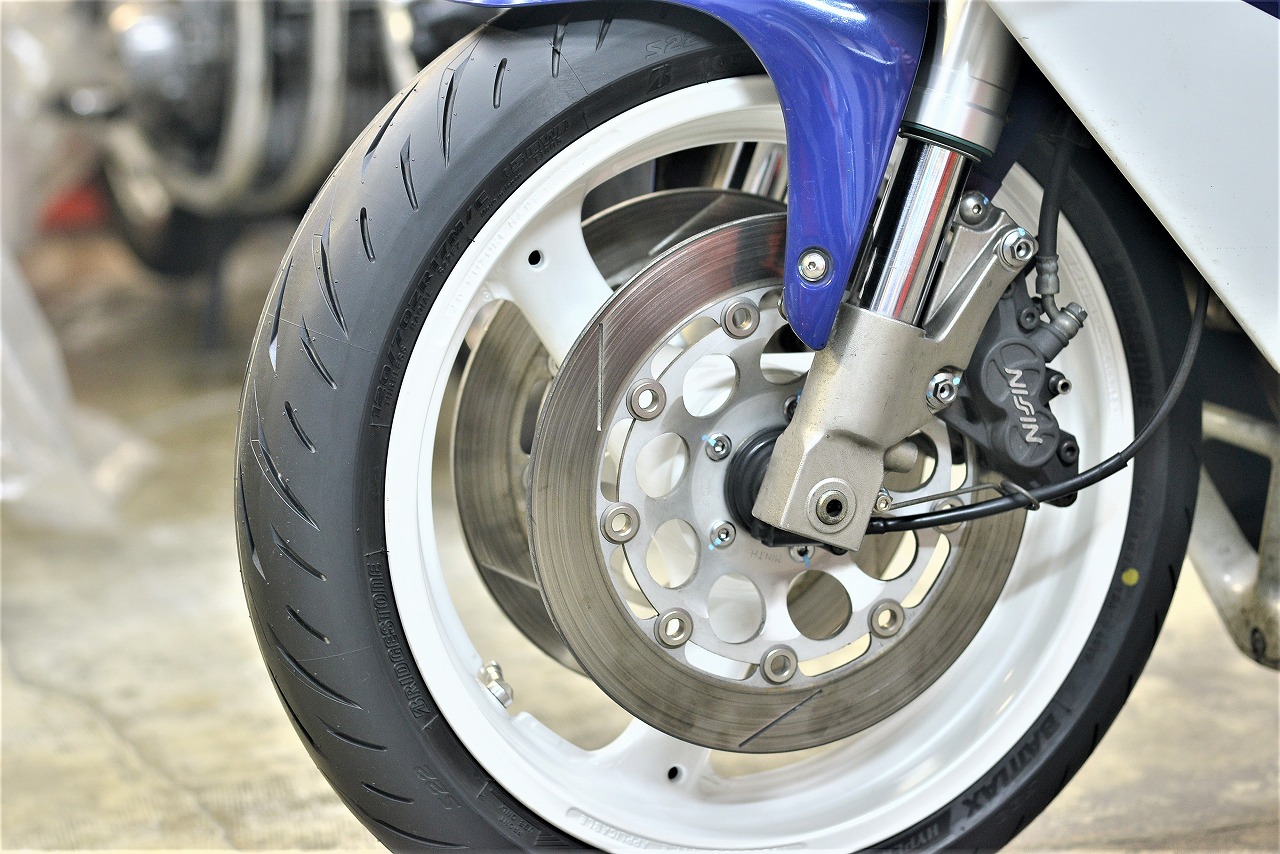
The wheel painting is finished, so let’s quickly get it installed!
As always, it’s turned out beautifully.
Nishimura Coat Grizzly
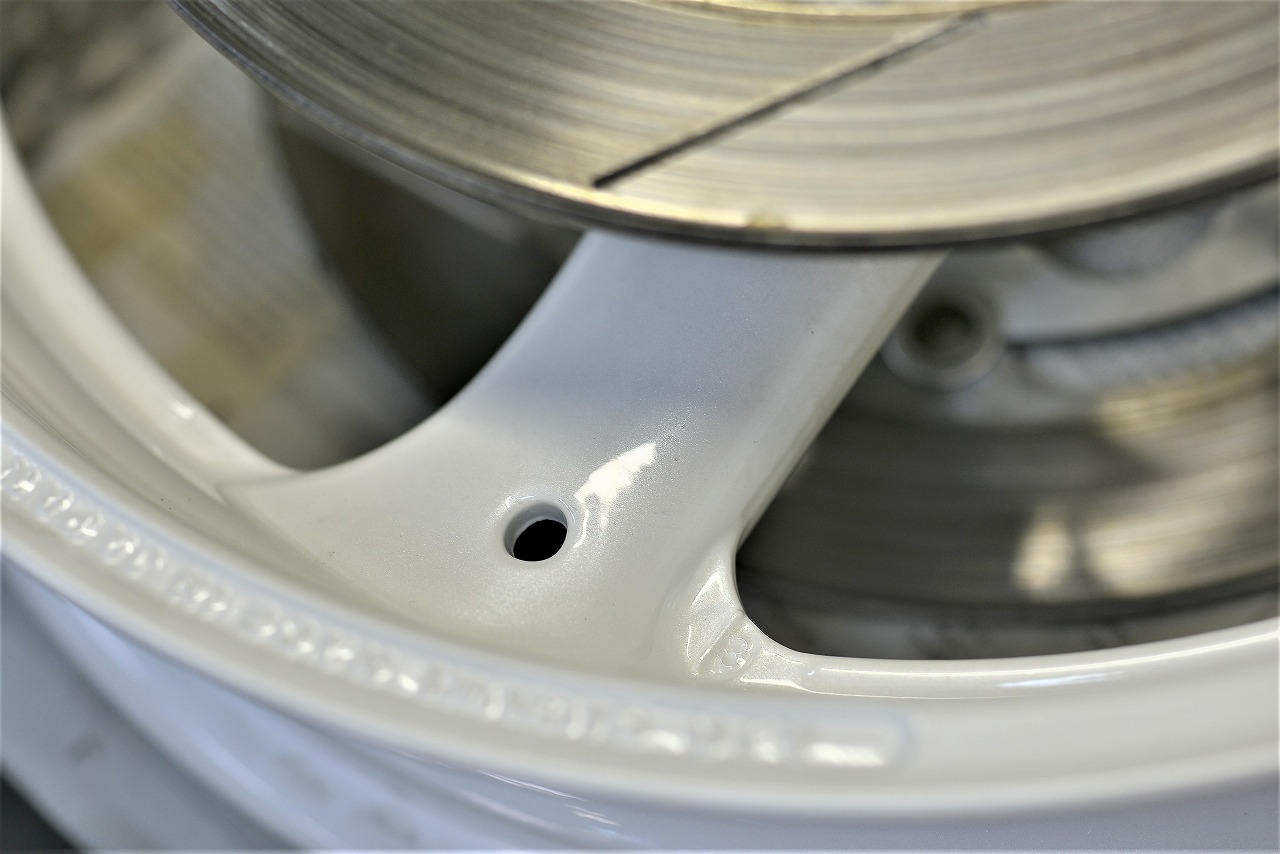
White = pearl white. This is the standard and what we recommend.
I’m not sure why, but it has that “swoosh” feeling to it.
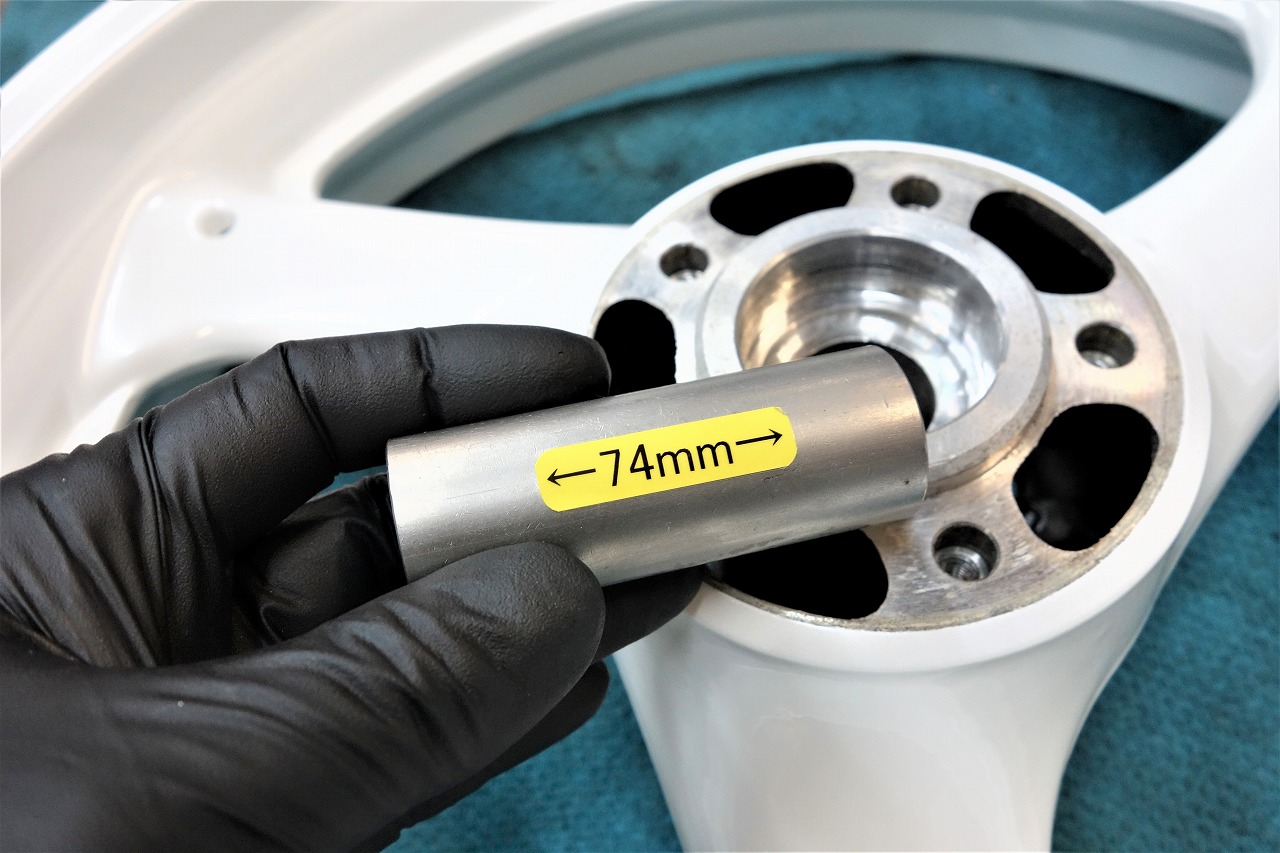
Installing the bearings.
The P-TOUCH really does make cleaner lettering!
For you Tepra fans out there—now’s your chance? Well, maybe not.
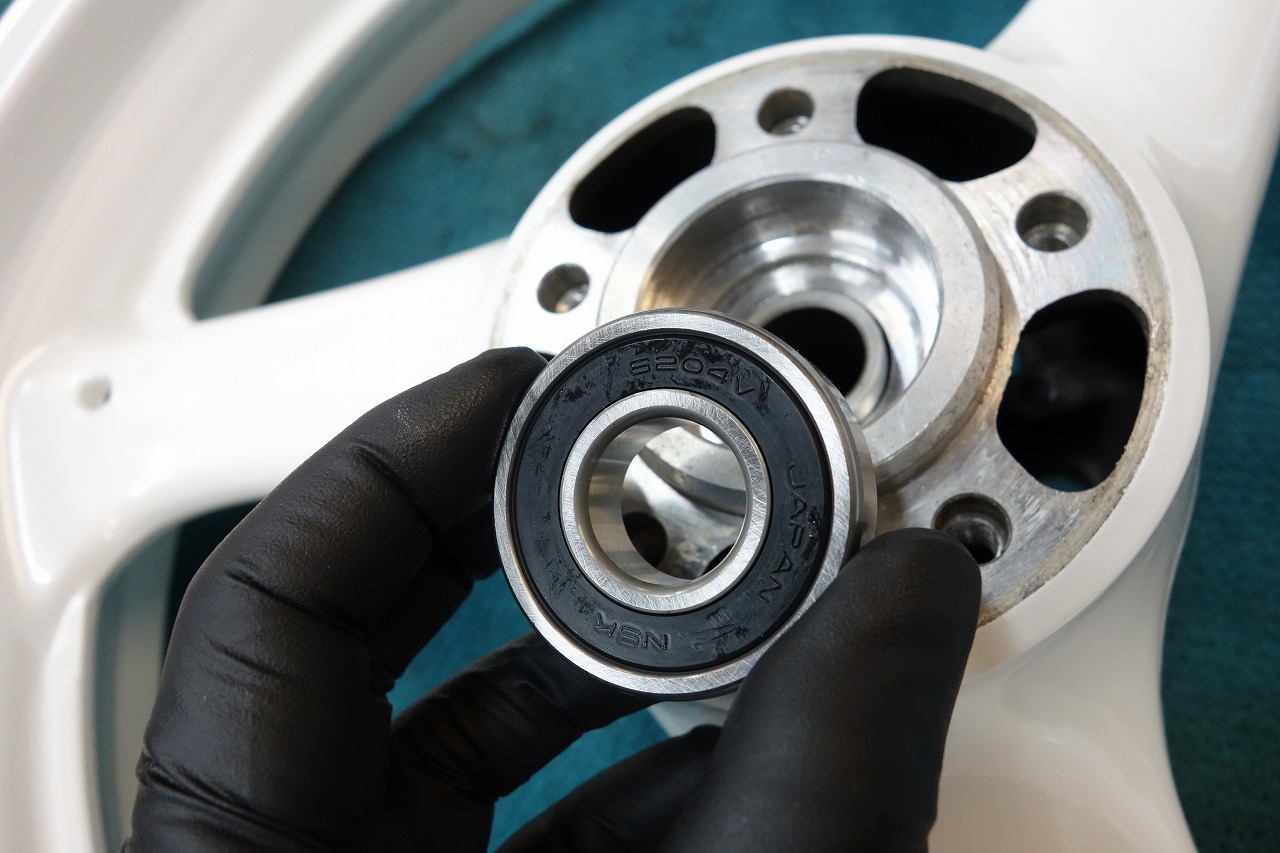
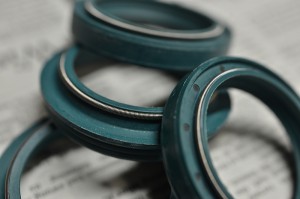
Double-sealed bearings lose less grease and last longer.
I’m in the non-contact camp, and some prefer contact seals so things don’t get oily—there are various factions out there.
I wonder if there’s a no-seal faction that wants to replace the grease…
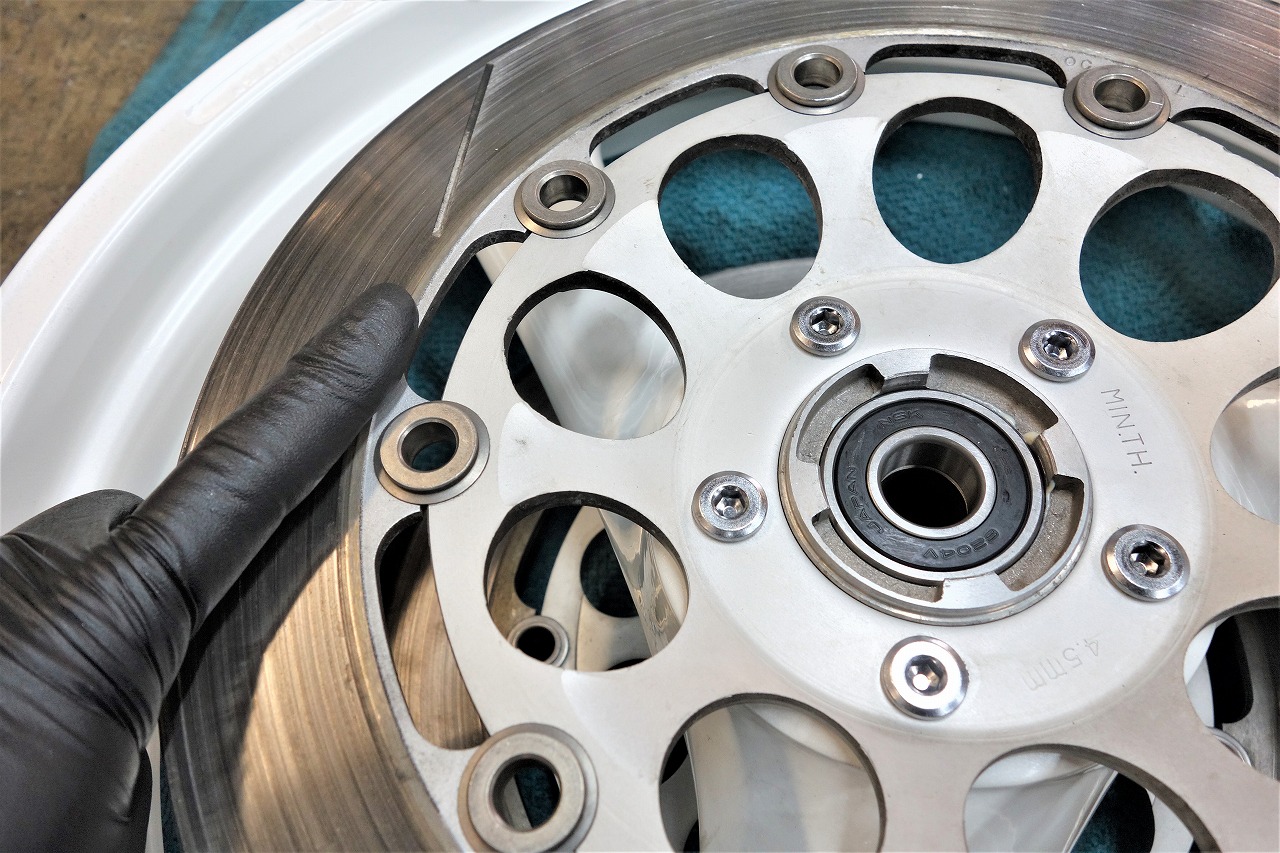
When fixing the disc, we align the hole tolerance (play) and tighten it.
*To make it as resistant to loosening as possible.*
We push in the direction the brake engages—the reverse rotation direction—with a firm push, then tighten it tight!
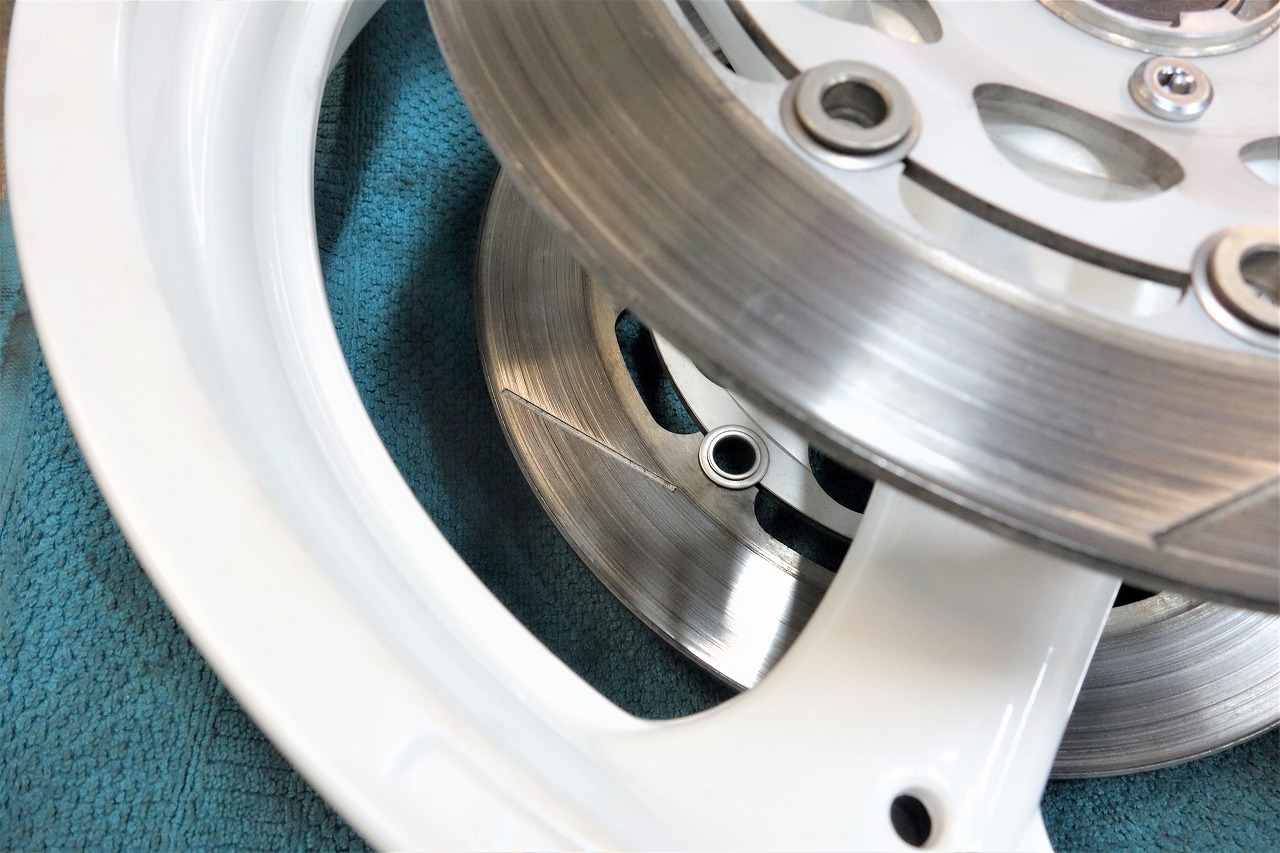
It’s interesting to offset the slit or hole positions left and right.
When left and right are aligned, the sound and vibration feel like “whoosh! whoosh! whoosh! whoosh!”
When left and right are offset, it becomes “whooshwhooshwoosh” instead.
The brake feel might improve a little.
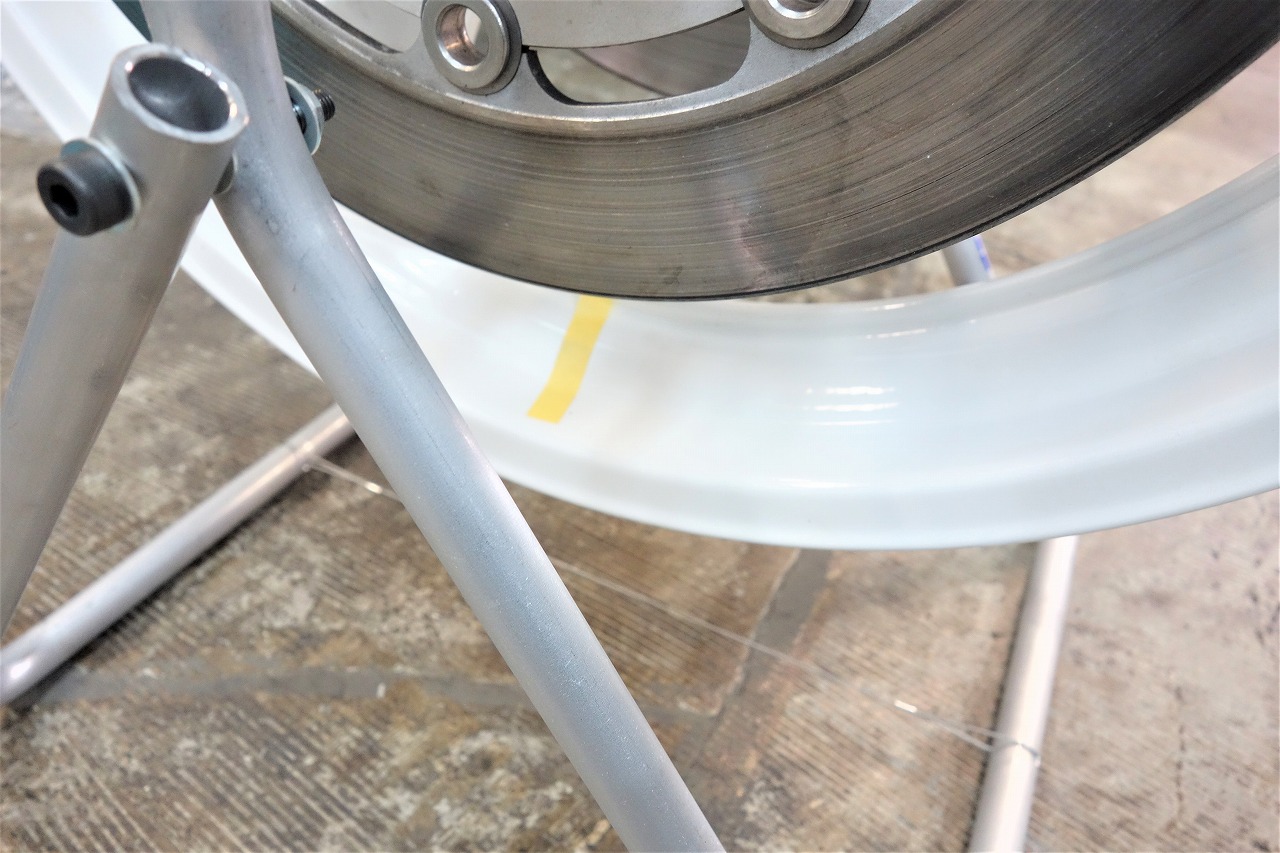
Now we’re installing the tires. First, we mark the heaviest point on the wheel alone.
Next, we align the tire’s light point to this mark.
The standard instruction is to align the light point with the air valve.
However, on OEM wheels, the air valve position isn’t always the heavy point.
*Following the instruction can sometimes mean you need a huge amount of balance weight.*
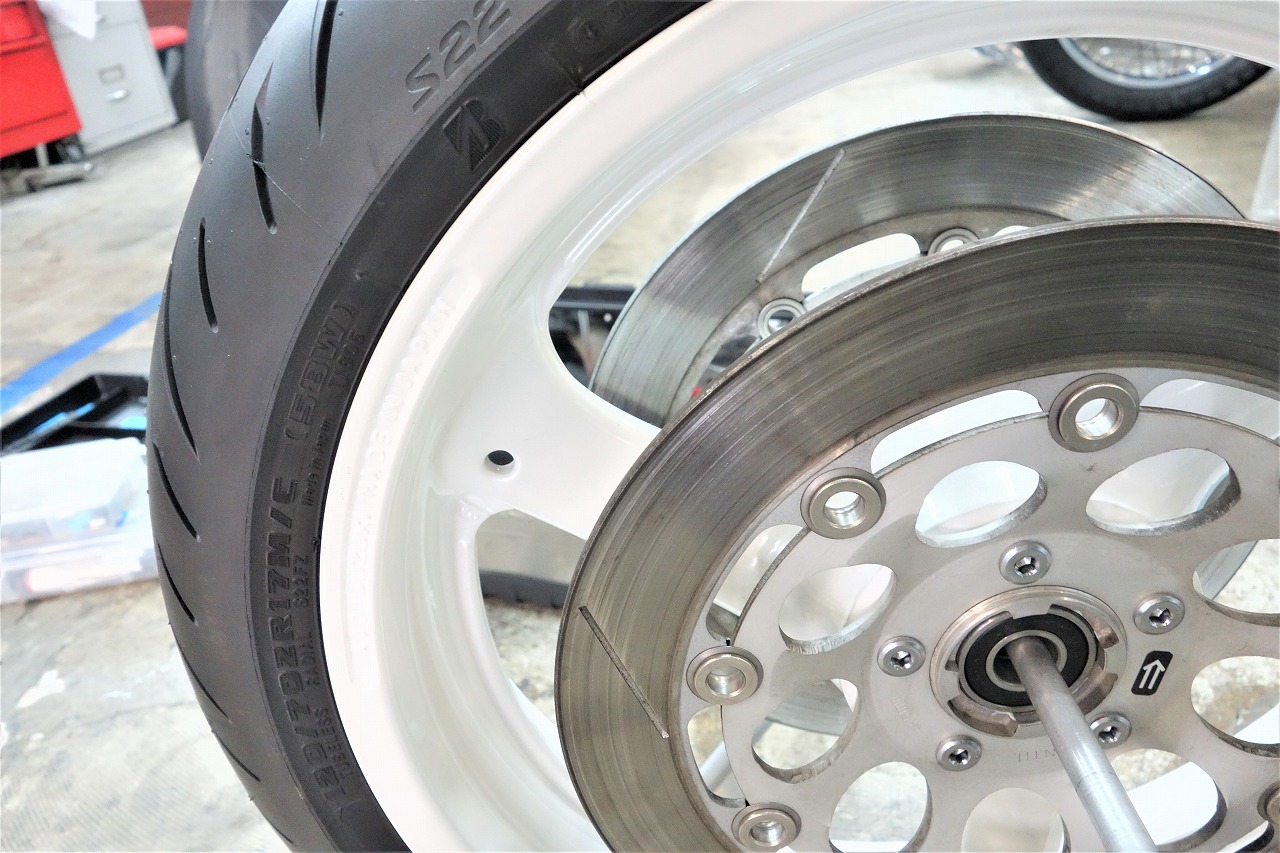
So this time it was zero grams.
Thanks to our manual tire changer, whether it’s a mag wheel or a painted wheel, we’re not scared at all.
Hand assembly? I couldn’t do that anymore—too scary.
And that’s how we finished it up!