Good evening at this hour!
Lately the server has been so slow that image uploads and blog updates have been falling behind.
I’m really glad I bought that notebook computer.
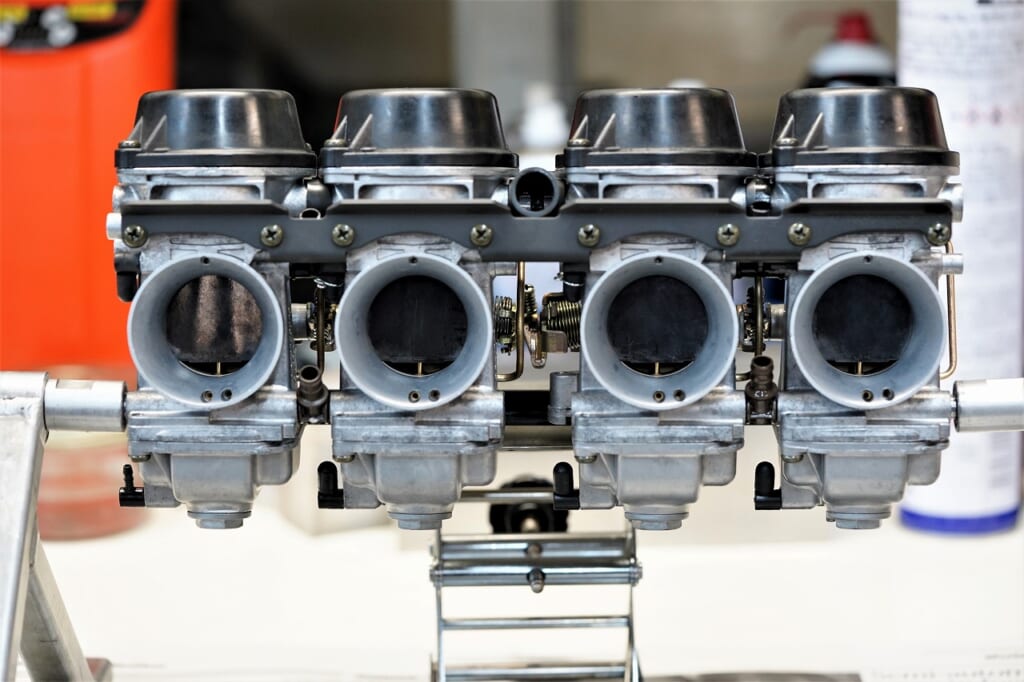
Let’s get the carburettor disassembled smoothly.
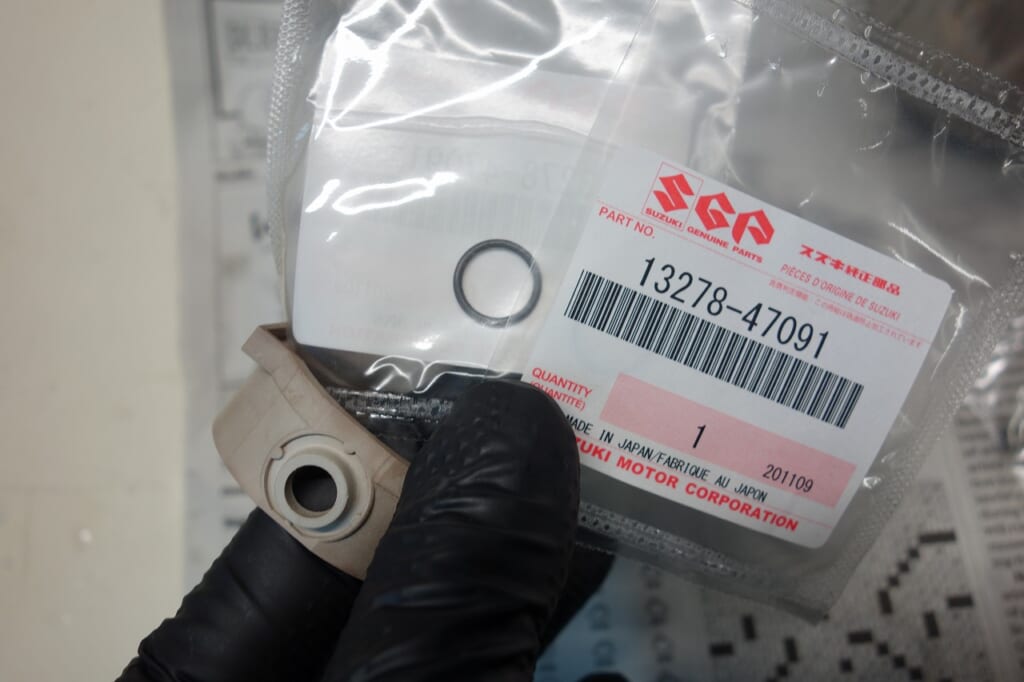
Here’s the O-ring under the block.
Why it’s not announced, I’m not sure. This one works for all BST carburetors.
By the way, anything under 36φ is unconfirmed.
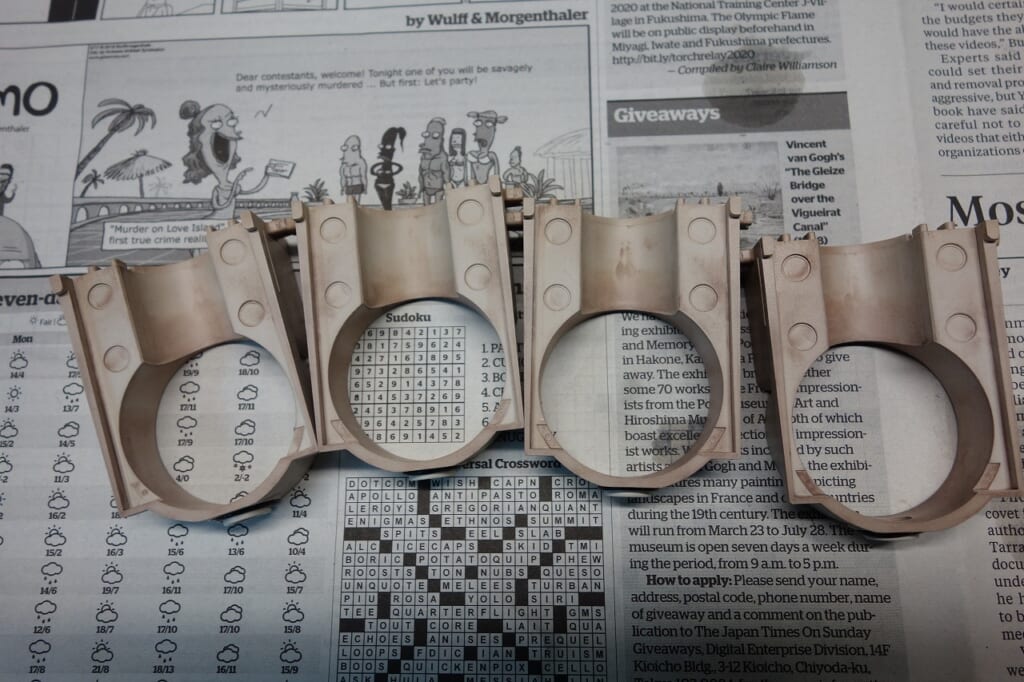
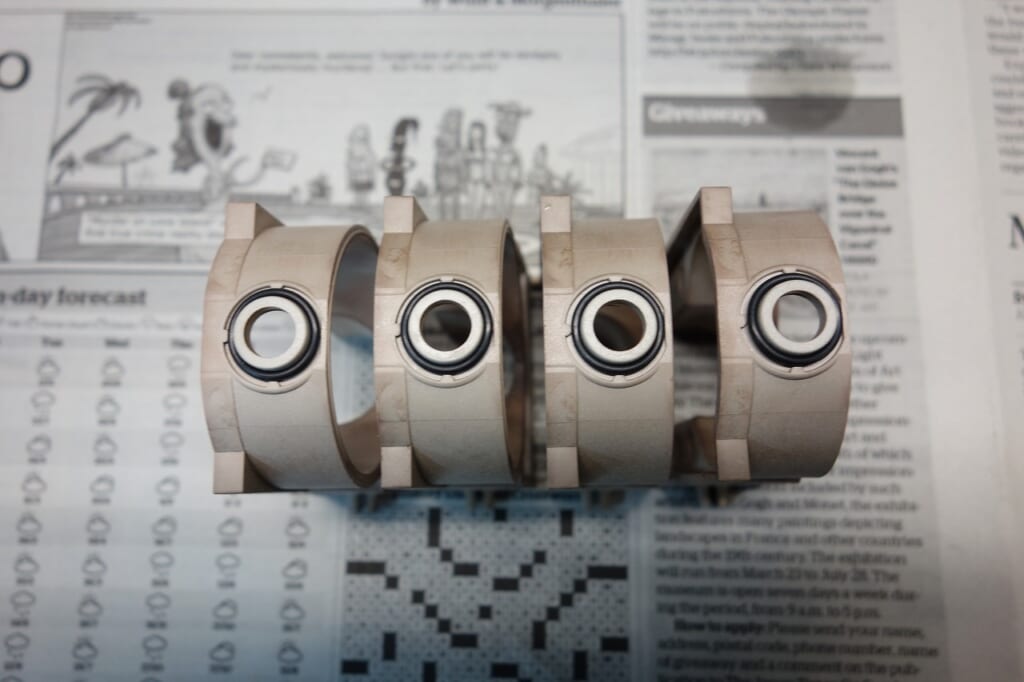
I cleaned the block as much as possible, but the stains are… (´;ω;`)
The O-ring will eliminate side leakage like this, won’t it?
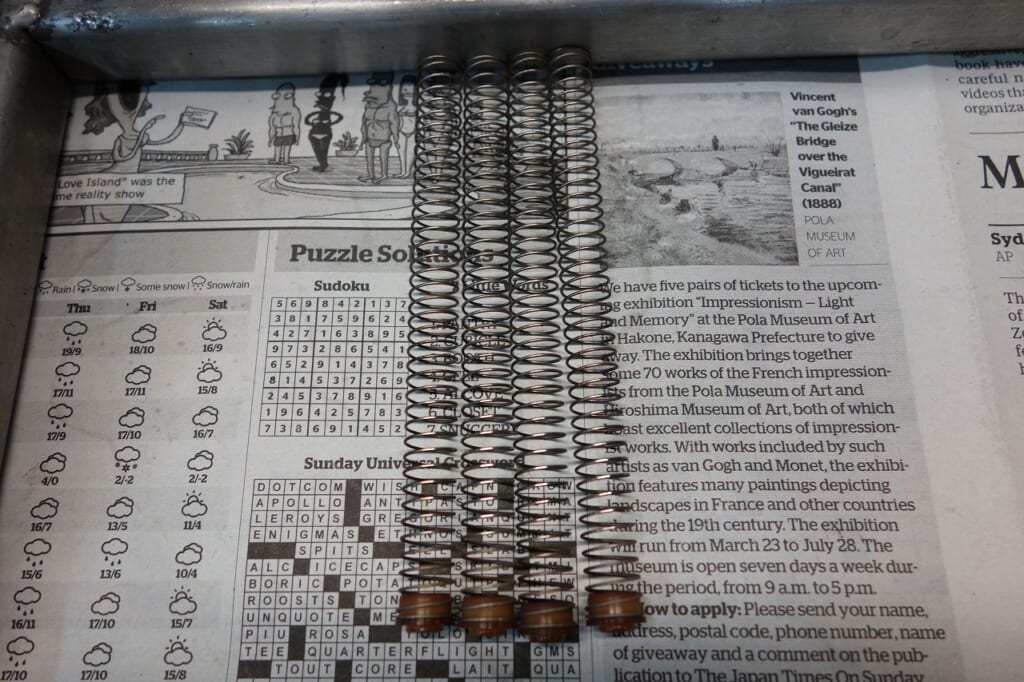
Occasionally BST carburetors have mixed-up springs, so definitely check.
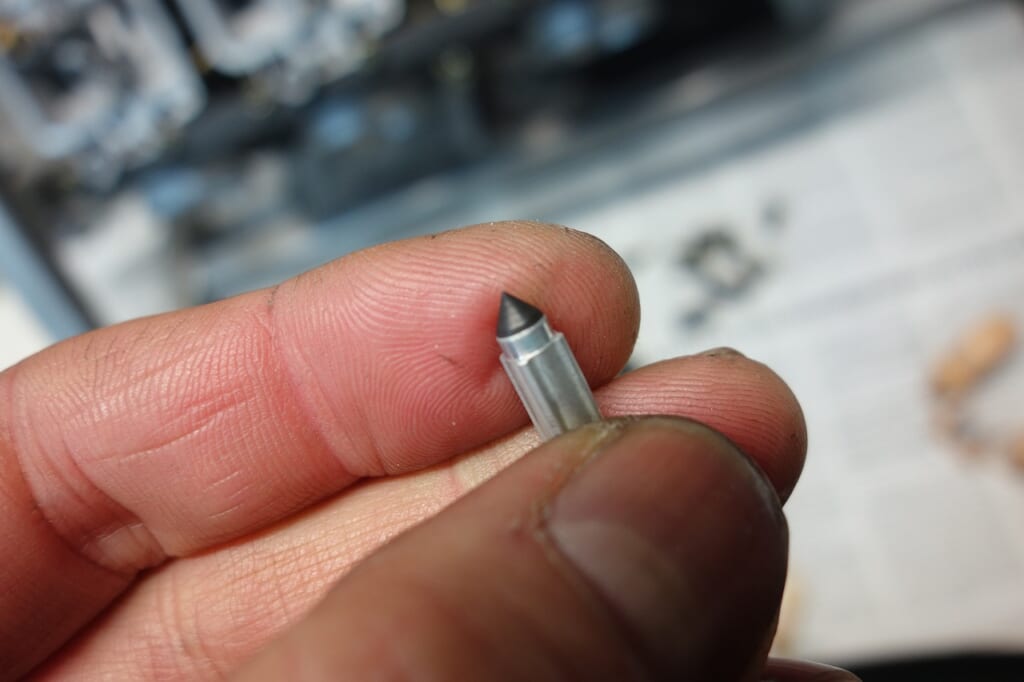
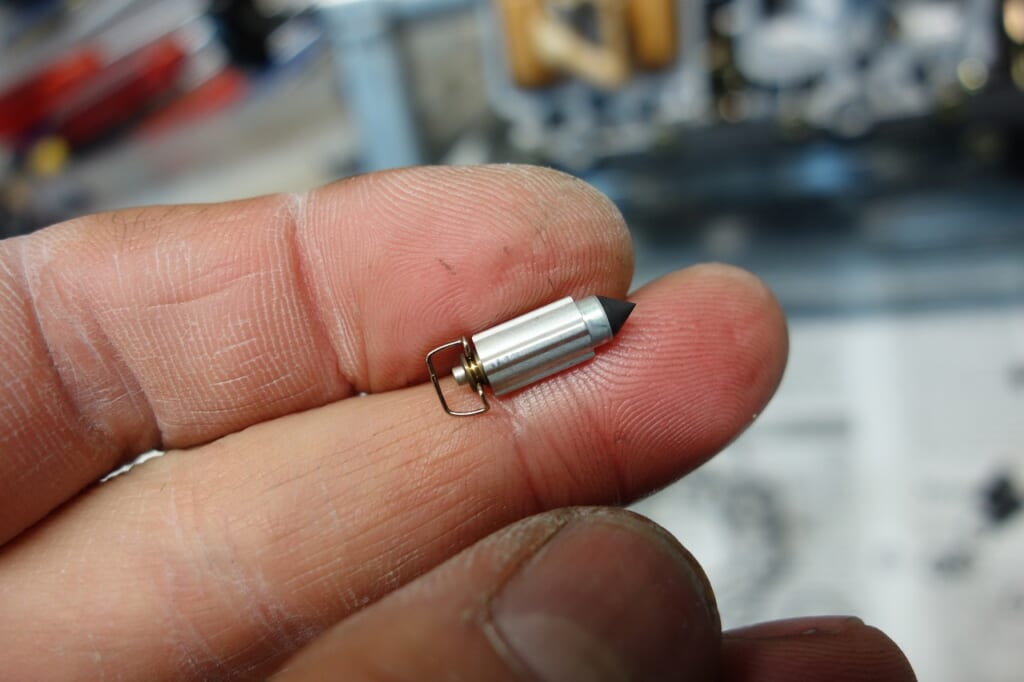
Rubber-type float valves really last a long time. The ways they fail are…
• The rubber tip hardens—this might cause leaks more easily than step wear
• Wear on the protruding part of the body—the float valve loses its center in the cylinder and can get stuck
• Pin actuation failure at the float T-lever contact point—carburetors with rotten gas almost always fail here!
On a four-cylinder with rubber-type valves and actual same-model use, it’s rare to need replacement even if things get pretty bad.
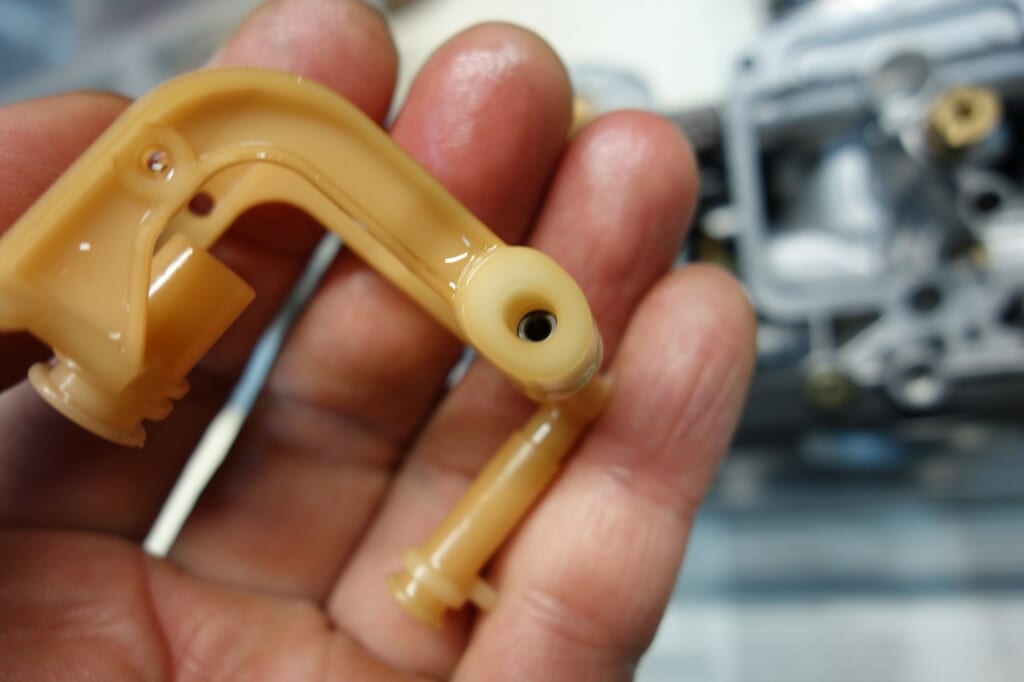
The separate float bowl has a starter (choke) passage. If gas goes bad, it clogs instantly, which means poor choke response.
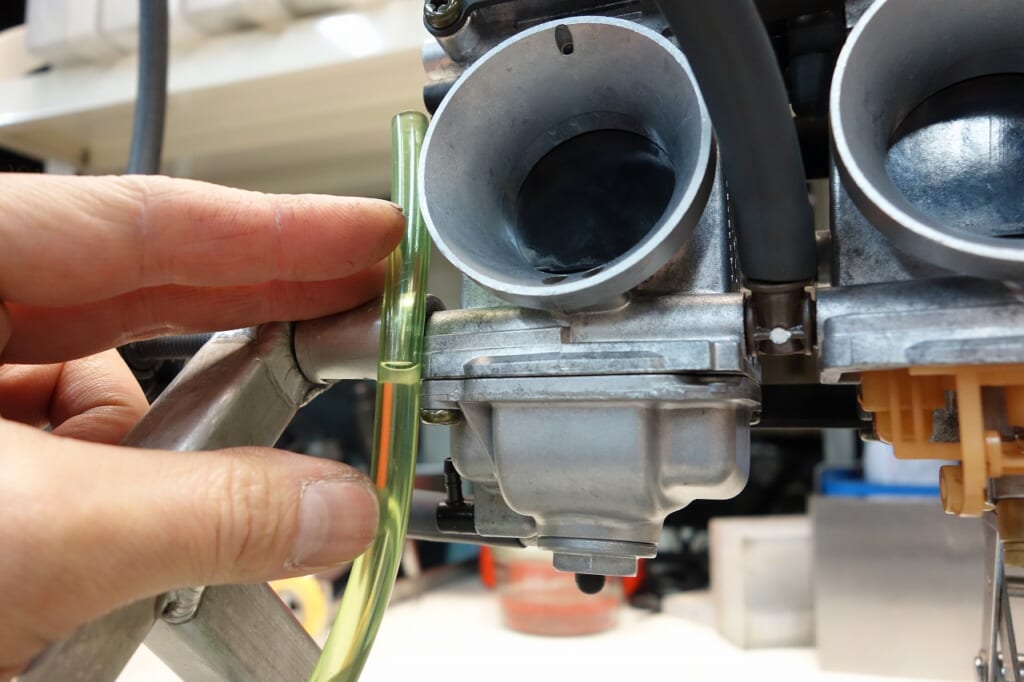
Checked the actual fuel level and reassembled. Four of them done in under 30 minutes normally…
I really think about how strange that leaky BST from the other day was.
More to come.