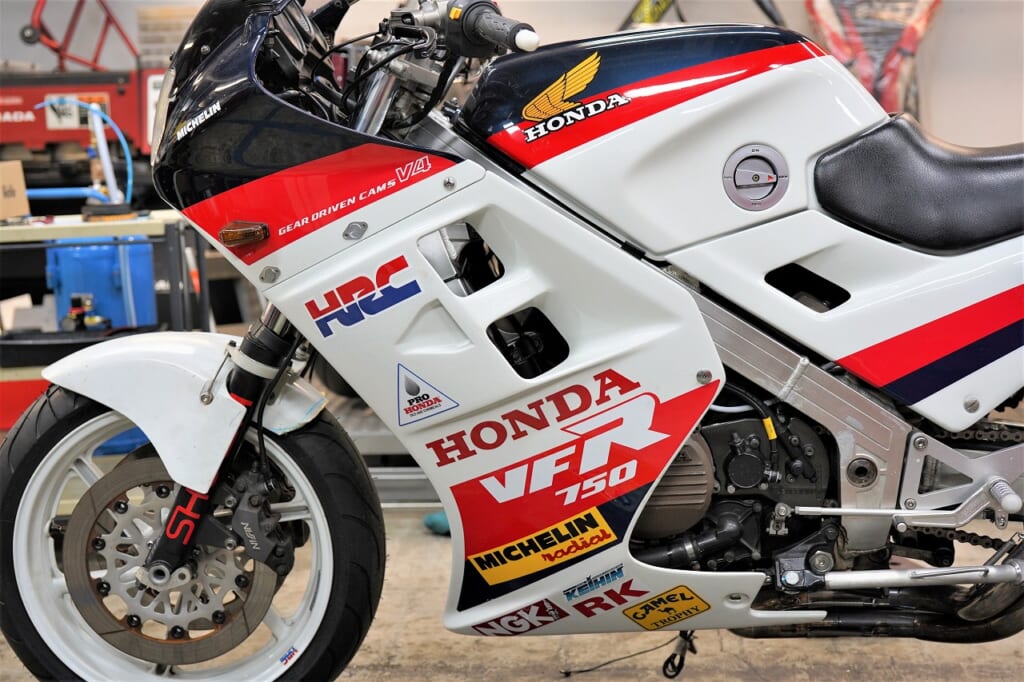
Time just keeps slipping away~ (;∀;)
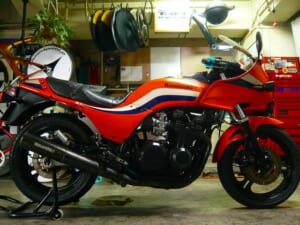
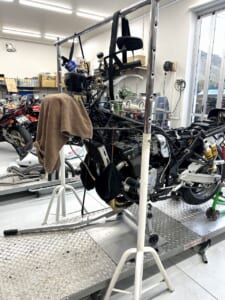
This VFR and GSF are taking a bit longer than expected. I want to push ahead at full throttle without cutting corners.
Hoping work requests don’t pile up too much~ (praying)
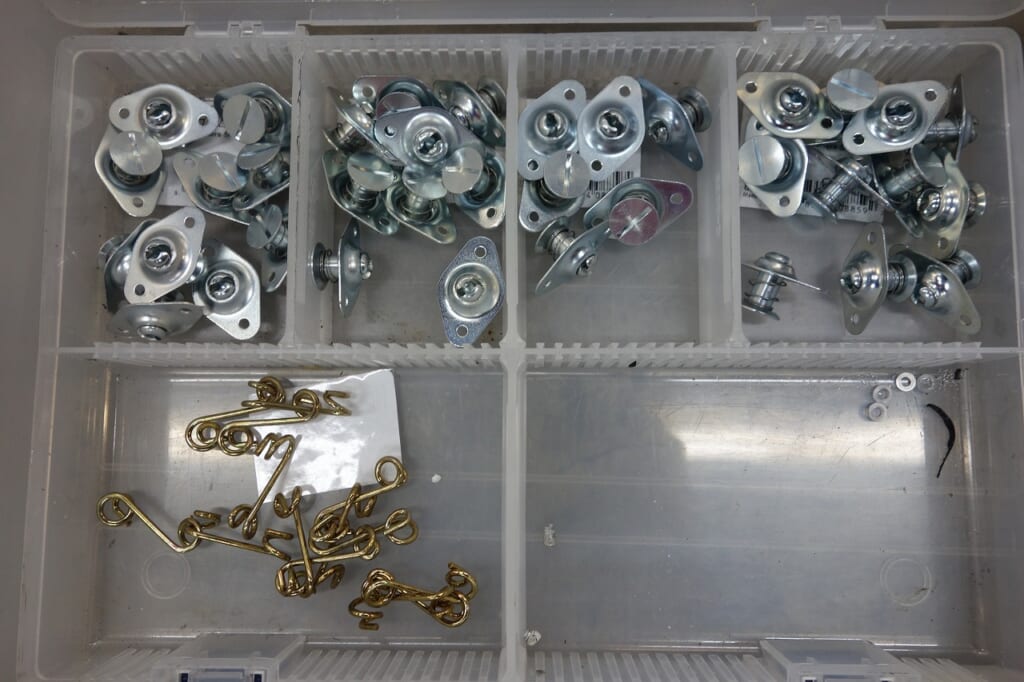
Installing panel-style fasteners.
I’m really not good with these panel fasteners…
The reasons are:
① The fastener neck length issue
② The fastener fixing rivet back side problem
I saw a vehicle with fasteners done this way before, and the finish was like “well, this is the only way to do it~”.
Maybe that’s why few people show the inside.
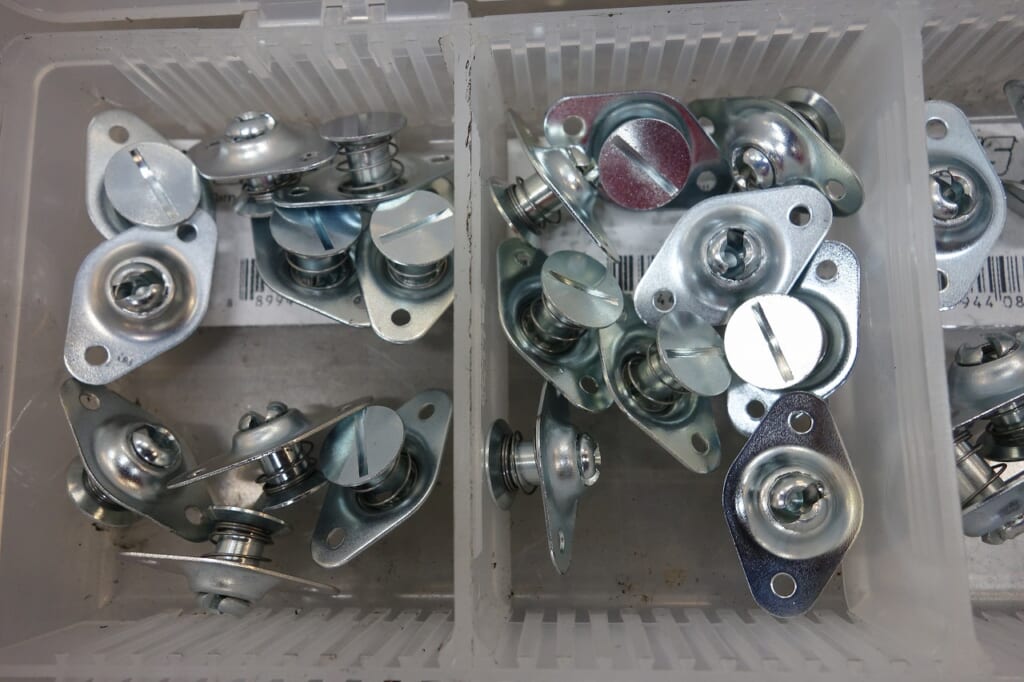
I really didn’t want to run into problems after machining, so I made four types with 1mm increments in neck length.
That way, I figured I wouldn’t have issues most of the time…
And also with the hope that I might do this again in the future.
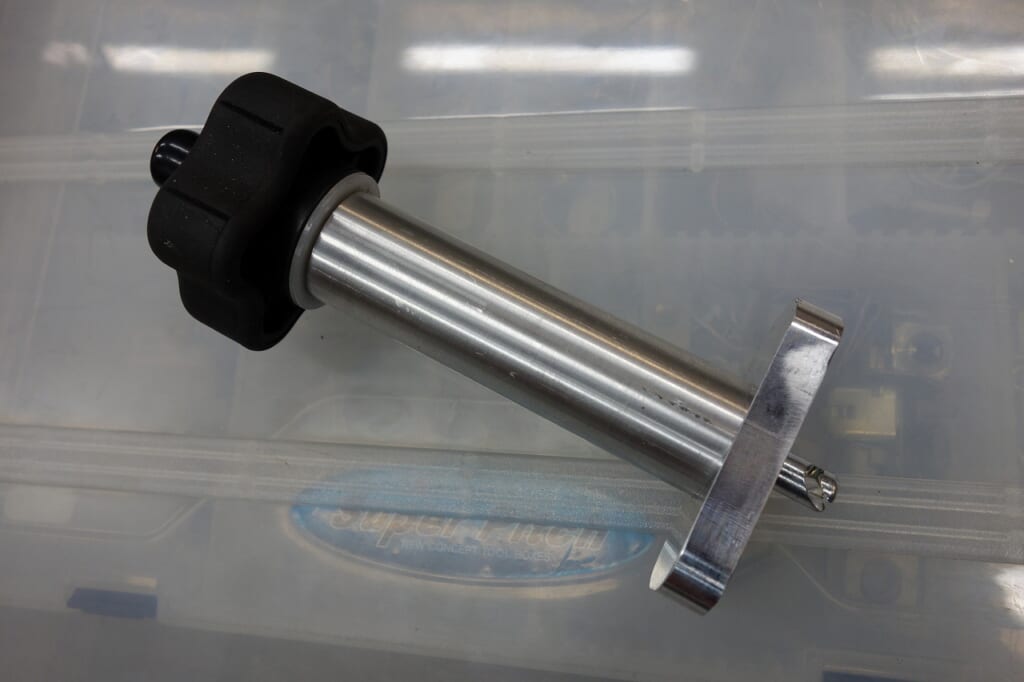
I’ve also acquired a tool for adjusting the fastener receptacle.
It makes a huge difference having it versus not. When a fastener is loose or tight, you can work around it.
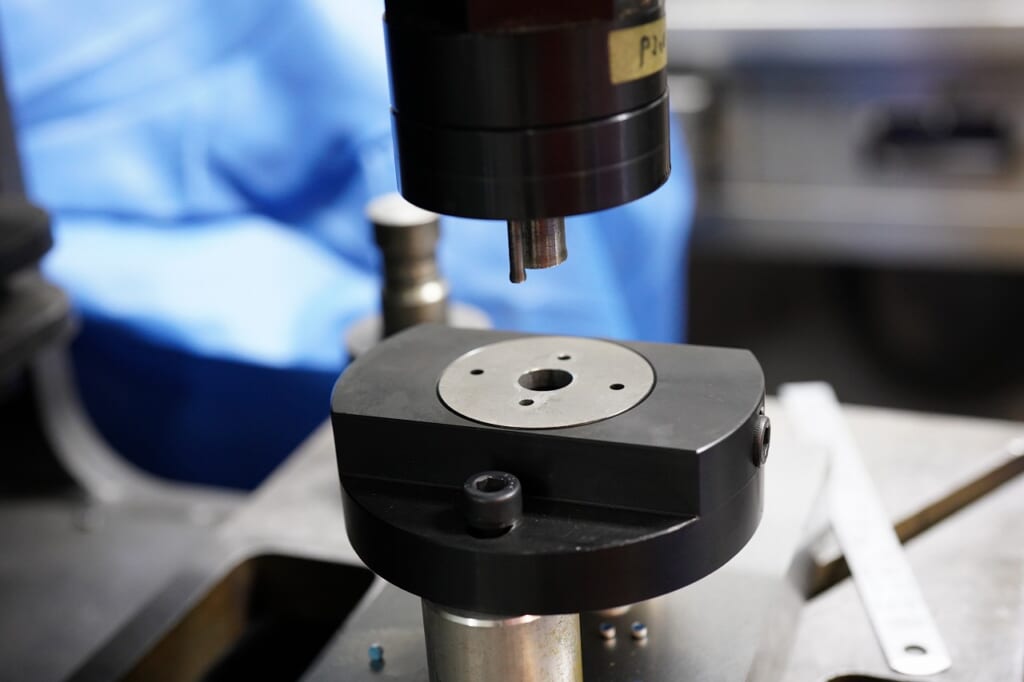
Isn’t making fastener receptacle plates a pain?
So I arranged for a mold.
But it couldn’t be used as-is, so I made modifications here and there to make it easy to install.
That was a lot of thinking too~
So I’m declaring molds are awesome, right?
Now let’s proceed with the installation.
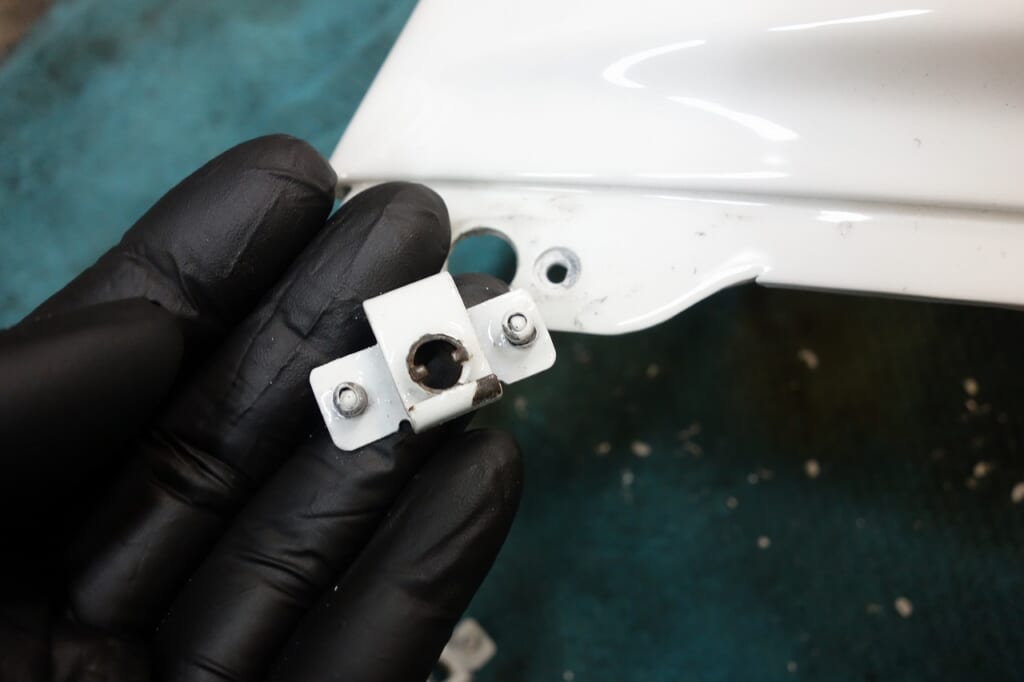
Remove the stock fastener bracket.
The thing I’m nervous about is… the bodywork is in nice condition.
If I crack it or mess up, the risk is pretty high.
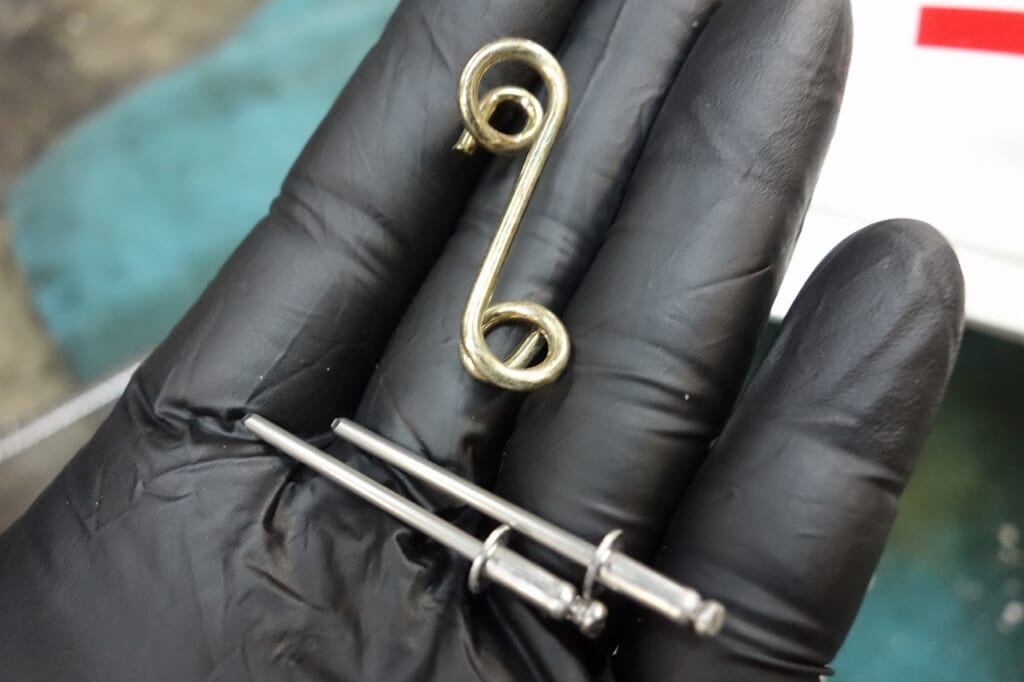
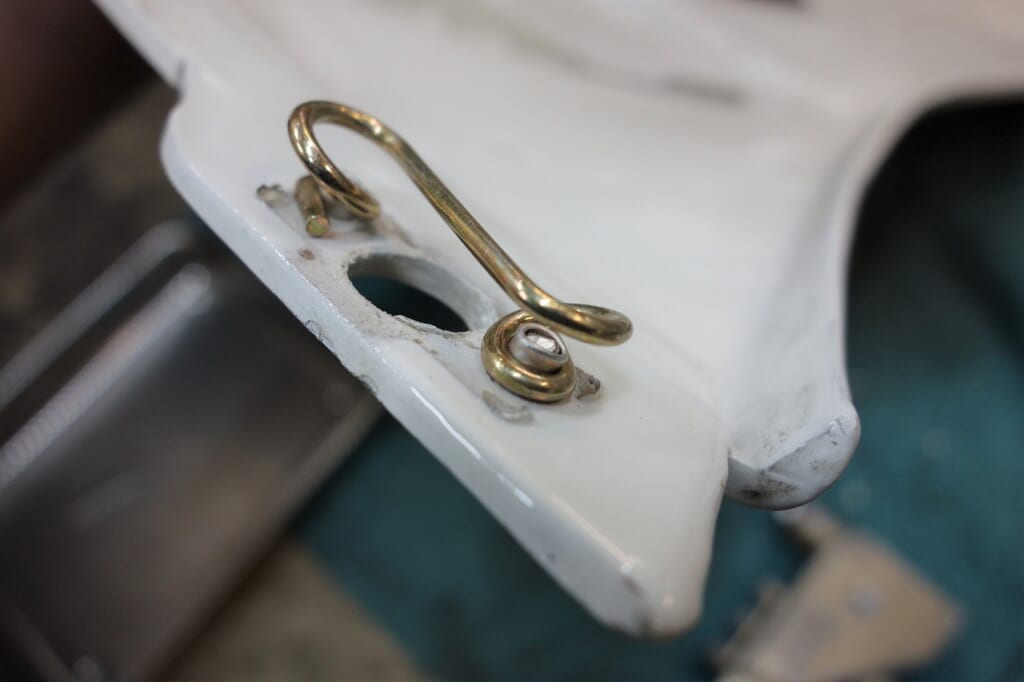
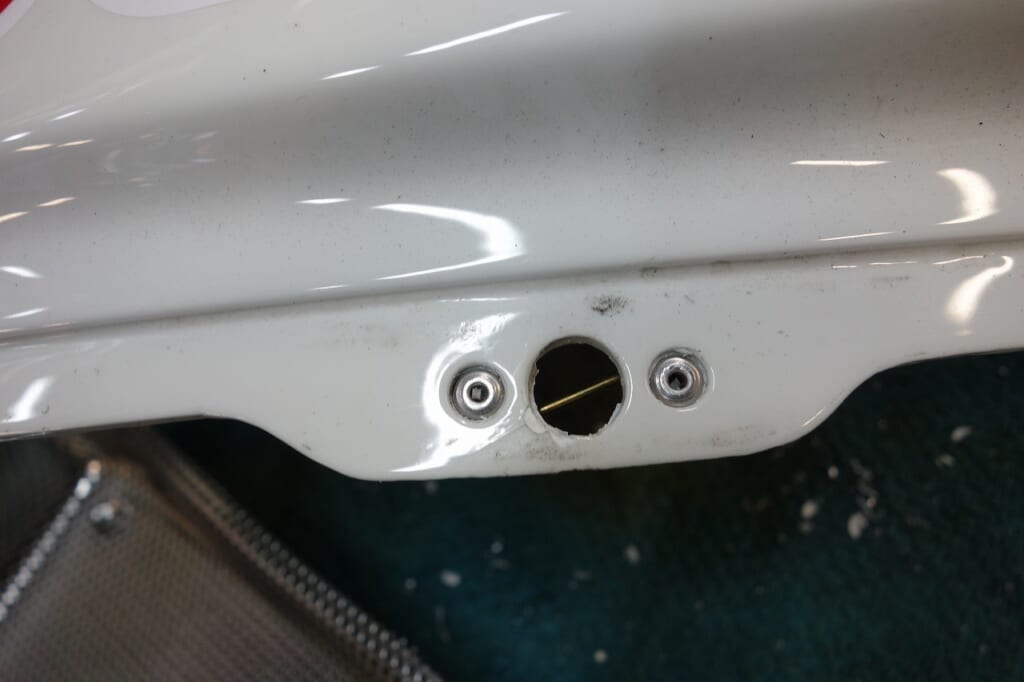
Hmm♪ Glad the pitch was common♪
And next
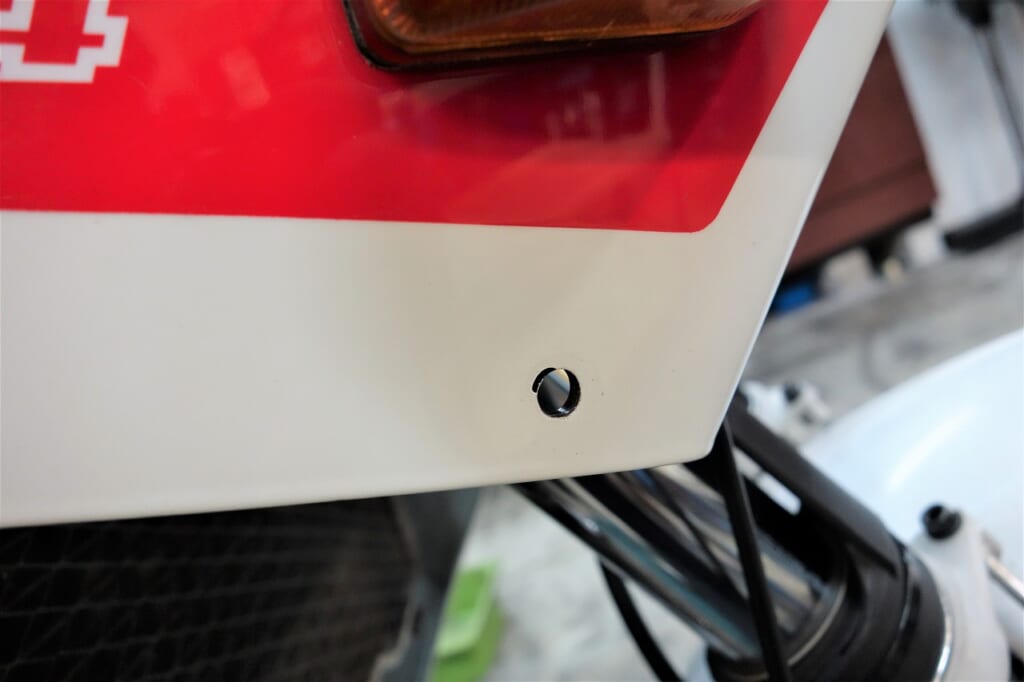
I’m going to enlarge this hole to 14mm… please don’t crack… absolutely not
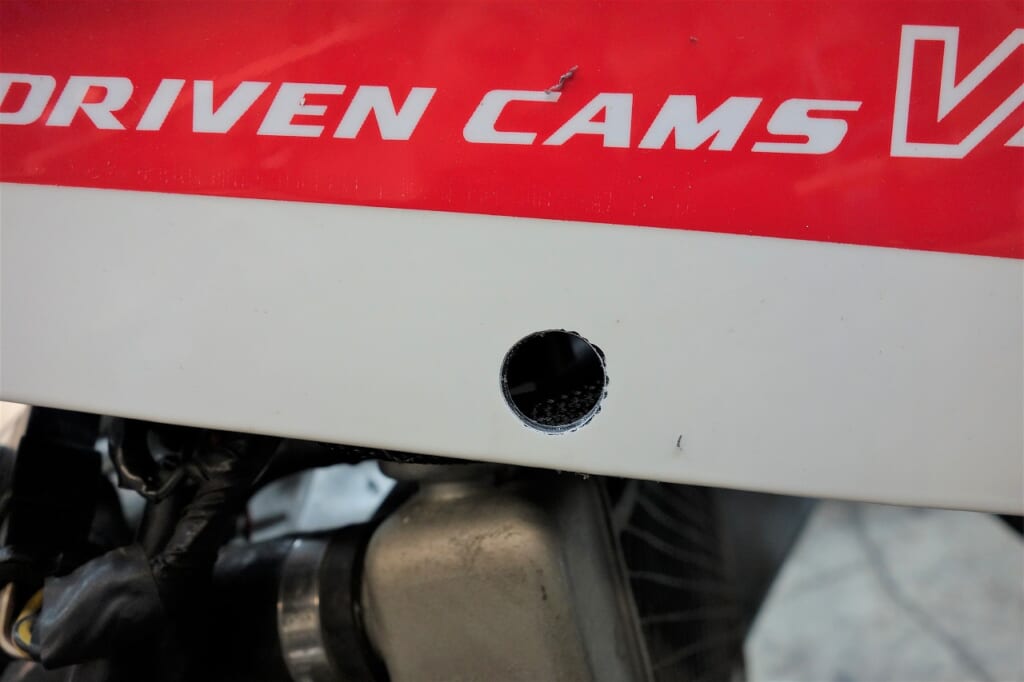
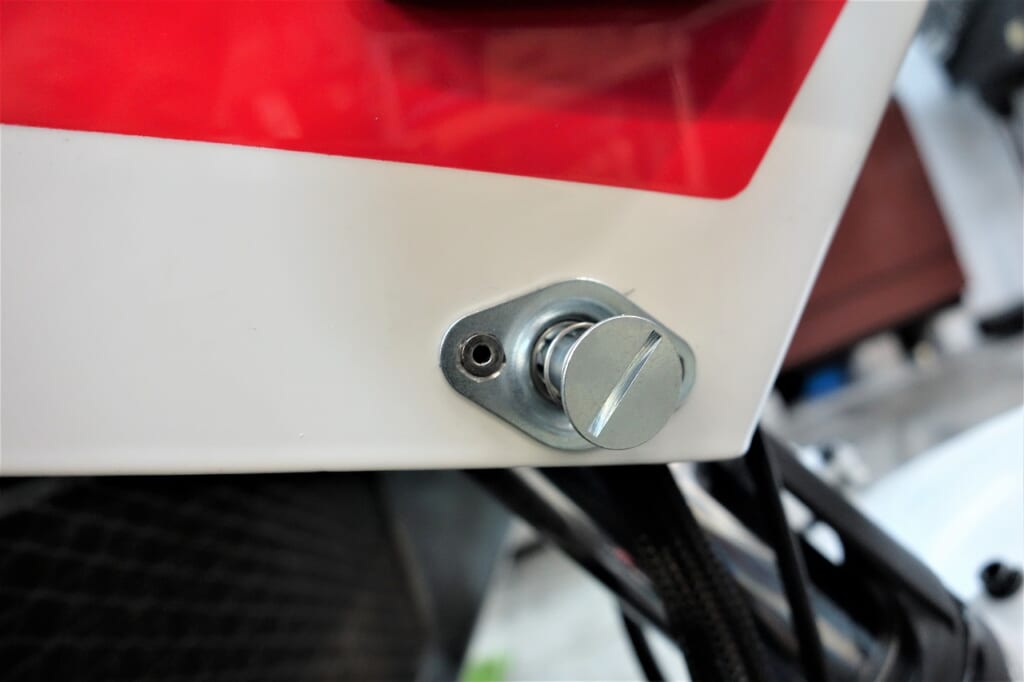
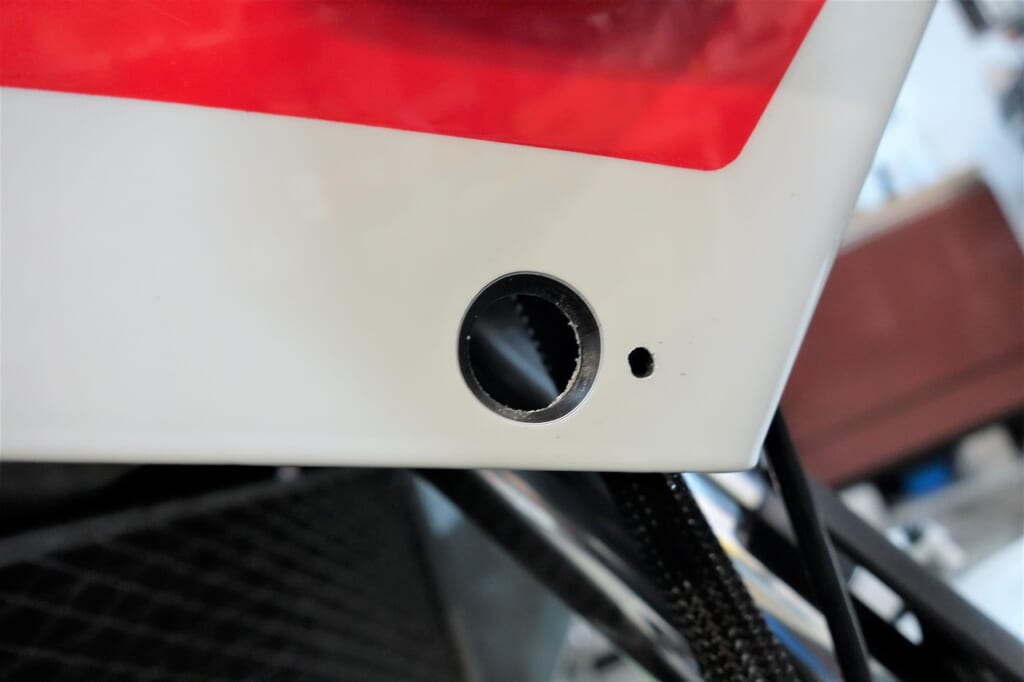
And just like that, it was done in one shot… thanks to having the materials and tools ready~ (;∀;)
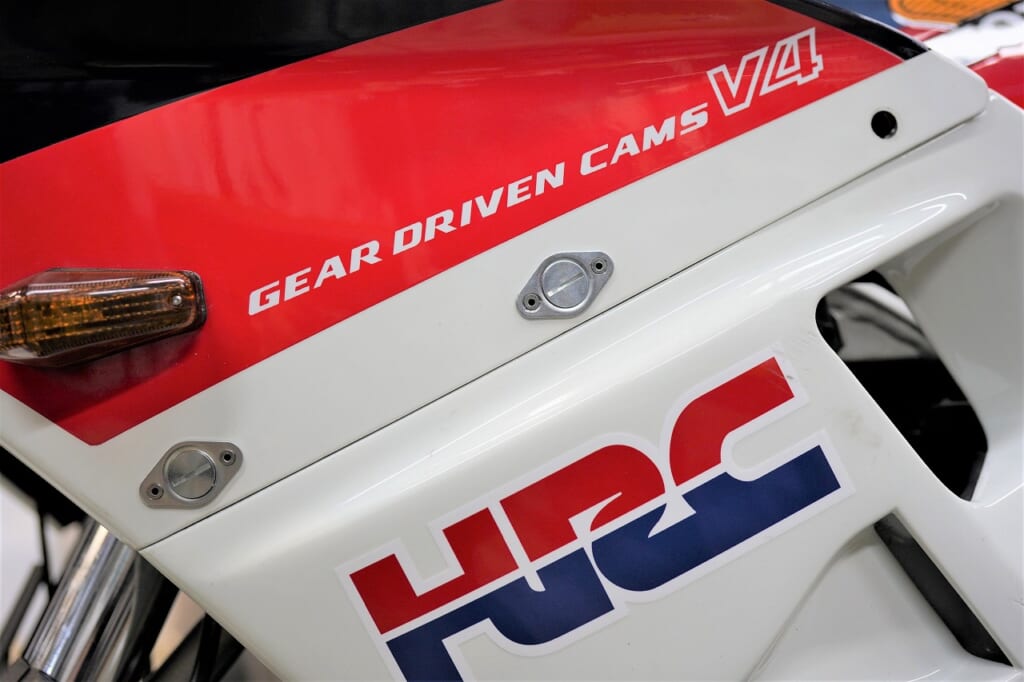
And so the installation is complete with a flush fit.
It’s hard to convey, but getting the upper and lower cowls flush and installing these fasteners is subtly difficult.
Low-profile rivet DZUS fastener might be handy? Back side flush! POP rivet fastener
Fixed with this guy~ Ah, that’s a relief.
Everyone, we’re waiting for your “obligatory channel subscription” and “👍 button”~