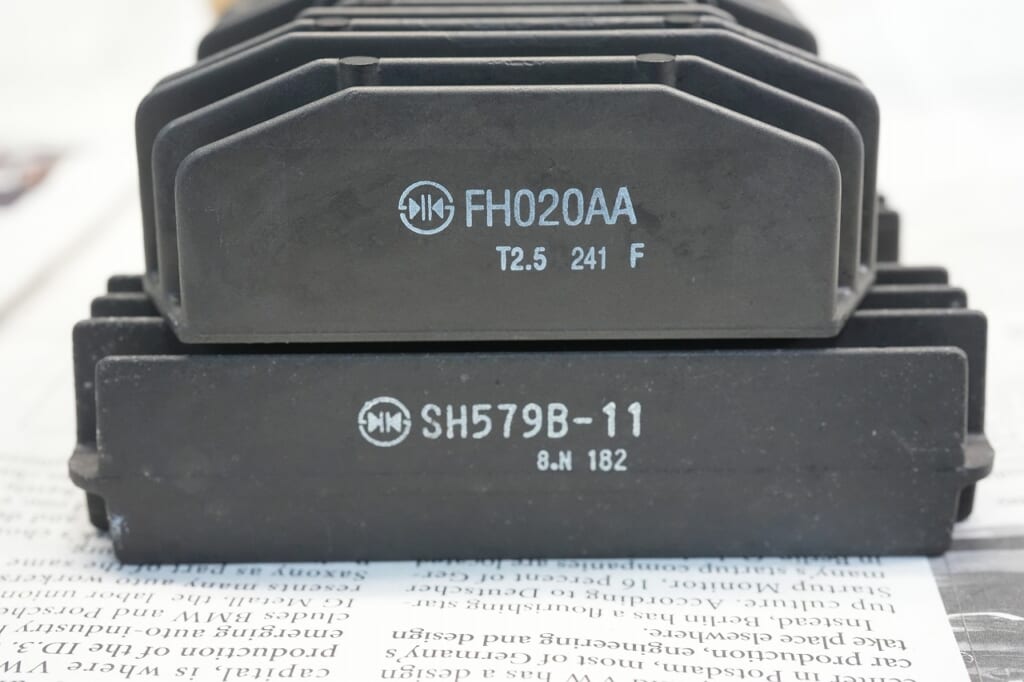
Now let’s install the classic Yamaha OEM MOSFET regulator (*´з`)
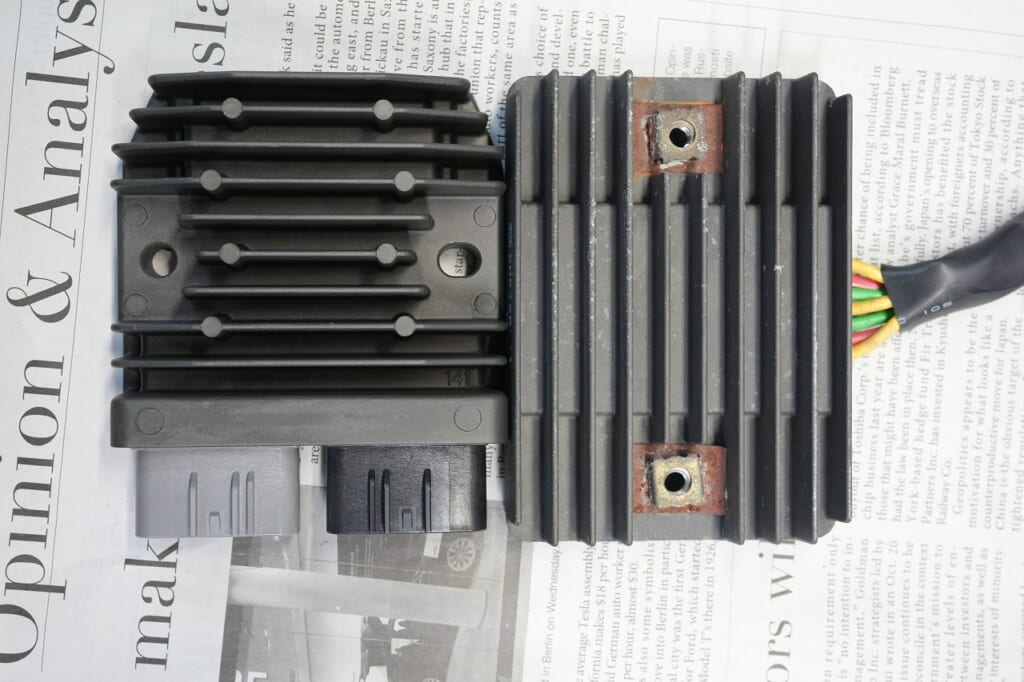
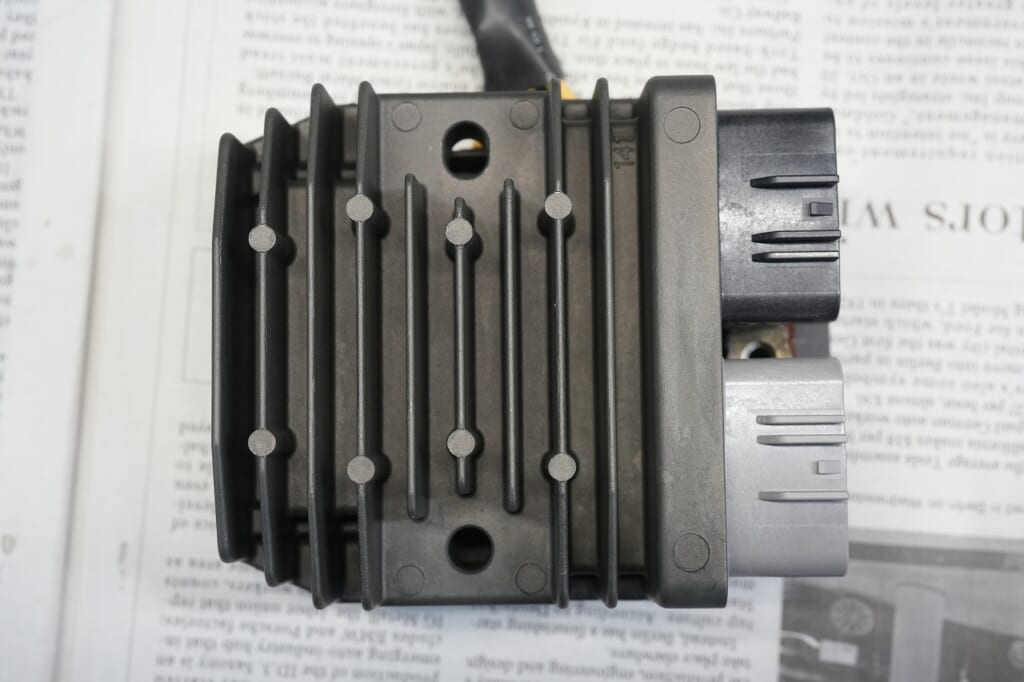
The vertical and horizontal dimensions are similar, so I’m hopeful it’ll work.
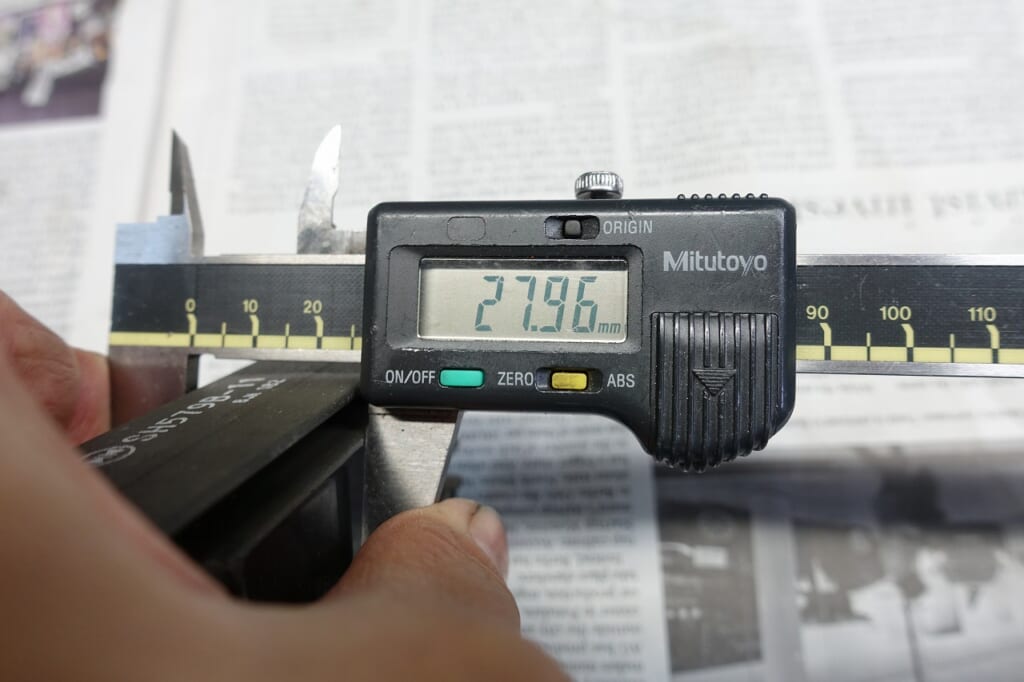
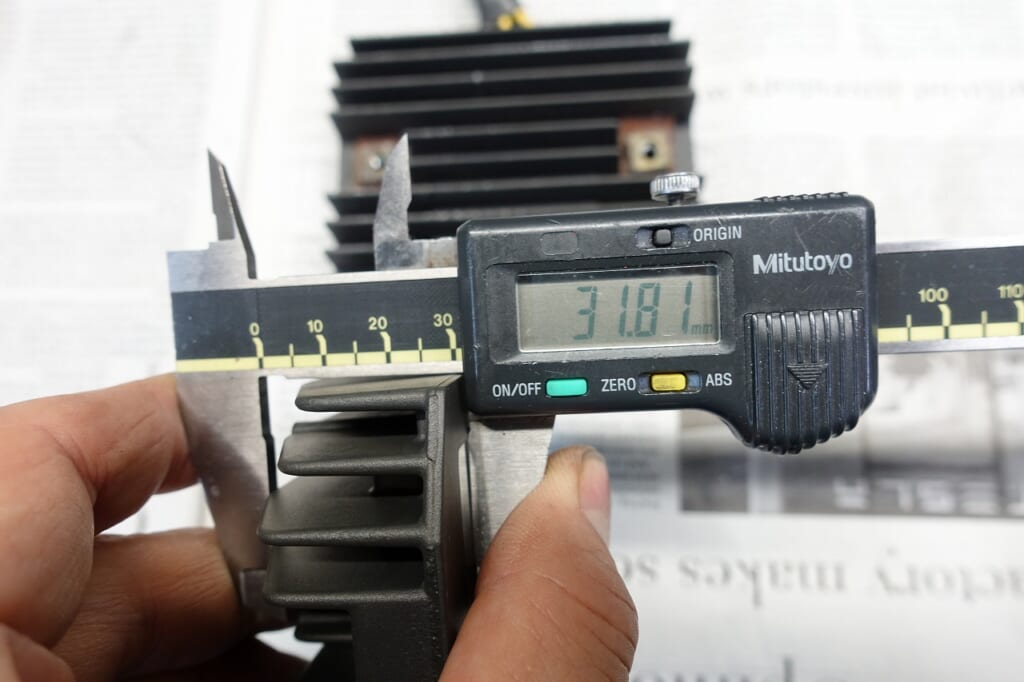
It won’t fit in the opening—the height is slightly too tall ( ;∀;)
Even if it did fit, the mounting pitch is different, so it would’ve been a hassle either way.
I’m a worrier, so I’ll do some mental gymnastics.
I’ll proceed without cutting corners.
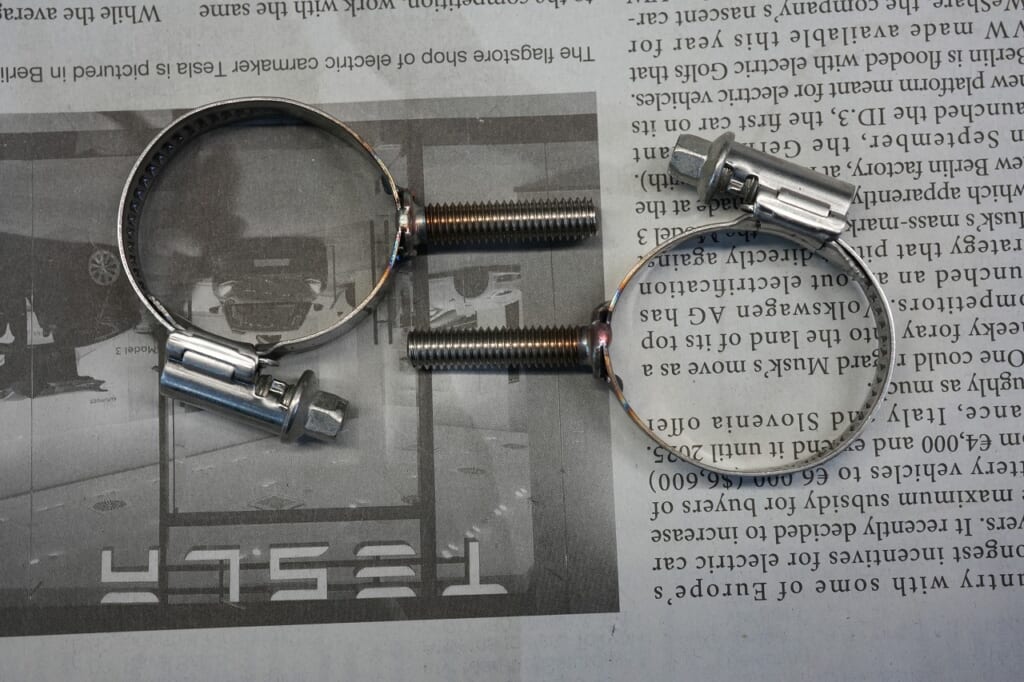
The plan is to weld an ultra-low-profile bolt to a hose clamp (Norma type)
While it doesn’t have to be Norma brand, the slotted type is hard to weld and looks bad, so it’s best to avoid it.
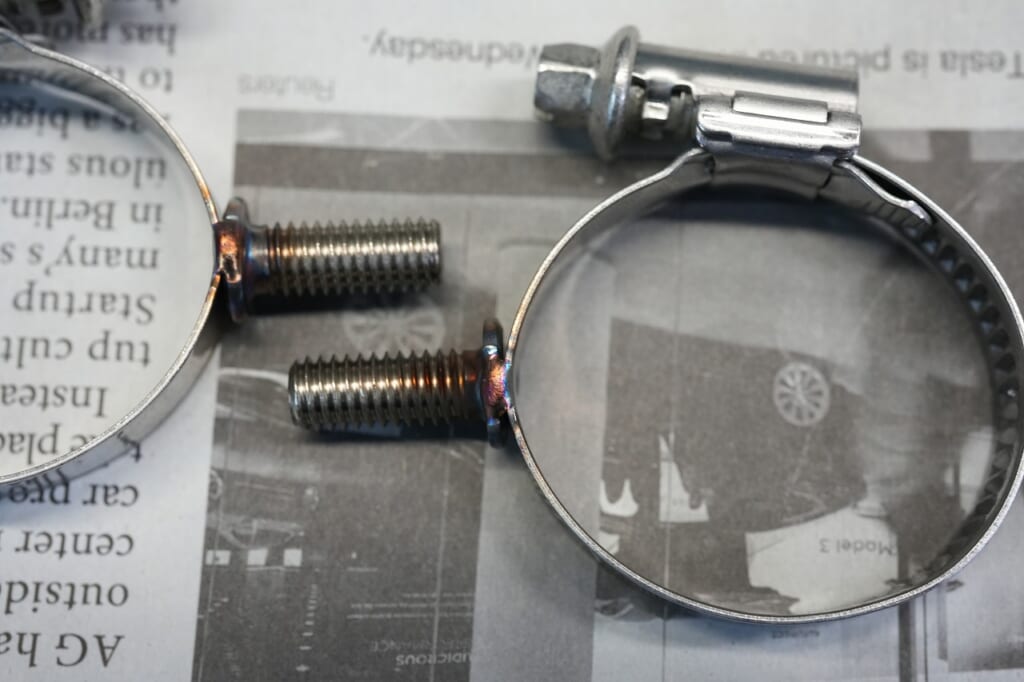
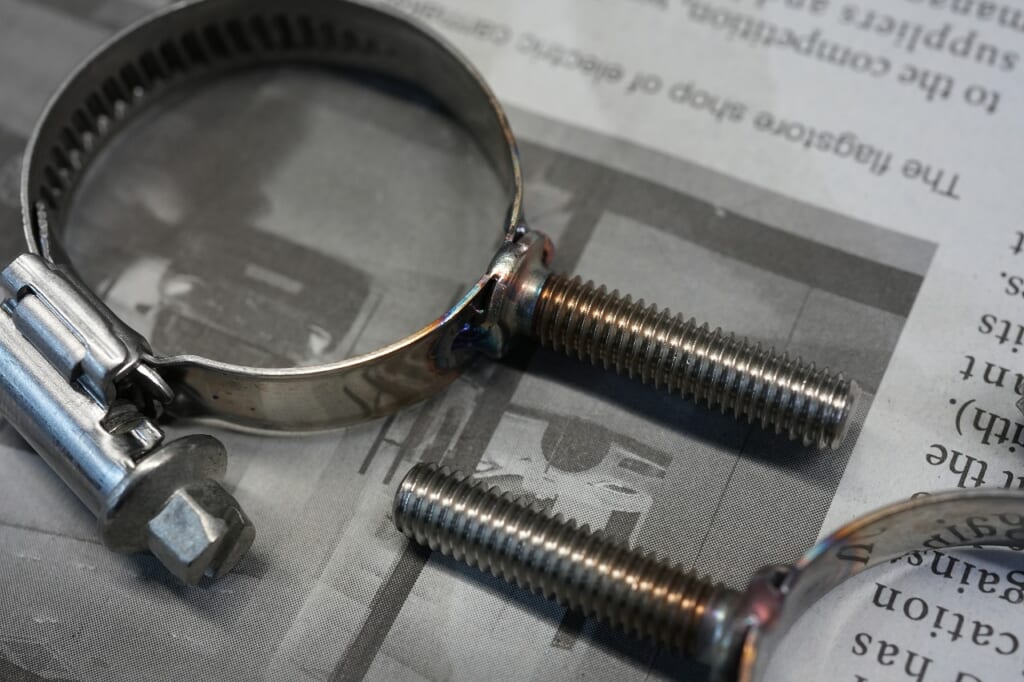
Daytona, I bet there’s demand for this (*´з`)
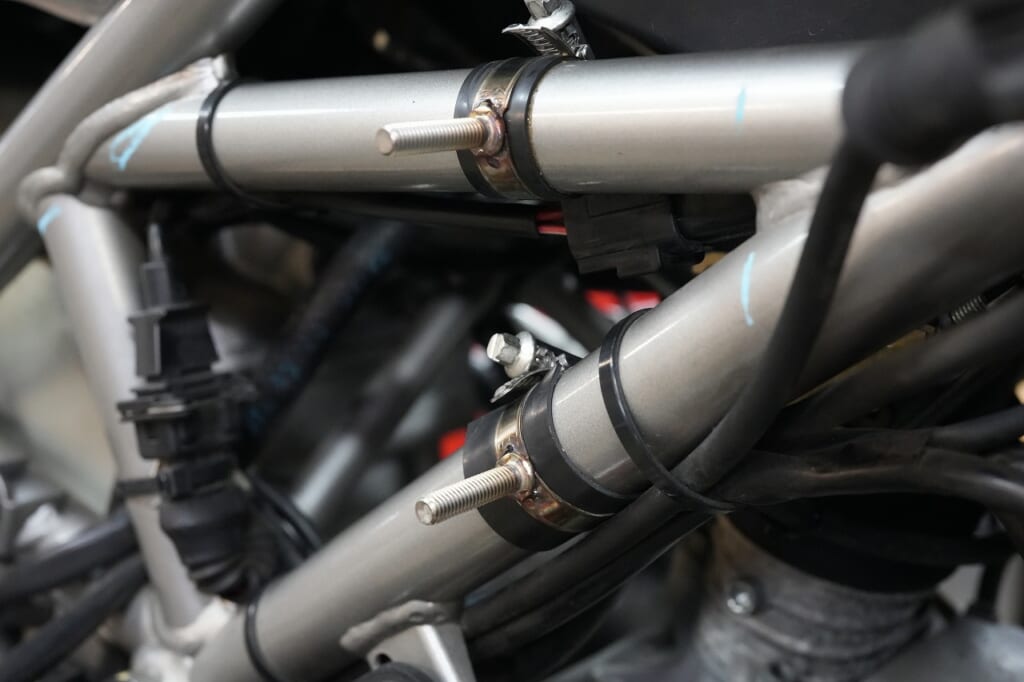
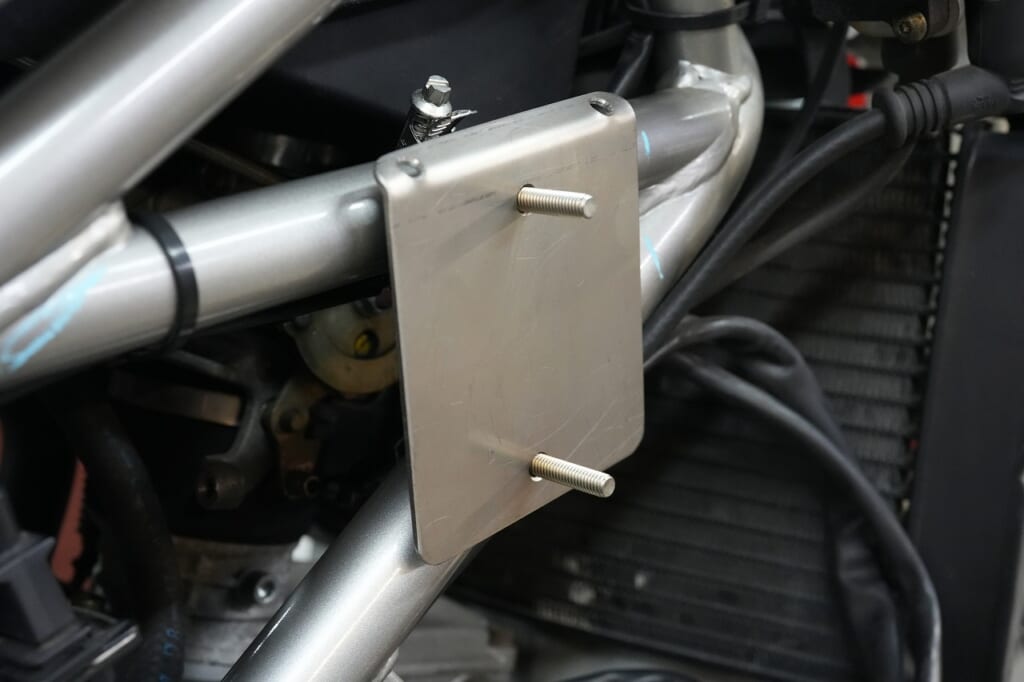
I’ll apply double-sided rubber tape, cut out a titanium plate, and make a base plate.
Since MOSFETs don’t get as hot, I chose titanium not for heat dissipation but for thermal shielding and vibration resistance.
Aluminum would’ve worked fine too, but…
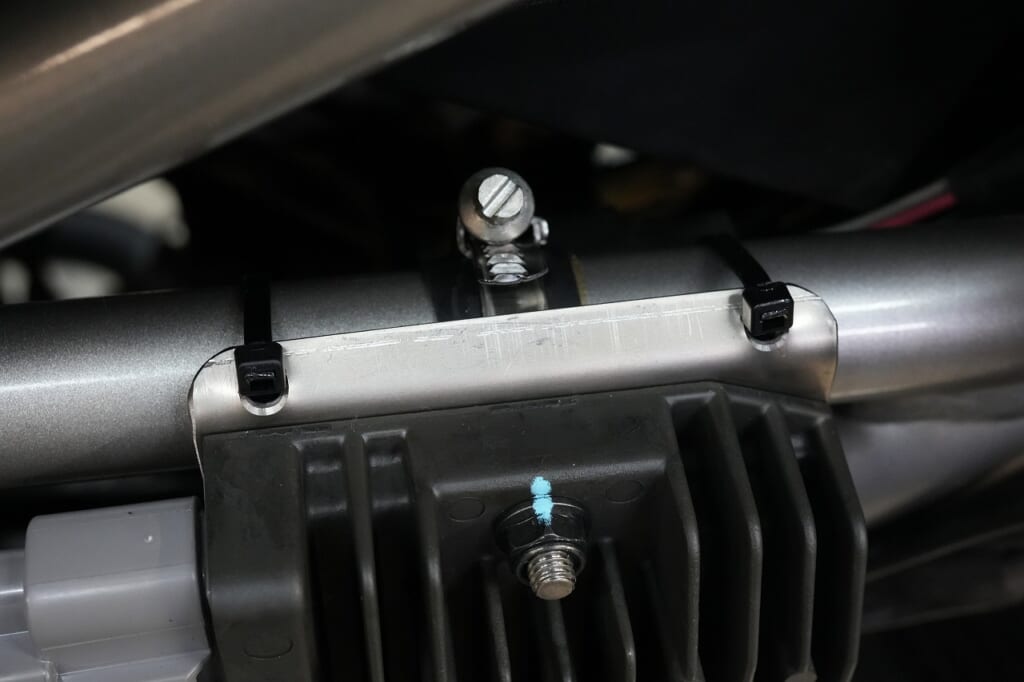
I’m a worrier, so I wrapped it with tie wrap as insurance.
This way it’s safe even if it breaks.
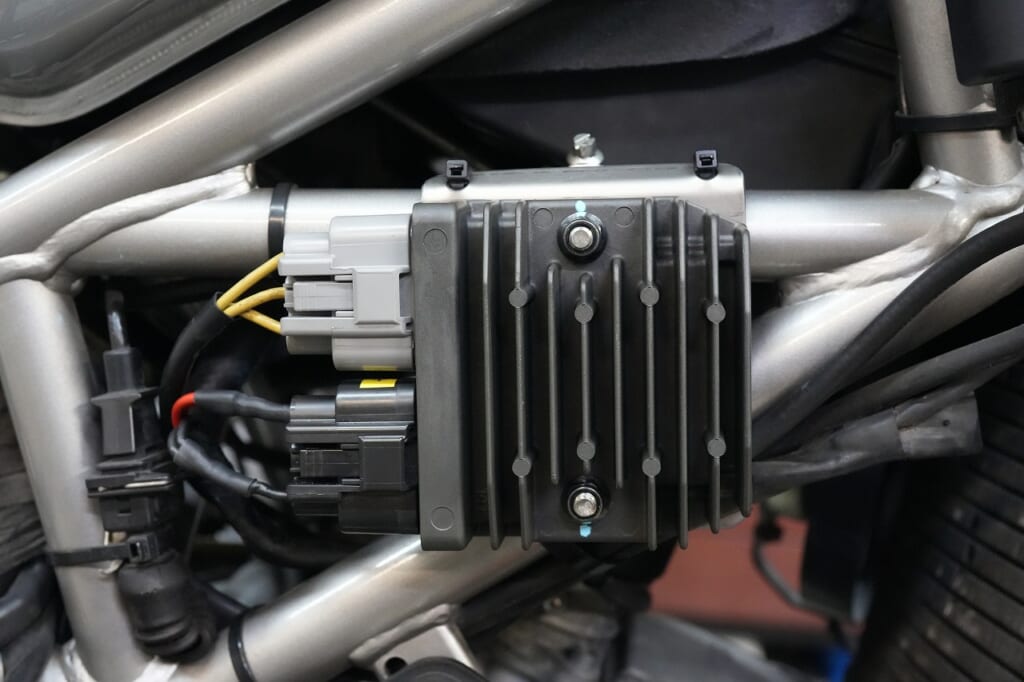
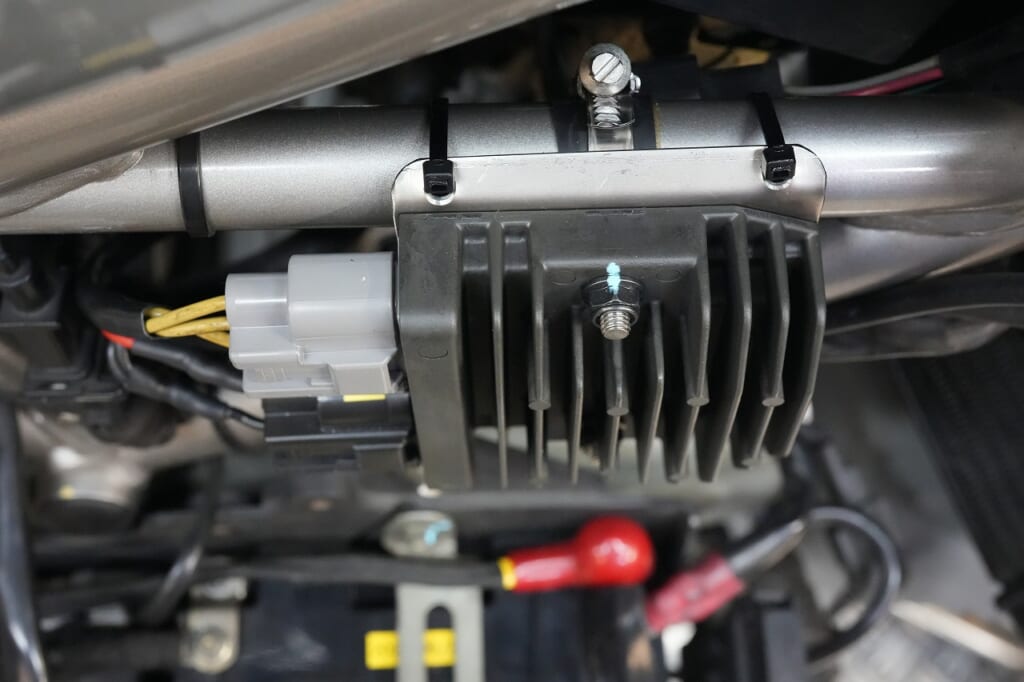
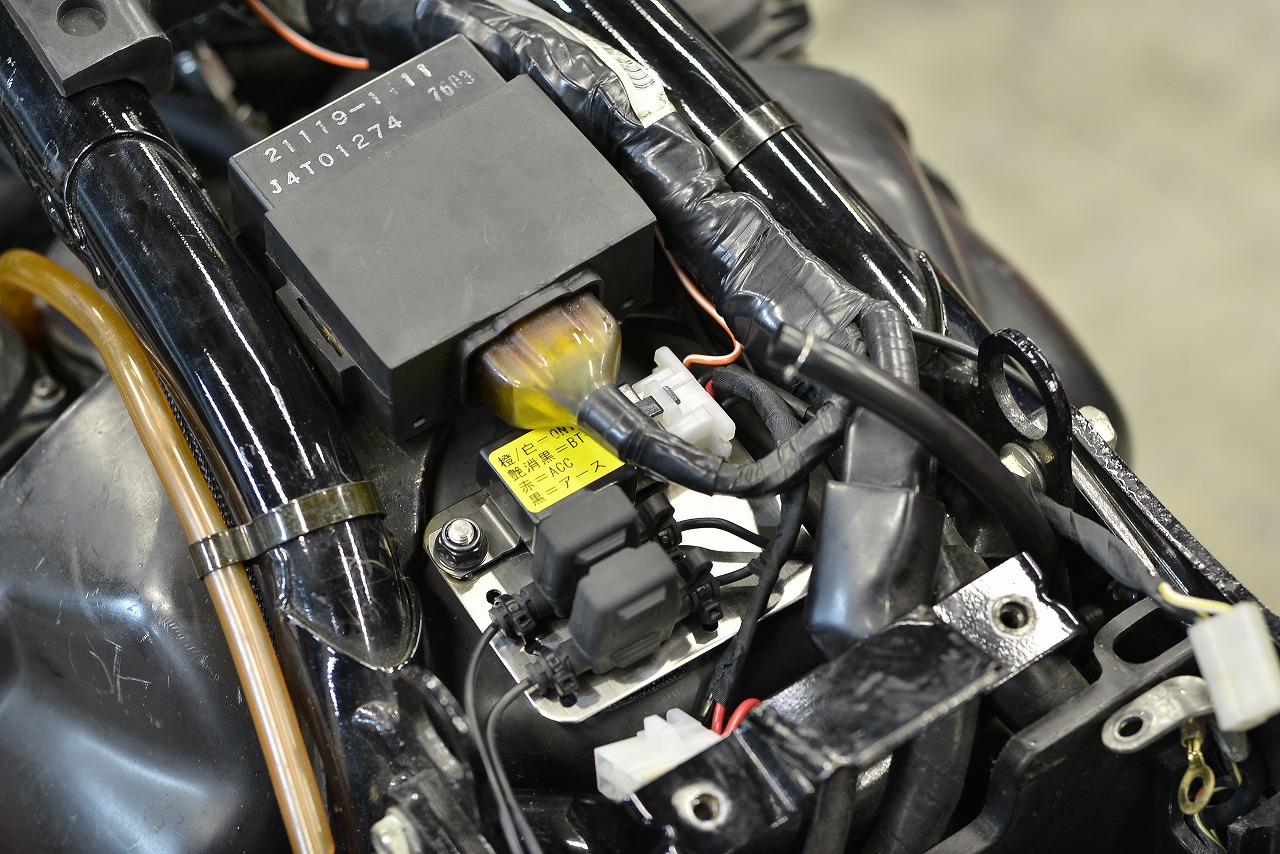
Layout is complete.
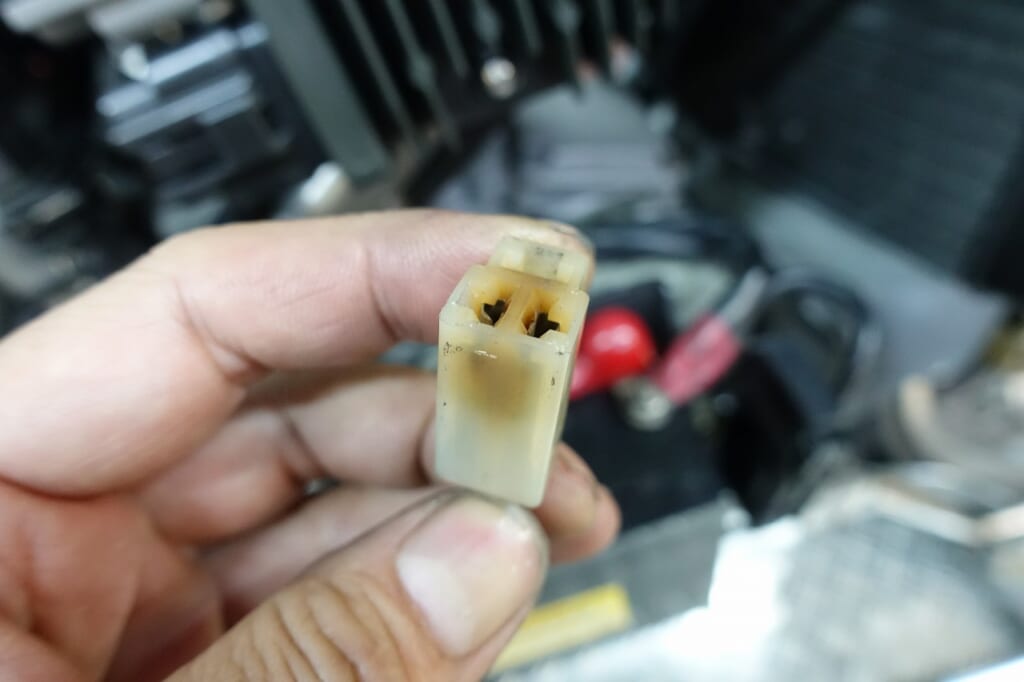
The three-phase generator connector is in sketchy condition.
I debated whether to keep it reversible to stock, but…I ended up cutting it and making a new one.
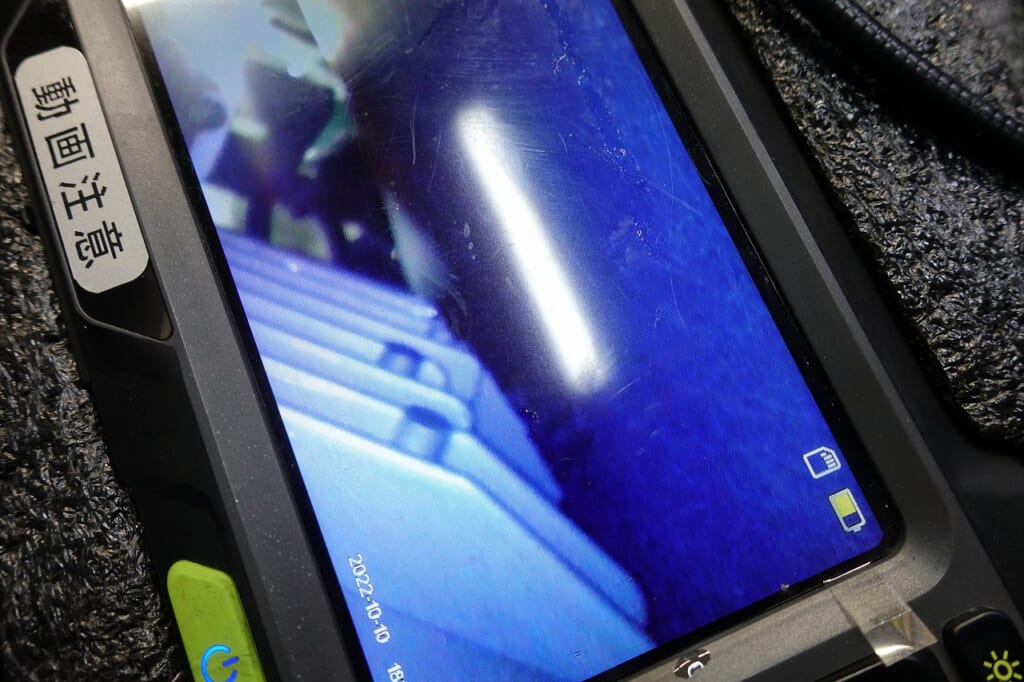
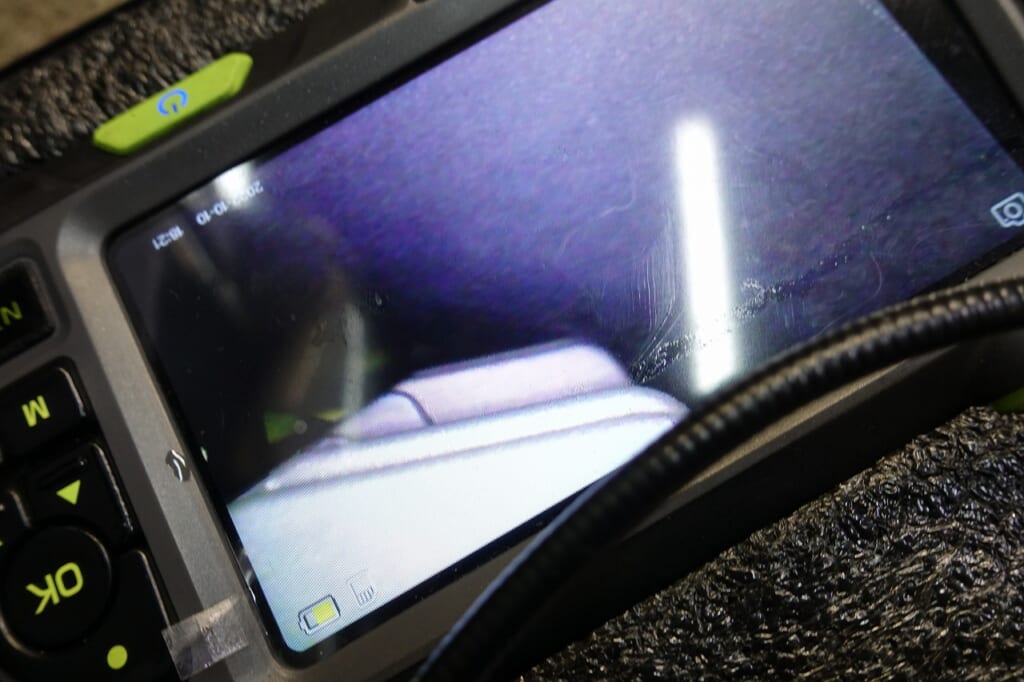
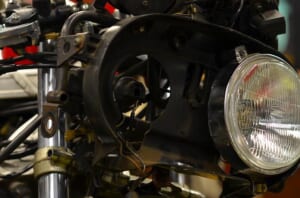
I check for contact with the inside of the fairing using an endoscope.
Seriously! An endoscope makes all the difference.
For maintenance and fabrication, having one really helps and eliminates a lot of guesswork.
*Camera outer diameter 5.5 mm or less; dual lens is even more functional.↑
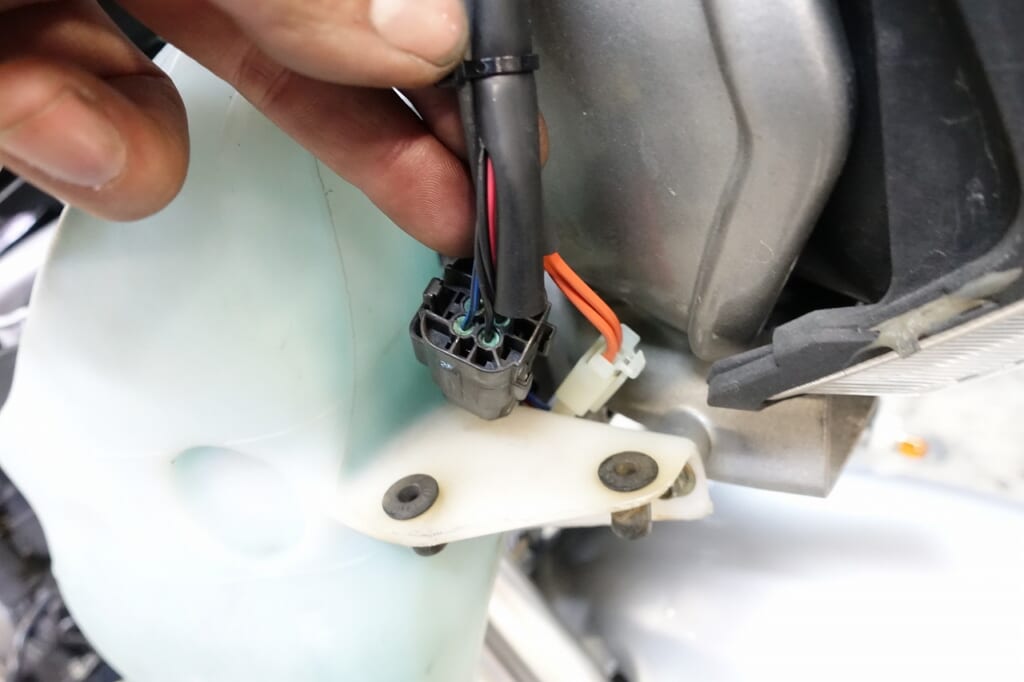
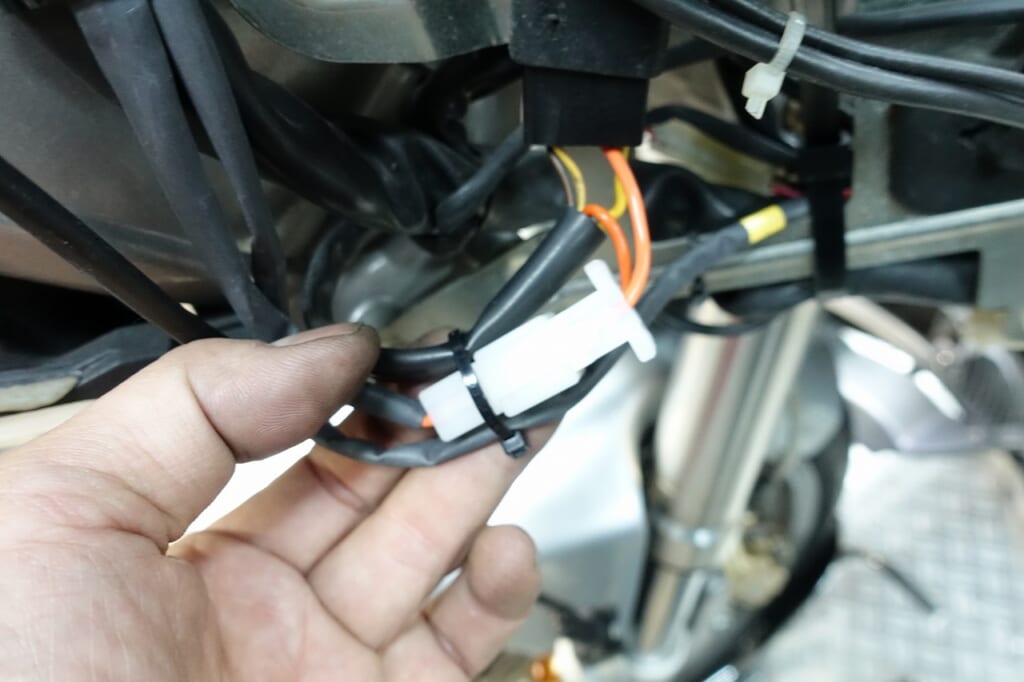
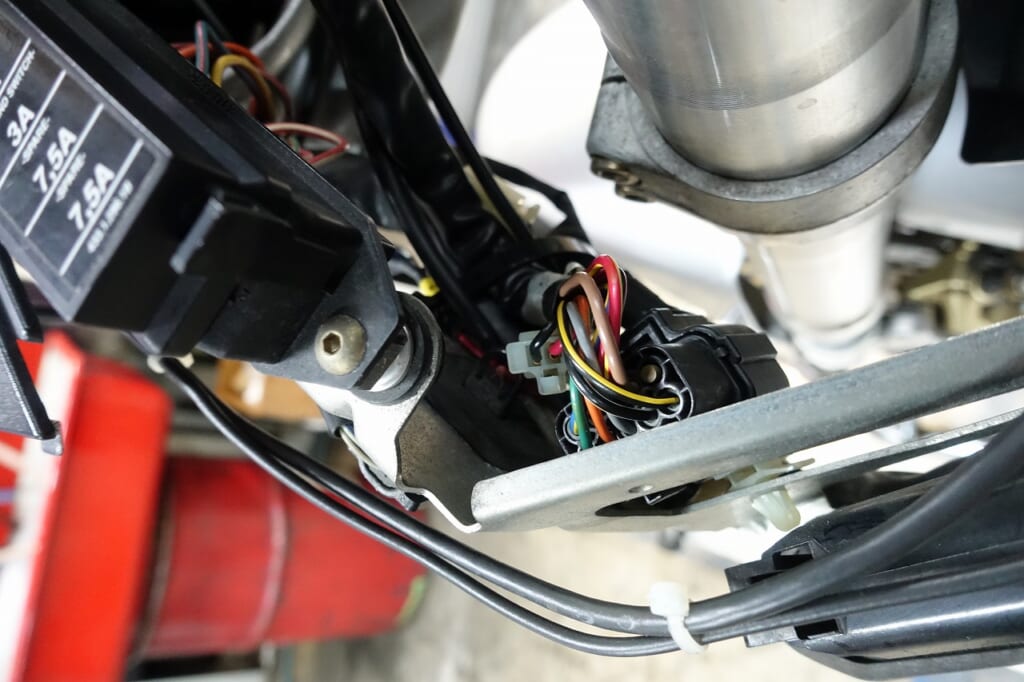
I’ve positioned the switch connector at the existing location.
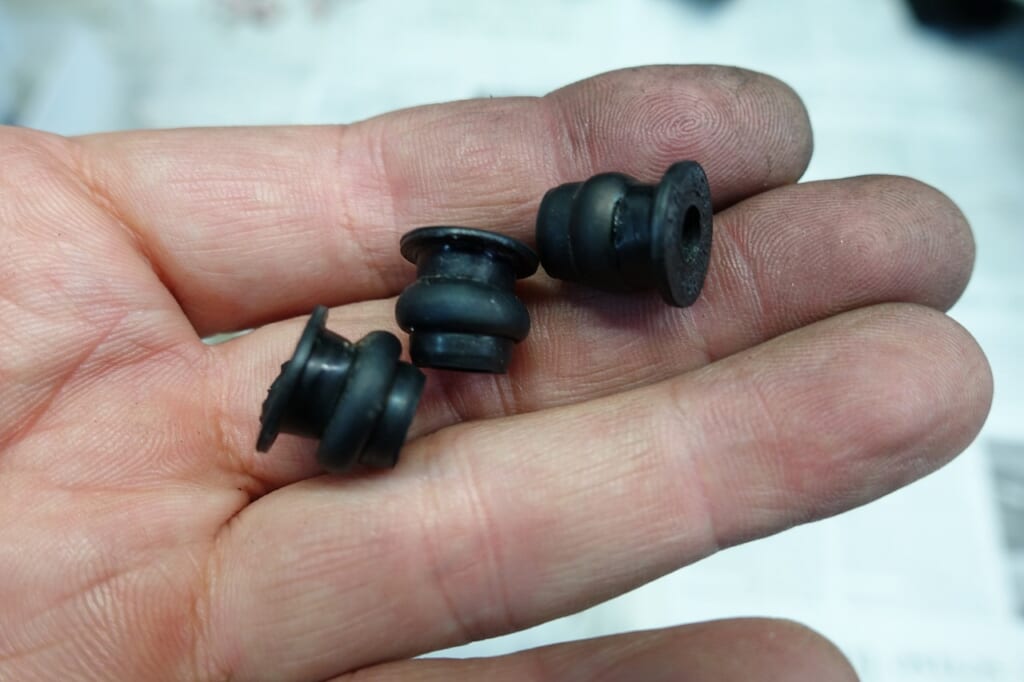
I replaced the well nuts where I could.
C-550 is something I use often, so I keep it in stock.
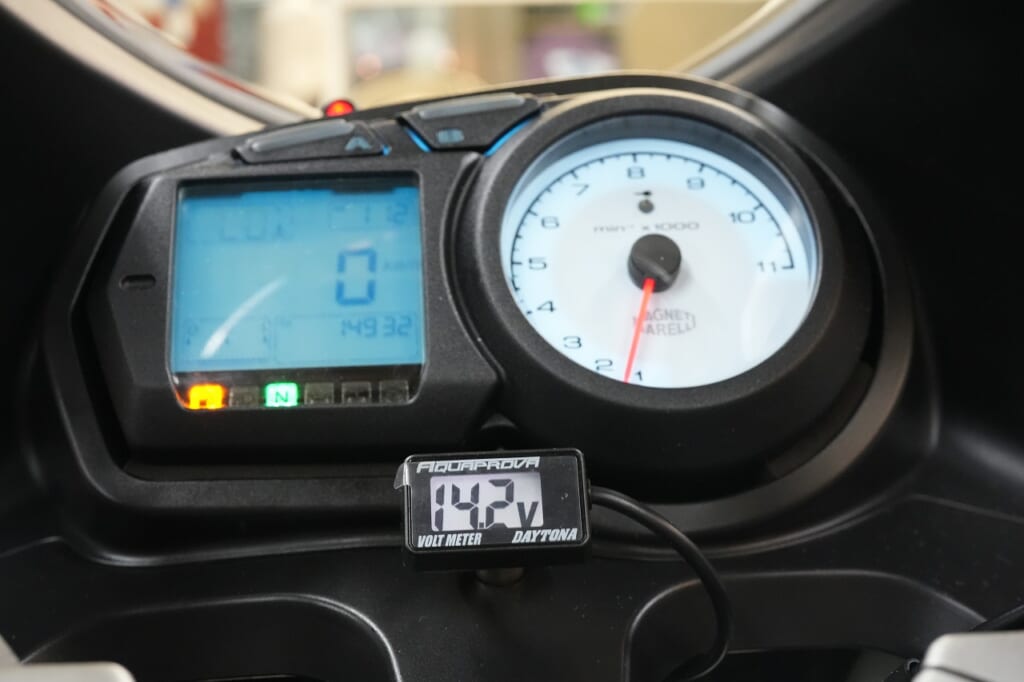
Dang, this fairing has a stubborn fit…I grumbled my way through, but finally got it done (*’▽’)
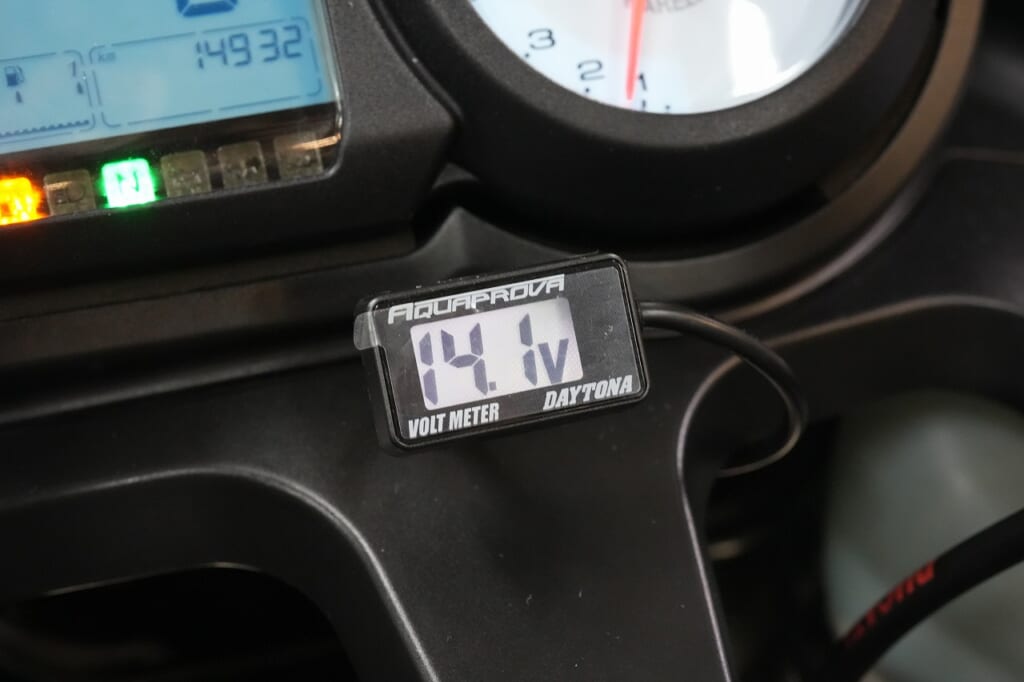
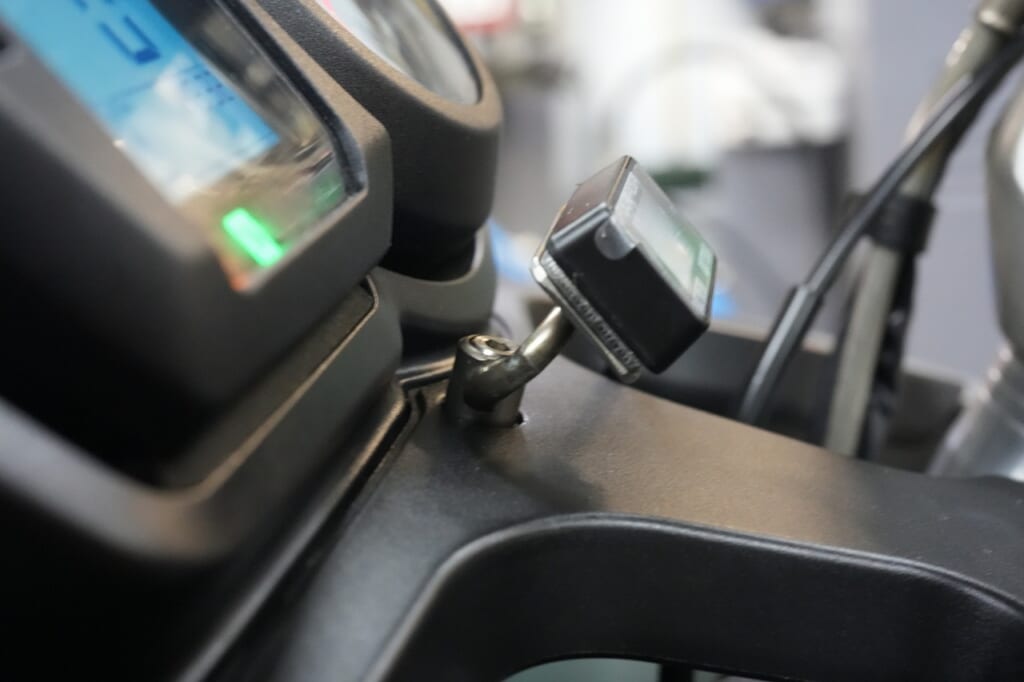
Installation is complete and tidy (*´з`)
Now it’s just a test ride and invoice, and we’re done~