Oh no! The morning blog wasn’t updated… (;∀;)
Finally got all the parts together, so I want to push forward steadily~
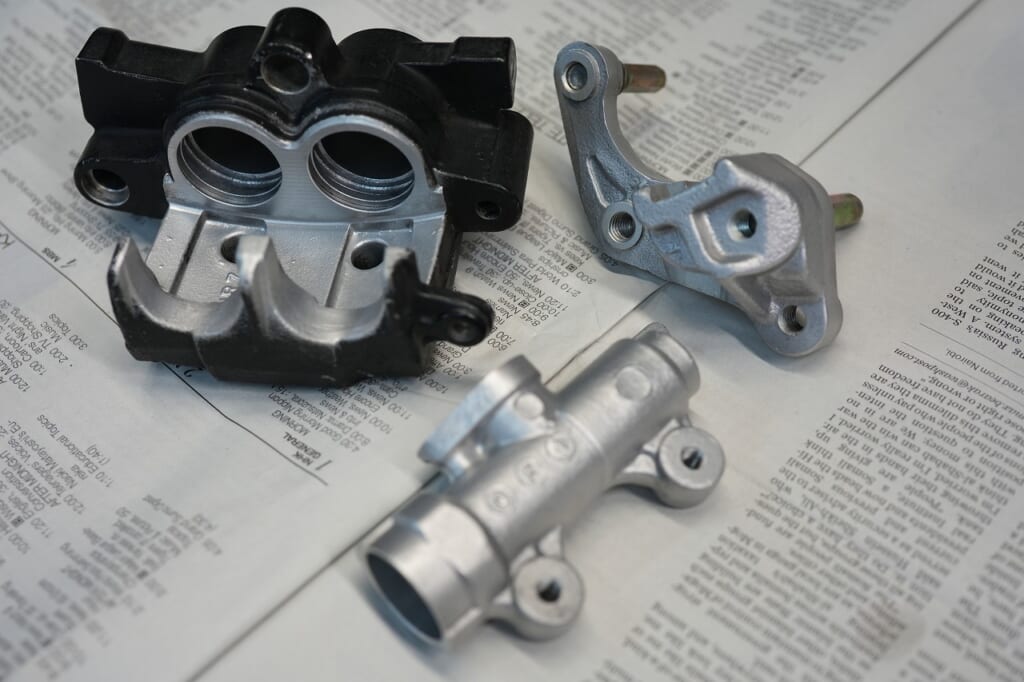
Since I completed the prep work the other day, it should assemble with just air blowing
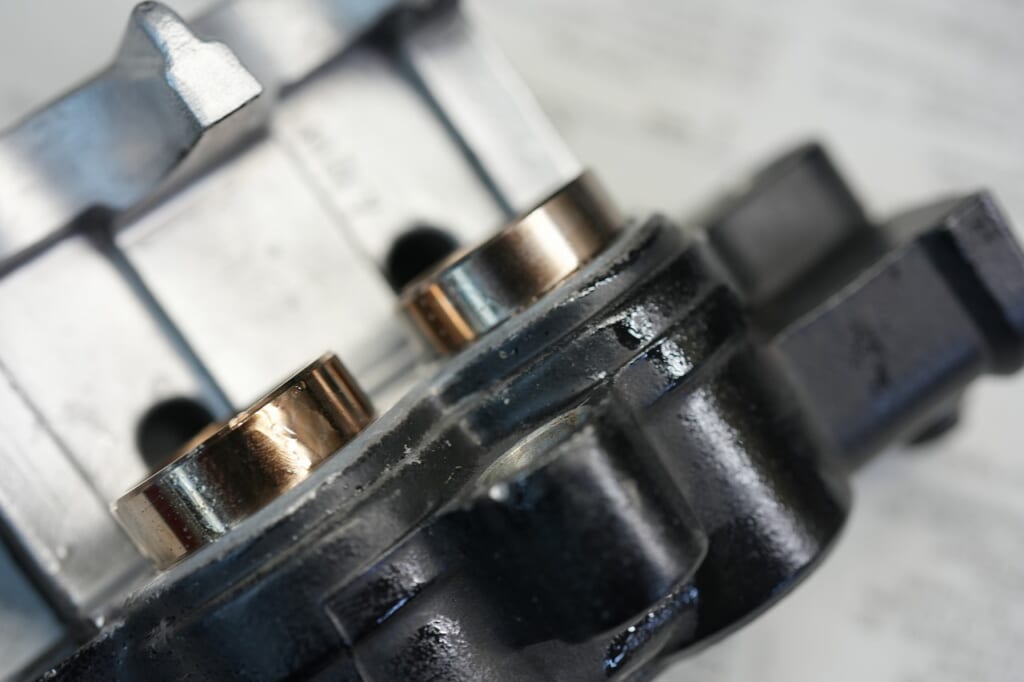
I also replaced the pistons with new ones (*´ω`) Caliper assembly complete!
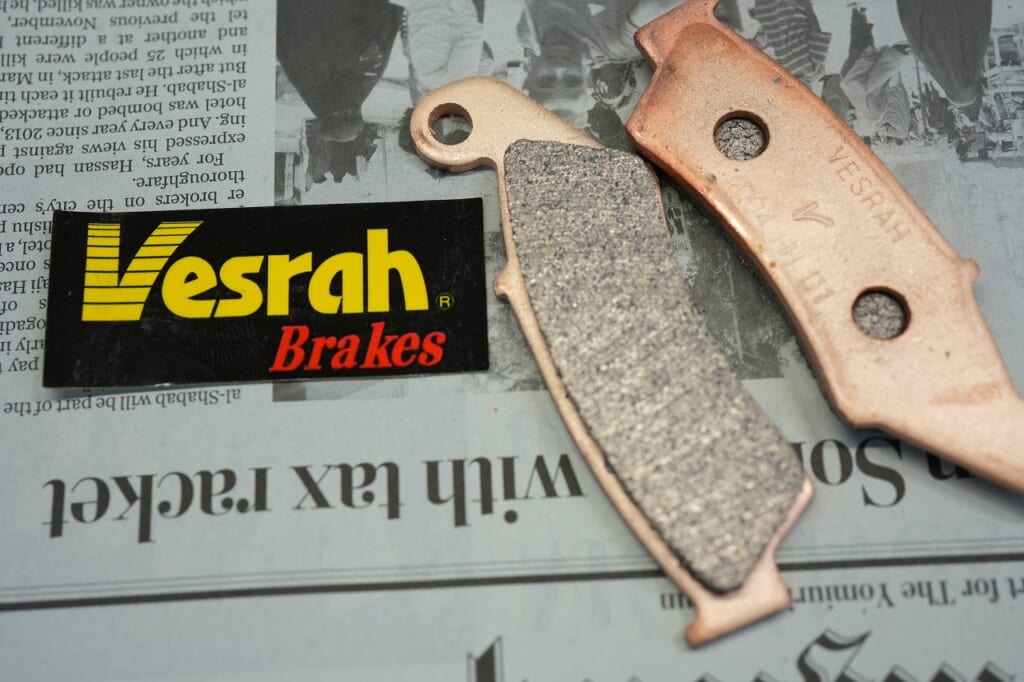
I went with Brembo sintered pads (*´ω`*)
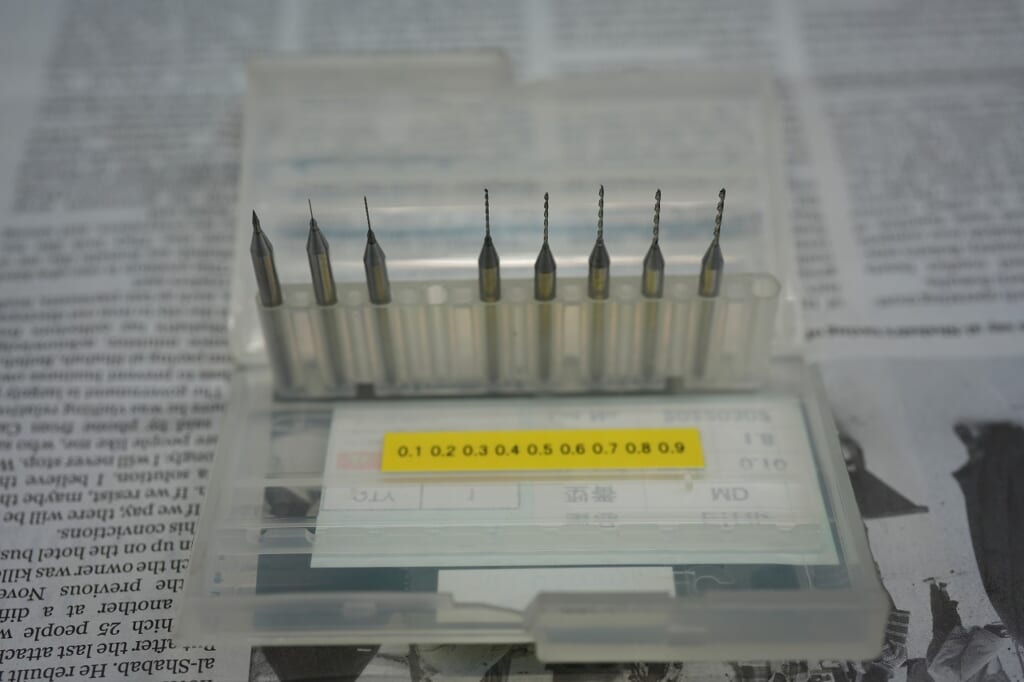
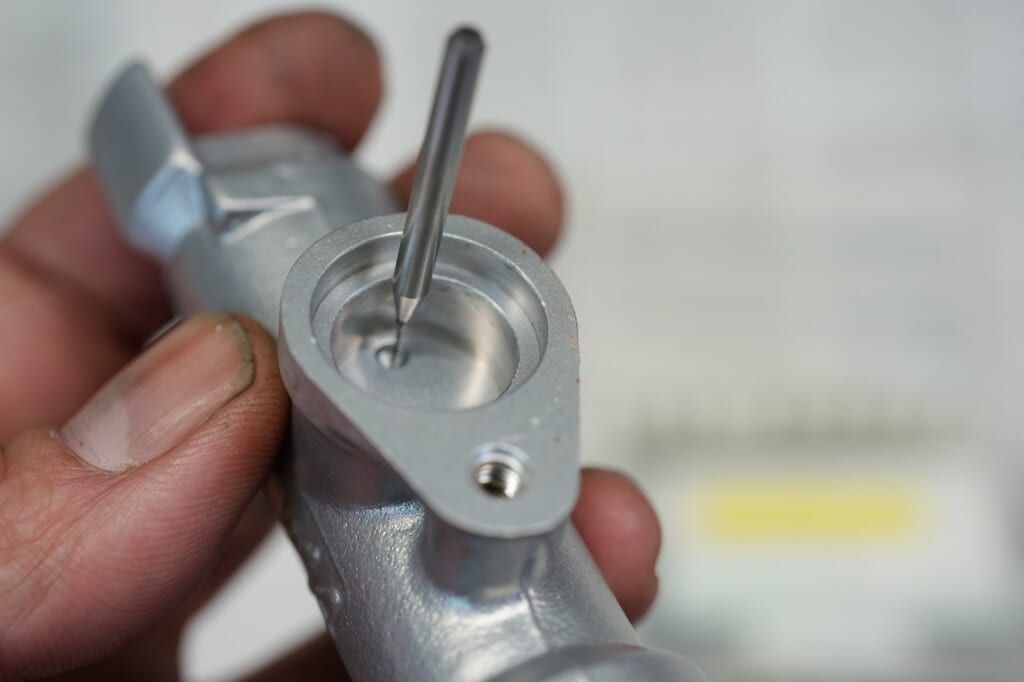
It’s better to dig out the master return port with a micro drill.
It’s around 0.4-0.5mm, so it’s quite a fine hole diameter.
There’s a possibility it’s become narrower due to corrosion, so it’s very important. I think problems are less likely to occur. *From experience…
Oh, just digging with your fingers is enough.
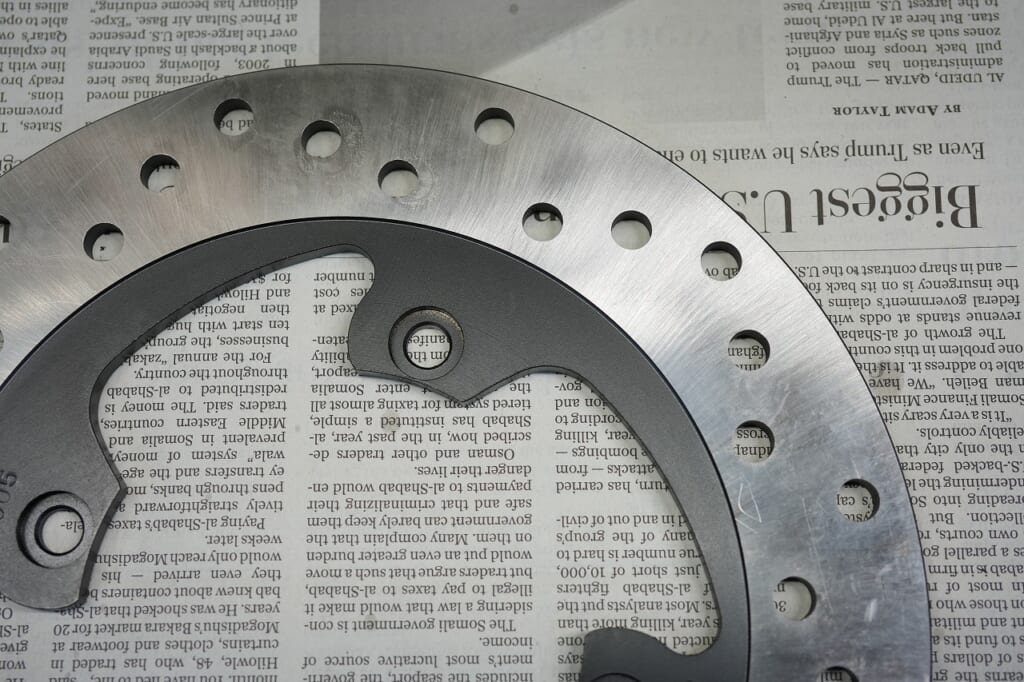
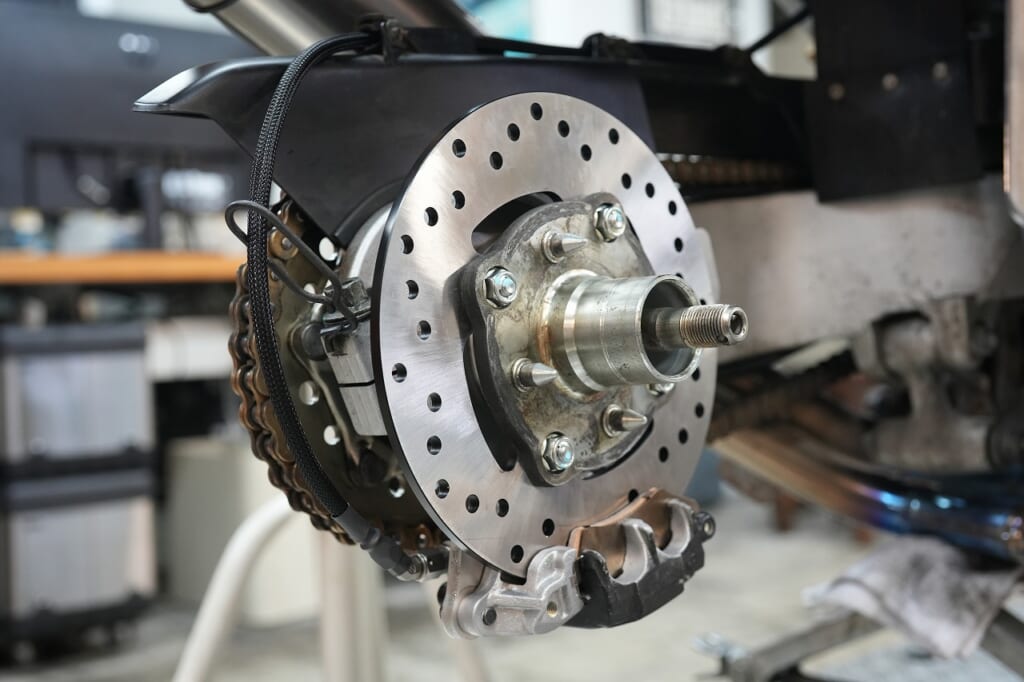
Sunstar is the standard for brake discs.
They cover even these niche? vehicles, which is really helpful (*´ω`*)
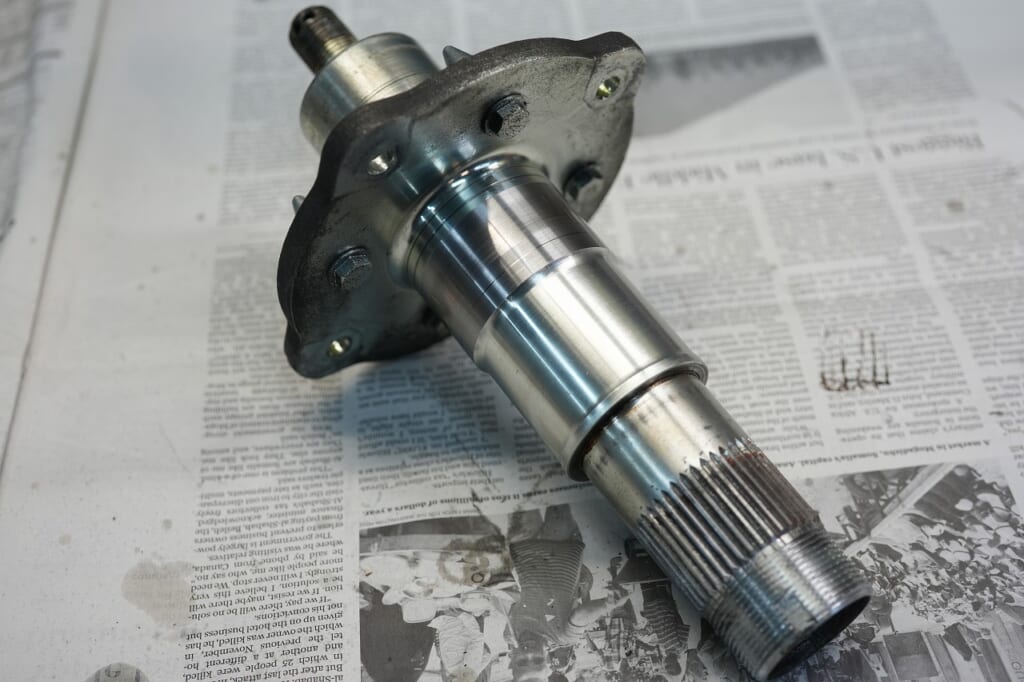
You can’t replace the disc without removing this. It’s a hassle, right~
Removing it means you can’t use the rear stand, so you have to hang it.
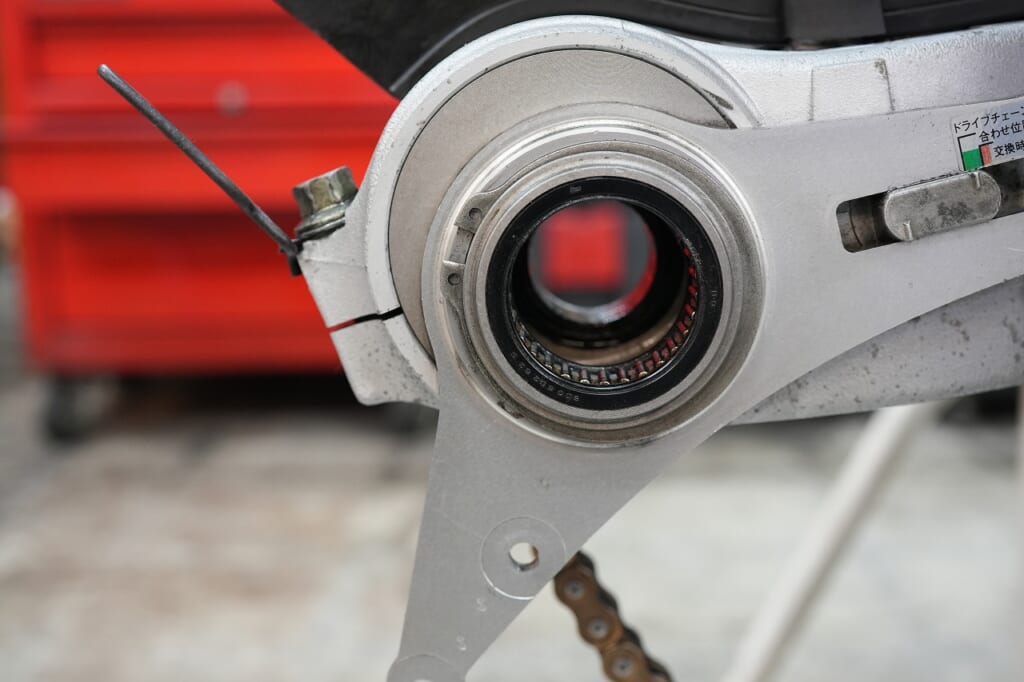
I cleaned up the surrounding area.
Carb cleaner and engine conditioner work dramatically on areas without seals.
Spray some into a container and scrub with a toothbrush…
The oil dirt comes off amazingly.
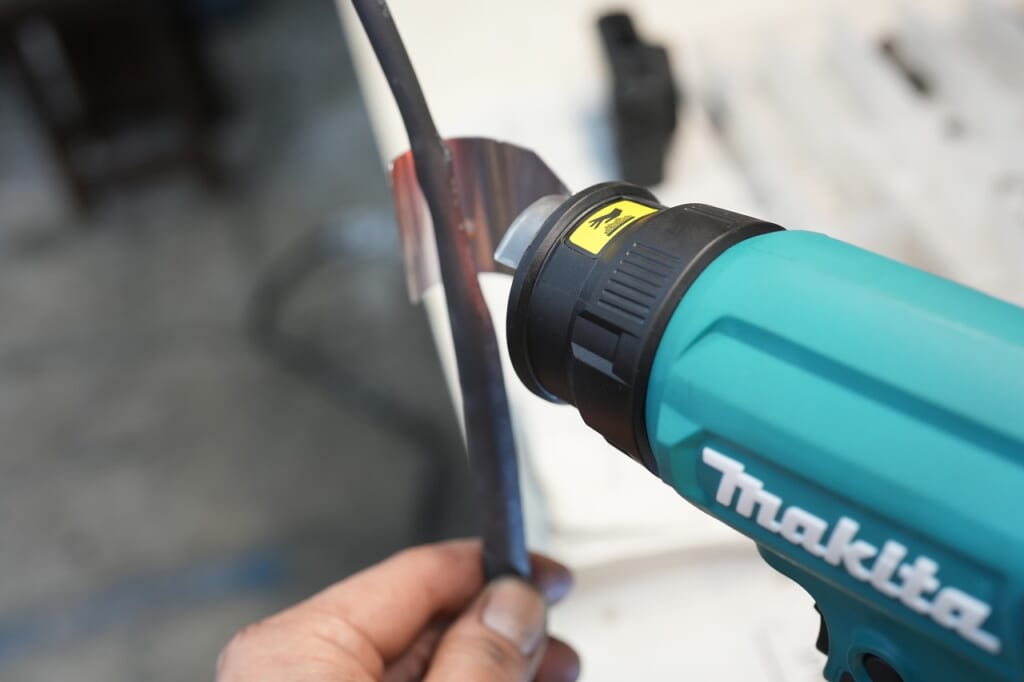
Super convenient (*’▽’) It shrinks with the Makita heat gun HG181DZK.
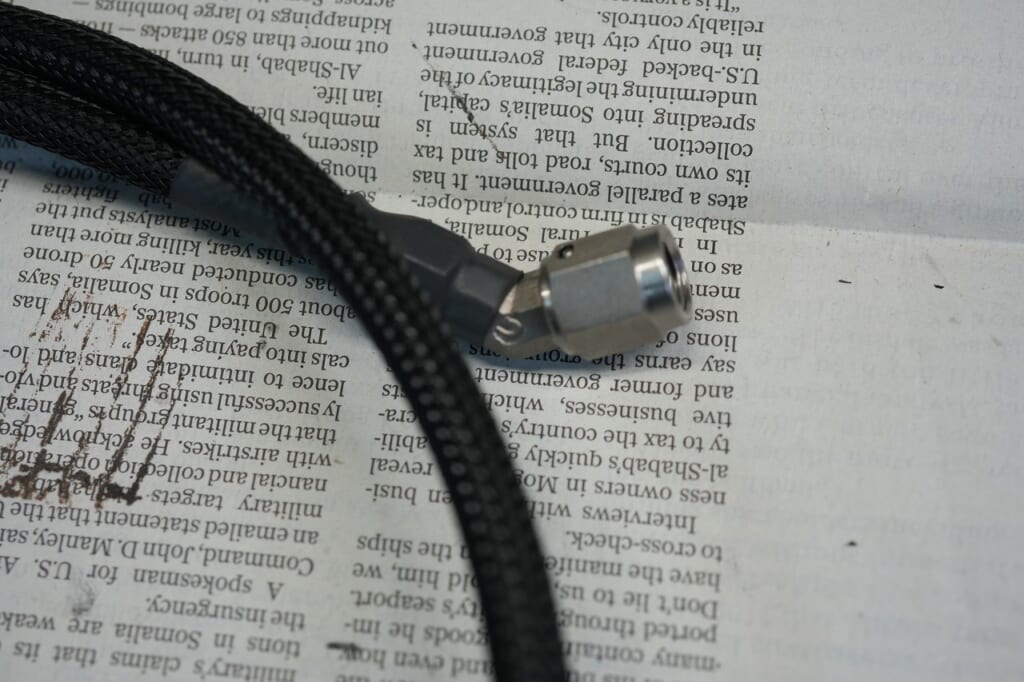
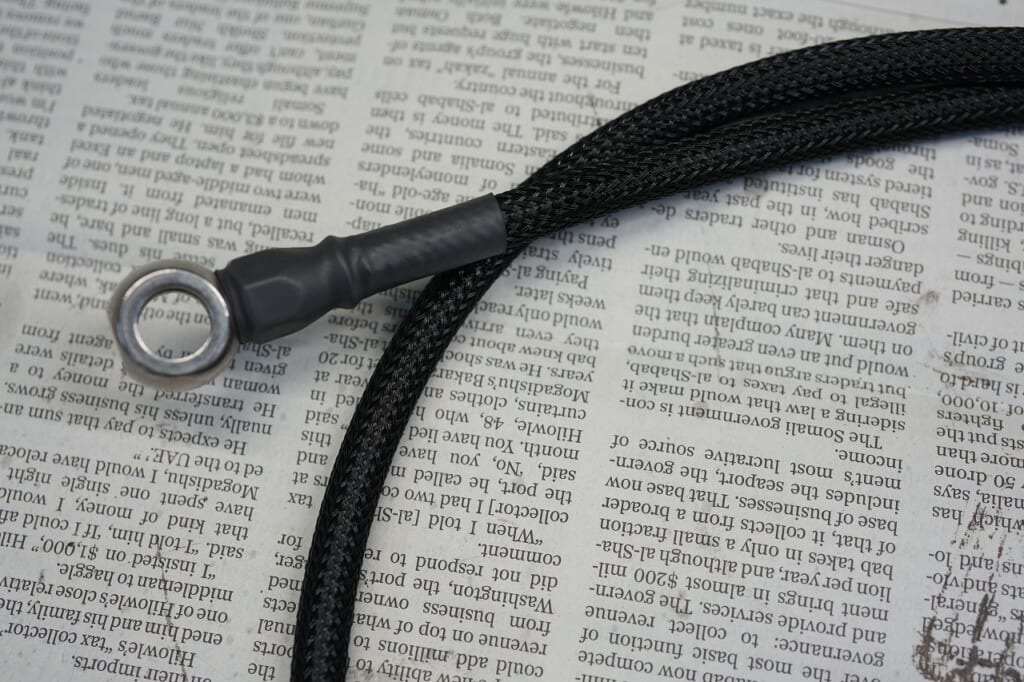
This is how the rear brake hose is complete.
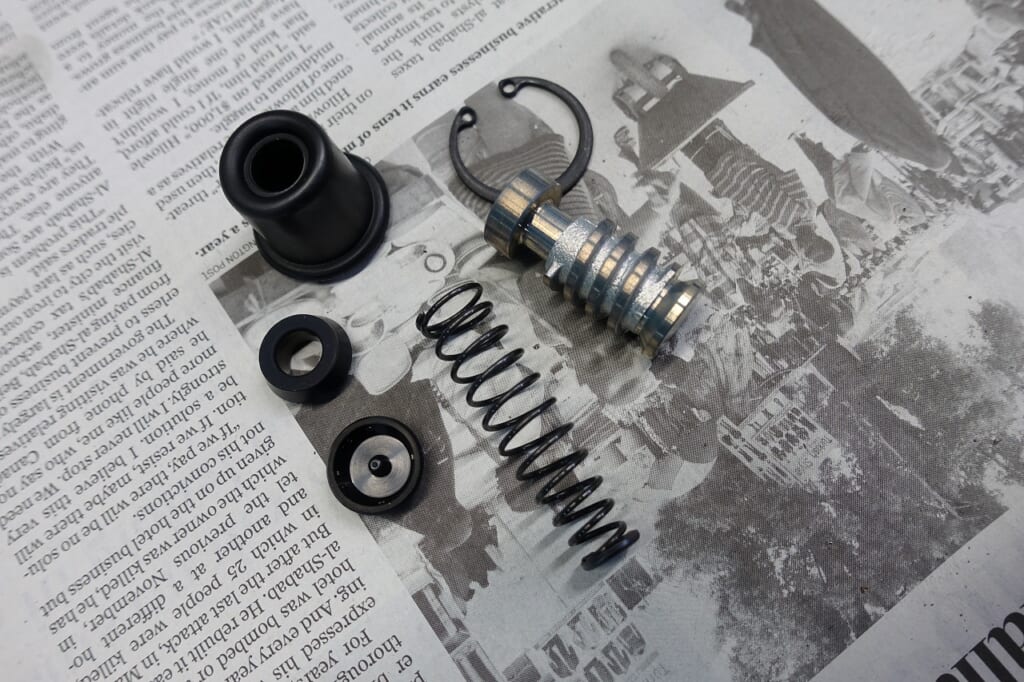
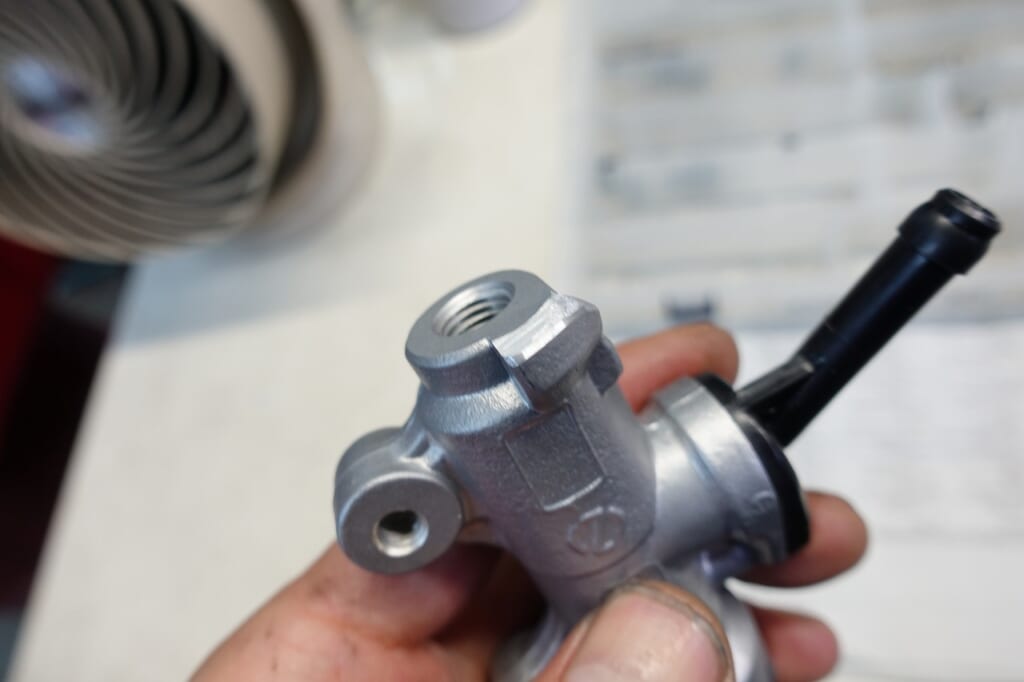
The work order will shift a bit, but… I’ll install the rear master.
The rotation stopper restricts the layout, so I skipped it.
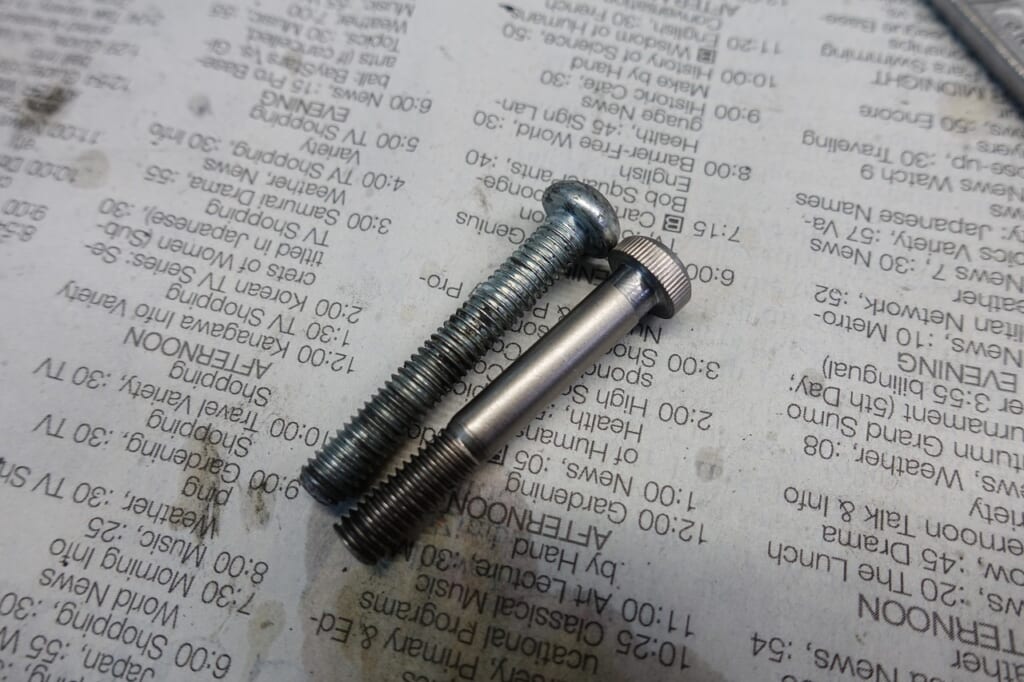
I modified and changed the push rod to something that’s less prone to problems.
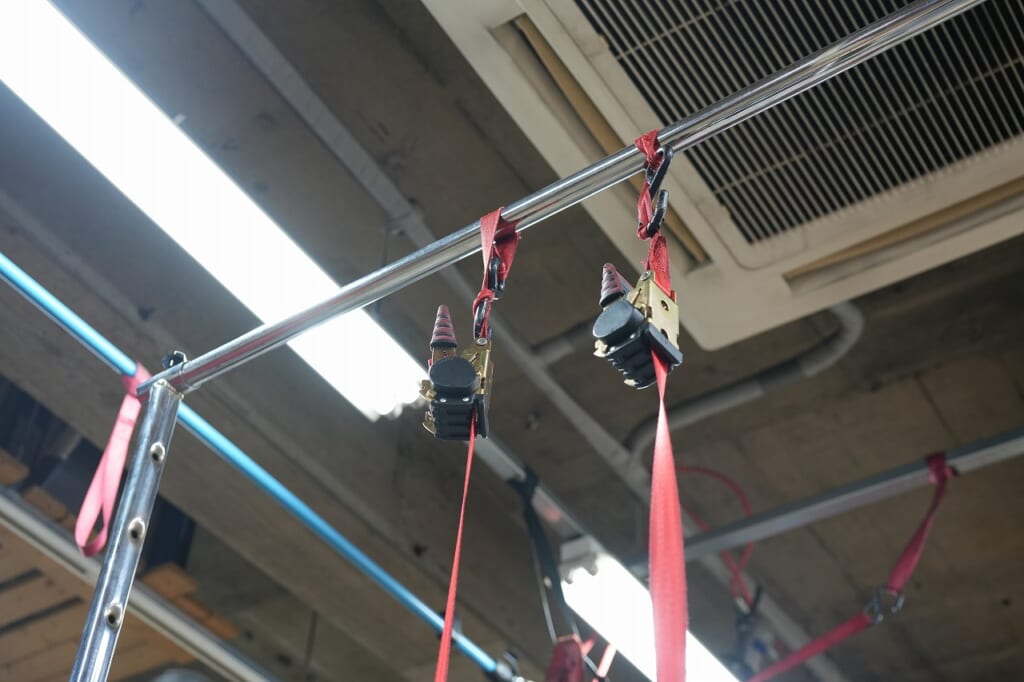
Finding a place to hang the frame is quite difficult.
If you pick the wrong spot, it bends easily, so you need to be careful.
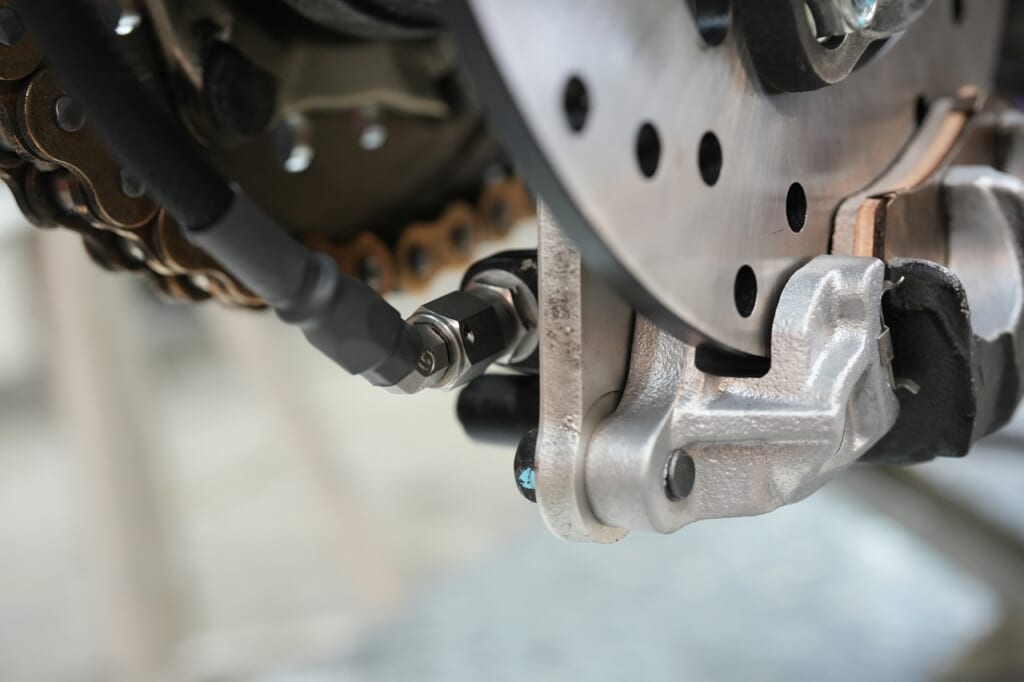
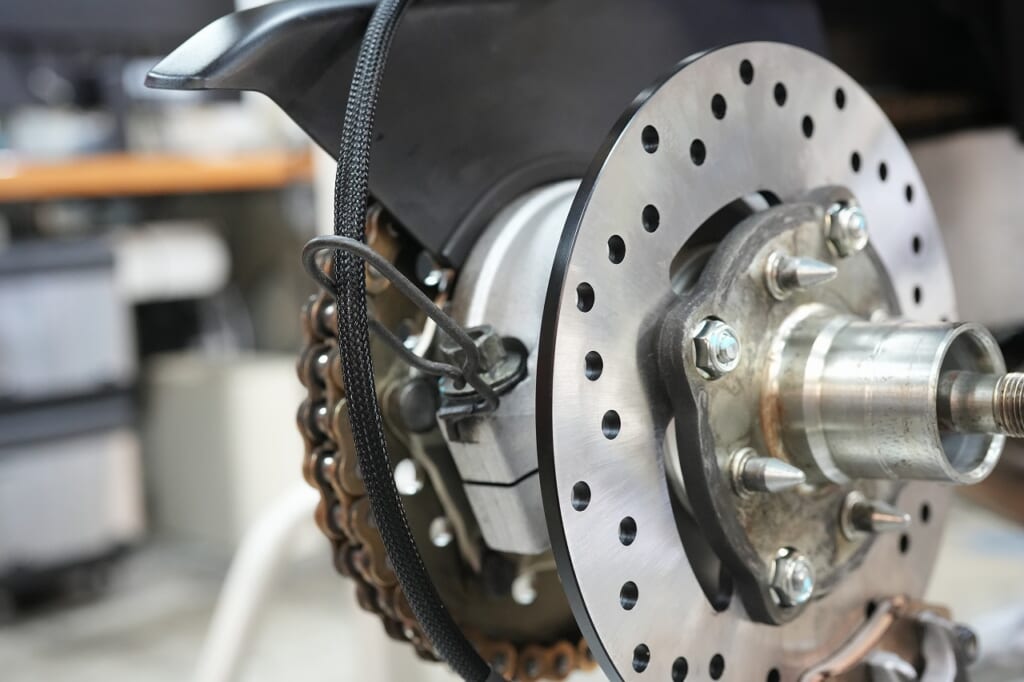
The 45-degree forged fitting extends from the caliper naturally and smoothly.
And that’s how the layout is complete.
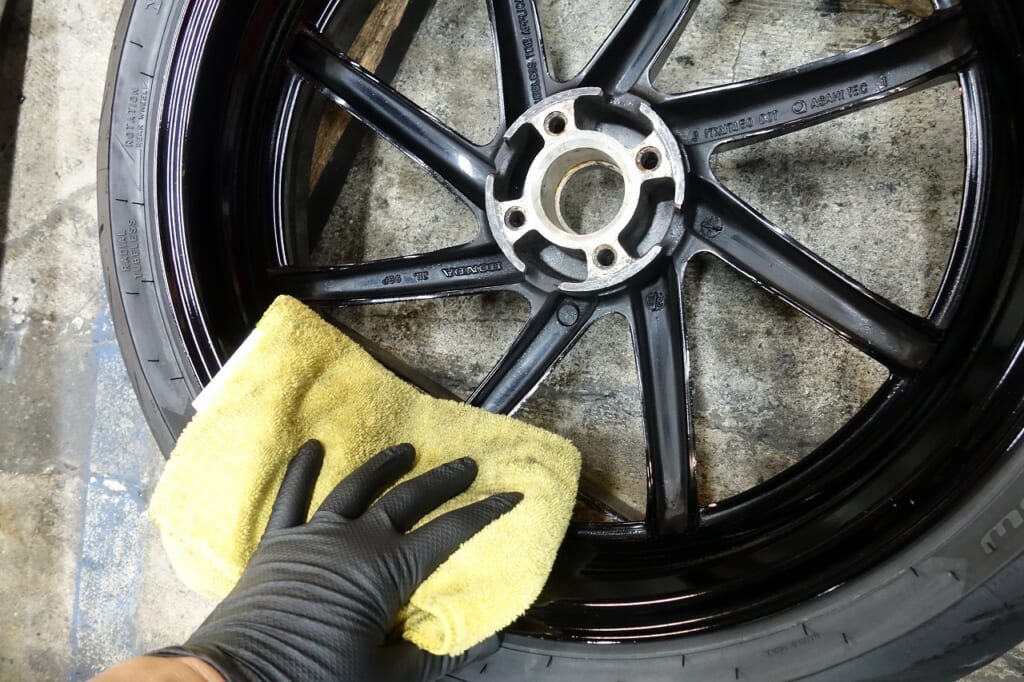
I Plexused the inside of the wheel and it’s done~
All that’s left is a test ride to complete it.