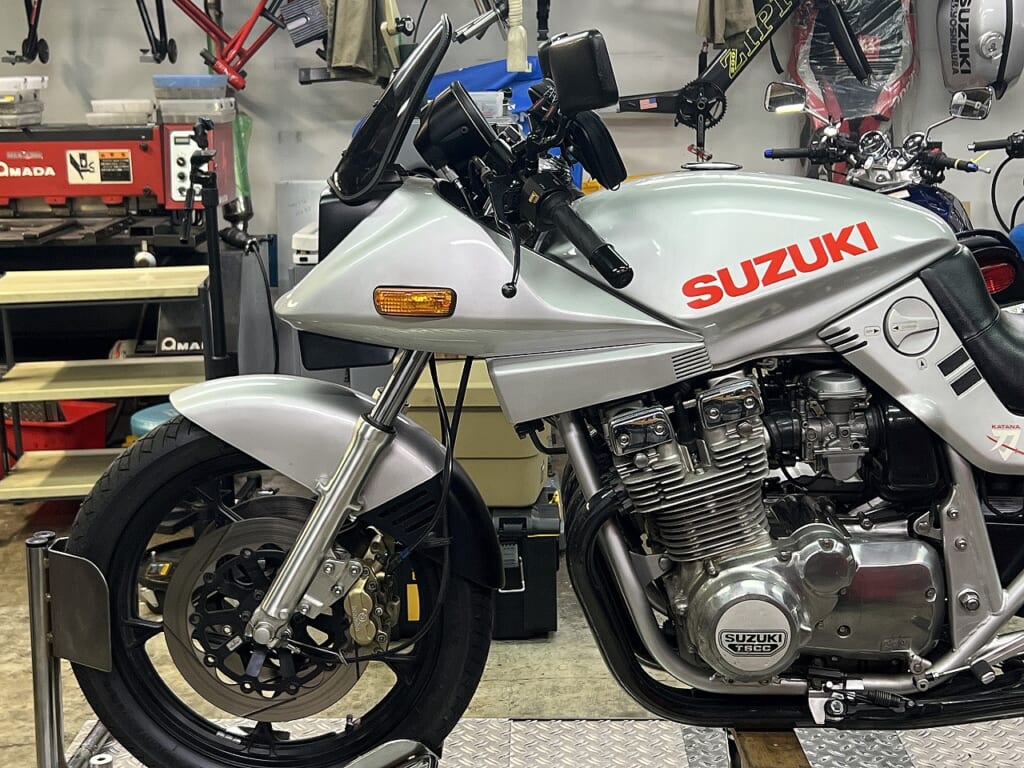
The dashcam installation continues.
It’s much more labor-intensive than people imagine…
It takes anywhere from a day to two days at the fastest.
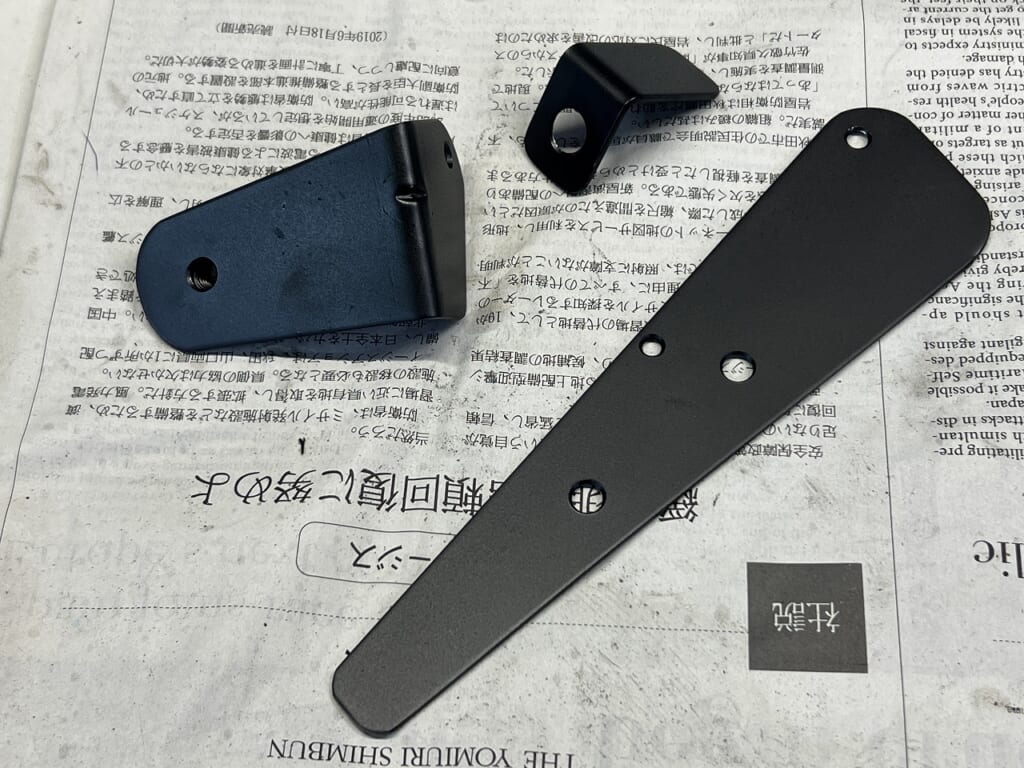
I fabricated the bracket from SUS304 sheet metal and applied gun coat.
Since there’s no template, I have to do custom fitting every time.
The later models don’t end up looking as rough.
*I’m the one
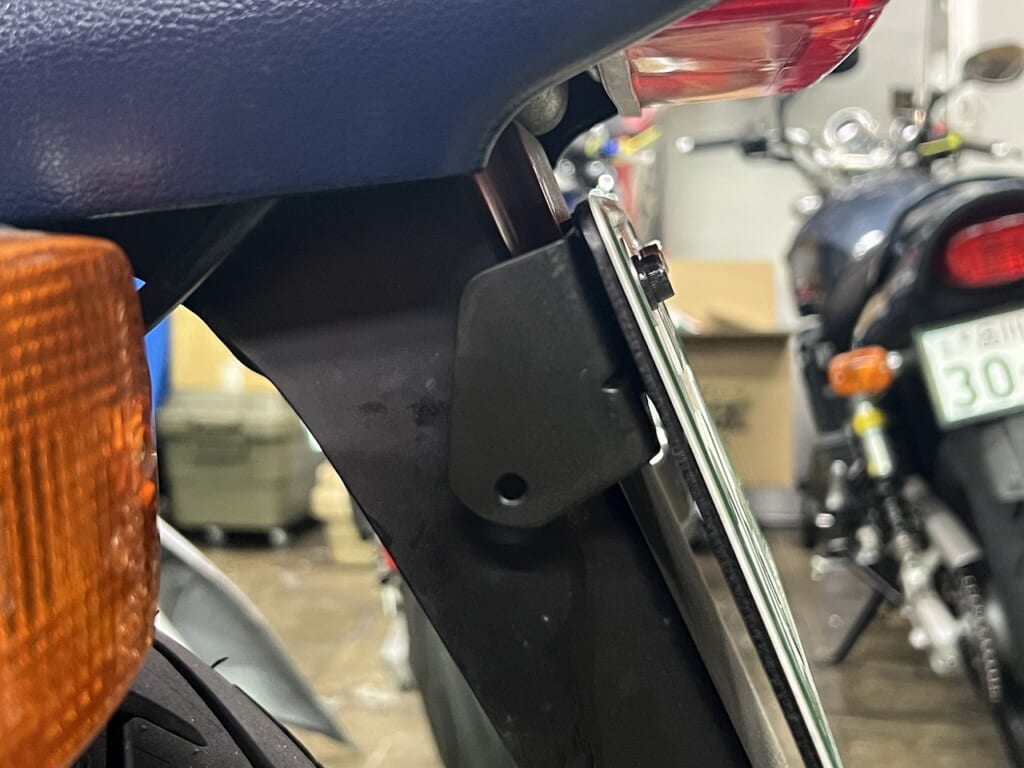
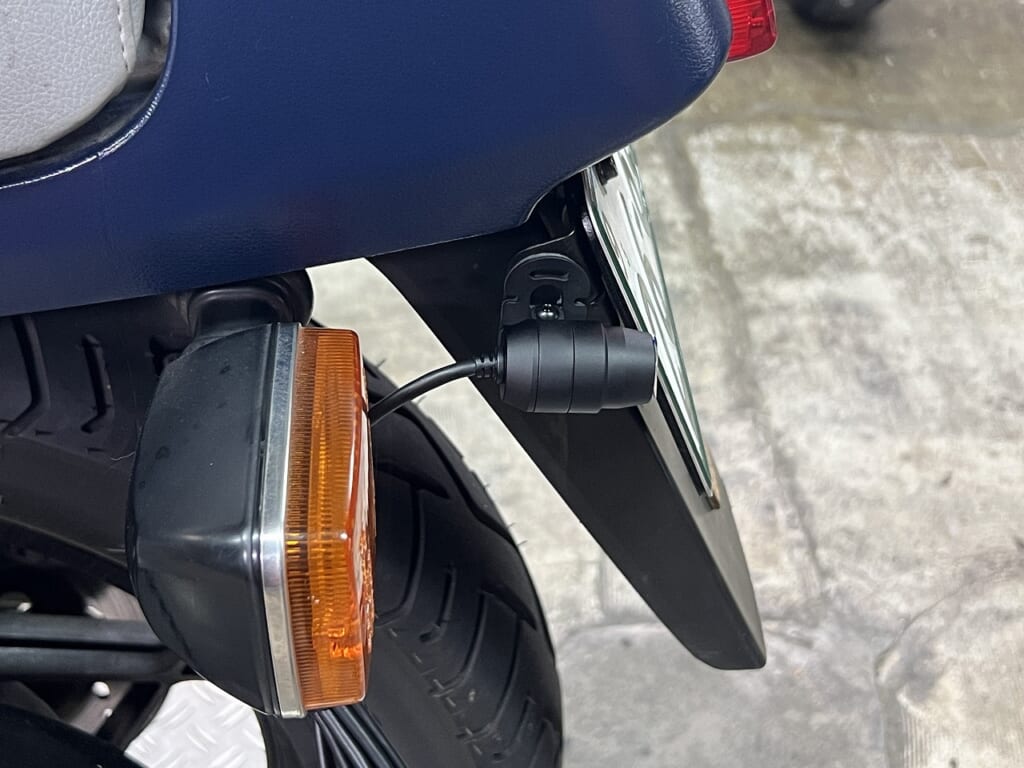
The rear camera is co-fastened with the license plate bolt.
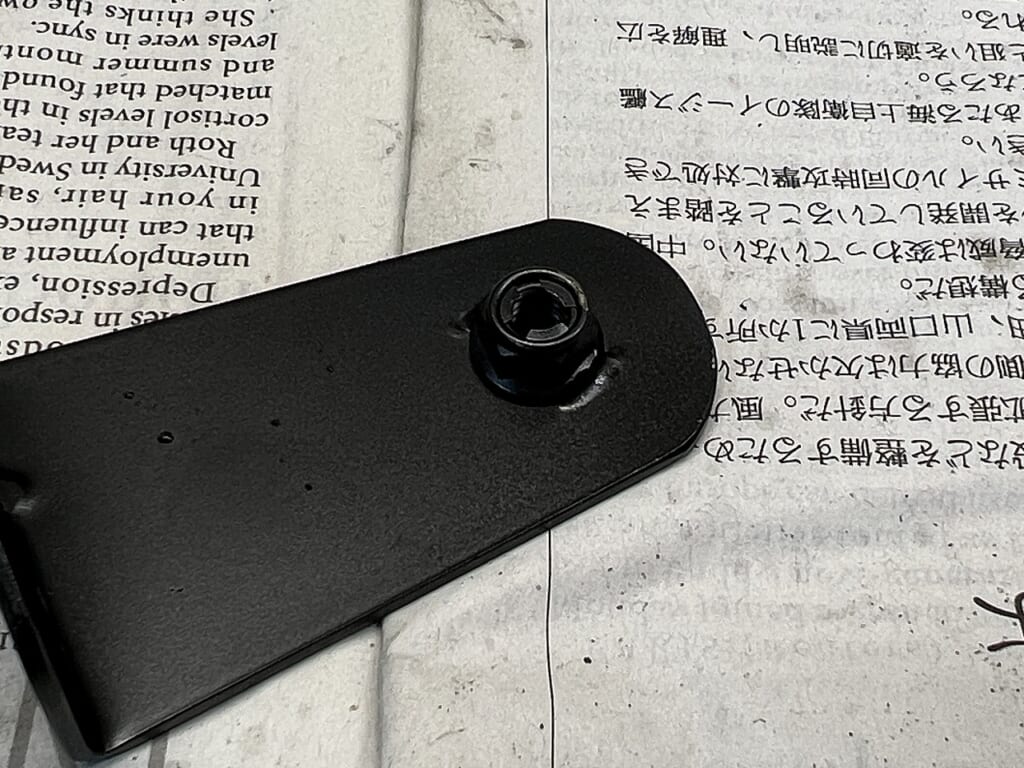
The nut is welded, so please don’t accidentally turn it…
I try to minimize the labor involved in basic work.
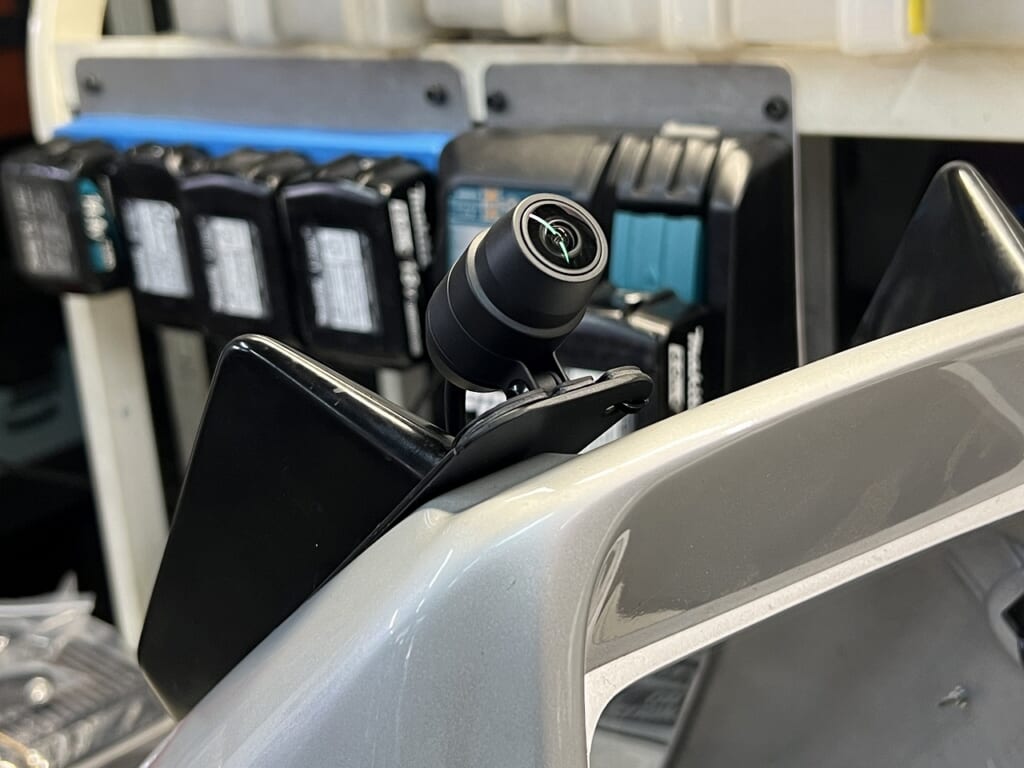
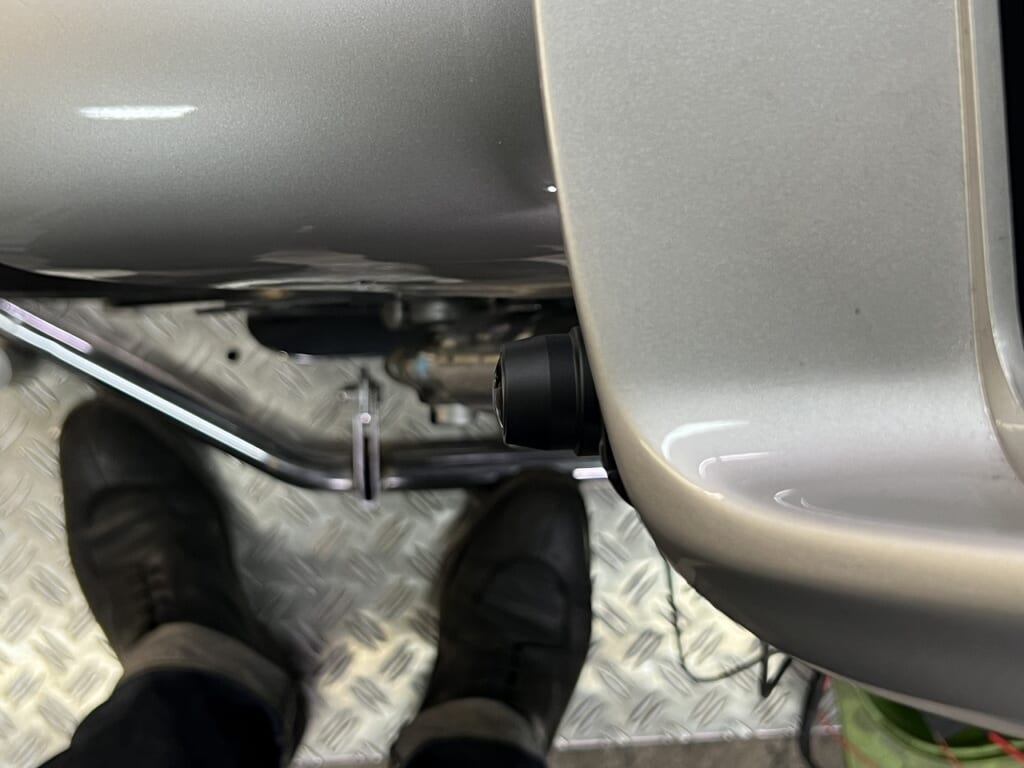
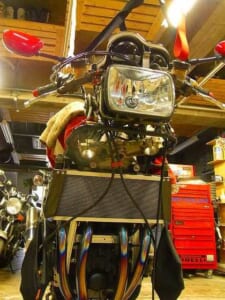
The front camera goes in the usual spot.
This location is surprisingly difficult to work with.
If I move it inward, the fender gets in the way…
If I push it back, the “gill” gets in the way…
Since the camera is mounted on the upper cowl, it needs to be removable.
This is currently the limit of what we can do.
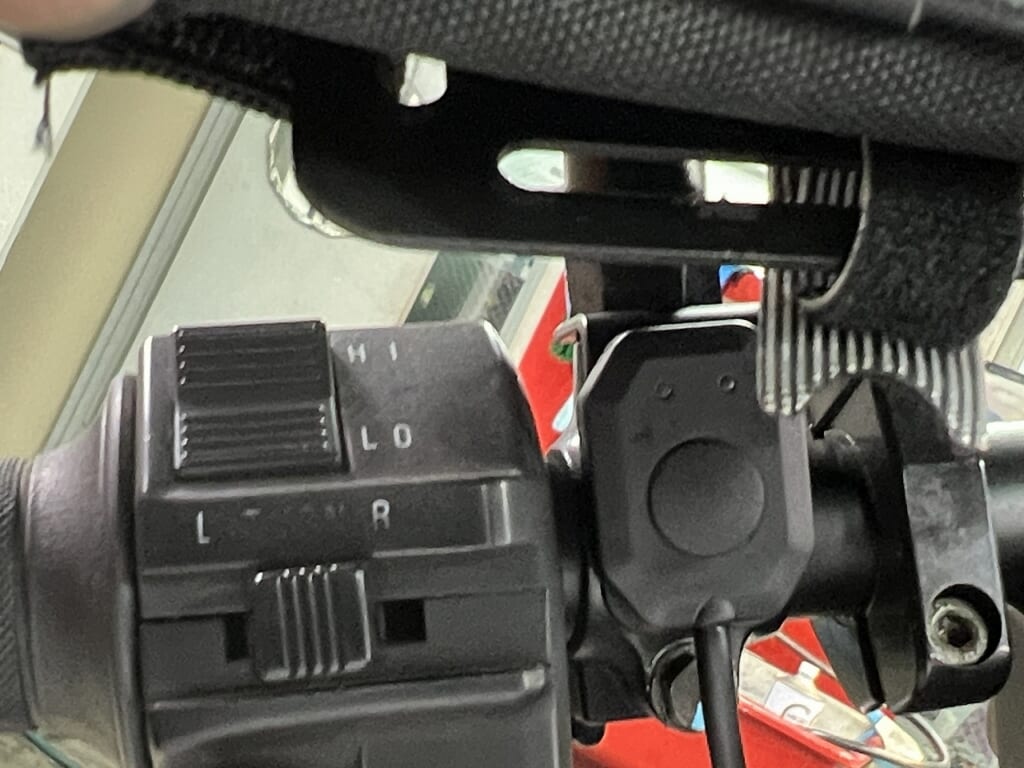
The handlebar switch is co-fastened with the mirror holder.
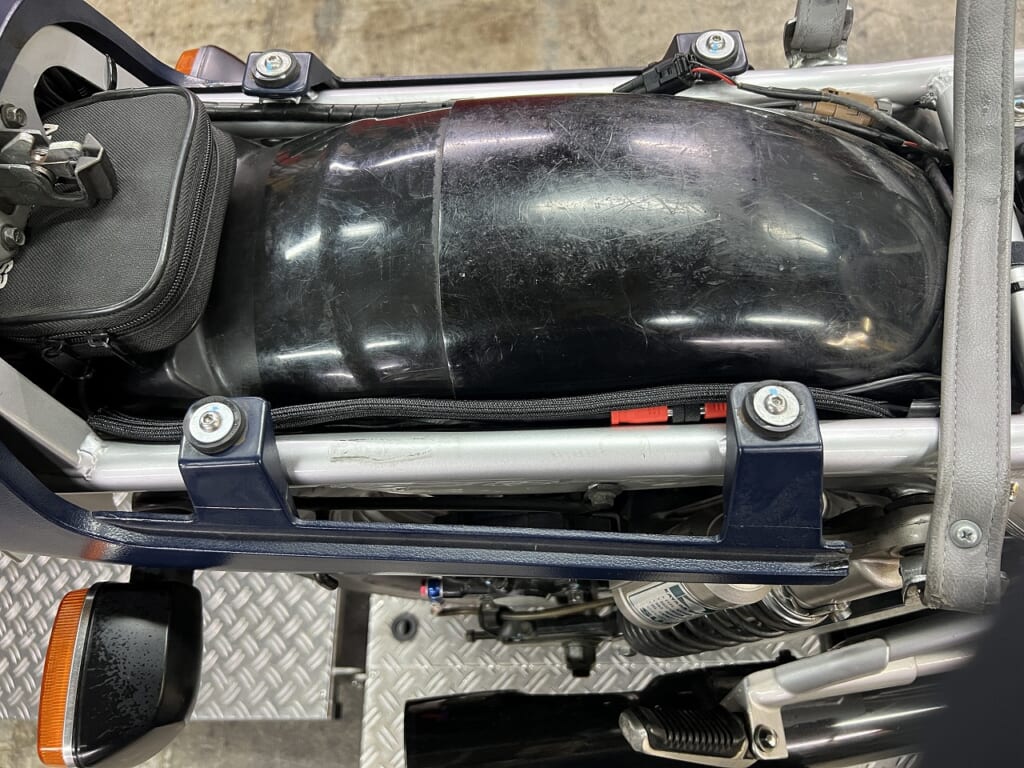
The wiring is laid out to be almost invisible, so it looks clean.
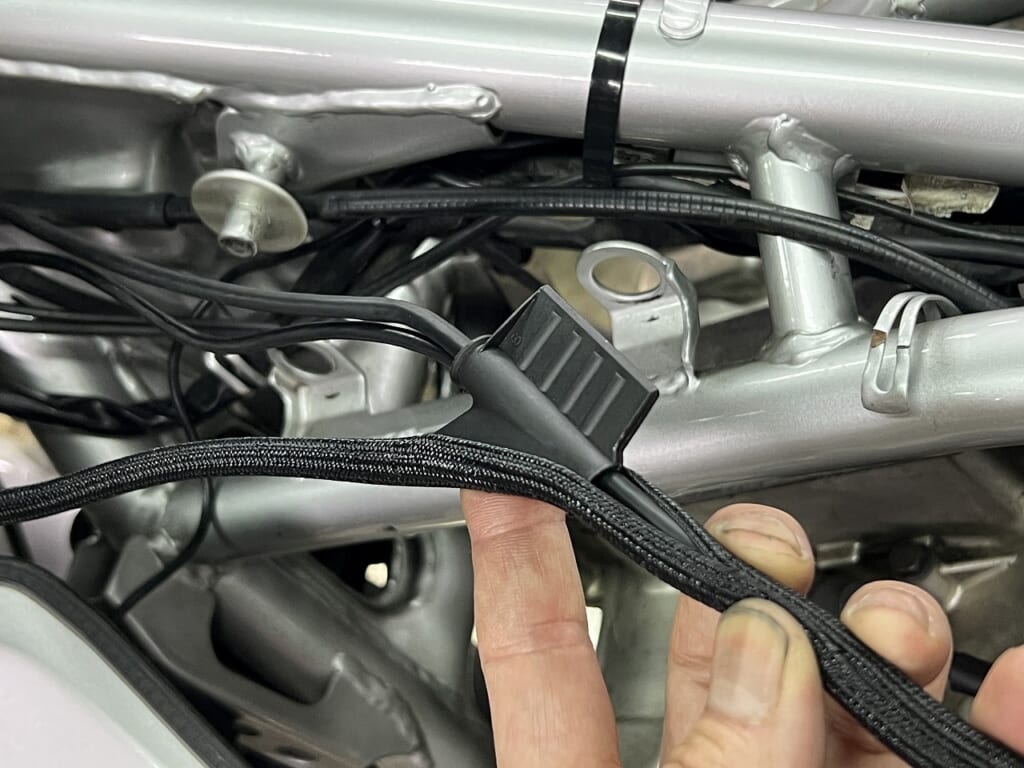
This tool is truly amazing…
Whoever came up with this is a genius.
If you buy this size, you won’t have any problems.
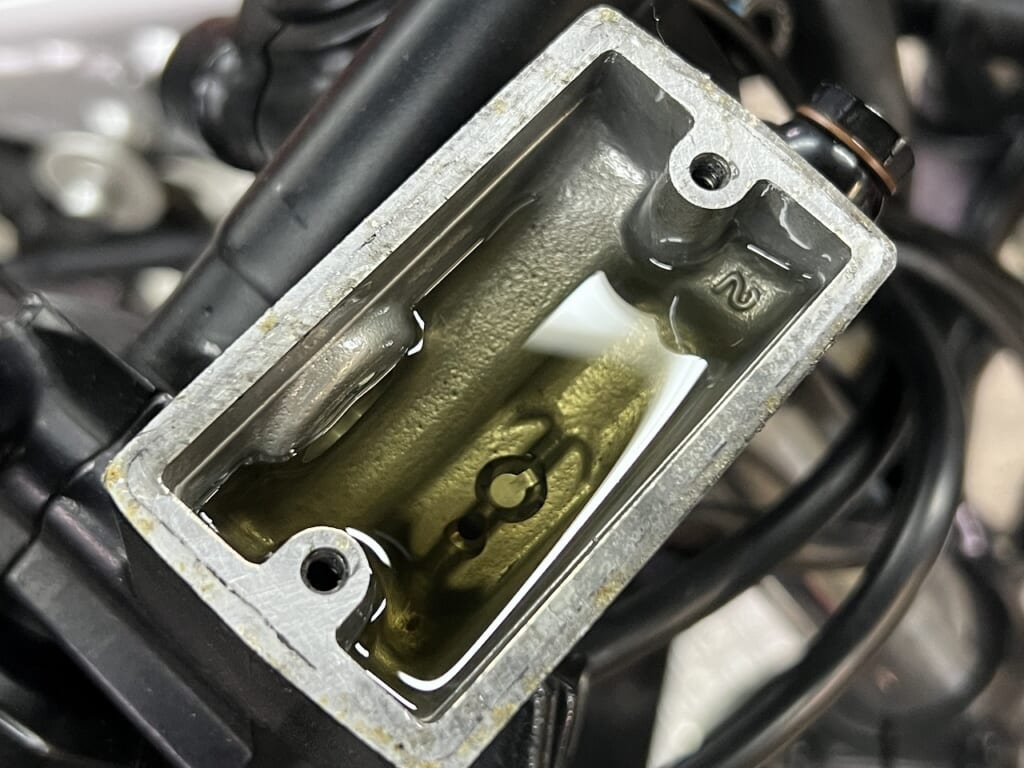
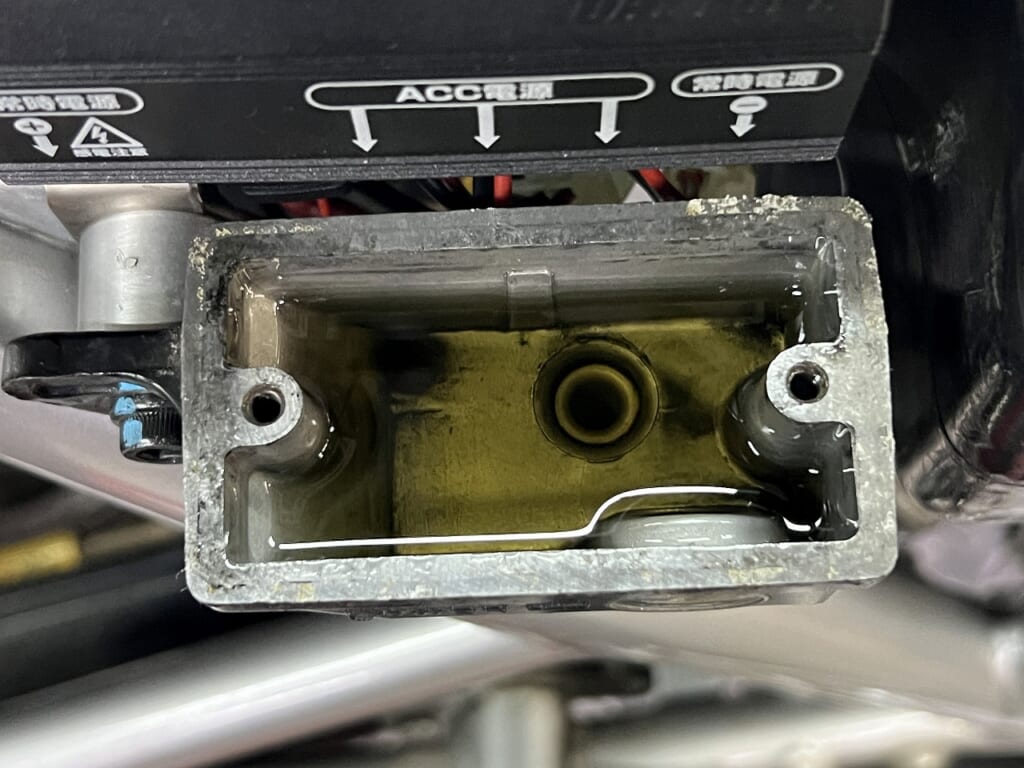
I did a complete front and rear fluid exchange, fixed the ETC lamp mounting, and corrected the rear cowl distortion.
After that, it’s just inspection and a test ride to completion.
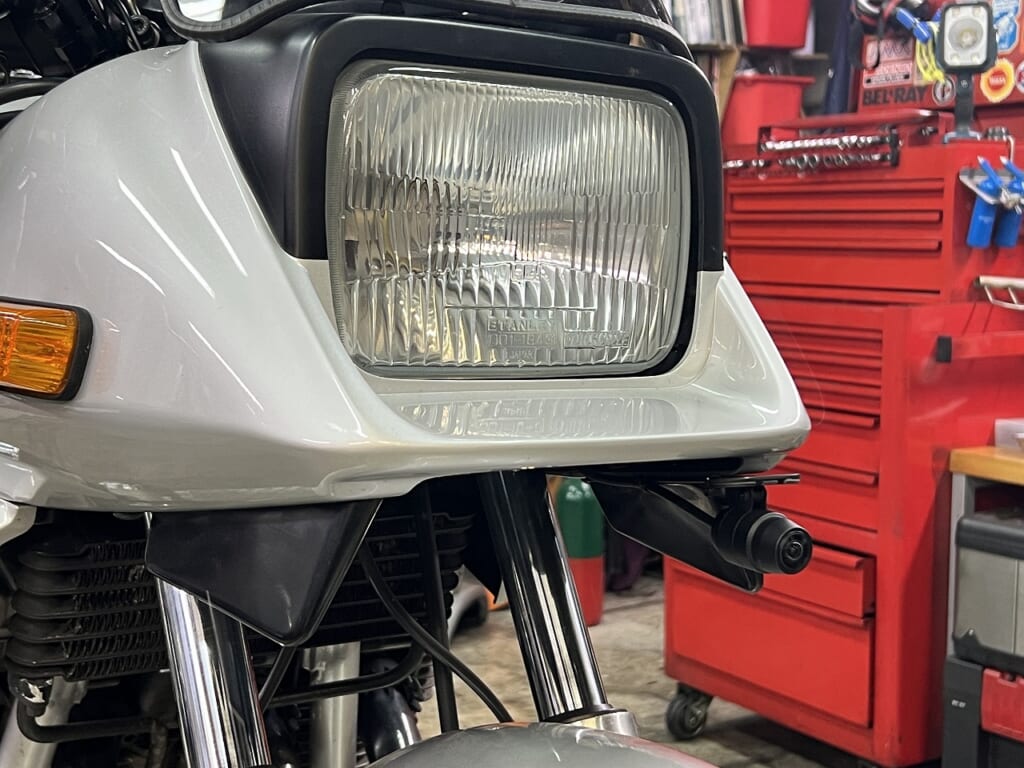
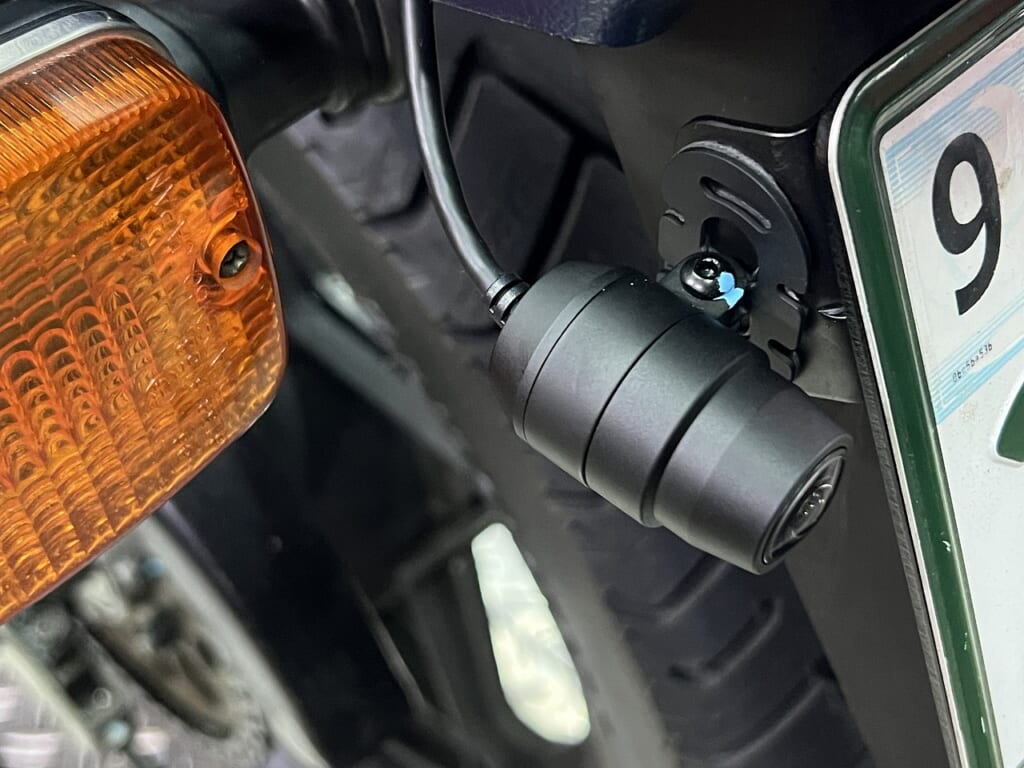
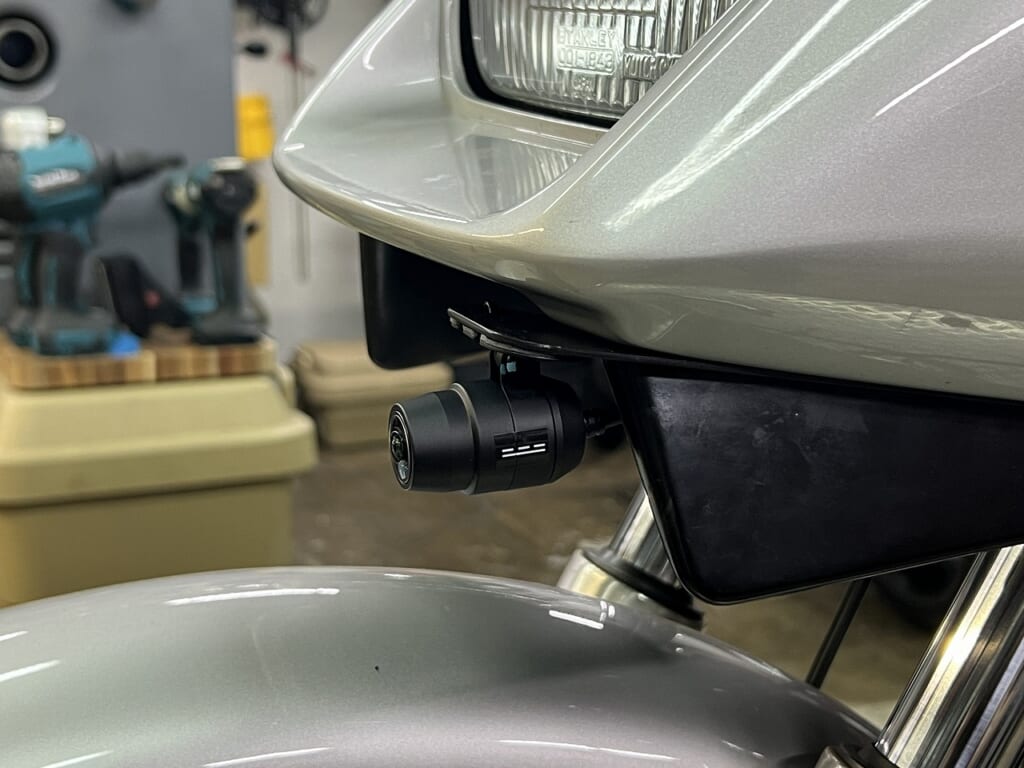
I’ve placed positioning stickers for camera removal, so rest assured.
(´ー`) Remember to think about removing the dashcam later.
*Make sure it’s removable.


 ポチップ
ポチップ
 ポチップ
ポチップ
 ポチップ
ポチップ