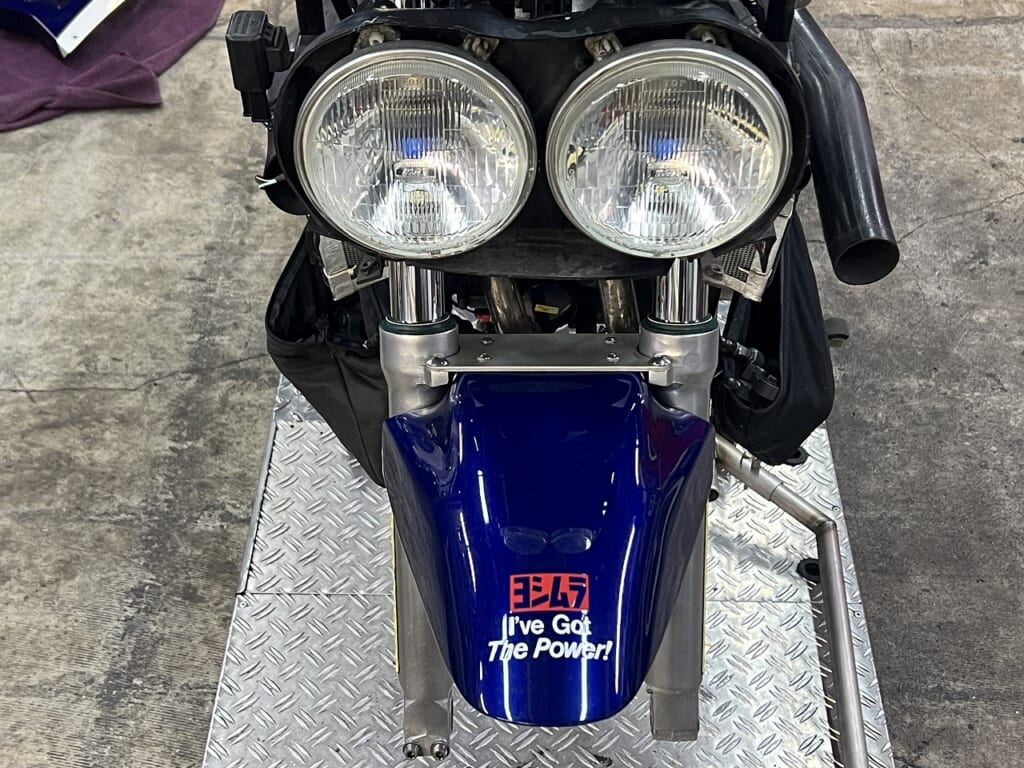
It’s gradually becoming popular.
Is it really that popular?
Suzuki has a lot of expensive parts and discontinued items.
You need love and passion.
Throttle cables and speedometer cables
can be a real headache on their own,
so doing your homework beforehand is really important.
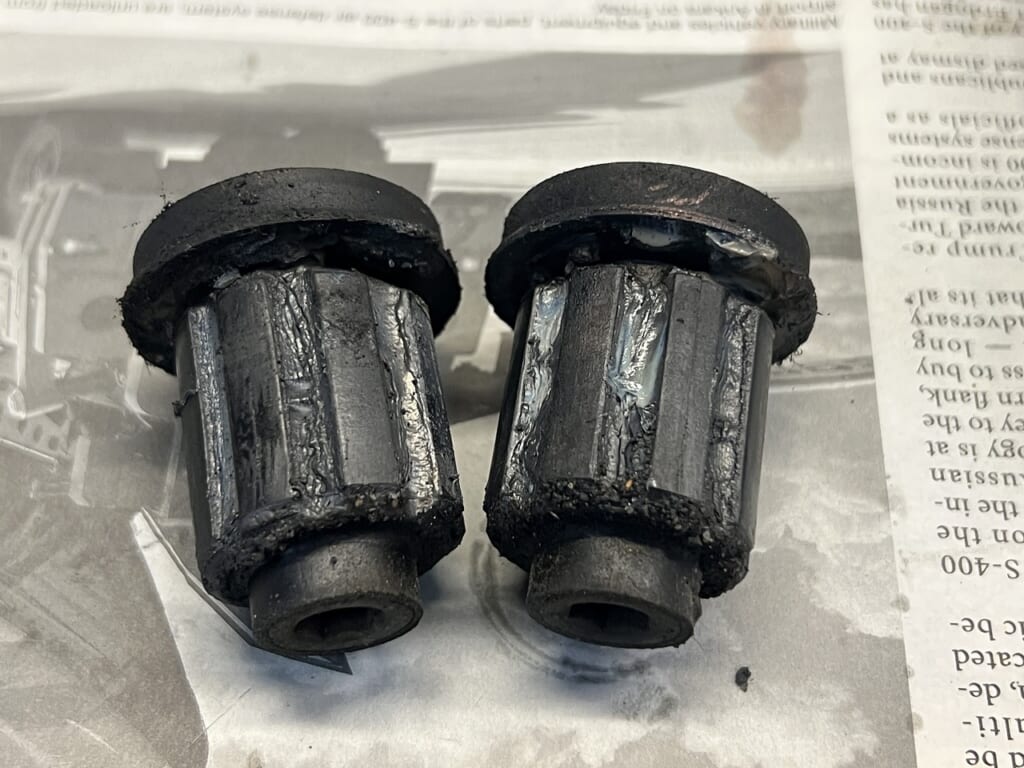
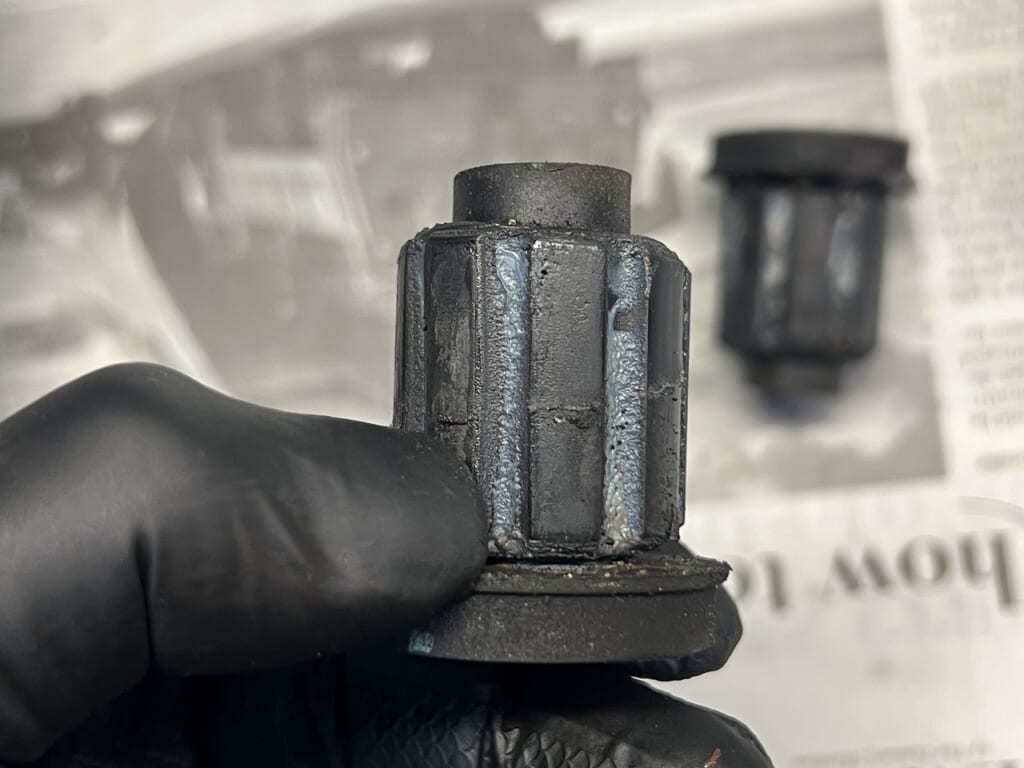
The engine damper I replaced quite a while ago
is in great condition (*´ω`*)
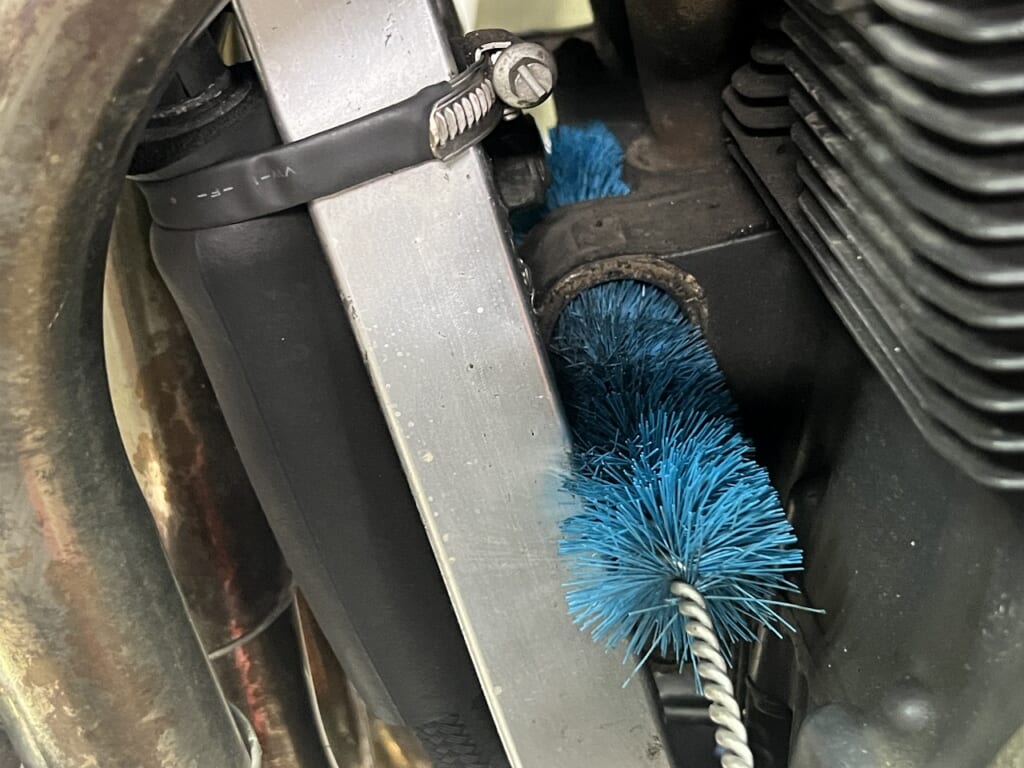
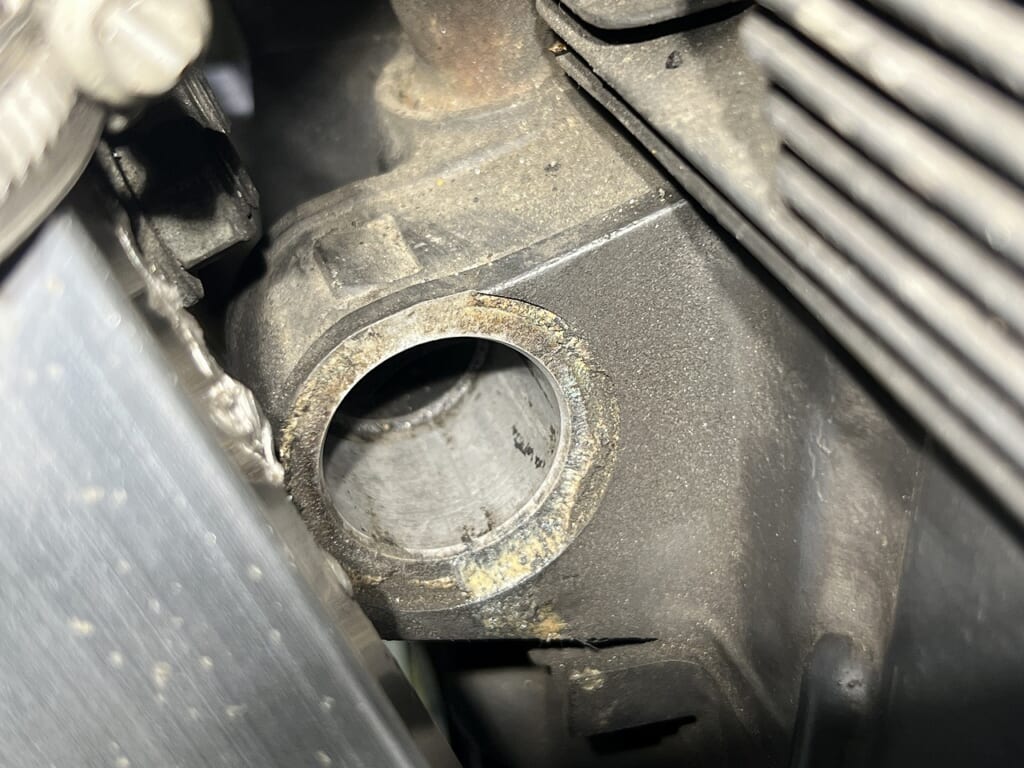
I want the new replacement parts to
perform at their best,
so
cleaning is important (*´ω`*)
The case side was also smooth and in good condition.
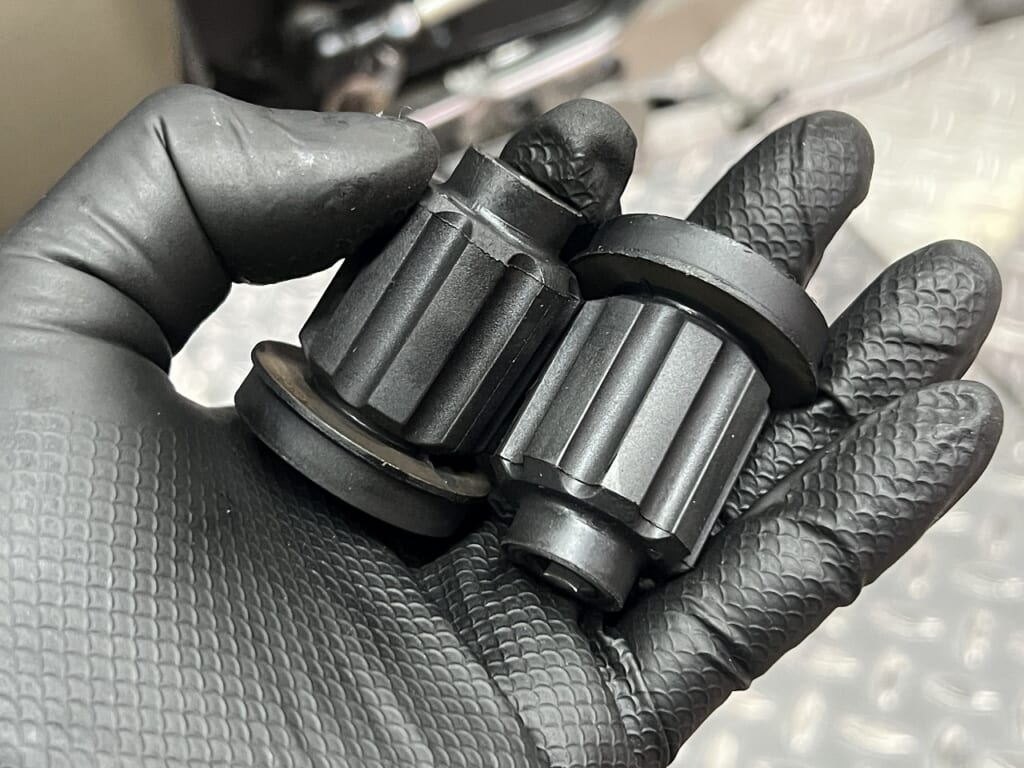
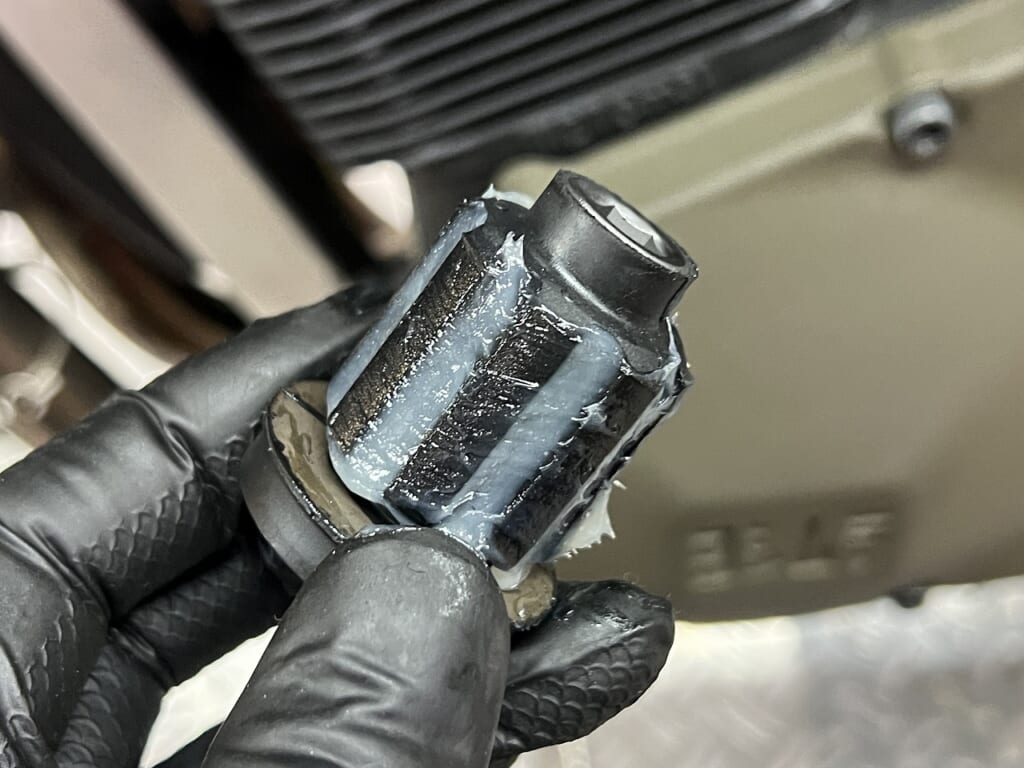
When you apply grease to the engine damper
and assemble it, the case side won’t wear as easily.
Cleaning and lubrication are really important.
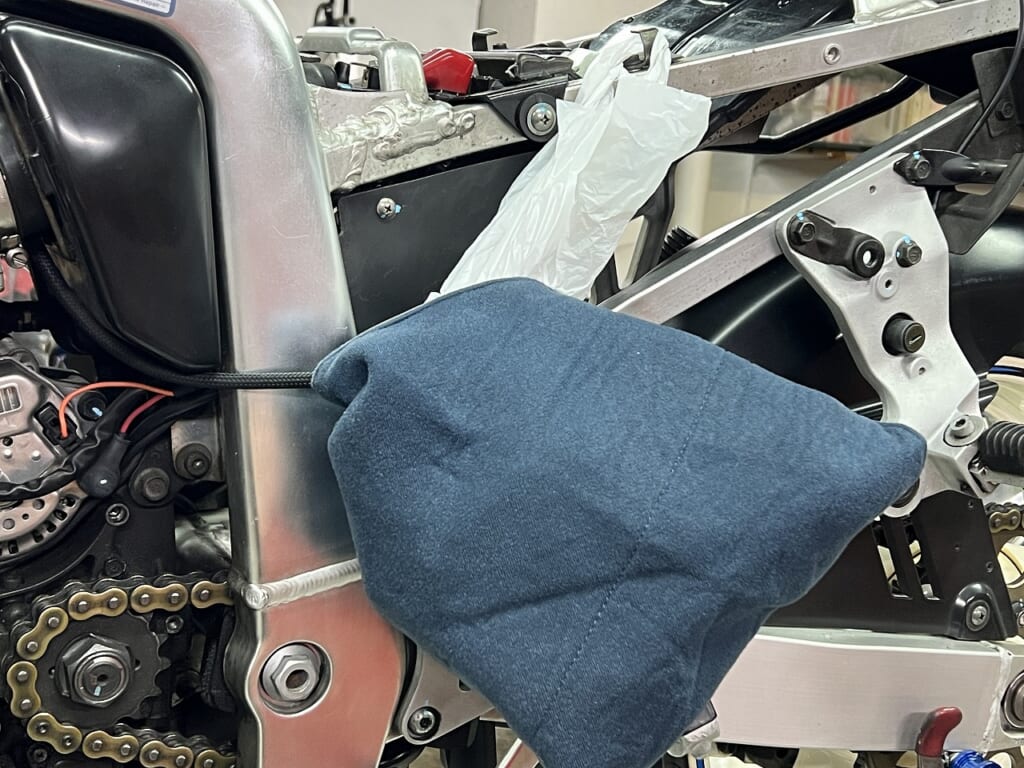
The sprocket cover is so dirty!
In times like this,
Put it in a convenience store bag
and wrap it with camera wrap.
Convenience store bags have handles
Camera wrap provides solid protection.
Put the dirty garbage bag in the trash and use it.


 ポチップ
ポチップ
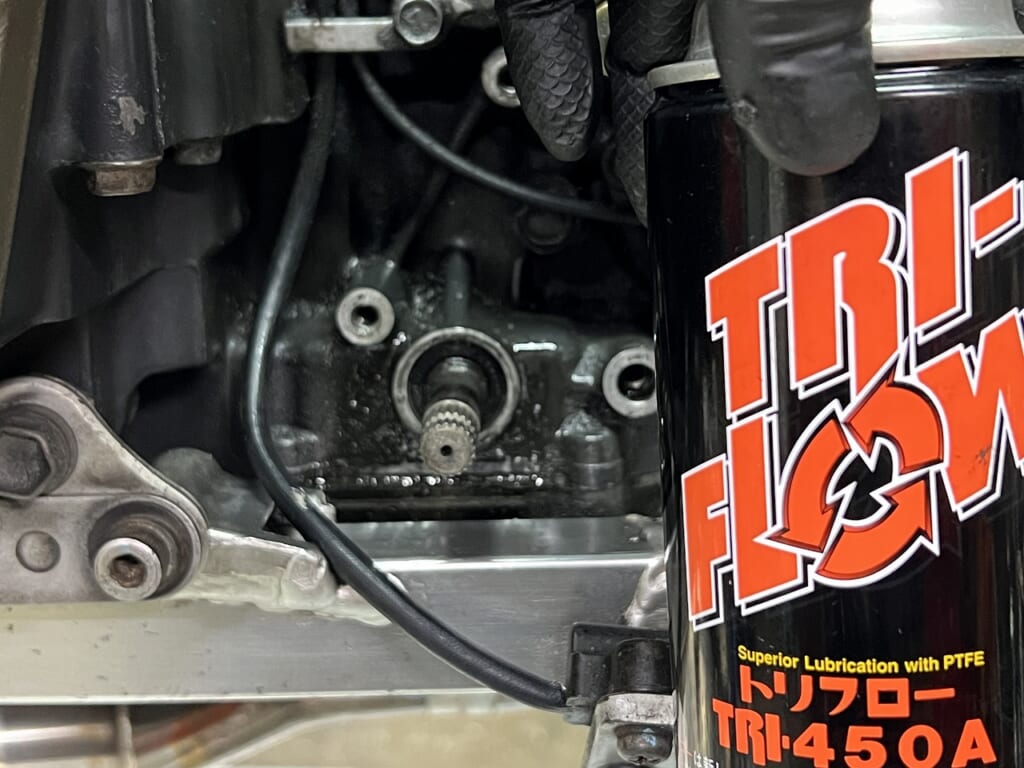
I’m replacing the shift oil seal.
If you set things up properly, it takes about 10 minutes.
If your setup is poor, it can take hours.
Preparation is important for everything.
First, apply oil to lubricate it.
 ポチップ
ポチップ
↑This became an alternative to Tri-Flow.
Among lubricating oils,
Tri-Flow is, in my opinion, “the best.”
I can’t think of anything else.
When it comes to lubricating oils,
to a certain extent,
they need to be thin with good penetration and lasting power.
That’s really all I look at.
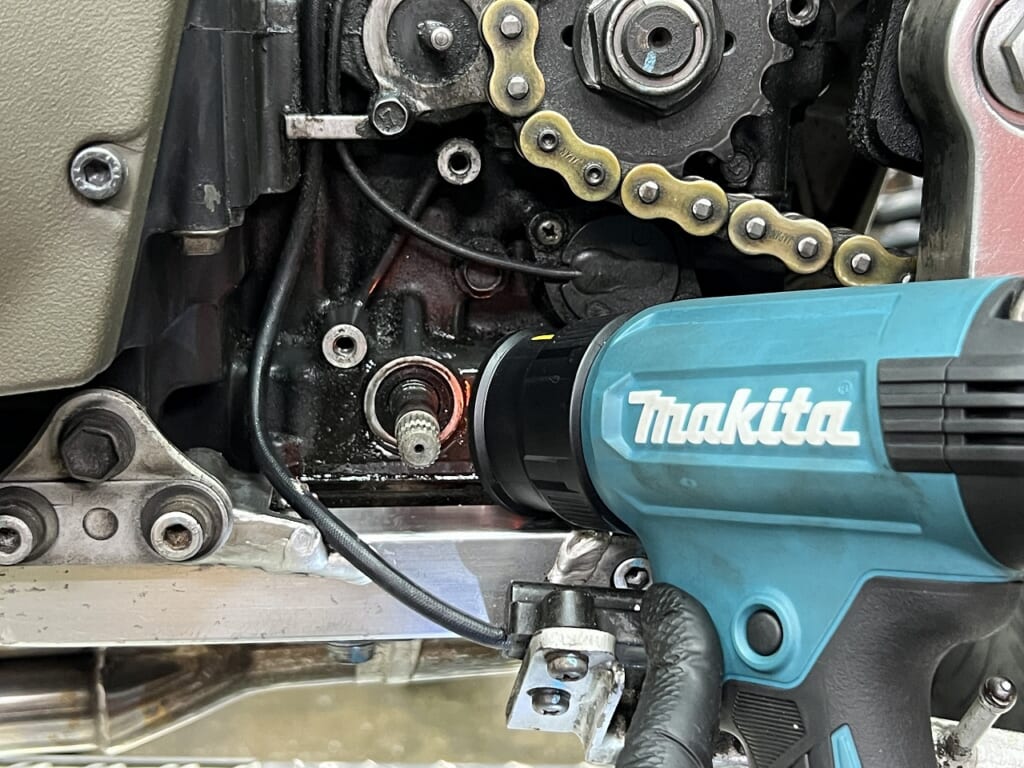
Be sure to warm it up with a heat gun! ♪
An oil seal is ultimately just rubber.
Heat maximizes its flexibility.
After that, just use a sliding hammer
and tap it out.
The only time
you use a sliding hammer
 ポチップ
ポチップ
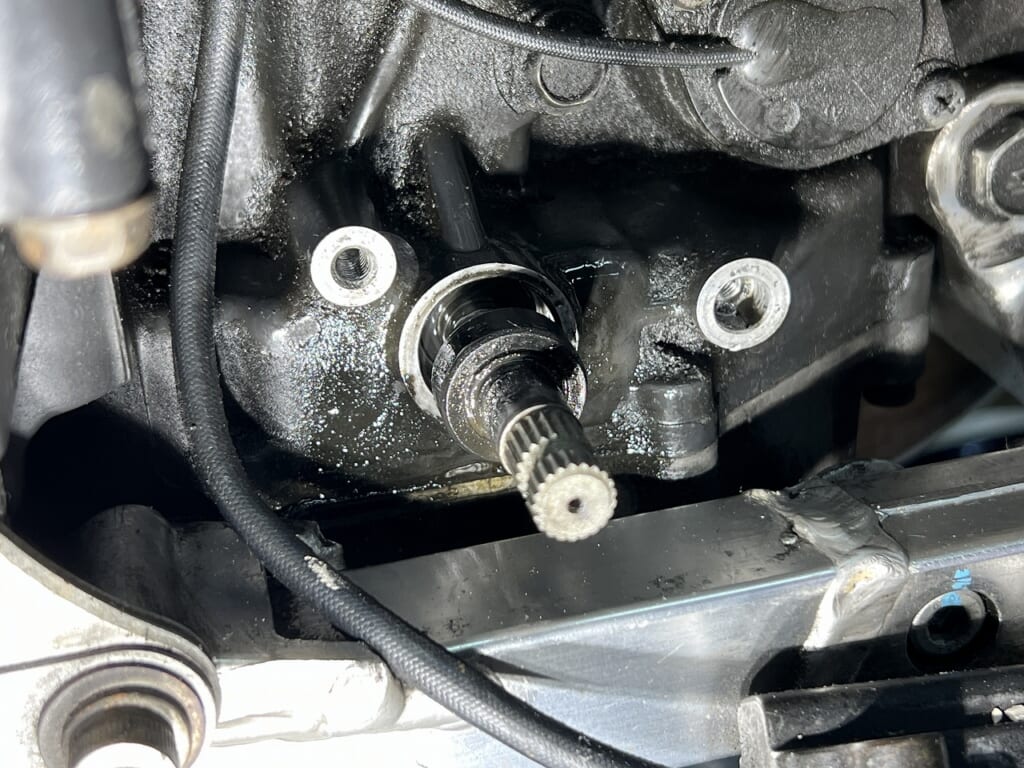
This seal here is loose, so it comes off easily.
Any job comes down to
“preparation” and “proper tools.”
Japanese motorcycles
are designed to be disassembled and reassembled.
If you follow the rules correctly,
I think anyone can do it.
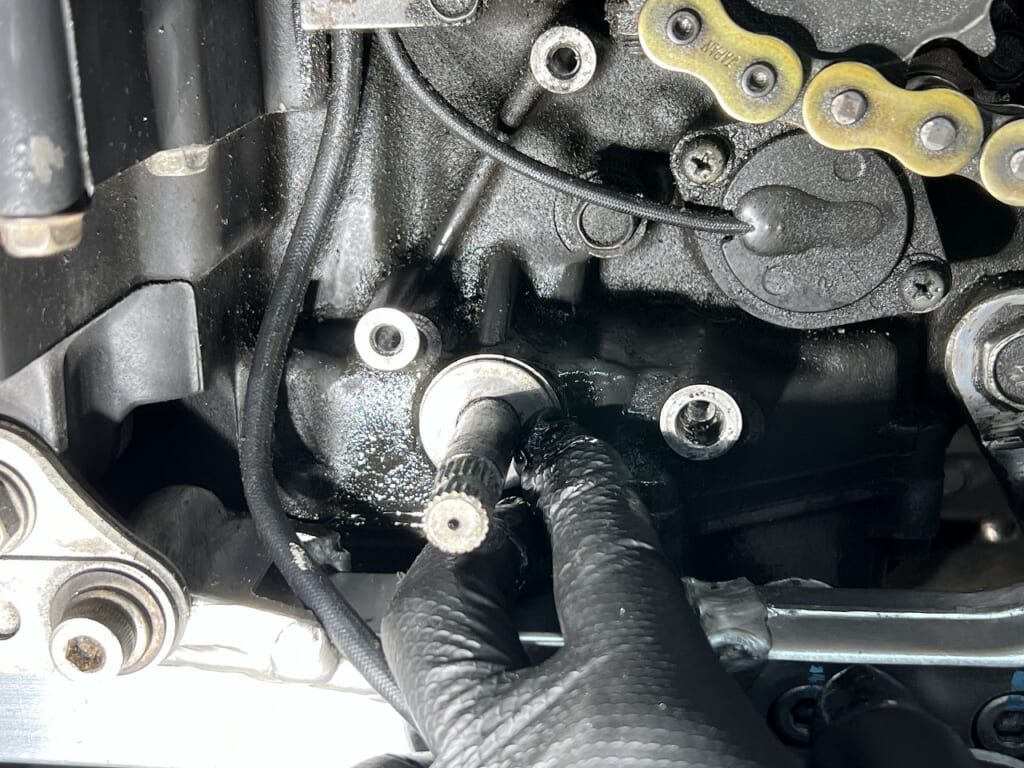
Some oil seals can be installed by hand.
There’s a general tendency to want to hammer everything.
Show love to your parts.
I want to press-fit things smartly.
They go in by hand, so please don’t hammer them.
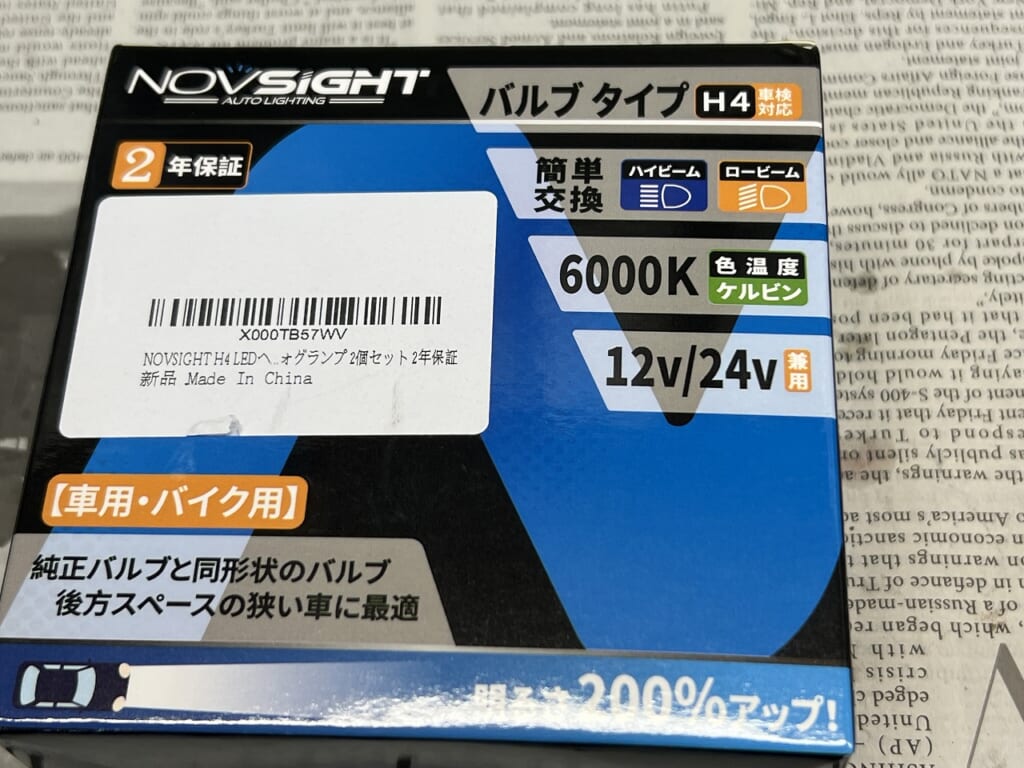
I was torn between LED bulbs from Daytona,
but I went with NOVSIGHT.
They’re popular for a reason,
and they keep getting better.
 ポチップ
ポチップ
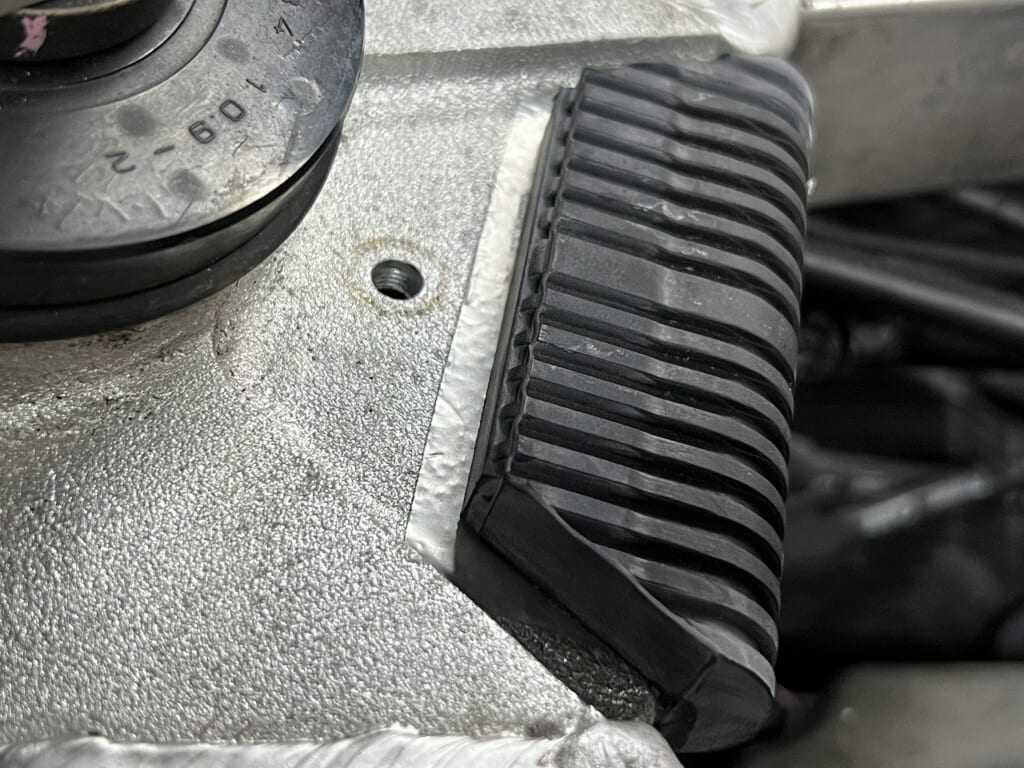
Dampers that keep falling off when directly attached
With this type, don’t attach it directly with G17 or similar.
It usually doesn’t work out well.
Let me teach you a super easy method!
- First, thoroughly clean and degrease the frame side.
- Next, apply aluminum tape.
- Apply epoxy adhesive to the damper and attach it.
The tape is bonded over a wide surface area,
making it extremely strong.
When you want to remove it, just peel off the tape.
Until the damper fails,
it won’t come off.
*If you do the work properly.

Megmix is a chemical I really want you to experience.
I’ve never seen anything this fast-drying and durable.
Your adhesive life will change.