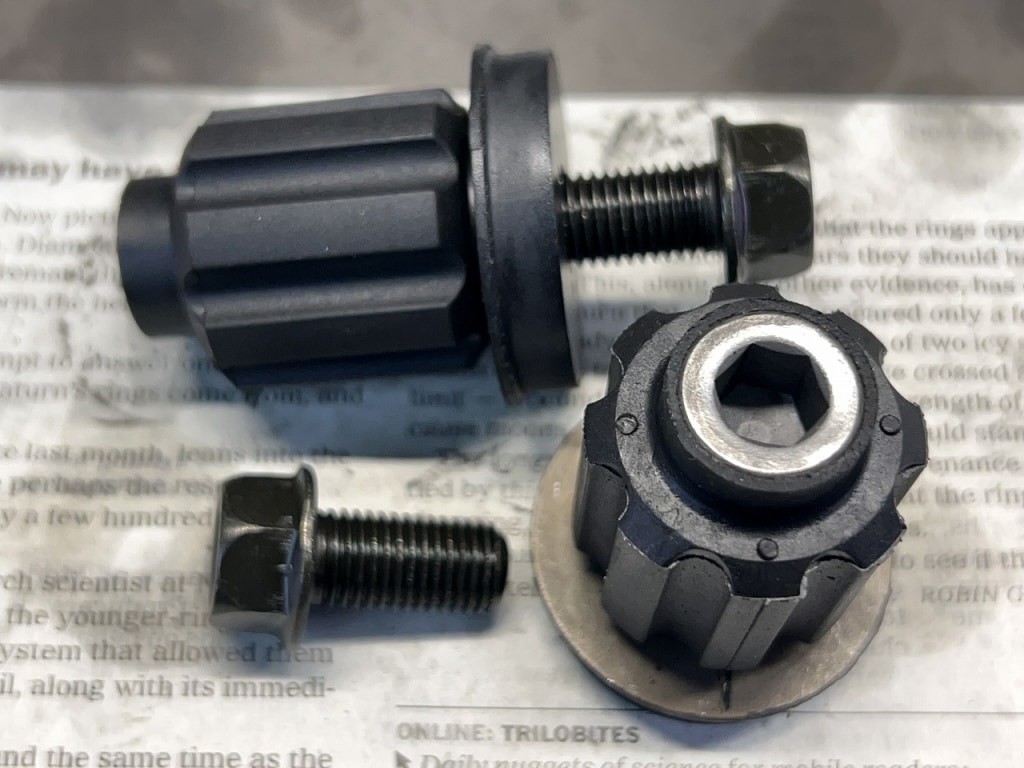
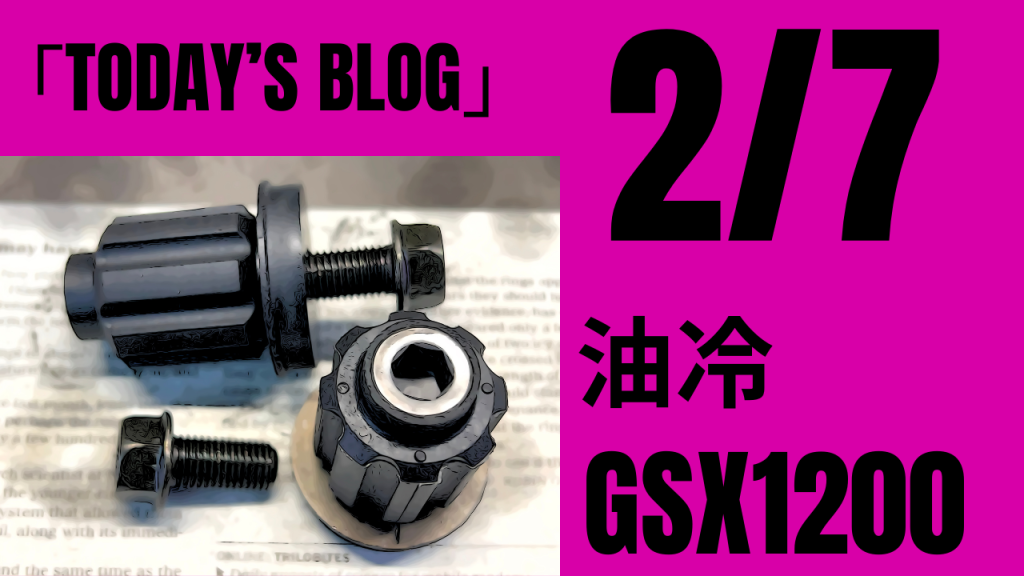
The engine damper comes in early and late models. The early model is through-bolt style, while the late model has threads cut into the damper itself.
If you want to attach sliders to a through-bolt style, go with the early model. Otherwise, please go with the late model. I think most people have the late model.
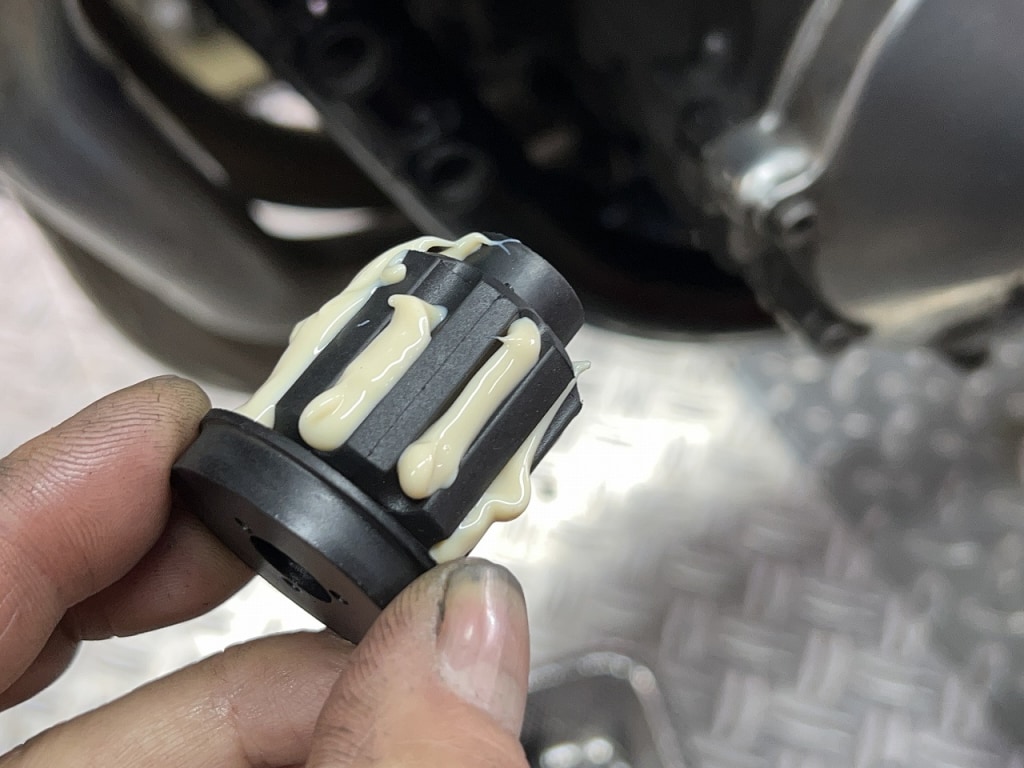
The damper has lots of grooves cut into it, so it’s a good idea to grease it up before installing. The reason is that lots of gravel gets packed into these grooves and wears down the crankcase. If you grease it up and assemble it, gravel won’t get in as easily, and when you disassemble it next time, the crankcase side will be shiny and clean.
Why now? A small thing that dramatically improves workability
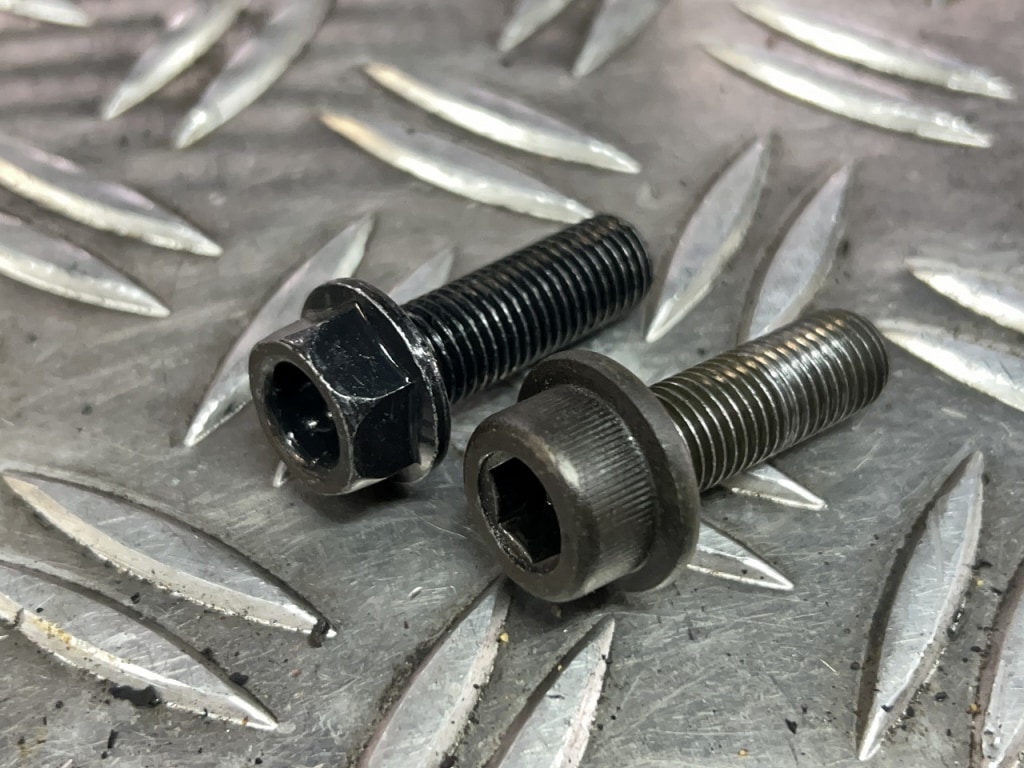
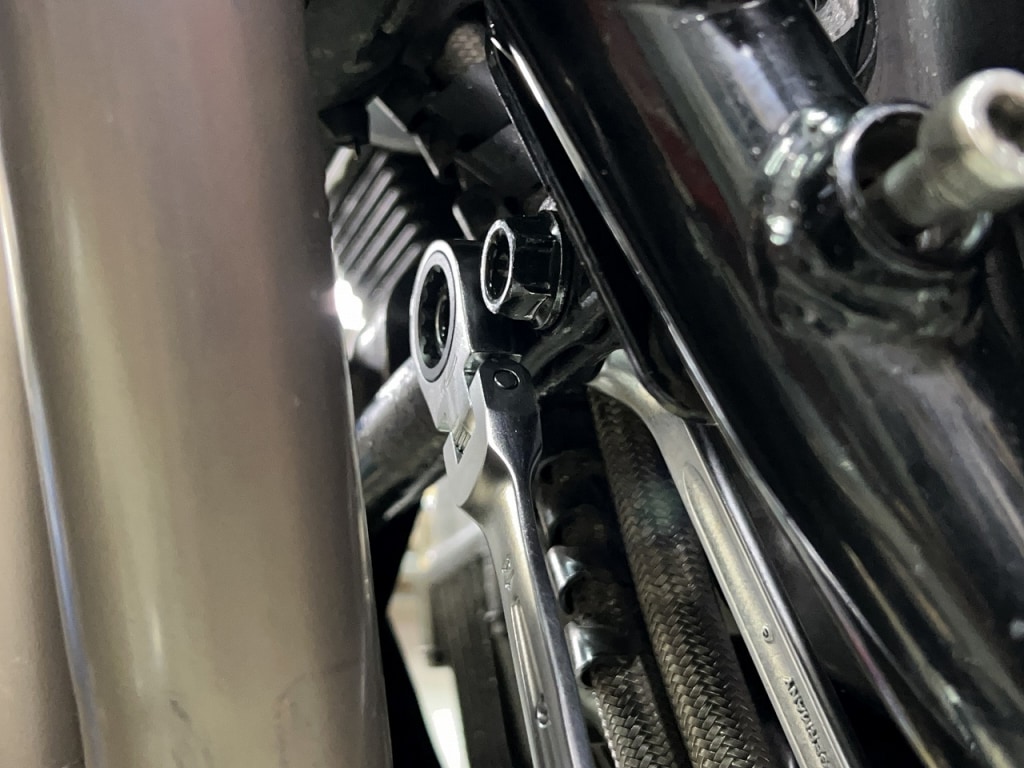
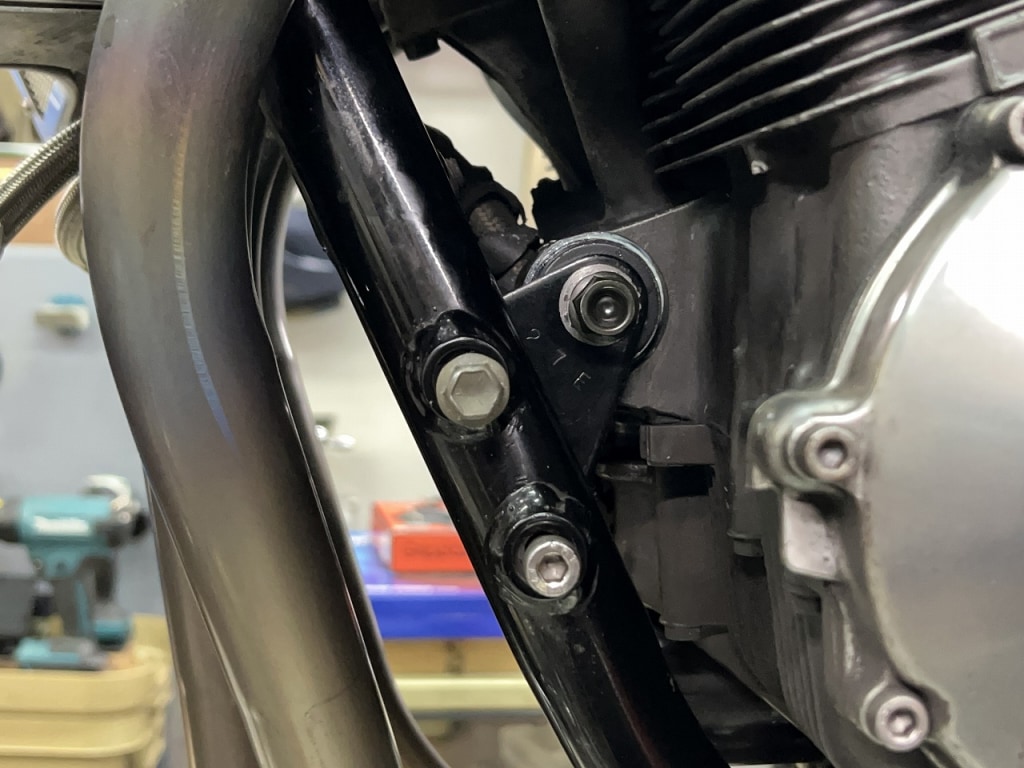
To replace the engine damper, you have to disconnect the frame joint. The stock bolt is a flanged hex bolt, so when loosening it, the tool length sticks out and in some cases it’s hard to remove. I make special tools so I can usually get it off, but I think a lot of people have a really tough time with it.
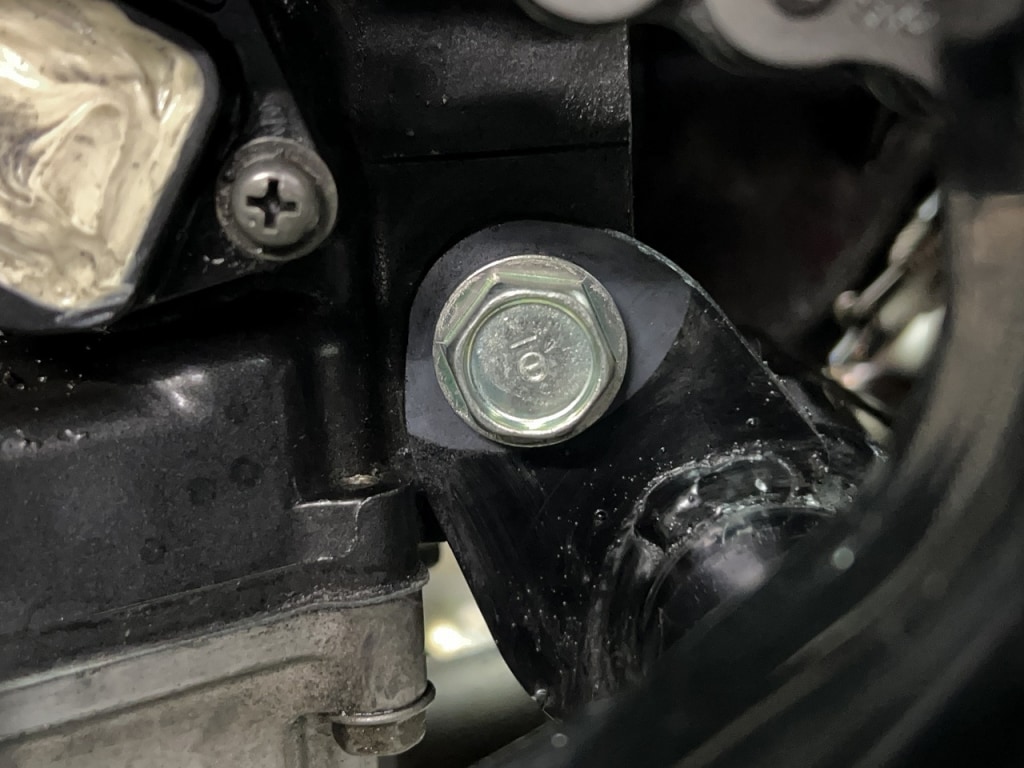
Recently, before the price increase, I stocked Honda genuine bolts in every size like mountains. Wait a minute—what if I switched this to a flanged hex bolt? That would be so much easier! So I tried swapping it out, and it was “amazing!” Most of all, “a swivel-head ratchet fits in” is incredibly convenient. The head is thin too, so there’s no risk of hitting anything and you can work with peace of mind.
This part has nothing to do with customers, but from a mechanic’s perspective, I think this change should be made everywhere. The size is 10×30 below. Just 66 yen! Shops that handle oil-cooled 1200s frequently should stock plenty.
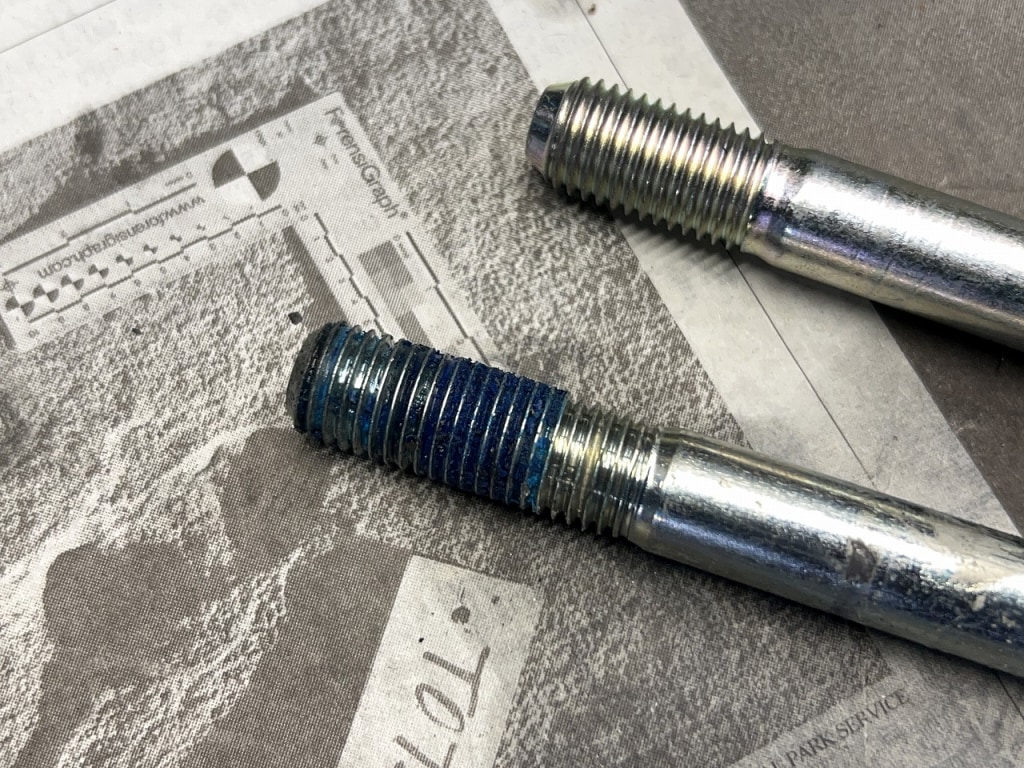
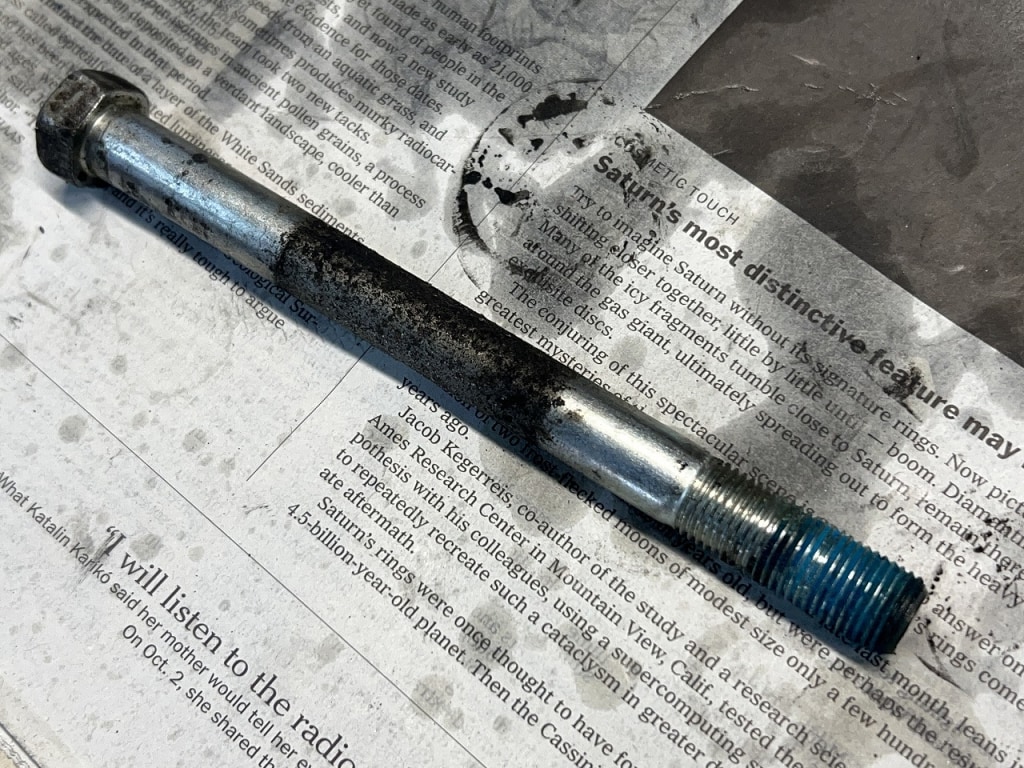
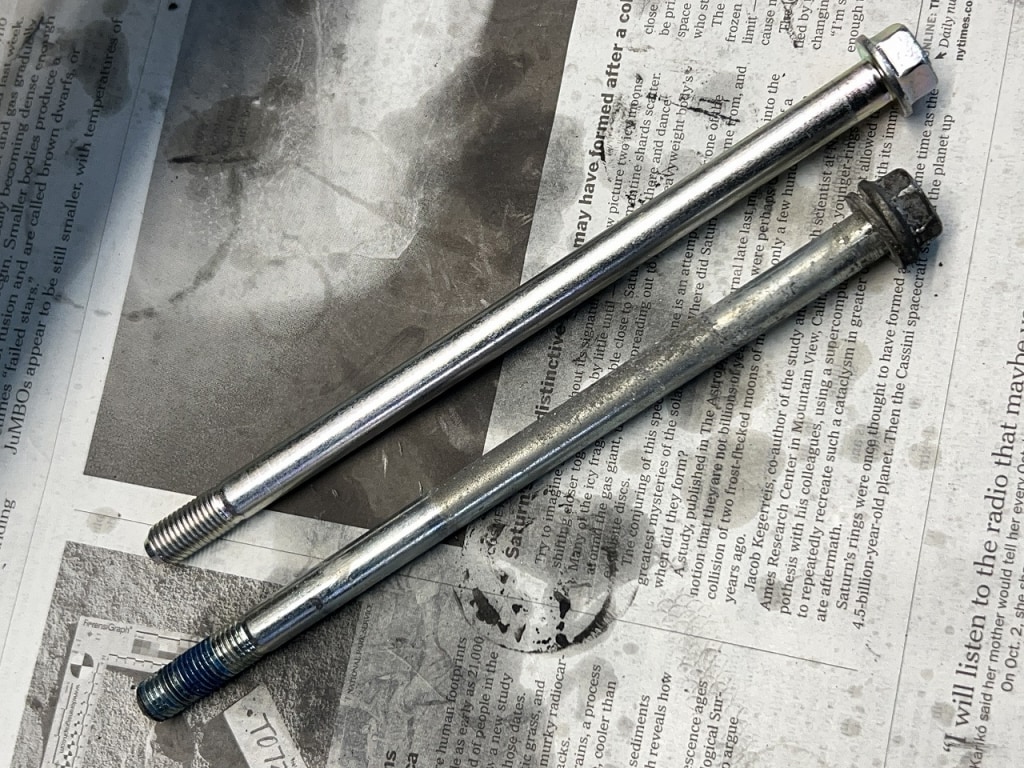
Suzuki uses an unbelievable amount of thread locker on engine mounts, so if you try to remove them carelessly, you’ll have a bad time, so be careful. *Never do this with an impact wrench or similar tools.
The engine mount bolts also use Honda genuine parts. Suzuki genuine bolts basically have a questionable design and the price is what it is, so I try to avoid using them as much as possible.
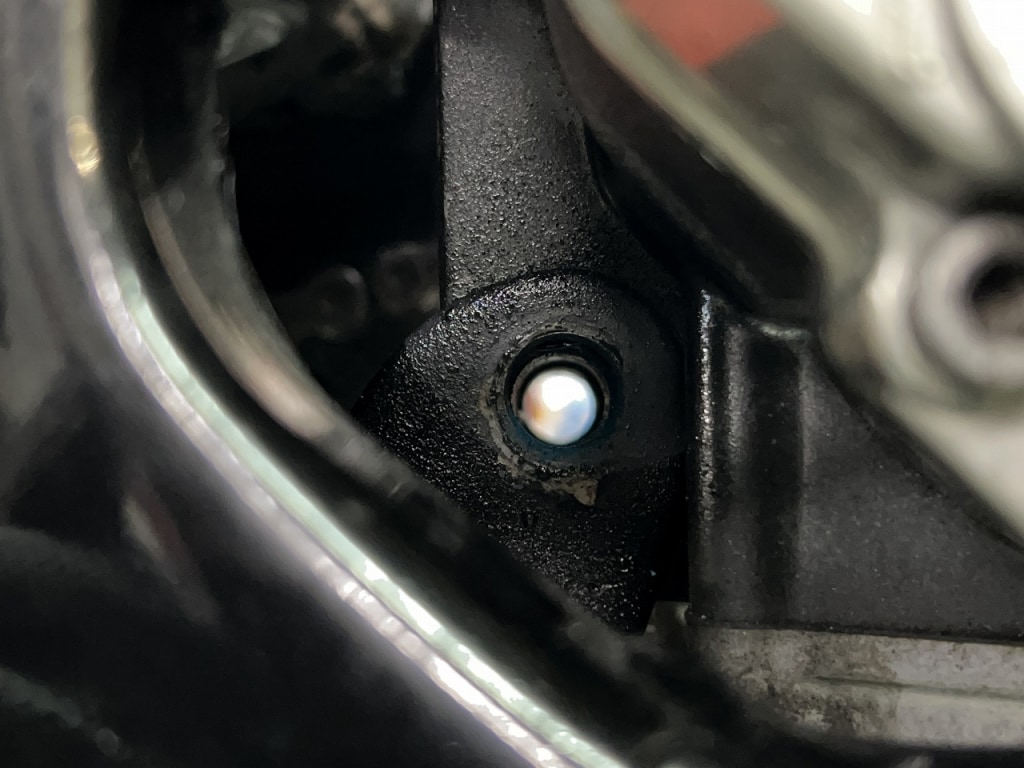
Frame and engine hole tolerances move quite a bit
This Inazuma 1200 had a really good alignment. I think mounting the engine without stressing the engine mount fasteners is the way to go.
The engine moves more than you’d think, so install it carefully. I don’t think this will have any dramatic effects, but I think a stress-free installation is better both mechanically and for the bike.
You can’t see them, but clean bolts just feel good, you know?
If you’ve never loosened them before, I think it’s worth replacing them when you get the chance.
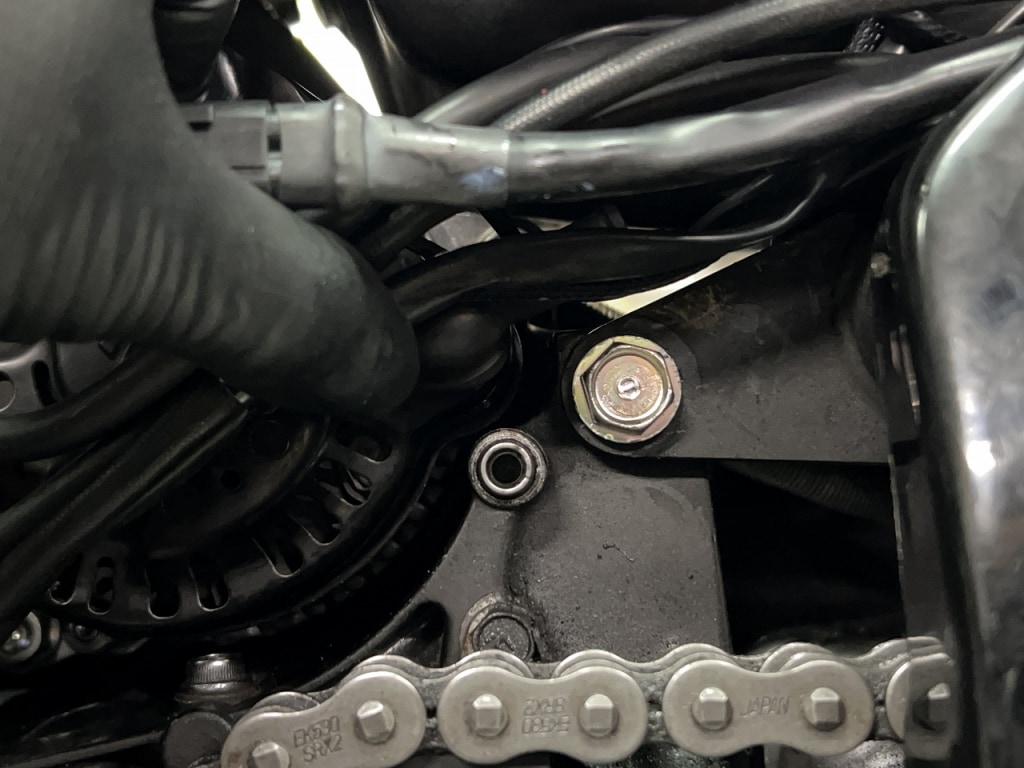
Once you remove the engine slider to install it, that’s it. I bet a lot of people had trouble getting the bolts back in.
Rather than forcing them in, I think it’s better for the bike to adjust everything to the right position.
Anyway, I’ve got other work to do, so I’ll continue later.



 ポチップ
ポチップ