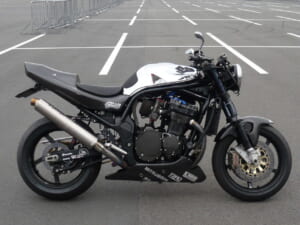
Alright, let’s disassemble this creaky steering stem.
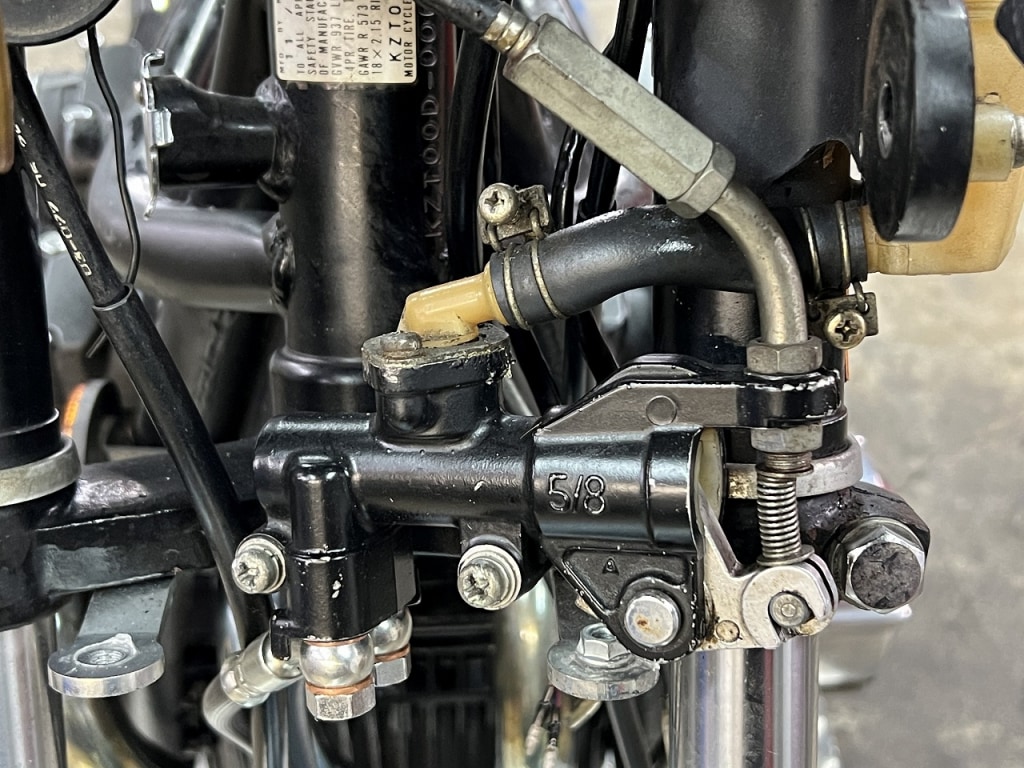
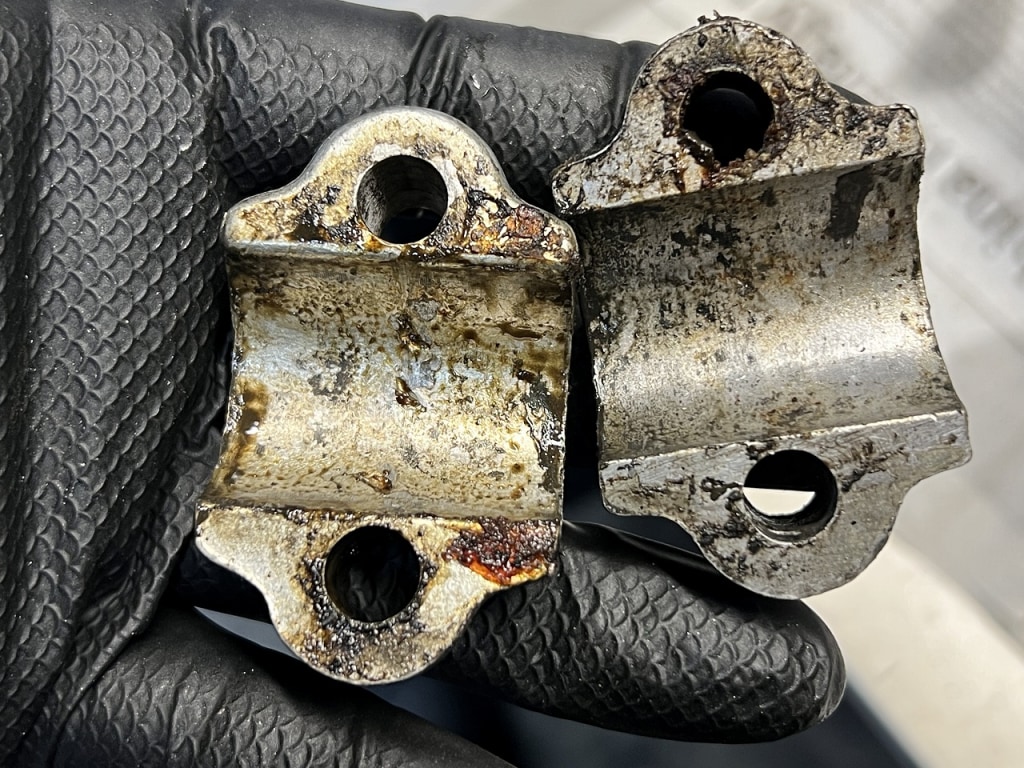
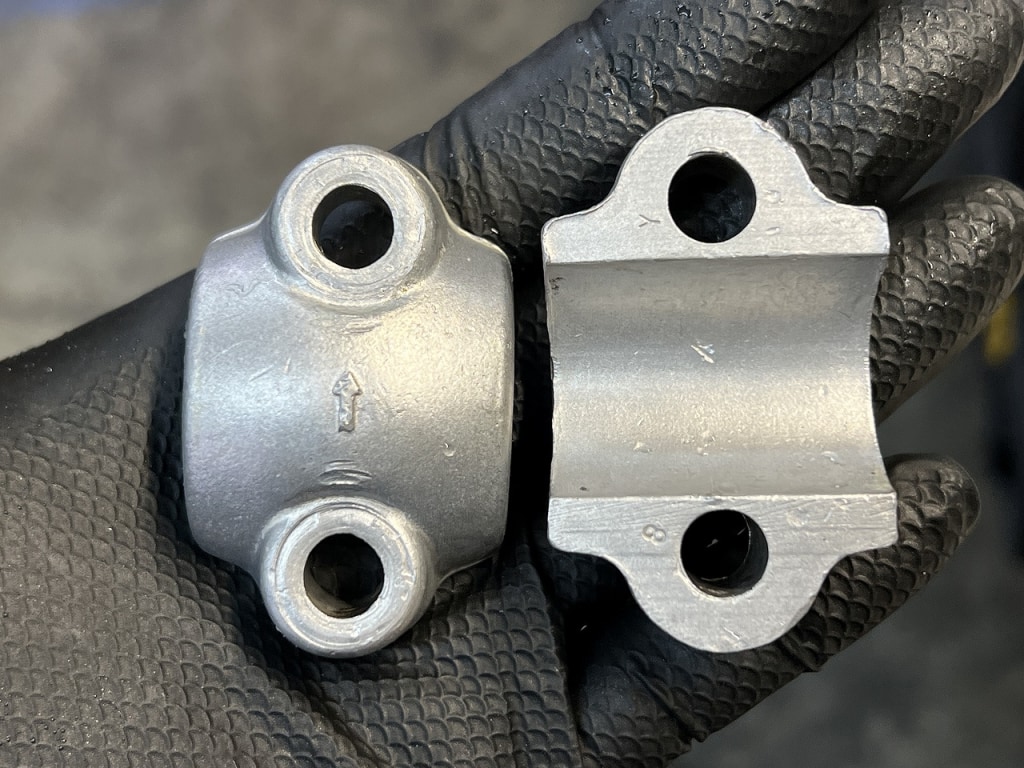
Am I the only one who really wants to use this mechanical front master? If you use it right, it looks like it could be repurposed for all sorts of things.
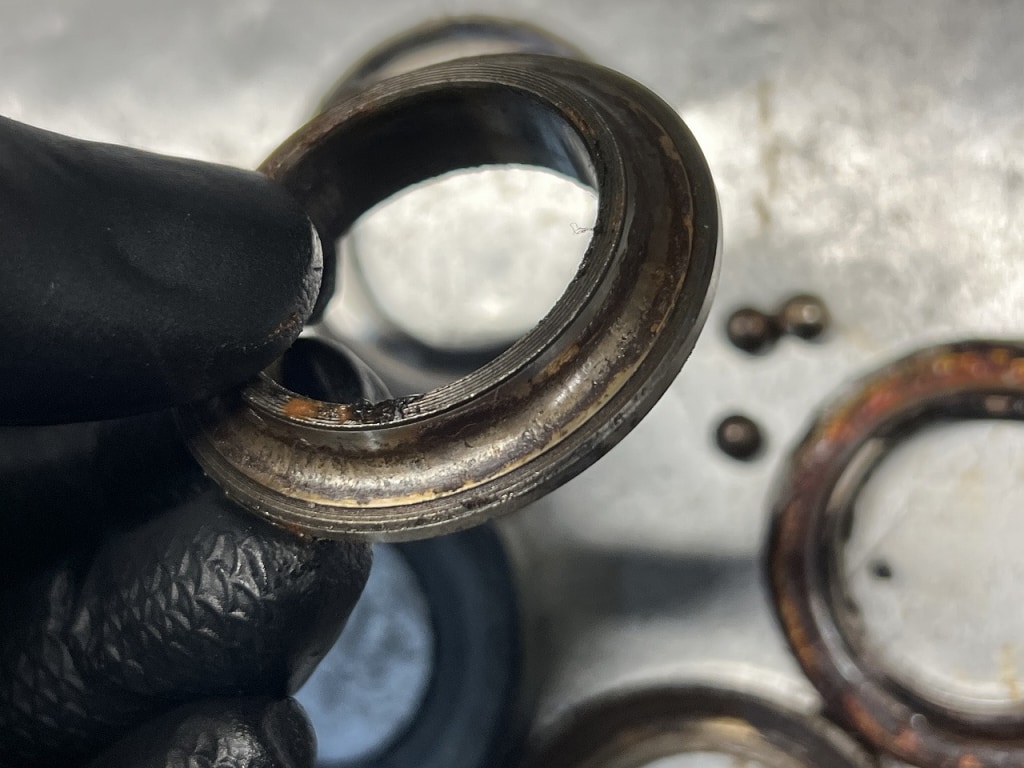
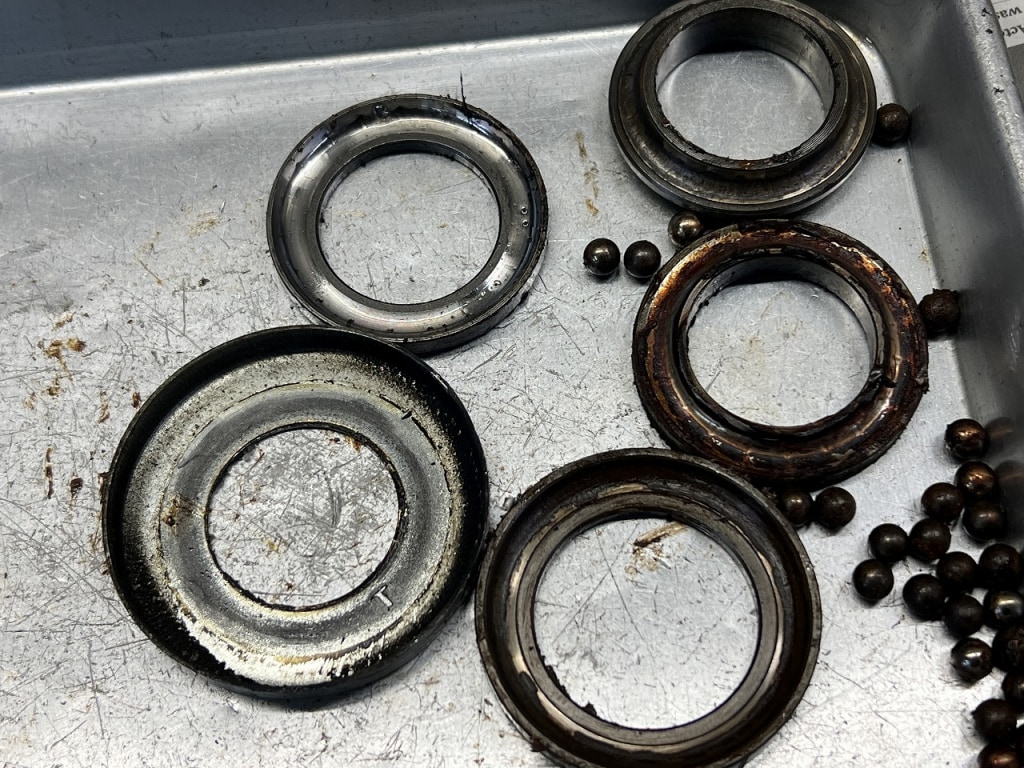
Basically, every part that comes off looks suspicious. It would be easier if nobody had touched it, but… it must have needed work.
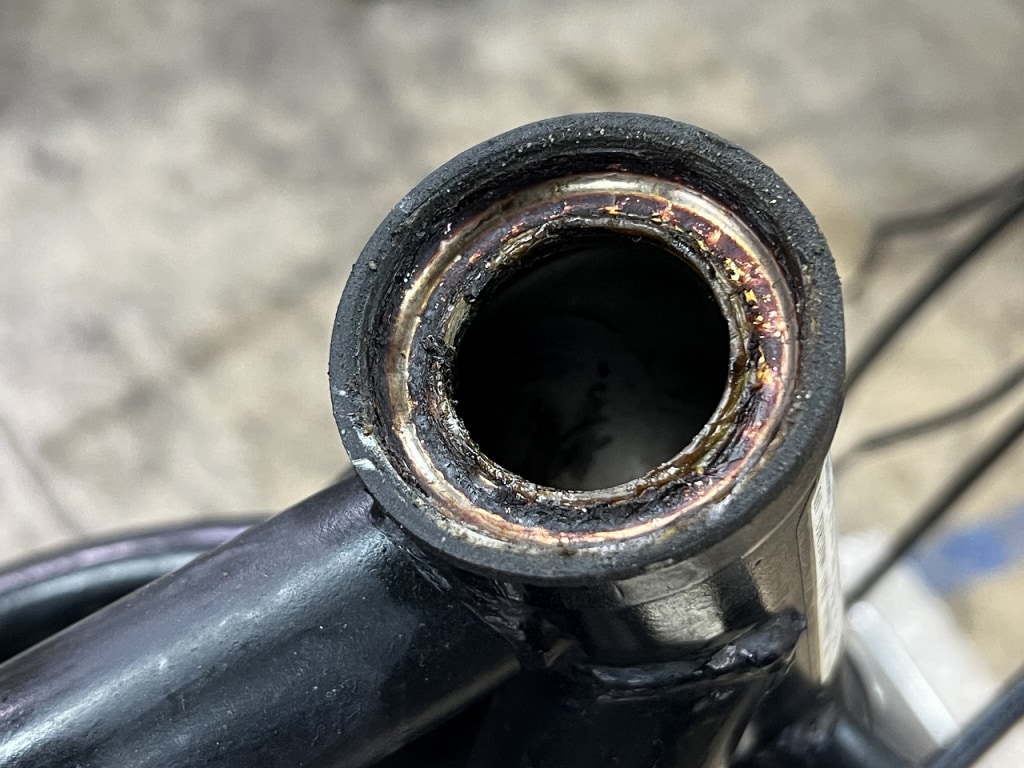
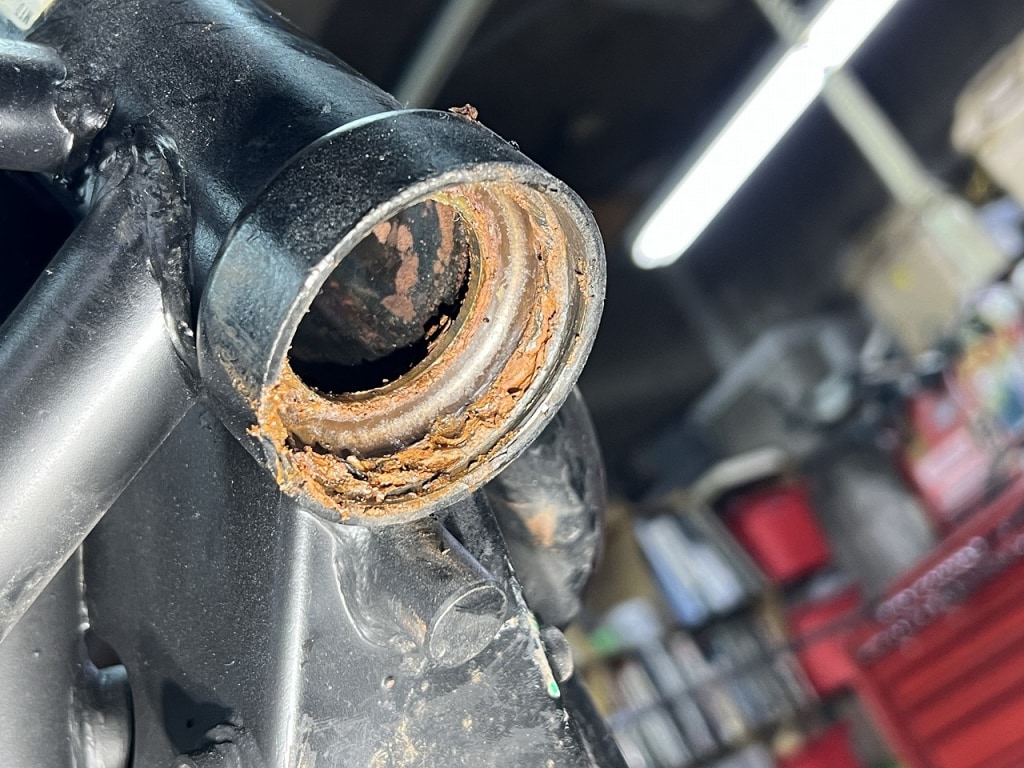
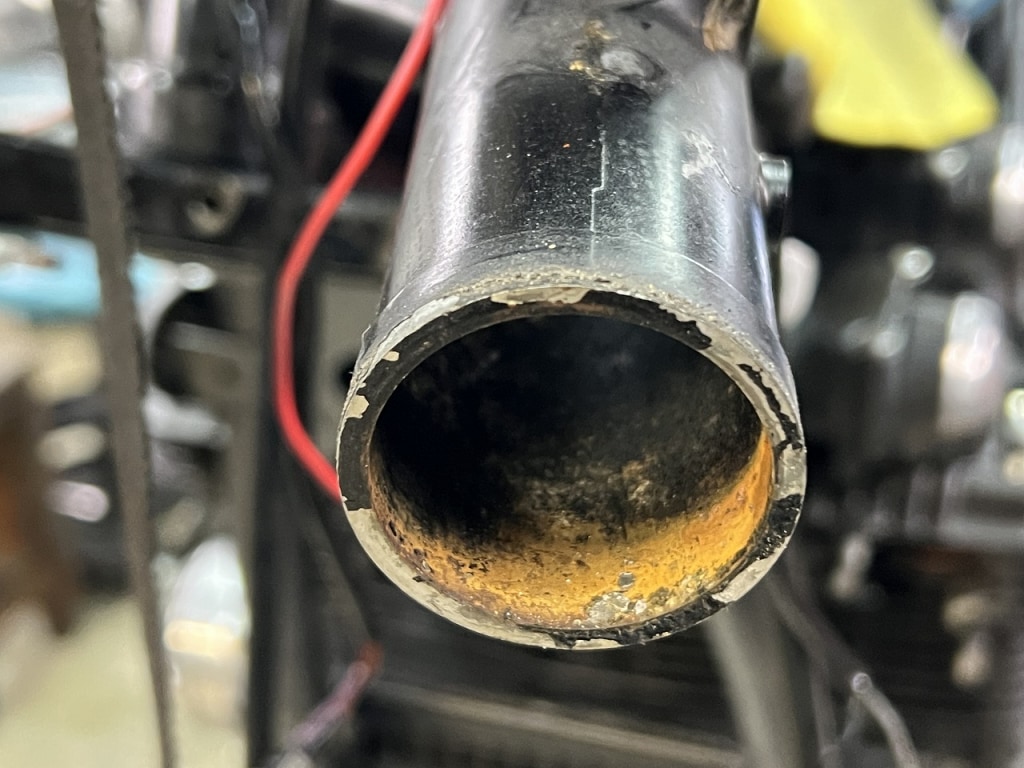
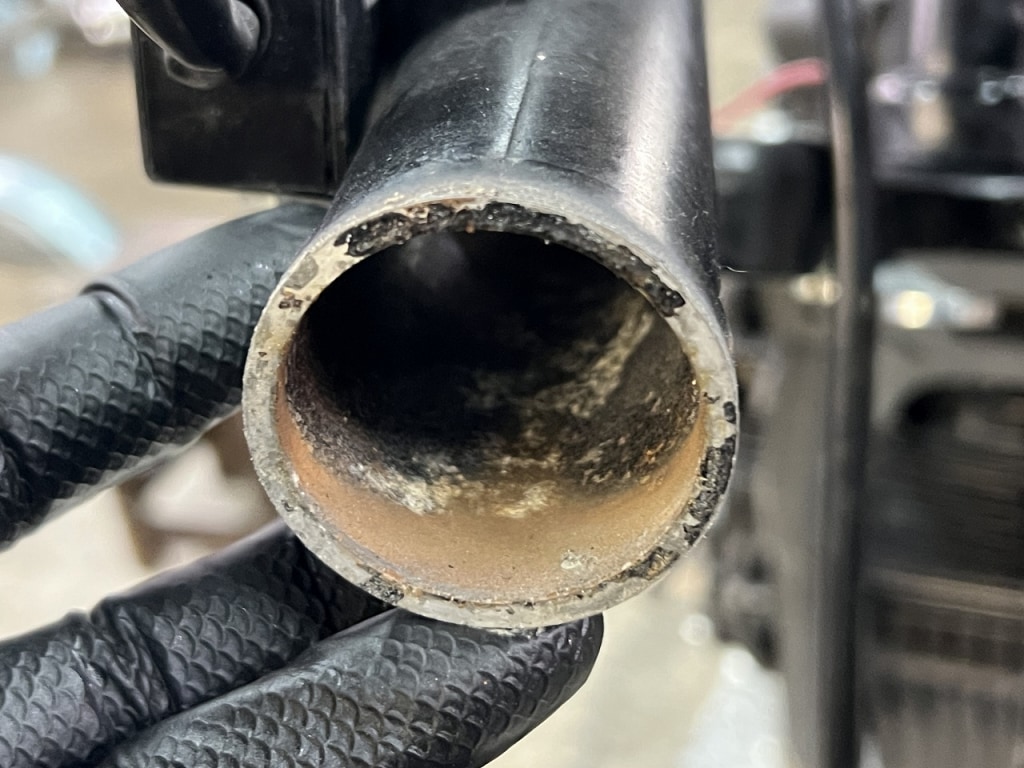
It’s really rusty… incredibly so. Make sure you clean it thoroughly and apply plenty of lubricant before removing the press fit.
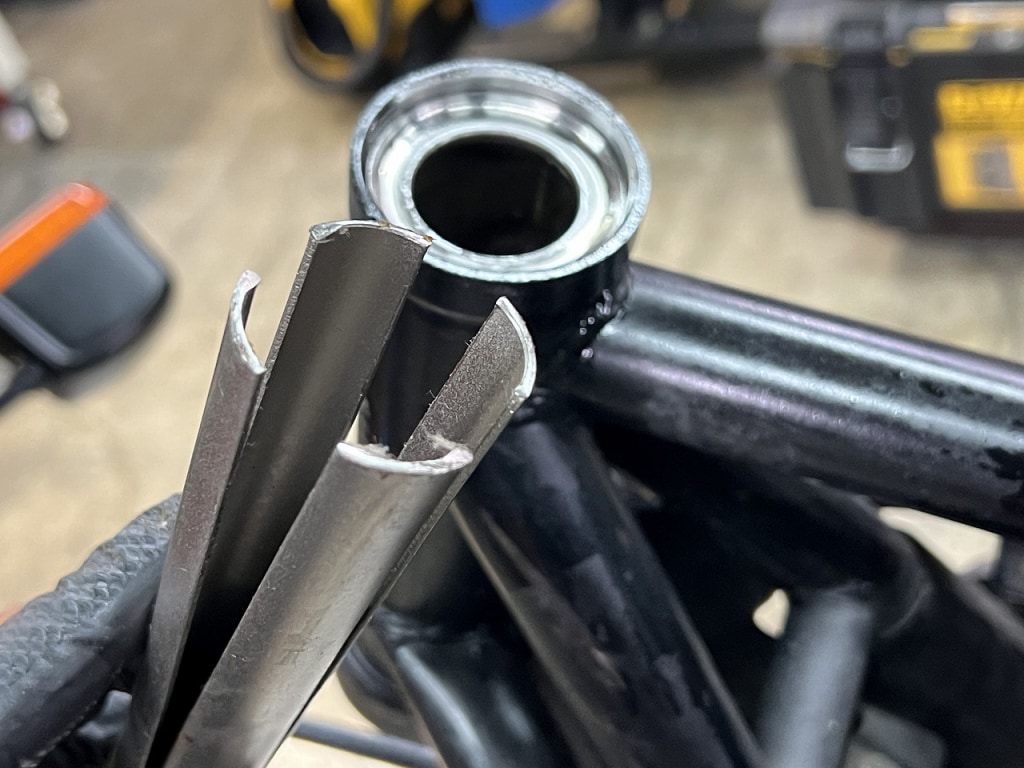
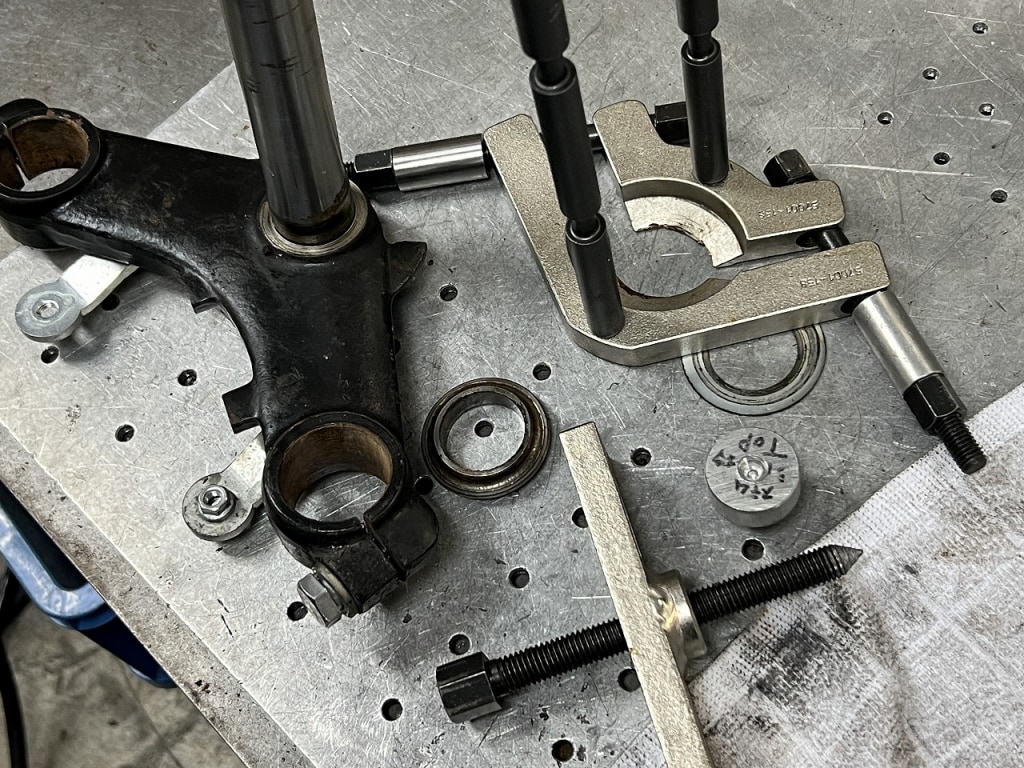
For this type of ball race, Park Tool is the best.
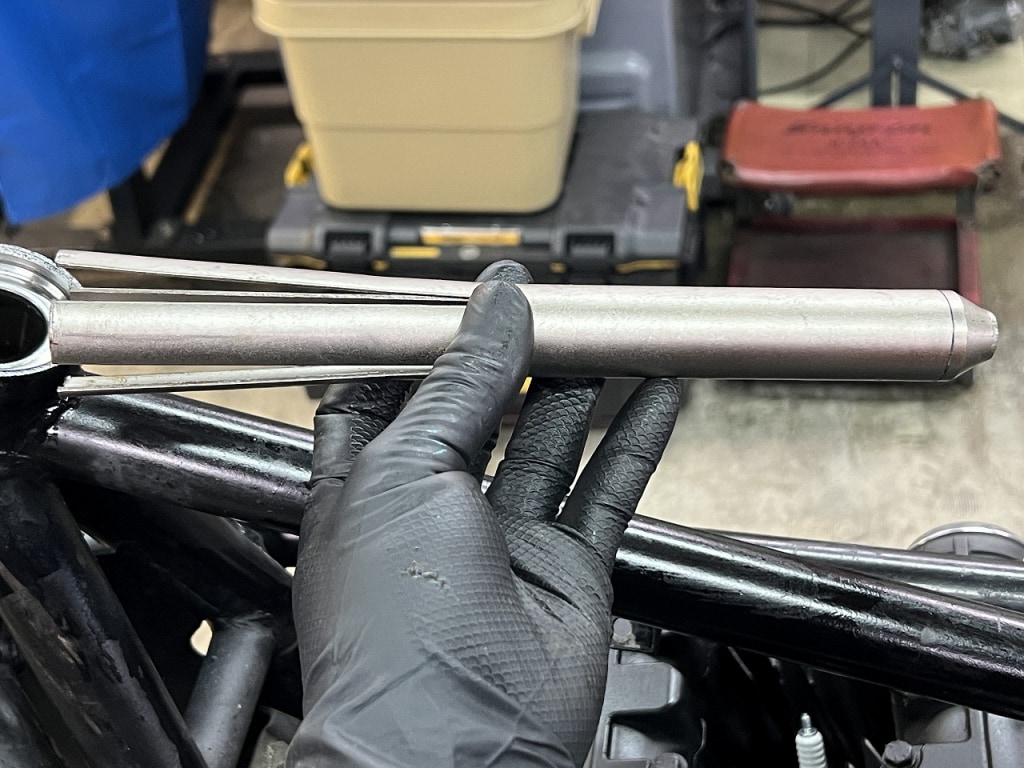
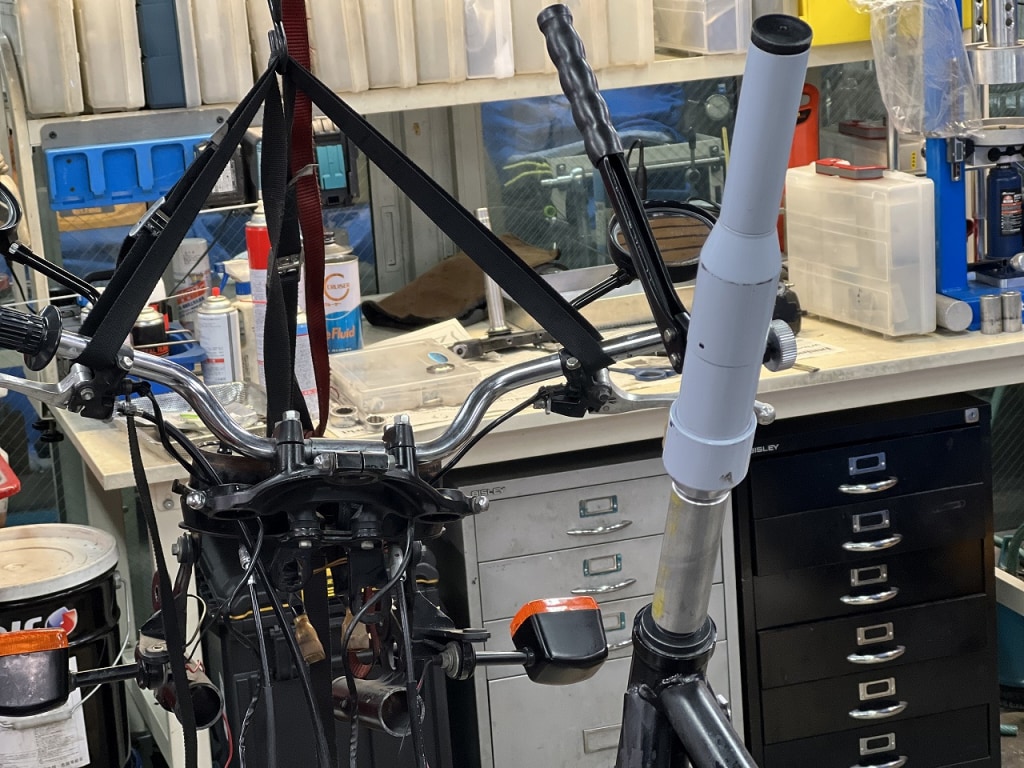
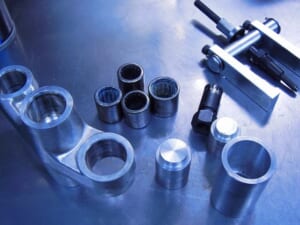
As I’ve mentioned before, there are convenient tools like this available for sale. Originally designed for bicycles, but they work just fine on motorcycles too. There are two sizes, so if you’re a shop, having both is a safe bet.
It’s pretty hard to find a steering stem tool that does everything well.
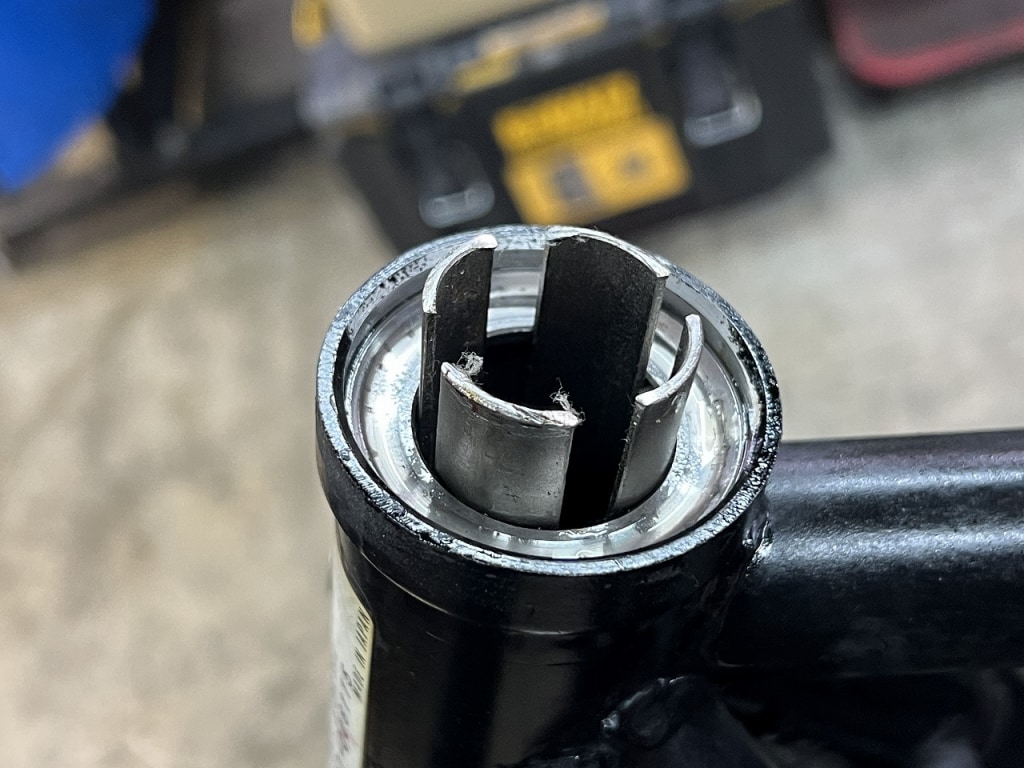
You insert it from the direction you want to pull. Since tension is applied in four directions, it won’t tilt when you tap it out. *Always check visually as you go bit by bit.
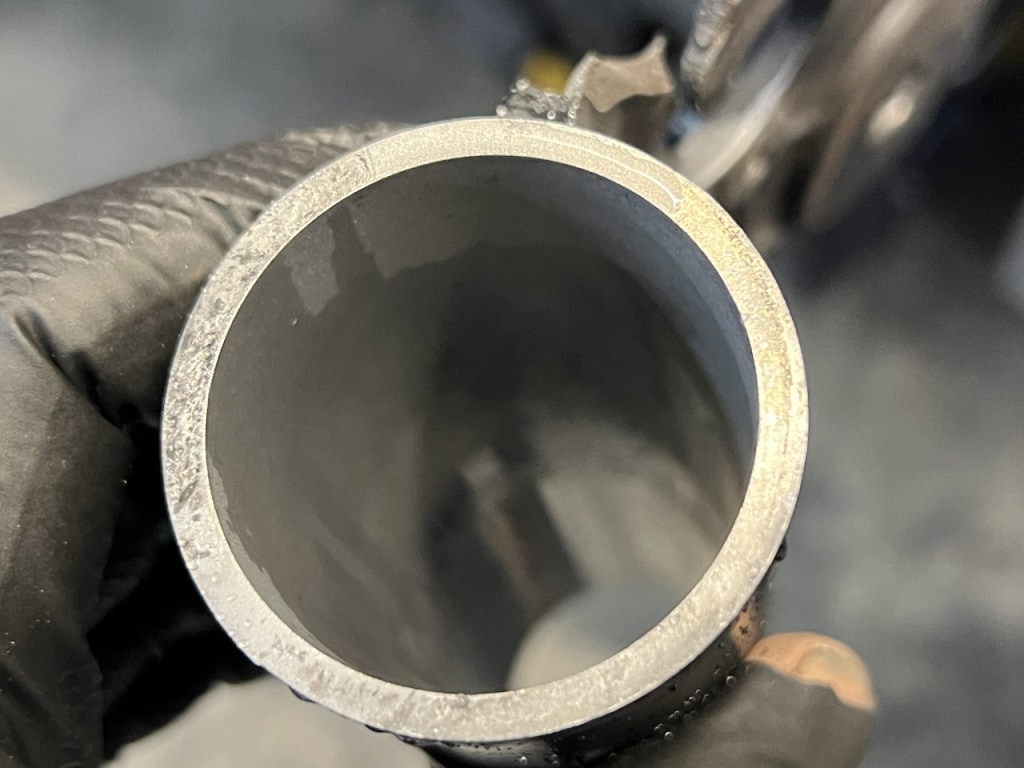
I removed the lower side with the Kawasaki OEM special tool I mentioned before. I try to avoid using chisels and hammers as much as possible.
This is also in pretty rough condition, which is surprising. I thought stem bearing replacement was already a thing of the past in the world, but apparently it still happens.
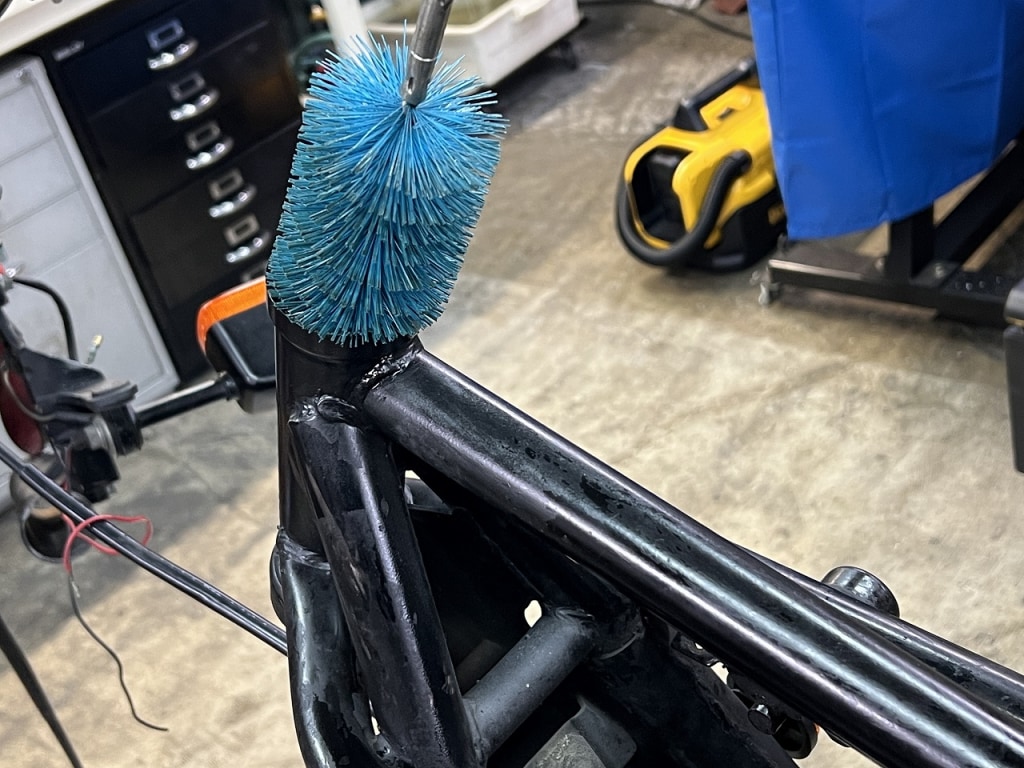
It feels good to clean places you can only get to when you take things apart like this.
Press fit slowly, carefully, and gently! Getting it in straight is pretty tough.
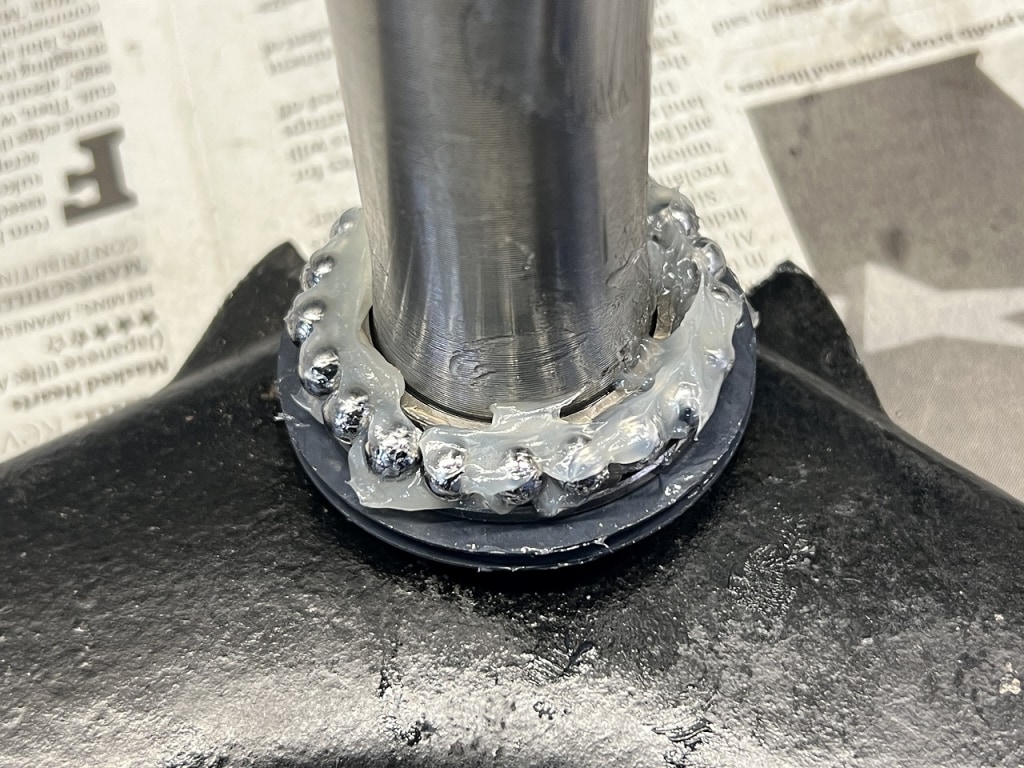
I basically use the upper side as a reference and press fit the lower side.
Getting the lower side in straight and carefully is really difficult, so setting a reference and checking bit by bit is the safest approach. The OEM special tool that screws in isn’t absolute either.
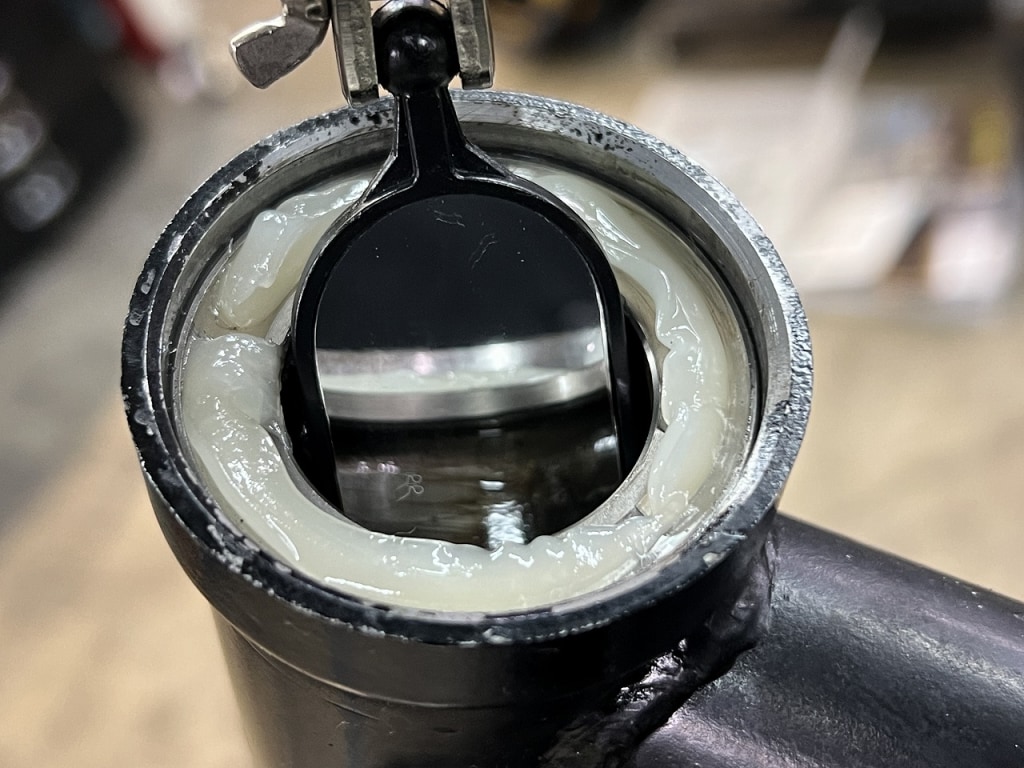
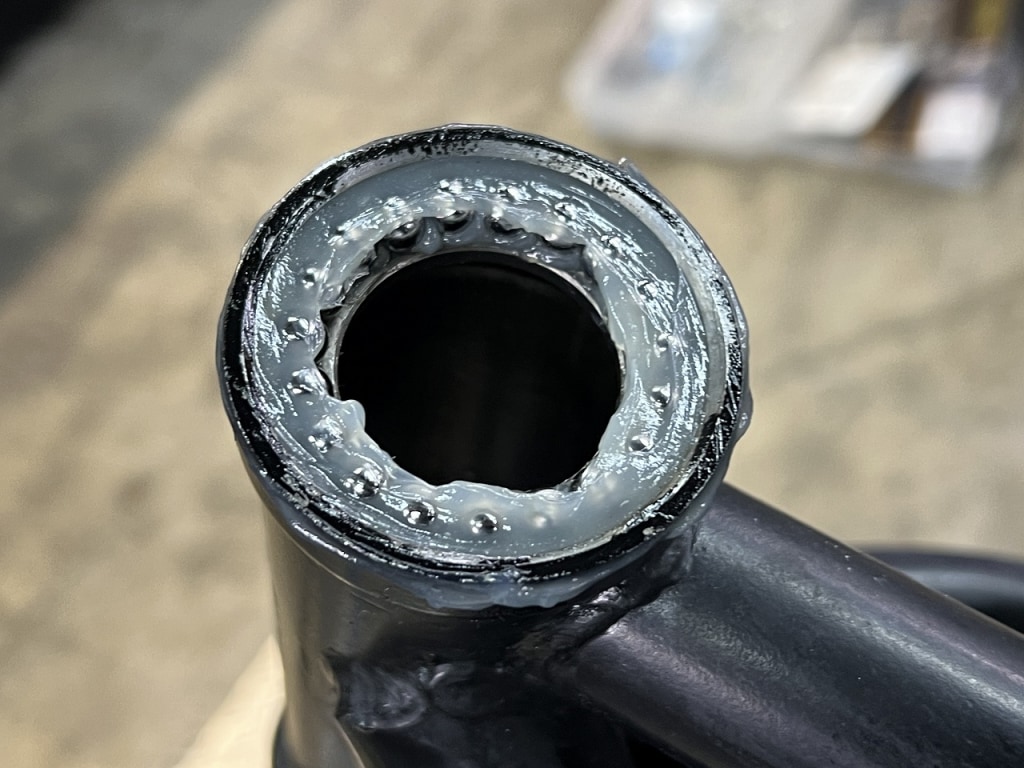
After press fitting, make sure it’s fully seated. *I got ahead of myself and applied grease already.
For Z-series bikes, I avoid using tapered roller bearings casually. After all, they’re a pain to remove. Usually you have to weld a bolt or something to the frame-side race to get it out.
I always wonder what you do with painted frames and such?
Since future maintenance is better that way, I try to assemble with the original ball races whenever possible.
The more we disassemble, the more rust we find.
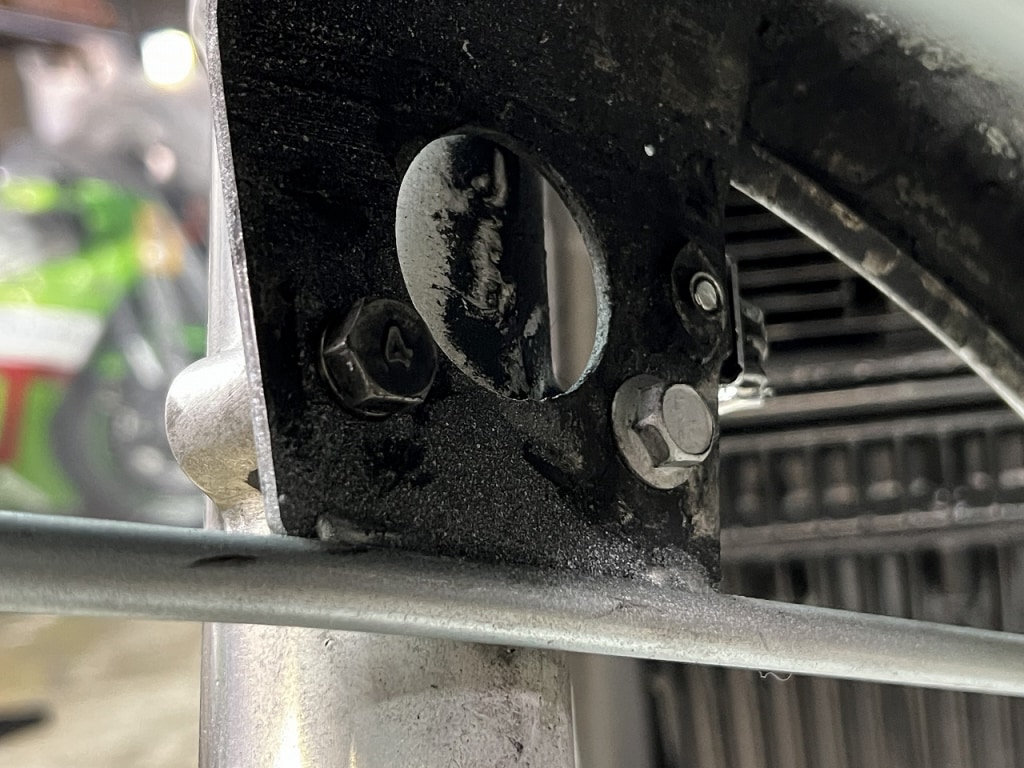
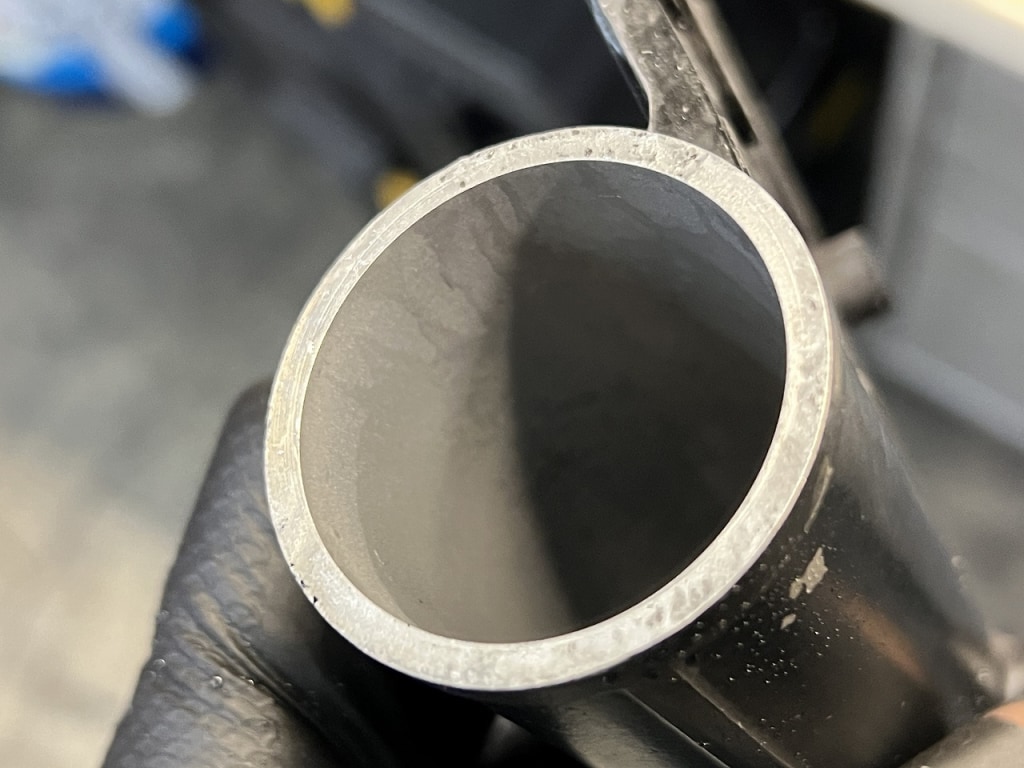
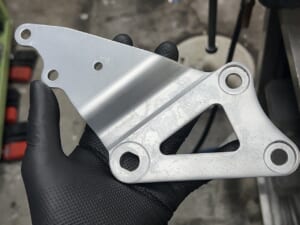
The headlight bracket is aluminum casting, but the inside is badly rusted. I gave it a wet blast to clean it up.
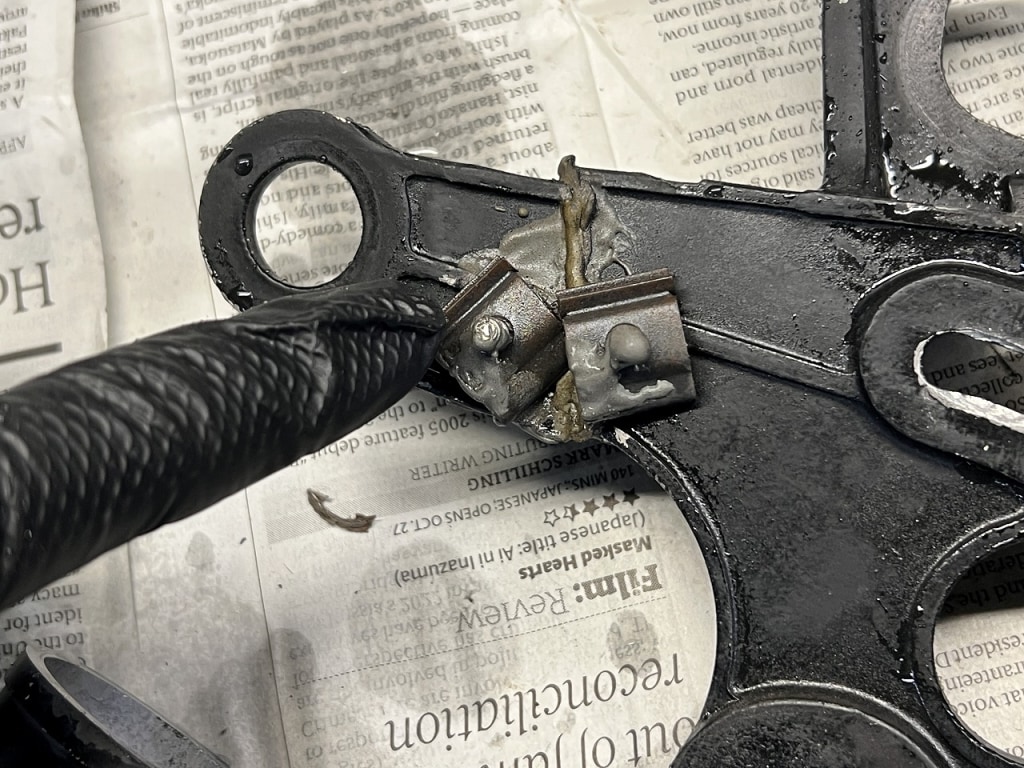
The headlight brackets are cracked on both sides. One side has a strange repair on it, so I’ll leave it alone for now.
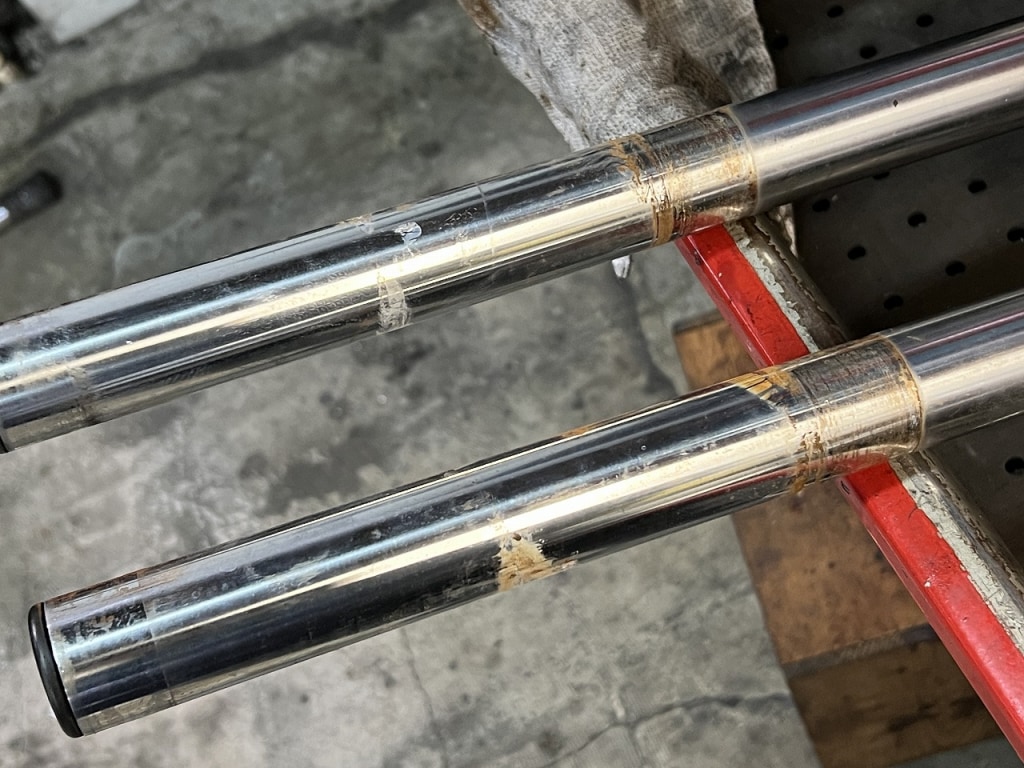
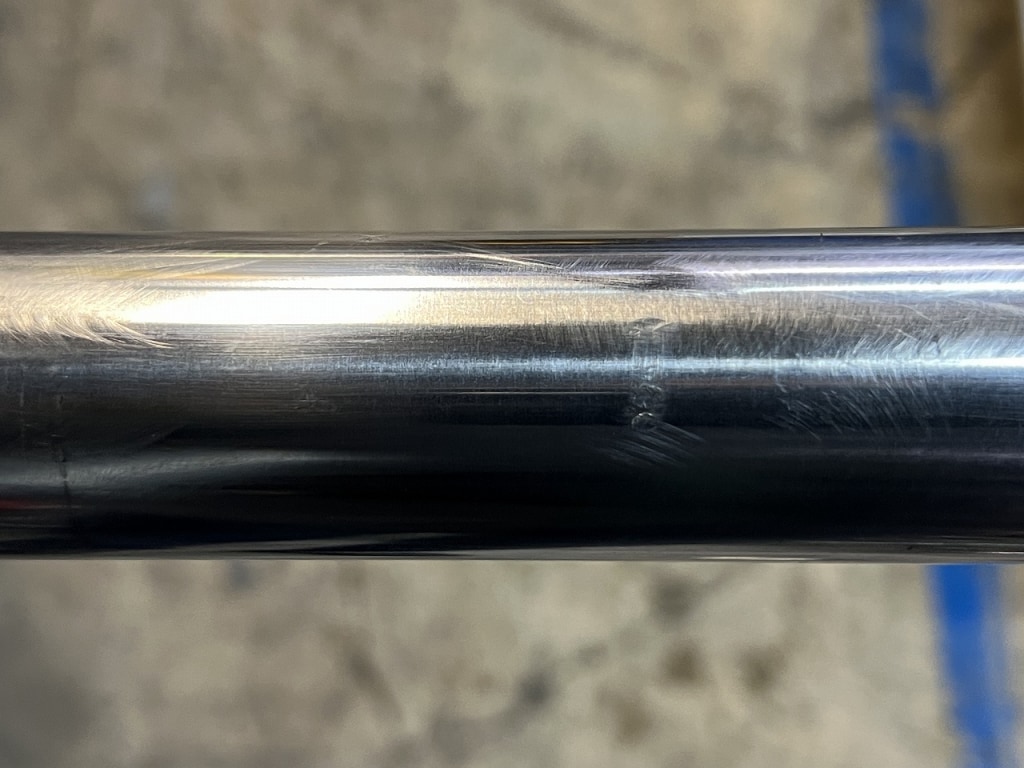
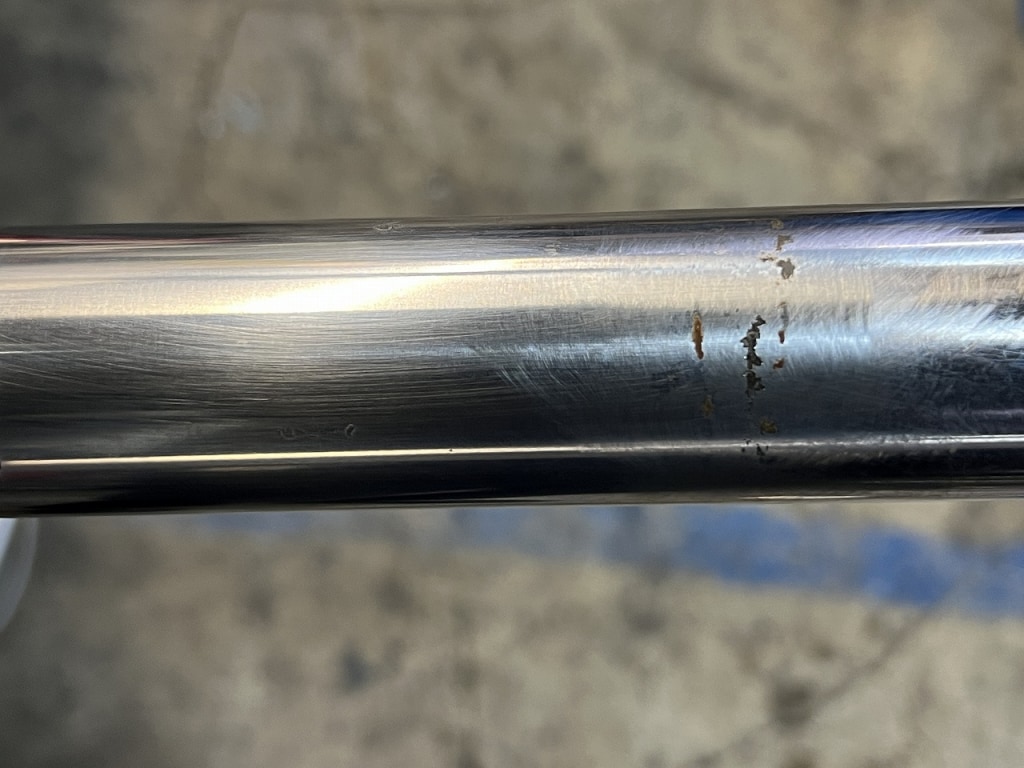
The front forks are pretty beat up, so replacement next time would be good.
Even if we overhaul it, it would need re-plating, and the bottom case is also slightly damaged.
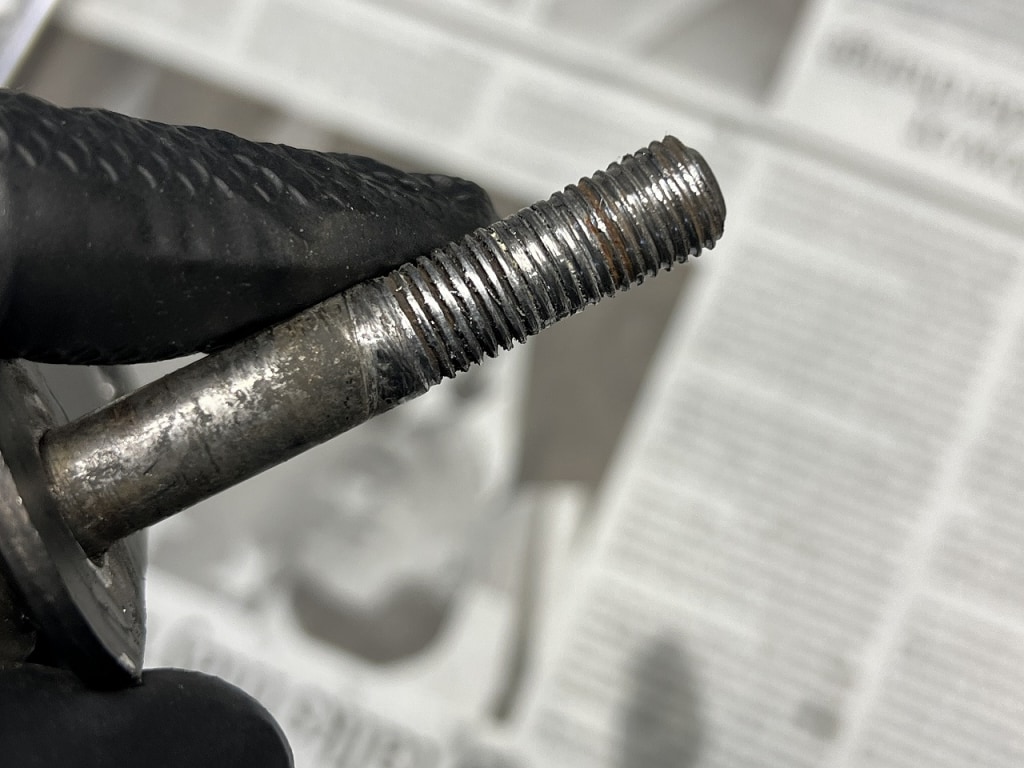
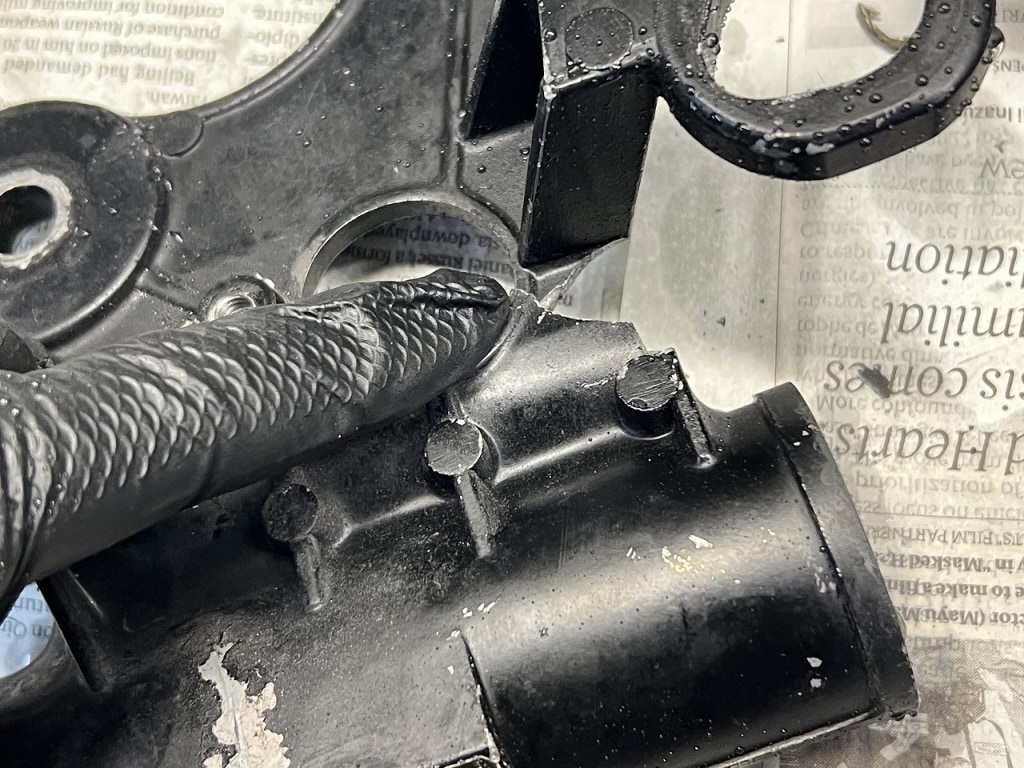
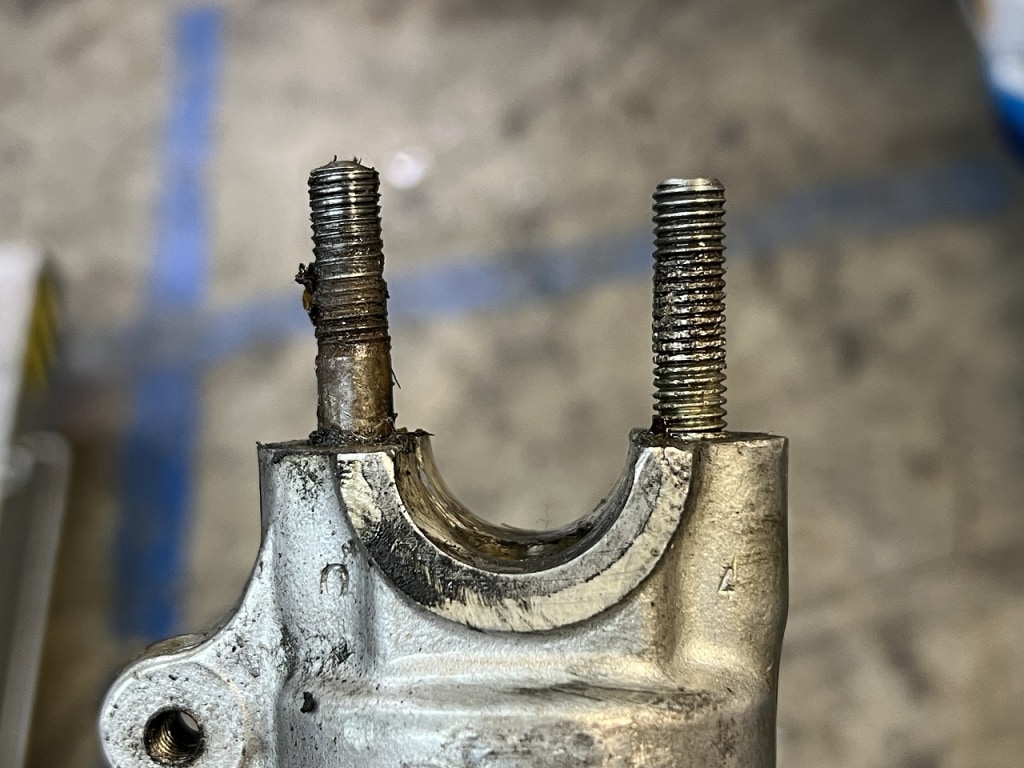
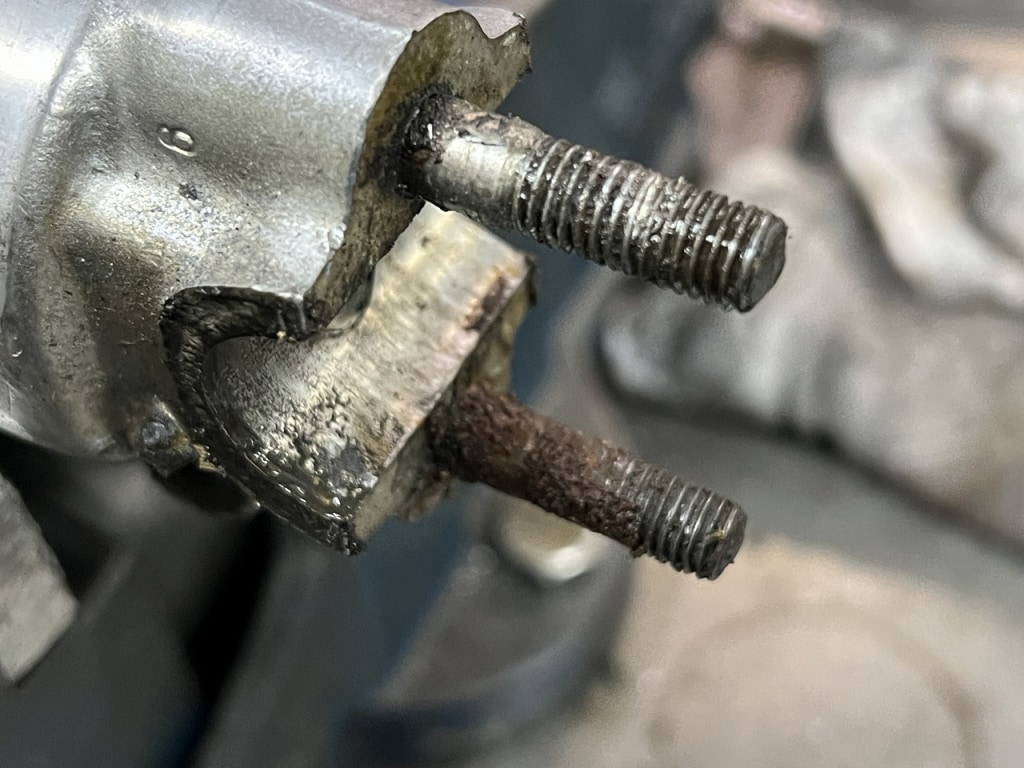
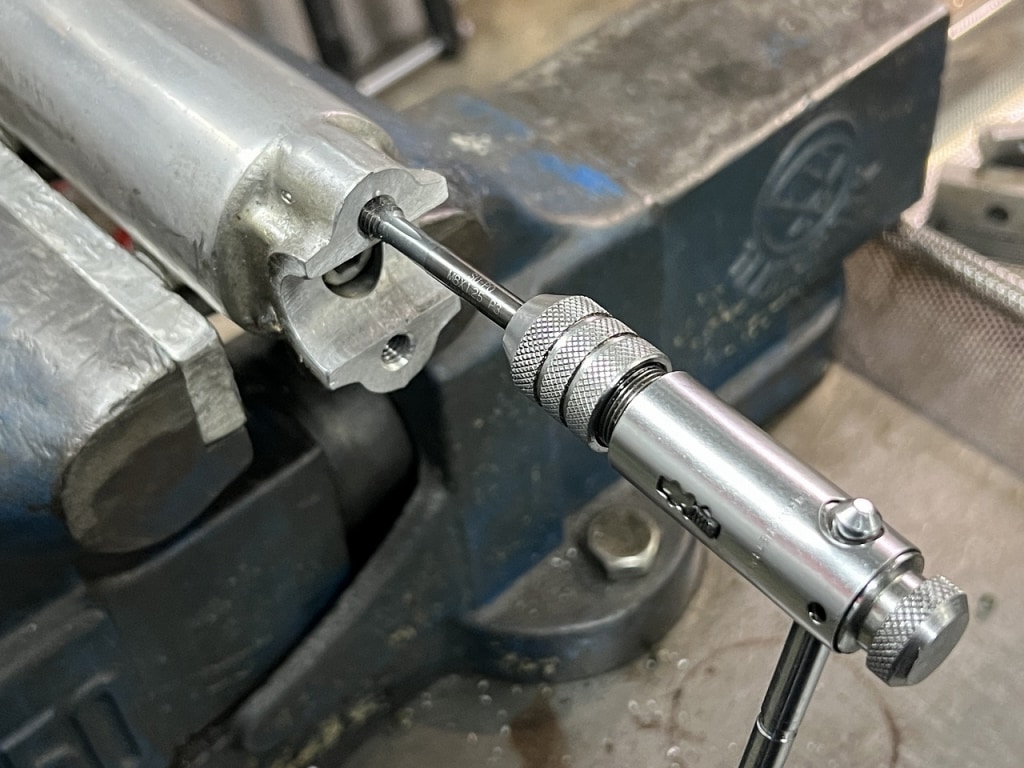
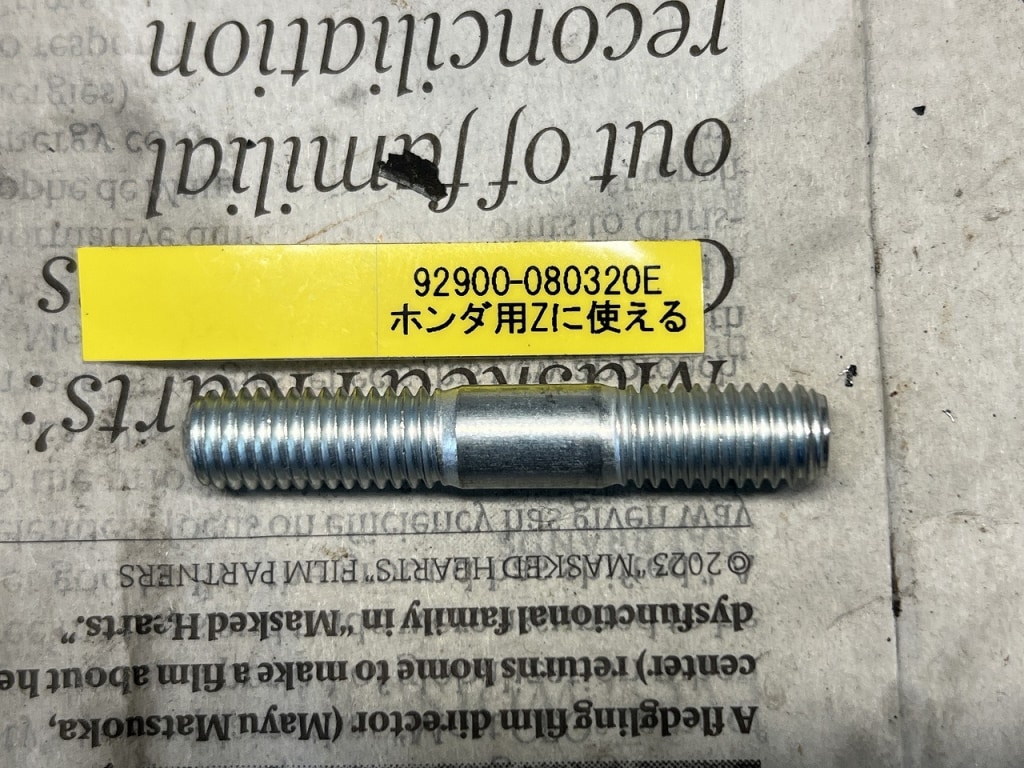
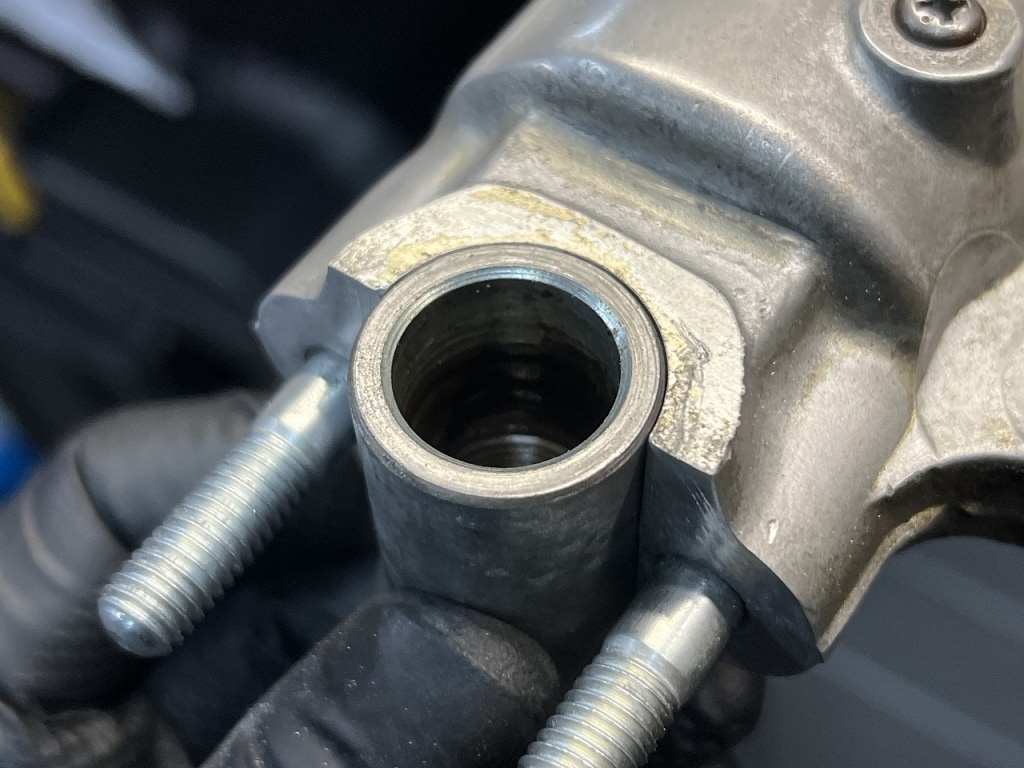
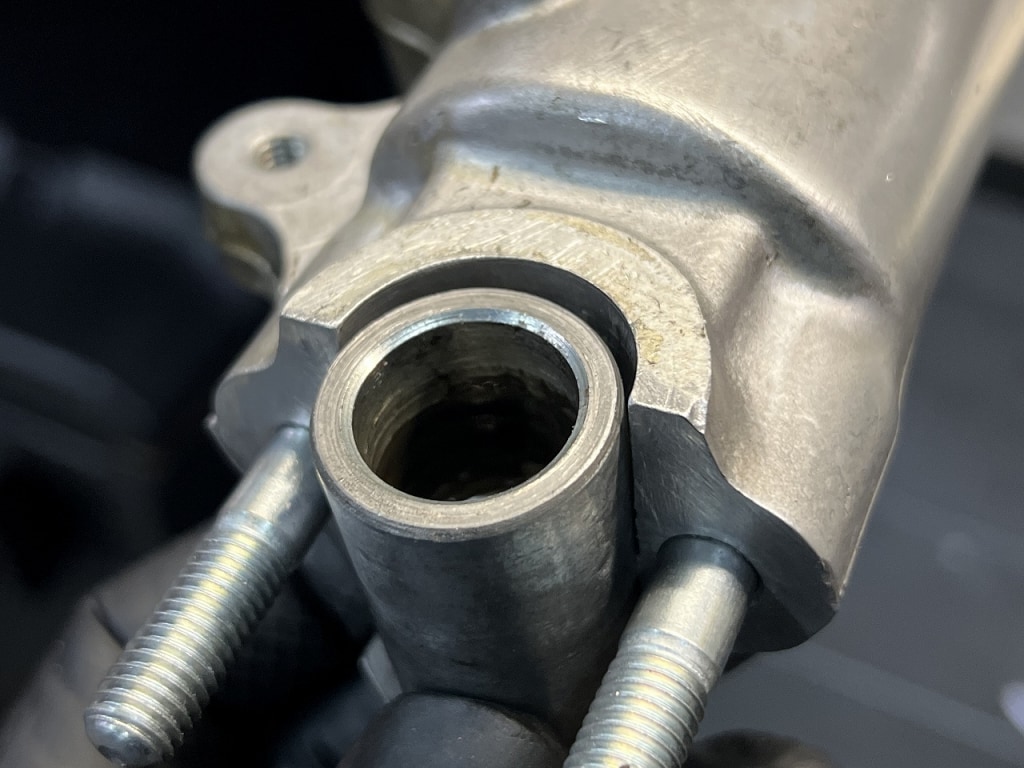
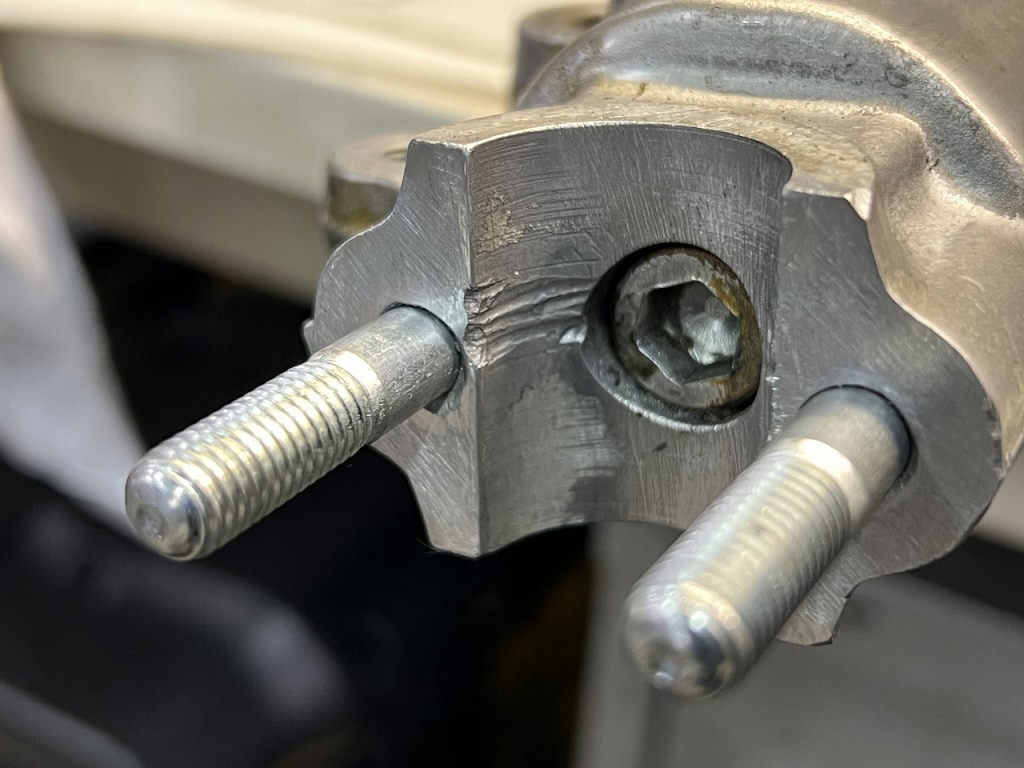
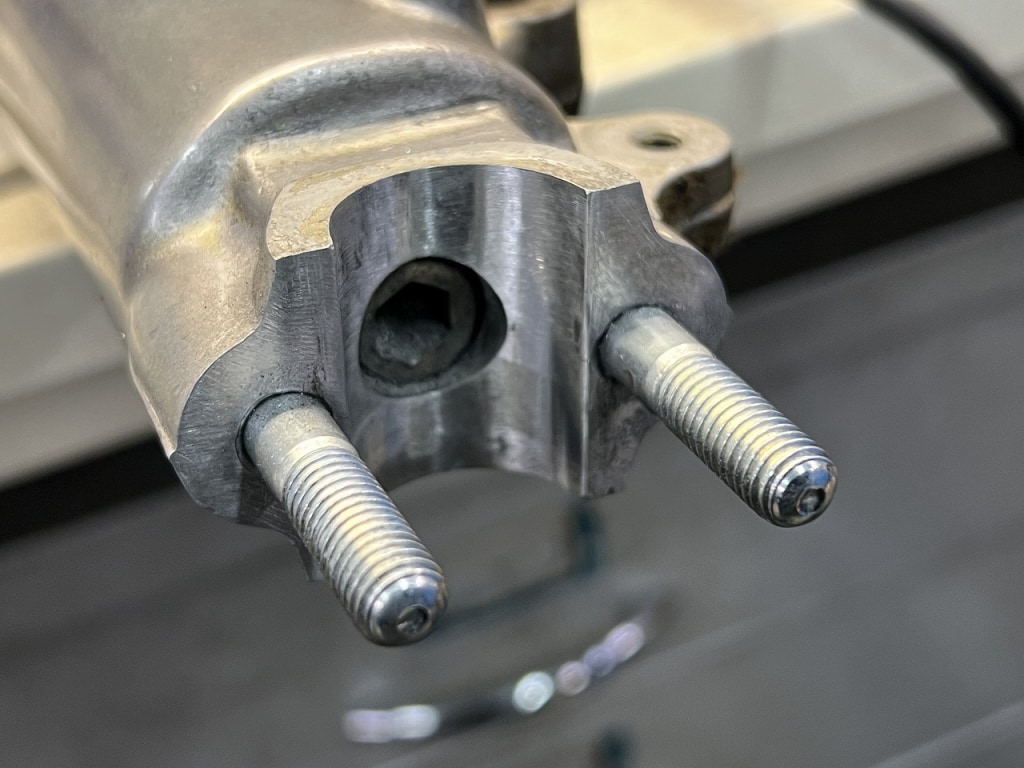
The stud bolts have been replaced with substandard ones, and some are already bent, creating weird stress.
I stock stud bolts in various lengths, so I’ll replace them.
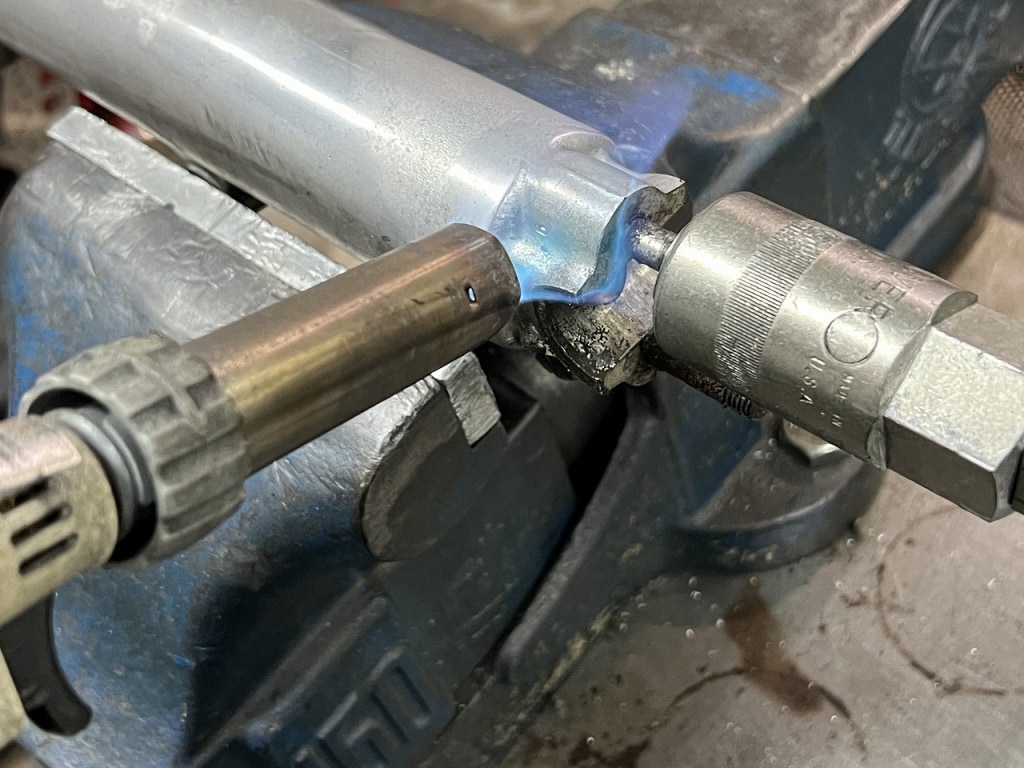
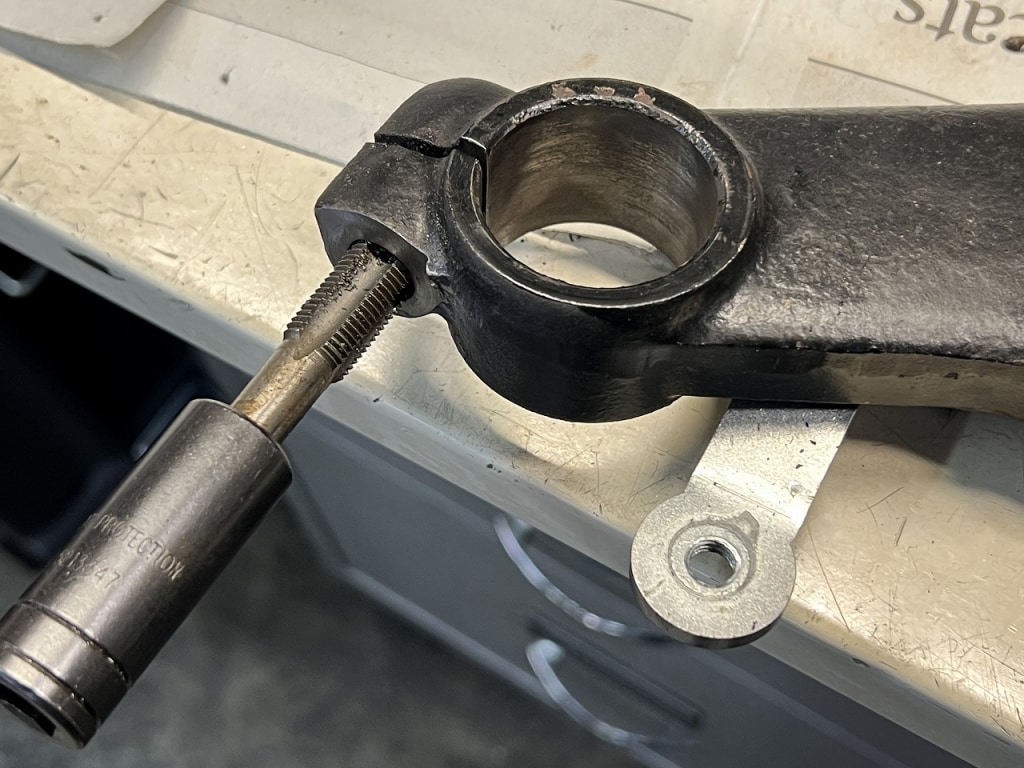
If a bolt breaks, it’s the worst! Be extra careful when removing.
When removing old bolts, it’s always a question of “did it break or did I break it?” But you can actually tell when a bolt is about to break.
Sometimes you can manage it while the bolt is still connected and save the day. Work goes smoother when you don’t break bolts.
When I order Kawasaki OEM parts, they seem long to me. How about you all?



 ポチップ
ポチップ