Good morning. If I don’t write in the blog regularly, things pile up &and I forget them, so I want to write at a steady pace.
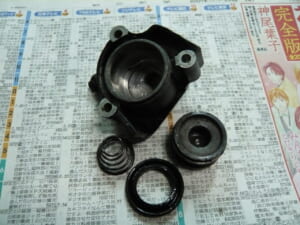
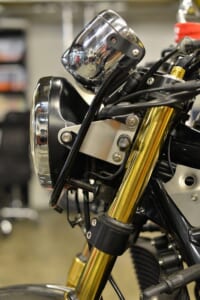
The front end work is mostly done, so I’m a bit relieved. I’m still thinking about what to do with the brake master-related parts. I’ll keep making steady progress in between.
Everything that gets disassembled is filthy. THE old bike.
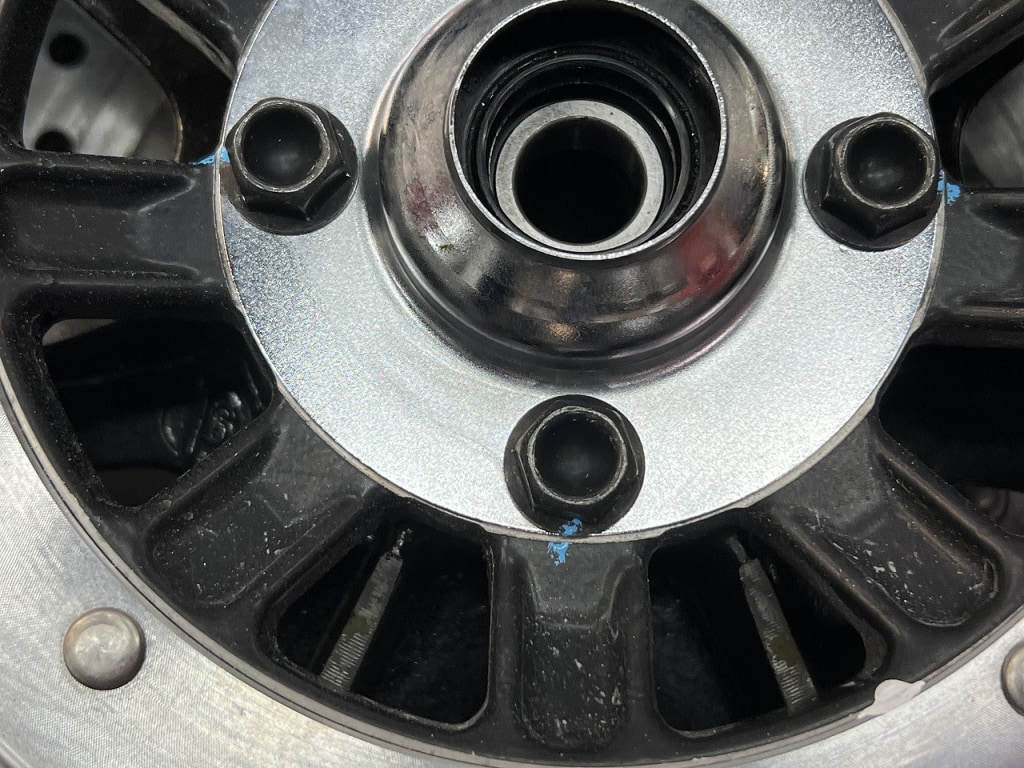
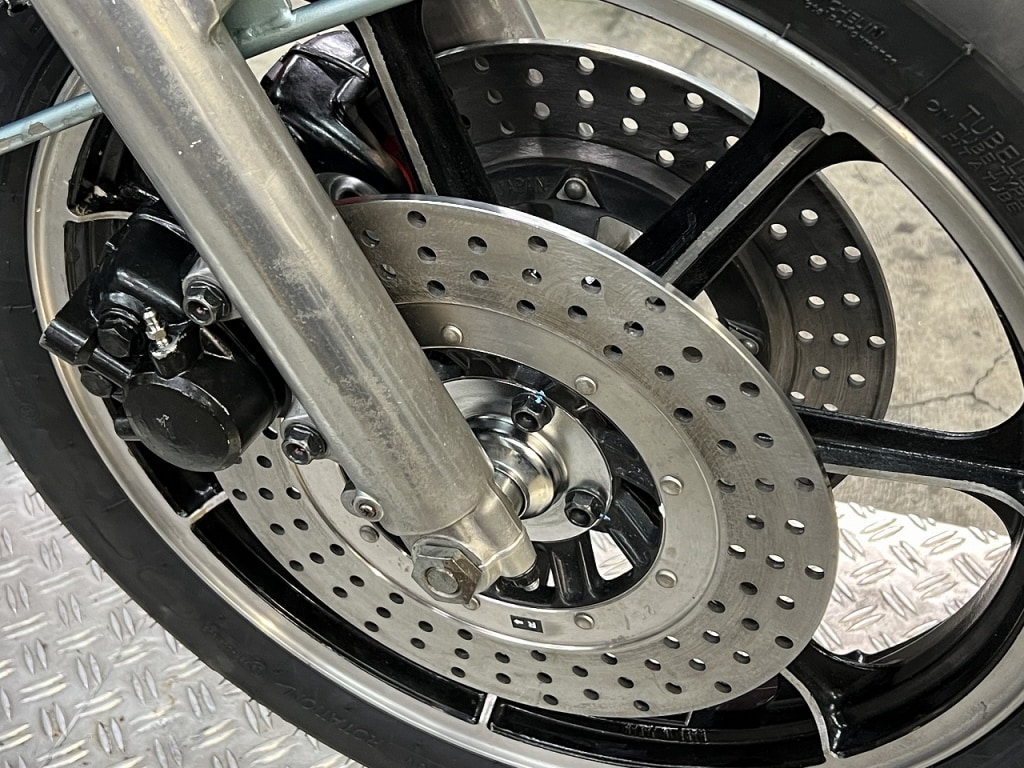
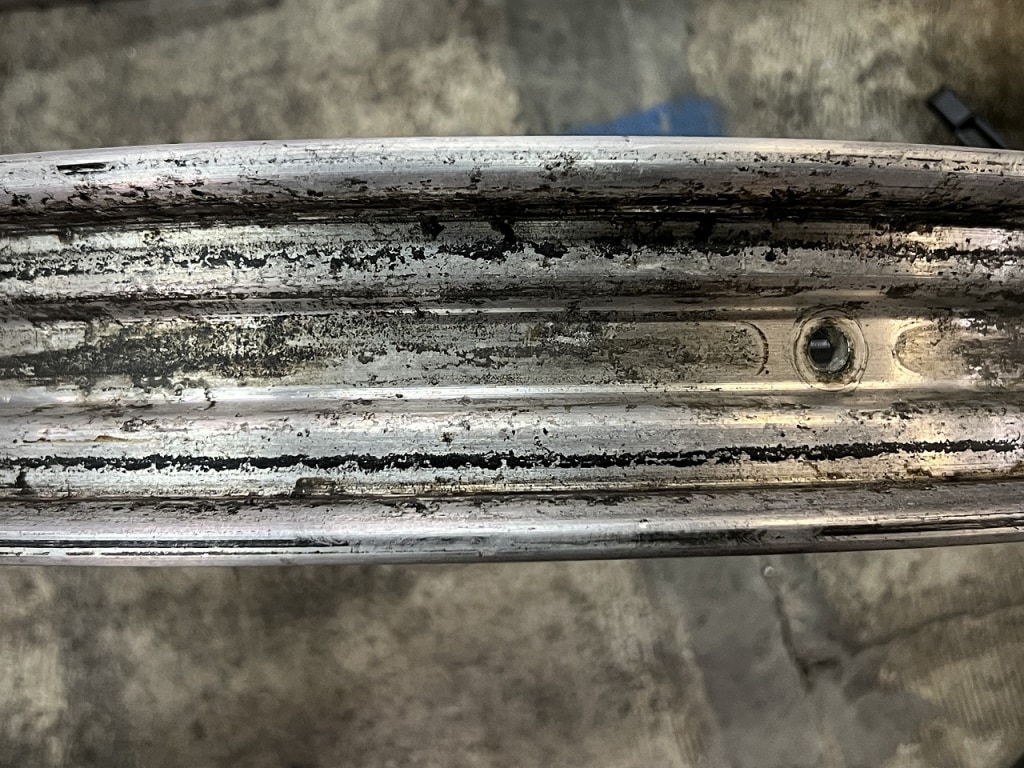
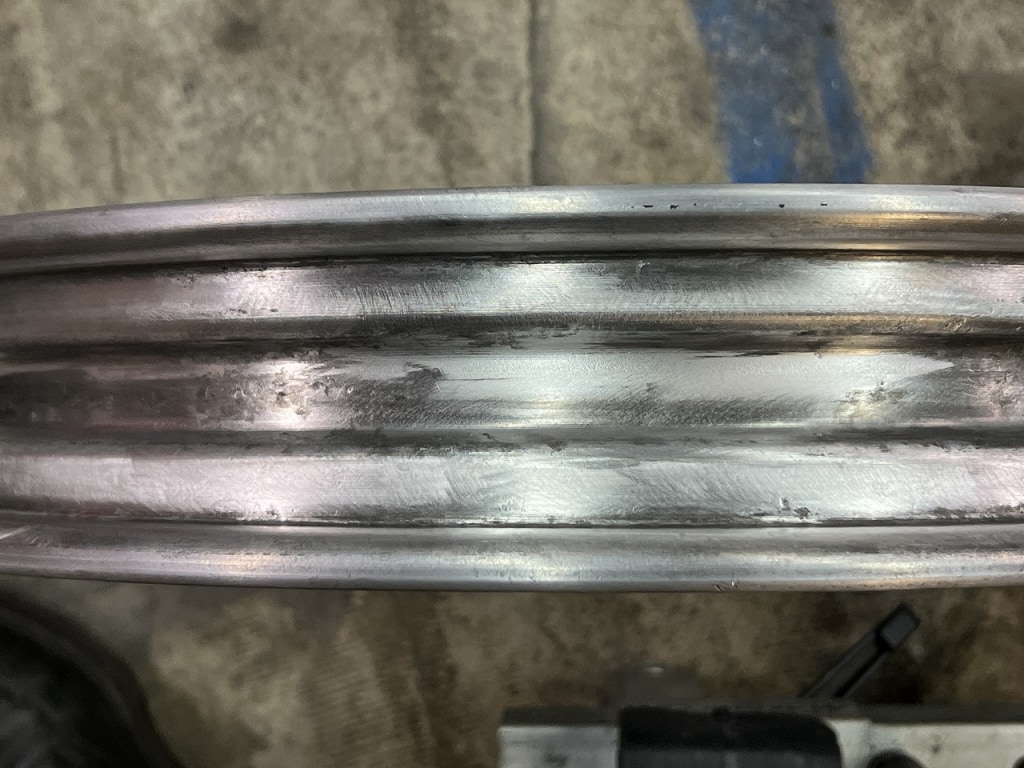
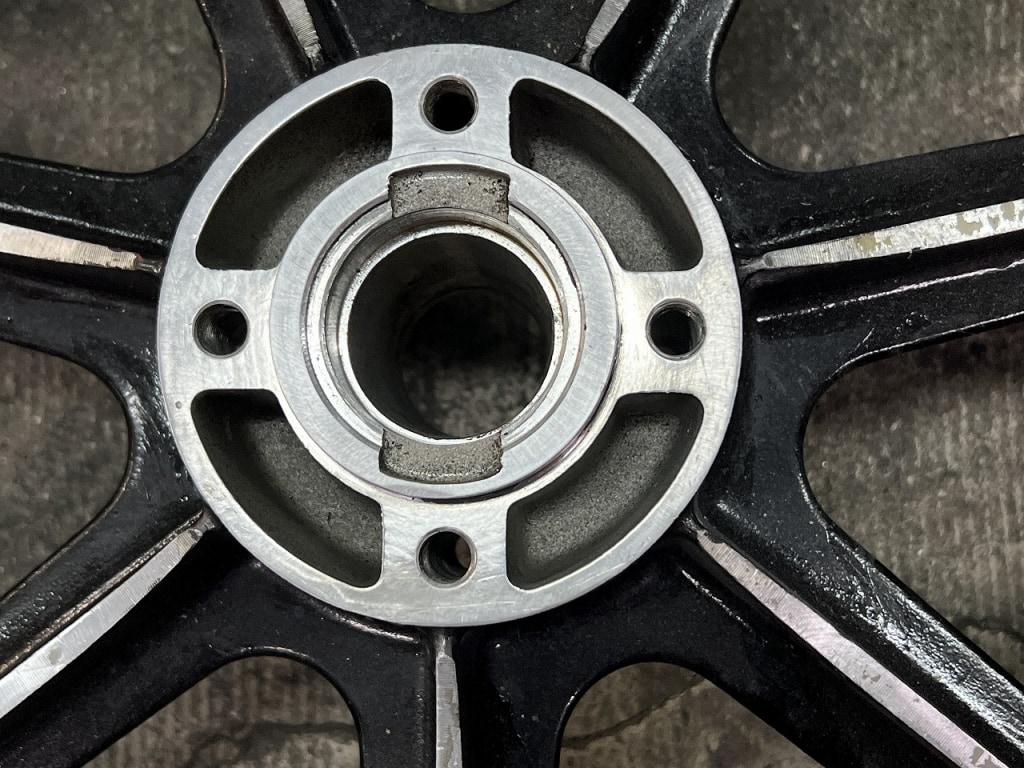
The inside of the wheel also had grime firmly stuck to it. If it were a running vehicle, it would come off pretty easily, but this buildup is no joke.
I attach a brush to a Makita impact drill to polish it, but this stubborn one took nearly 30 minutes.
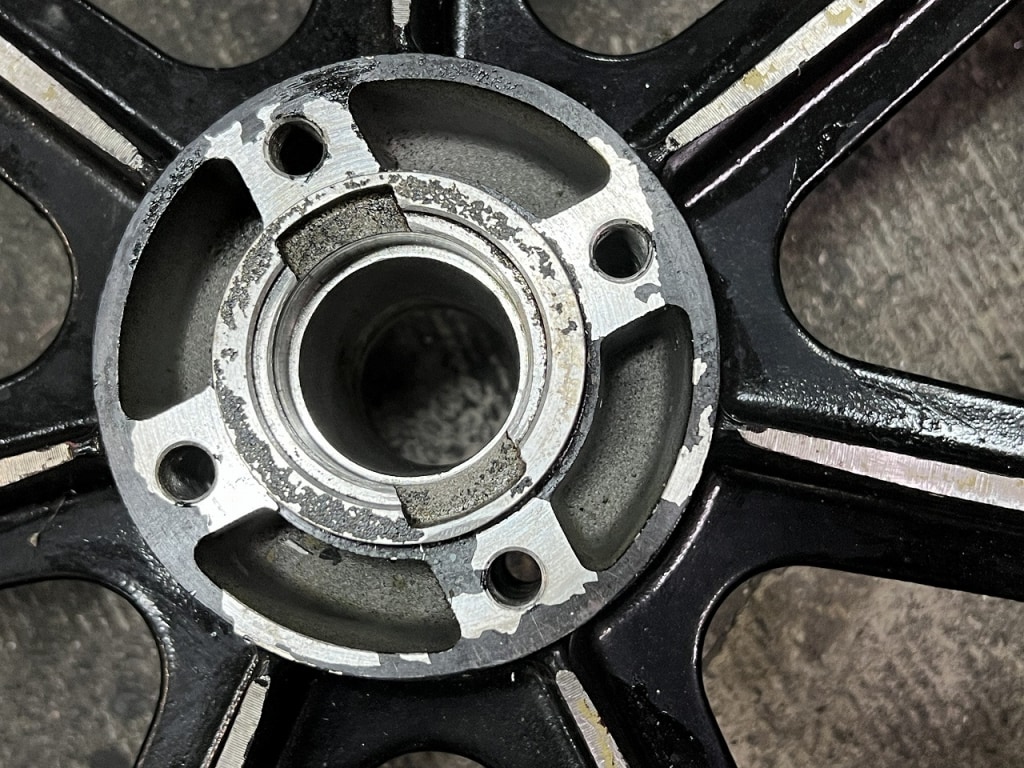
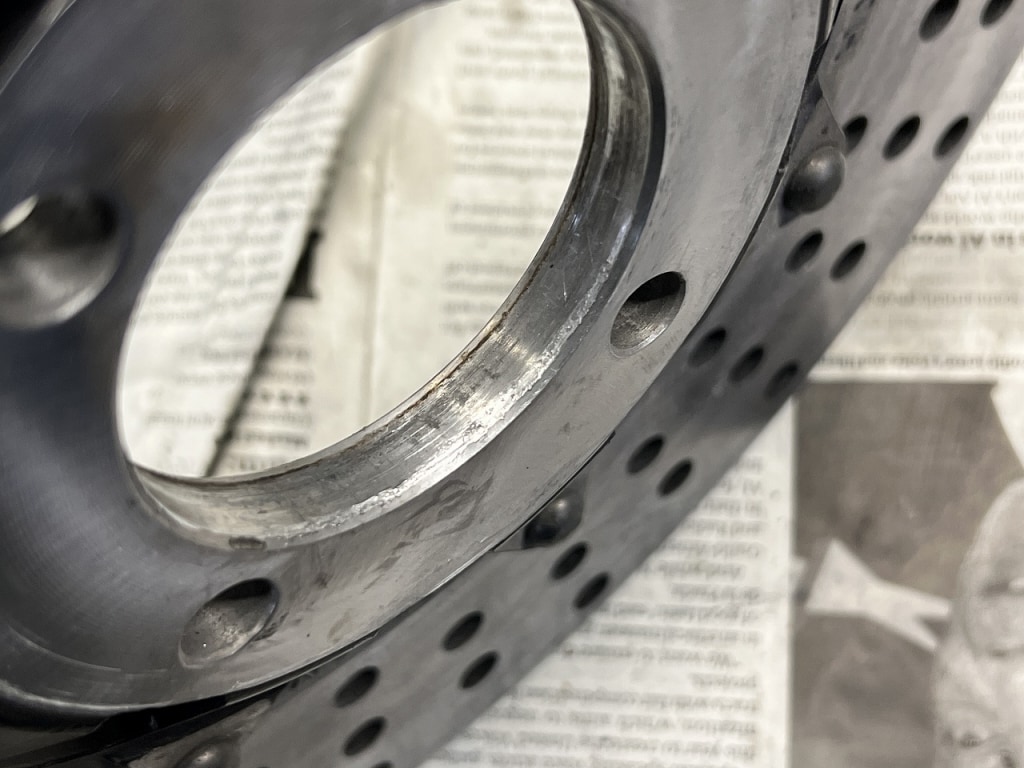
The brake disc mounting surface is also dirty. I thought at the time, how odd that the paint is sitting there so haphazardly.
While I’m at it, cleaning the seating surface gives me peace of mind.
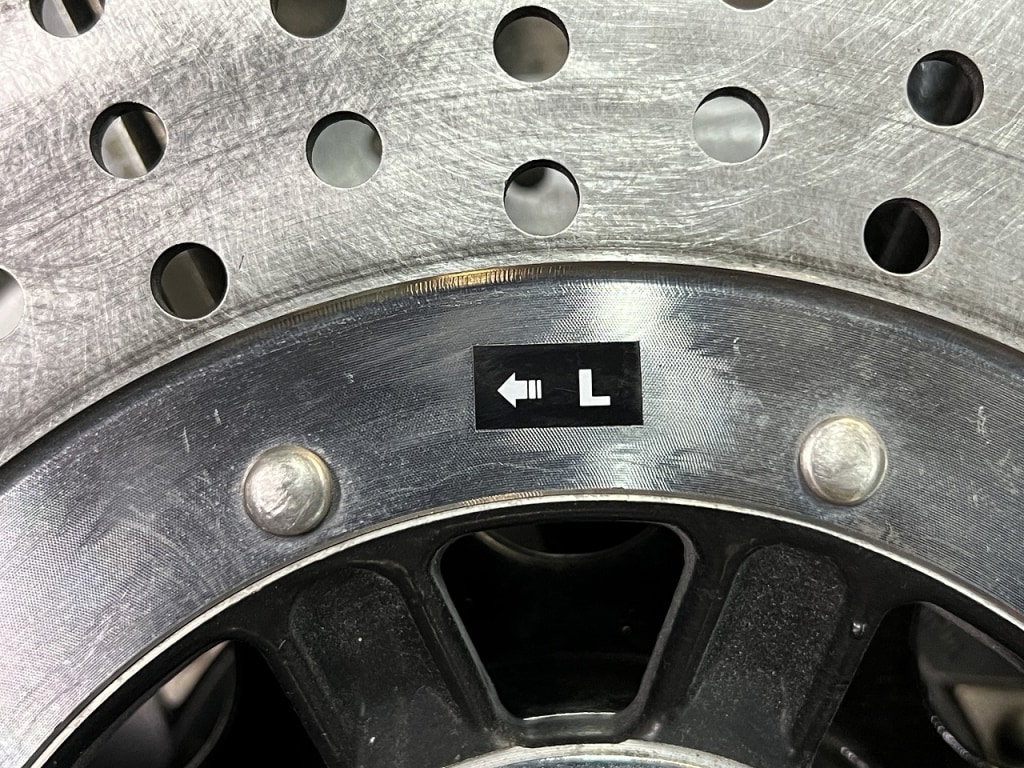
After that, I noticed something… The brake disc doesn’t fit snugly into the wheel. It must have been floating when it was attached. The caliper centering being off was probably due to a combination of various conditions.
Without cutting corners, cleaning and checking bit by bit—that’s the best approach.
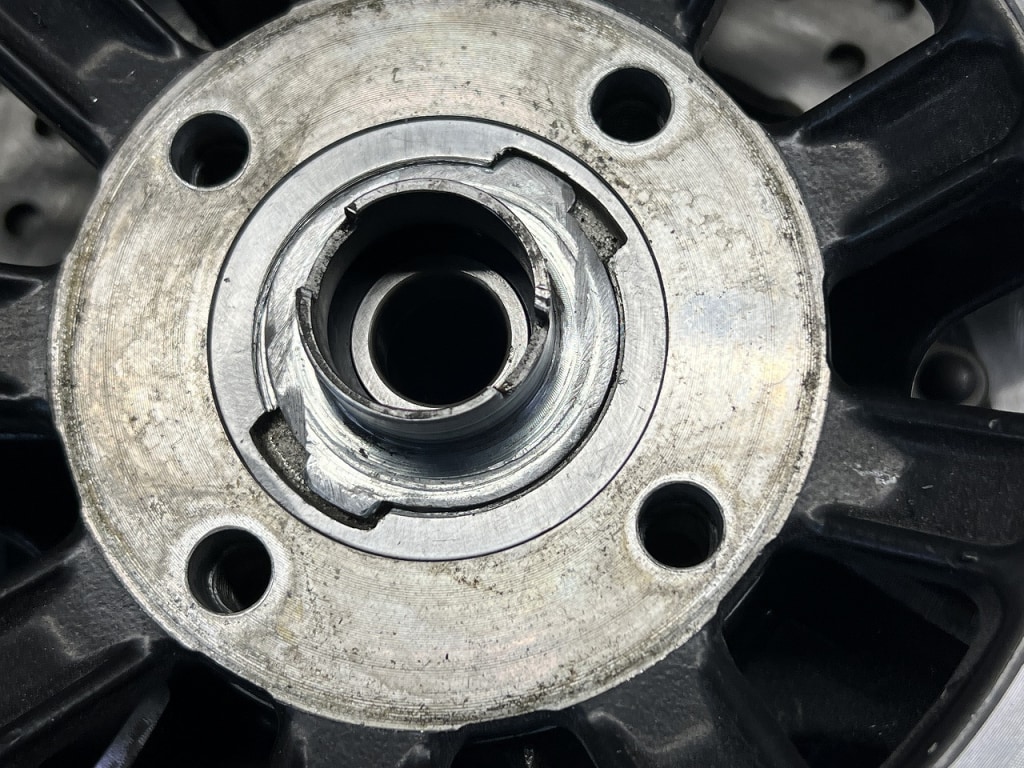
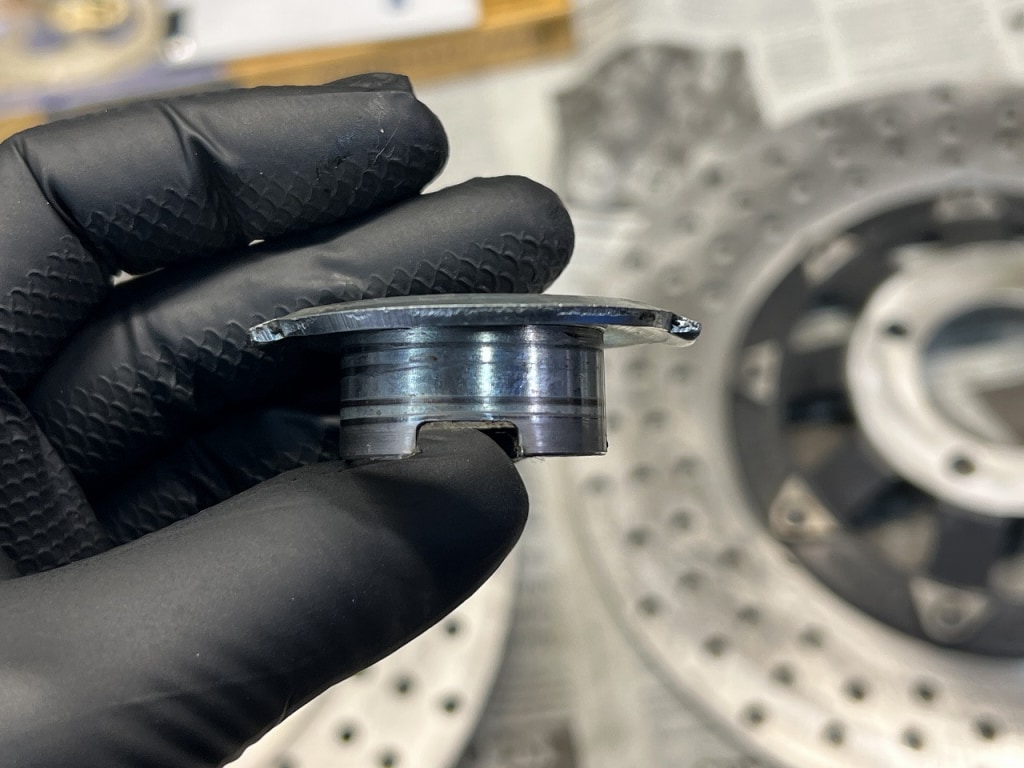
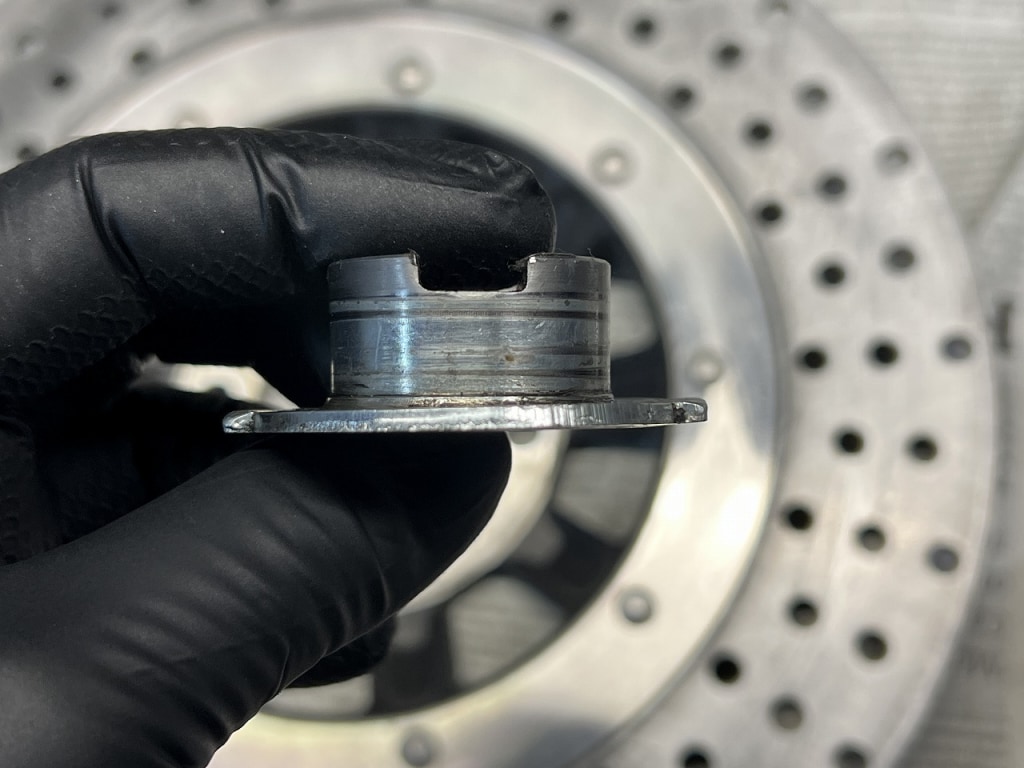
The speedometer gear receiver was assembled incorrectly and is deformed. It looked fixed but wasn’t, and it took some time to deal with.
This part is also discontinued, and there’s no reproduction from PMC or anything like that. If I search carefully, there might be something usable out there, but old bikes really do require a lot of research.
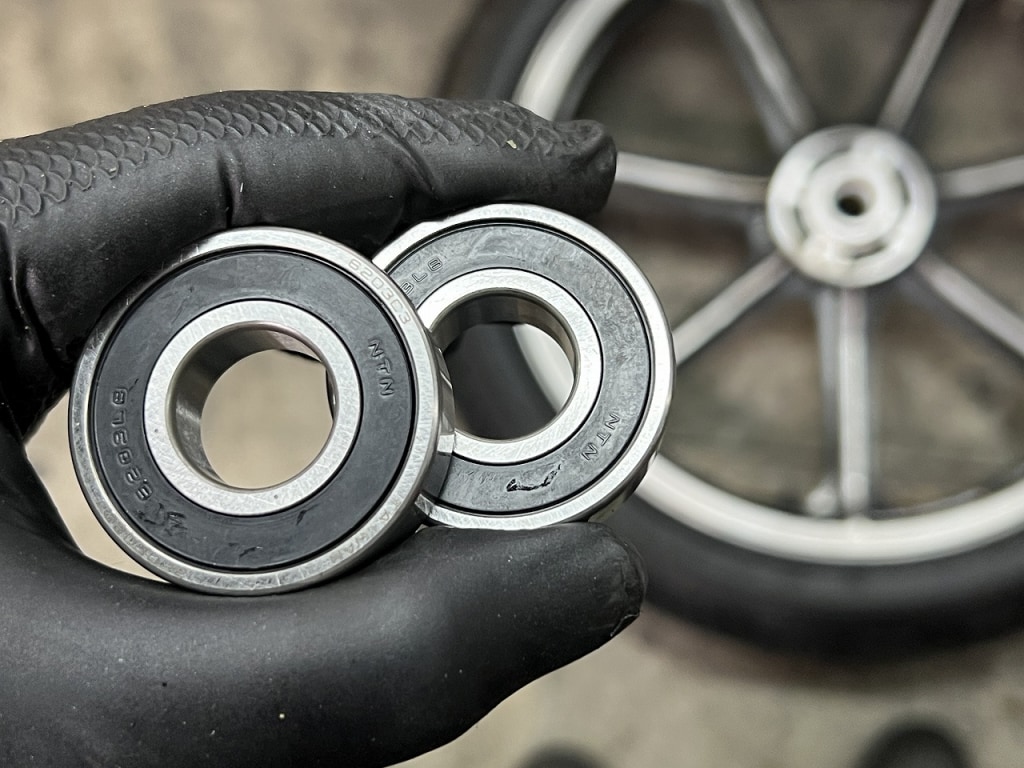
Wheel bearings are assembled with dual seals, non-contact.
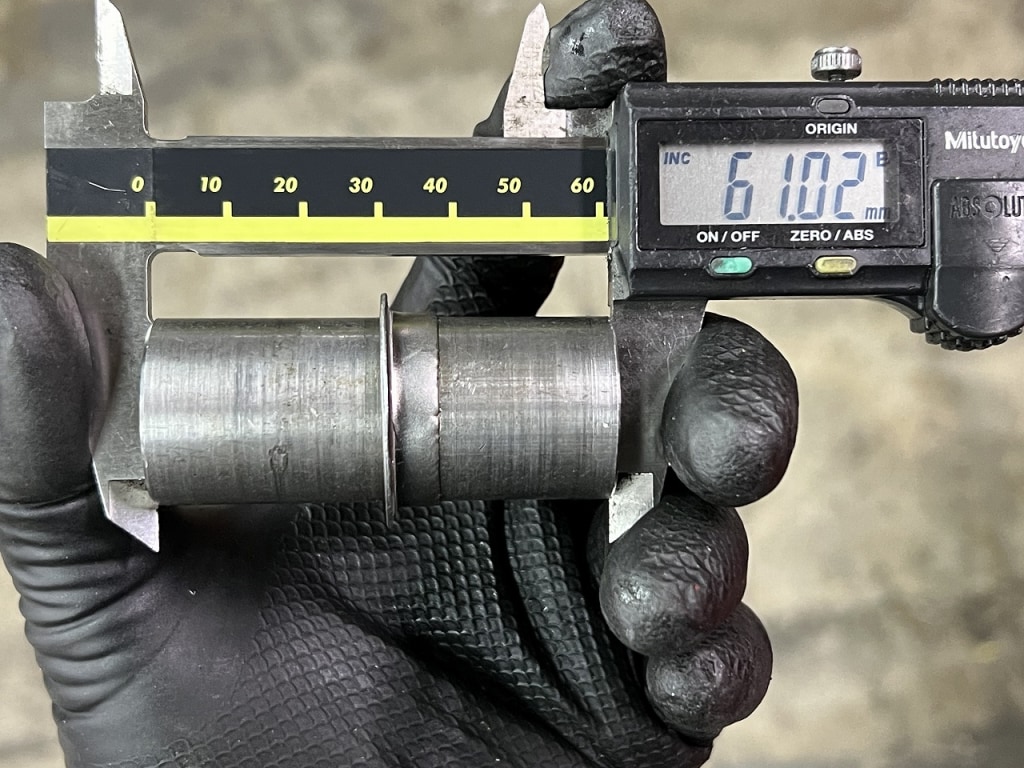
Wheel bearing grease is everything! Dual seals provide continuous lubrication for peace of mind. Knowing the distance collar length gives you confidence.
Kawasaki has a snap ring on one side that locks the position, making bearing installation easier. Plus, the installation clearance is generous, so the work is reassuring.
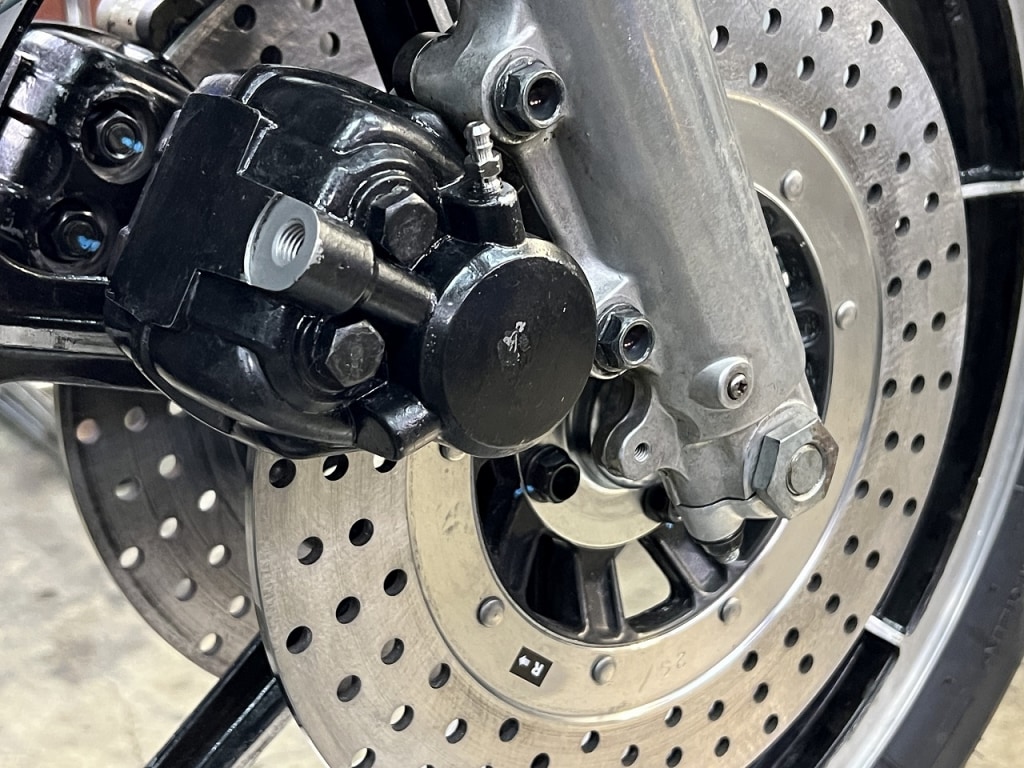
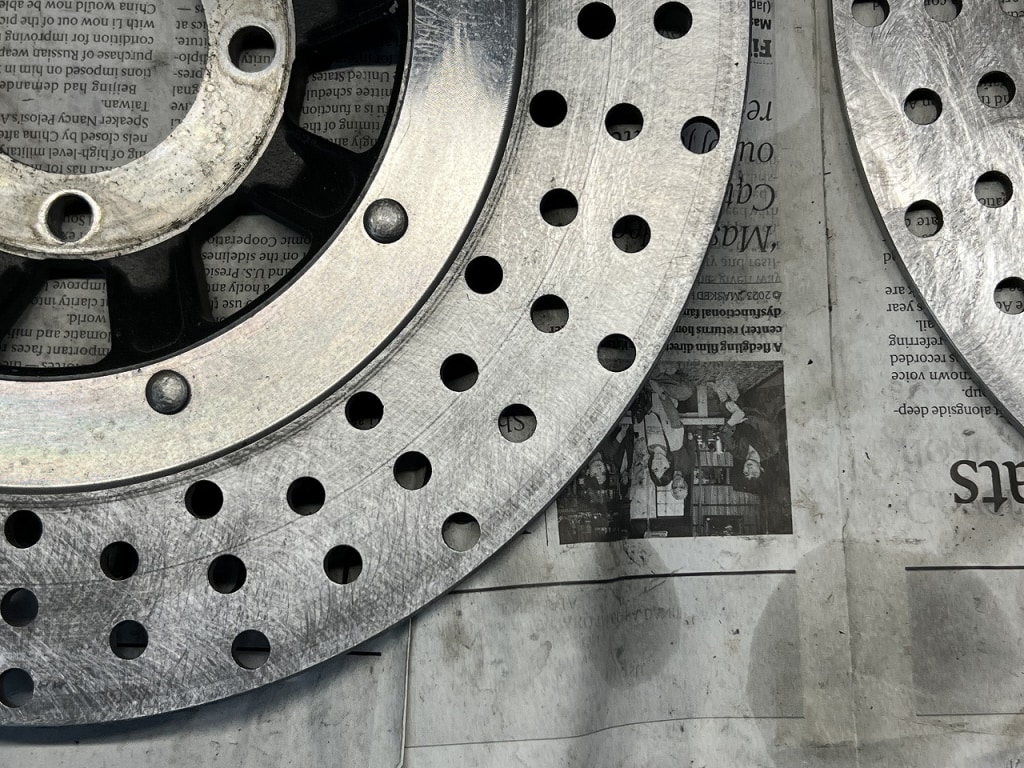
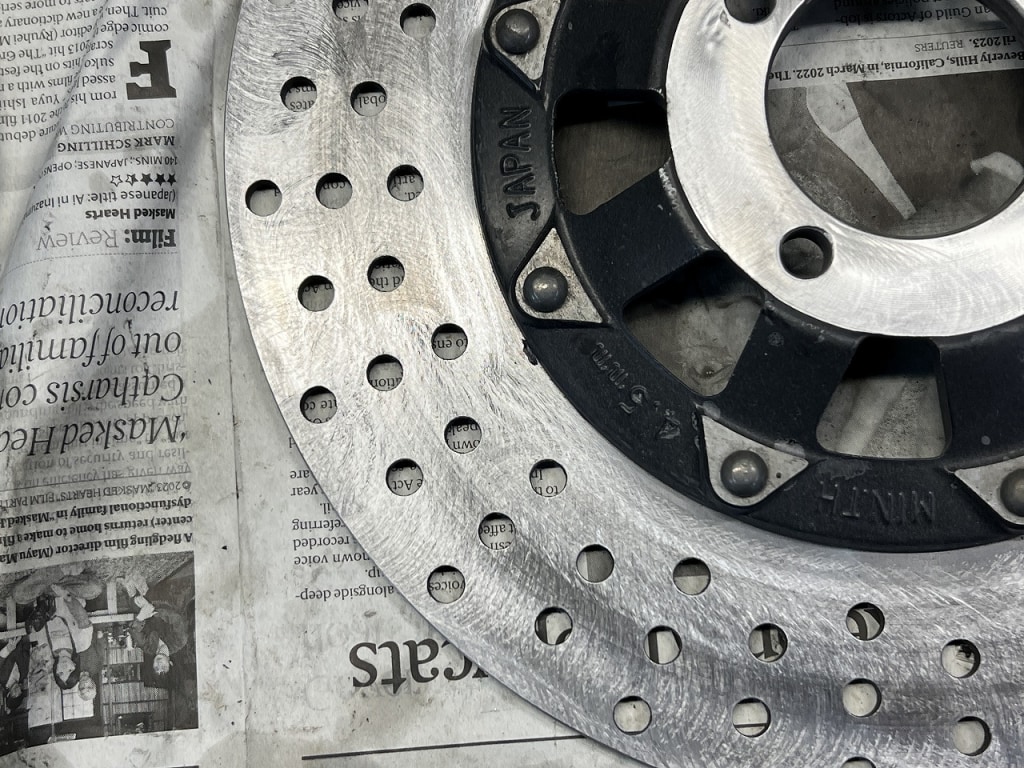
Brake discs have good thickness, so we grind and reuse them.
SUS brake discs are hardened, so they don’t grind away as easily as cast iron car discs. The front brake disc still has good thickness, so I ground and reused it this time.
There’s a somewhat sketchy tool called a rotor grinding flex horn. It’s pricier than it looks, and when used on stainless discs, the flex horn wears quickly. It’s handy when brake discs squeal or oil stains get baked on.
How many times did I remove and install the brake disc… This receiver basically stays free even with the brake disc attached.
Since the receiver was deformed, I corrected it, ground it, corrected it, and ground it again, and finally got it to run free.
Oh, the brake disc looks clean!
I was thinking that to myself… but I completely forgot I was changing the tires with all the traps that came up.
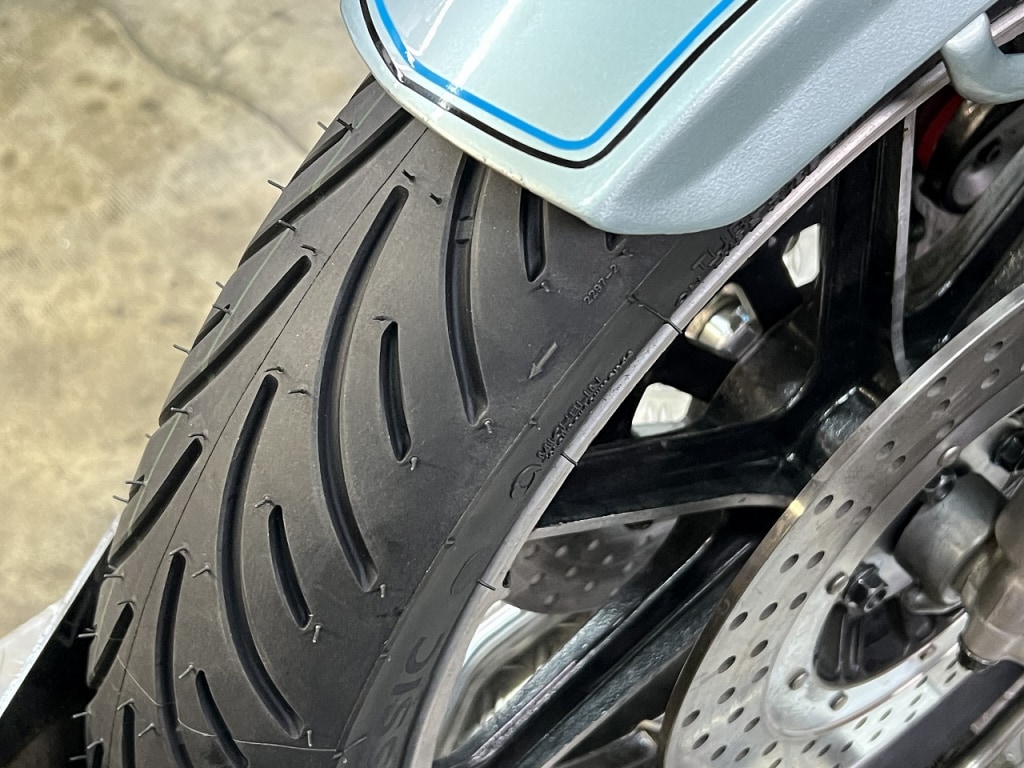
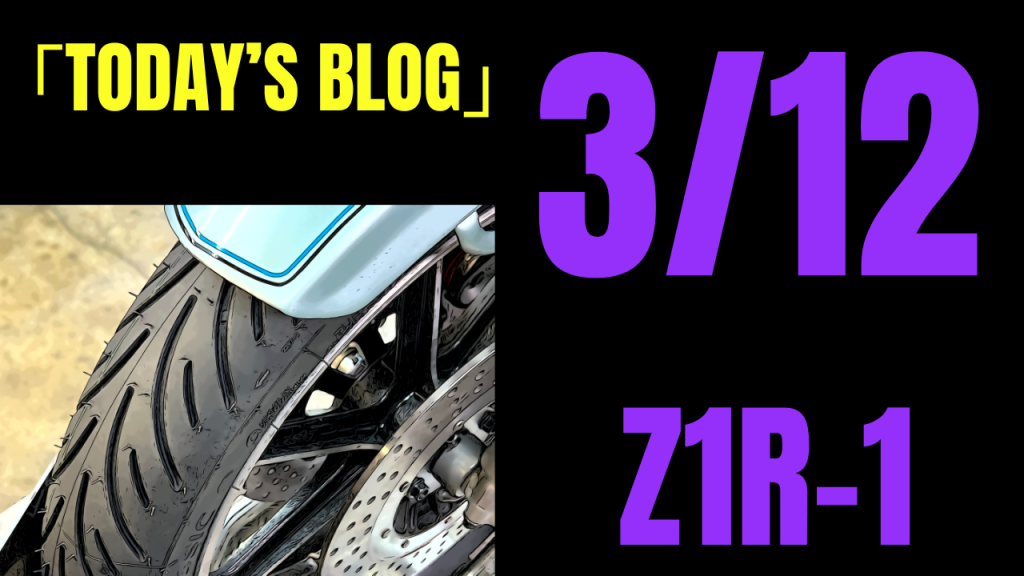
I’m installing Michelin Road Classic tires front and rear this time.
The shape, design, and price are all good. For slim bikes with bias tires, I think this is my only choice. Basically belted bias, but regular bias sizes are mixed in too, so please note.
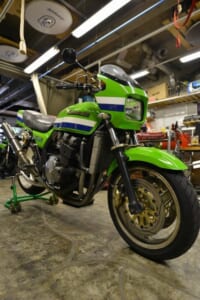
What I used on the Z1R this time was front 100/90-18 and rear 4.00-18.





 ポチップ
ポチップ